Saturday 23 March 2013

First Floor Fireplaces

So I did some investigative work yesterday, I wanted to see if there was ever a functional fireplace on the first floor rear room, soon to become a bedroom. This is the way the room was to start with:


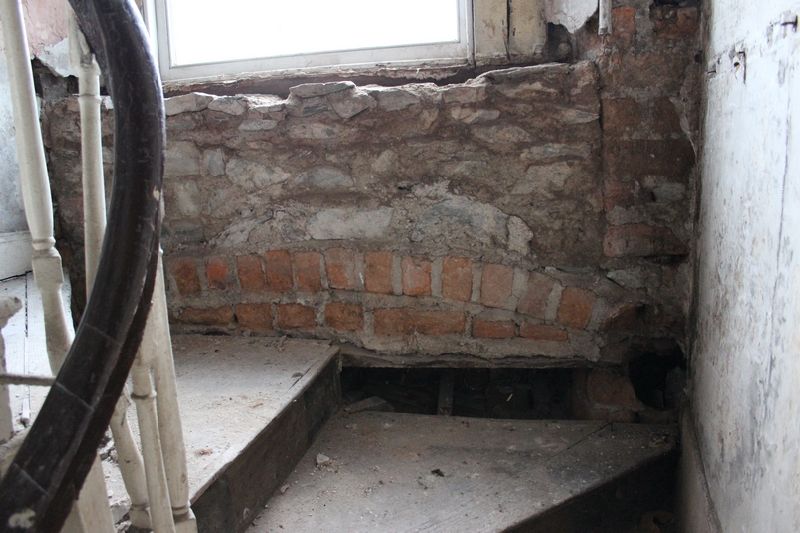
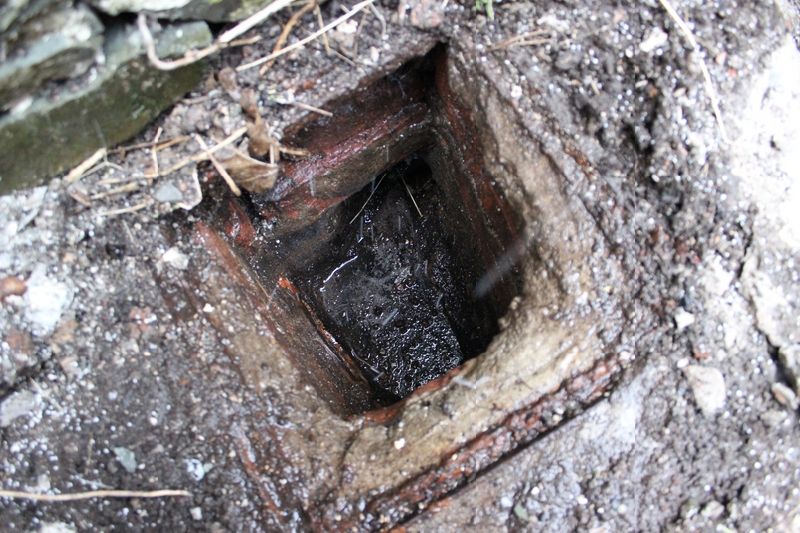
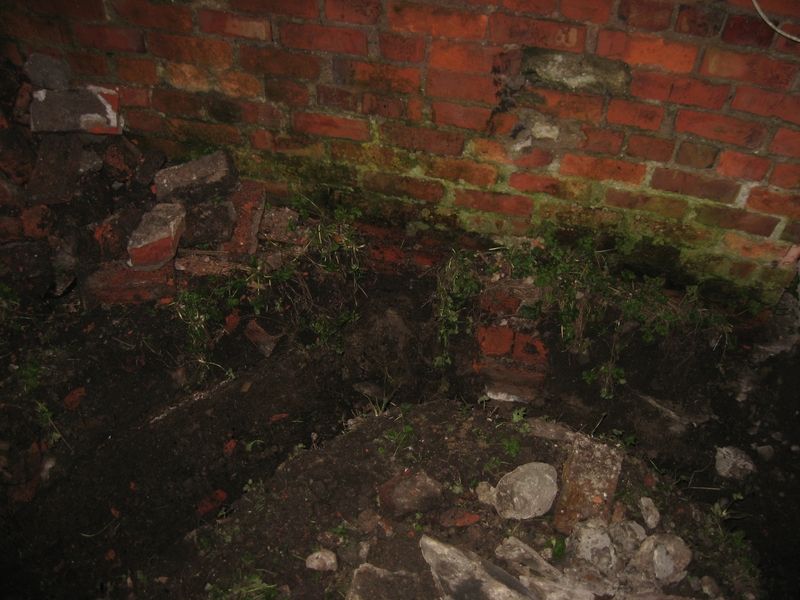
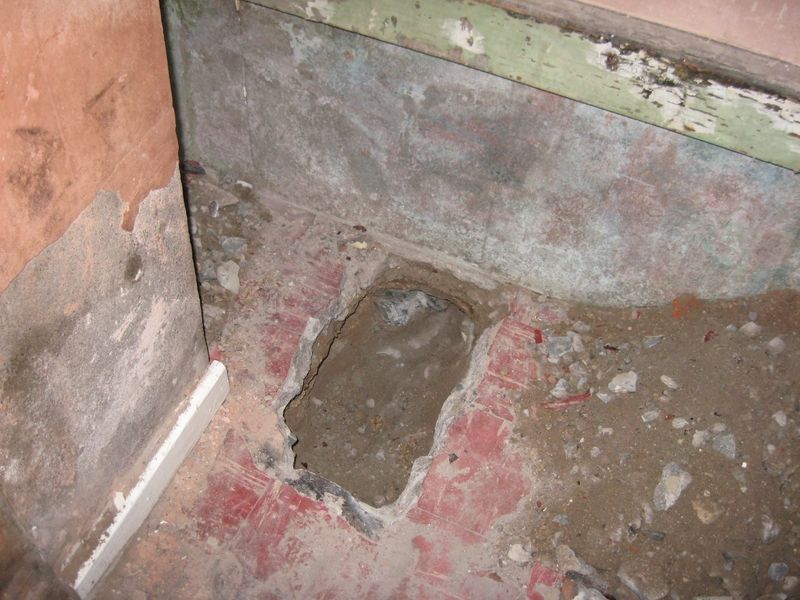
This is what I uncovered:


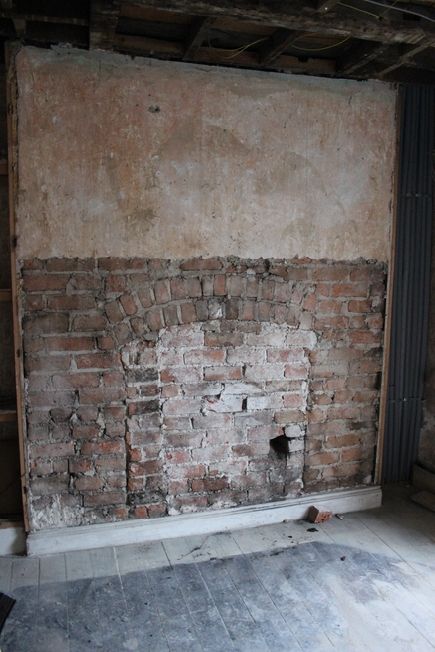
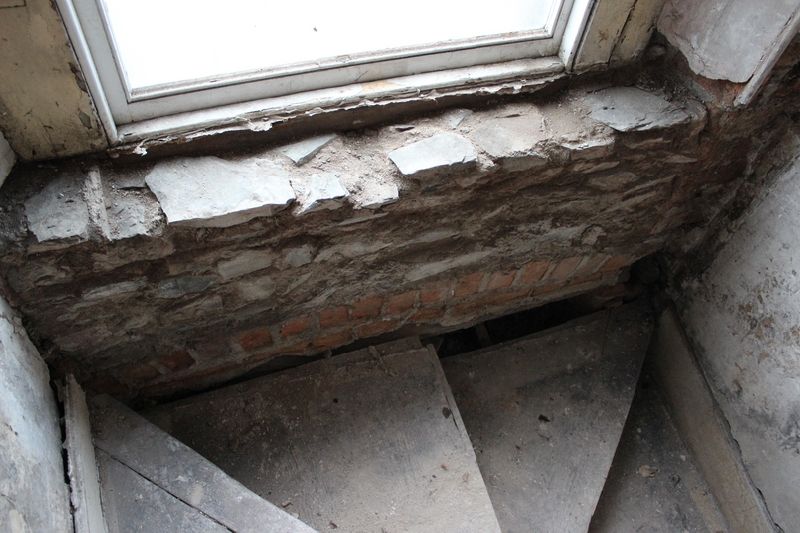
The fireplace opening has been quite crudely filled with red brick and lime mortar. The brick is very similar to the brick of the chimney breast and that of the return at the rear of the house. The mortar is also far from modern, and the lime plaster over it had animal hair in it so it could well have been filled up to 100 years ago, possibly more. Note the poorly completed brickwork, with the single stack of brick in the left of the opening. Some of the bricks are quite loose; one fell out by simply pulling with two fingers, along with a pile of soot and bird feathers.

The picture below is the fireplace removed from the front room of the same floor, the plan is to install it in this rear room, reopening the fireplace as it was originally. This rear room likely had a fireplace of this scale, whereas the front room fireplace would have been larger, so it makes sense to swap the fireplace to this room:


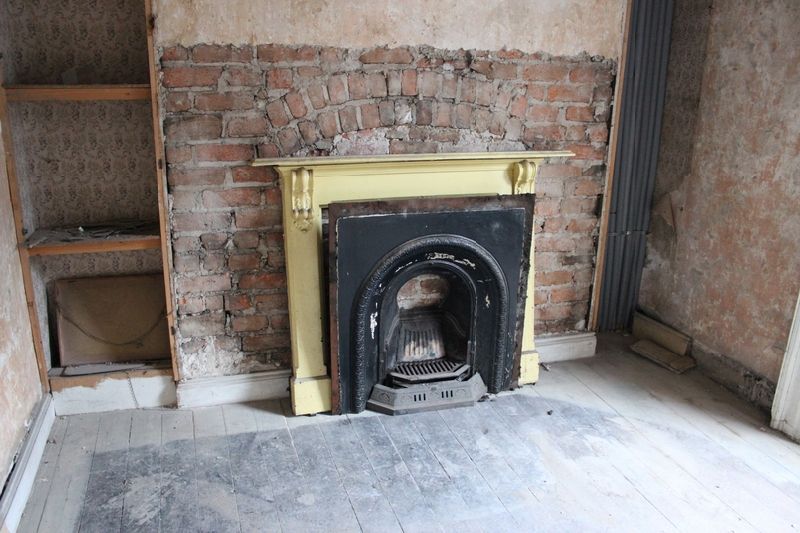
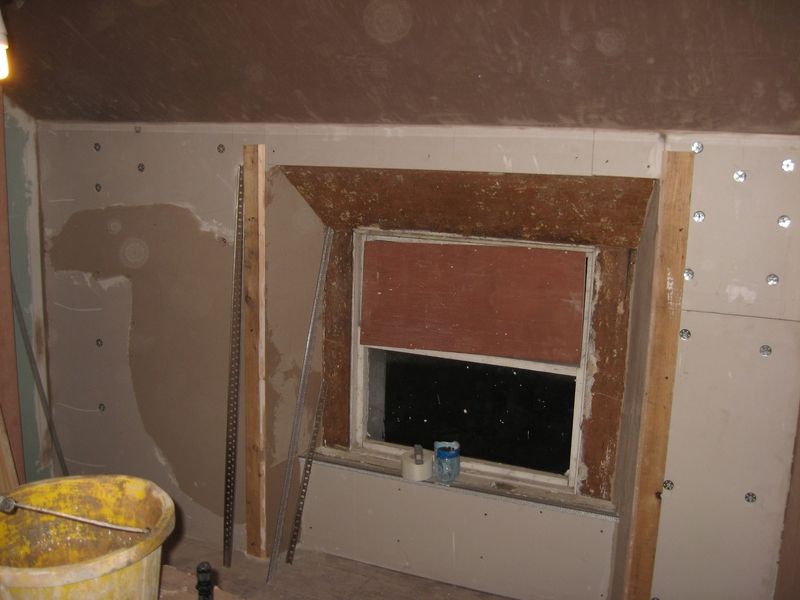
Below is the fireplace opening in the front room of the same floor. The fireplace above came out incredibly easily; just two large screws bolted the yellow surround into two iron brackets cemented in the wall. The black iron fireplace itself lifted out with ease as it was not attached to anything. About six to eight inches above the black marks left on the plaster you can see markings of the height of the original fireplace.


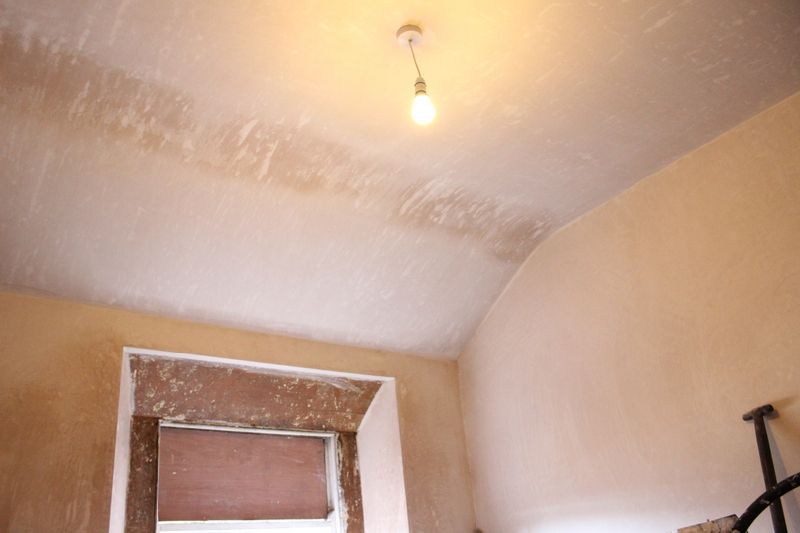
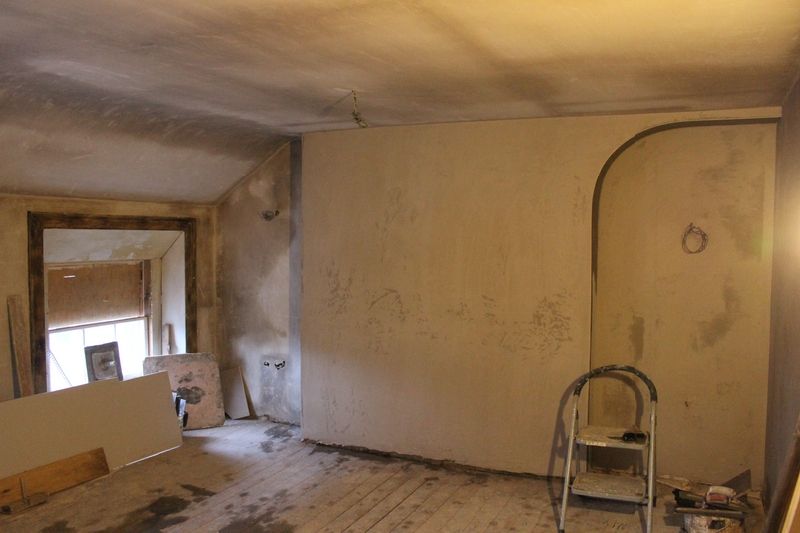
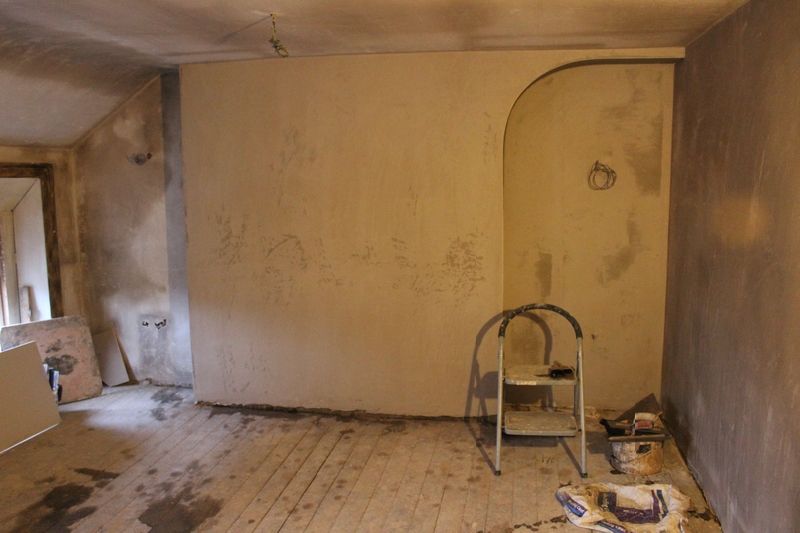
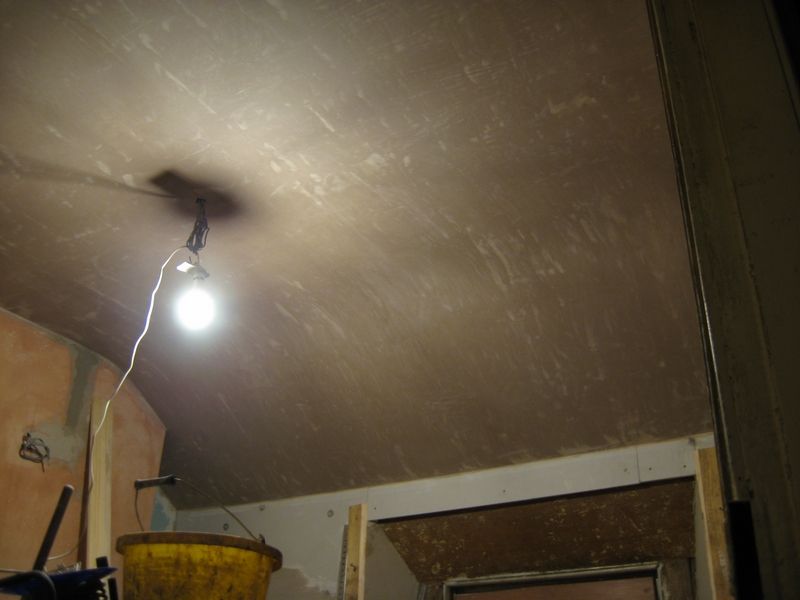
On the top floor, I scrubbed the floorboards with a decking brush, warm water and sugar soap. I then mopped it up, scrubbed it again, then mopped twice more. The result is as follows:


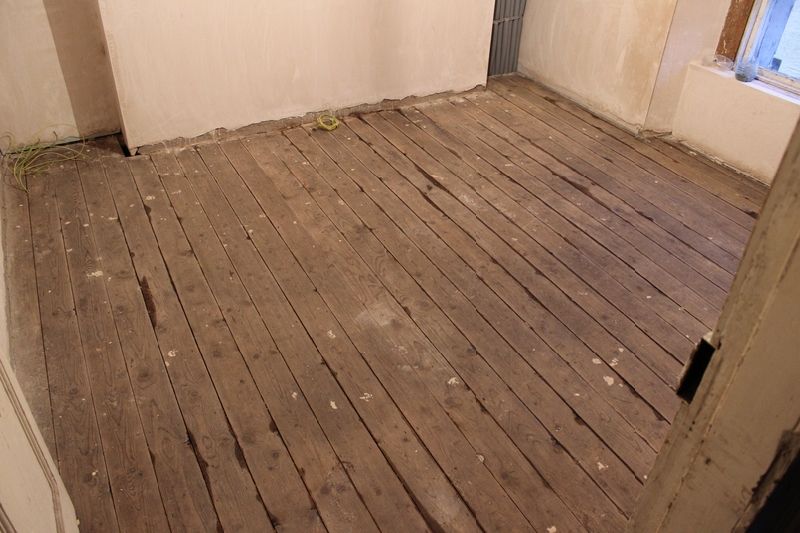
There's still some drying to do and a good deal of plaster splatter has to be removed but they come up pretty well considering the floor was simply scrubbed clean. A finish is yet to be decided.

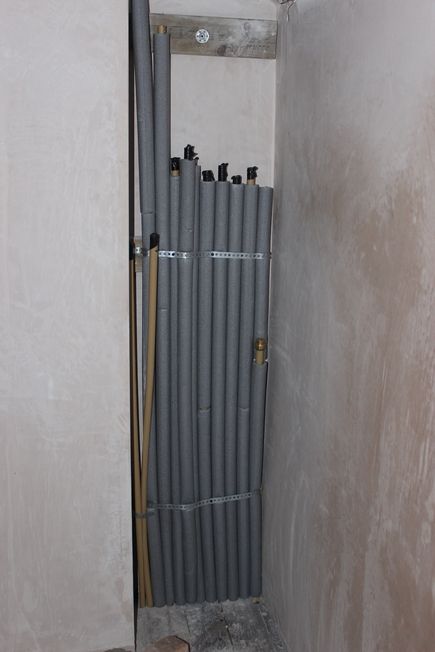
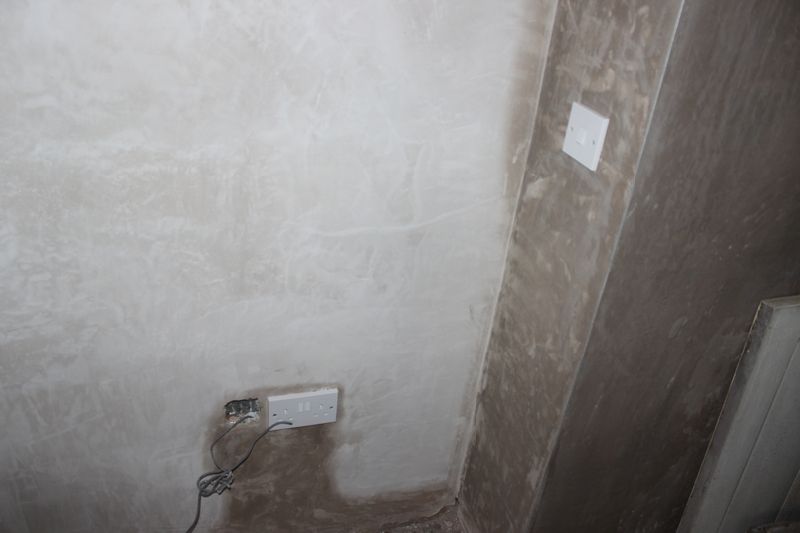
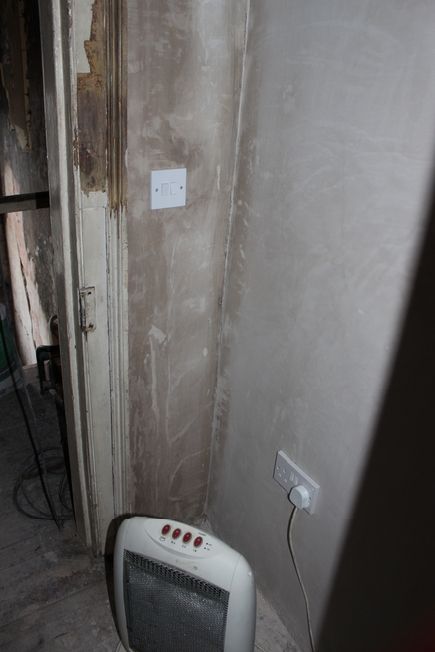
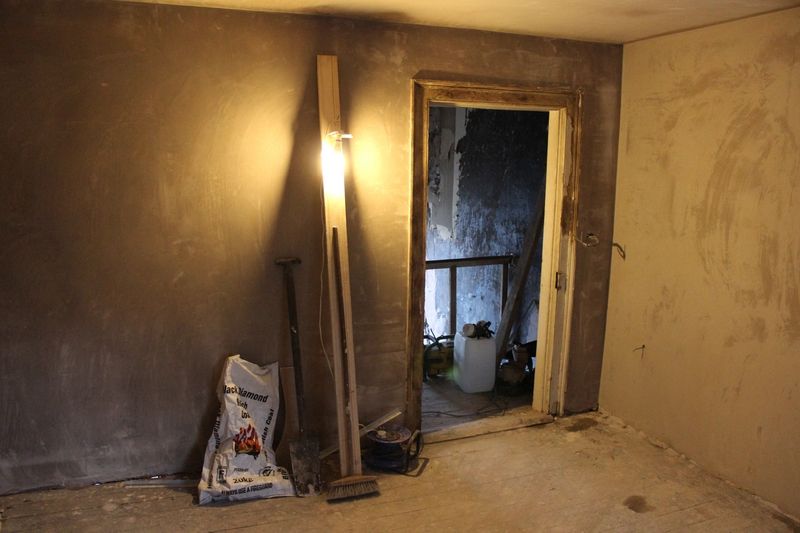
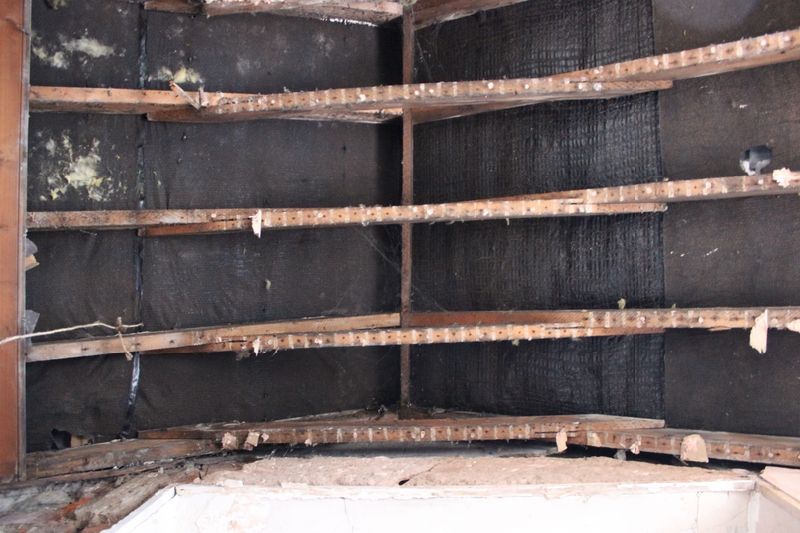
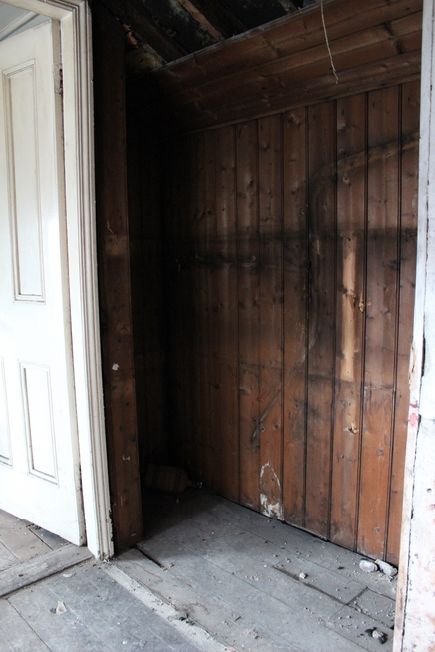
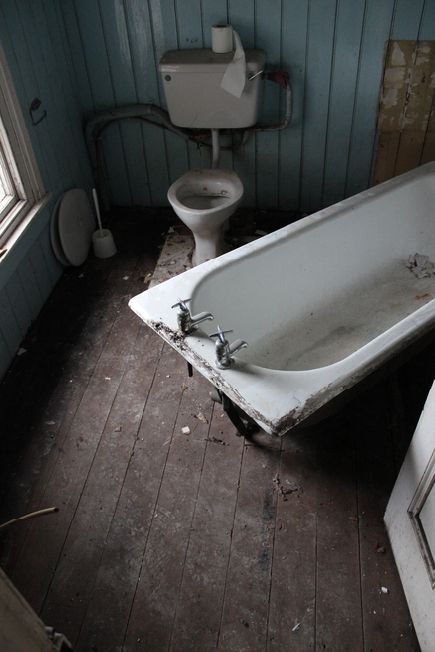
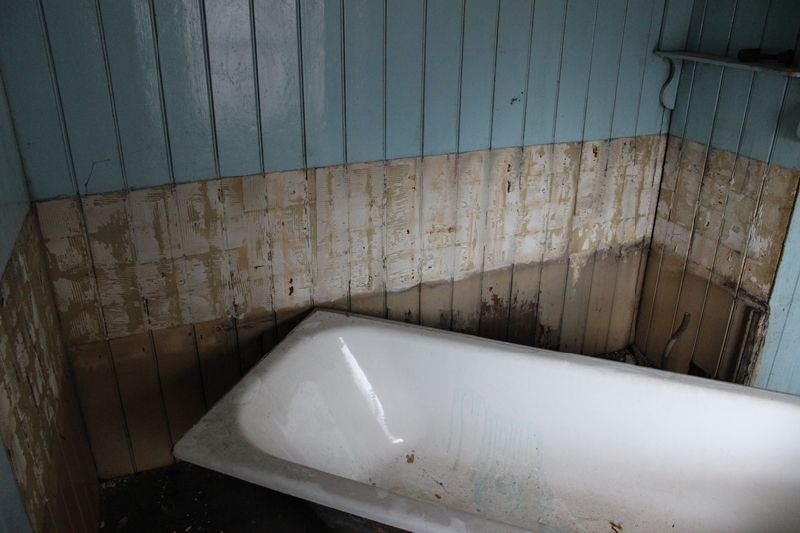
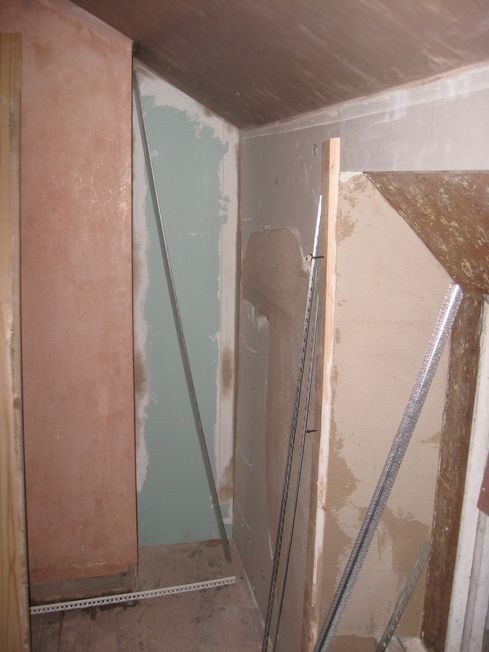
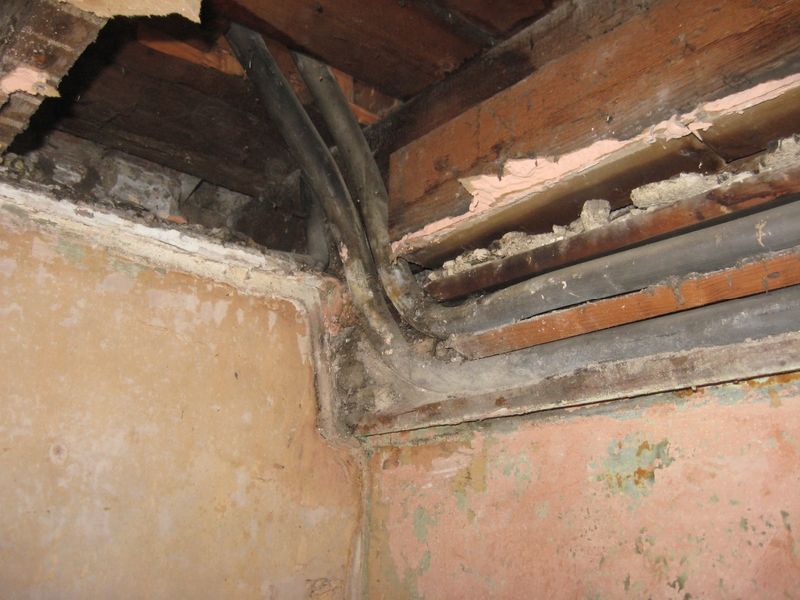
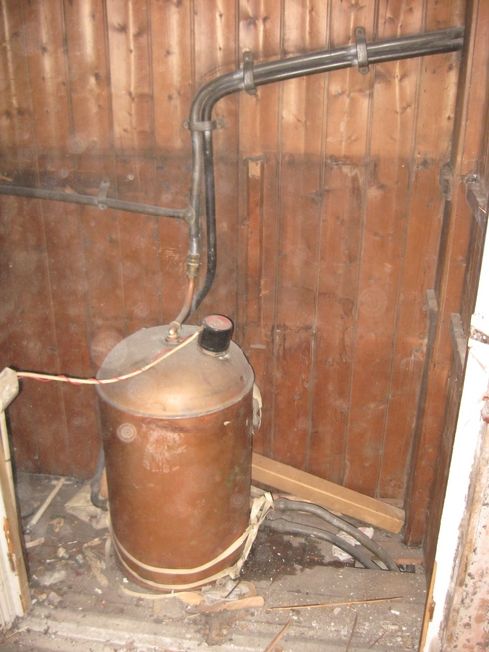
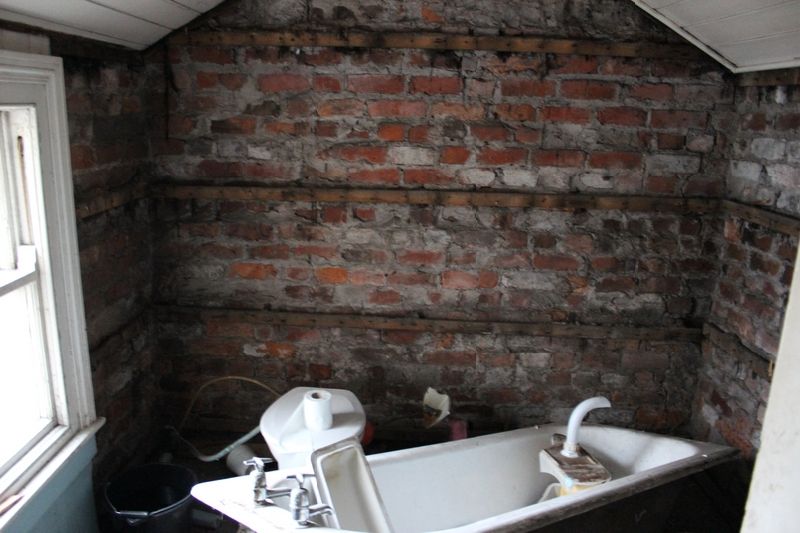
Upstairs in the return, I carefully removed the tongue and grove panelling from the existing bathroom, as I plan to reuse it in the bathroom on the top floor. From the inside you can see the single layer of red brick that makes up the return:


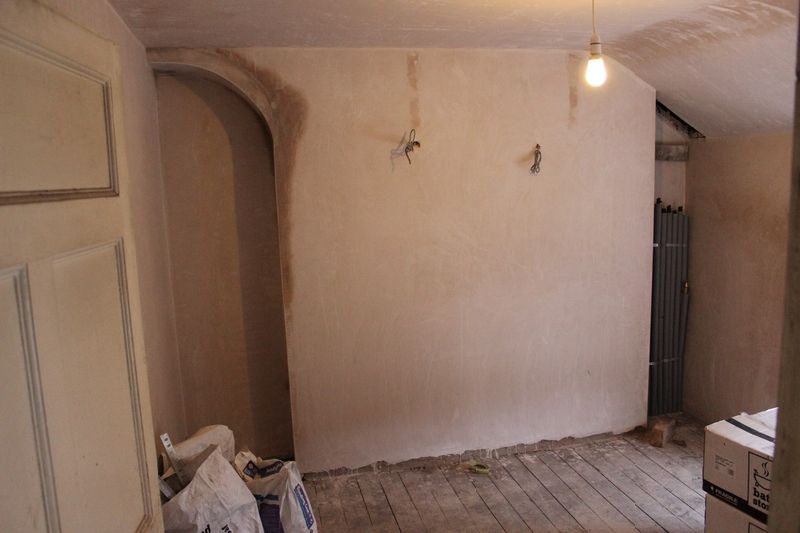
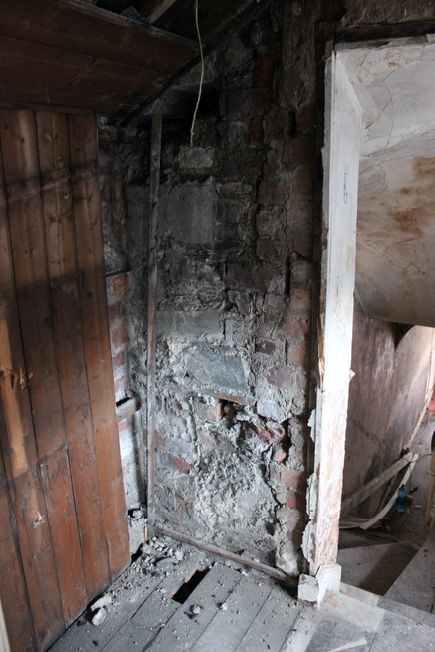
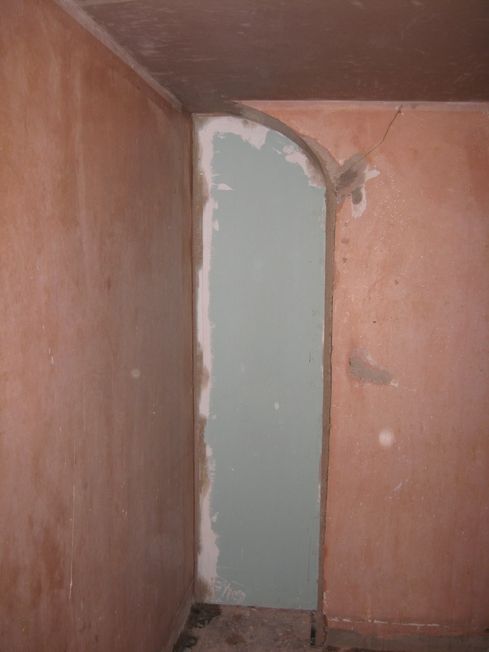
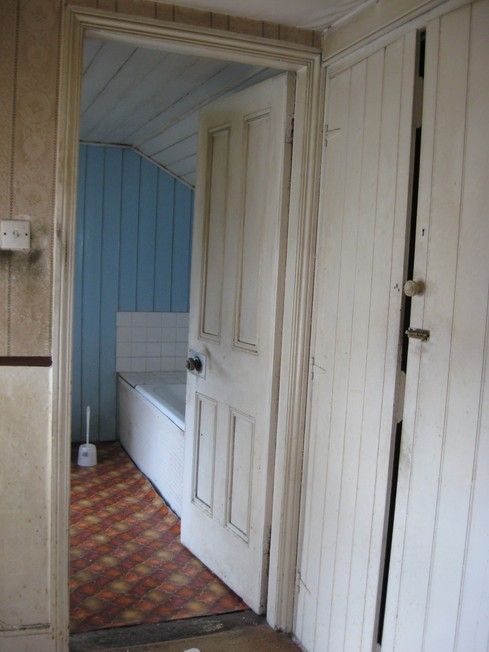
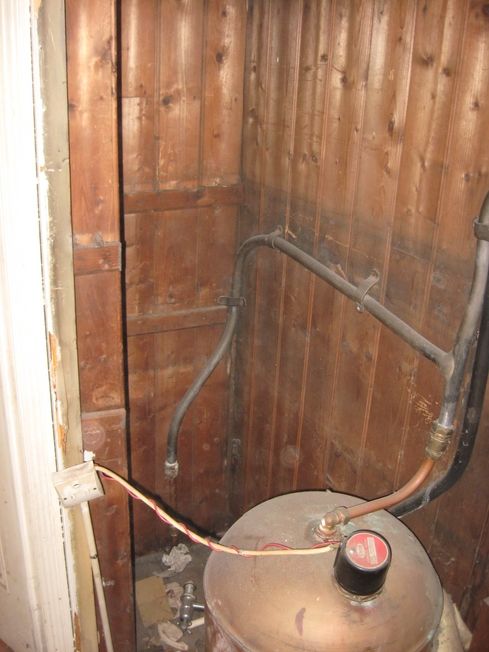
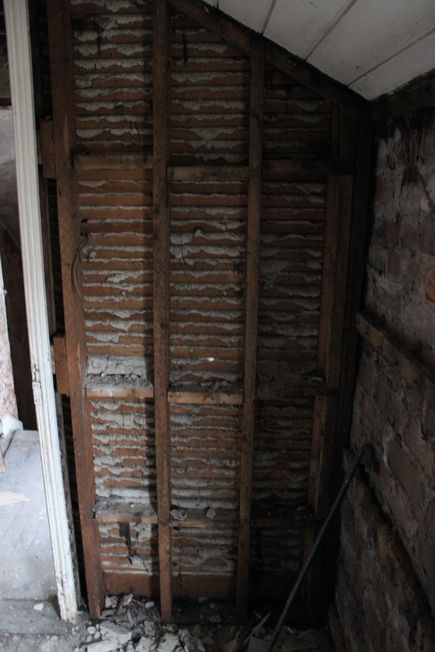
The internal wall that separates the bathroom from the hallway:


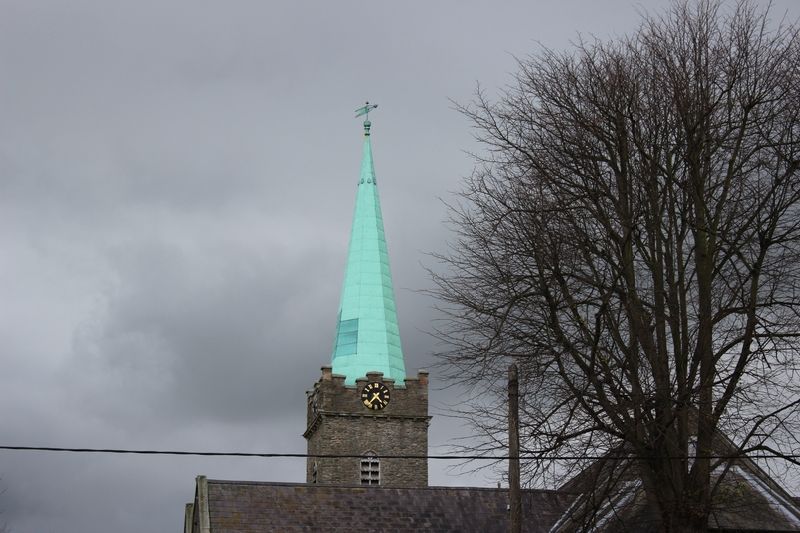
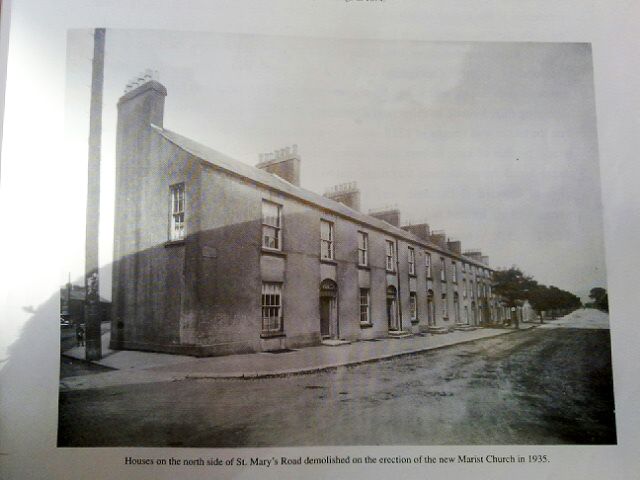
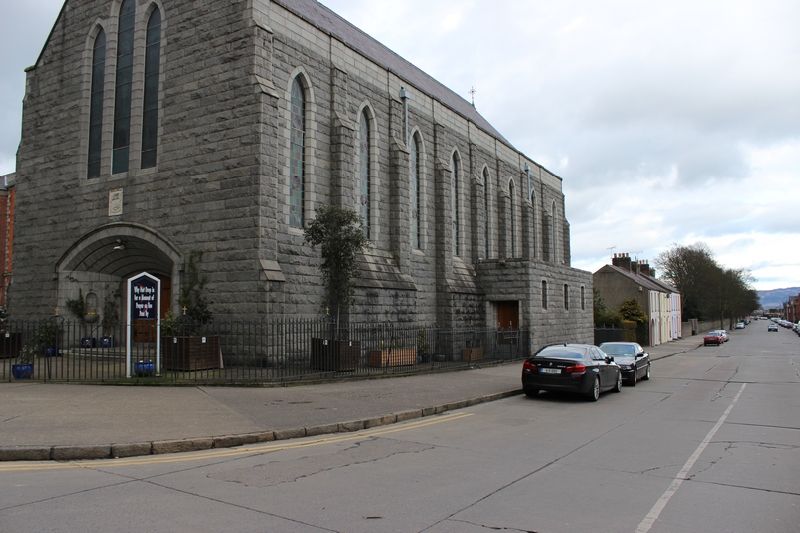
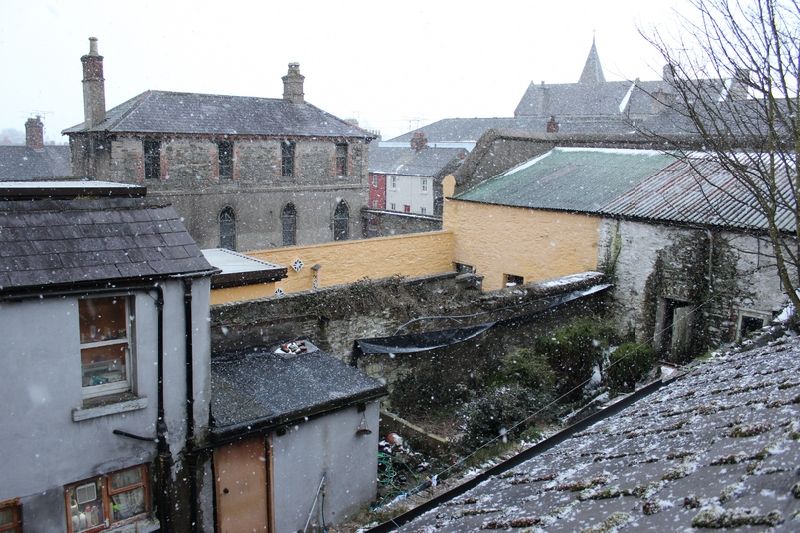
Finally, a shot of St. Nicholas' church, one hundred metres to the left of the house:


Tuesday 19 March 2013

Plumbing & Electrics

So plumbing started  a few days ago, and water at long last has entered the house and is currently piped up to the top floor. All pipework has been routed up the right side of the chimney breast in the rear of the house.

This is where the water enters the back of the house, with a temporary T pipe so water can be accessed:

.
The pipework on the ground floor on the right of the chimney breast, in the room that is to become the kitchen:


In the room above, to become a bedroom:


And rising into the top floor bathroom:


The thermal store will be installed in the attic this week and radiators are due to arrive next week.

The plaster in the bathroom is drying well, considering there is no heat in the house:


The power is now switched on, on the top floor. All light switches and sockets are installed, with CAT6 terminals to be installed at a later date. All fixtures will also be swapped out at a later date for better looking pieces.


Finally, just an interesting photograph I found of the former terrace directly across the road, which was demolished in 1935 to make way for St. Mary's Church:


Compared to today:


Monday 11 March 2013

Finished Plaster & Some Other Work

The plastering of the top floor front room, the master bedroom was finished today, a very impressive, smooth finish. The plaster is like glass to the touch:


This entire wall was lined with insulating slab, as it's an external wall and because the existing plaster was quite rough. The rest of the walls were simply re-plastered:


A late addition of a second electrical socket was added just inside the door:


I cleaned away the remnants of the crumbling plaster below the stairway window and temporarily removed the stair skirting, which exposed the redbrick lintel below and the stonework of the wall:


What was uncovered actually represents good news, as it means that the timber piece in the ceiling above the stairs a floor below is only supporting a single line of brick and not the load of the wall above (the lintel sits behind this cracked render):


This was also a good time to remove the hallway ceiling, which exposed timbers in decent condition. Note how the cross supports are spliced onto the main roof joists. This is the only area of the entire house that had any form of fibreglass insulation:


The space below previously occupied by the hot water cylinder:


Where the return meets the back of the house:


I started some light work on the bathroom space, beginning with removing the lino on the floor and disconnecting the bath:


Crumbling floorboards where the bath was located:


The bath is cast iron and is extremely heavy, probably in excess of 120kg. Looking at online scrap values, it's probably best to break it up and dispose of it as this style of iron bath is essentially worthless. Tiling was also removed from the walls with a few taps of a sledge:


Finally, after 45 minutes of breaking up the concrete surface at the back of the house, we stumbled upon the sewer that services the house. We spent the 45 minutes breaking up the concrete, following the old red brick drain we found previously. We followed it over to the garden wall, only to accidentally stand on a drain a couple of inches from where we were digging, covered over with soil. The newly discovered sewer is on the left, the original sewer is directly on the far right, below the black water pipe:


This is the original sewer:


And this is the more modern sewer discovered today:


This access access junction is made from red brick and has two entry points and one exit point. There's an entry on the left of the picture and at the bottom of the picture; the bottom entrance is serviced by the soil pipe from the bathroom, as well as the rainwater drain at the bottom of the rainwater down-pipe. The left entry point is serviced by the drain located about 150cm to the left of the sewer, located below a cast iron sink and tap.
The exit of the sewer clears water very quickly, indicating a clear flow. The exit leads West through No.3 and No.4 and no doubt runs along side the original red brick sewer:


The view from the stairs window. Snow in mid-March:


Wednesday 6 March 2013

Slabbing/Plastering Bathroom & Removing Hot Water Cylinder

A few days ago the bathroom was slabbed on select walls and on the ceiling. 50mm insulating slab with a wax vapour barrier was used. It was only used on certain walls as some of the walls had a concrete render already applied underneath the existing modern plaster, so there would be no problem with moisture on these walls.

So the slab was only applied to the outside wall, either side of the chimney breast and on the ceiling:


This is the ceiling just after being plastered:


More digging was done in the garden to get the water line into the house. Digging beside the return uncovered the remains of the outhouse, which would explain the position of the old sewer we found in a previous post. Note the brick remains to the bottom left and right of the photo:


The builders also made a channel alongside the return to get water into the house:


Right up to the back of the house:


And into the soon to be kitchen space:


Putting some items of nostalgia from the house to good use:


It was time to remove the hot water cylinder and associated lead piping that fed from the downstairs back-boiler, located in the hot press to the right of the existing bathroom:


First thing to do was to drain the cylinder completely. The lead pipes entering the base of the cylinder lead downstairs into the return, where they pass into the downstairs rear room of the house into the fireplace. It made far more sense to drain the pipes downstairs than to try and squeeze a bucket into the hot press:


Cutting the lead pipes downstairs in the return produced quite the uncontrollable fountain and took about 20 minutes to drain completely:


I'm glad I didn't take a picture of the water that was at the bottom of the cylinder, it was like mud. :/

Back to the hot press, all the shelves were taken out:


Then all the pipes into the cylinder were hacksawed free:


Done and dusted: