Monday 31 March 2014

Leca Insufill

So the Leca Insufill arrived today. It's an expanded clay that is manufactured from naturally occurring clay. This is quarried and then sent to a rotary kiln where it is expanded at a temperature of 1150°C. The moisture trapped in the clay is forced to turn to steam, creating countless tiny air bubbles surrounded by a hardened shell. It is these sealed air pockets which account for the light weight of expanded clay and it's high insulating properties.

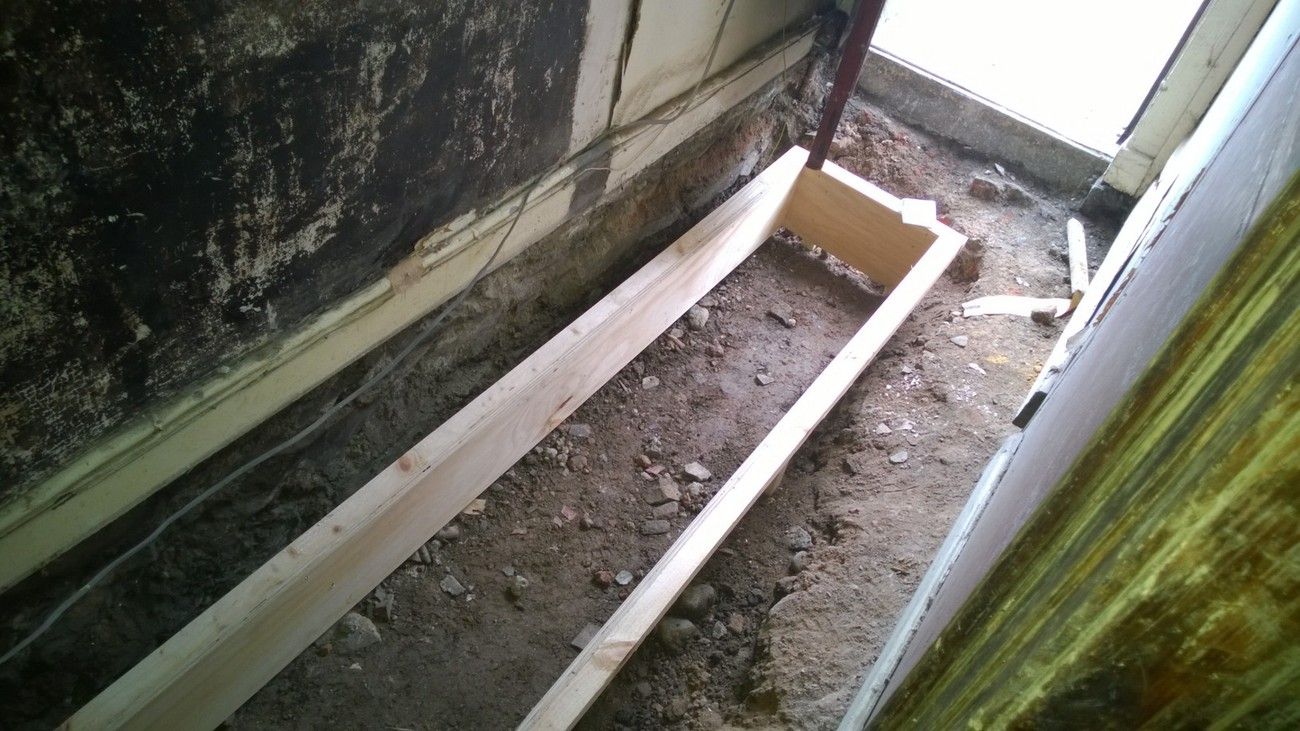
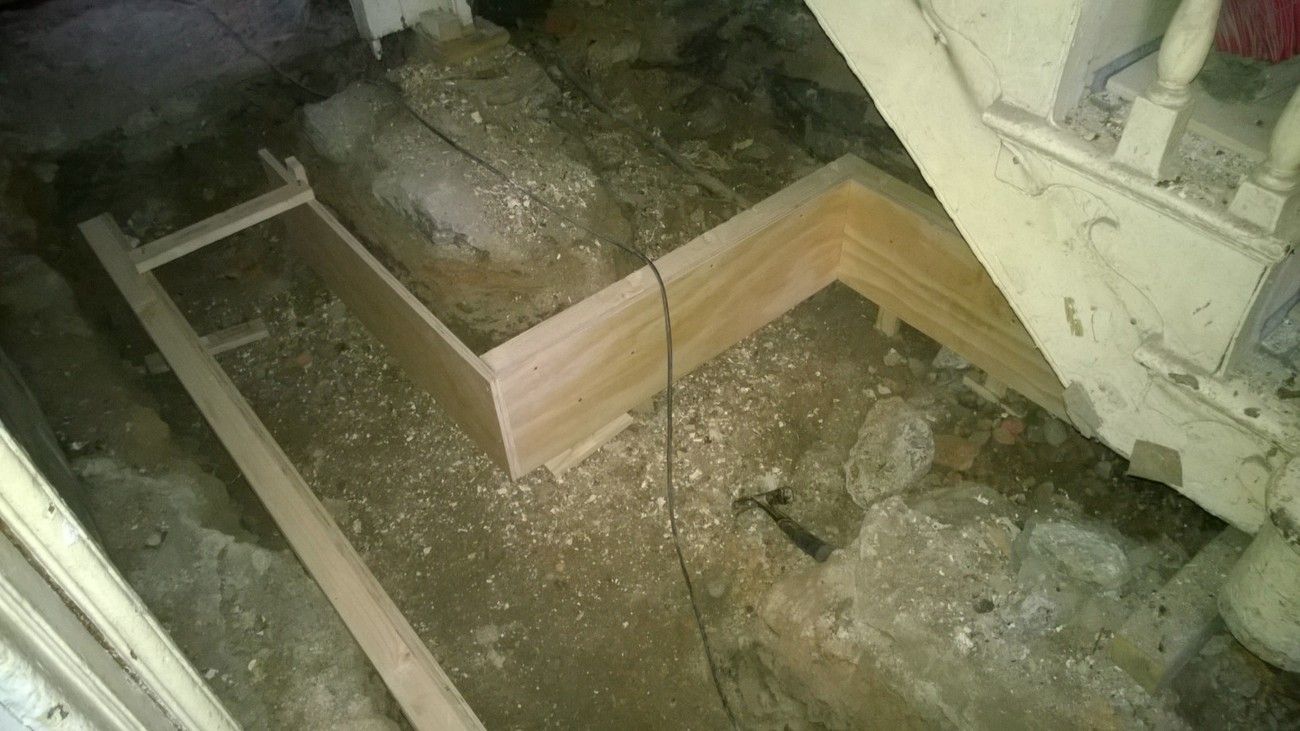
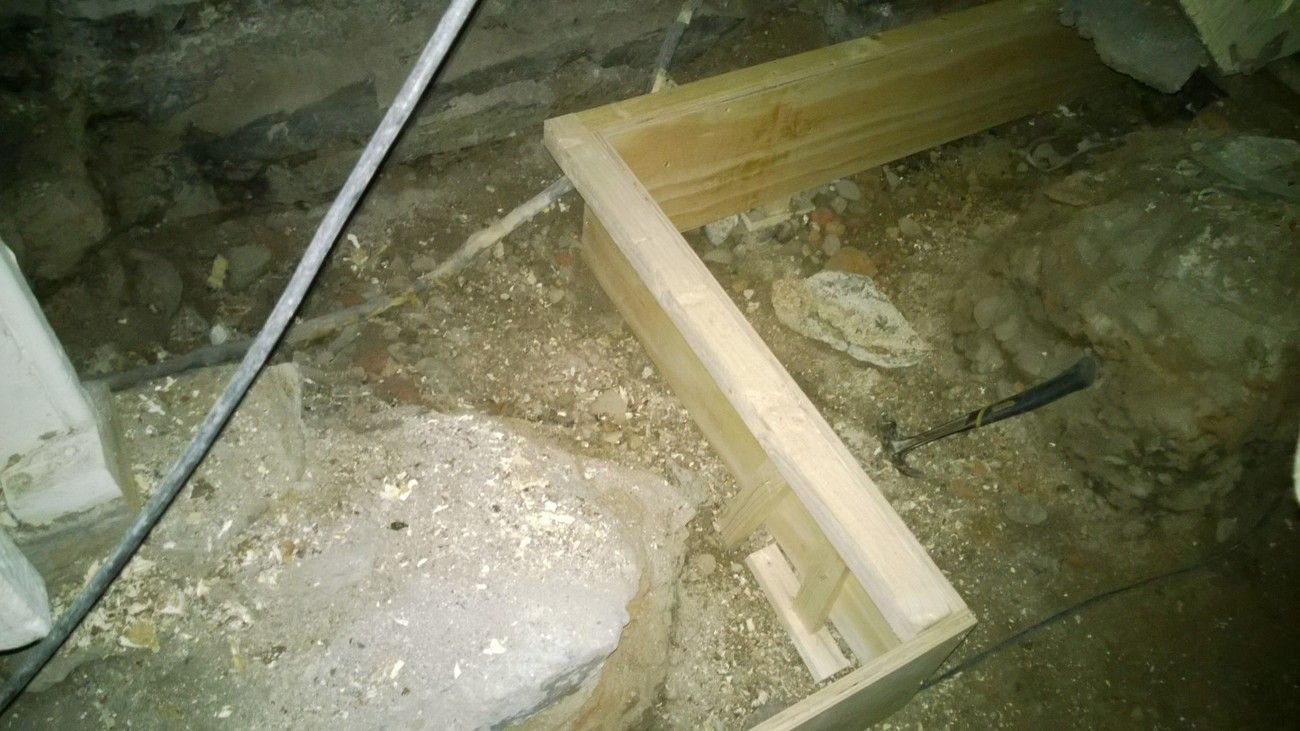
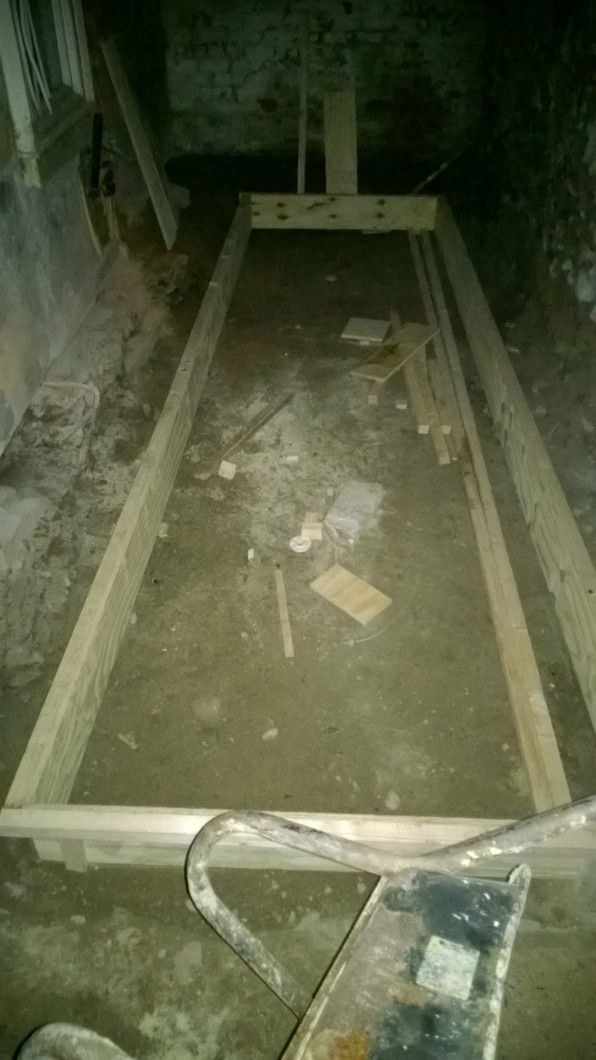
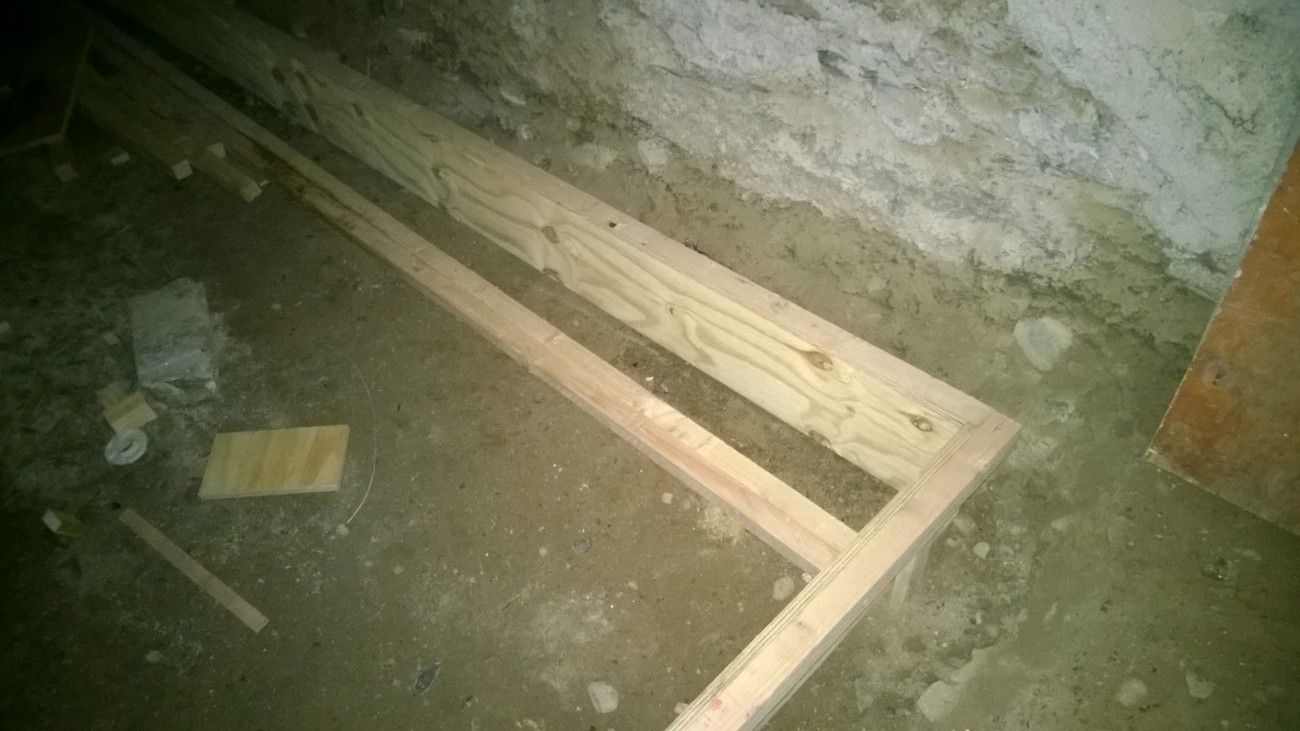
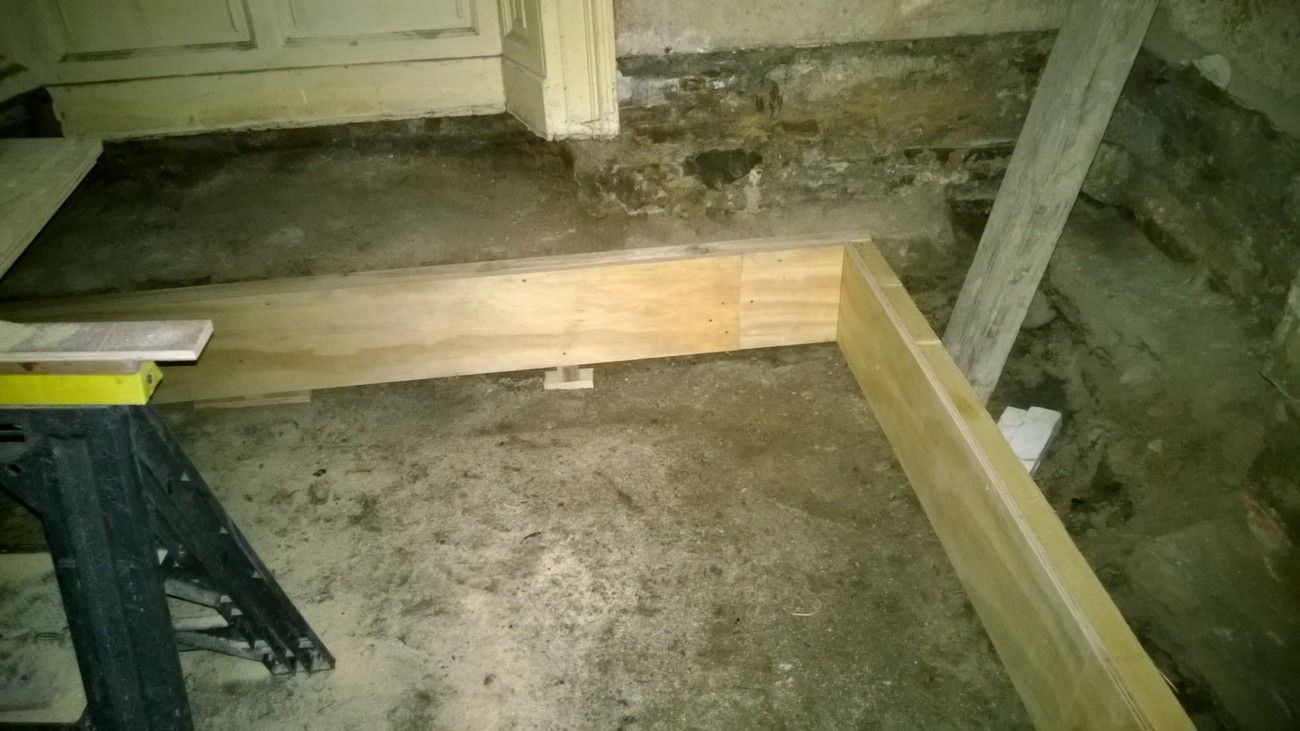
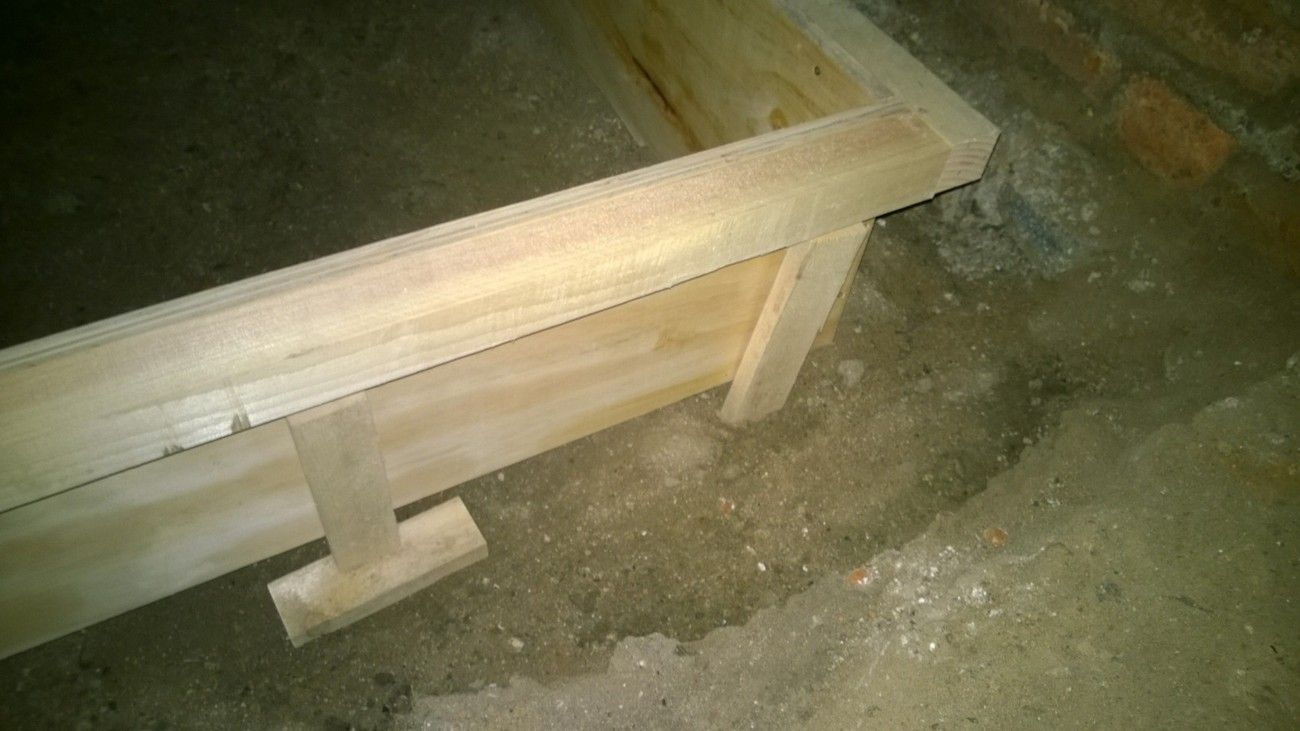
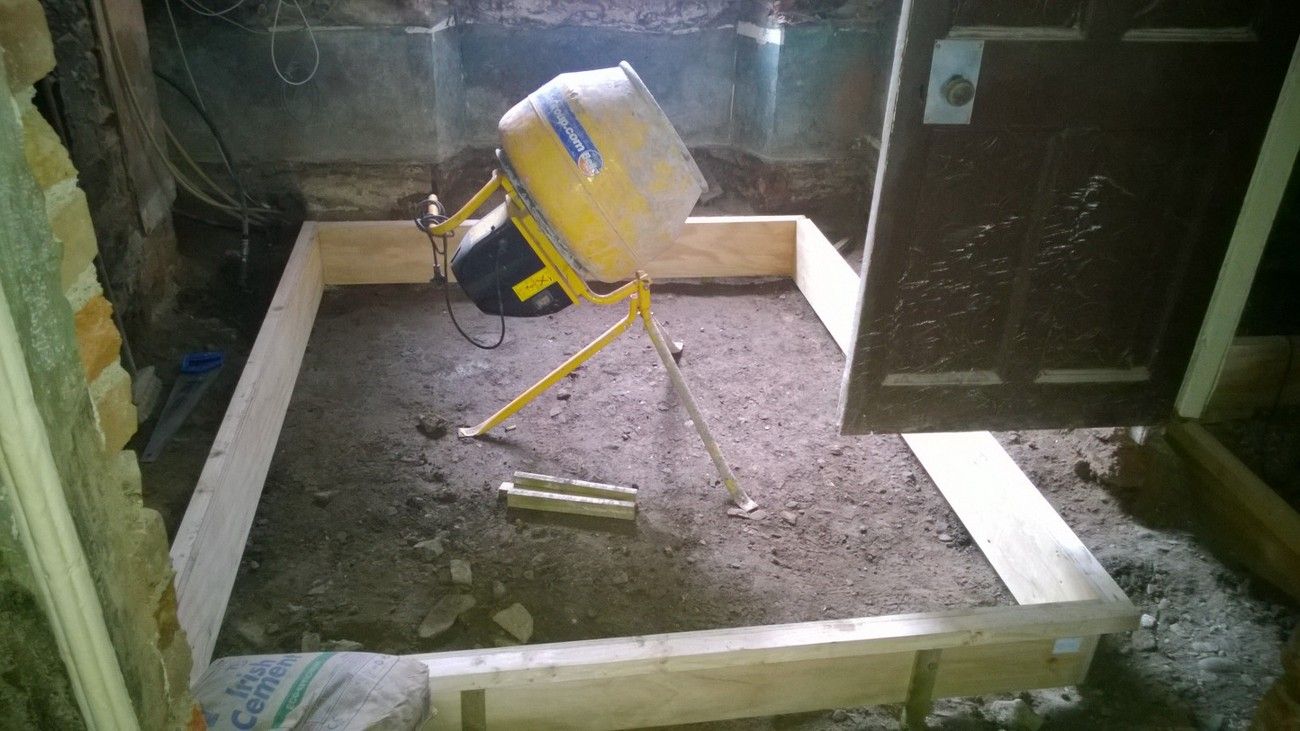
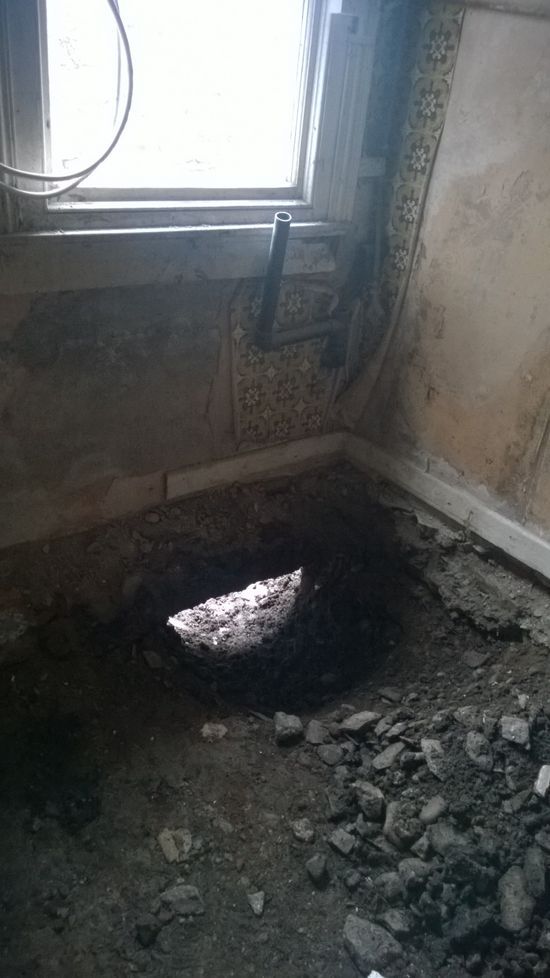
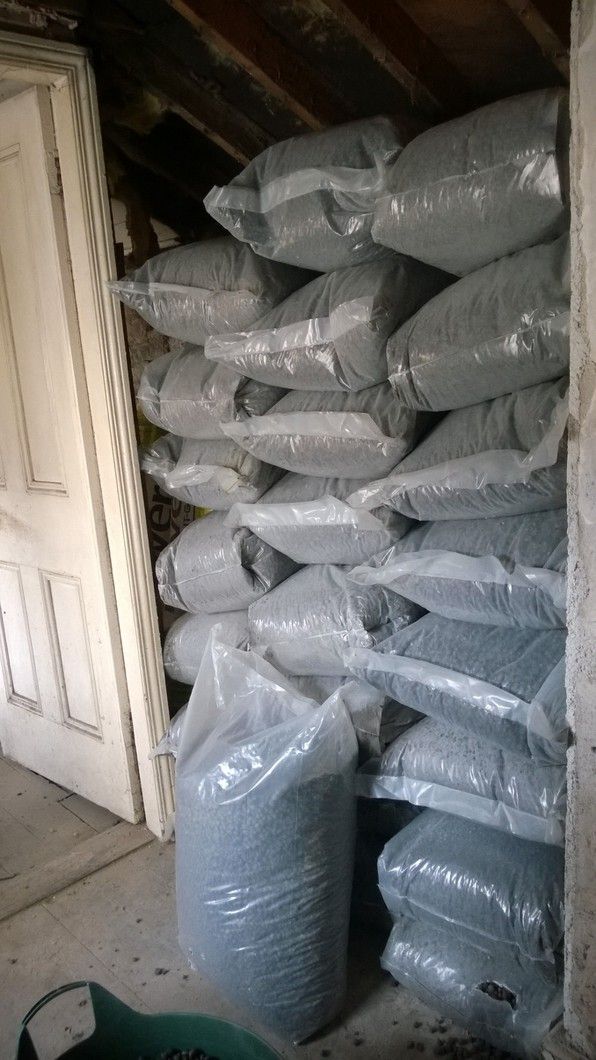
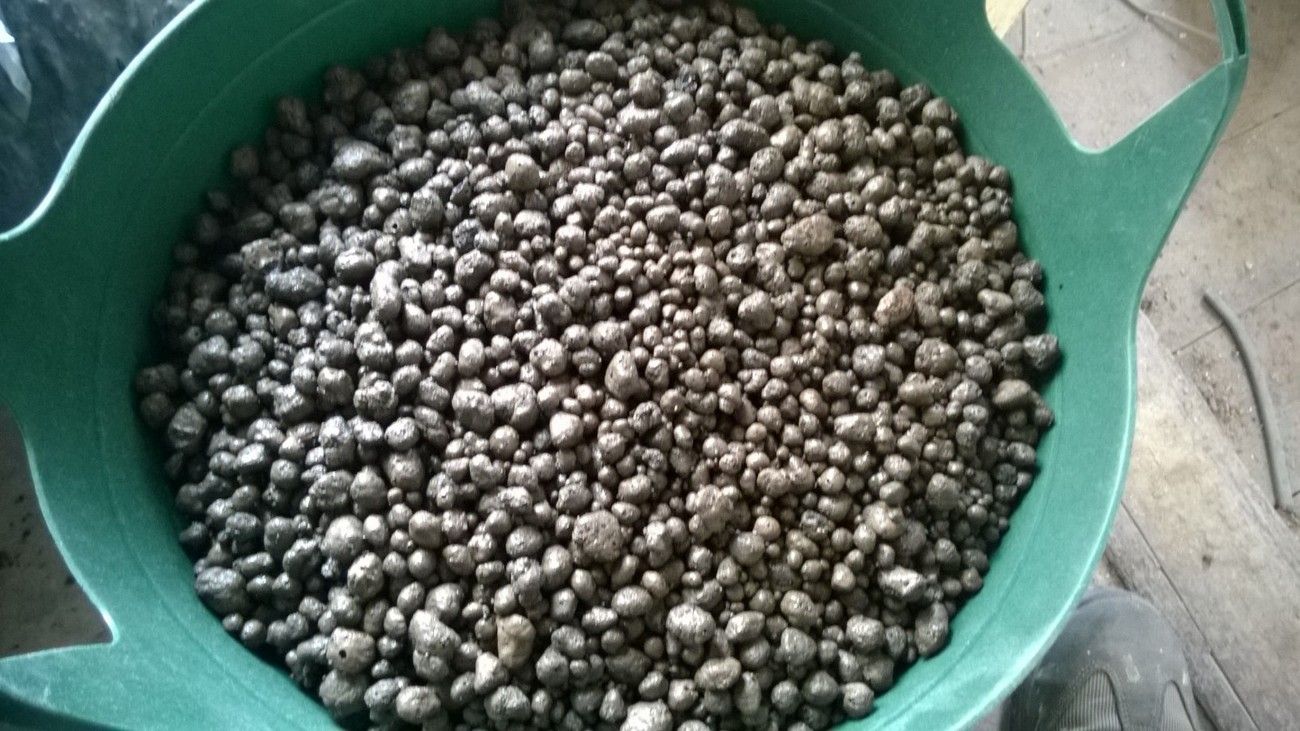
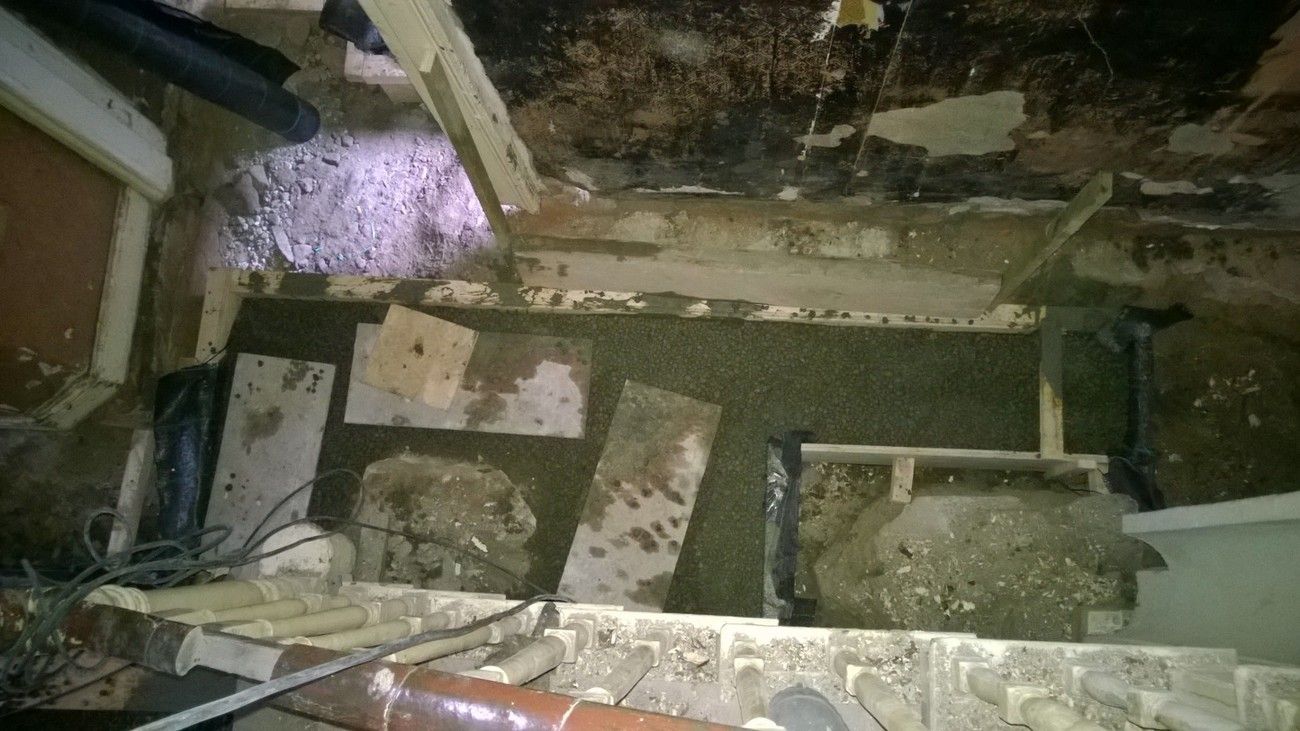
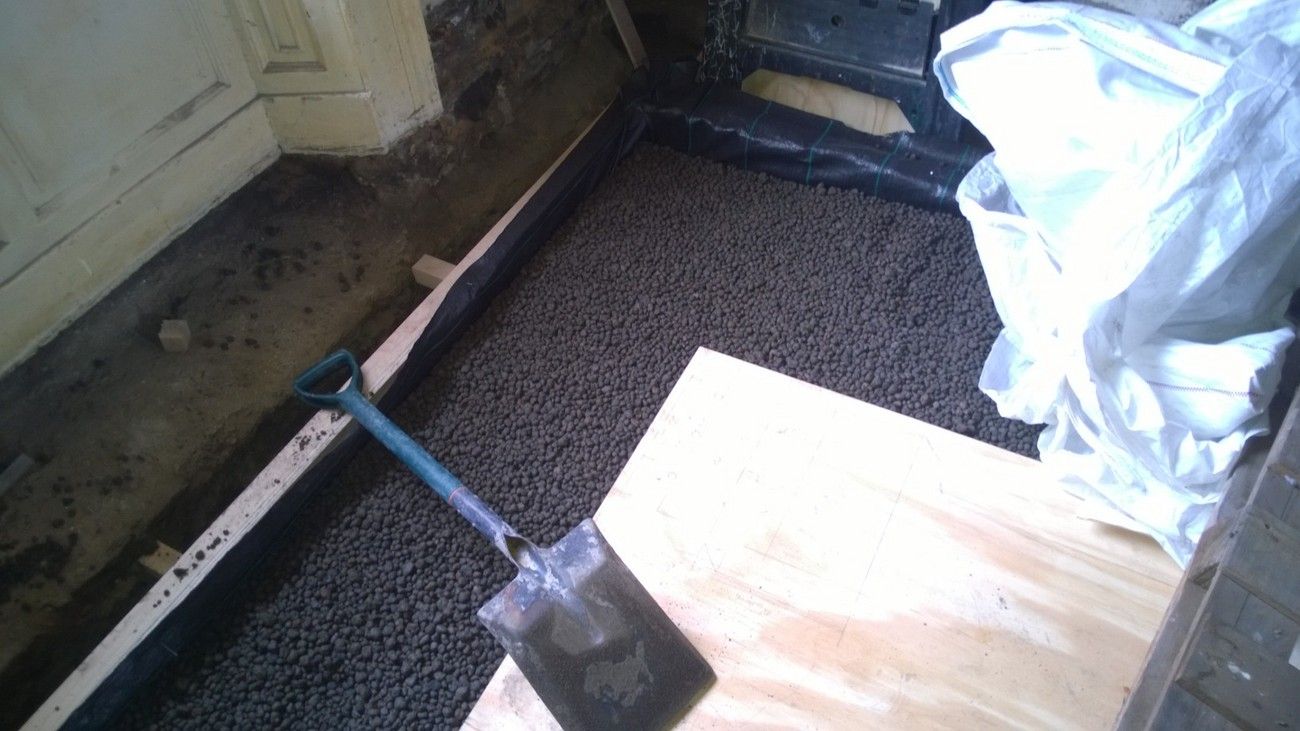
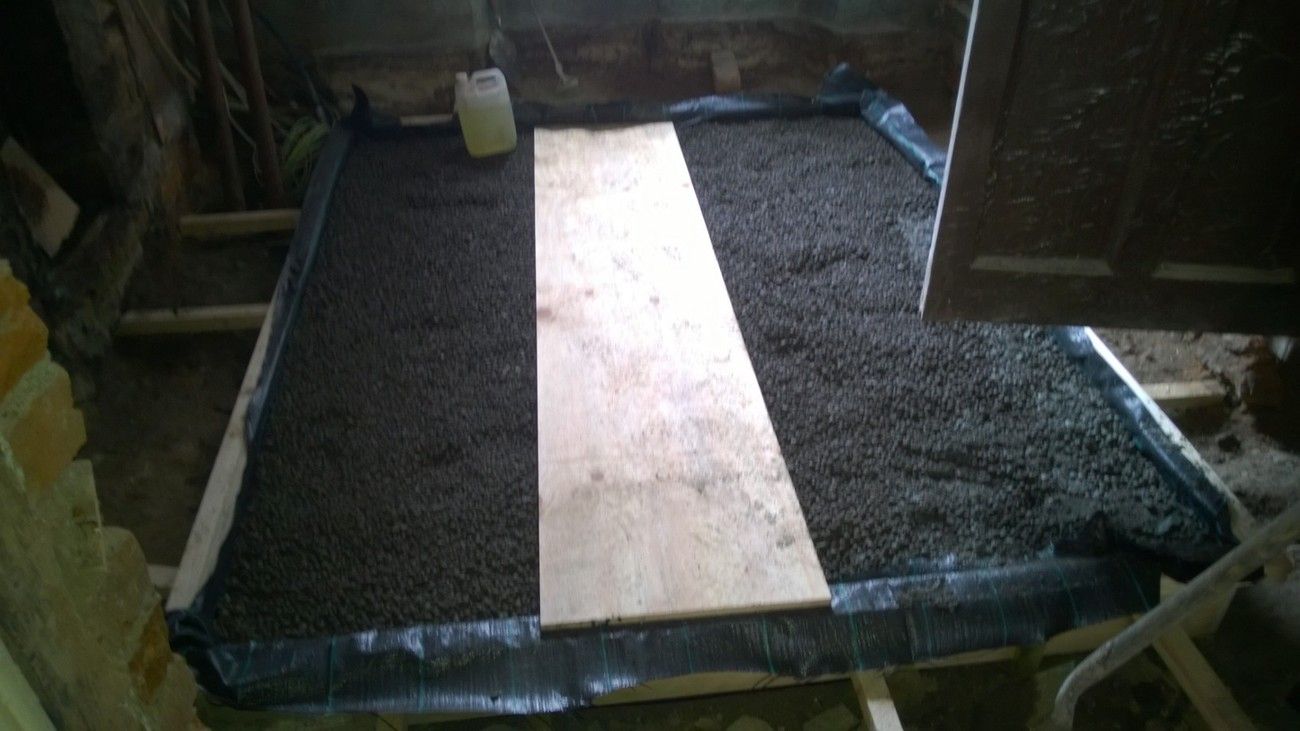
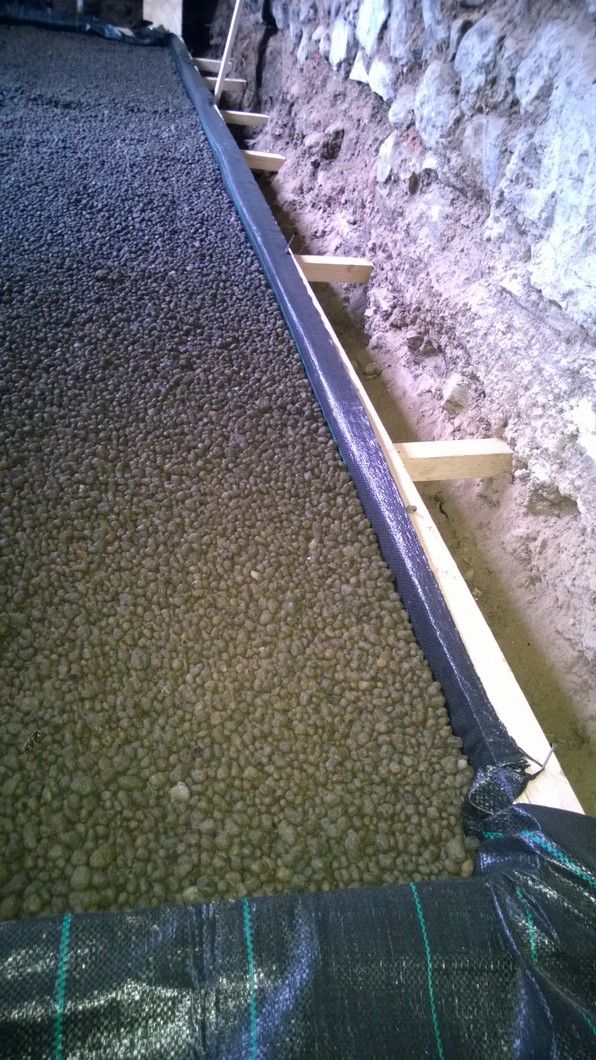
It is being laid within the shuttering first, with regular concrete poured on top for the first layer. Once the shuttered slabs are complete, with 100mm Kingspan board on top, the shuttering will be removed and the Insufill will be laid around the concrete slabs, with limecrete then added on top. The underfloor heating pipes will be arranged into place and then a common screed of limecrete will be applied to the entire floor.

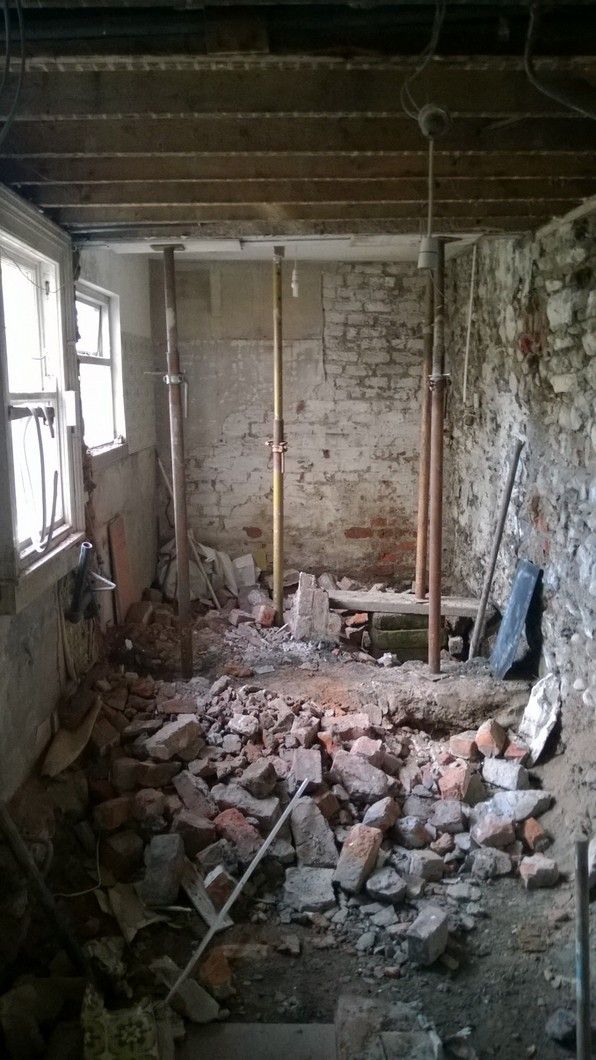
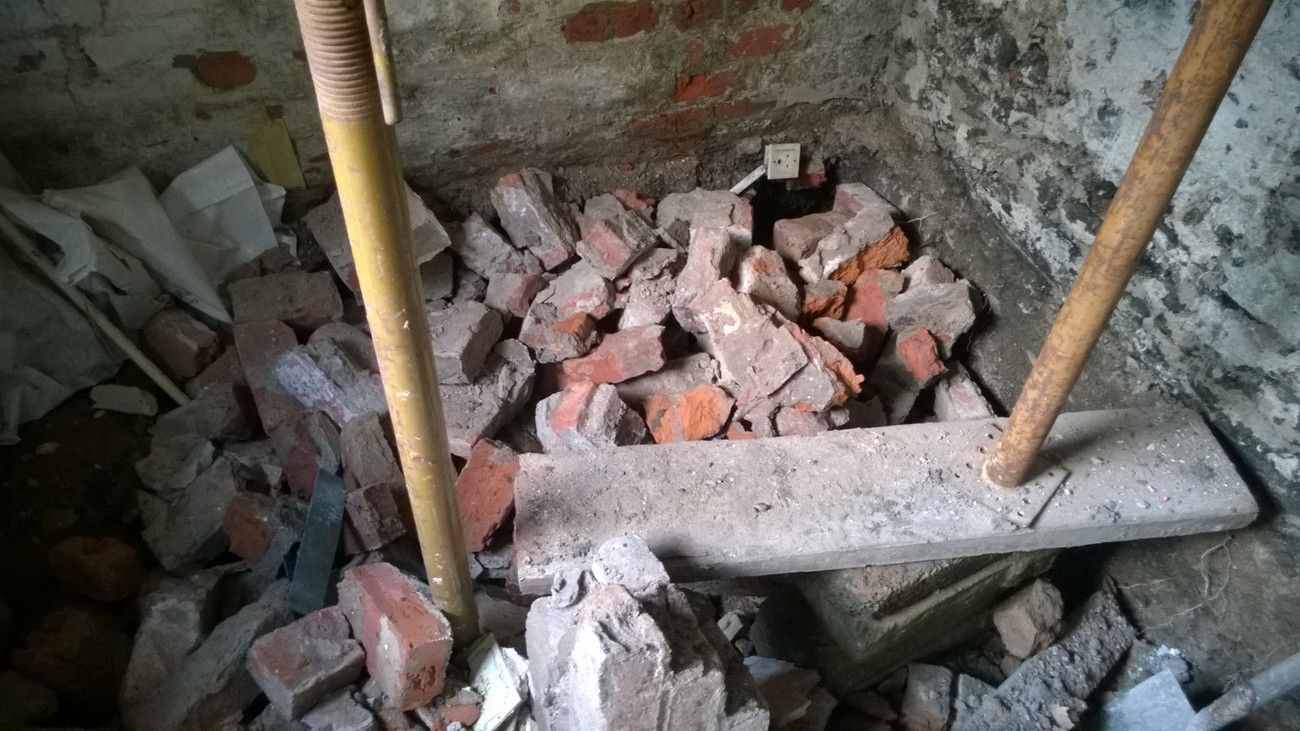
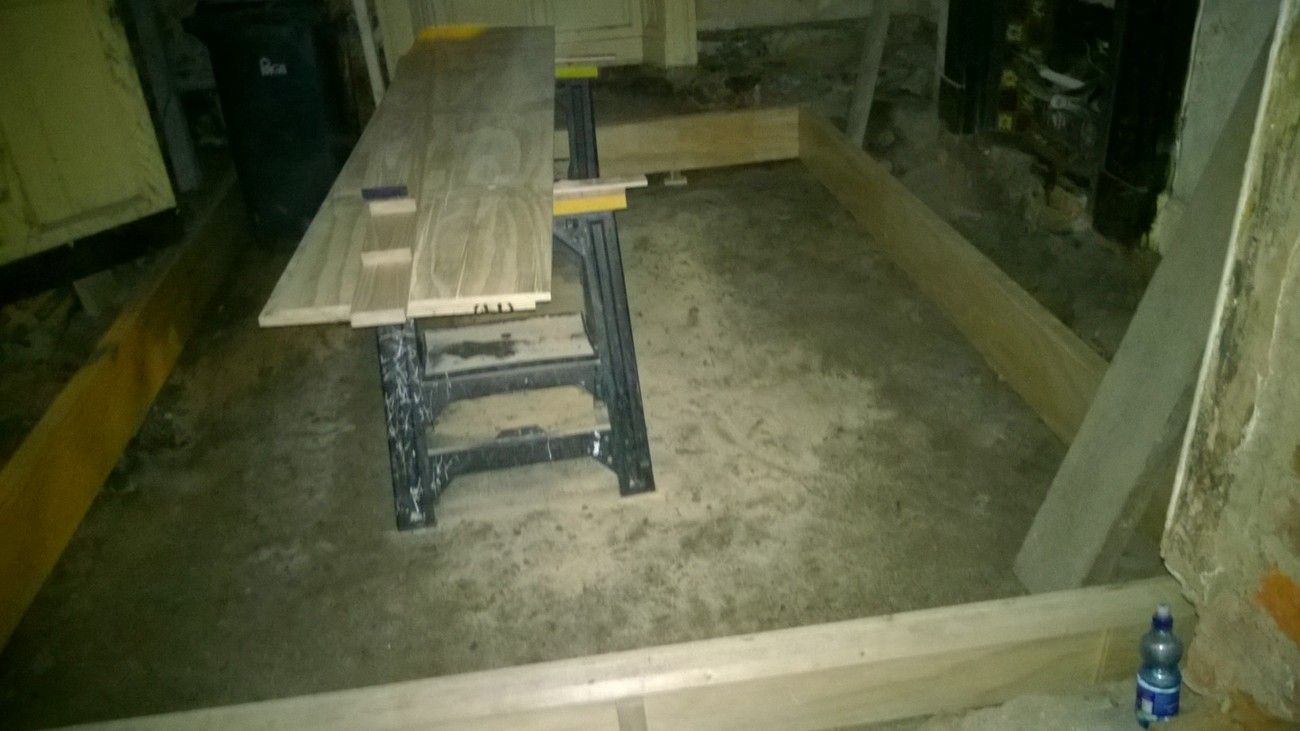
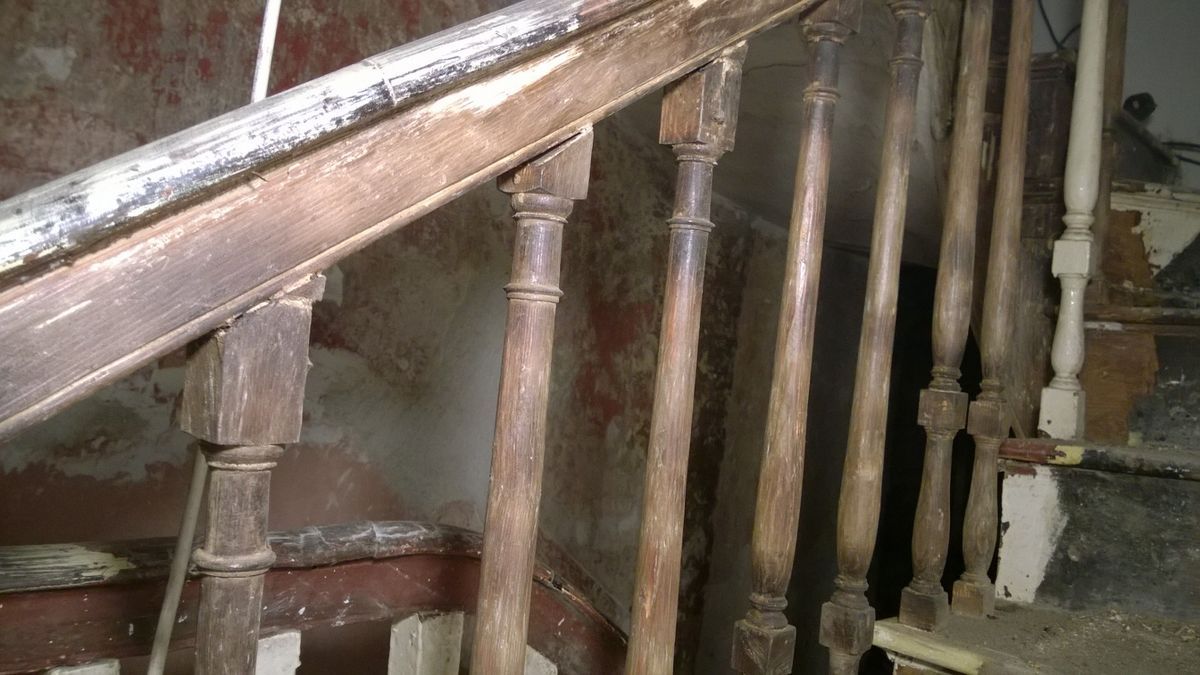
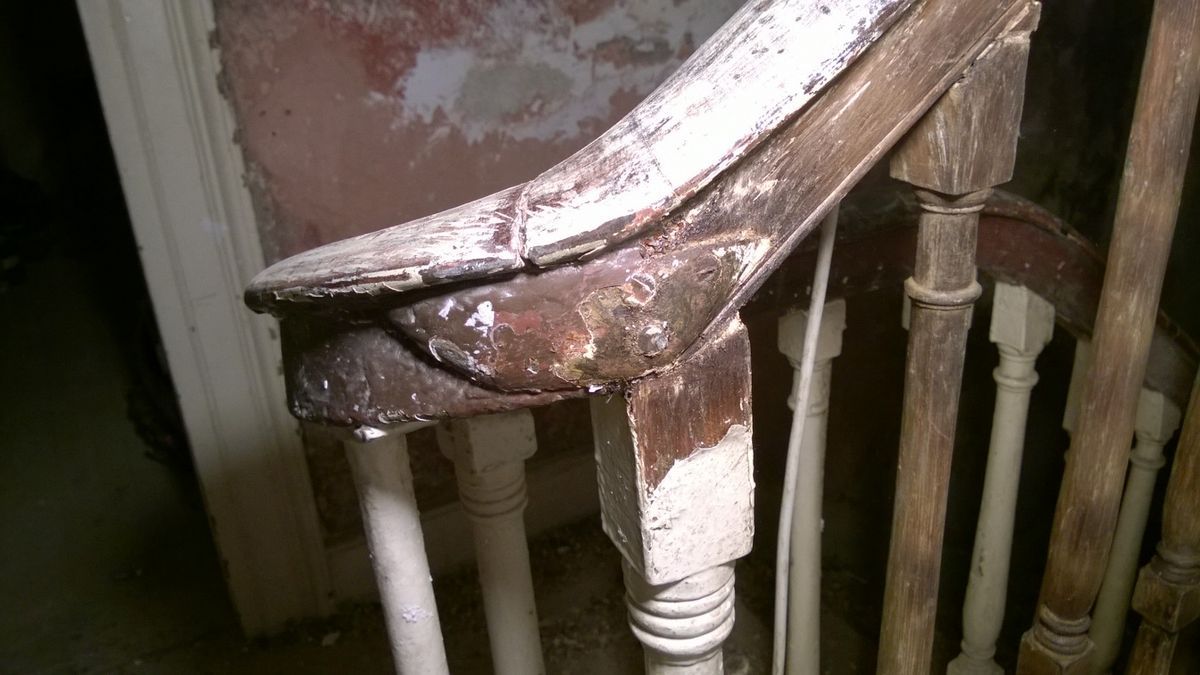
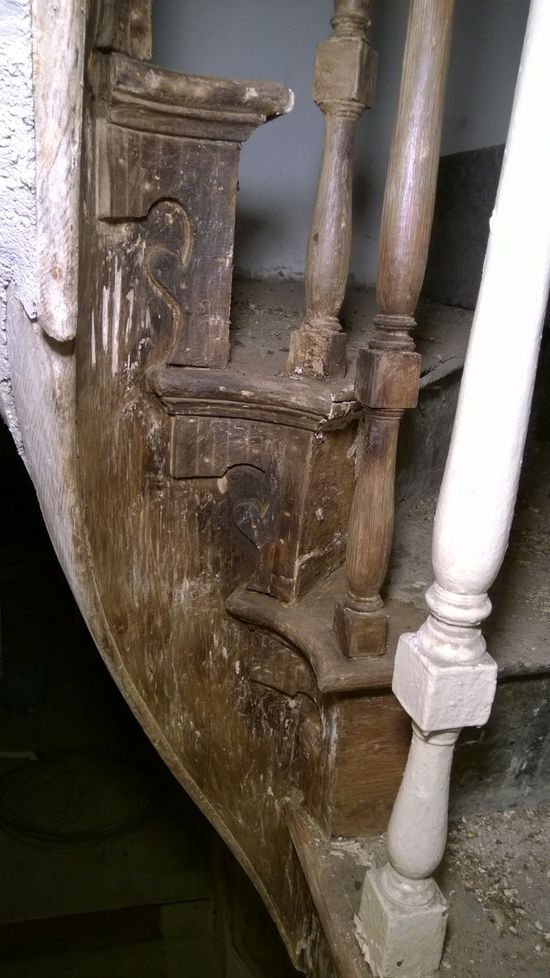
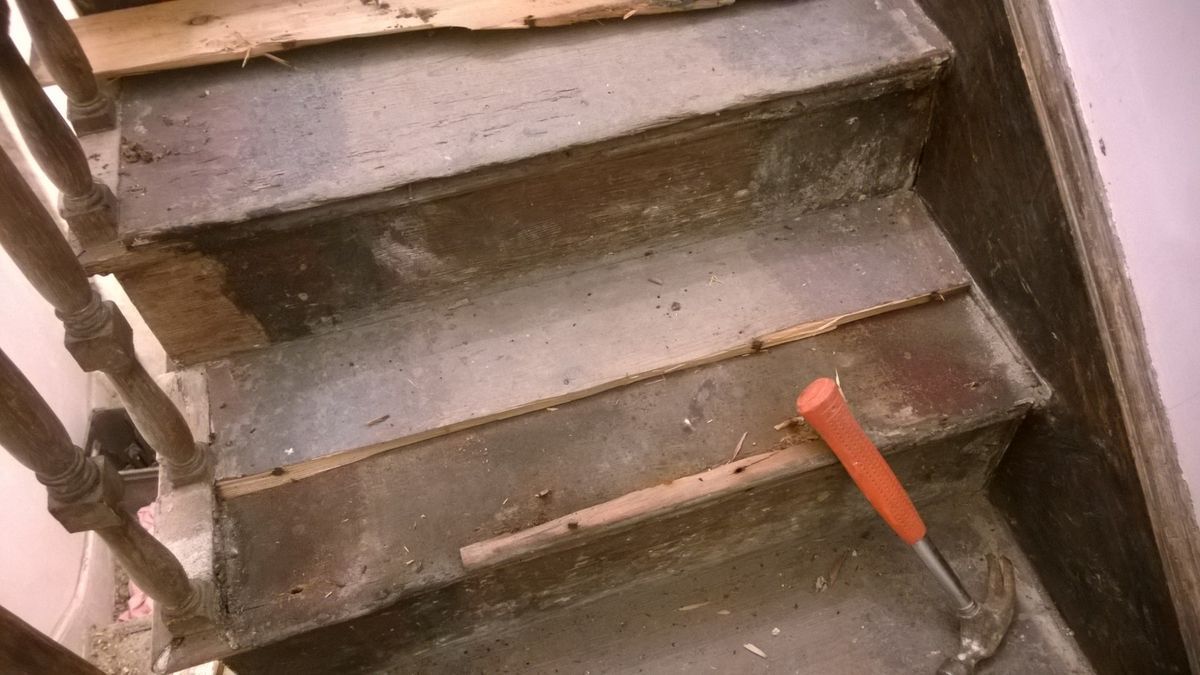
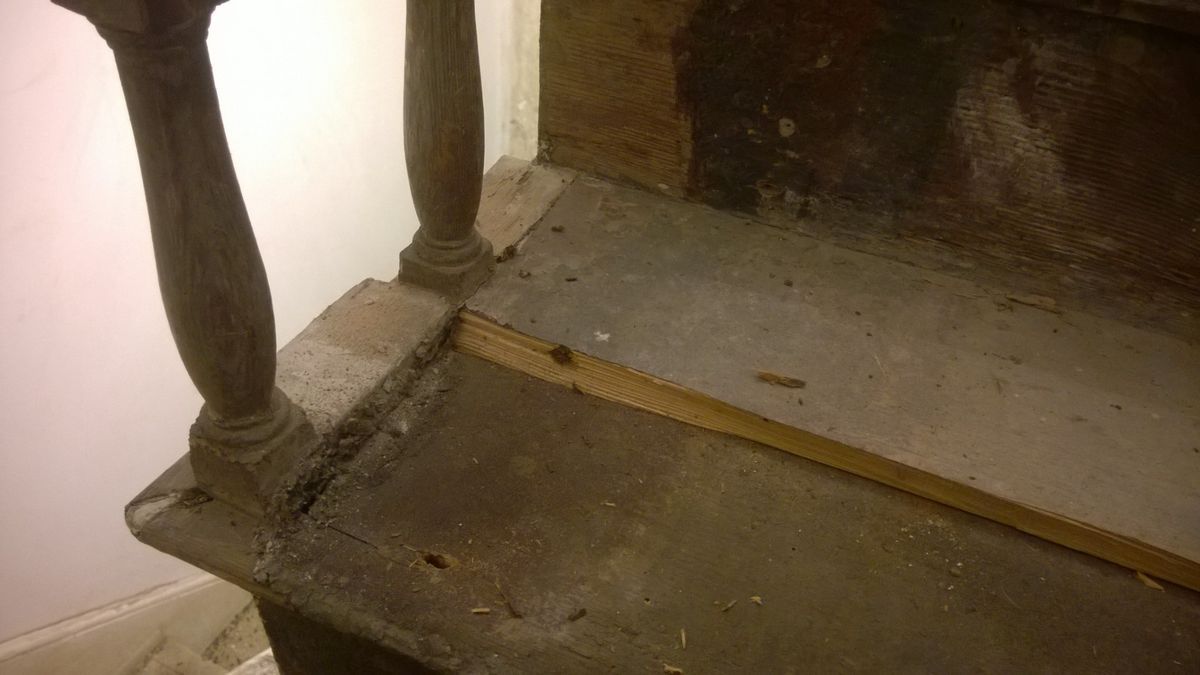
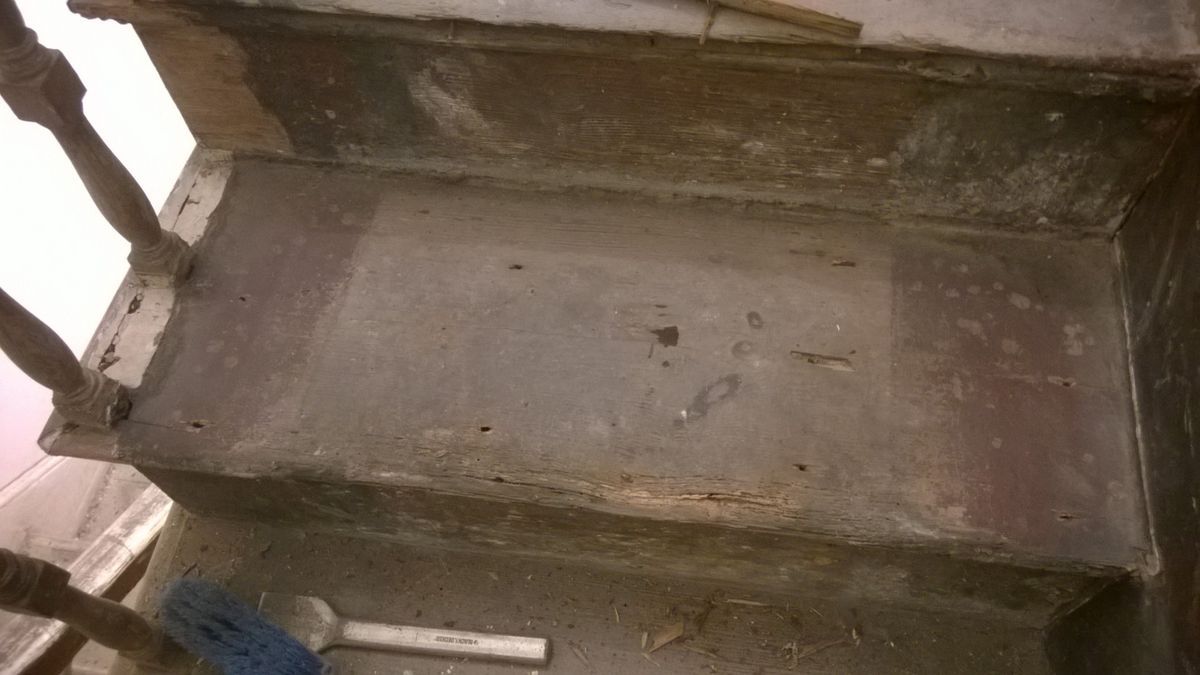
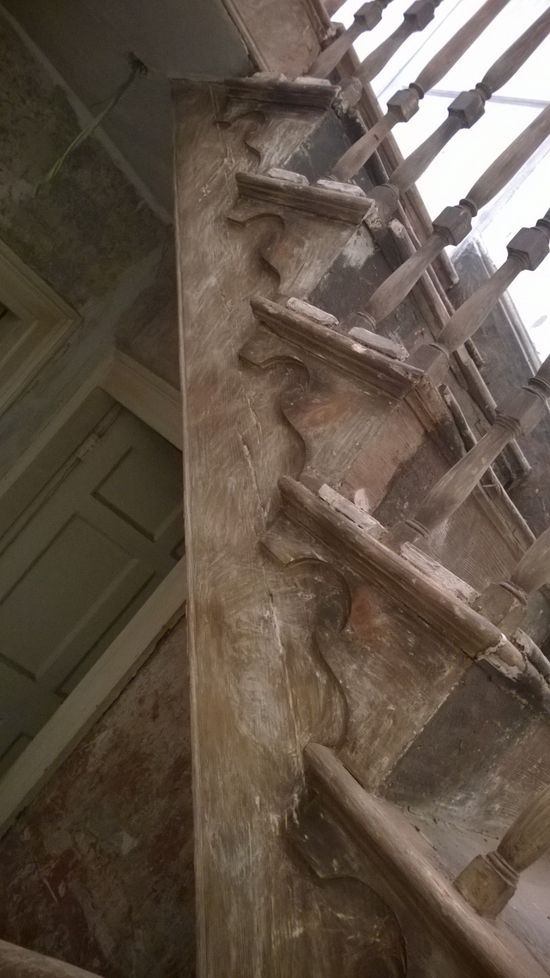
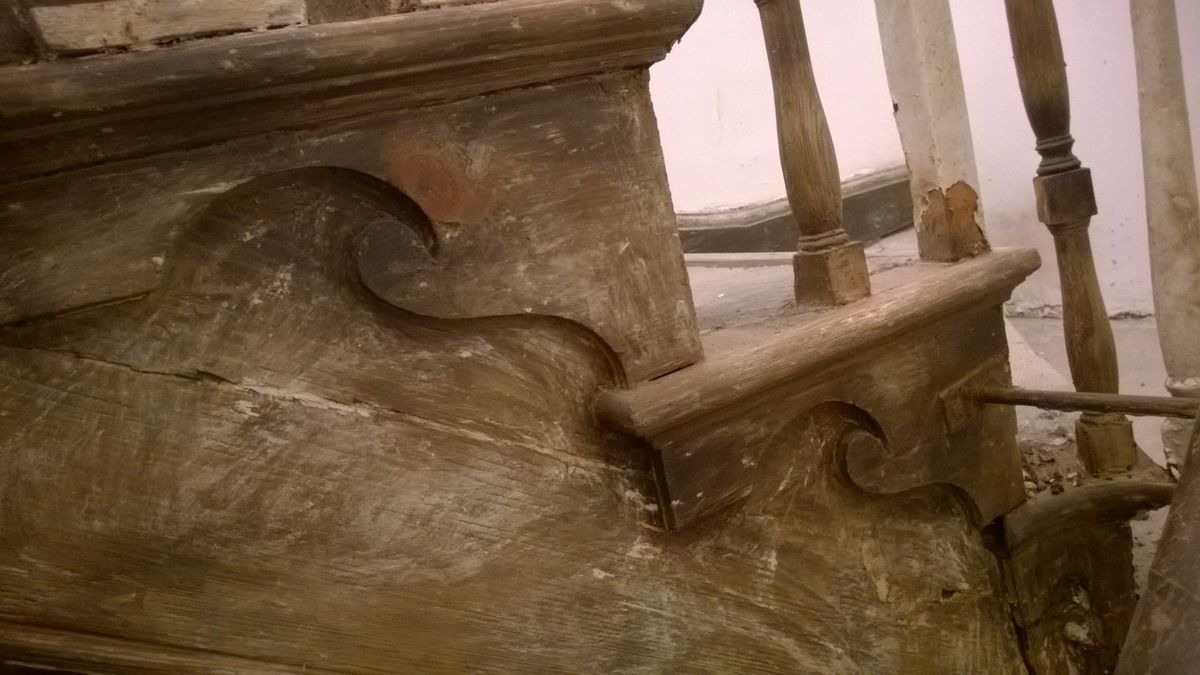
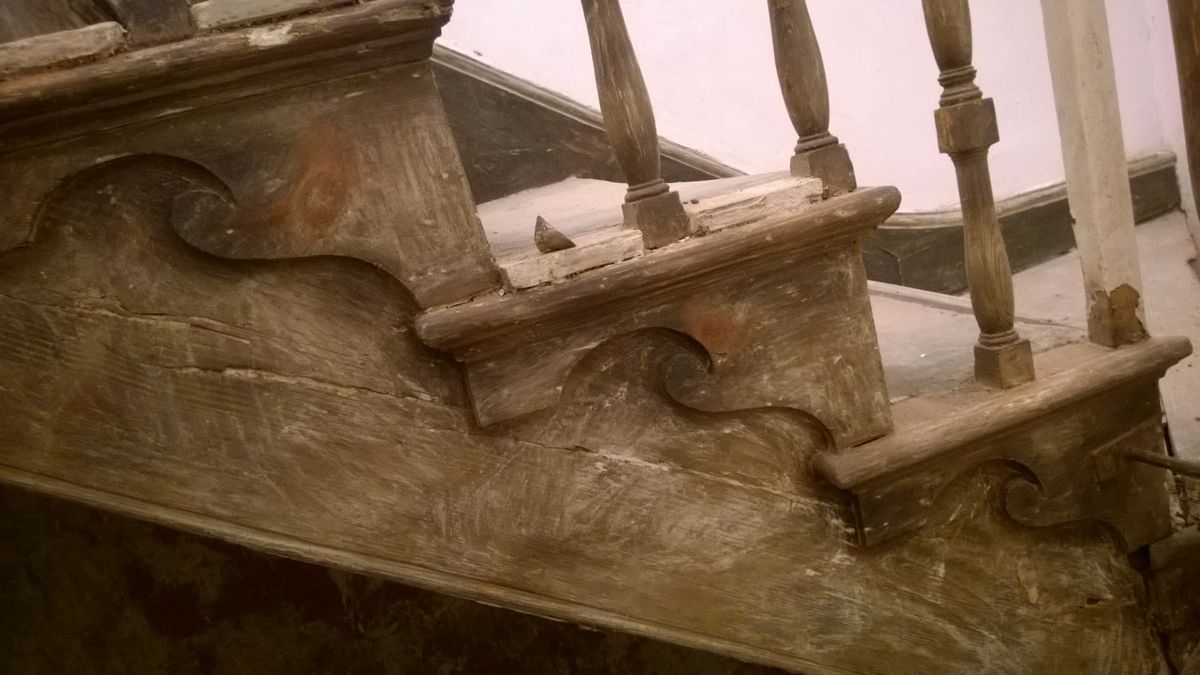
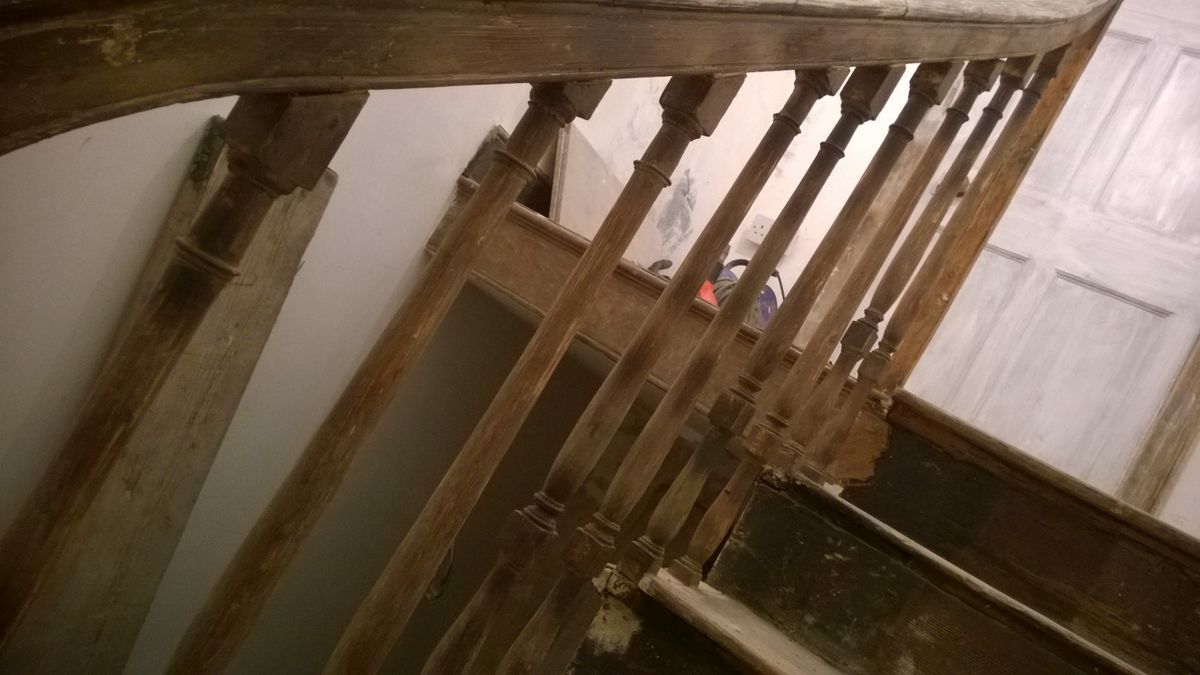
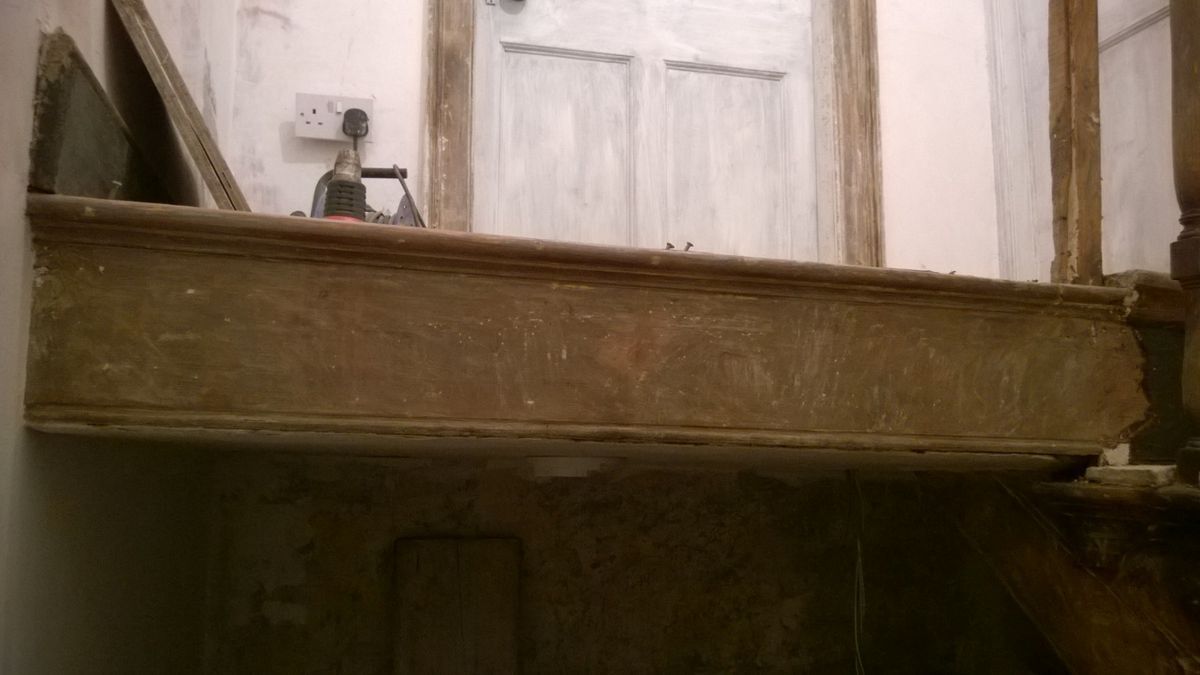
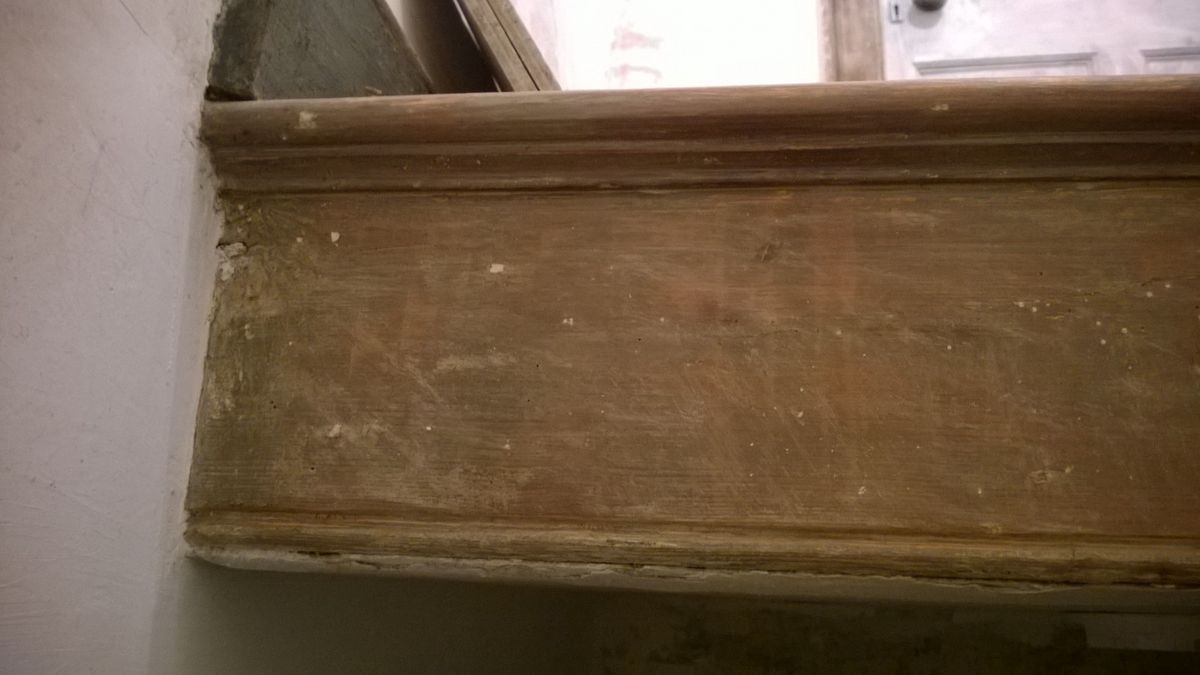
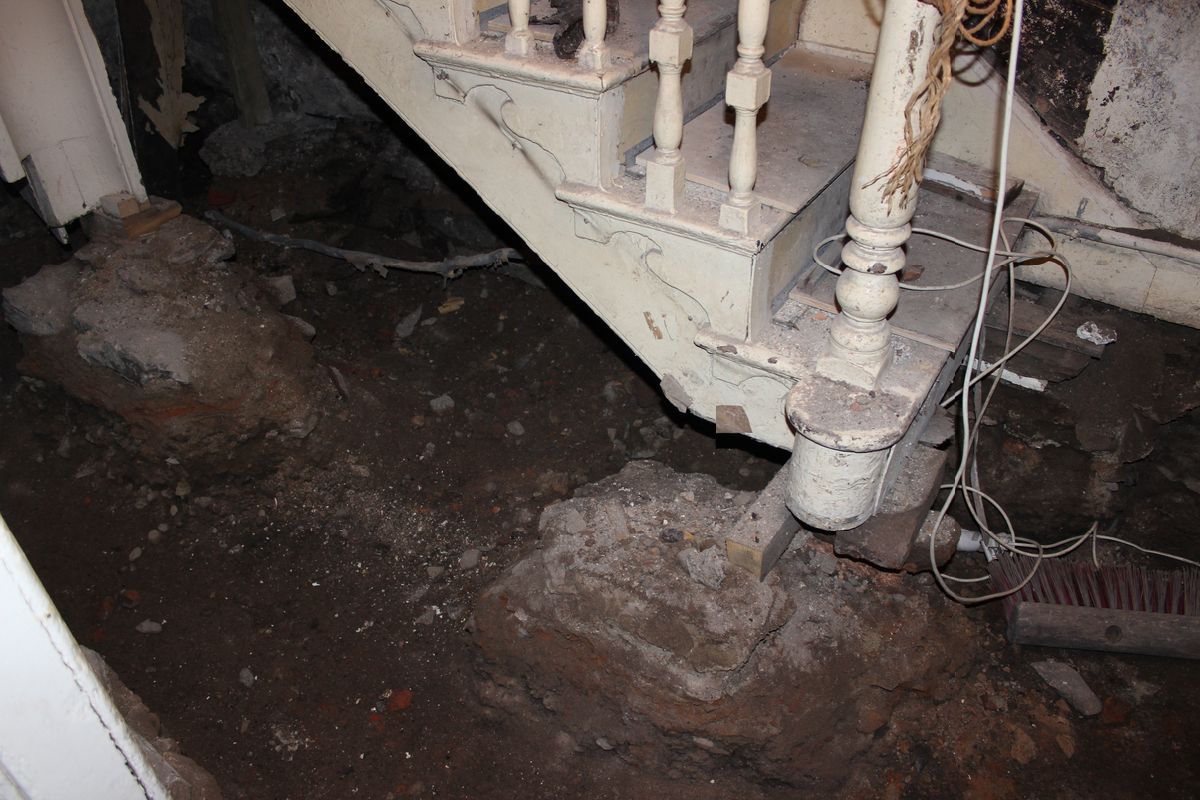
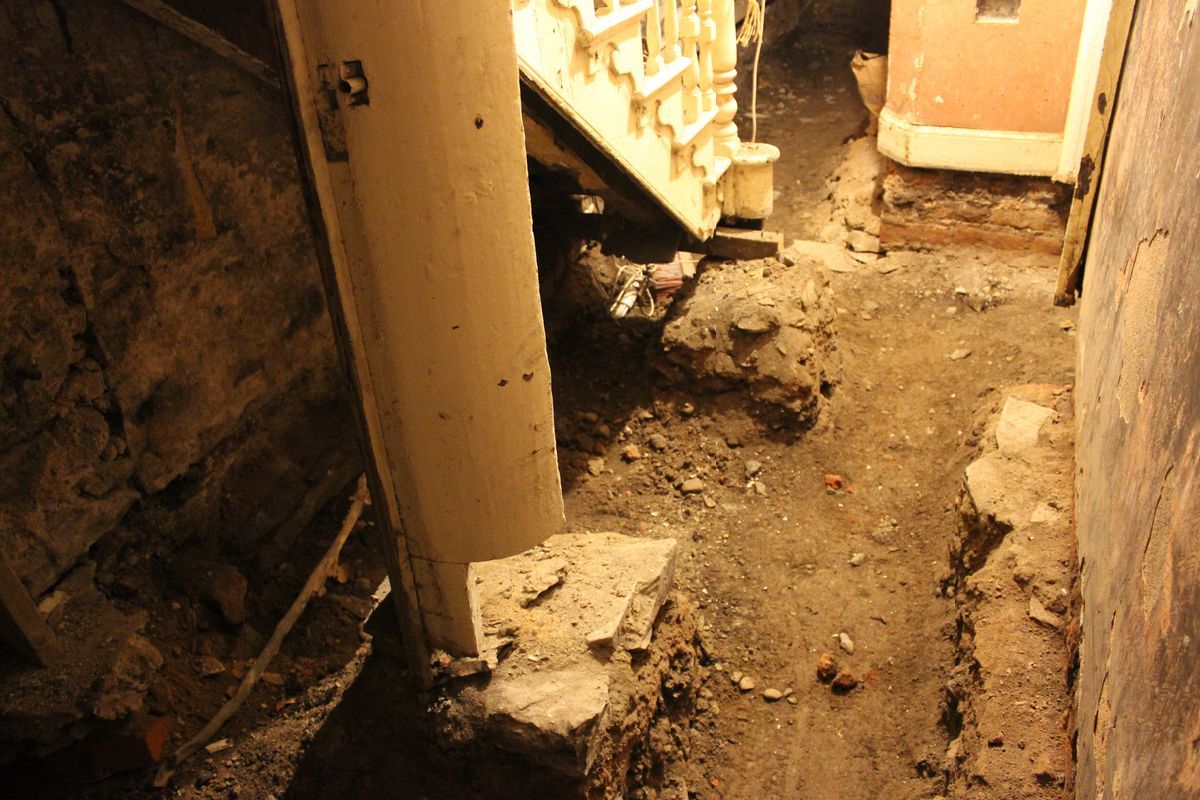
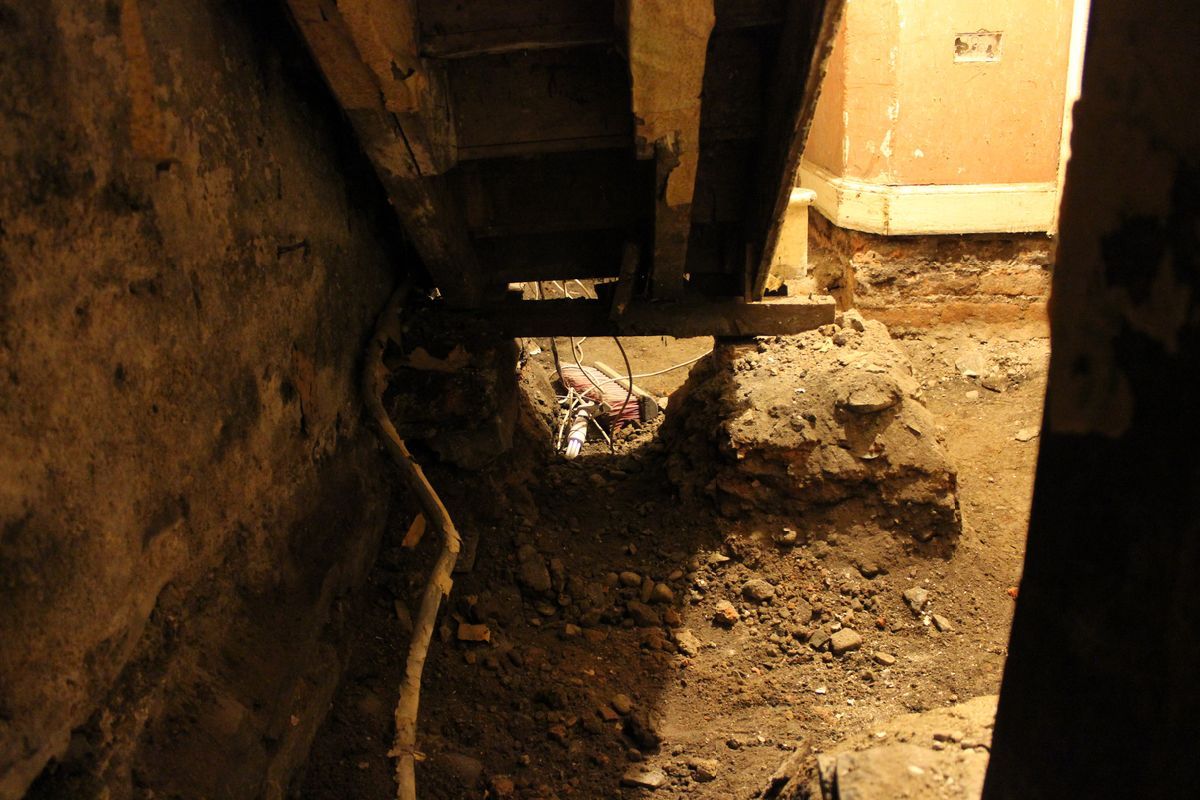
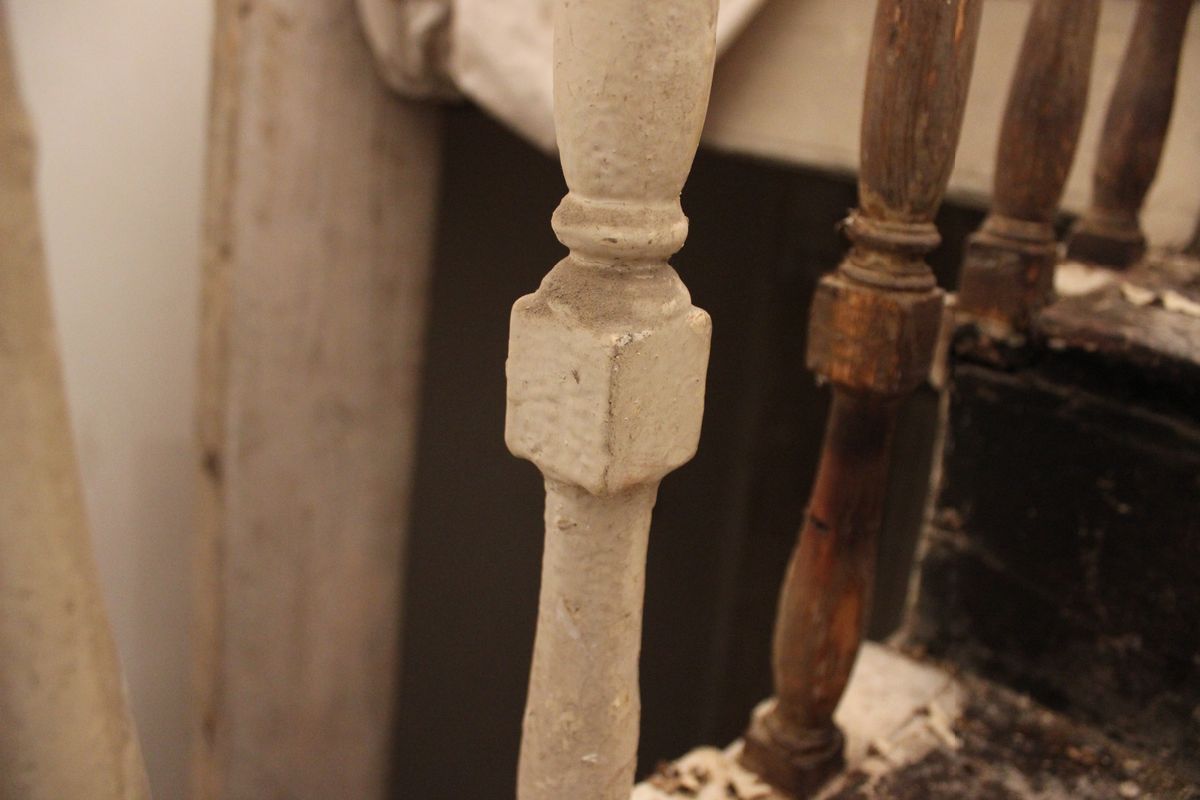
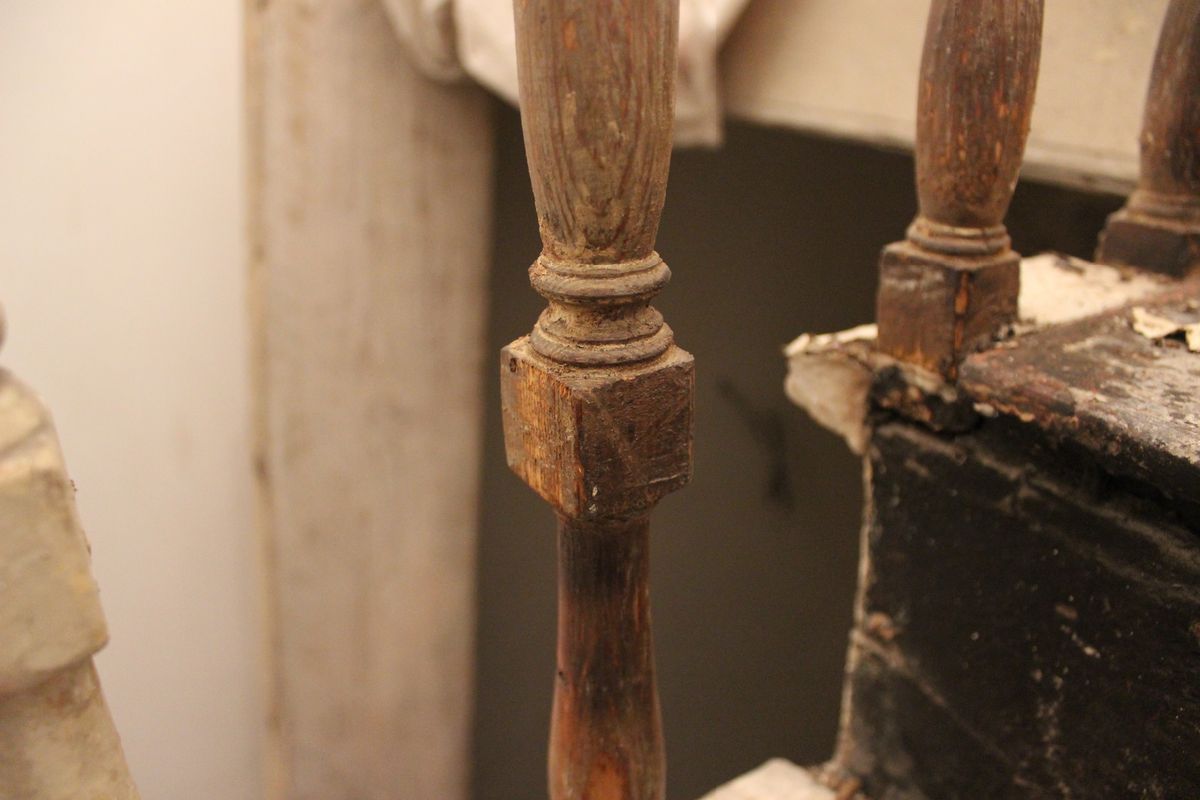
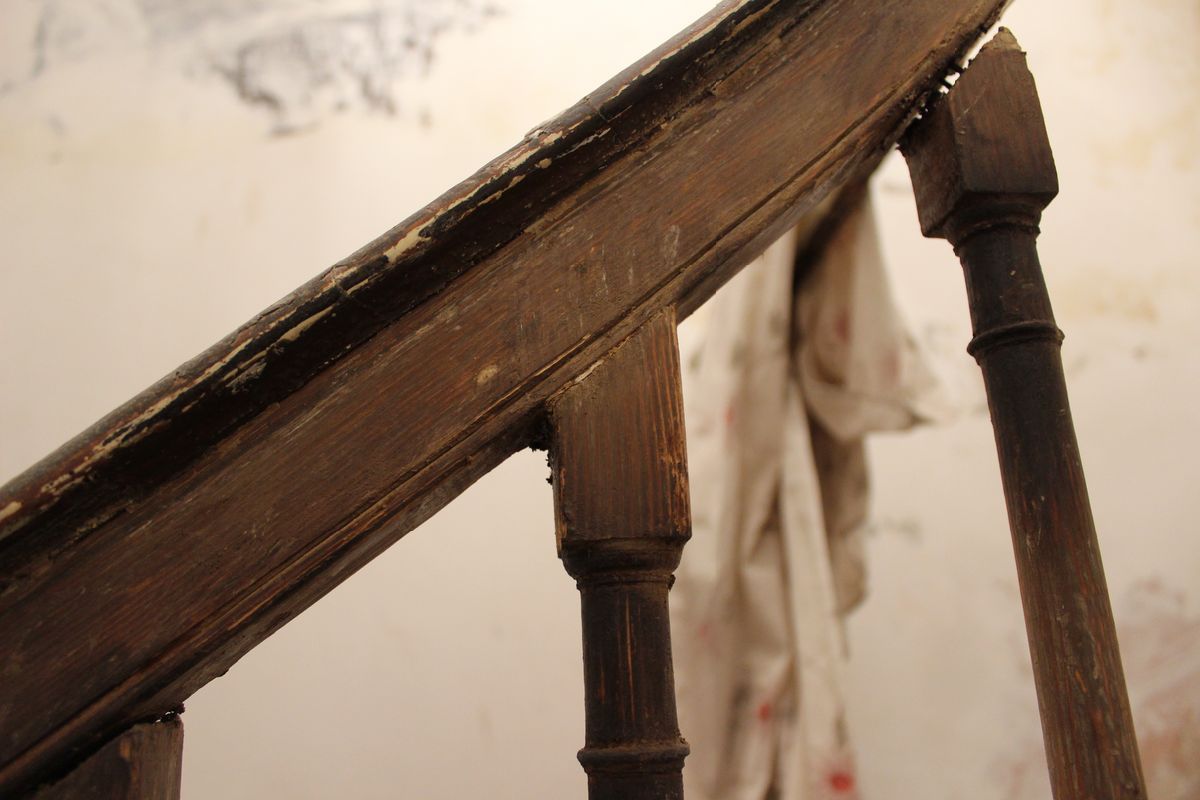
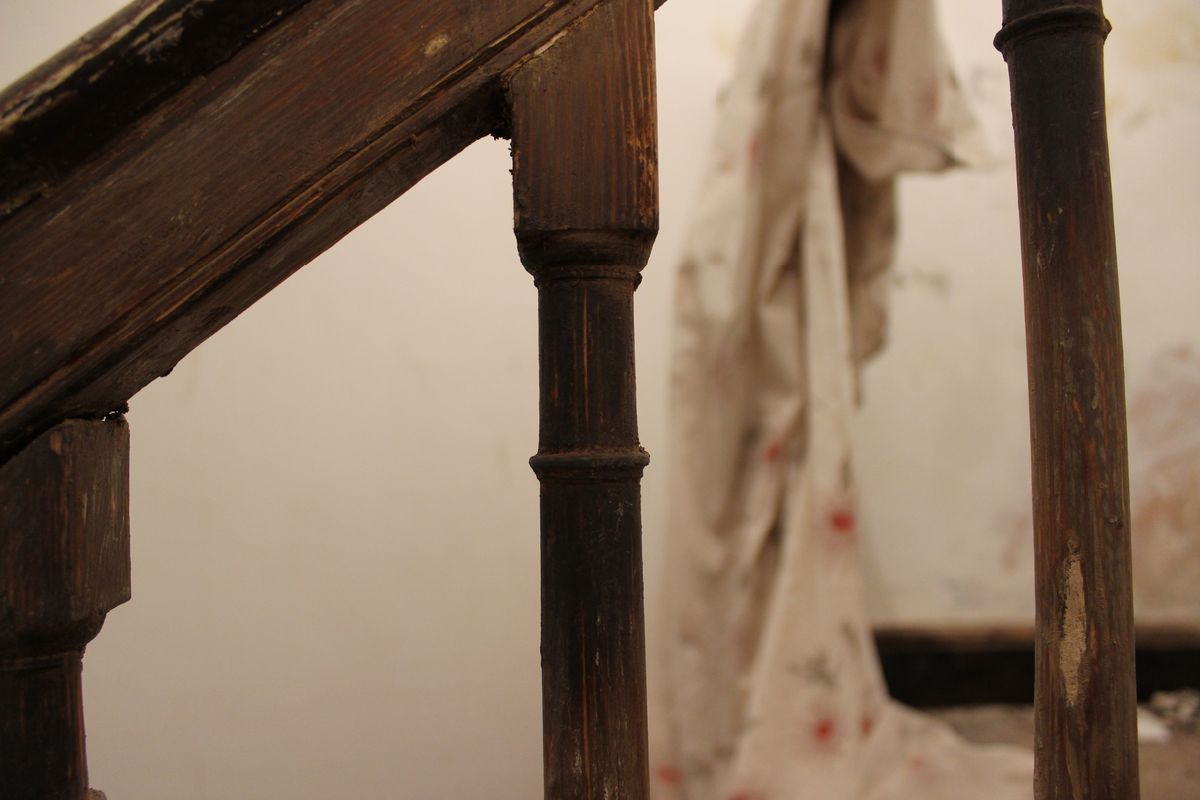
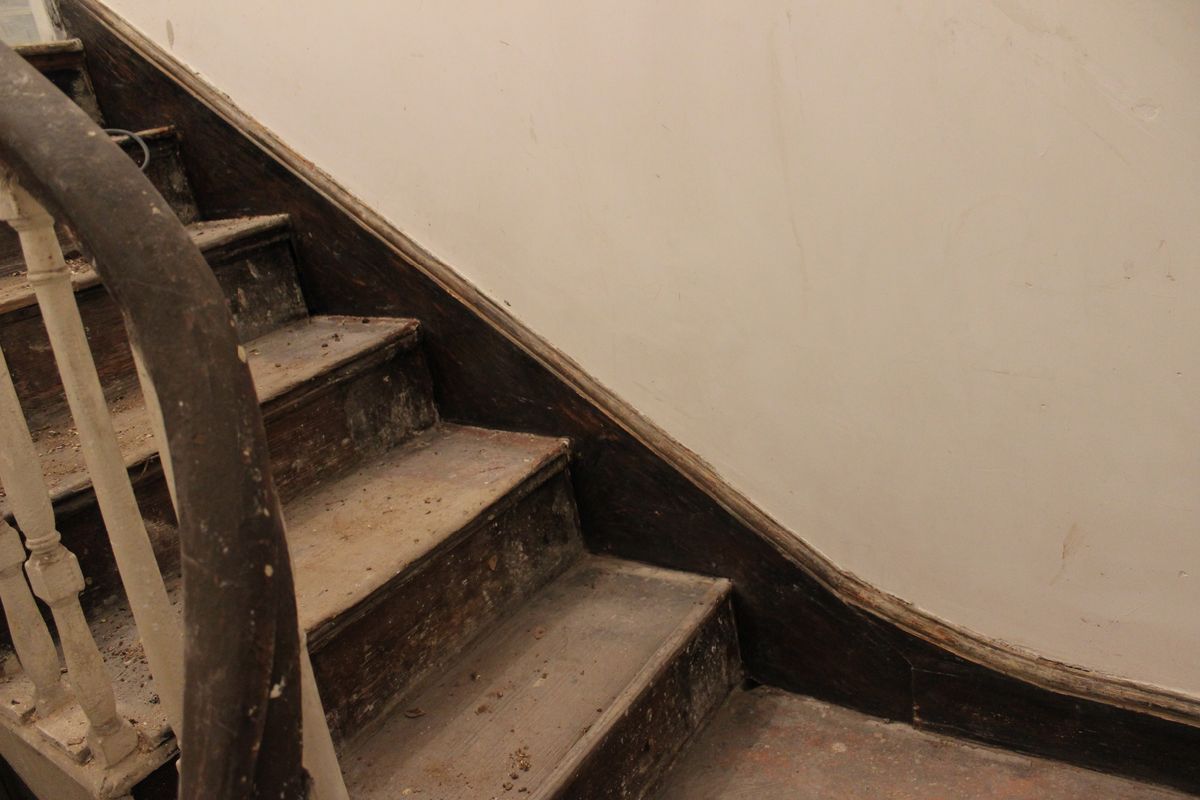
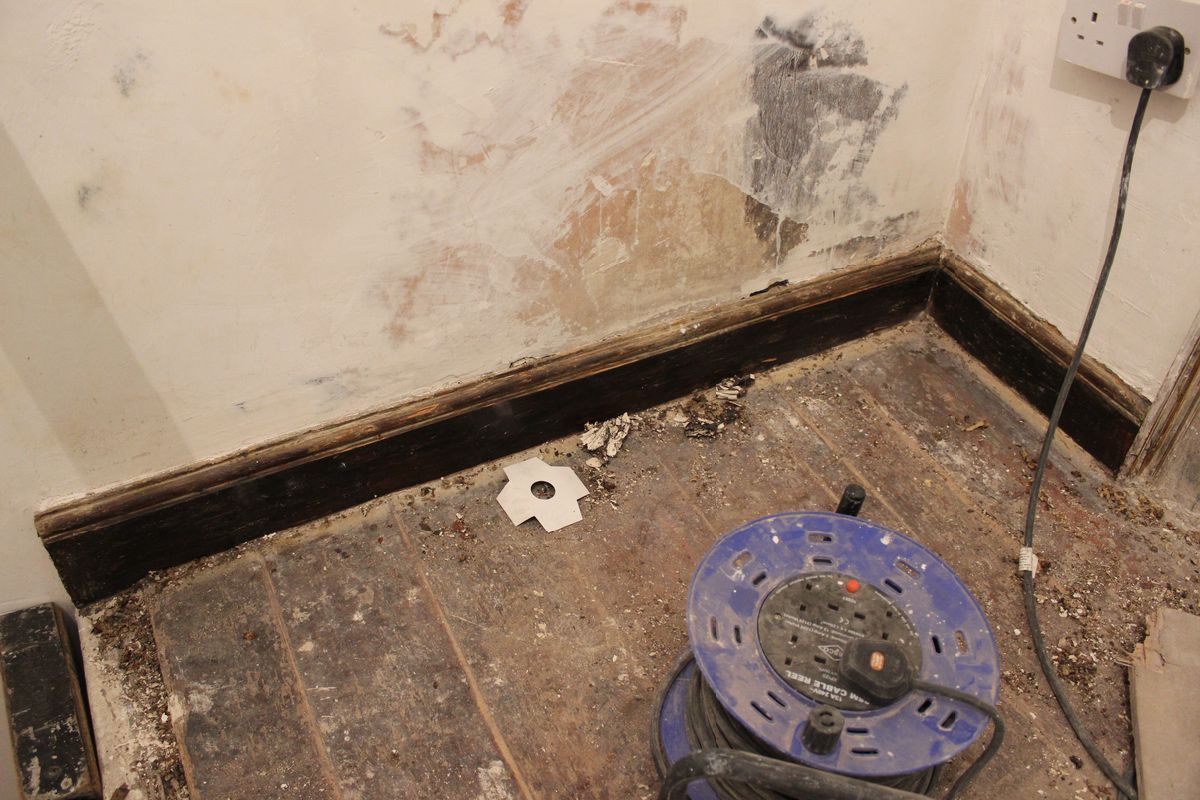
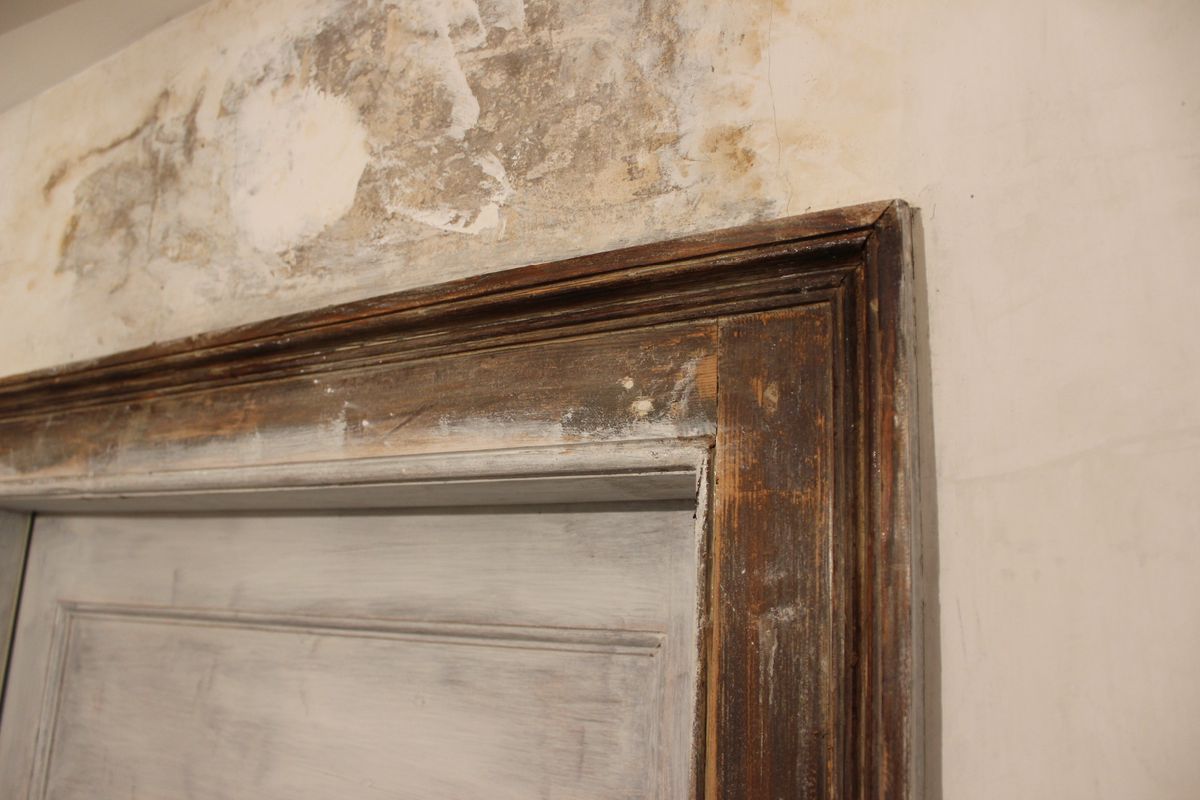
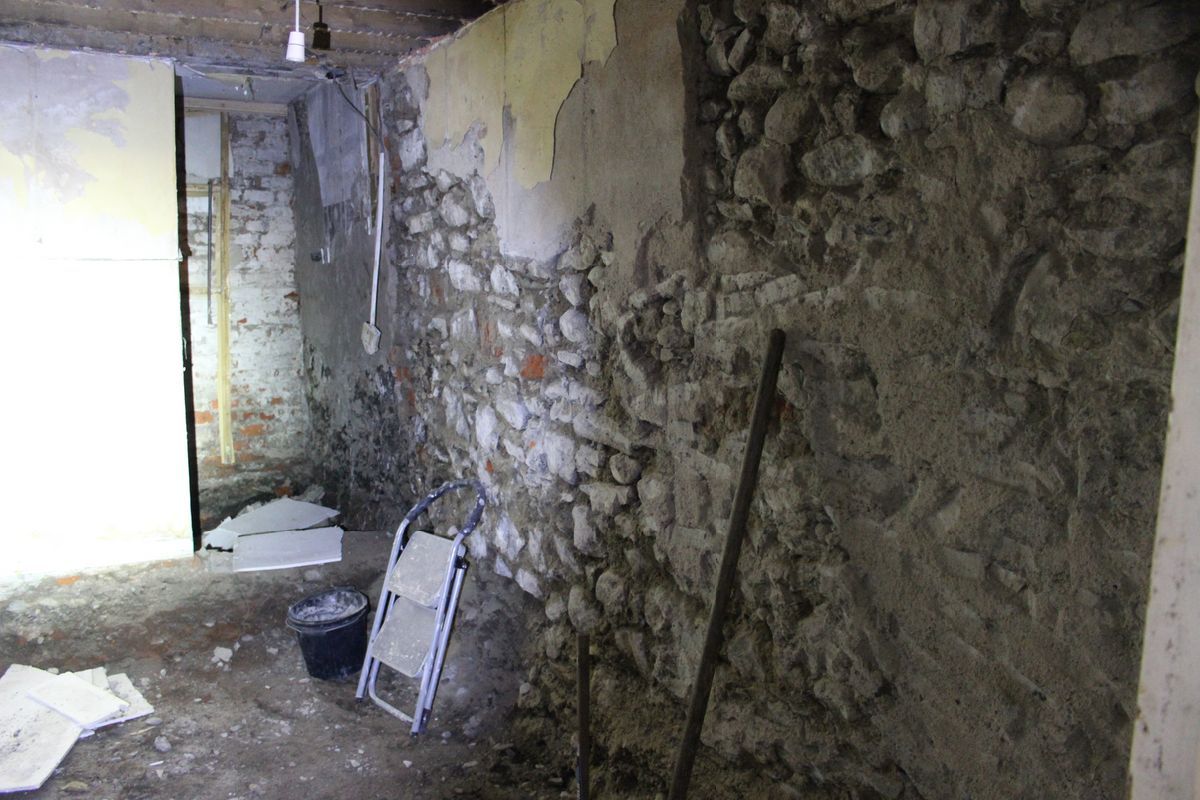
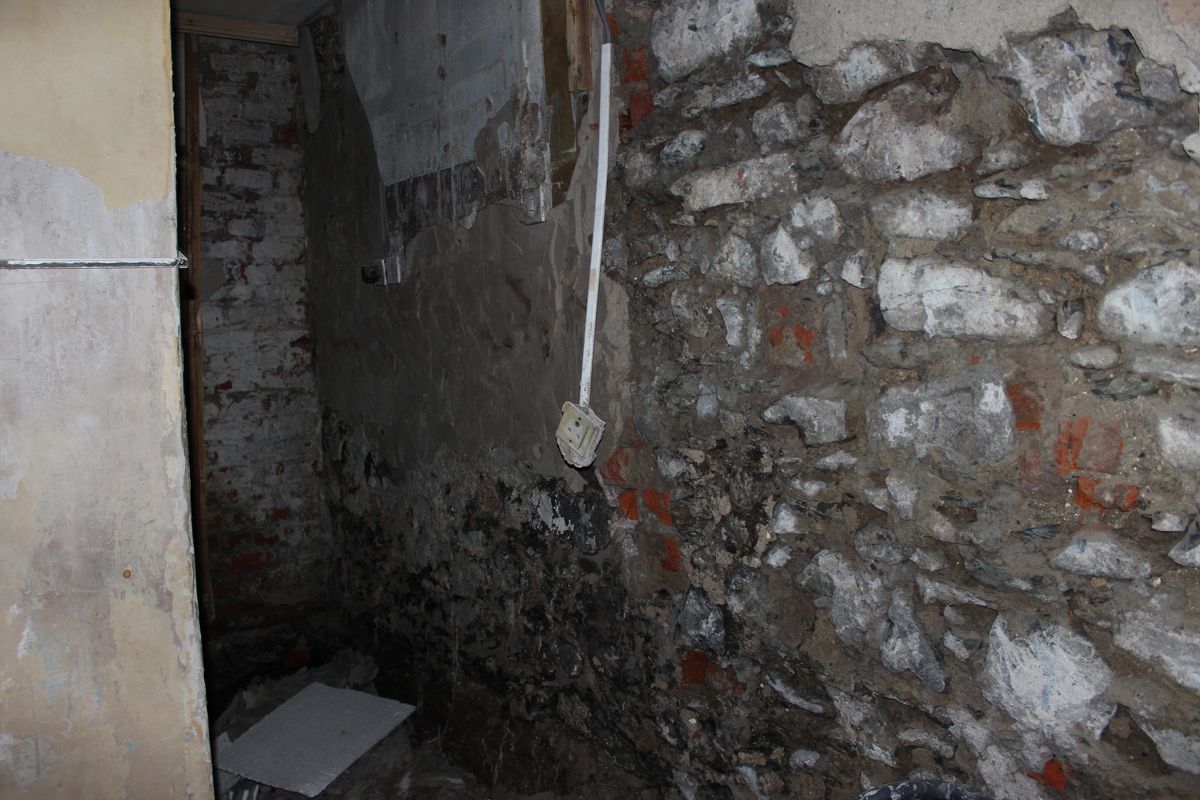
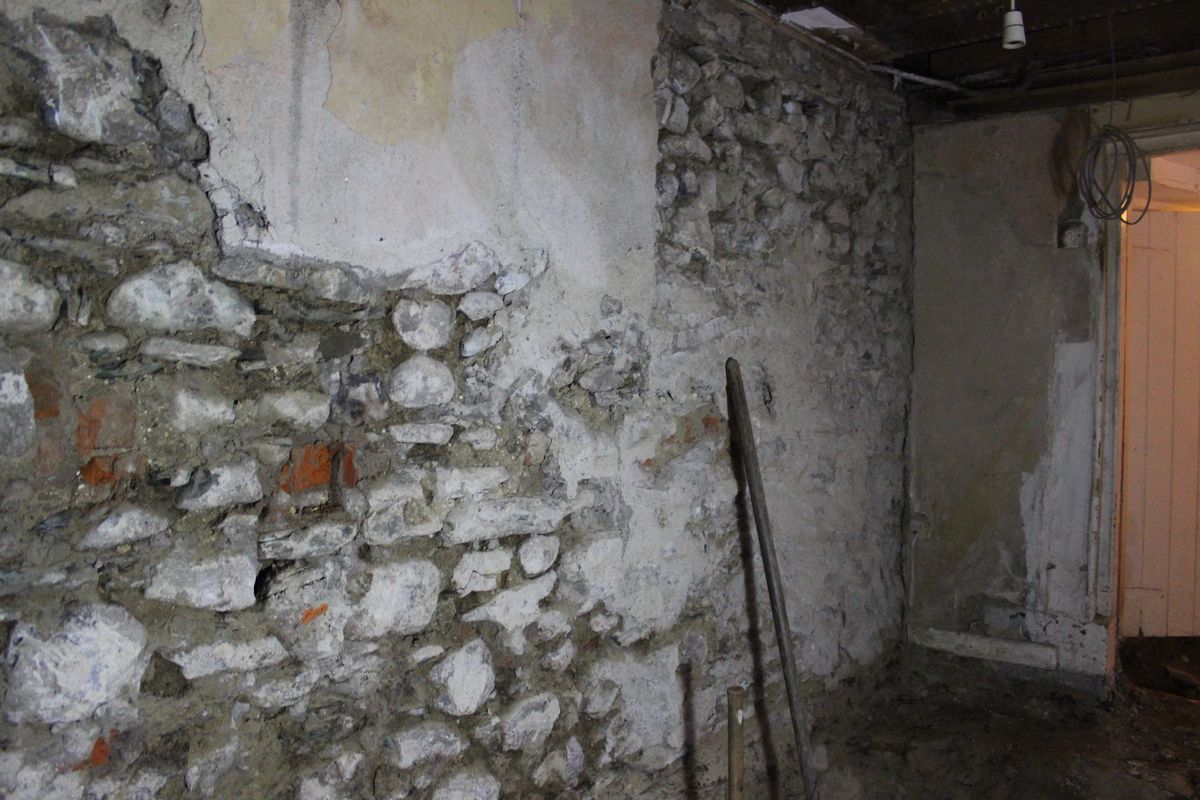
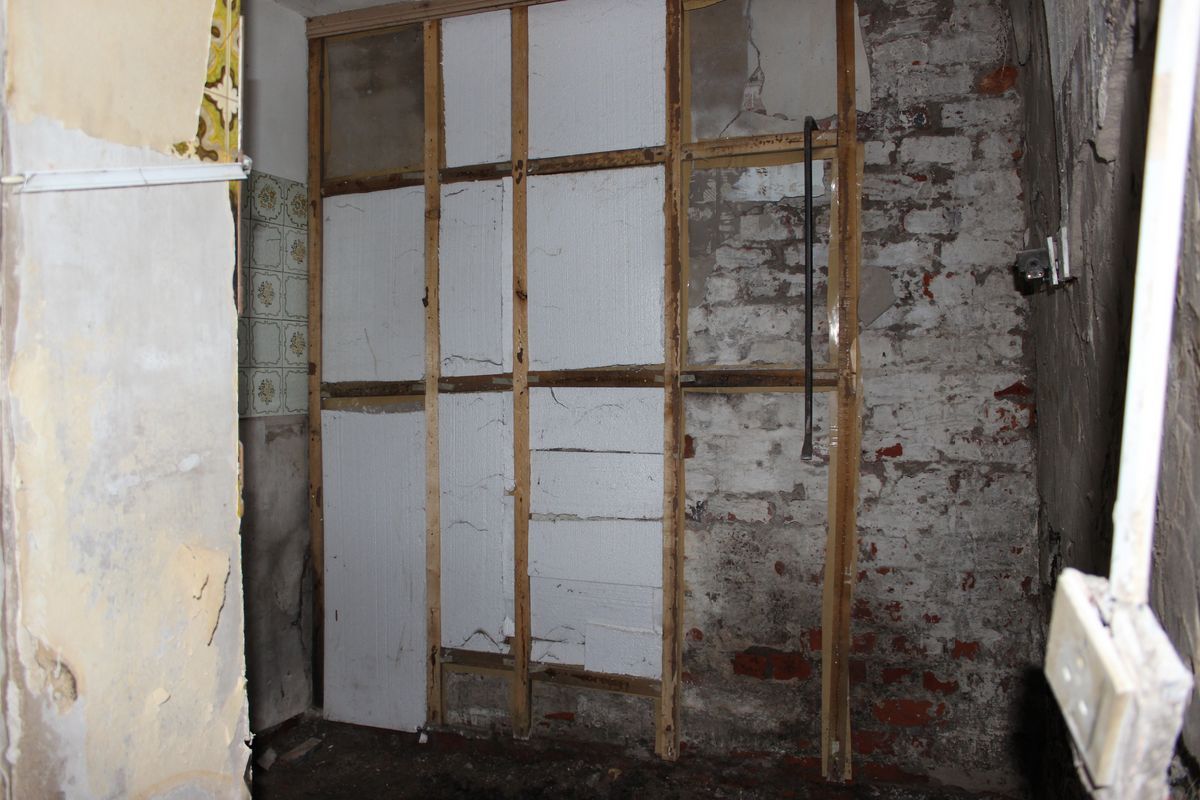
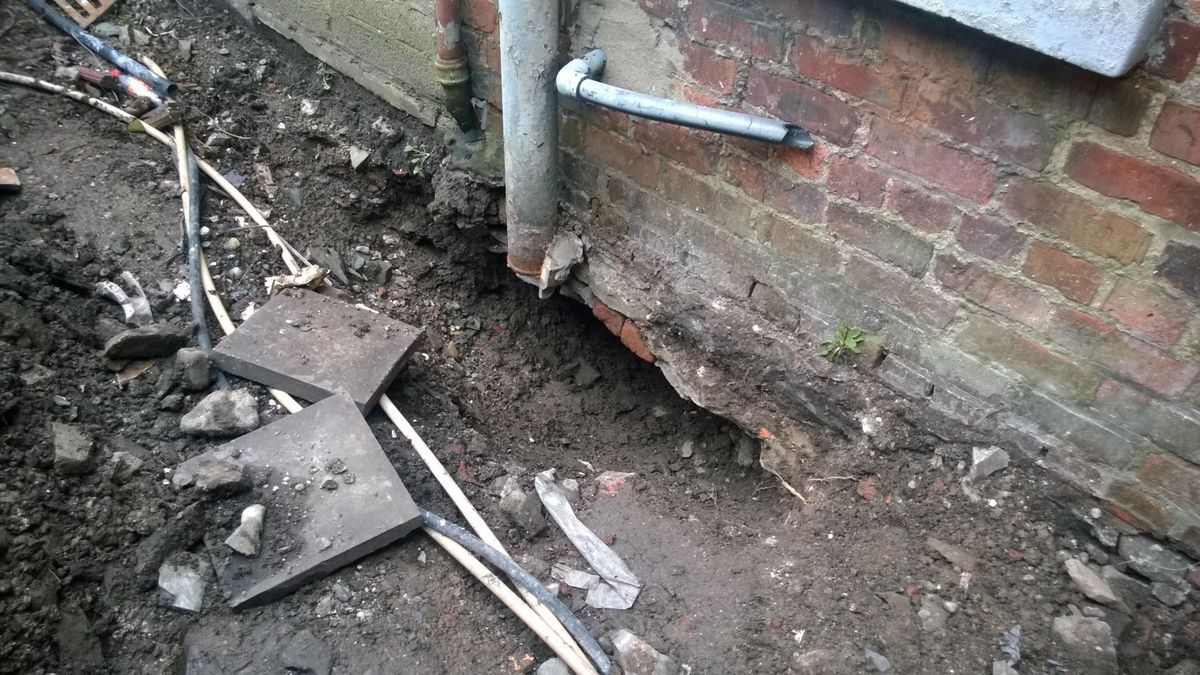
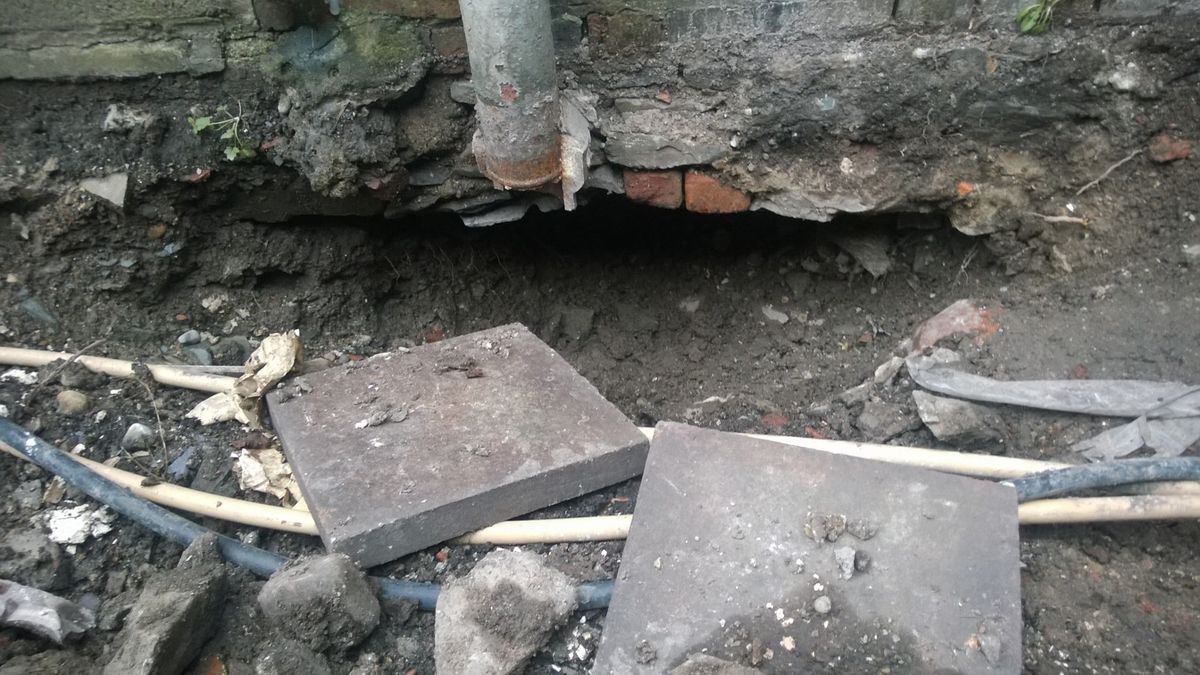
Apologies for the poor pictures:


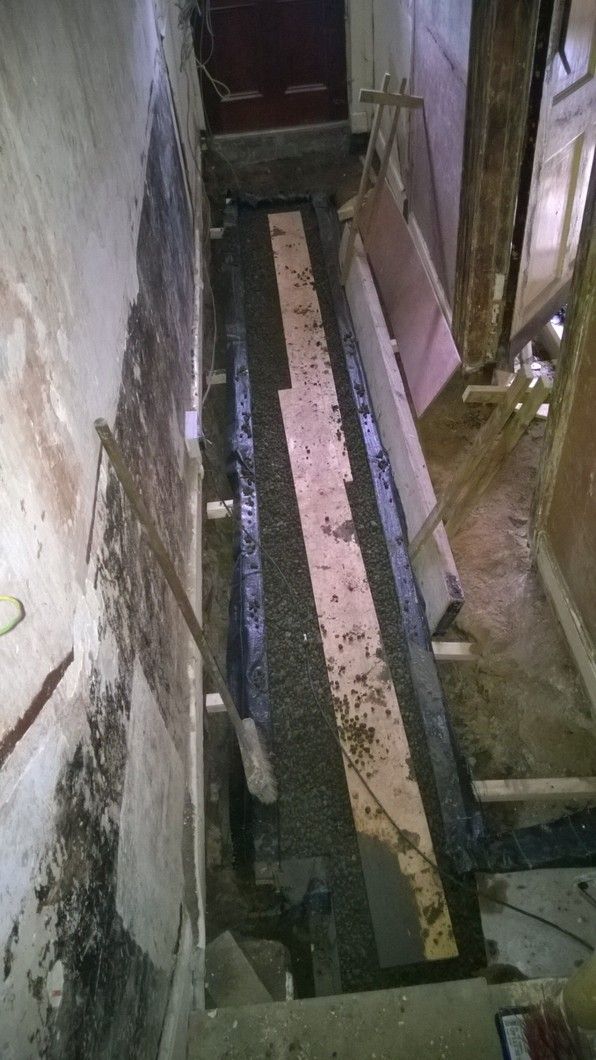
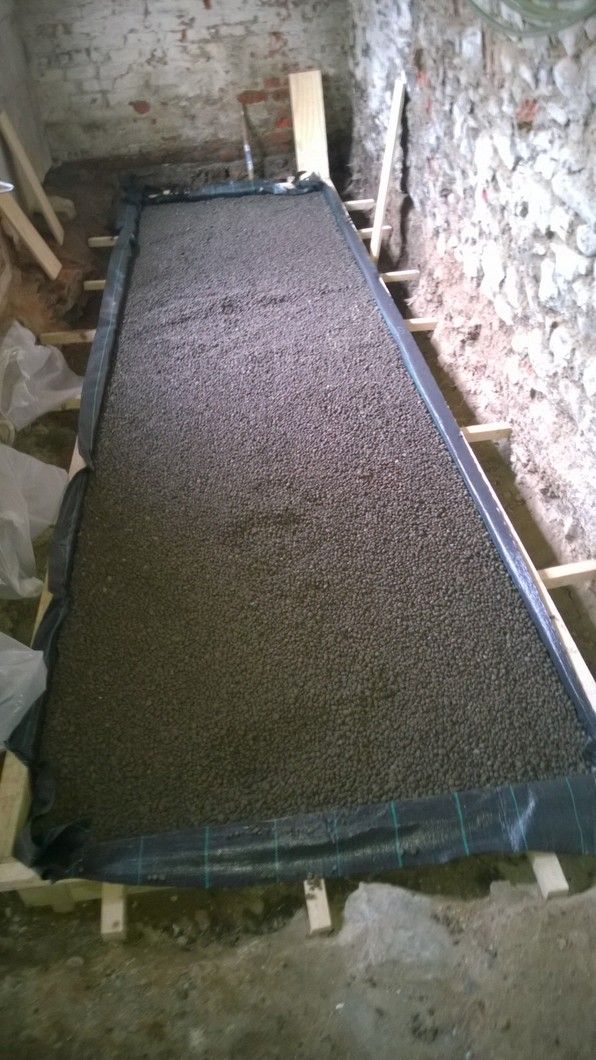
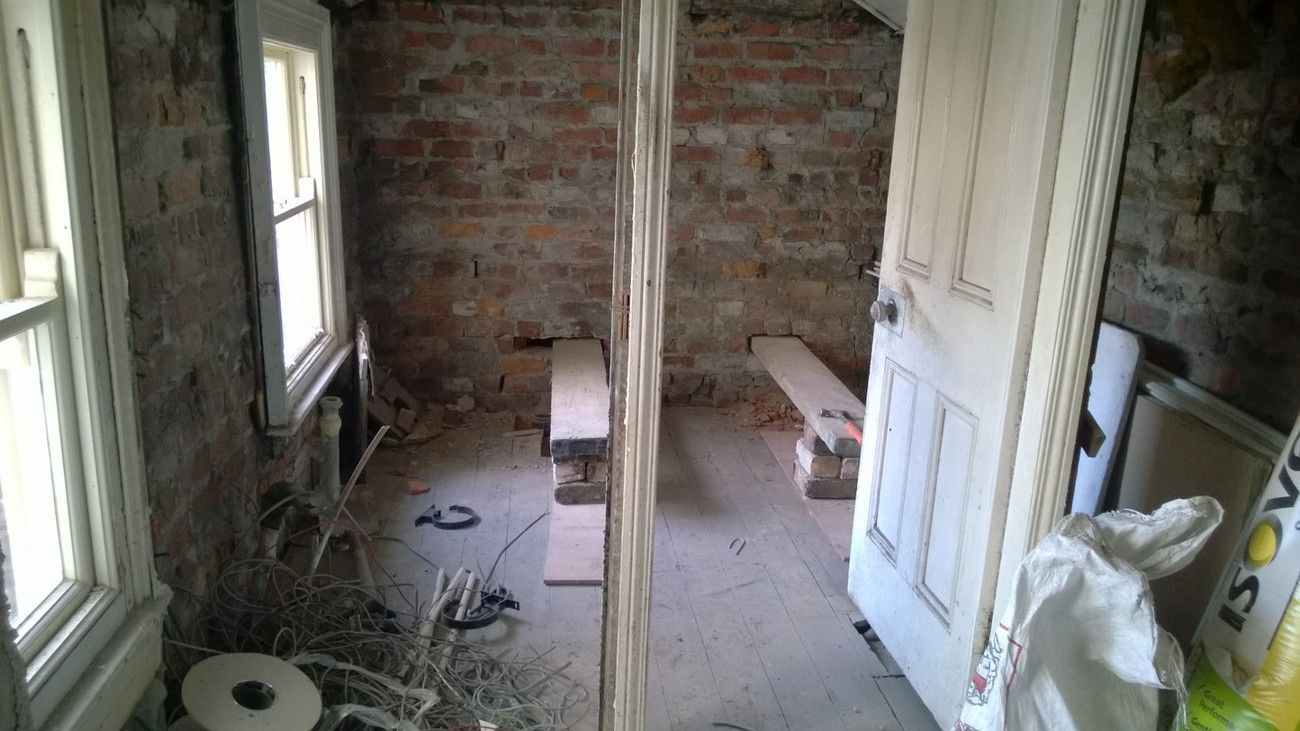
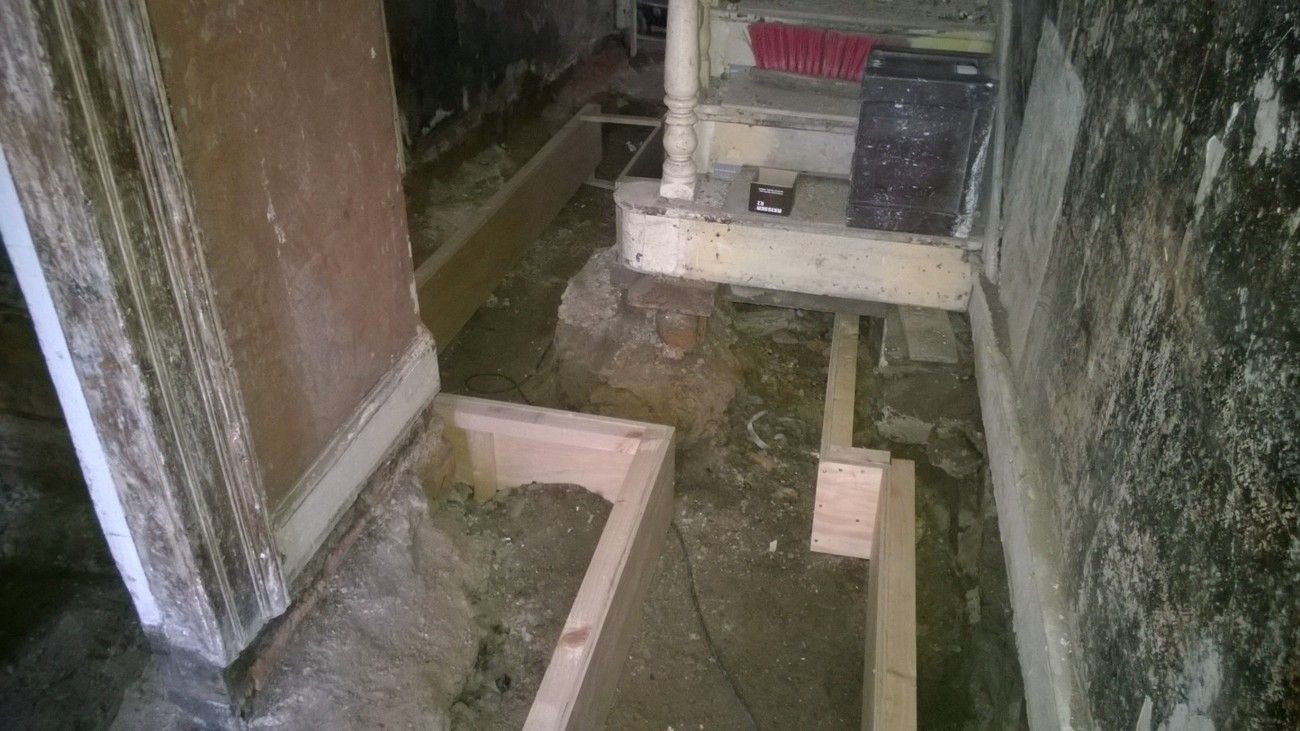
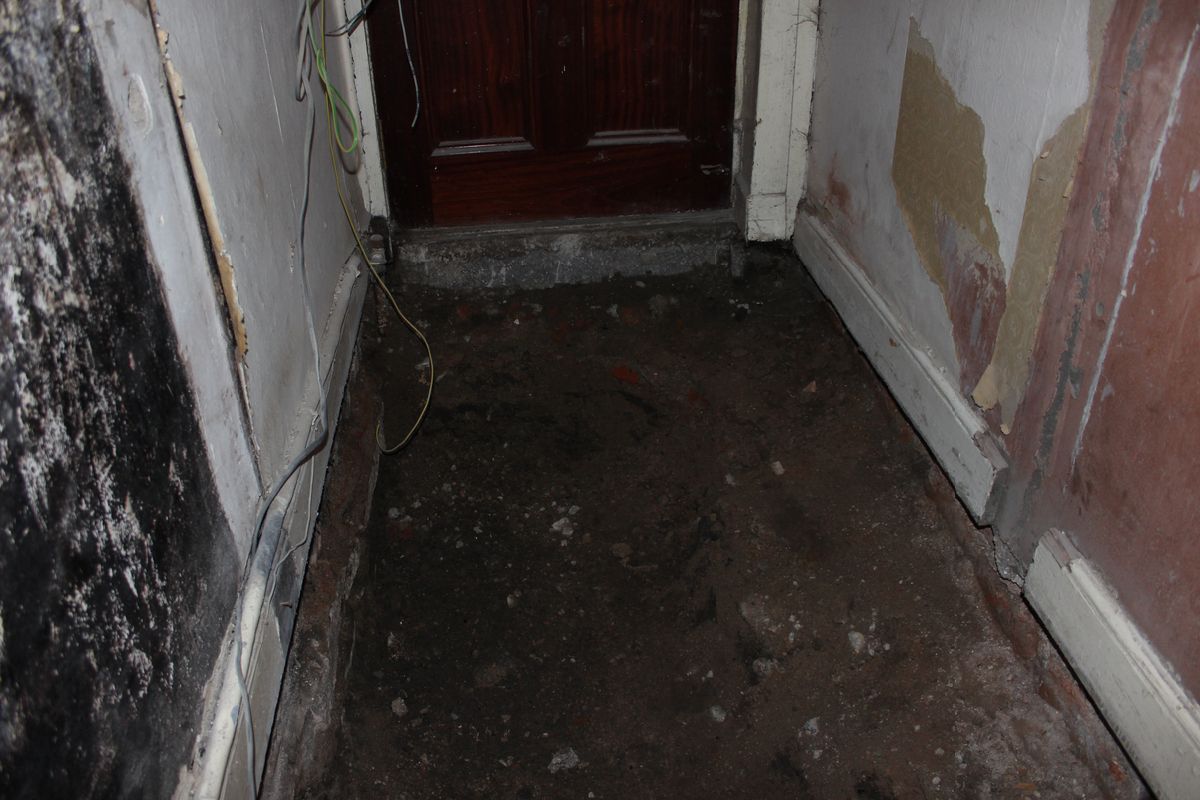
The first concrete slab will be laid tomorrow, more than likely the hallway.


Friday 28 March 2014

Return Works & Ground Floor Shuttering

The small wall from inside the return was removed at the start of the week. It was impeding on the new bedroom/office to be build in its place:


First the wall above had to be supported:


The remains of the wall:


Plywood shuttering has to be created for the proposed floor works. The framework will contain an insulated concrete slab, surrounded by a breathable, insulated lime-crete slab. The underfloor heating will then be laid on top of both slabs, before a final screed is laid and the wooden floor boards reinstated:

The hallway:


The return:


Front and rear rooms:


Several tonnes of Leca Insufill arrives tomorrow!


Friday 14 March 2014

More Stairs Work

Numerous more hours have gone into the stairs. Finally getting somewhere!


An interesting shaped bracket around the banister:


It was time to remove some of the artificial treads that were added on at some stage to cover up minor damage on the original threads:


They had just nailed boards down and little blocks between the ballisters:


Fully removed, with just minor damage underneath:


Judging by the handmade nails, the repair was done well over one hundred years ago:


Thursday 6 March 2014

Stripping Of Stairs

The paint stripping on the upper section of the stairs continues. What you see below is 11-12 hours work. It doesn't get any easier, but progress keeps me motivated!


All surfaces have yet to be sanded.

Tuesday 4 March 2014

Return & Stairs Work

So the digging on the ground floor is complete. Depth is now approx 18"-22" lower than the top of the floorboards. The concrete by the front door was also removed:


Excavation under the stairs and into the return is also finished:


I've begun the tedious task that is stripping the paint from the stair balusters. Hugely time consuming and frustrating, it takes about 40 minutes per baluster to strip paint alone, excluding sanding and prepping. There are over 55 balusters. However you can really see the detail below the layers of paint, which would be far less visible if they were just sanded as-is:


The skirting has also been stripped:


And some clean-up of the top bedroom frame:


The mix of concrete and lime plaster has been removed from the return walls, which was quite damp and damaged:


The 1960s extension to the return, with original insulation:


Work started today on the repair of the foundation of the return, which was largely washed-away over many years by a broken down-pipe from the upstairs toilet:


The full roll-on skip: