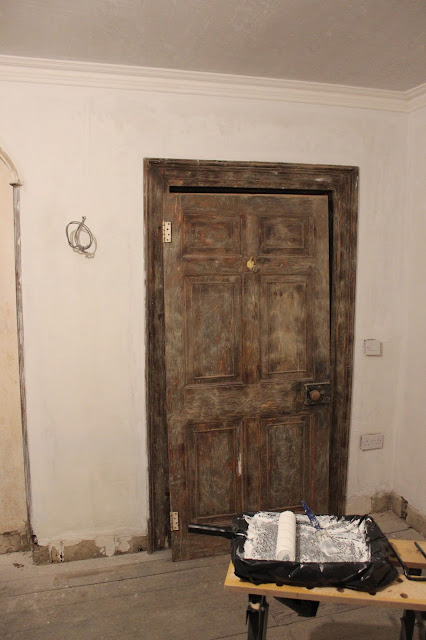
The sitting room to-be is located on the first floor at the front of the house. It is characterised by original lime plaster walls, an arched opening, original window shutters and boxes, recently restored original 6 over 6 sash windows, original pitch pine floors, reinstated cornicing and an early 1800s marble fireplace surround sourced from Dublin.
The biggest challenge with this room was getting the walls to an acceptable level of finish so that they could be painted. Lining paper was always an option, but I wanted the original lime finish to be visible, as historically this room was always wallpapered throughout its 200 year lifetime. The walls had already been patched by my lime plasterer Paddy, however the finish was not good enough to be painted. After experimenting with different limes and skims, which just wasn't working repairing small areas, I settled on using a gypsum-based, powdered filler (usually a big no no) to repair any cracks or dings in the walls. I also used it to feather out the lime repairs, blending the join lines between the old and the new.
After a preliminary filling and sanding of each wall, a 50:50 mix of white emulsion and water gives a much better base for not only subsequent coats, but also to highlight other areas requiring repair, that are very hard to see with the original stained finish.
The chimney breast was the only wall done in gypsum, (actually unbeknownst to me until it was done) as the sides were boxed off as covered in previous updates, to hide the boiler stove pipework.
...so it cleaned up perfectly.
The large wall on the left side as you walk into the room is the single largest expanse of wall and require hours and hours of filling, sanding, filling and sanding, painting, sanding, filling, painting and so on.
There was a huge amount of repair and patching required:
The archway wall completed:
Speaker cable had been routed through two sections of wall, so these needed a lot of attention, despite having already been patched with lime:
Paul Dowdall delivered several lengths of new white deal skirting, once again cut with the exact same molding of the original skirting downstairs, to replace the nasty early 1900s skirting which surrounded the room:
I also had Paul turn two new plinths to form a base at the bottom of the two archway wall moldings, to match the ones downstairs. This room most likely had the exact same plinths, but were removed when the 1900s skirting was installed:
Below are the two new pieces compared to an original from downstairs:
The large expanse of wall in this room presented quite a problem, in that the floor dips down a full 25mm towards the center, leaving a huge gap underneath the straight cut skirting. So I had to butt-join additional thickness to the base of the board and plane it to size:
The newly increase height:
Working out the shape to cut:
Planing the rough jigsaw cut:
This section of skirting allows all the speaker, co-axial, CAT6a and HDMI cables for the TV to pass through from the surrounding walls and floor below. There will likely be a small cabinet here to hide the mess, even through I will likely terminate all cables directly onto the skirting:
Then it was relatively plain sailing the rest of the way round, plugging the walls and screwing the boards in place:
The plinths were cut to height and the skirting coped to match:
All done in preparation for painting:
The plinths have been blended into the adjoining boards with gypsum filler:
All screw holes sanded:
Time for a controversial colour scheme, Farrow & Ball Off Black. :D
Whilst the above doesn't look like much work when summarised in one page, all of the above actually took me approximately 4 weeks, of 2 hours here, 3 hours there. Extremely grueling and repetitive work. Totally worth it though when you see the finished product, which will be shown very soon!


