Thursday, 12 September 2013

Window Head Replacement

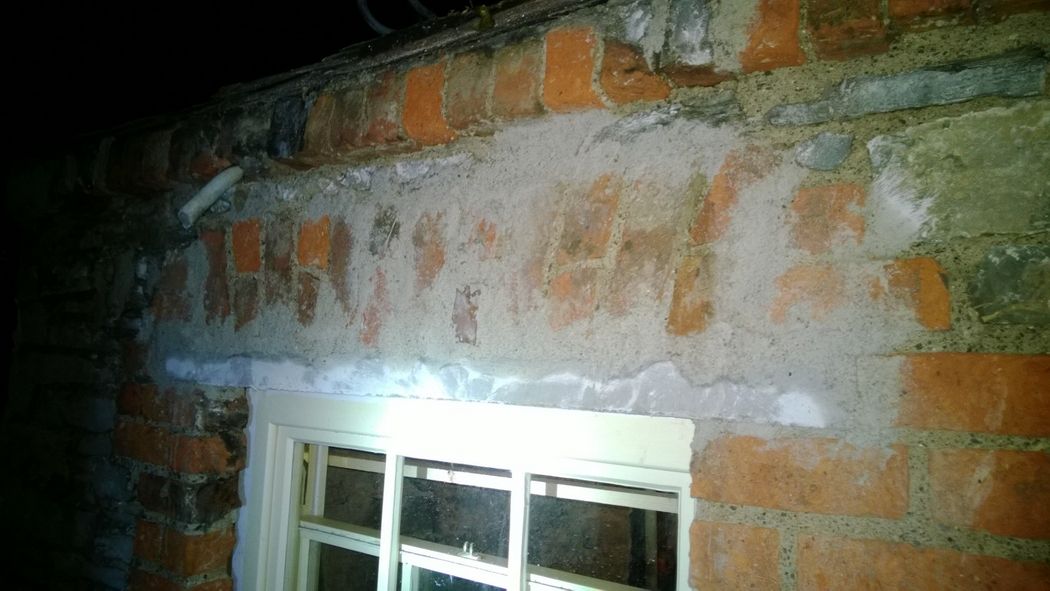
Where required (in nearly all instances), dilapidated brick window heads are being reinforced with concrete heads. Apologies for the pictures, they were taken 25ft in the air in near darkness. :/

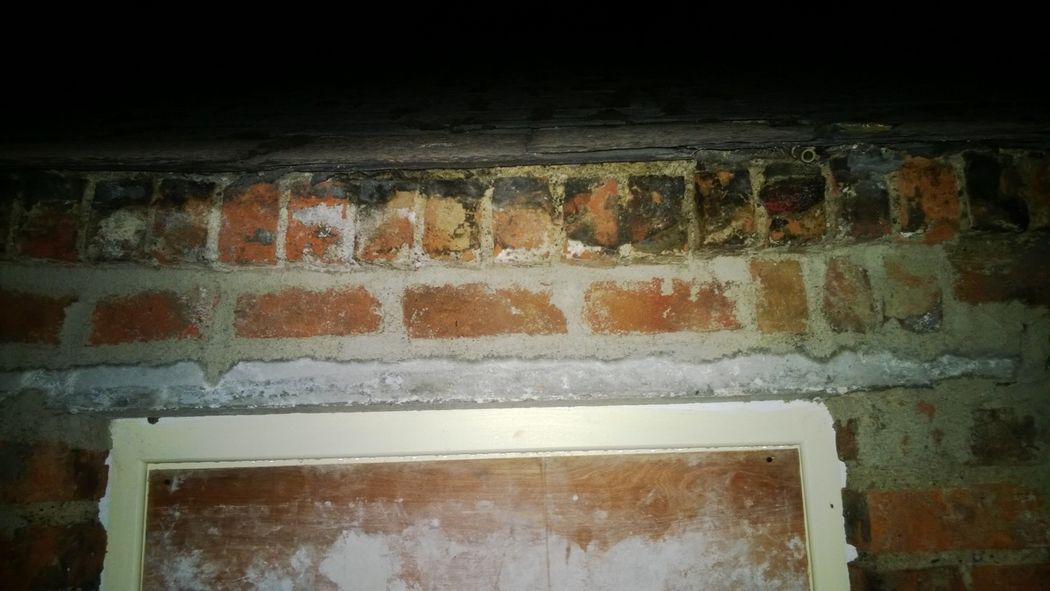
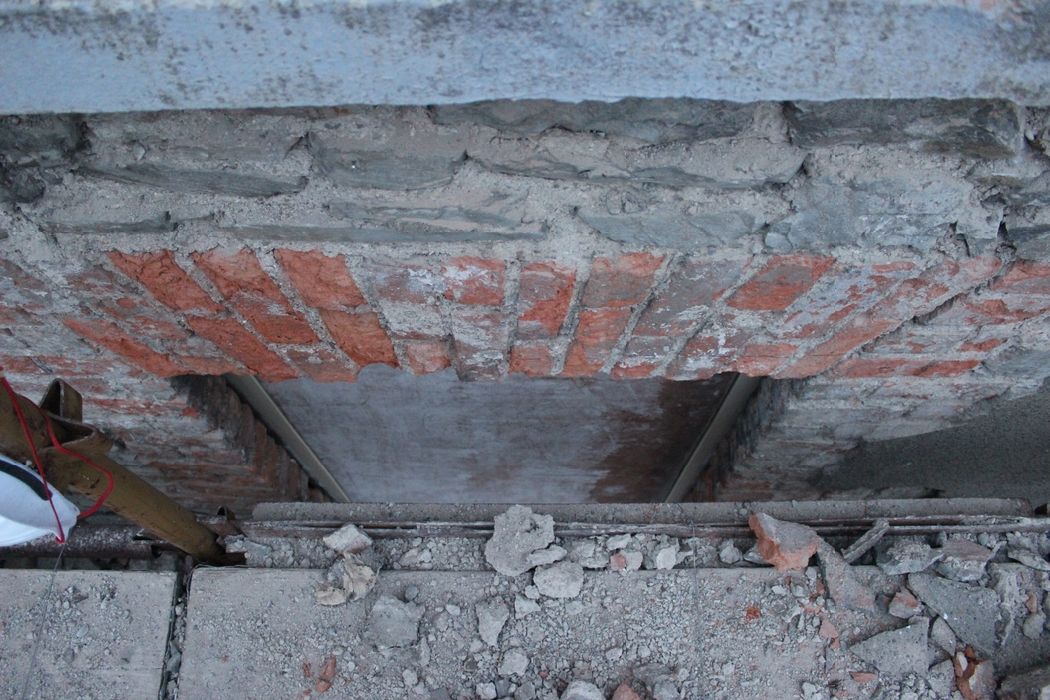
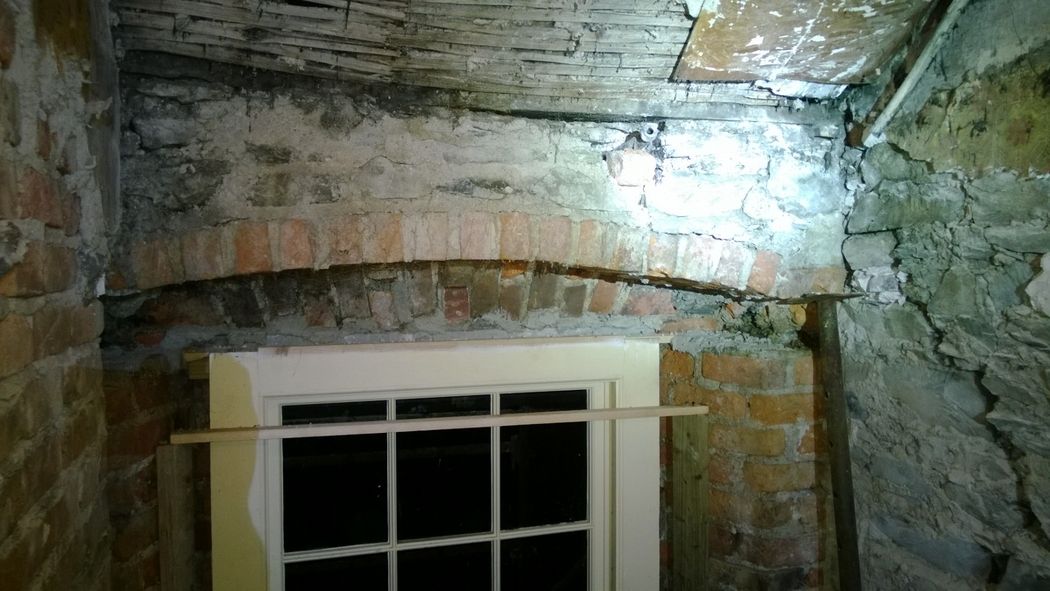
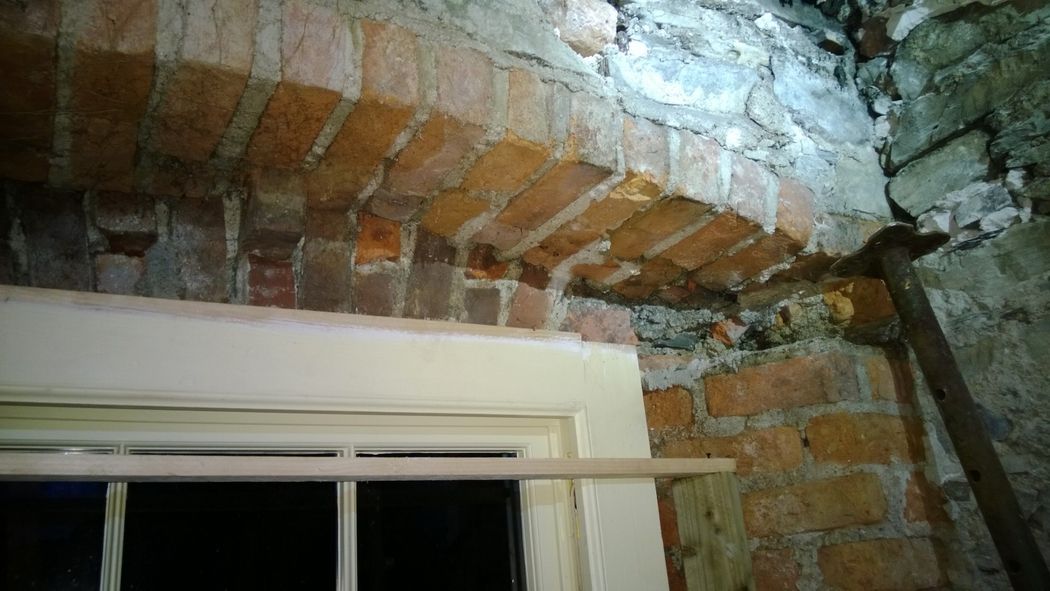
The top floor stair window below. You can see the concrete head cemented into place below the red brick:

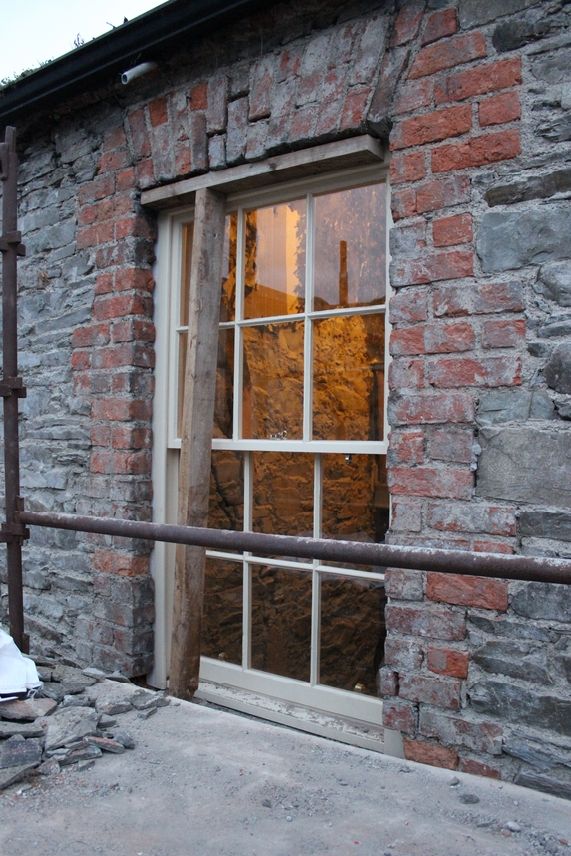
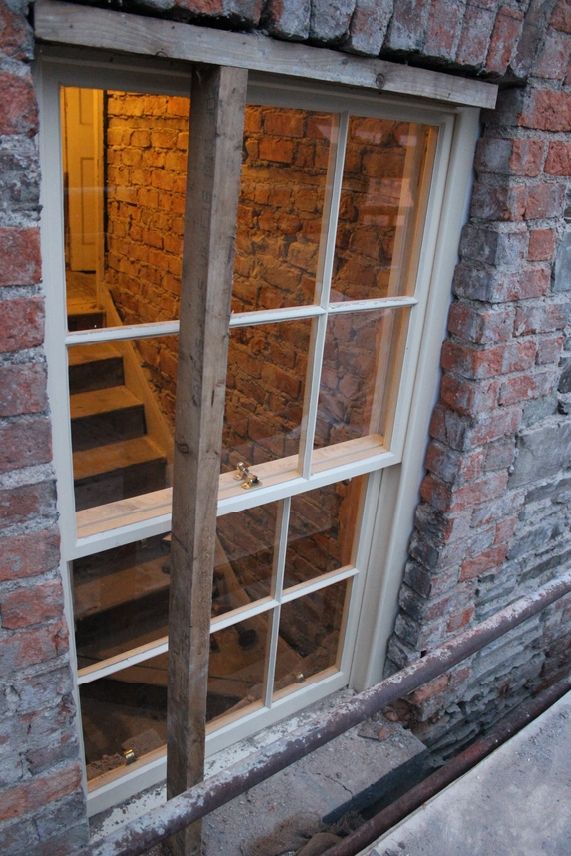
The inside view of the same window below. This has yet to be reinforced and is currently supported in place:

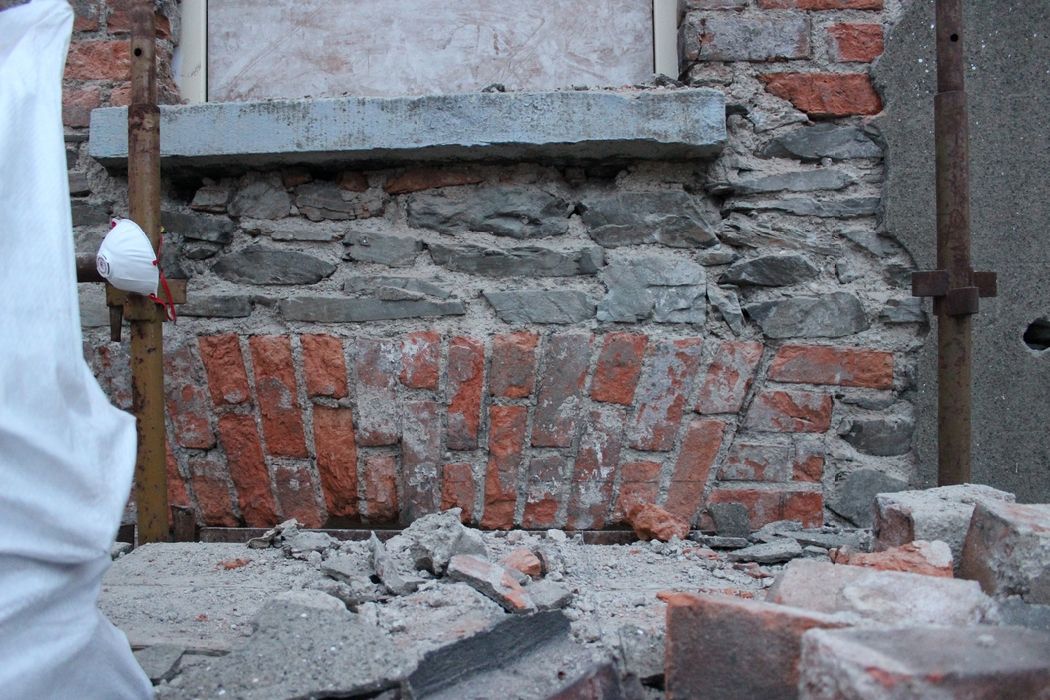
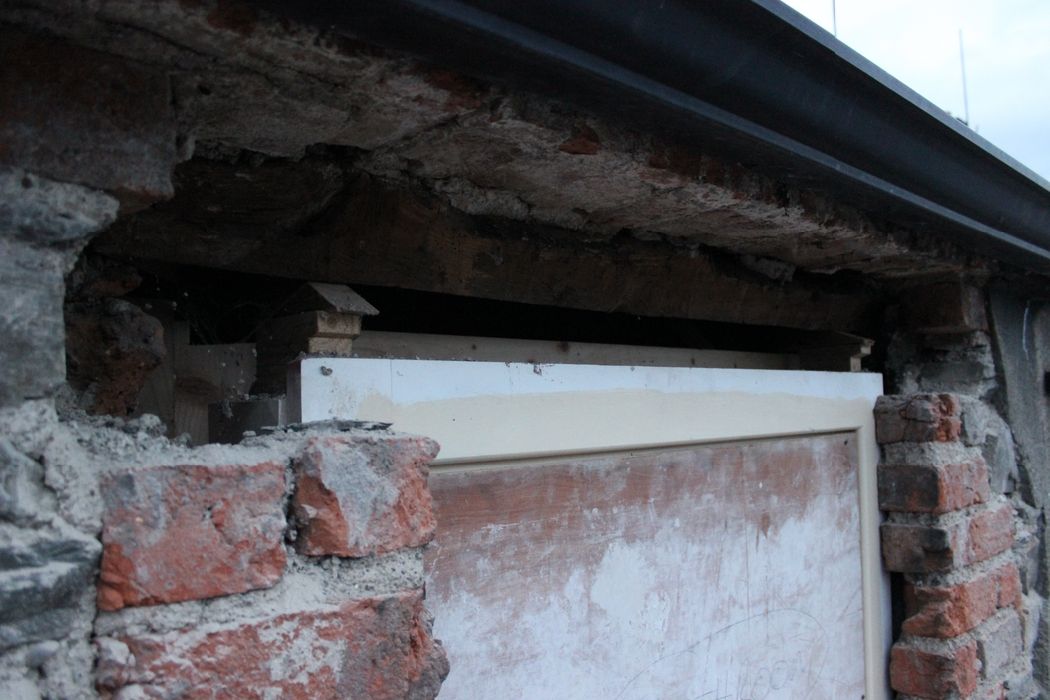
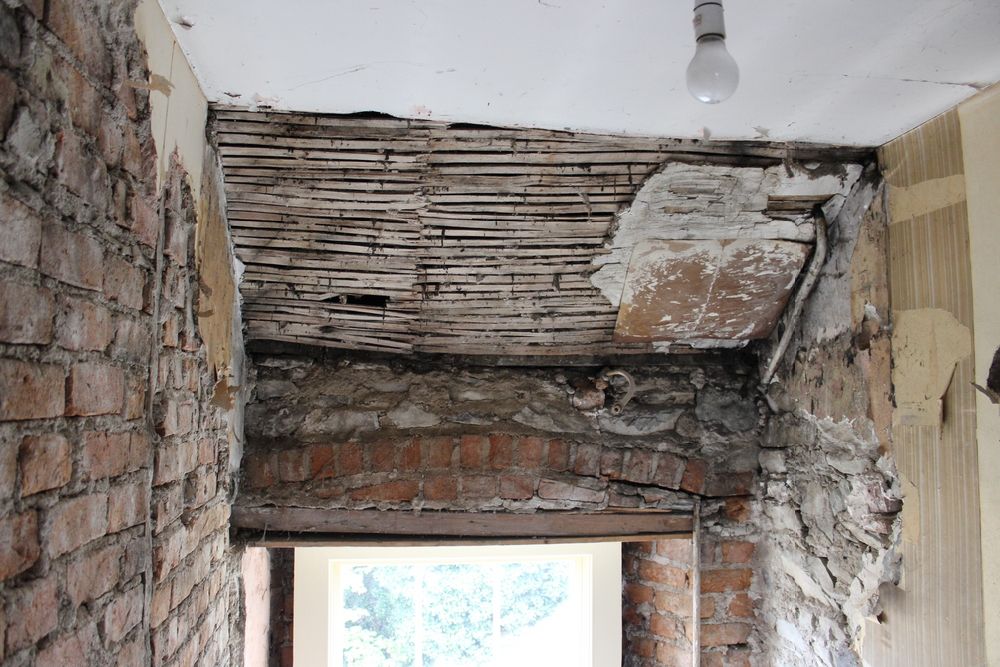
A reminder below of what it looked like before. And proof that the timber head was doing little in the way of support:

The new bathroom window head:
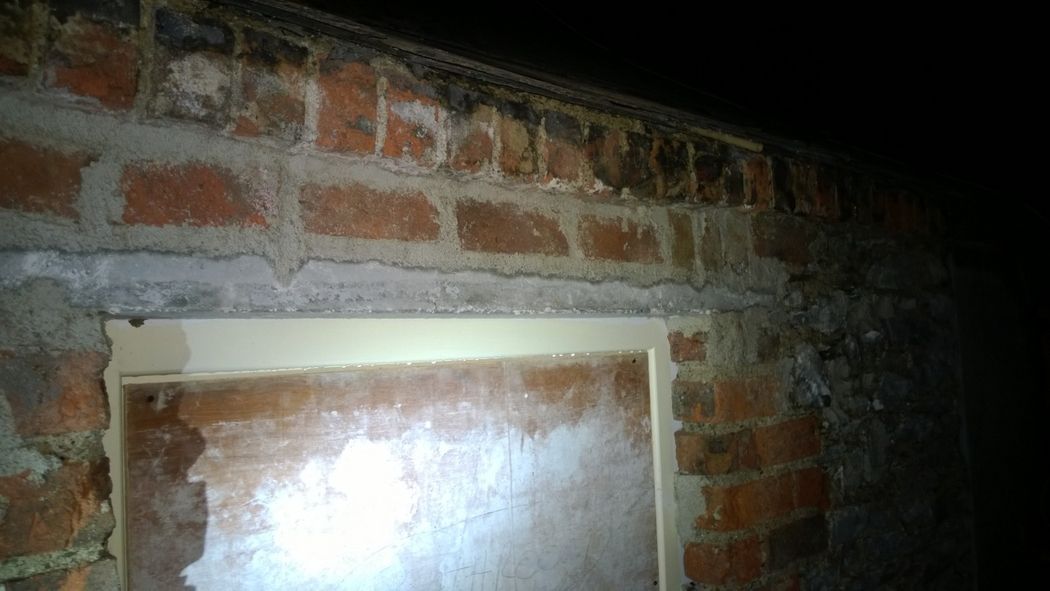


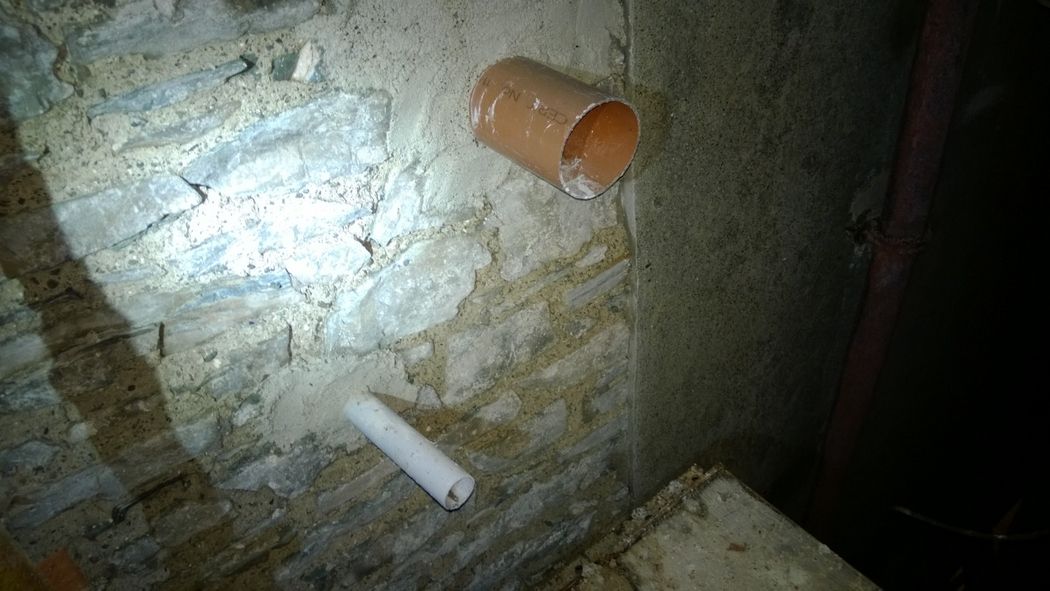
The waste from the bathroom now cemented in place:

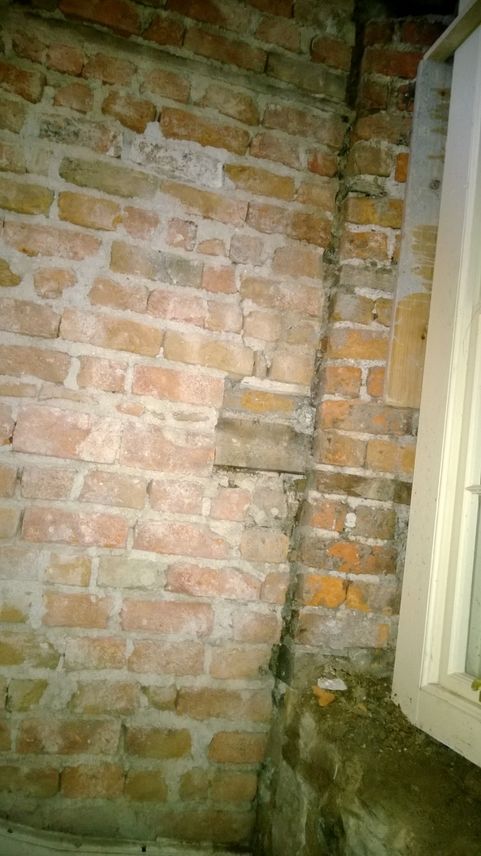
A view of the stairway wall, bathroom on opposite side. Note how this interior wall is in no way adjoined to the external wall:

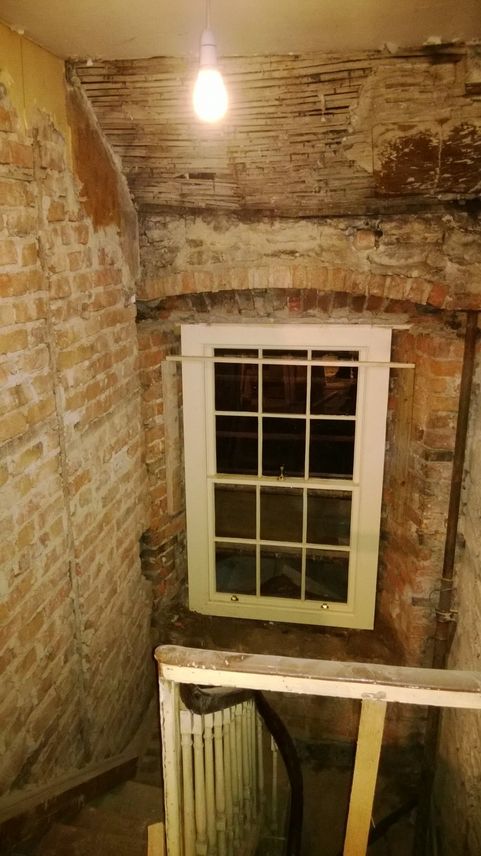
A view of the top of the stairs, much work to be done!

Wednesday, 11 September 2013

More Render Removal

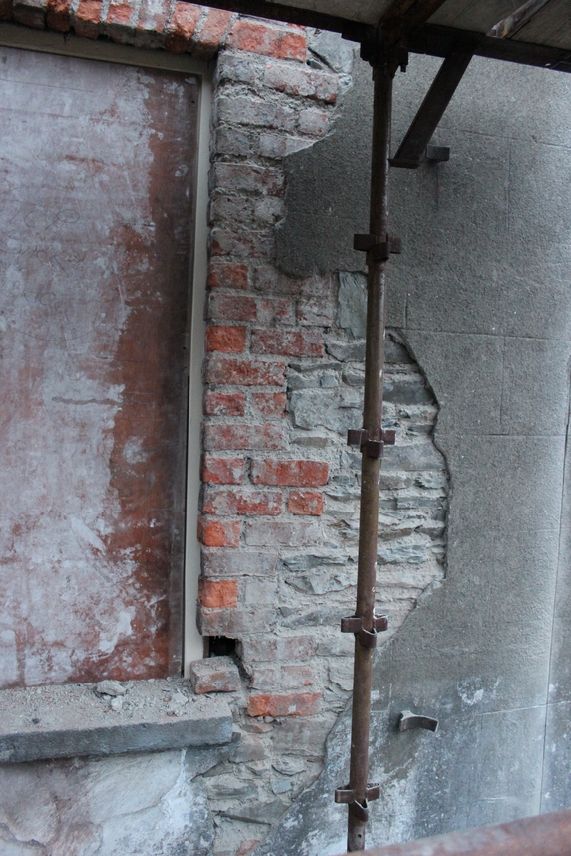
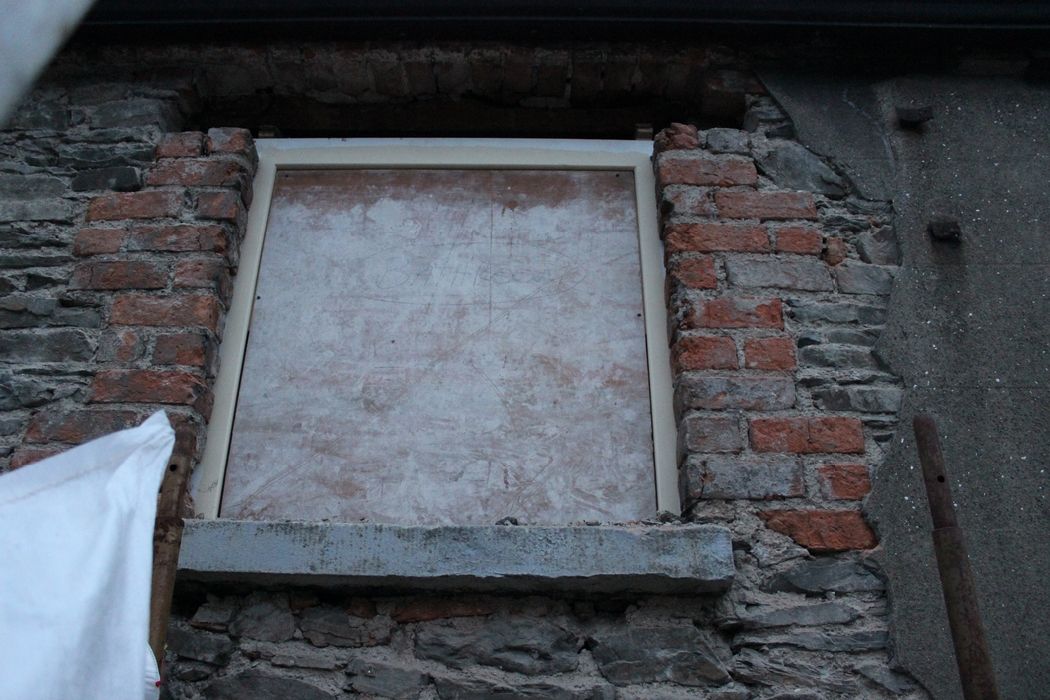
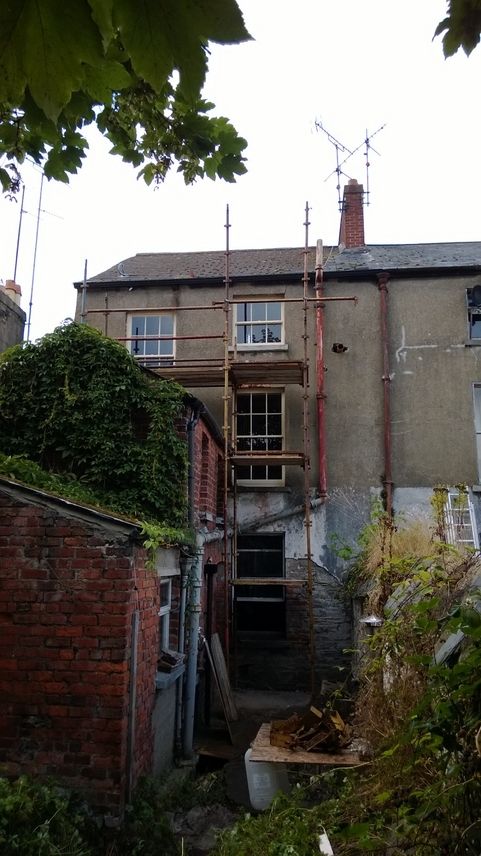
Work is progressing at a decent rate at the back of the house. Windows are boarded up for protection and the red brick window heads and surrounds are gradually being exposed:

More render removed:


First floor rear window:


Above the return:


Top floor bathroom window:


Removed head:


Top floor stair window:


The corner of the house; gives an indication of the current sand/cement render thickness, as well as how well the stonework is finished:


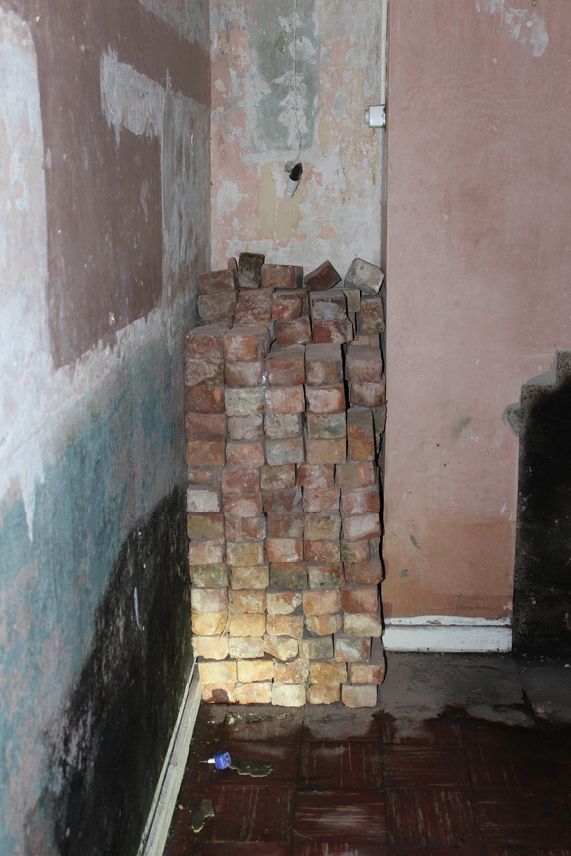
Some of the removed red brick:


Saturday, 31 August 2013

External Render Removal

Work has started again after a long break. P&K Haigney have been contracted to replace the cement-based external render on the back of the house and to repair/replace any window heads that need attention.

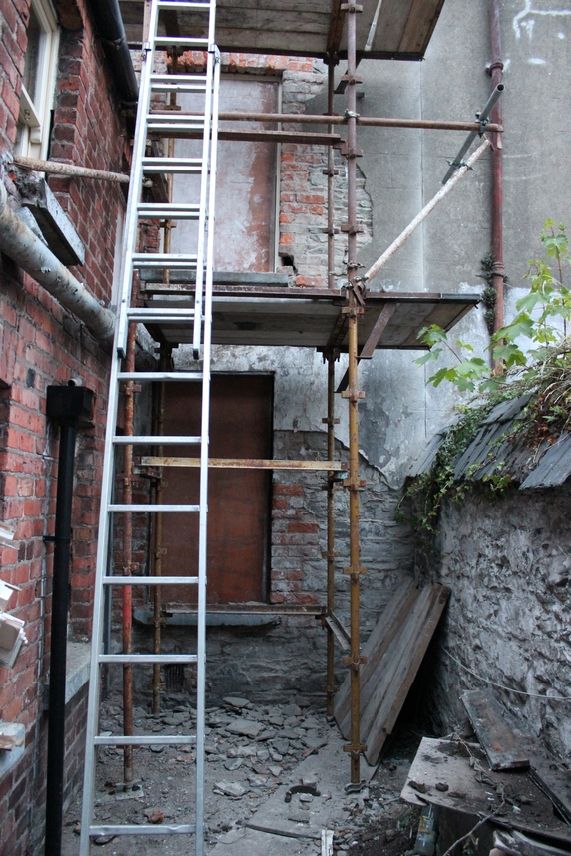
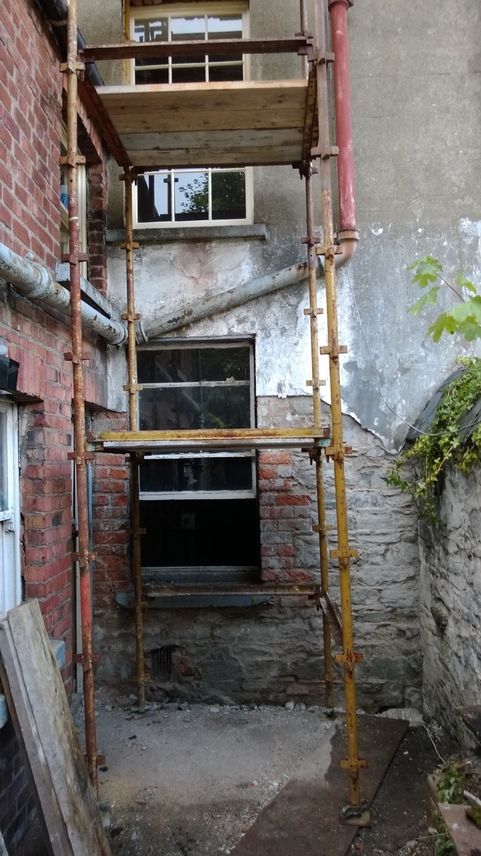
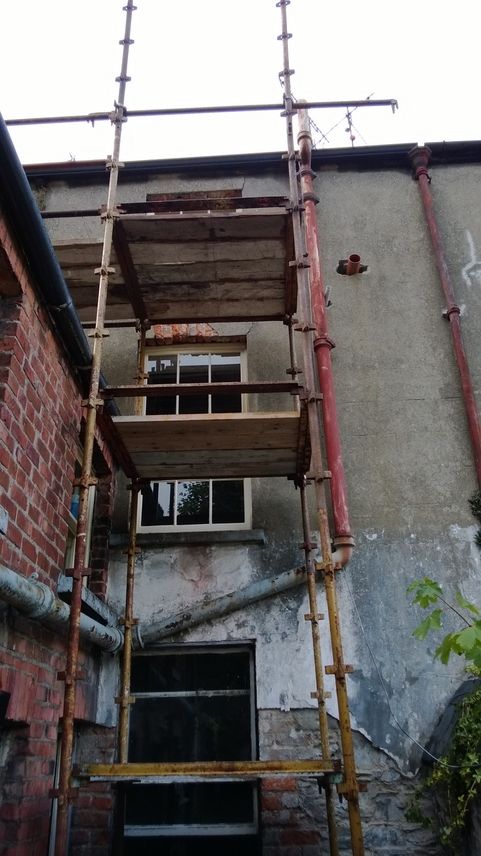
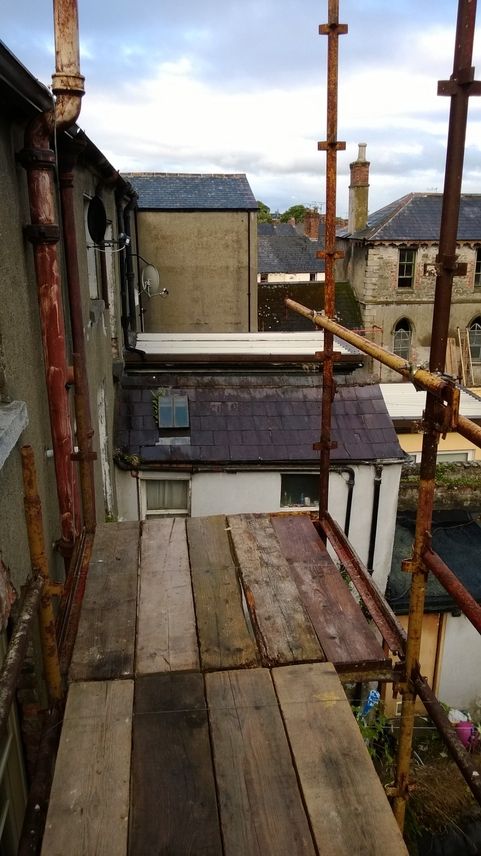
Work started today with the scaffolding of the rear of the house, over the return:


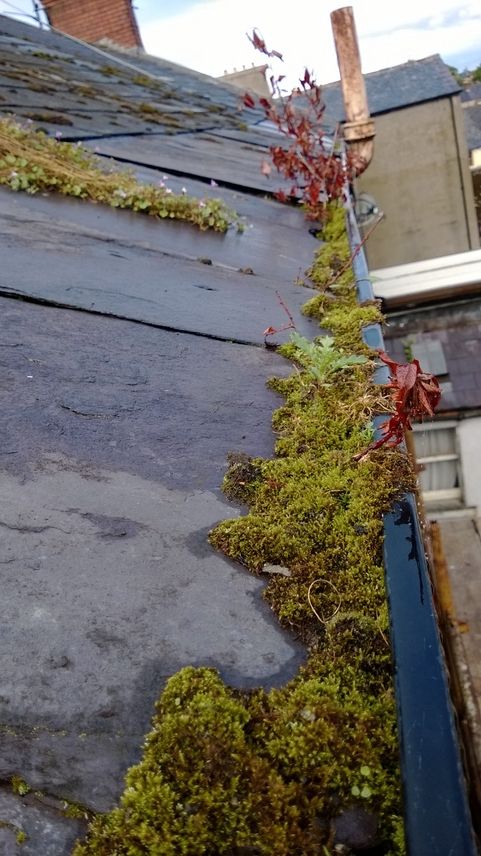
The view of the gutters, completely packed:


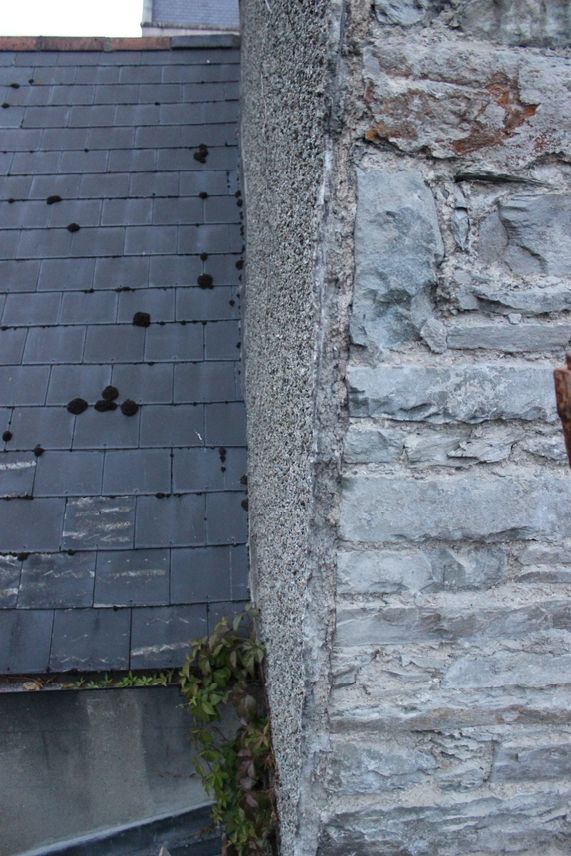
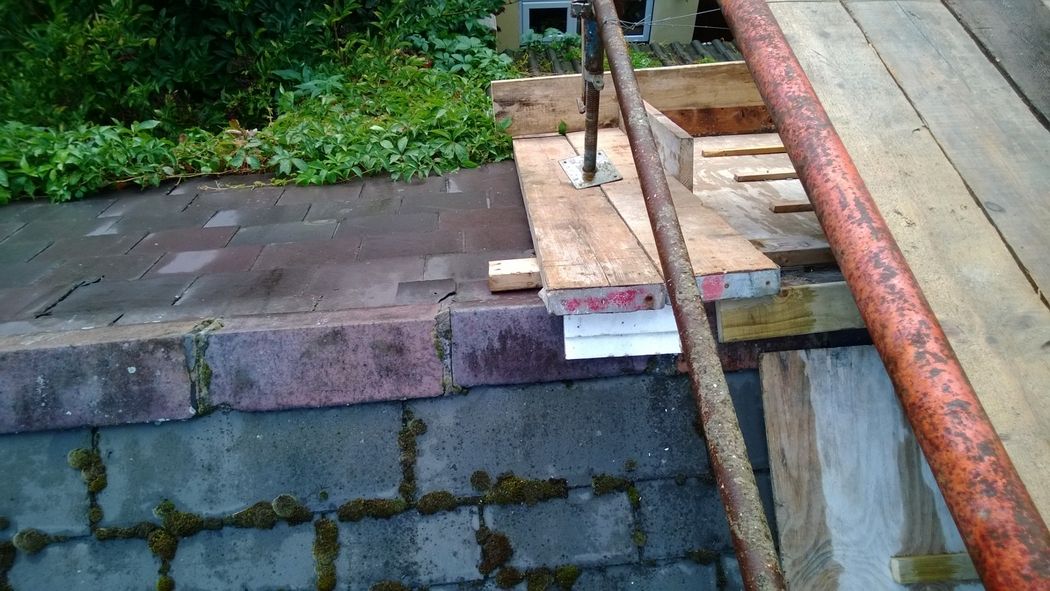
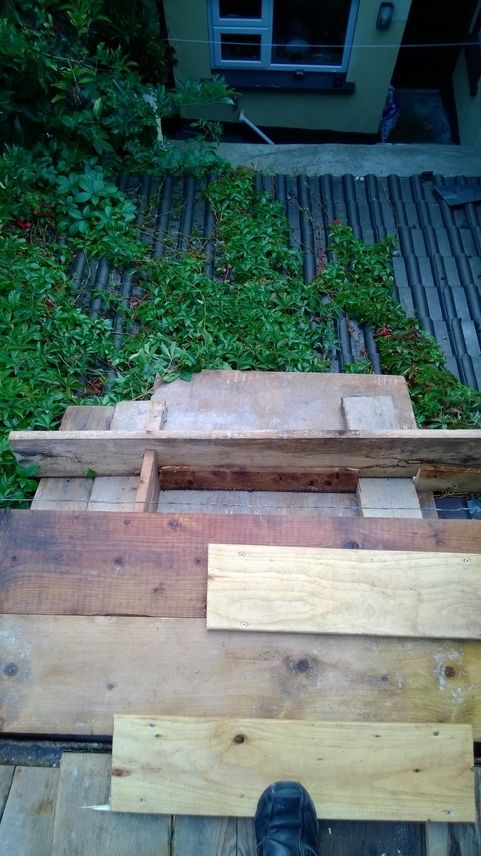
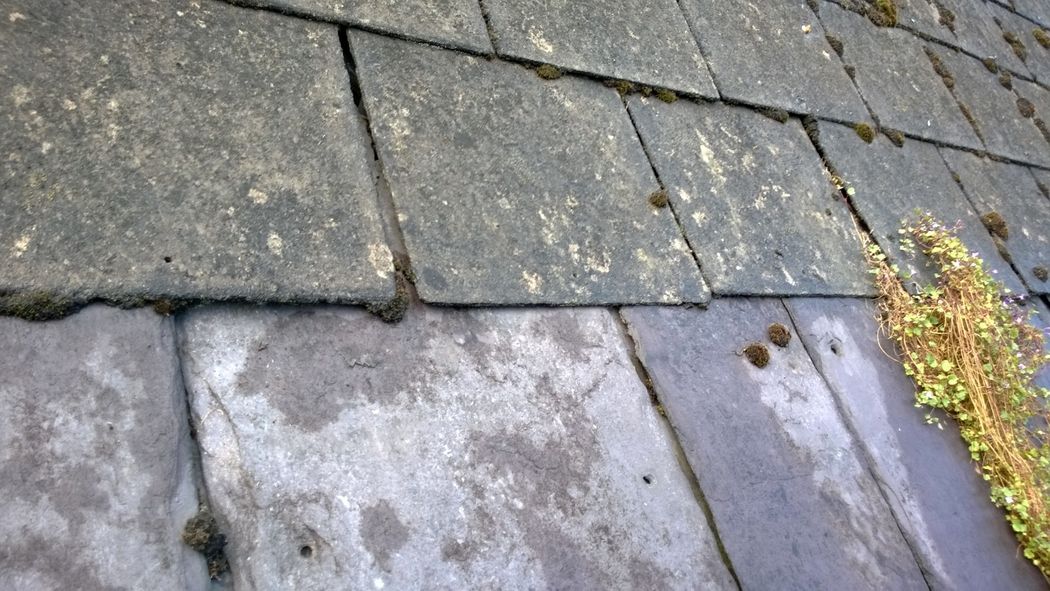
And the entire lower section of tiles have slid down over the gutters:


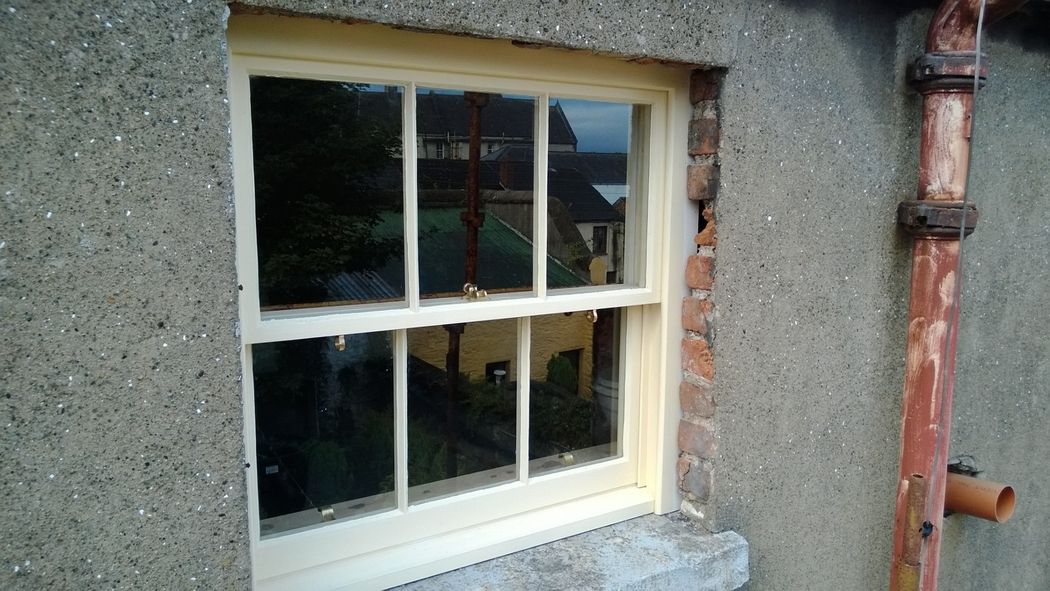
View of the new top floor bathroom window:


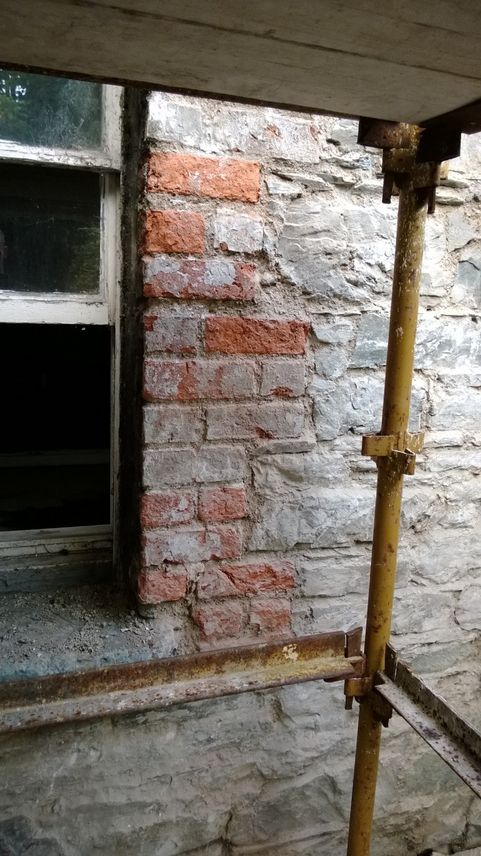
Ground floor rear window, with render removed:


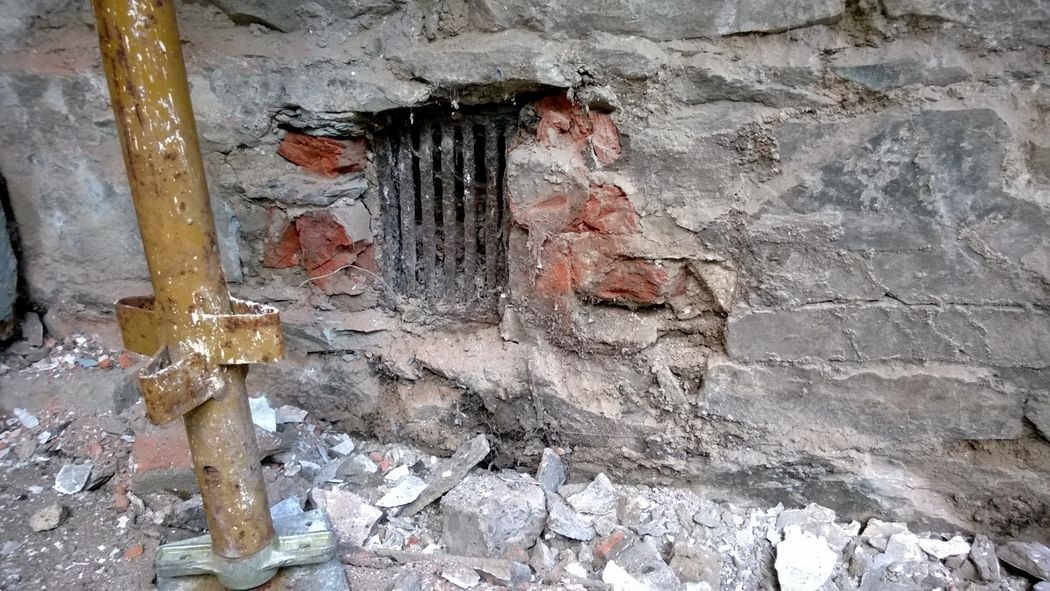
Vent below the ground floor rear window:


Thursday, 11 July 2013

Window Sill & Architrave Plinths

Work has been slow due to little time off on my part and a 3 week break with the builders. Some progress has been made though and the top two floors are nearly completed.

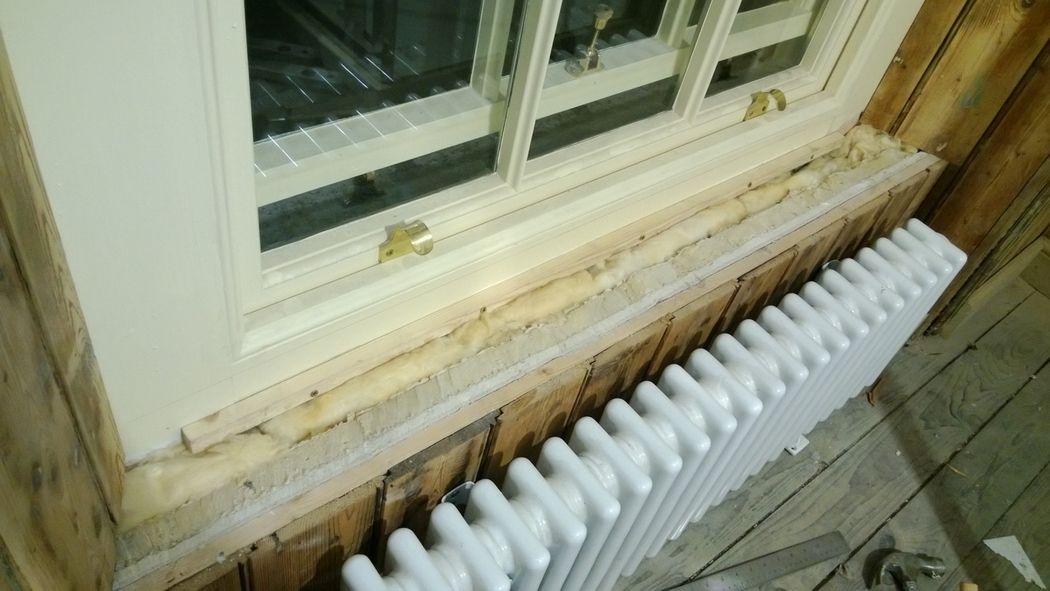
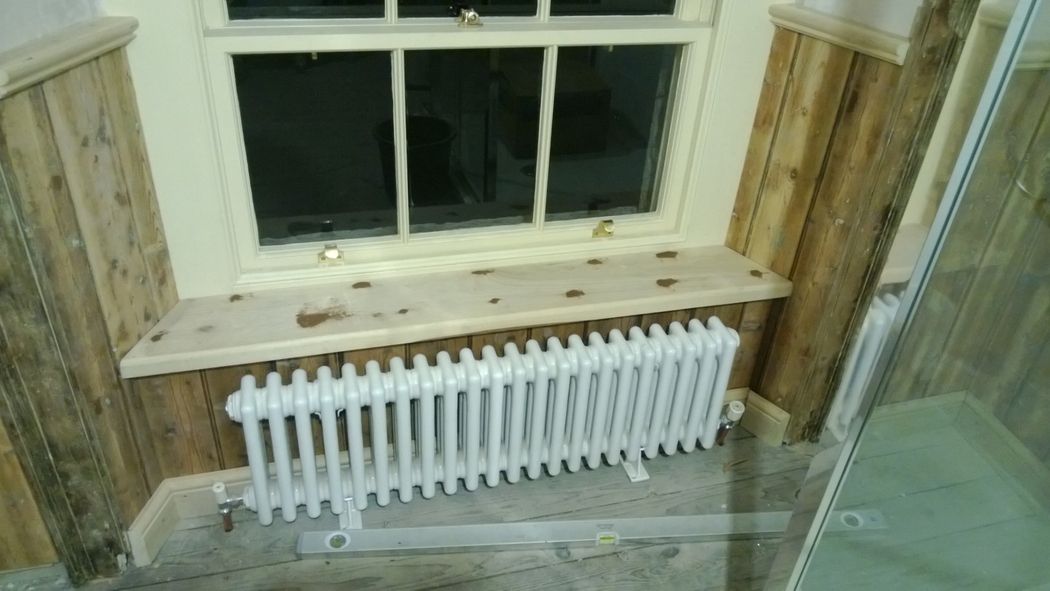
I started work on the bathroom window sill, packing the space underneath with fibreglass wool:


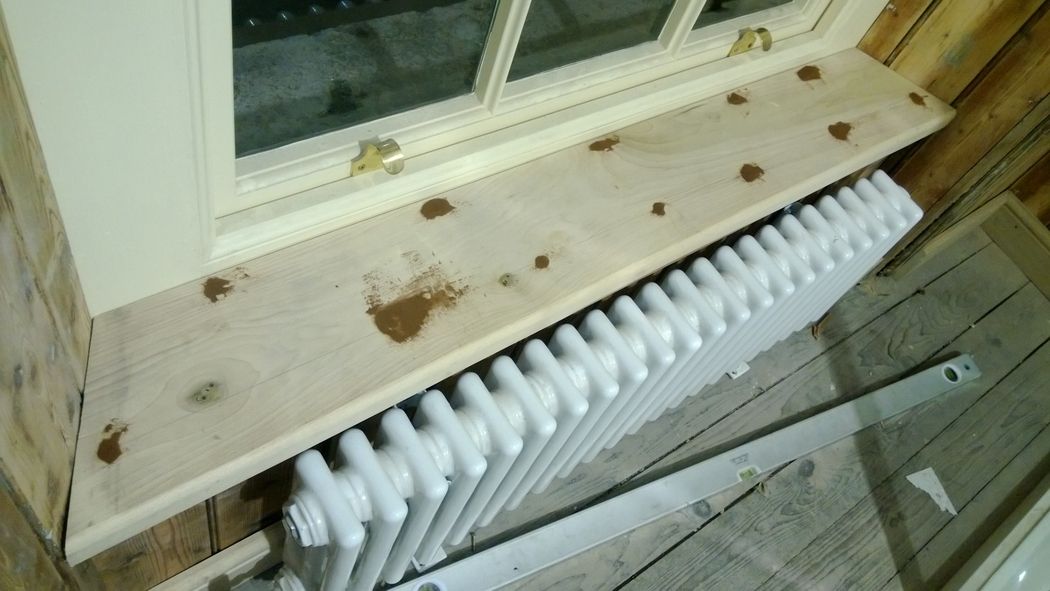
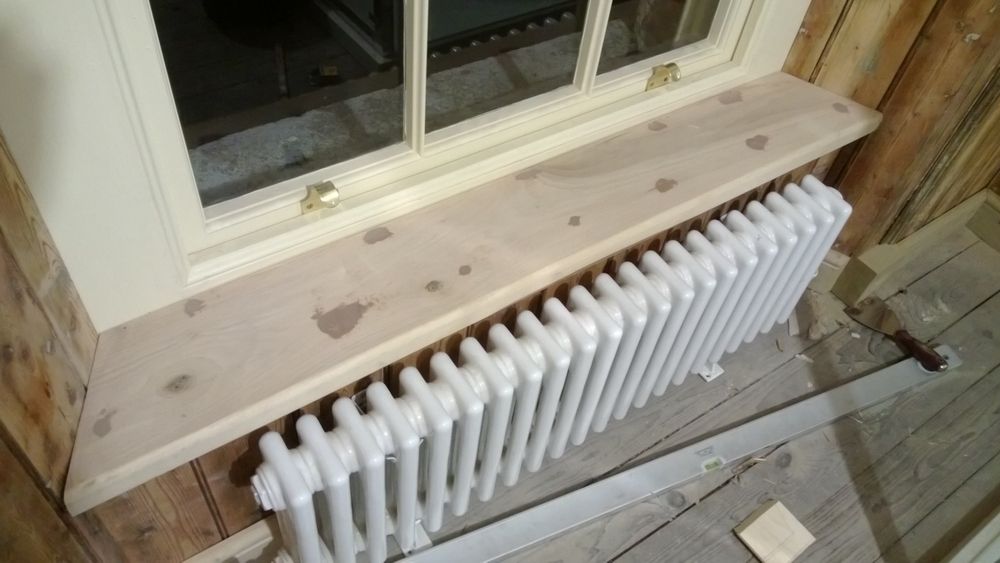
I then had some 35mm sill cut to the size of the opening, which fits nicely. It was then glued and pinned in place:


Filler sanded:


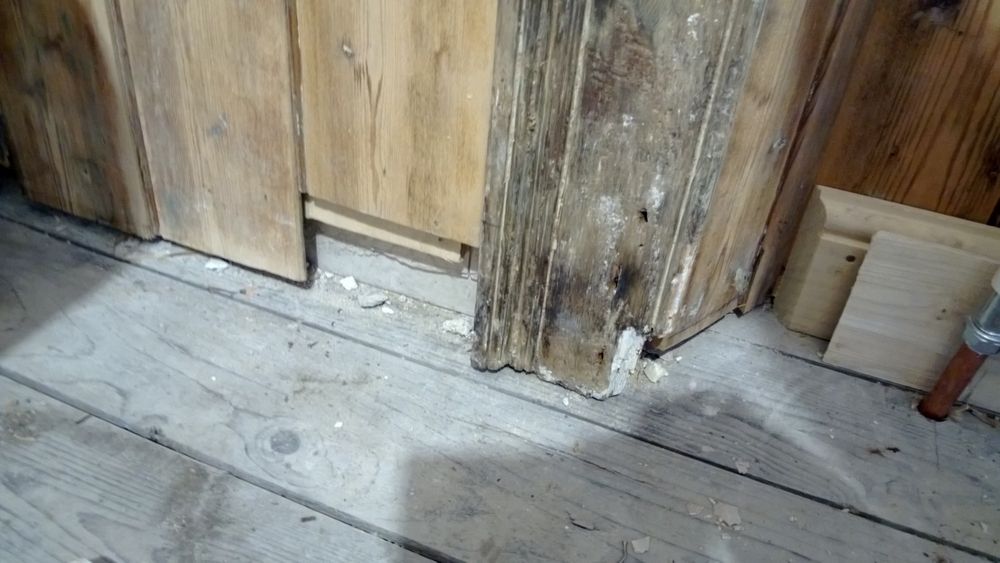
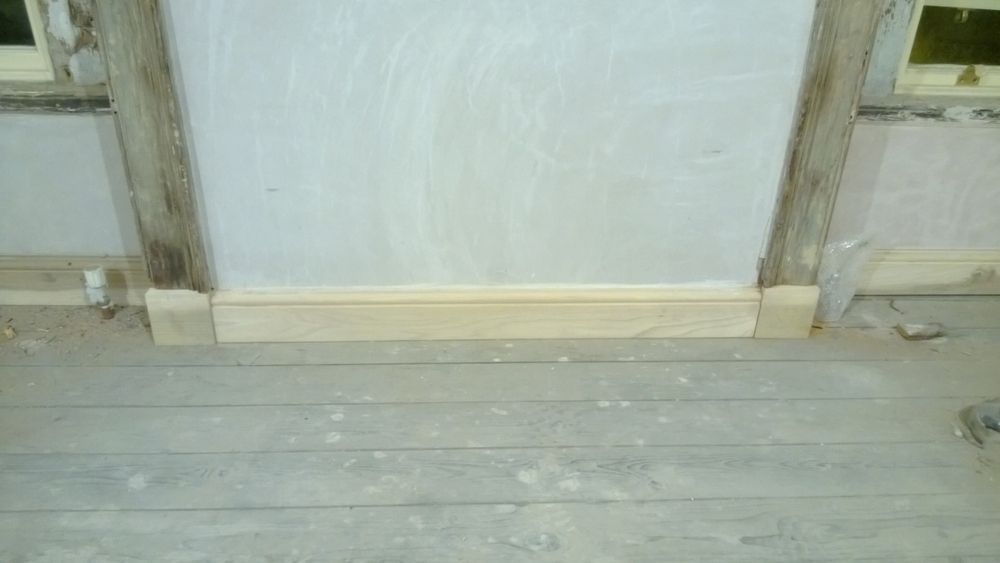
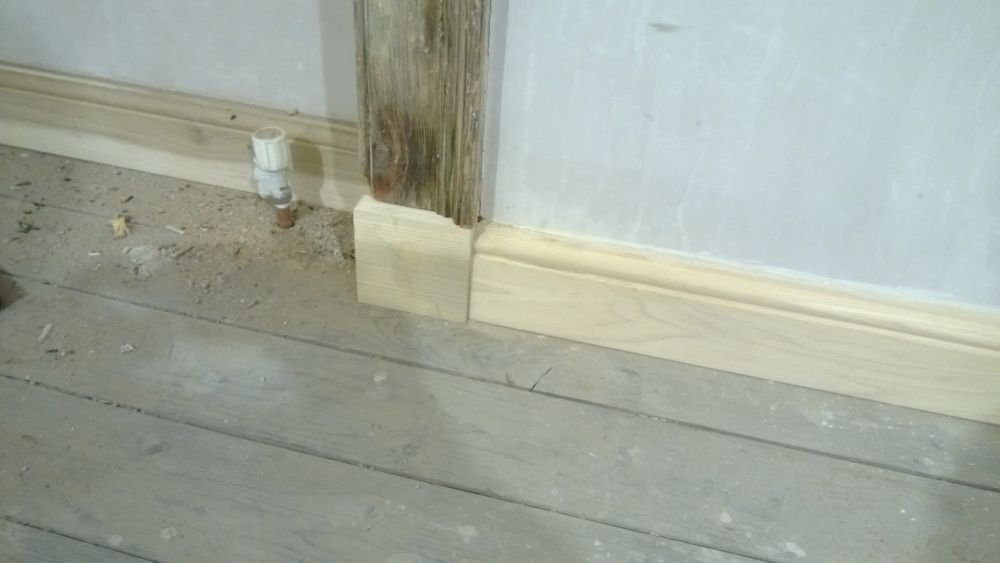
I also had some architrave plinth blocks made up. Just a very simple square shape to clean up where the window architraves meet the skirting in both the bathroom and bedroom. The bottom of all the architraves was also damaged so this was a decent solution. Some of the damage:


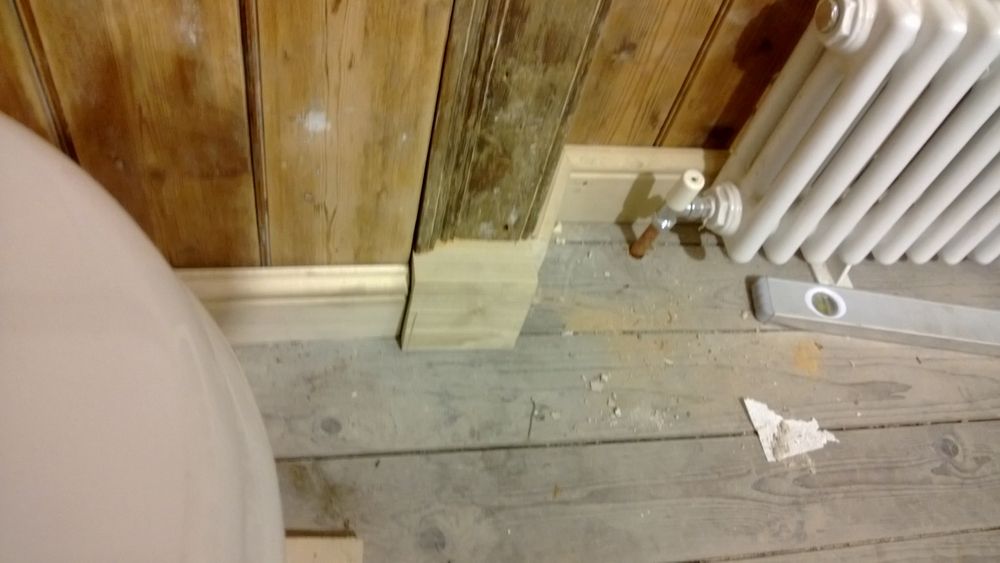
A block temporarily in place:


Thinner blocks for the bedroom:


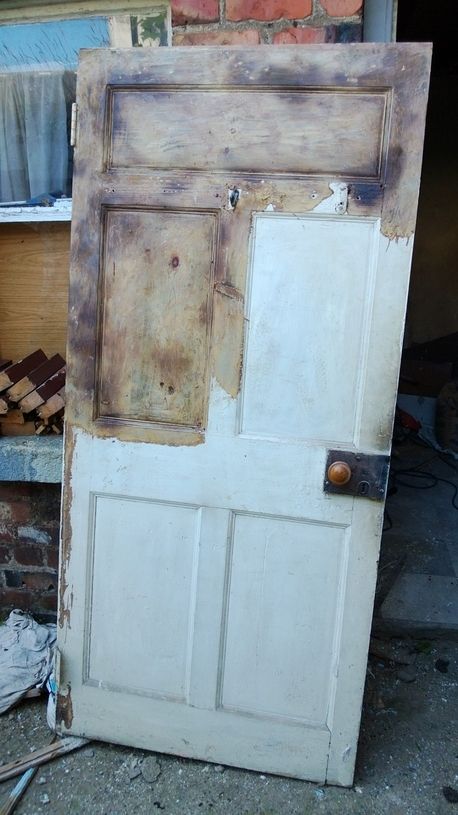
I also started work on stripping the paint from the doors. Extremely labour intensive, this took about an hour:


I hope to start painting in the next week.


Wednesday, 19 June 2013

Tiling & Shower Installation

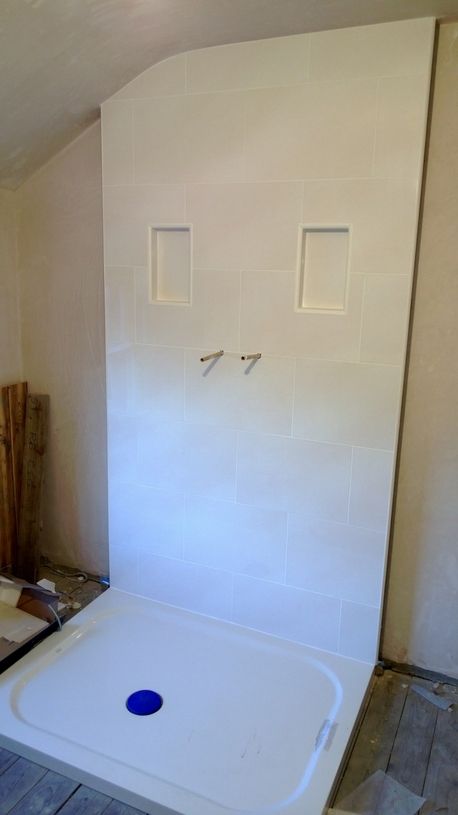
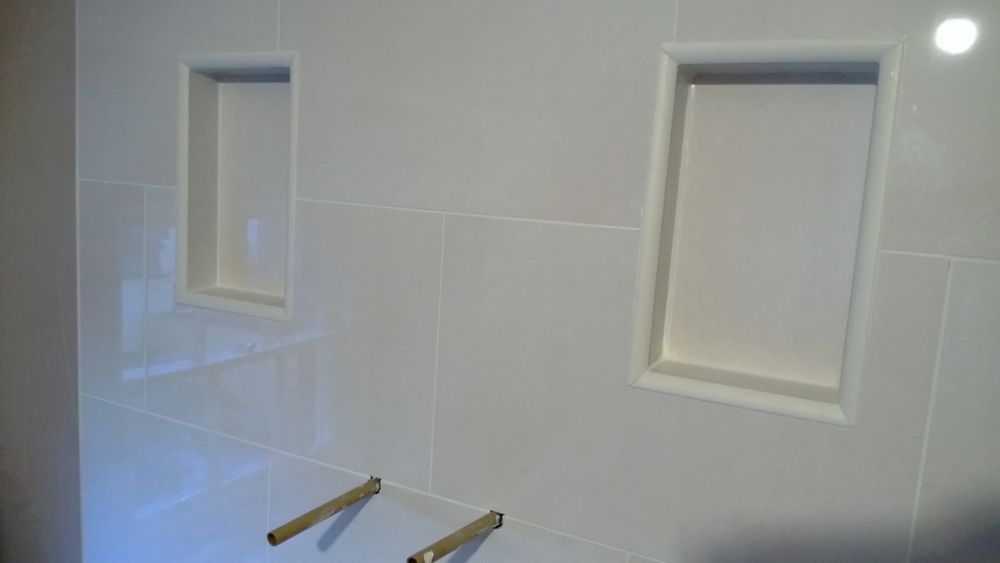
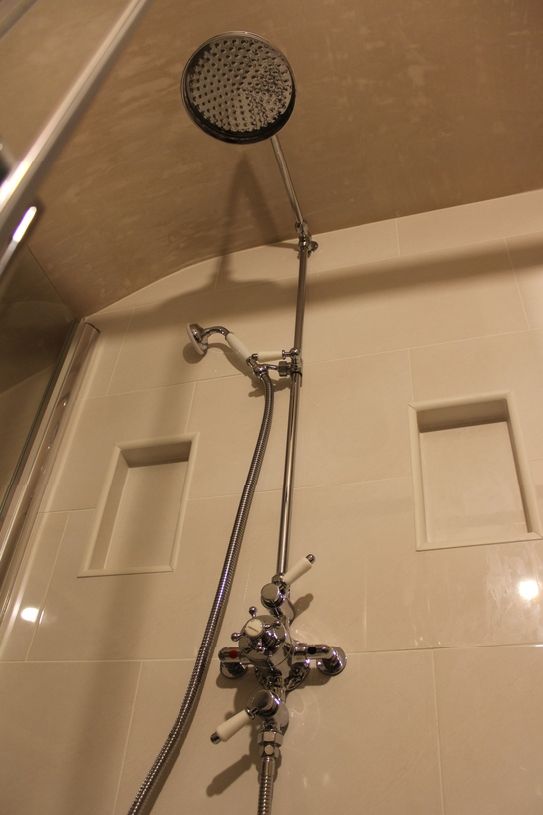
Tiling behind the shower unit was completed last week, it came out extremely well:


The small inset shelves are just the right size for general toiletries: 


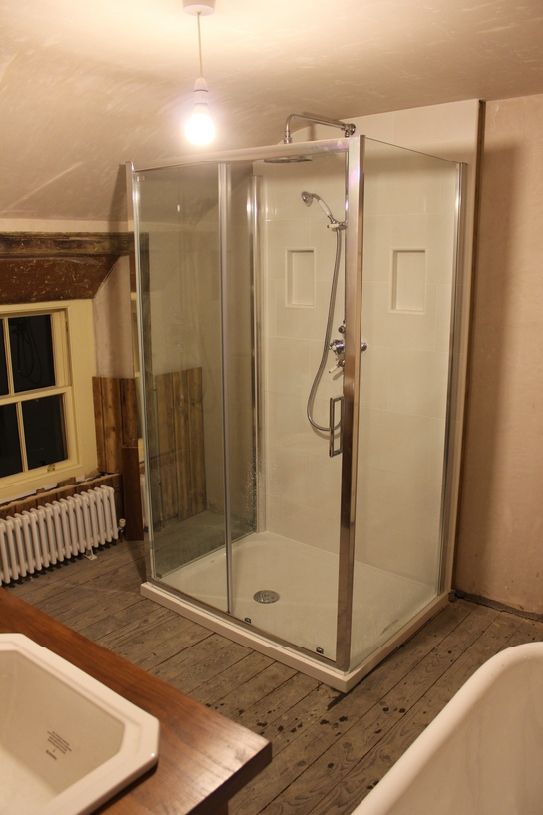
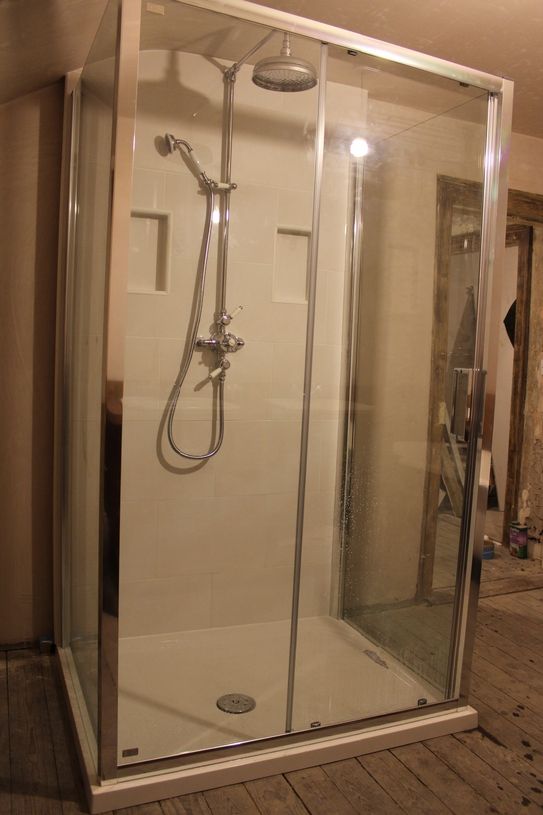
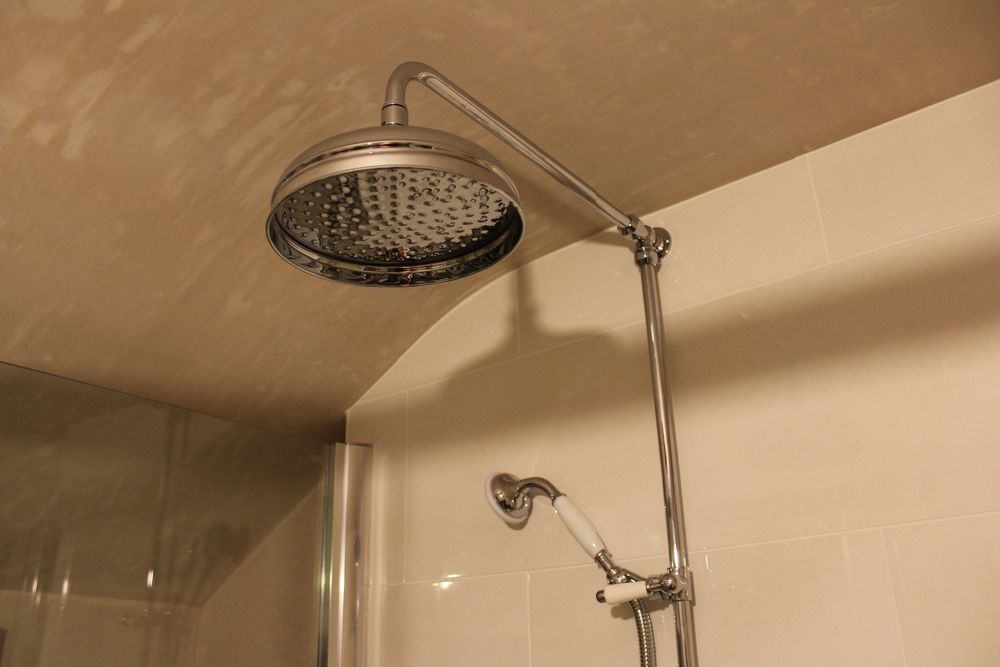
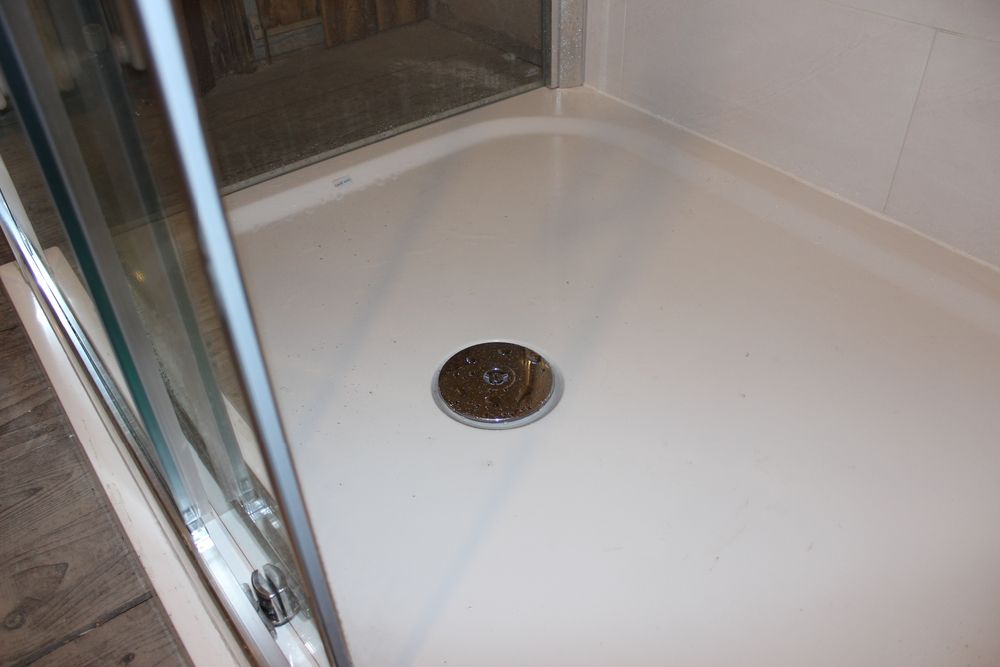
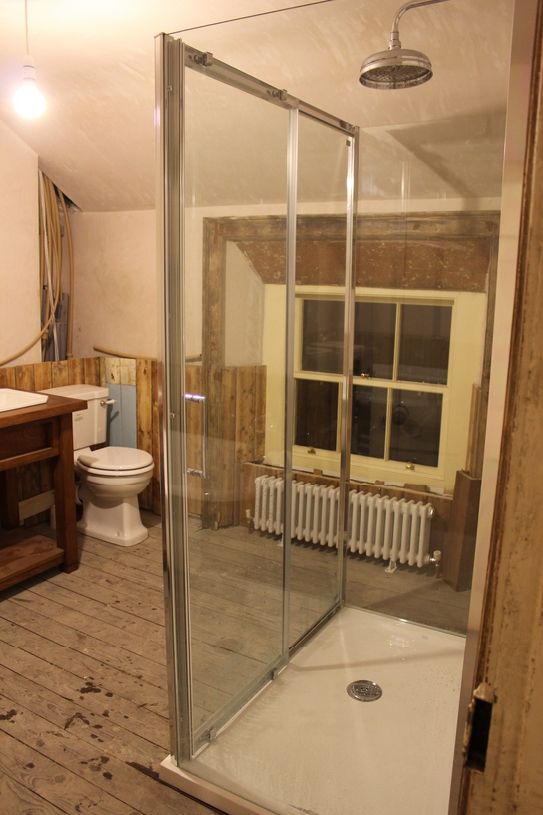
Once the tiling was complete, the shower enclosure and shower itself could be installed. I'm extremely pleased with how it turned out:


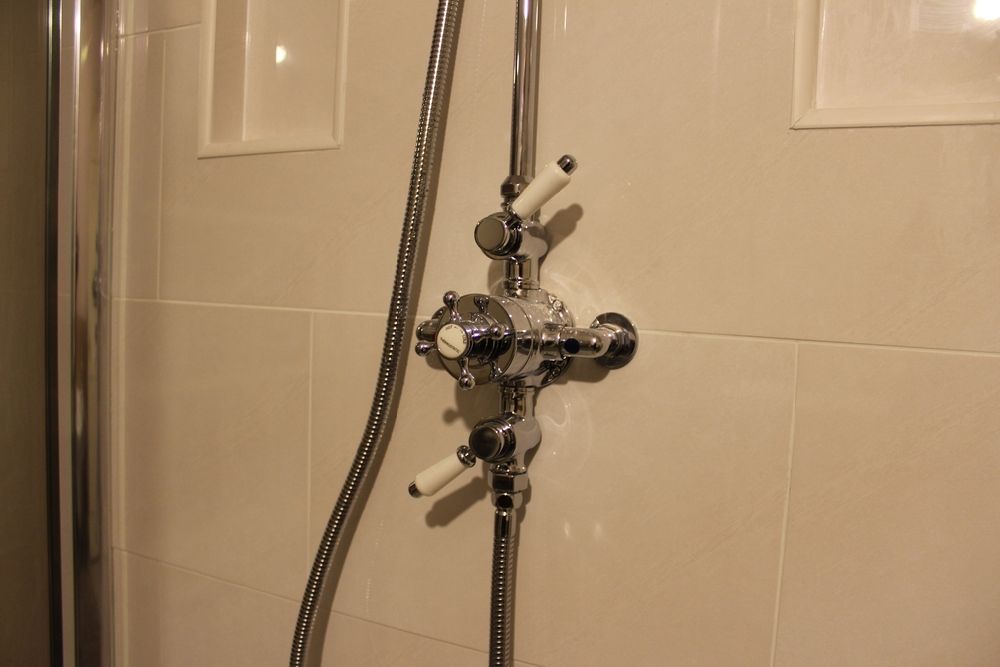
All fittings are very high quality. The shower has a rainfall type head.


Wednesday, 12 June 2013

Some Skirting & Bathroom Work

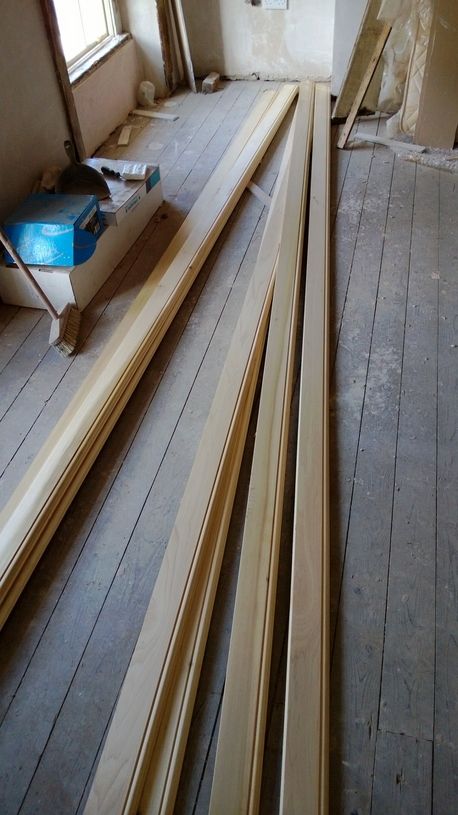
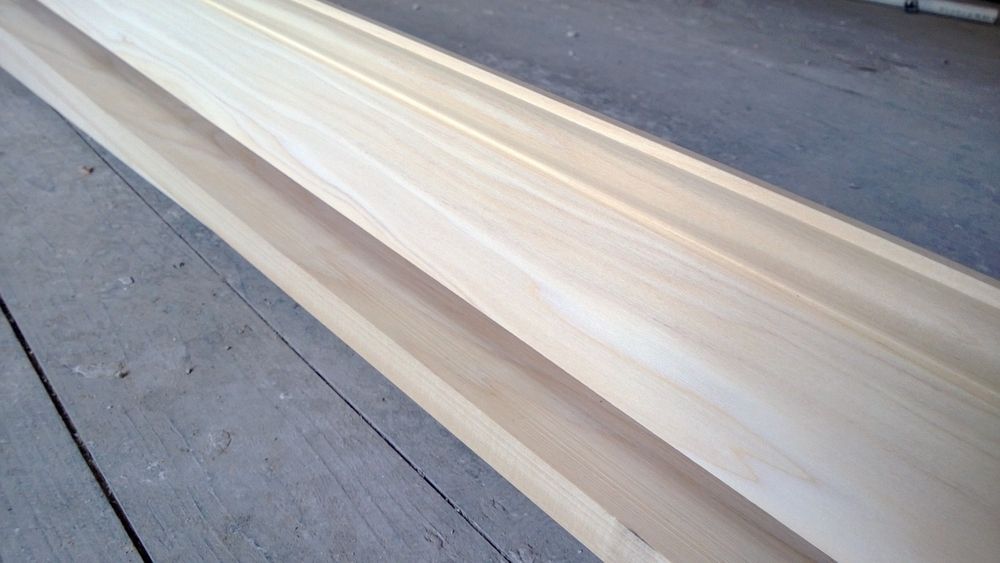
Work has slowed in the last month, however is due to pick up again next week. In the mean time, I had some skirting made up, matching the profile of the ground floor front room skirting exactly, which is the only original surviving skirting in the house.

I had the profile bit made for €50, which allows the wood shop to cut lengths of poplar identical to the original skirting. Poplar was used as it has virtually no knots, perfect for painting. I had it made to a height of four inches for the top floor rooms, as the original skirting would not have been full sized. Something to note is that the top floors never had decorative skirting like downstairs, just simple shaped lengths surrounding the room. Most of it had been lost/damaged so I made the decision to get the new skirting made up to the original downstairs profile.


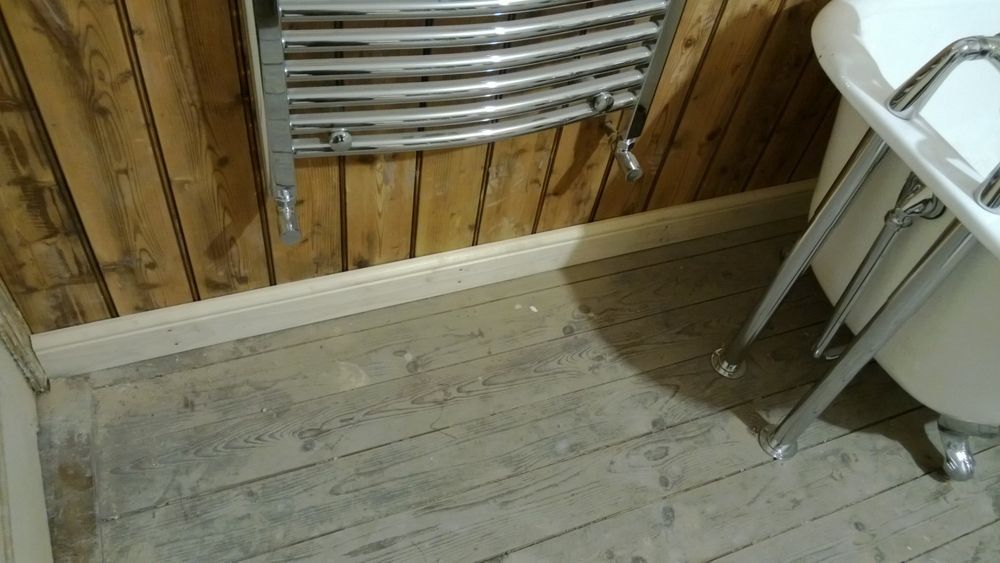
Some skirting installed in the bathroom:


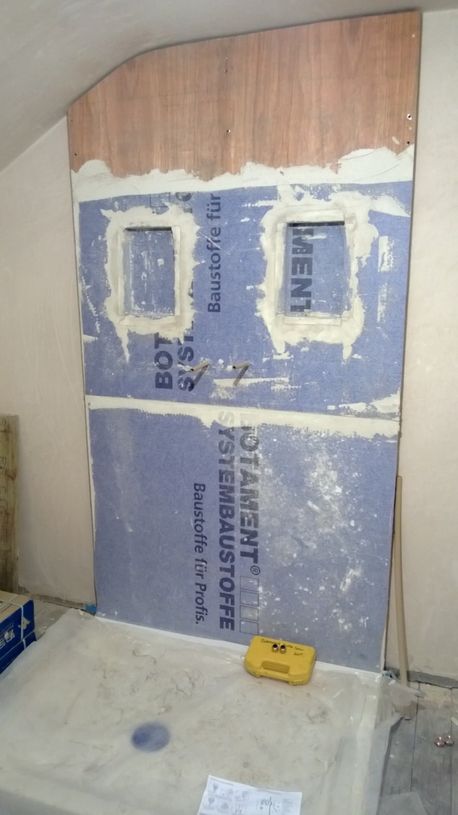
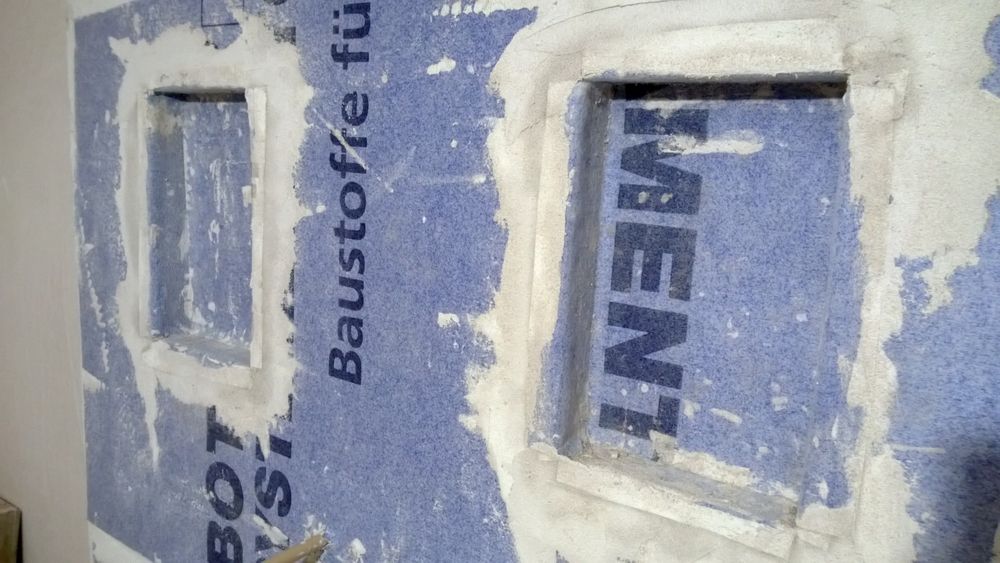
Tanking also began today behind the shower. The box sections were also cut out, which will serve as two shelves:


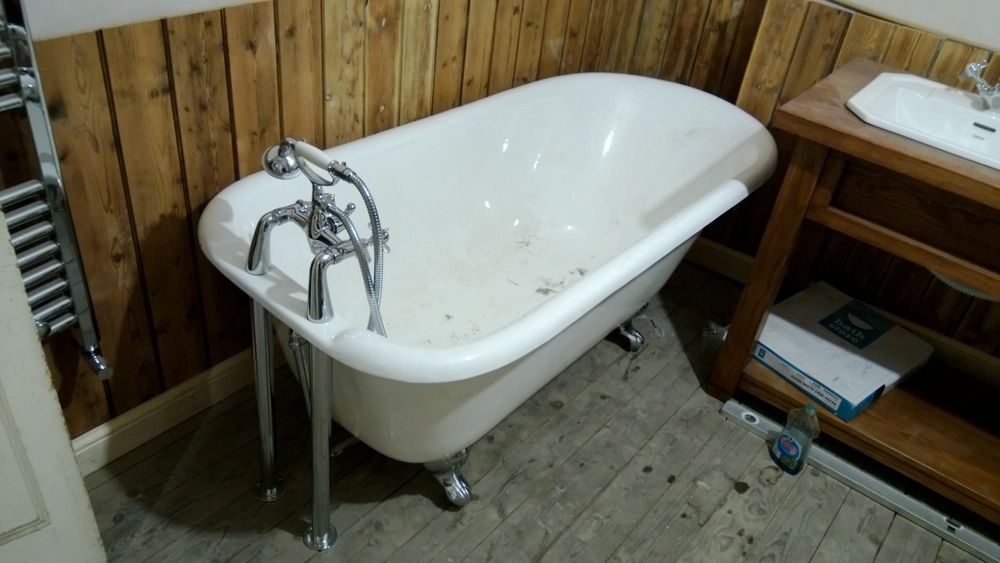
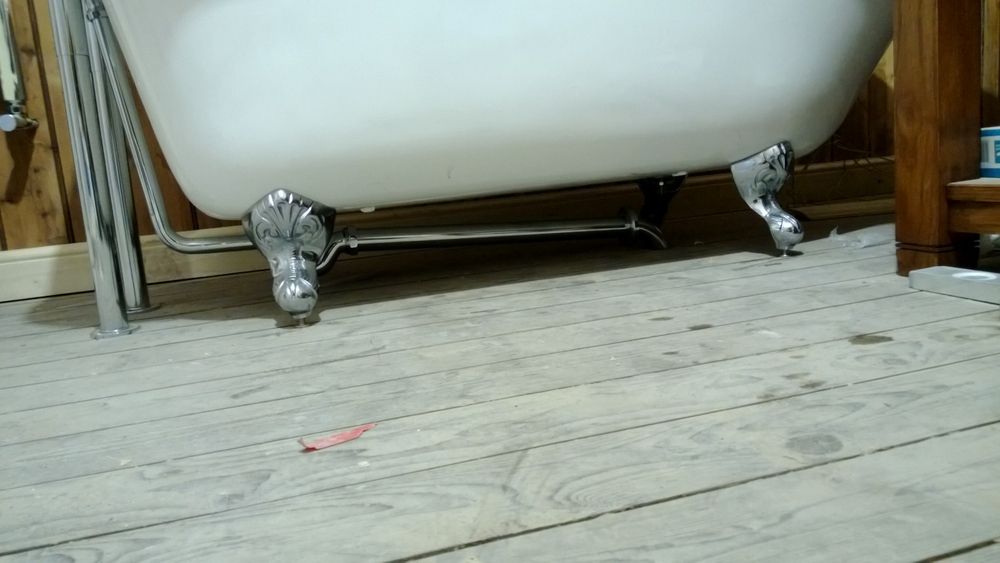
The bath has also temporarily been positioned with the feet, taps, waste and downpipes fitted. It just needs to be plumbed from the floor below:


The decorative waste pipe: