Wednesday, 1 April 2015

Master Bedroom Radiator Stands

With plumbing resuming this week, it was time to sort the bedroom radiators. They were originally plumbed to hang on the wall, but after some thought it made more sense to mount them away from the wall with freestanding brackets. This would allow the curtains to be drawn behind them instead of in front, insulating the heat output to the room.

So I had these brackets made up by a welder, incorporating the original radiator brackets and new uprights. The finish is a little crude by they're virtually invisible once the radiators are mounted:


They screw securely to the floor with since added screw holes:


Bathroom Window Blind

A small but frustrating task was completed this week, building a screen Crystalline Voile blind into the head of bathroom window. I wanted the roller blind to be completely hidden from view and not just tacked onto the upper reveal of the window.

This is the upper window reveal as it stands. It's the original timber, but it has a large split across the middle of the section. It's behind this split that I wanted to hide the blind:


The lower section of the reveal removed:


Installing some mounts for the roller blind brackets:


Stripping the paint from the reveal sections:


Fitting the blind required lots of adjustments to surrounding timber to create enough space.


The reveal re-installed:


With a cut-out for the drawstring:


Finished job below. The join is far from perfect, but that said, it never was so I'm happy to leave it as is with the original join visible. The blind can be retracted completely out of view.


Because it's a screen blind, it still allows in huge amounts of light, allows visibility outside, whilst still maintaining privacy.


This is with the blind closed:


Mirror and wall lights are to follow very shortly.


Monday, 16 February 2015

First Floor Fireplace

Work began today on the first floor front room fireplace. This will be the most important fireplace in the house, in that it will be located in the living room and will be in constant use so will be important to get right.

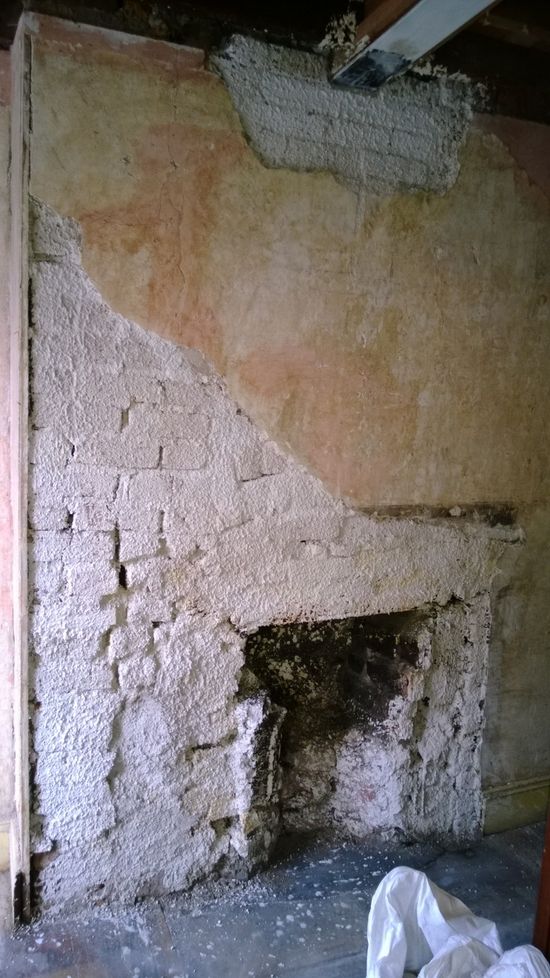
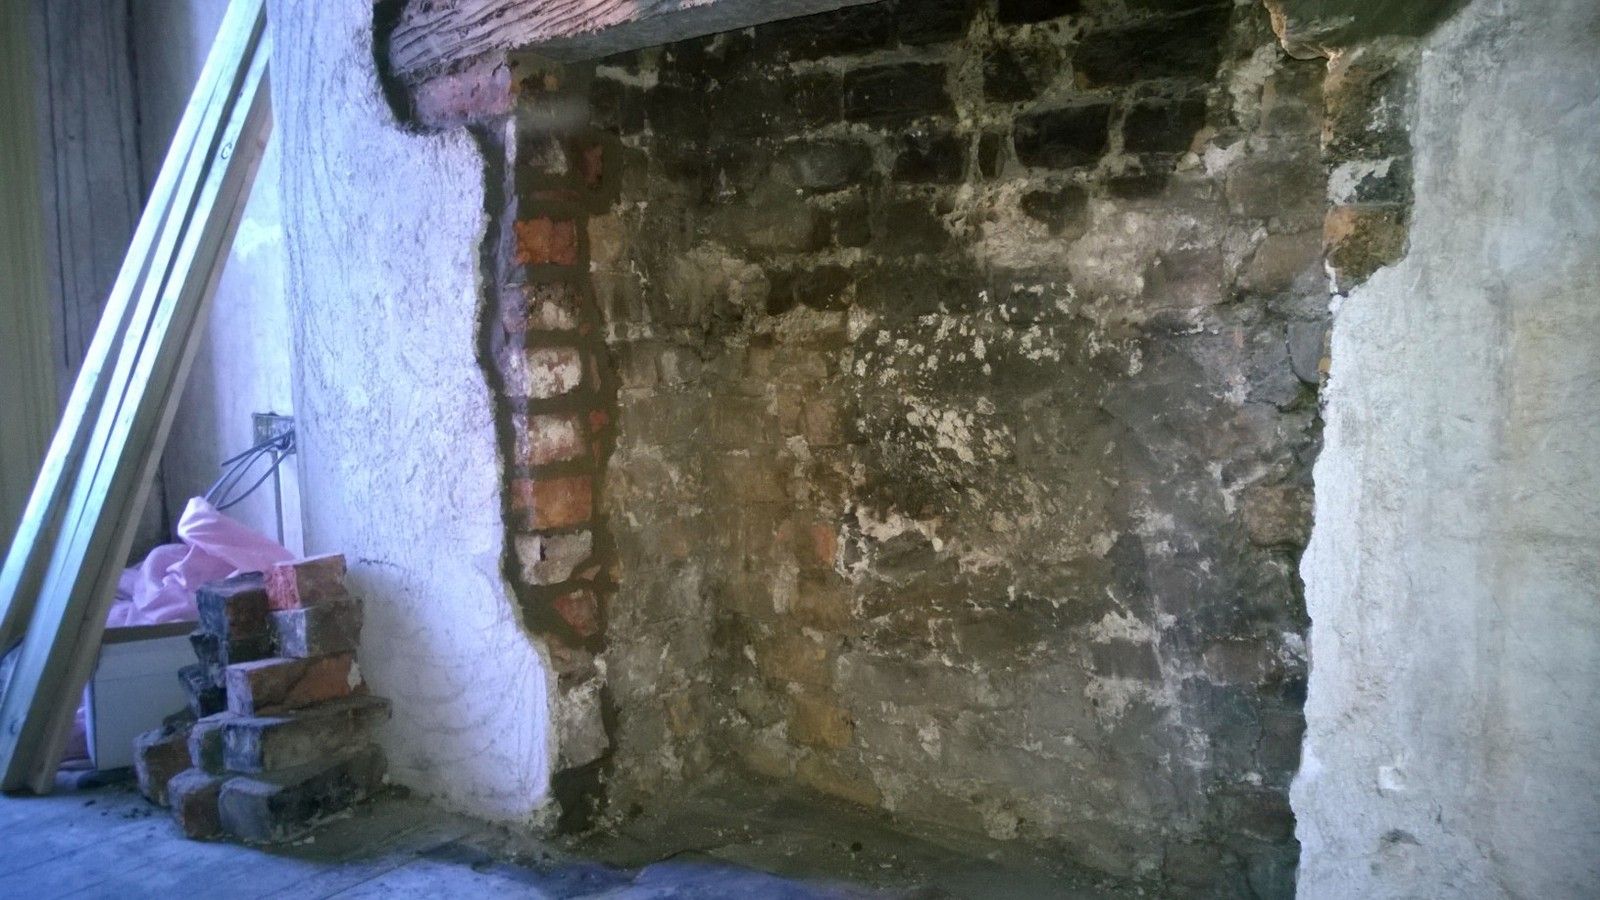
This was the fireplace as it stood, looking very sorry for itself:


As you can see, the opening is tiny (approx 10" deep and about double that in width at its widest) and is of little use in it's current form. The plan was to widen the opening considerably so a solid fuel burning stove can be inserted, which will heat both the living room and provide heating to the water in the 200l thermal stove, located in the attic space.

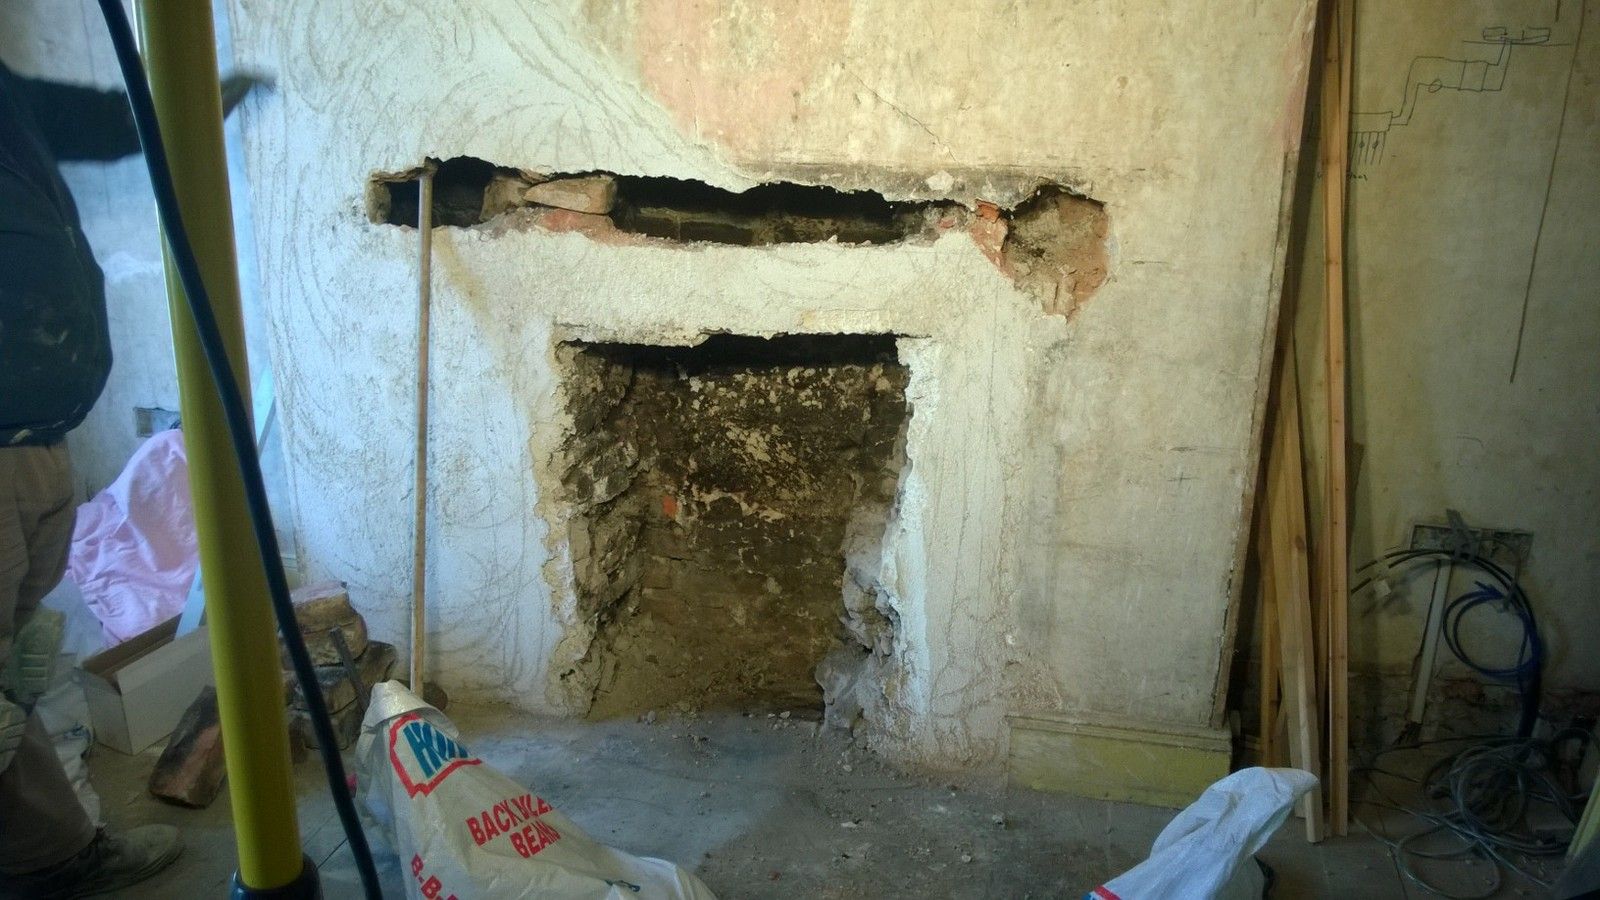
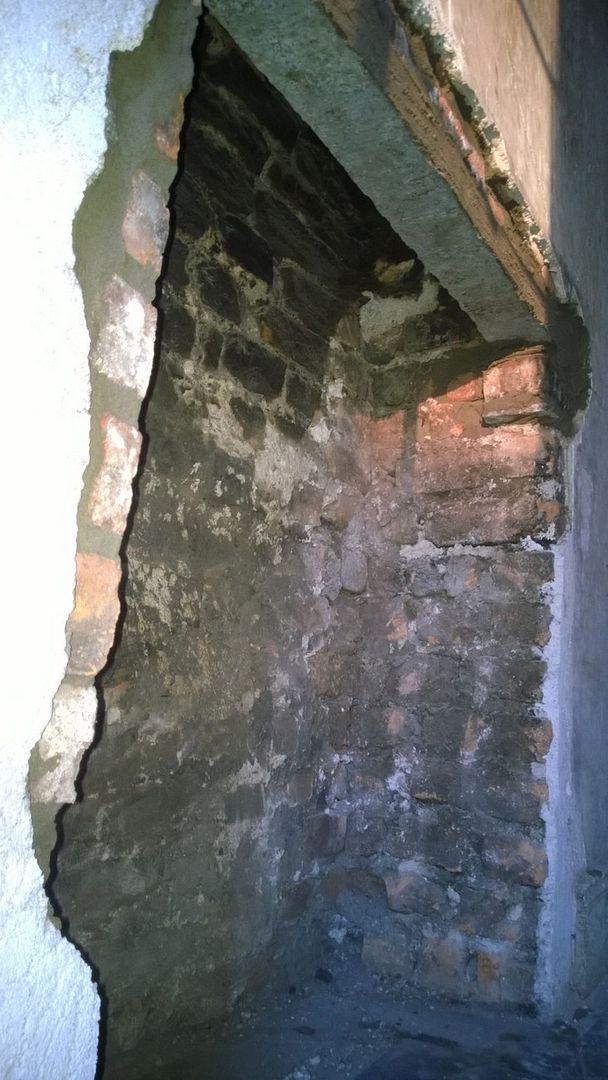
It's likely that this wasn't the original opening size, as once the area was opened up, the original brick casing became clear, whilst the inside of the opening was filled with miscellaneous stone/brick rubble to pad out the space for the smaller grate that was installed.

Space was first created above the opening to insert a new head. Already you can see the opening is clear of rubble:


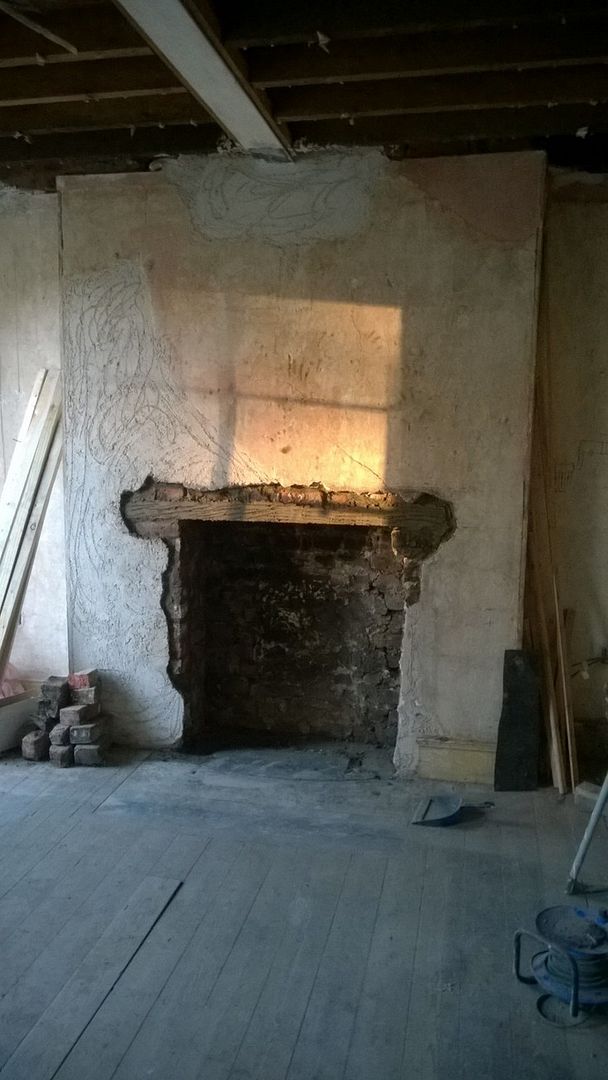
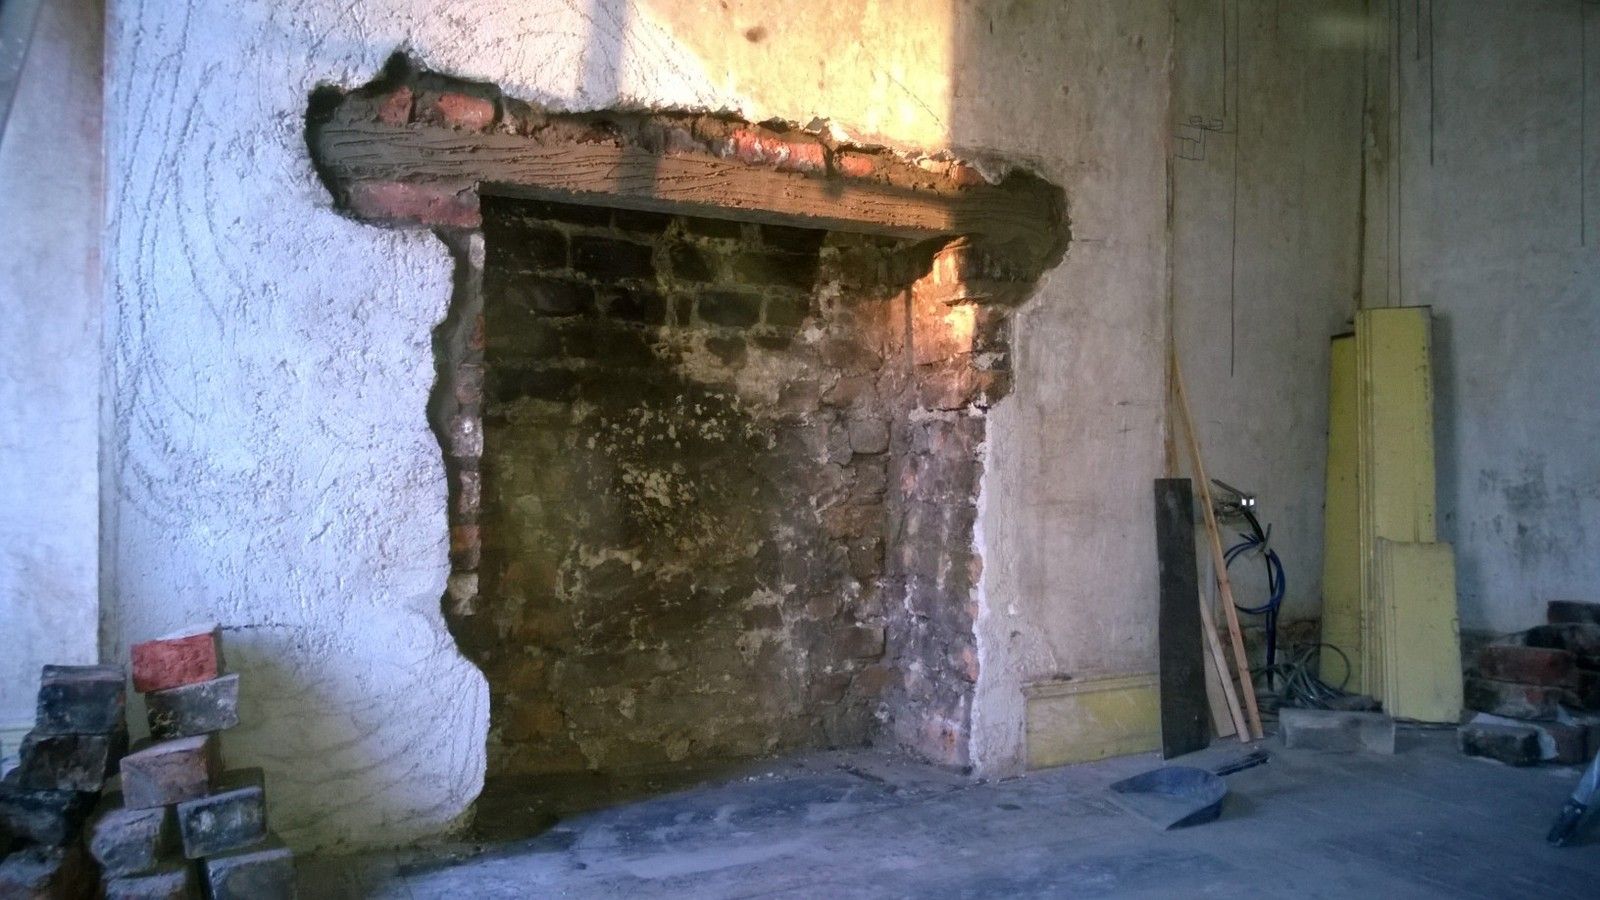
After many hours work, this was the finished result:


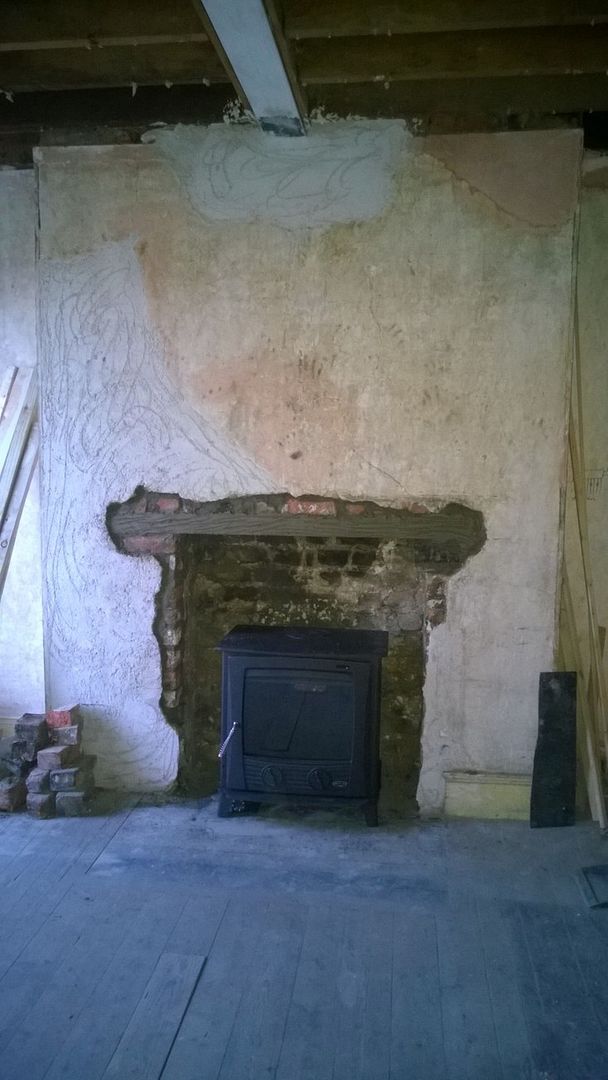
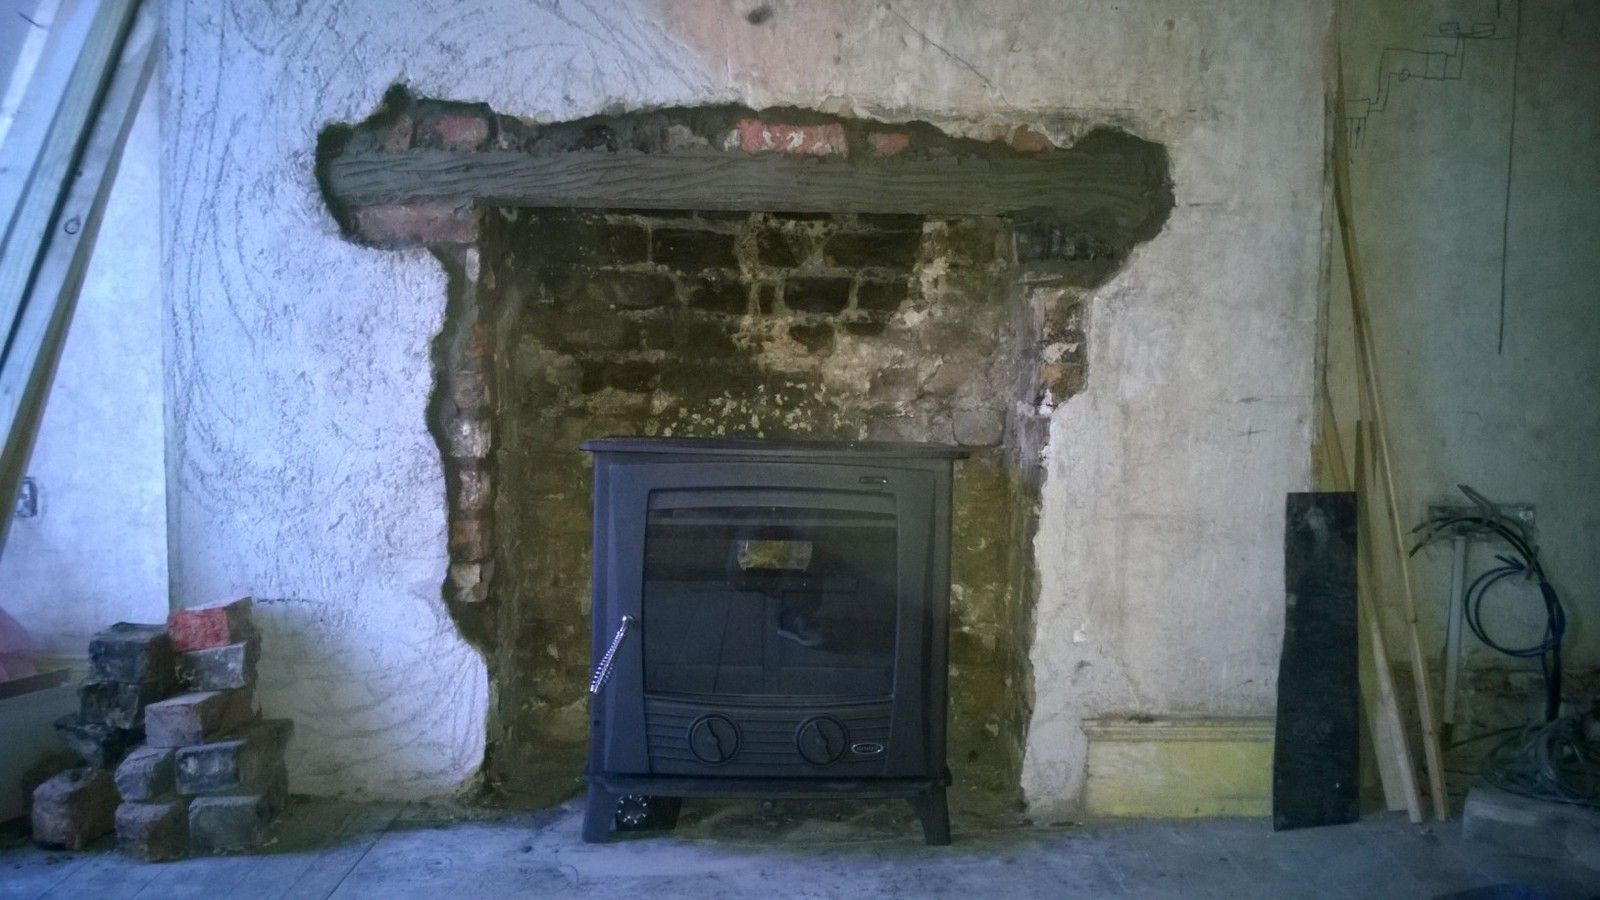
The left side wall of the fireplace had to be rebuilt as there was little to work with. Salvaged red brick was used to complete the wall. The fireplace is also inherently off center due to the flue rising from the floor below traversing the other side of the rebuilt left side wall.


The flues are really quite over-sized despite the modest proportions of the house; you could stand up inside them with a bit of squeezing.


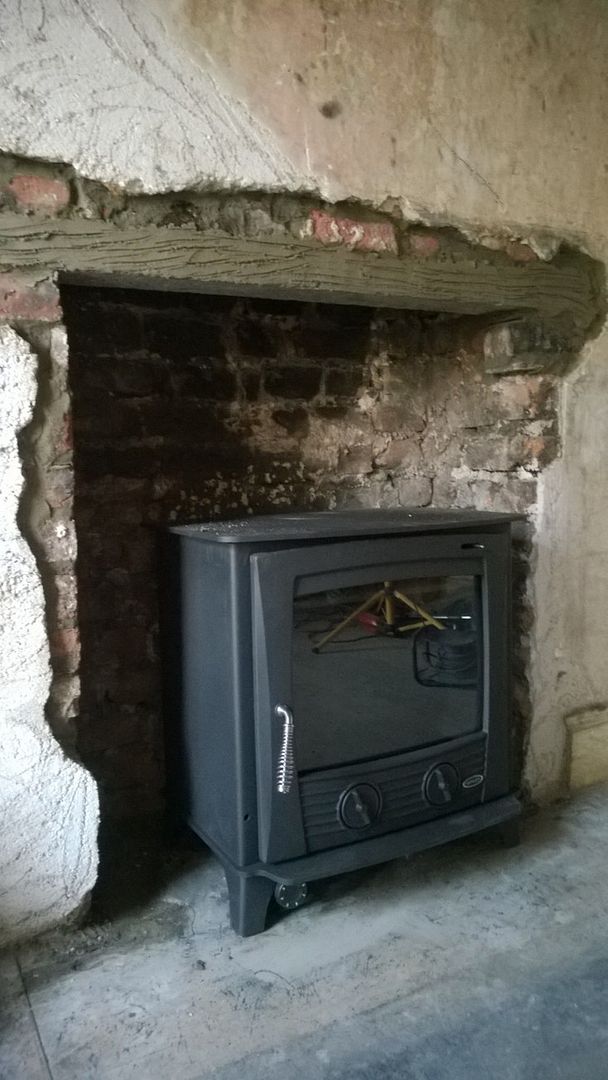
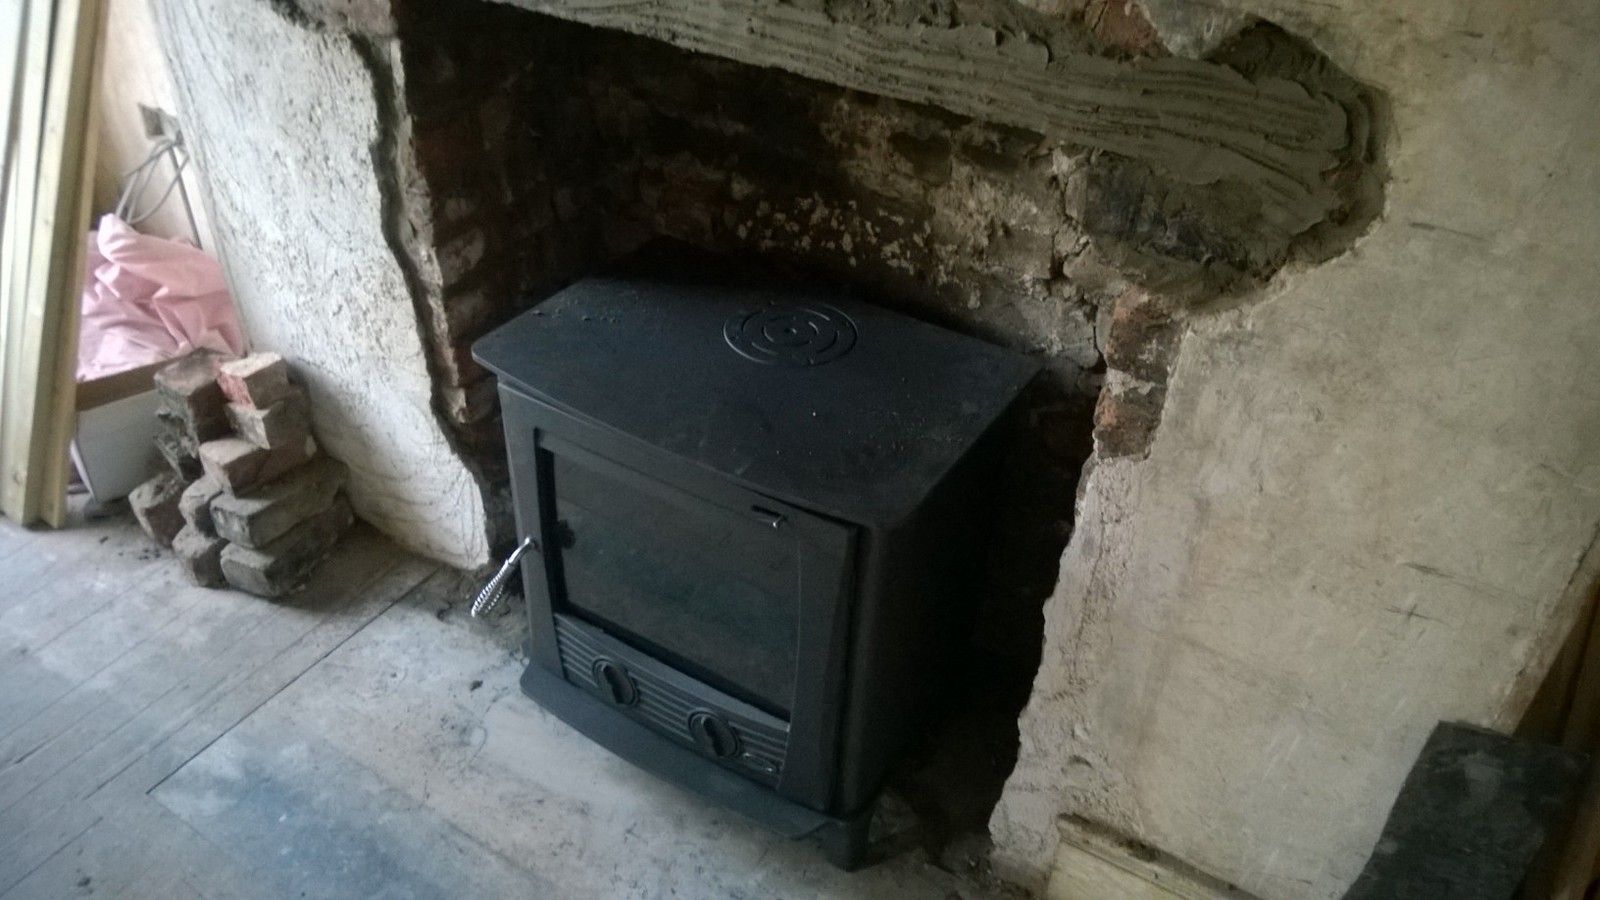
I opted for a Henley Druid 21KW stove with backboiler. It supplies 8KW of heat to the room and a further 13KW to water. It has something of an understated style which I liked:


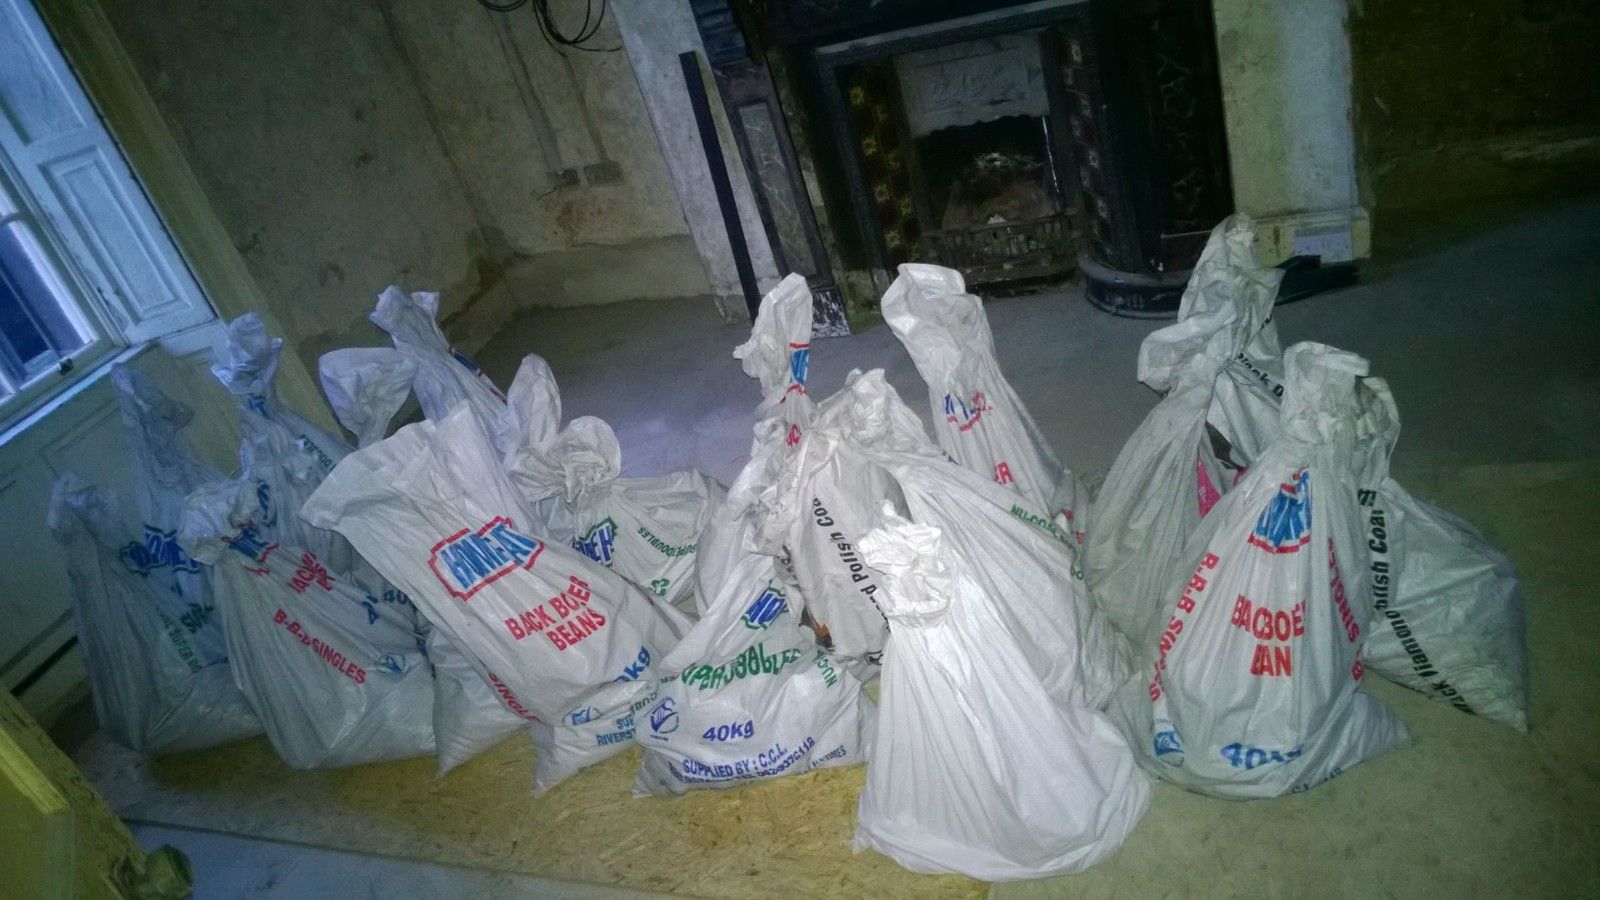
The resulting rubble:


An 1820s fireplace surround is being sourced from Dublin this week, more updates very soon.

Ground Floor Works - Small Update

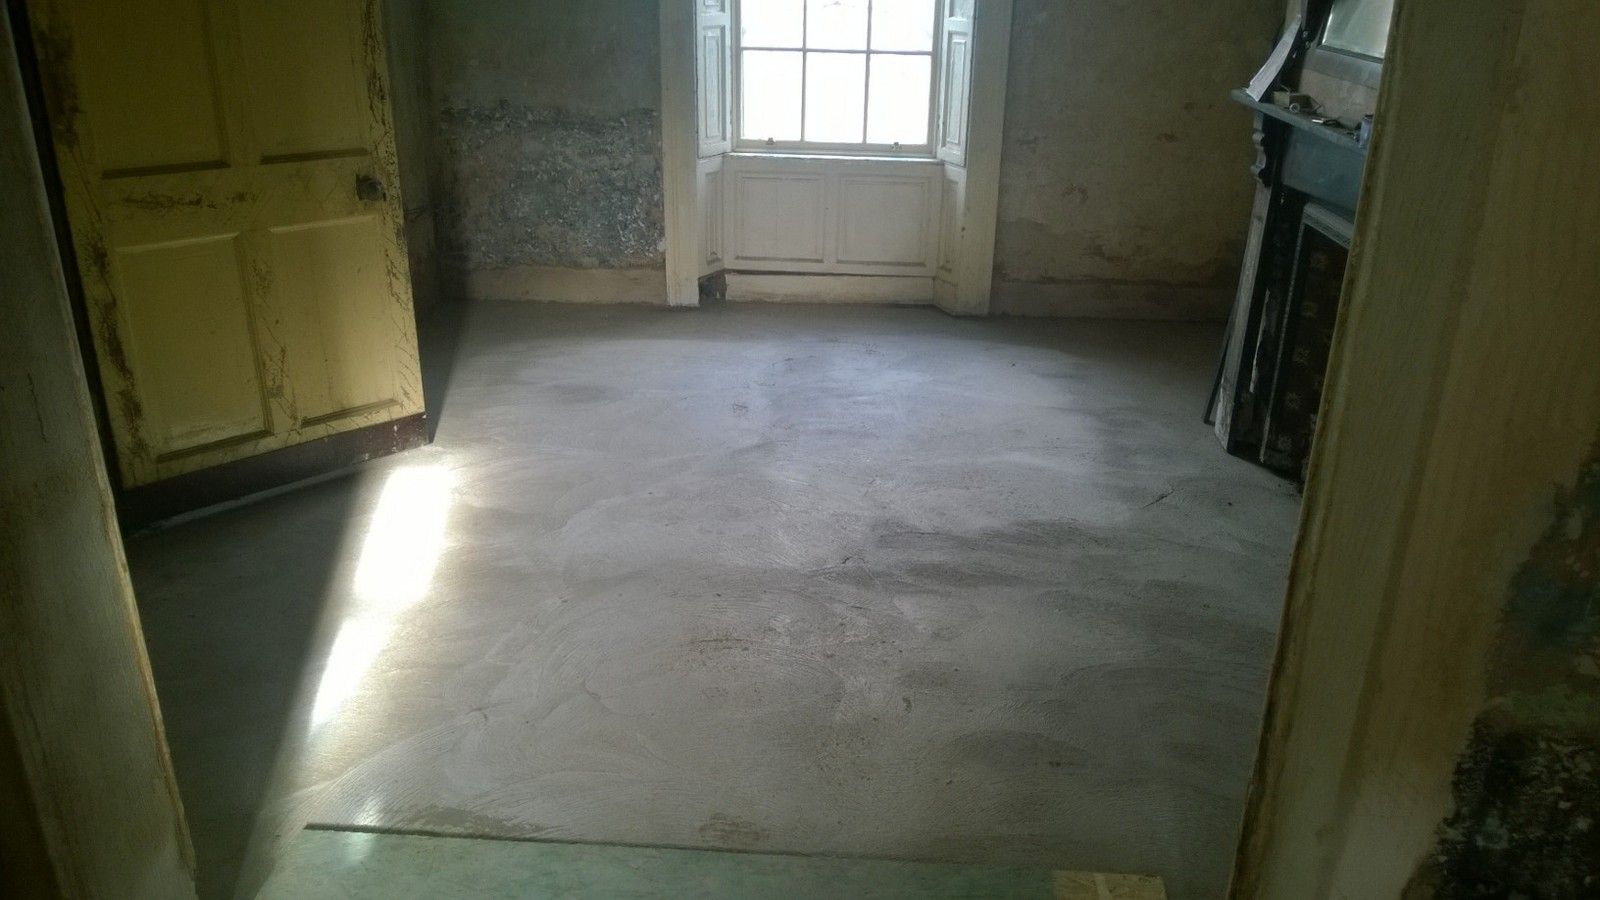
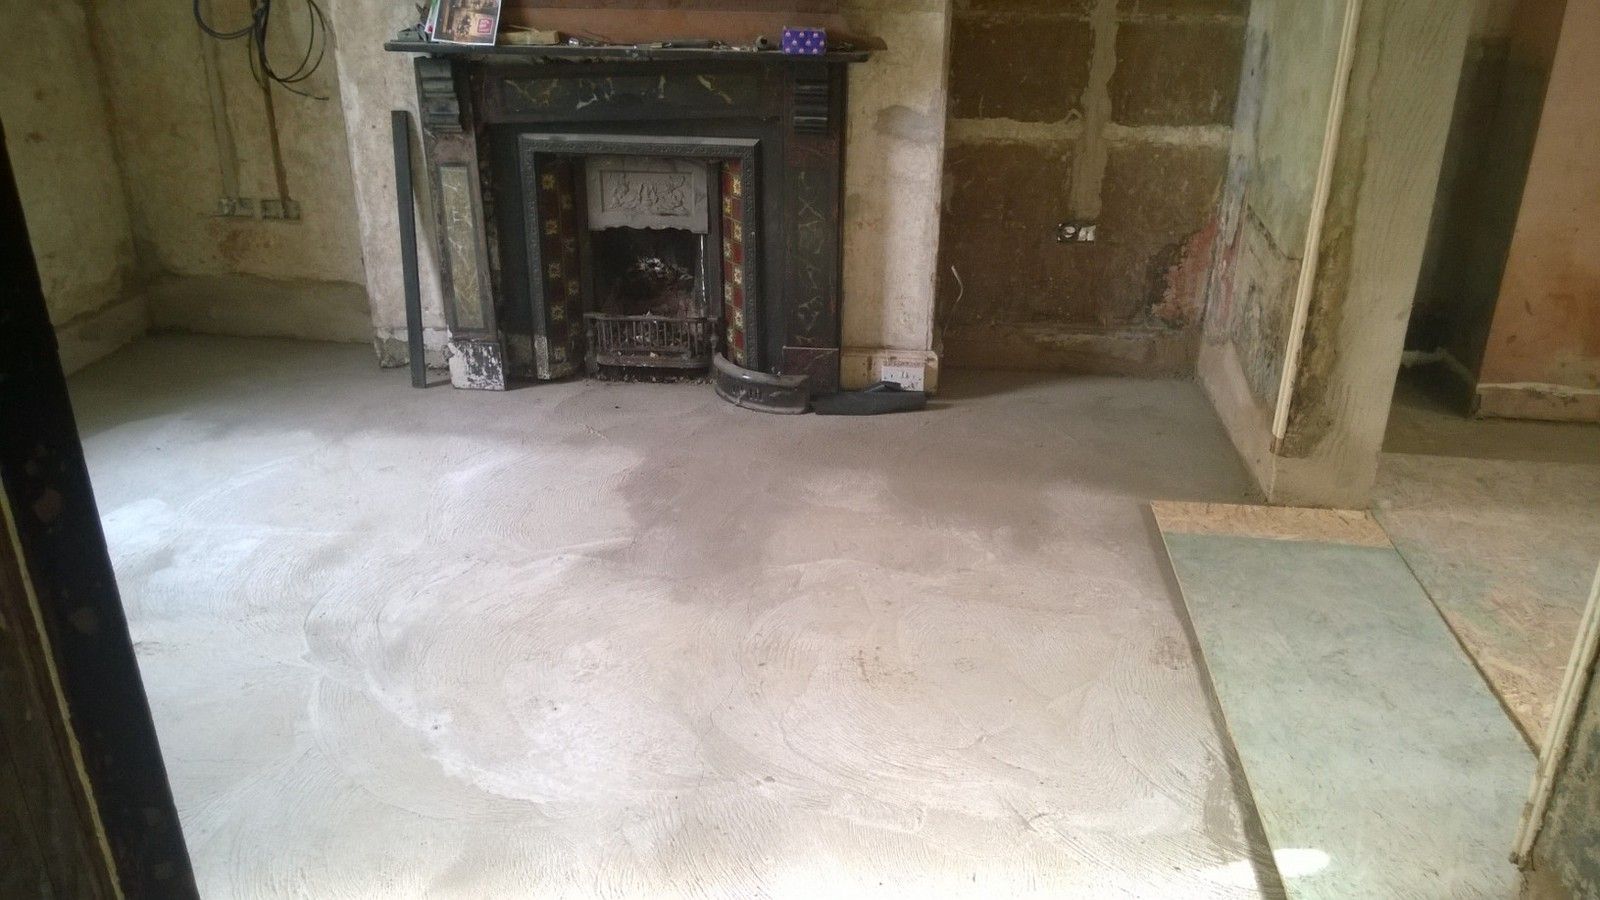
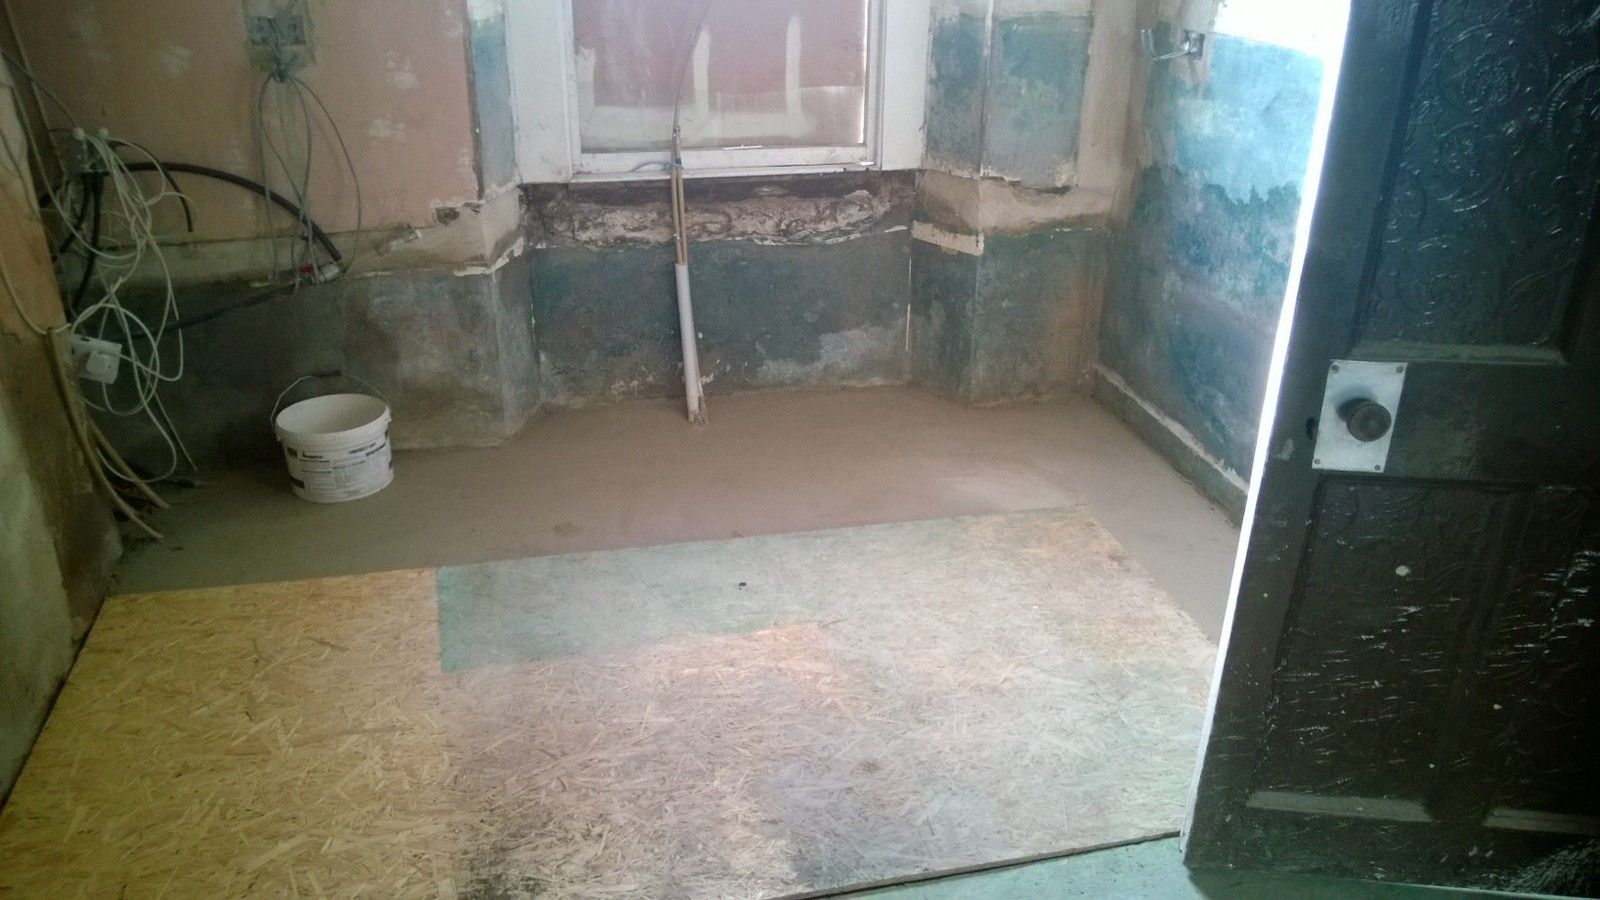
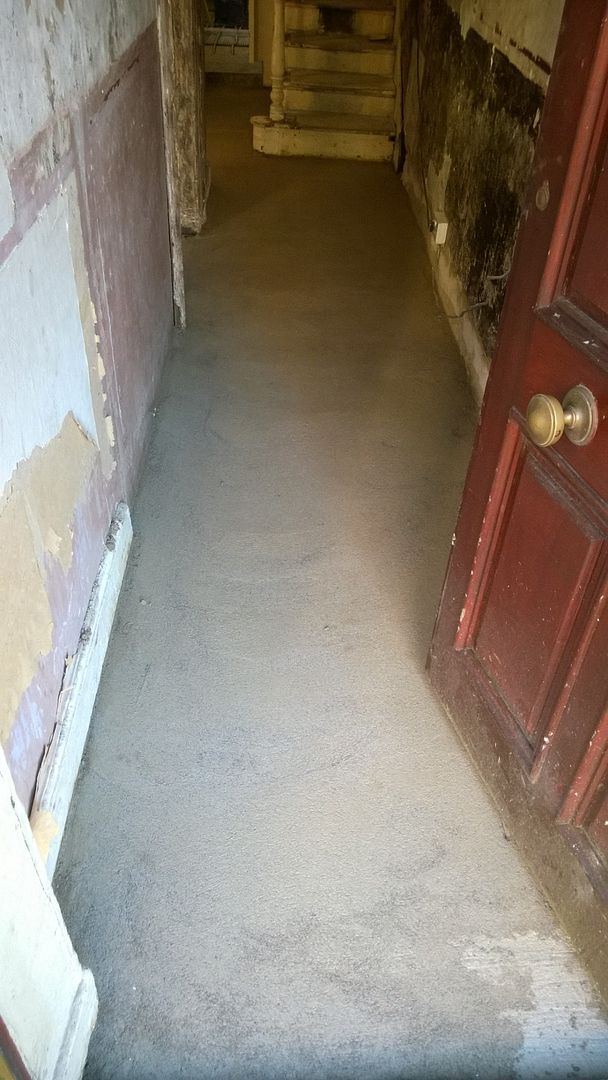
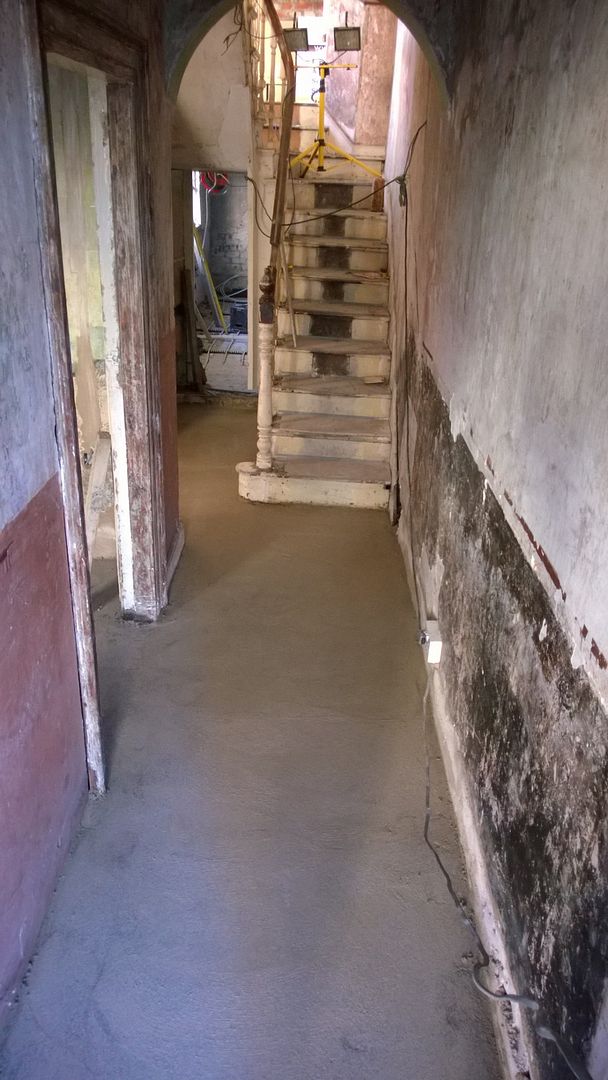
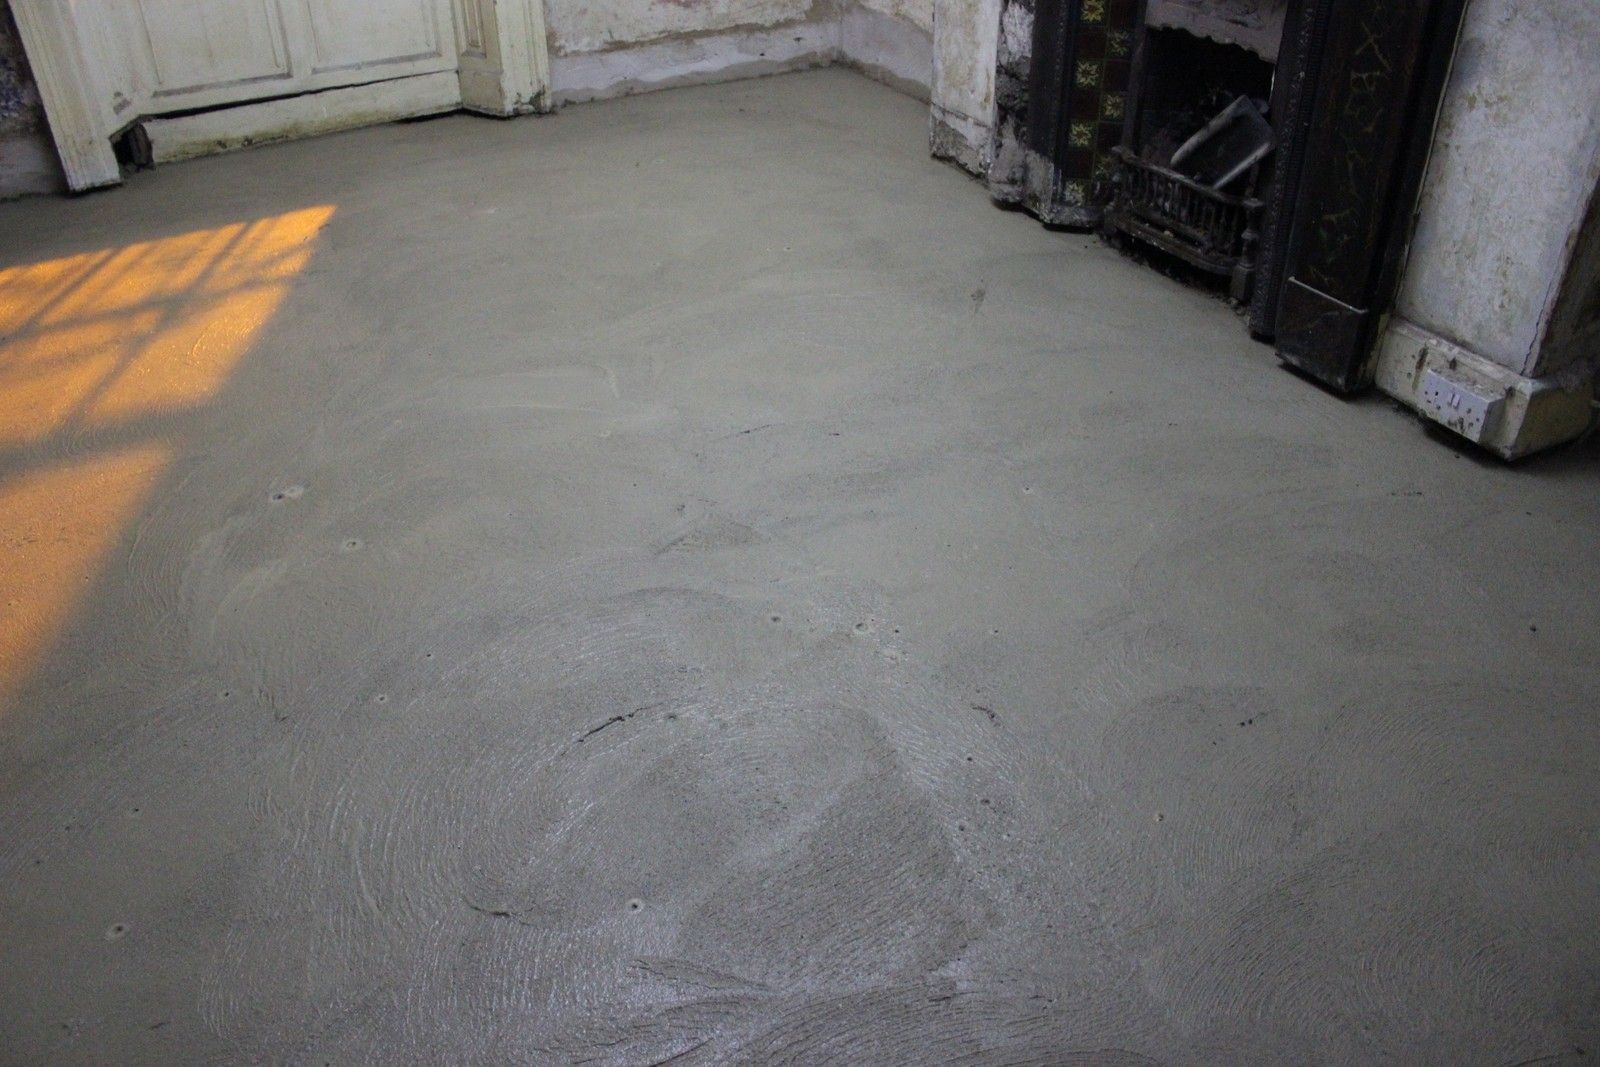
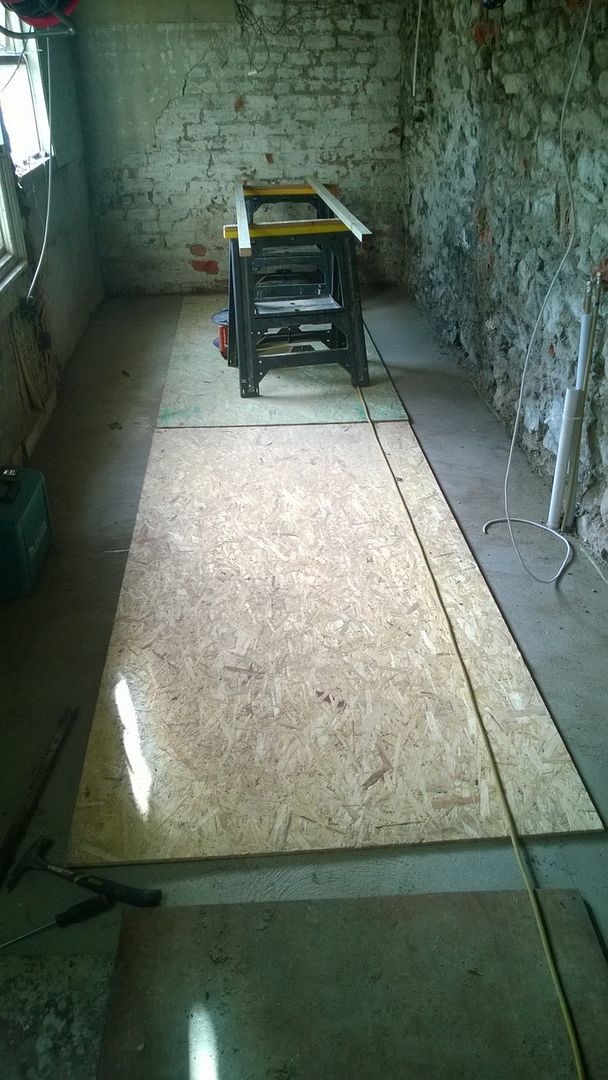
I neglected to take any recent pictures of the completed ground floor limecrete slabs, but three weeks on and it's drying well. It takes a long time to dry out, especially at this time of year, with damp areas still concentrated around wall areas. However the floor has been solid for approx two weeks now and can be treaded across with no problems.

Some areas are covered in board to protect the surface.


Some better pictures coming soon.


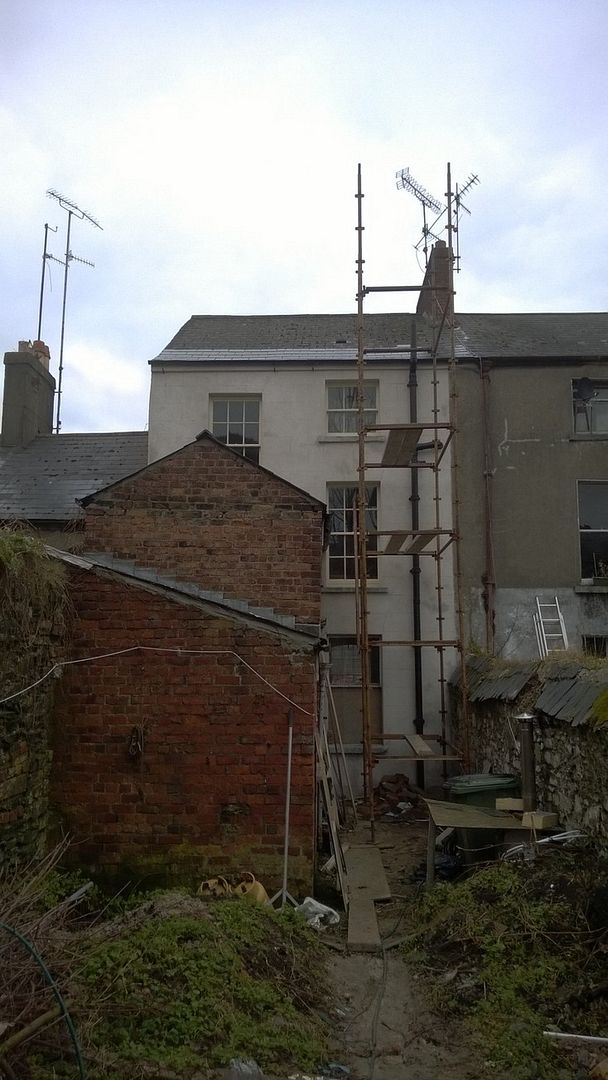
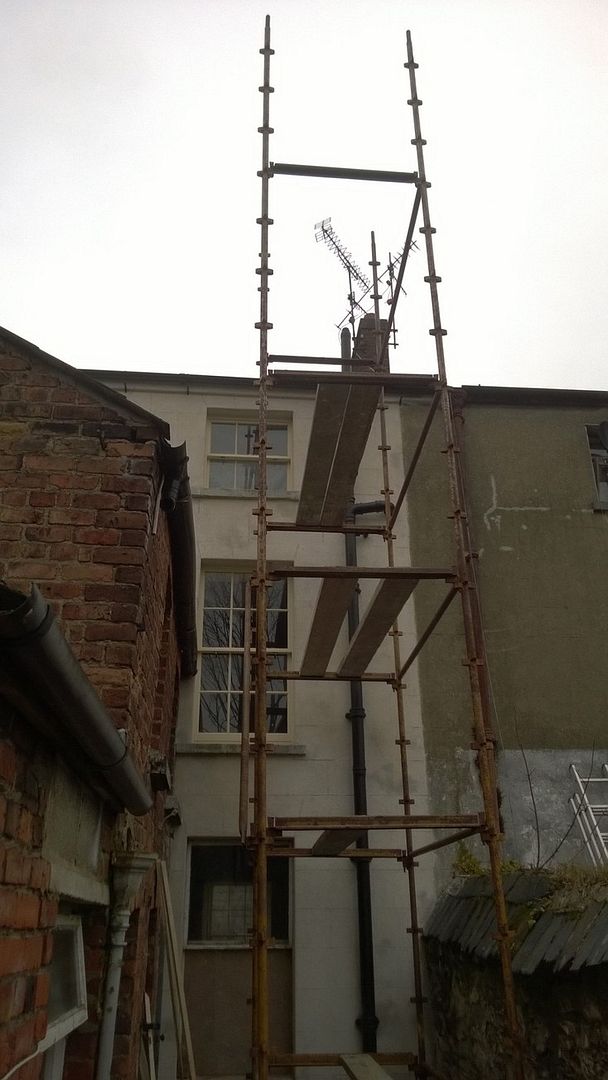
The rear of the house has been scaffolded for the second time, in preparation of the lining of the flues. Six inch stainless steel flexi-liners will be dropped down two flues, one to the ground floor front room fireplace and the other to the first floor front room fireplace.


Wednesday, 21 January 2015

Ground Floor Works Continue

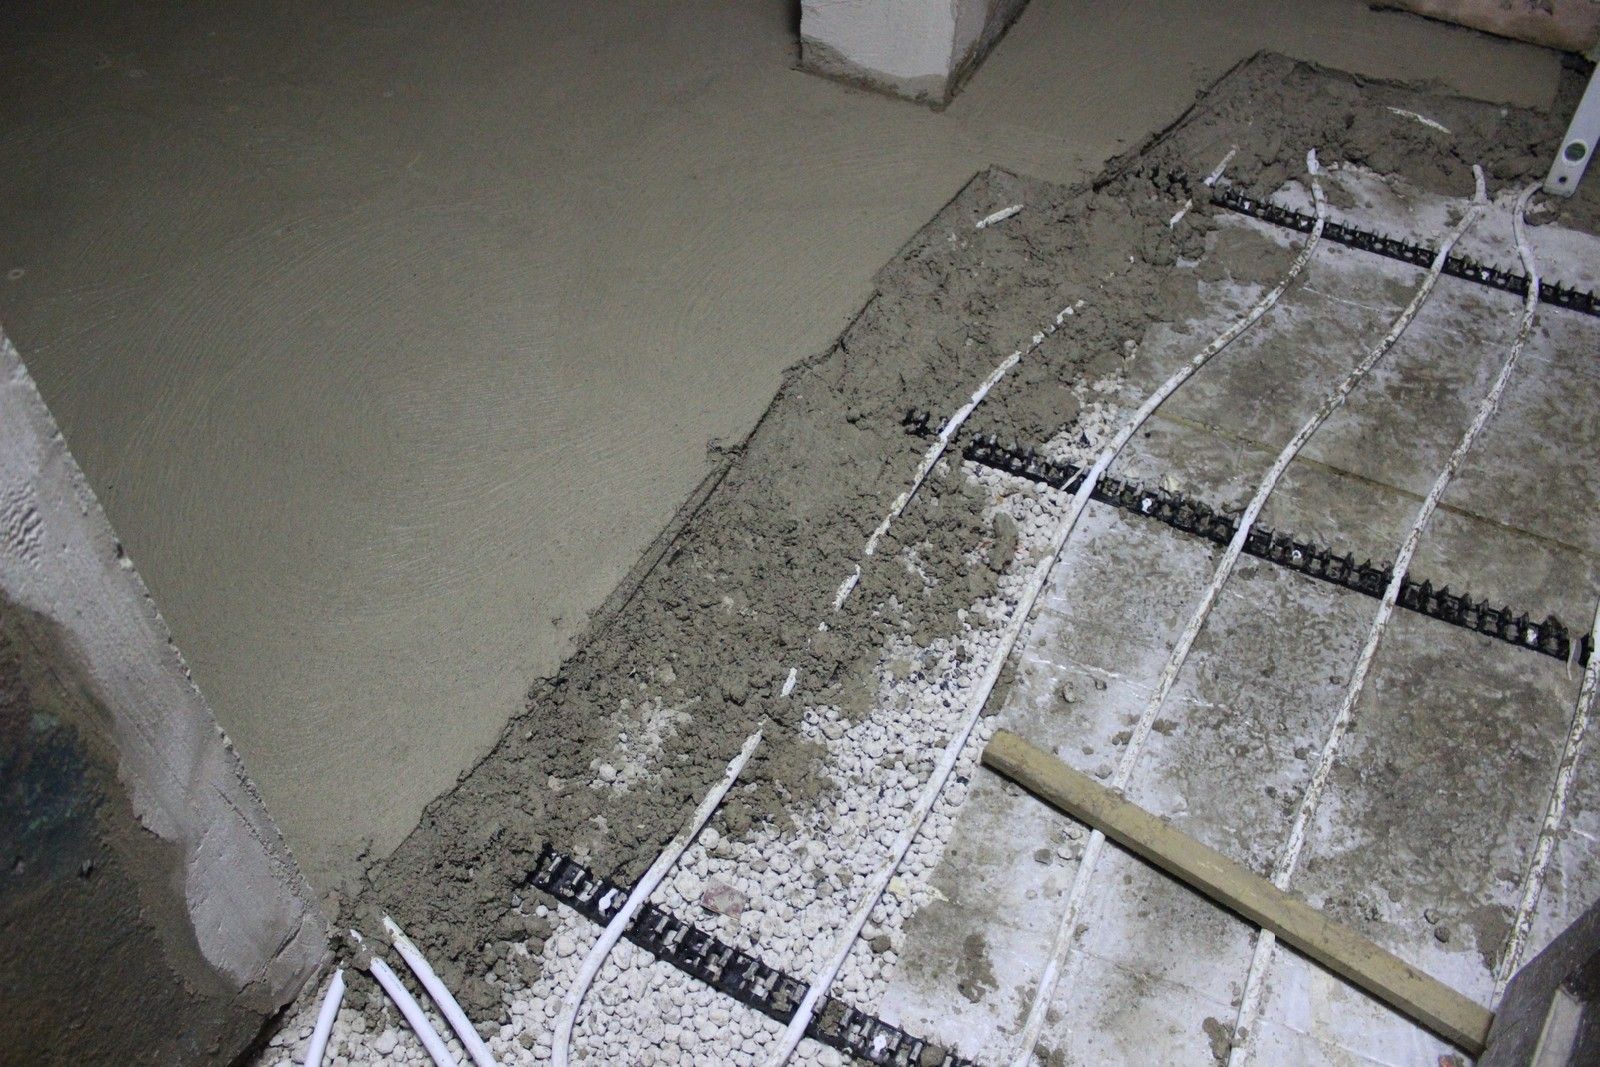
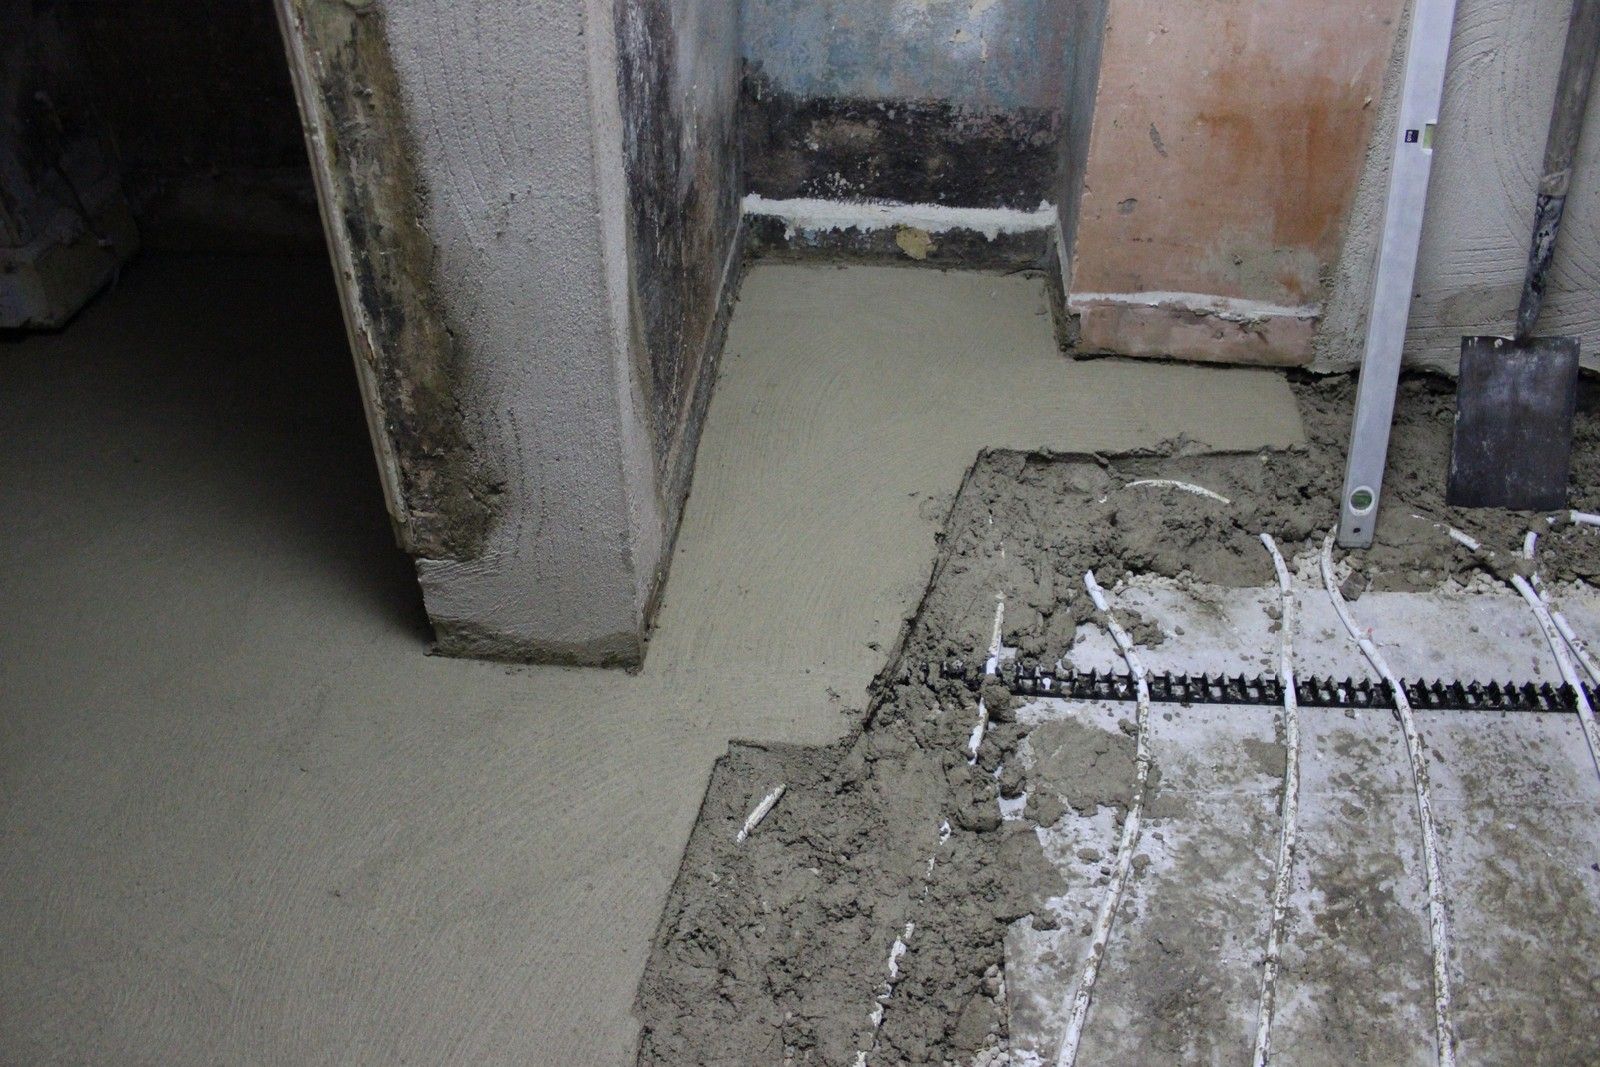
Work has begun again on the ground floor surface this week. The task at hand is the laying of the limecrete screed, which will cover the underfloor heating pipework and provide a solid base for the re-installation of the floorboards.

Using limecrete to create the main slab maintains the breathability of the soil underneath and prevents moisture from being forced up and around an otherwise concrete slab, into the walls.

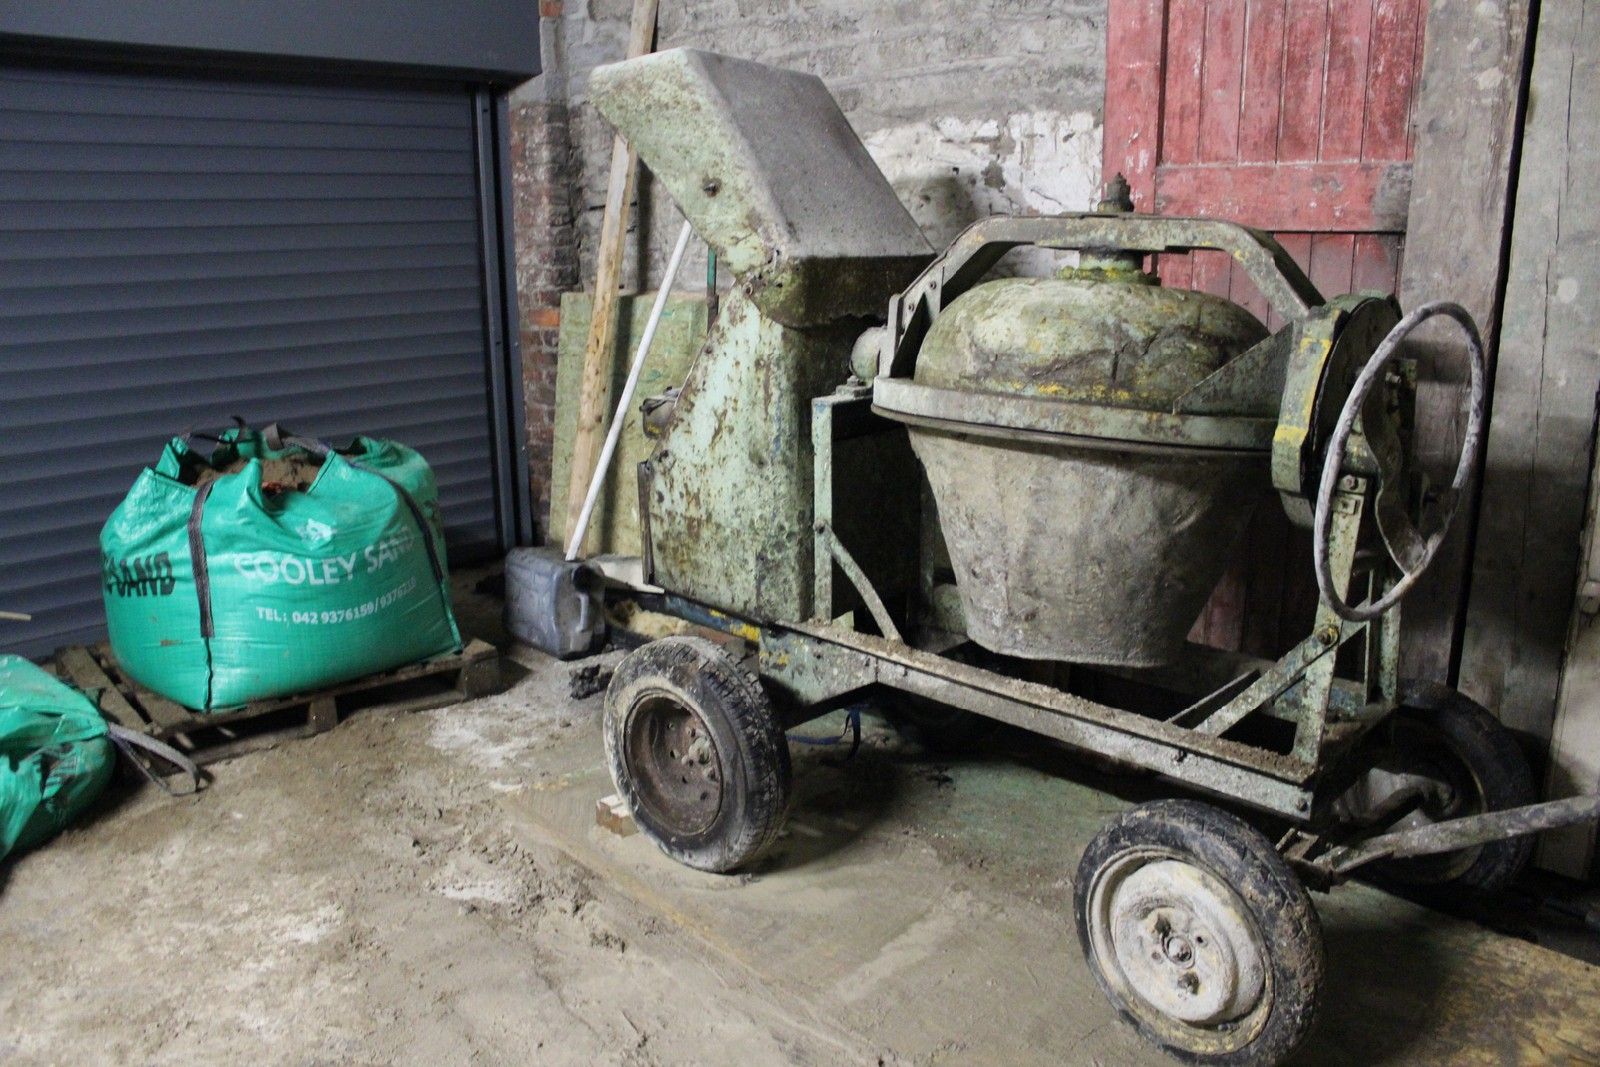
However limecrete has a few drawbacks in relation to cost and labour. It is not available to be delivered by cement truck; this means it all has to be mixed manually, barrow after barrow, which is very labour intensive. It's also a more expensive mix than tradition concrete.

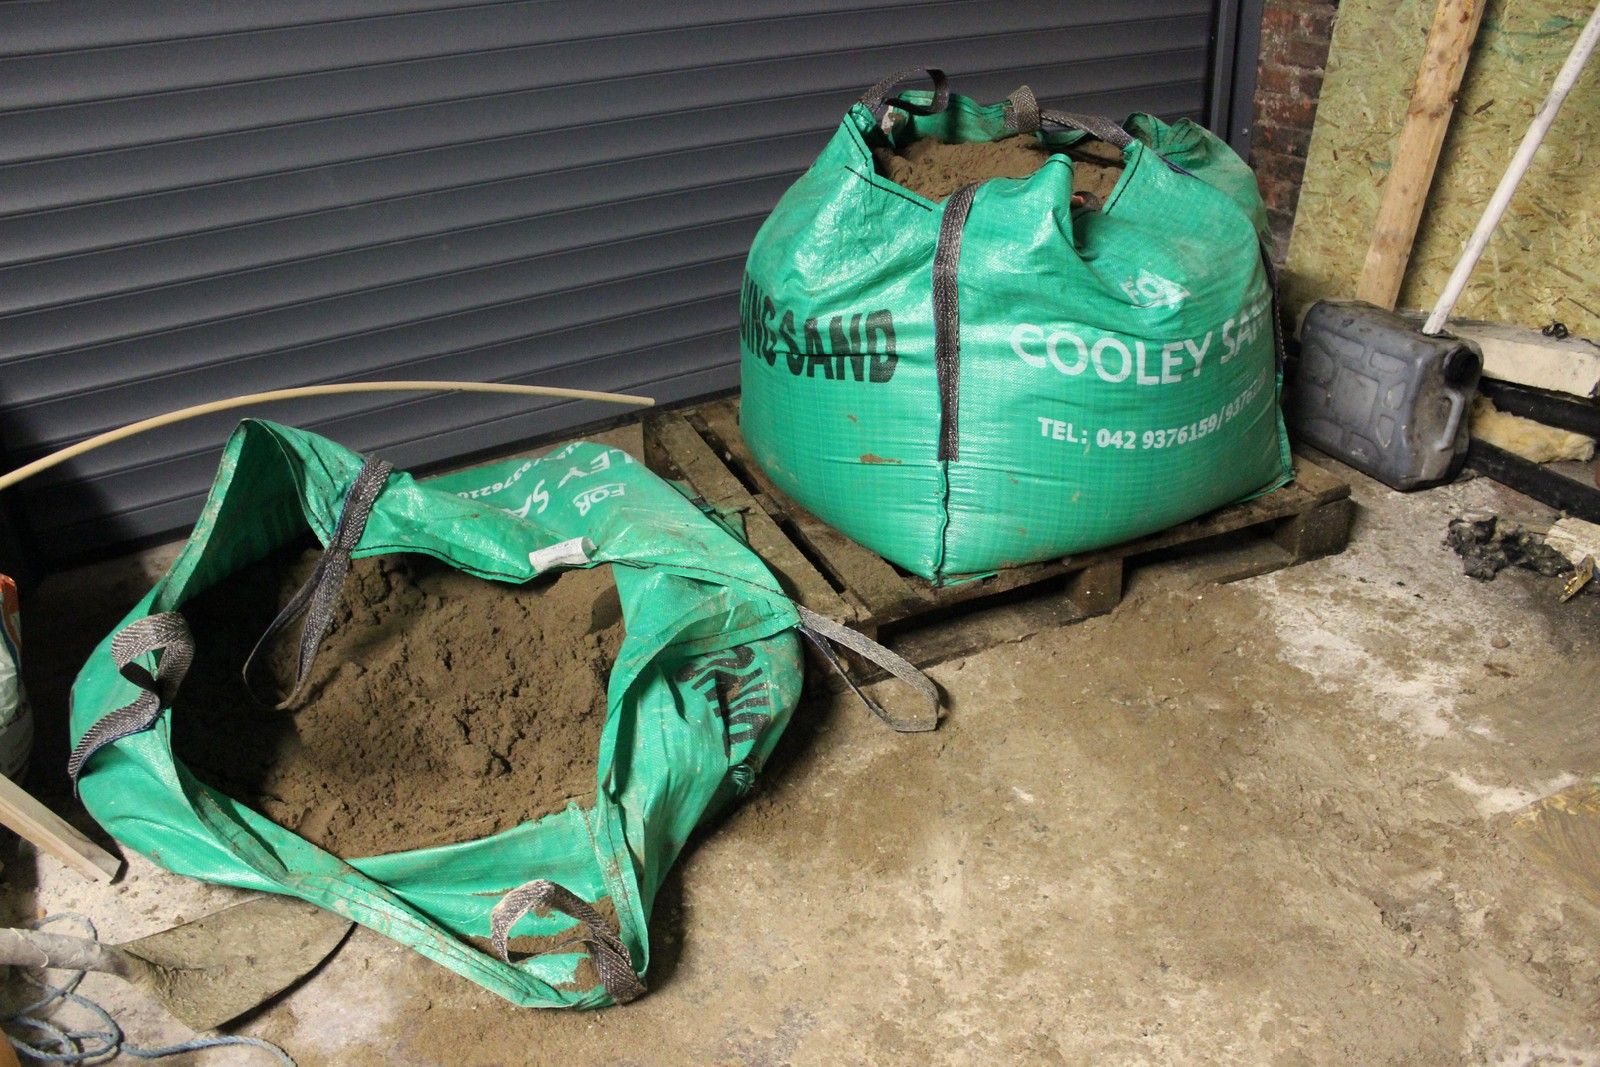
The mixer and tonne bags of sand below:


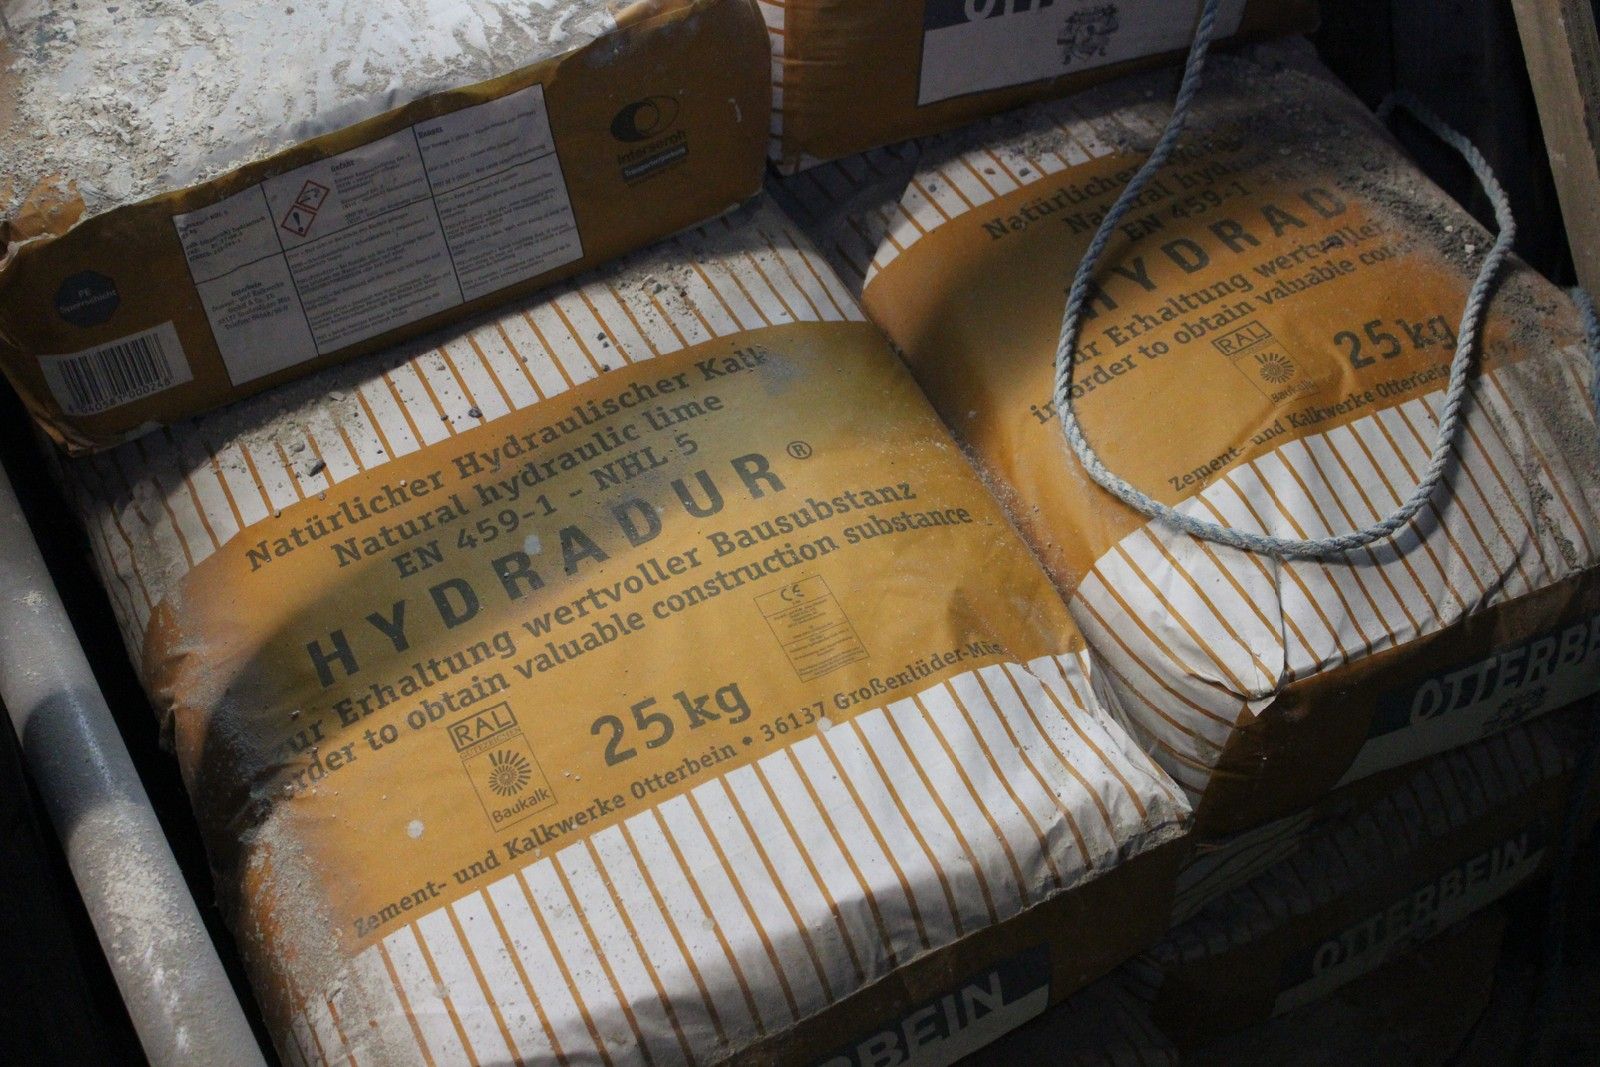
25kg bags of hydraulic lime:


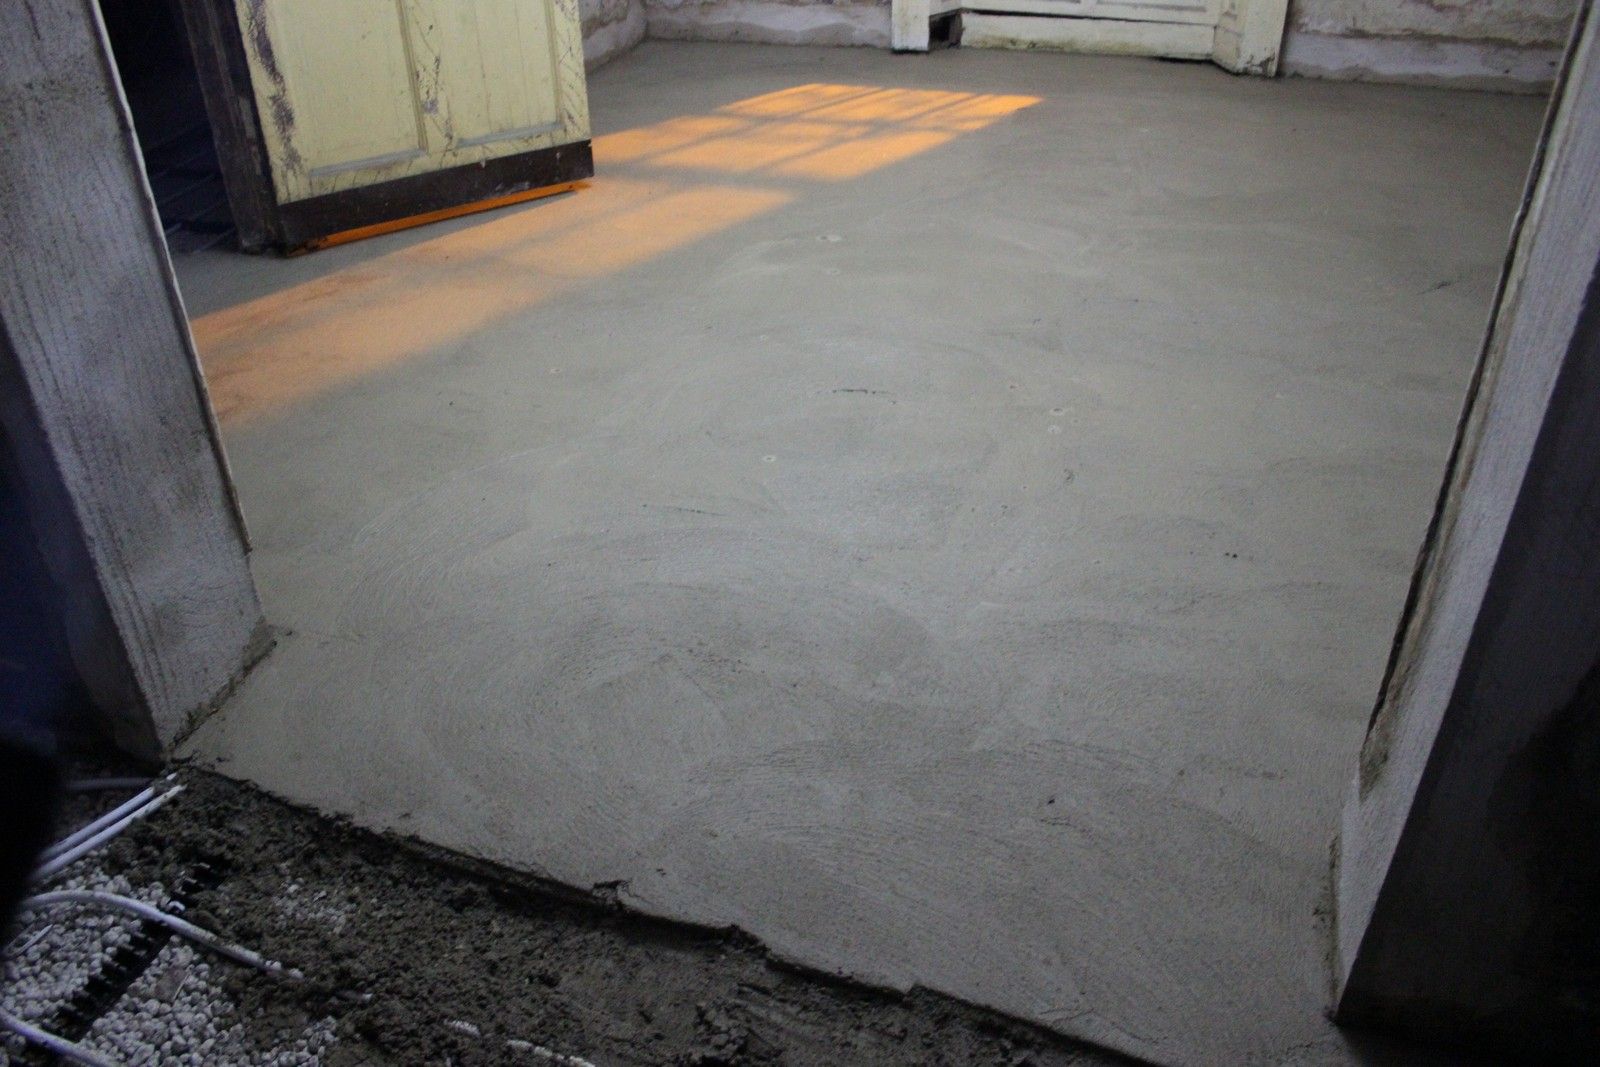
The front room complete:


Under the archway to the adjoining rear room, the kitchen:


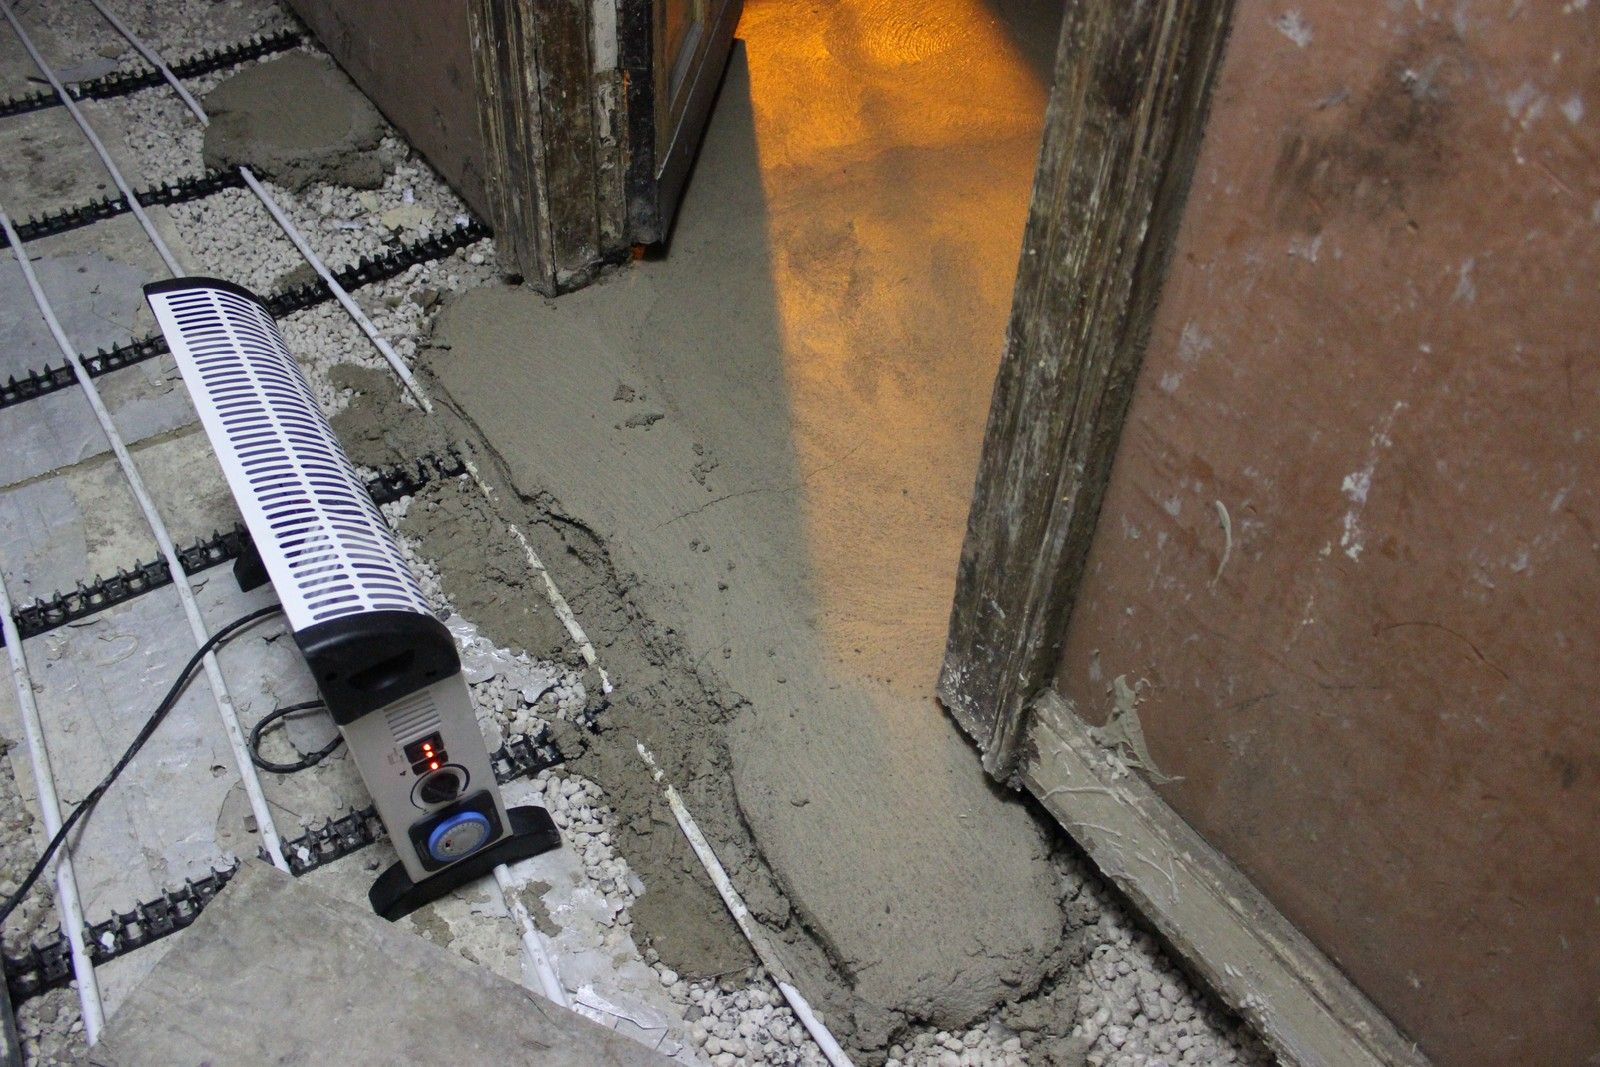
Front room entrance from the hallway with a heater to keep the temperate higher (approx 5 Celsius outside):


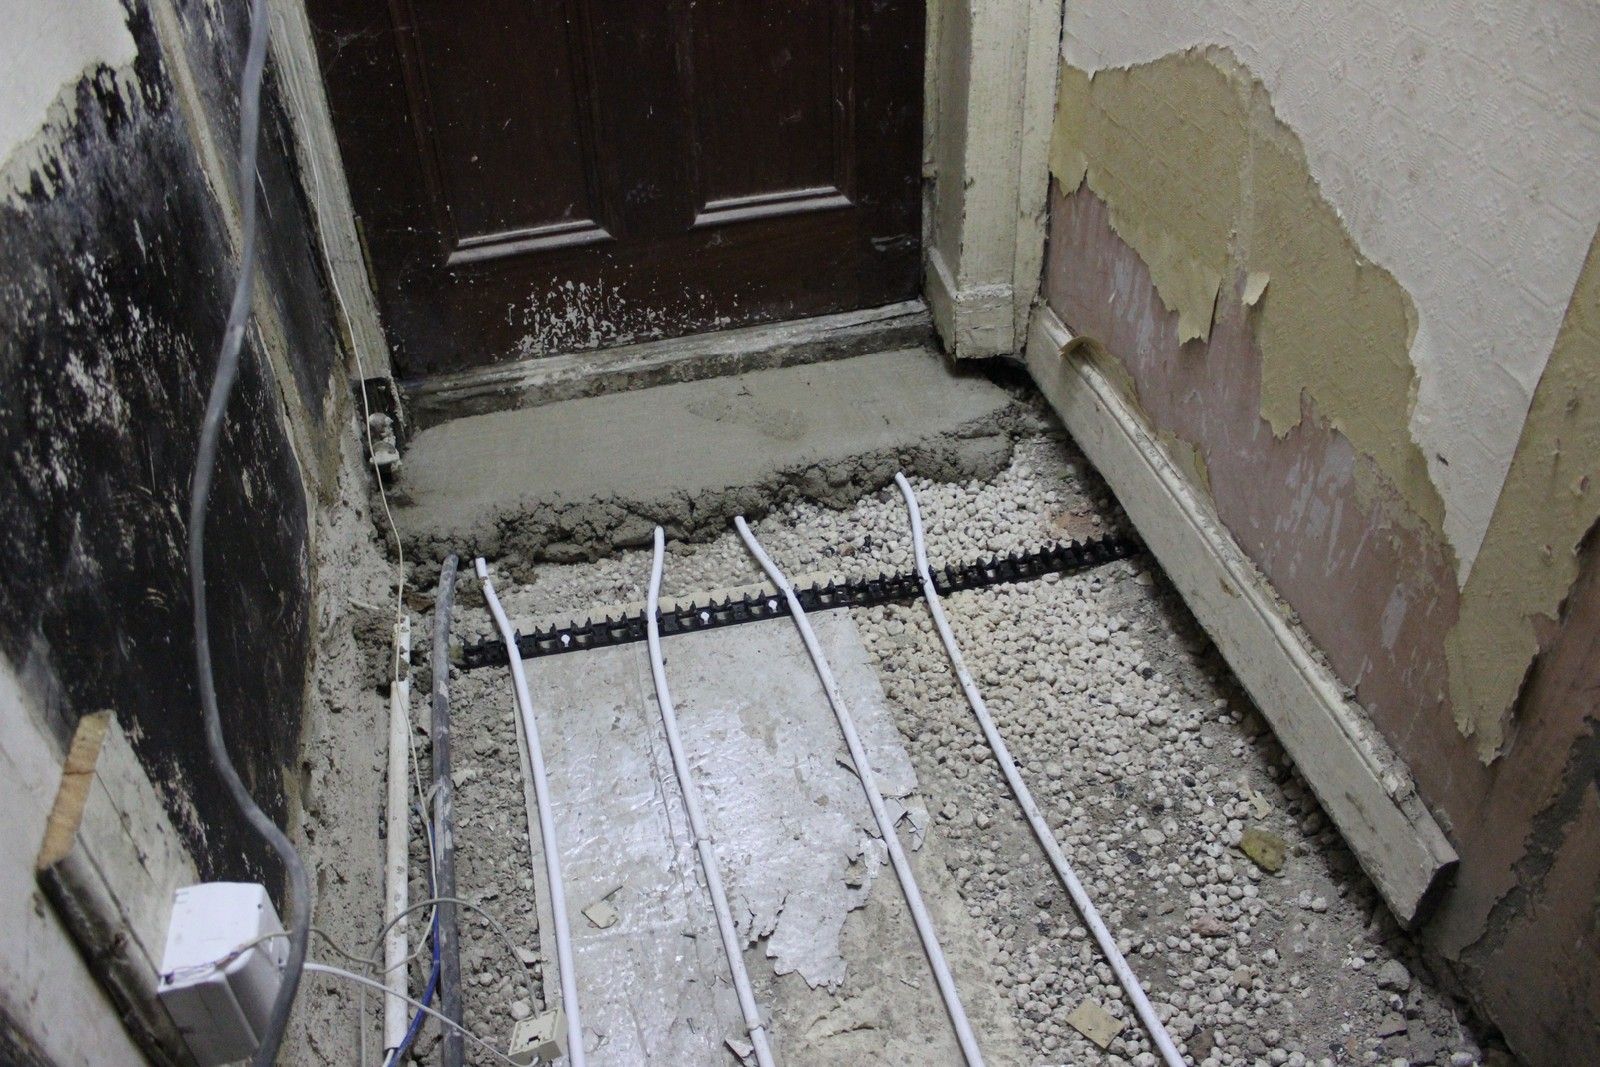
Limecrete laid by the front door to get the initial level: