Friday, 3 July 2015

Upper Stairs Repairs

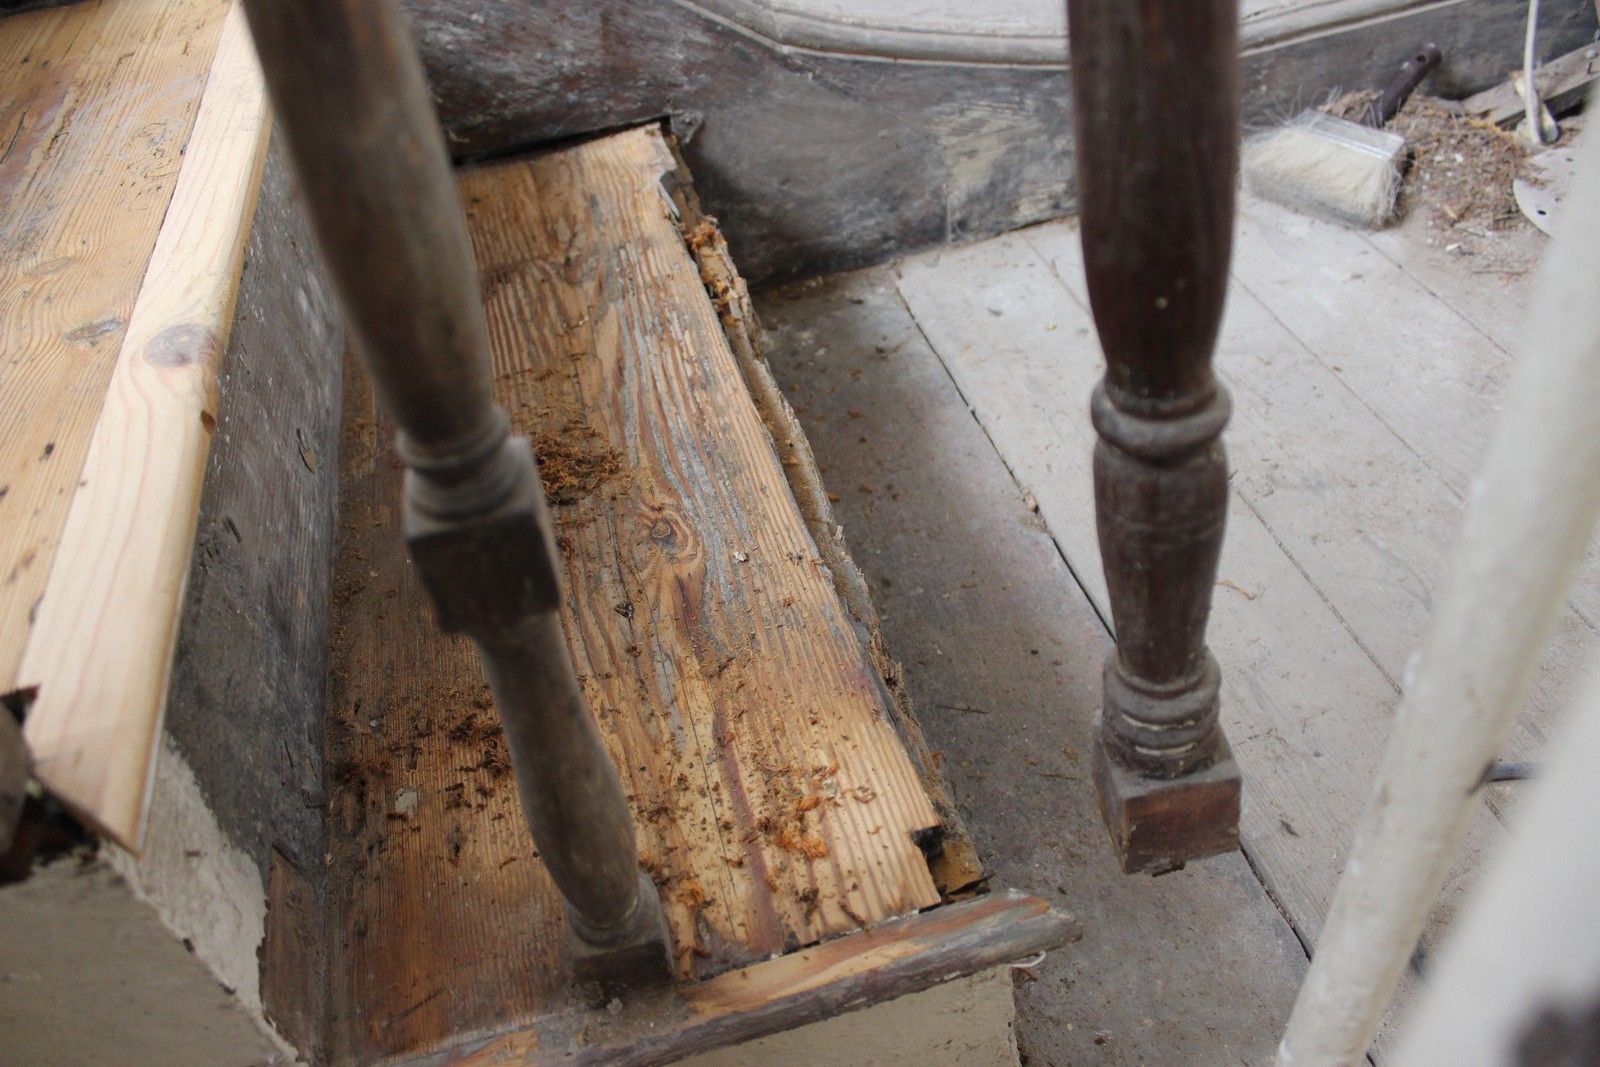
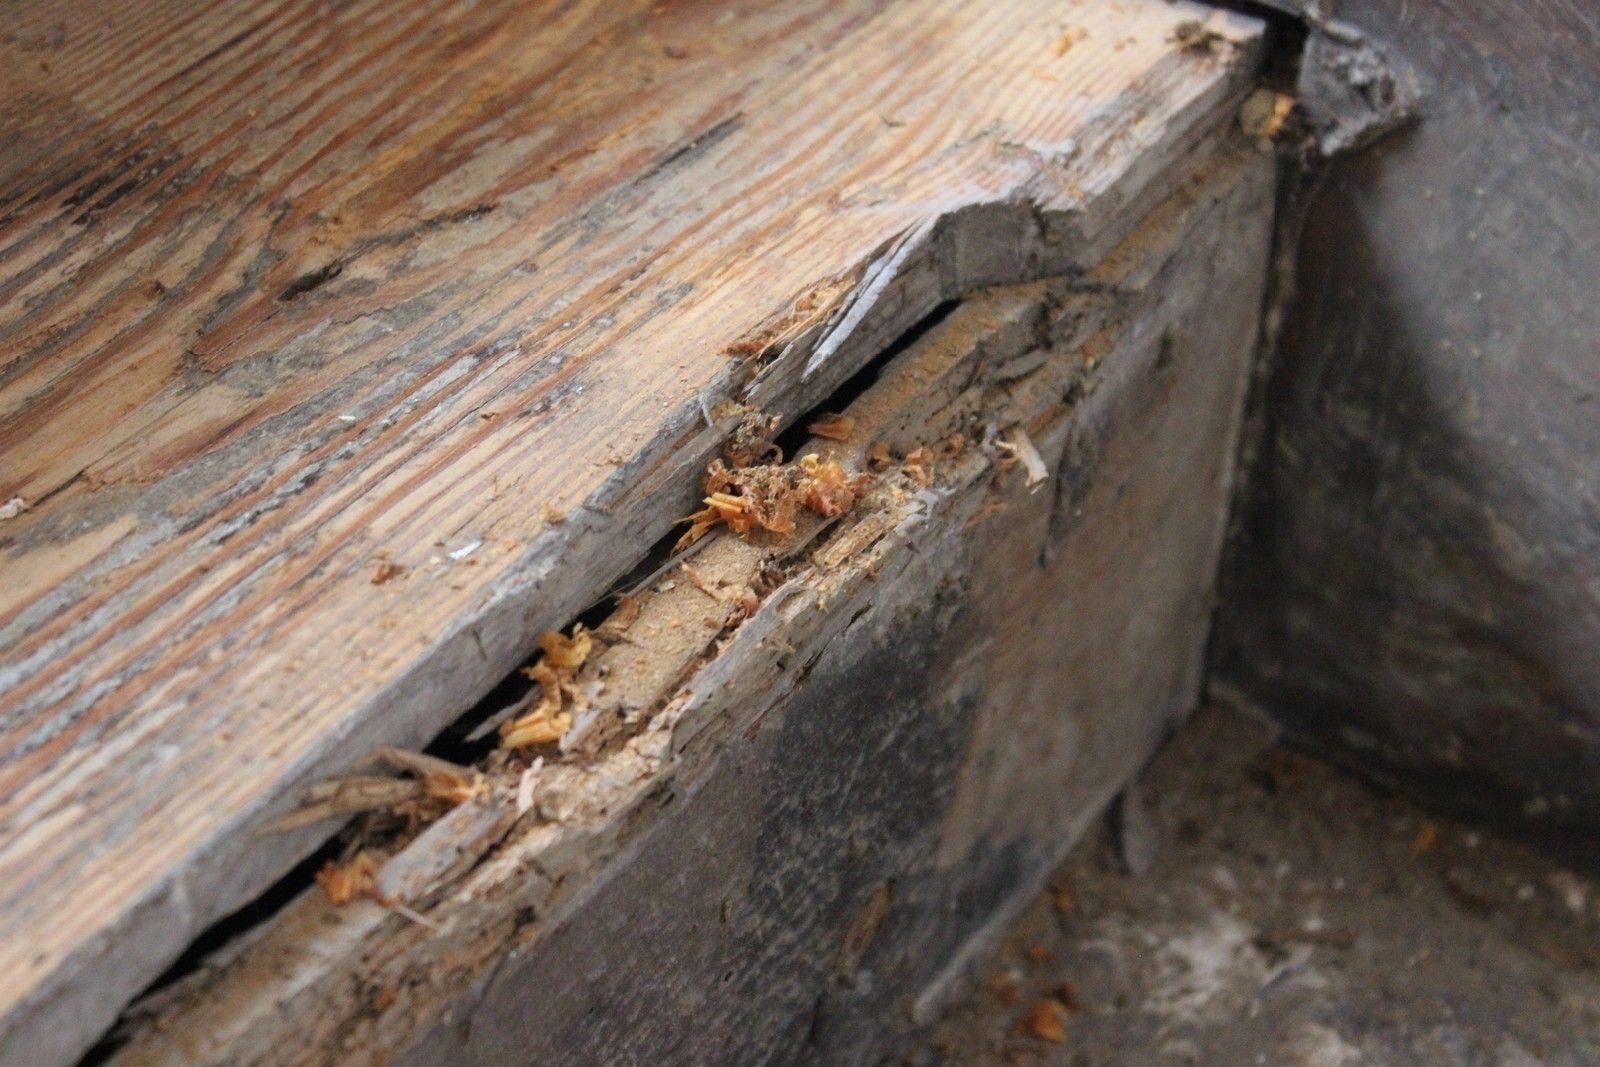
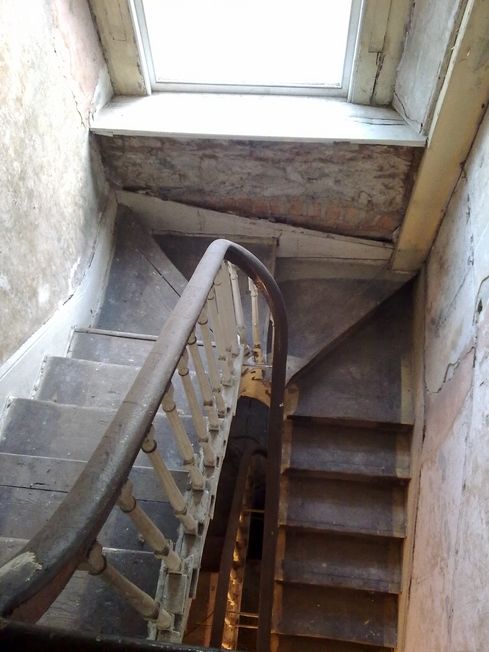
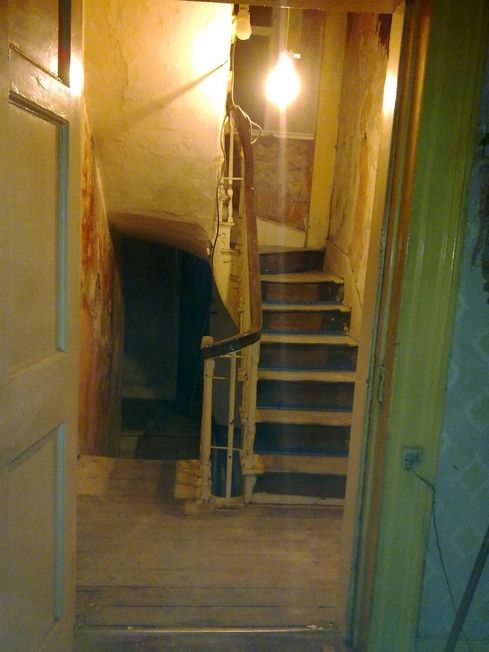
The repair of the third flight of stairs was next on the list of jobs to be undertaken this week. I've no "before" close ups of the steps, but the pictures below reveal a grim sight:


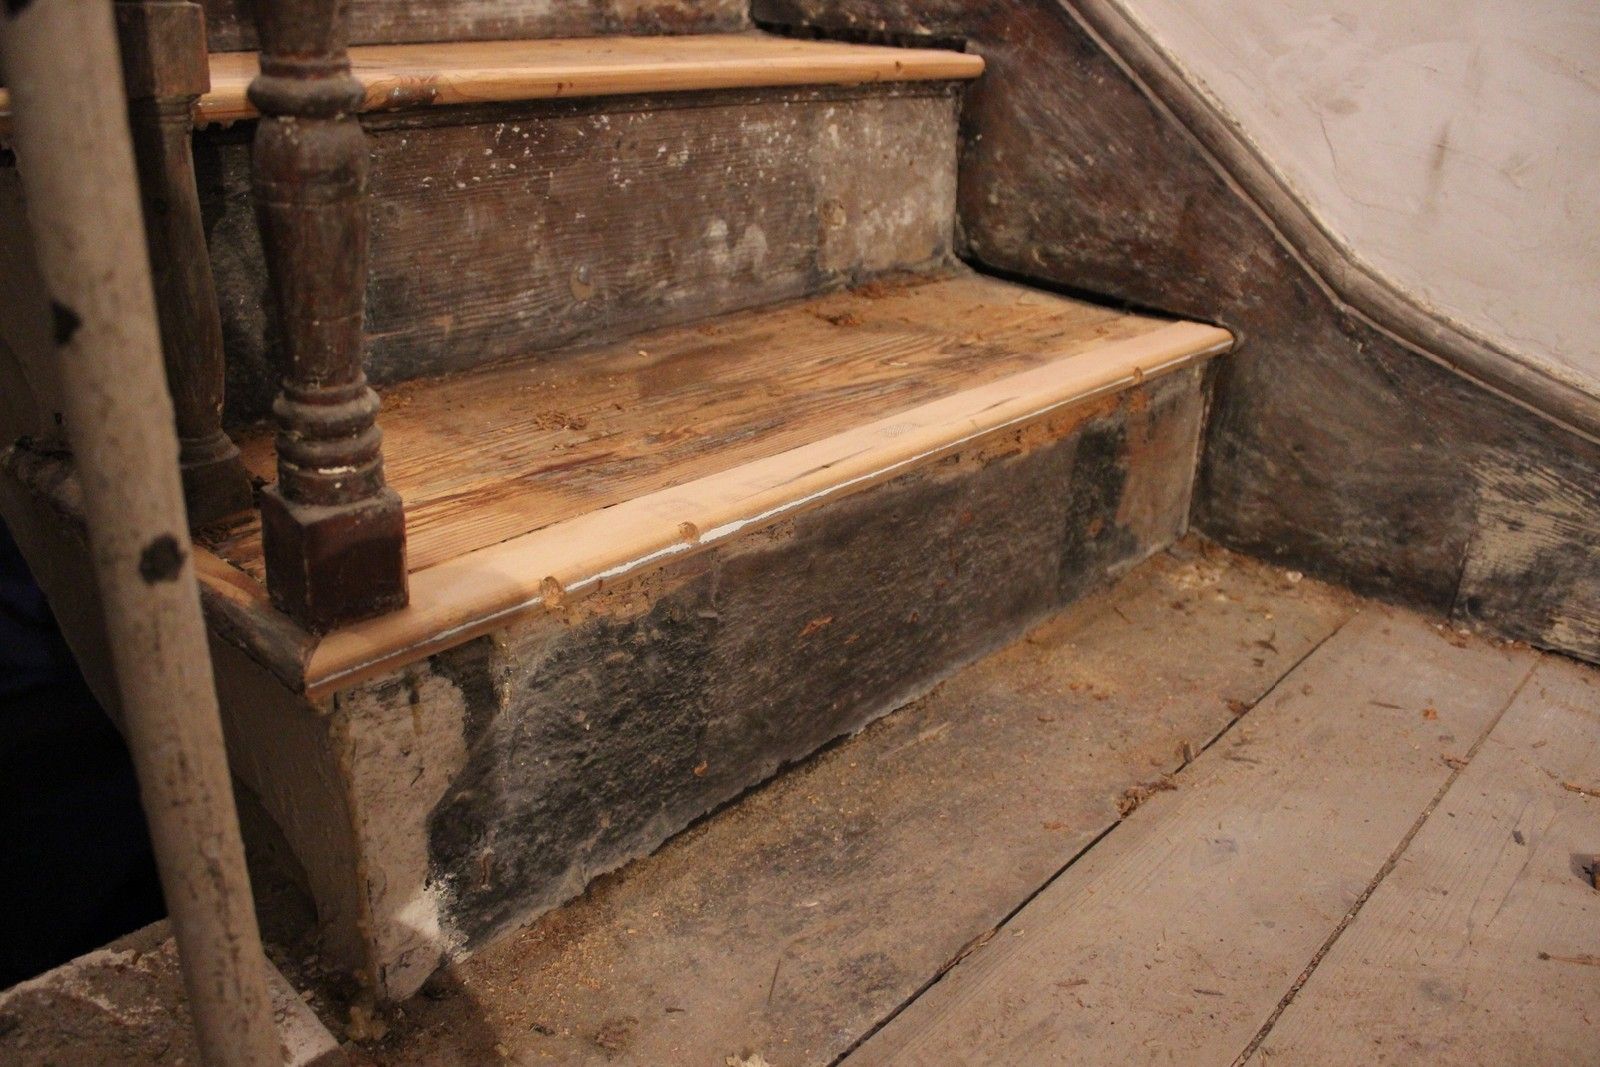
The treads were worn down and the nose of each tread needed to be replaced entirely. The job at hand was to sand down each tread to see the condition of the timber, followed by cutting out the damaged noses (both the front and side noses where required) and splicing in new timbers. The ballisters are then repositioned in the existing tread and a new side nose attached. Further work will continue with the splicing in of new wood to any gaps in the skirting board and the replacement of missing or incorrect ballisters (more detail below).

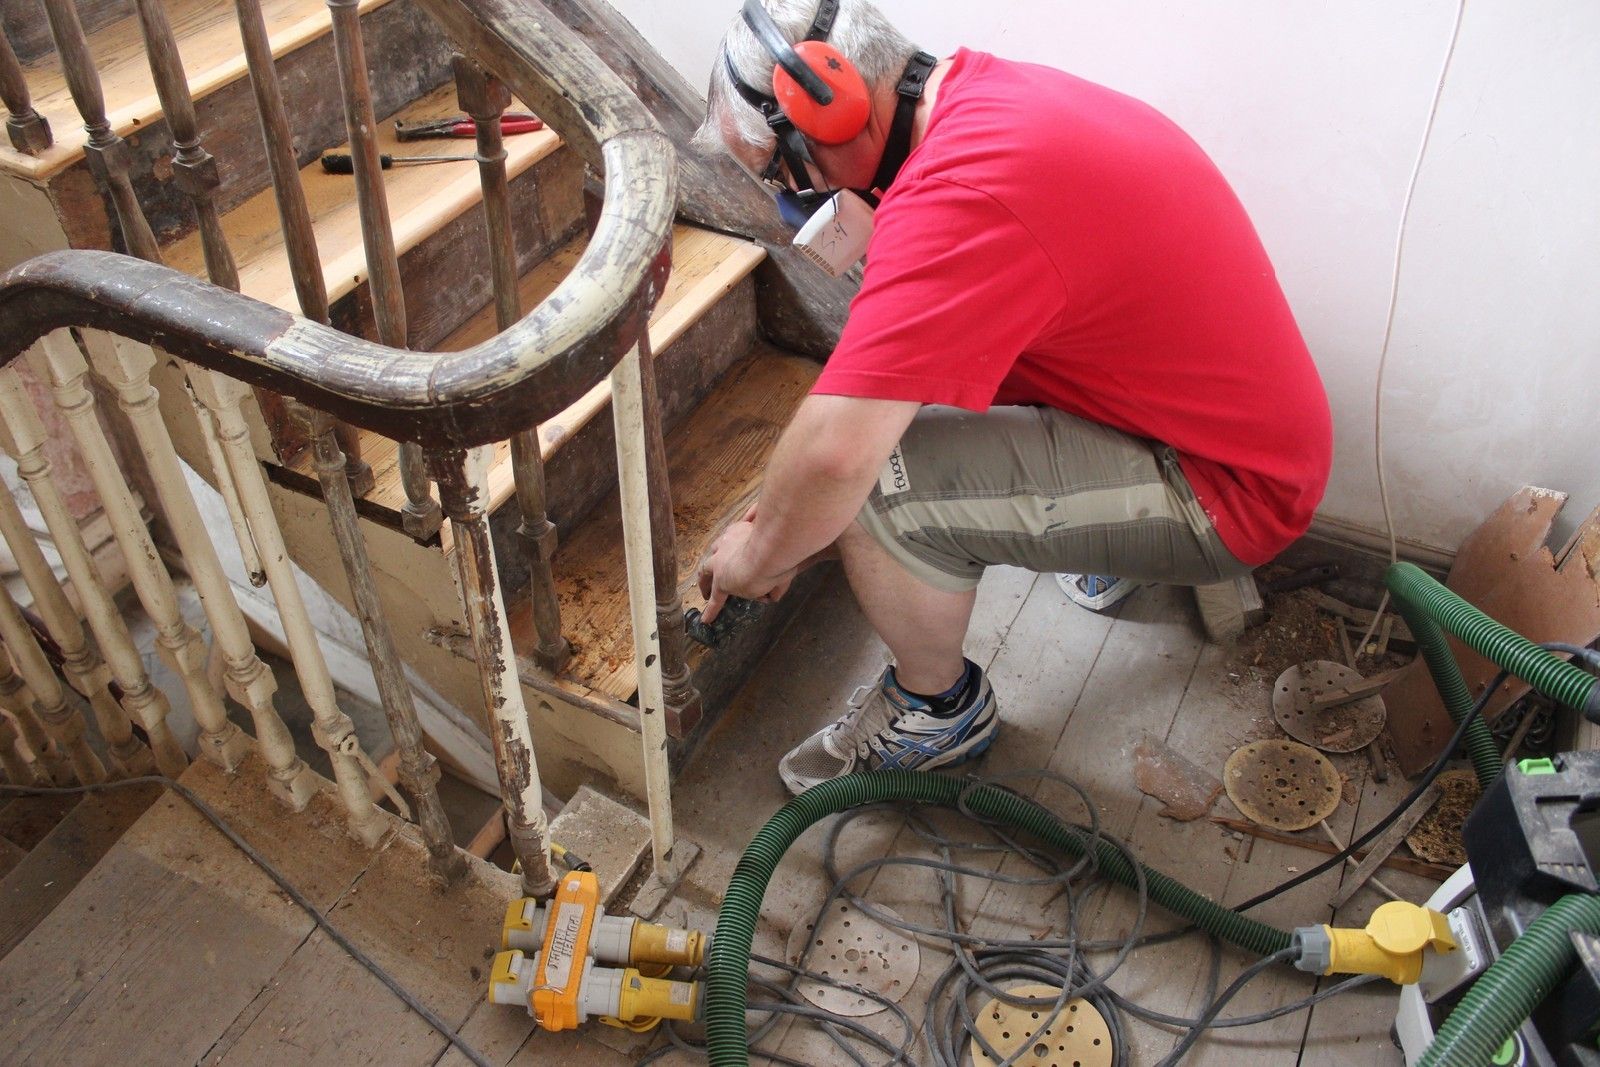
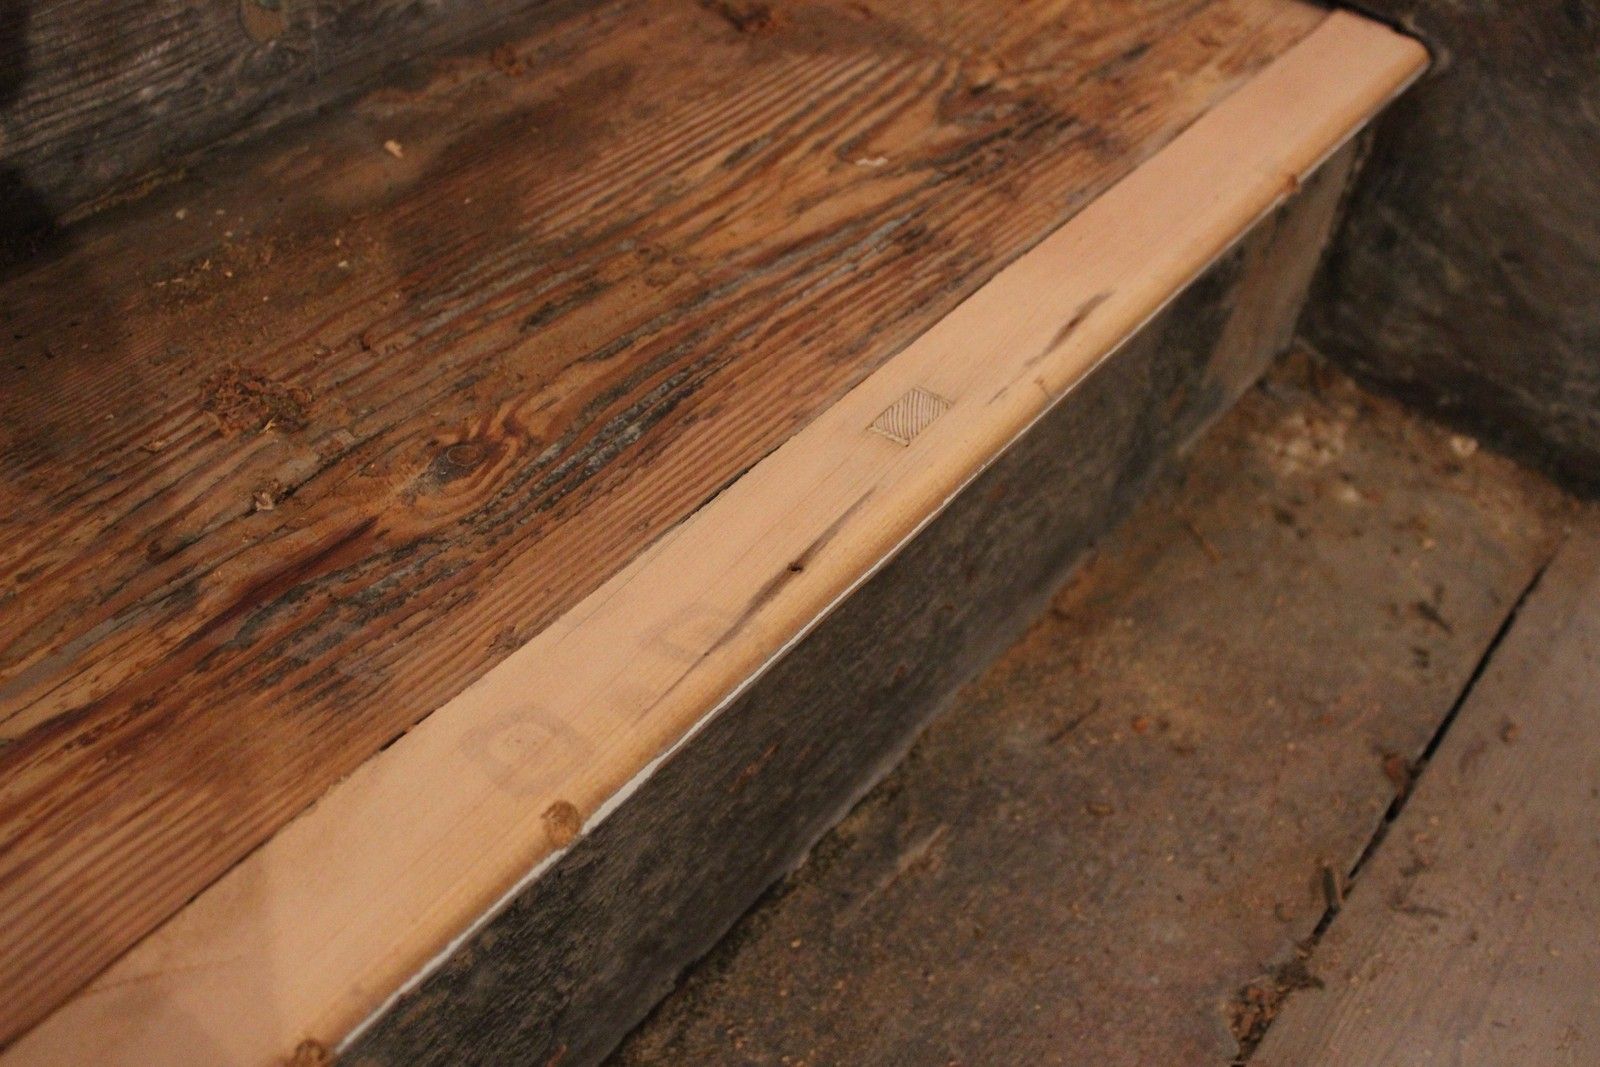
Seamus Martin of Sash Window Repairs began repair work on the third flight mid week. This is work well underway, with the treads sanded back and new front and side noses visible:
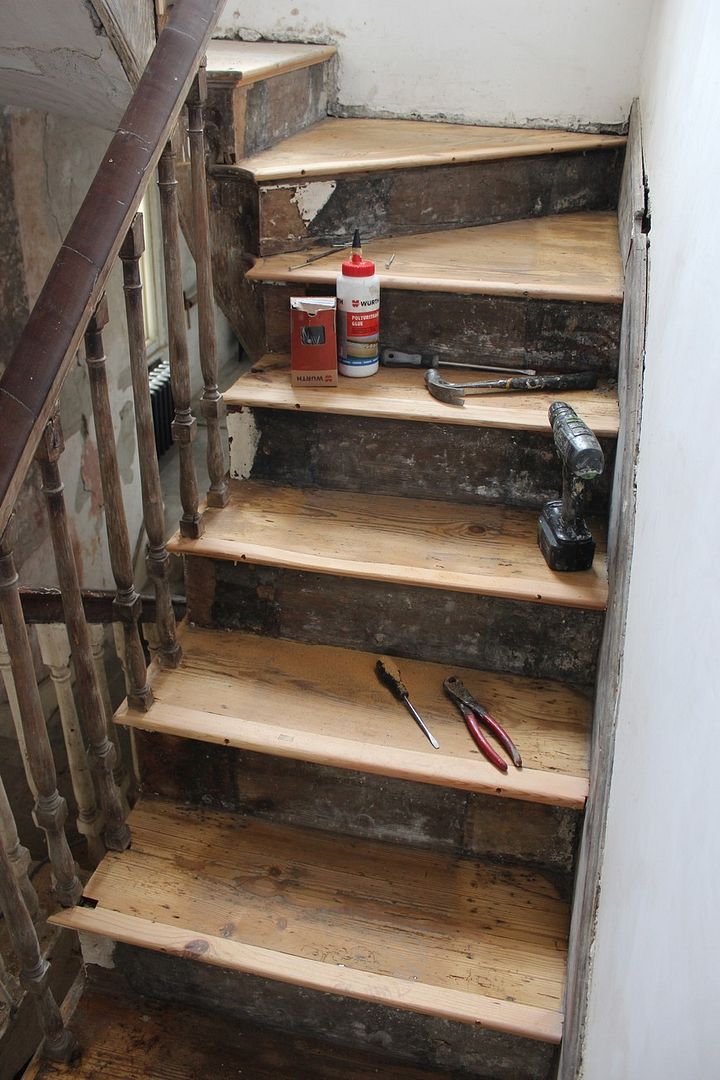

It's important to note that the stairs will be painted when they are completed; the intention isn't to stain the wood so the colour differences between timbers aren't significant.
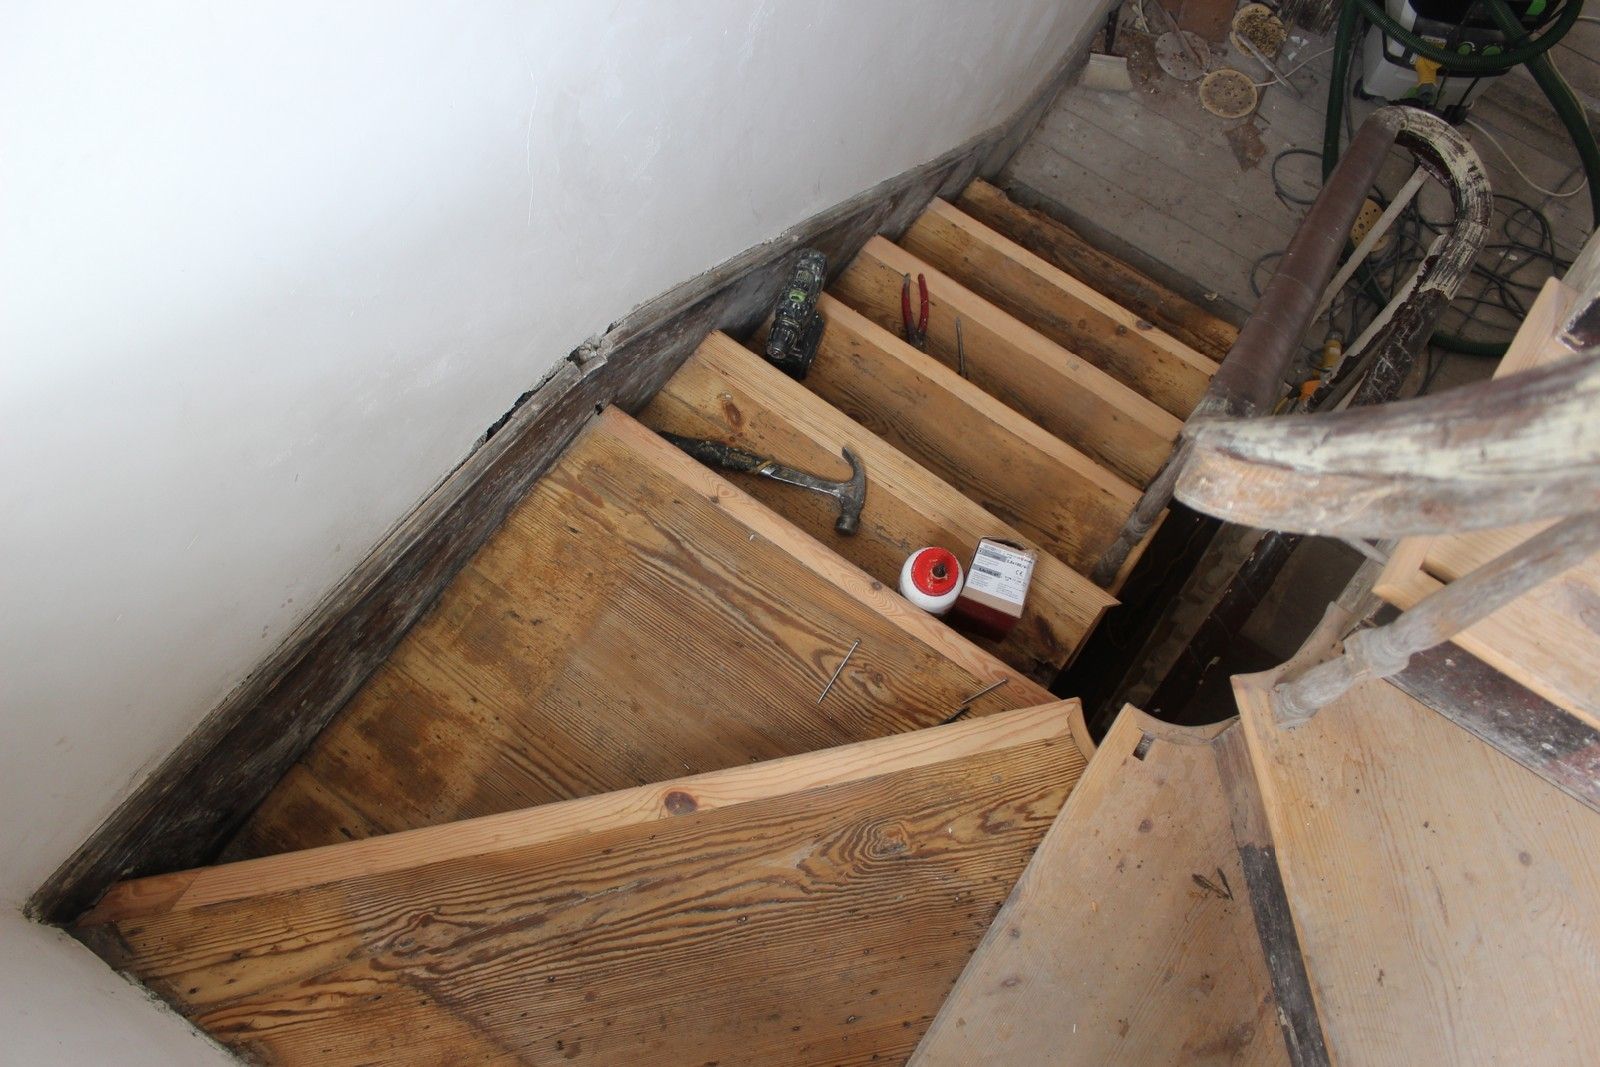
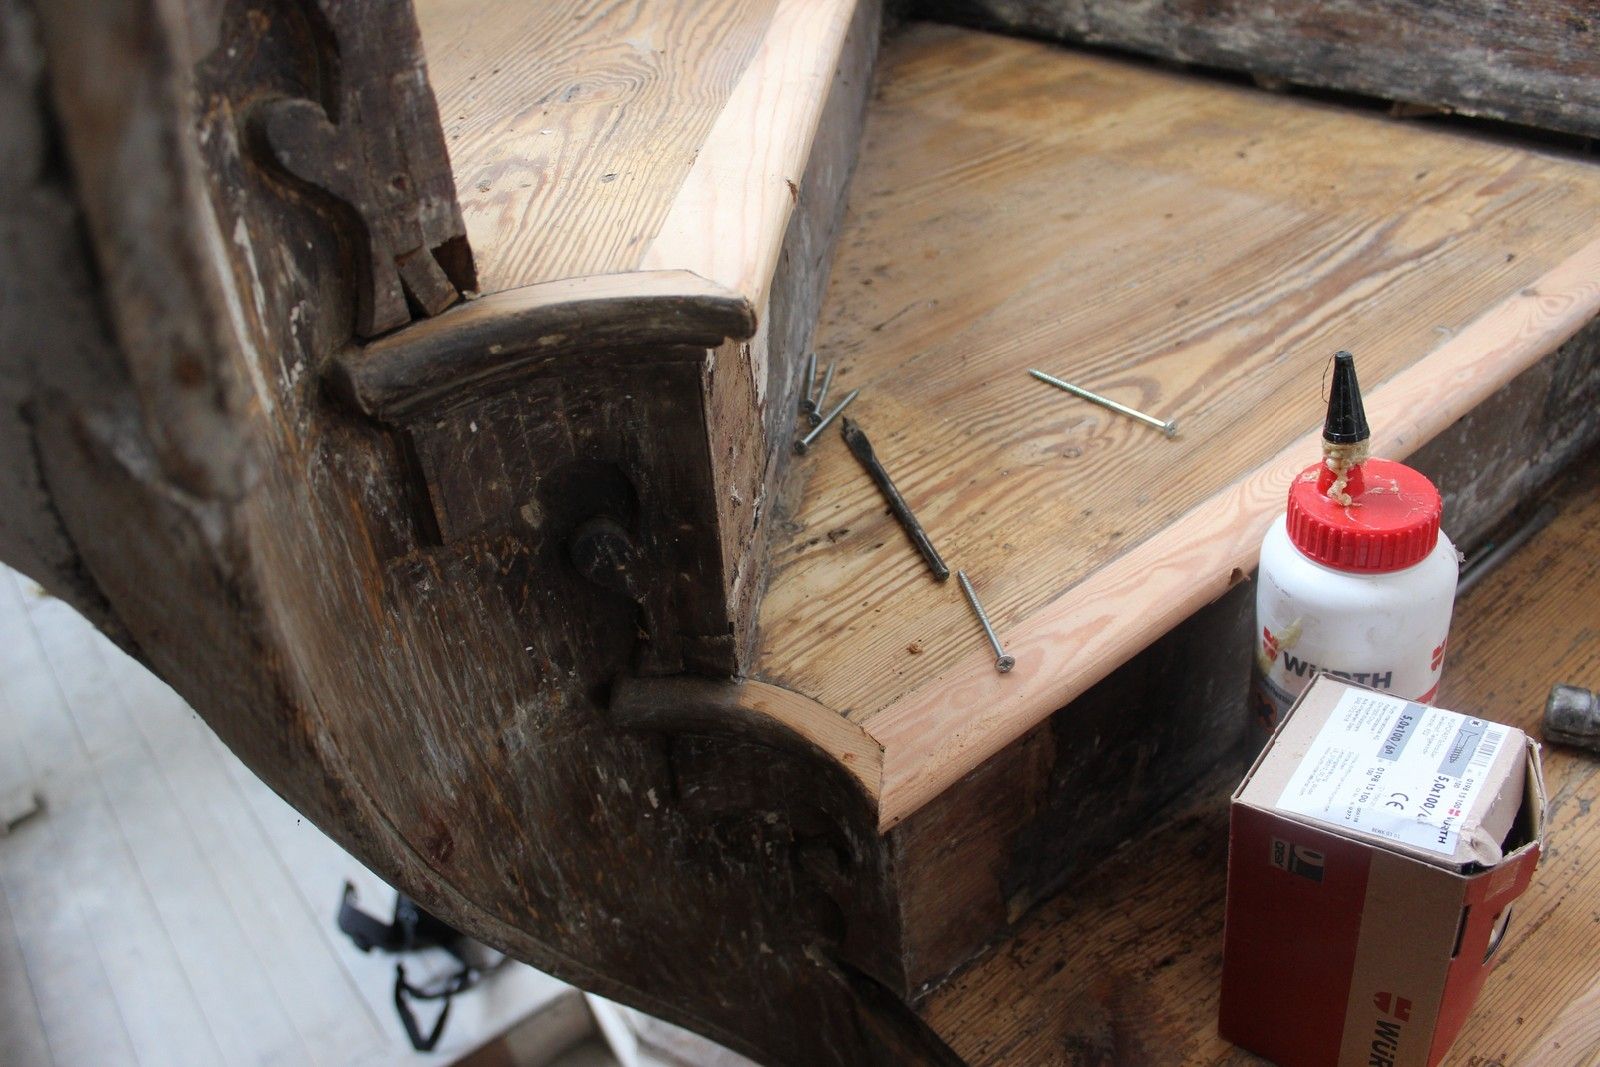

Interestingly, the timber used in these new tread noses is period pitch pine salvaged from sash windows that Seamus has stored from past jobs. So it really is a case of replacing like with like:


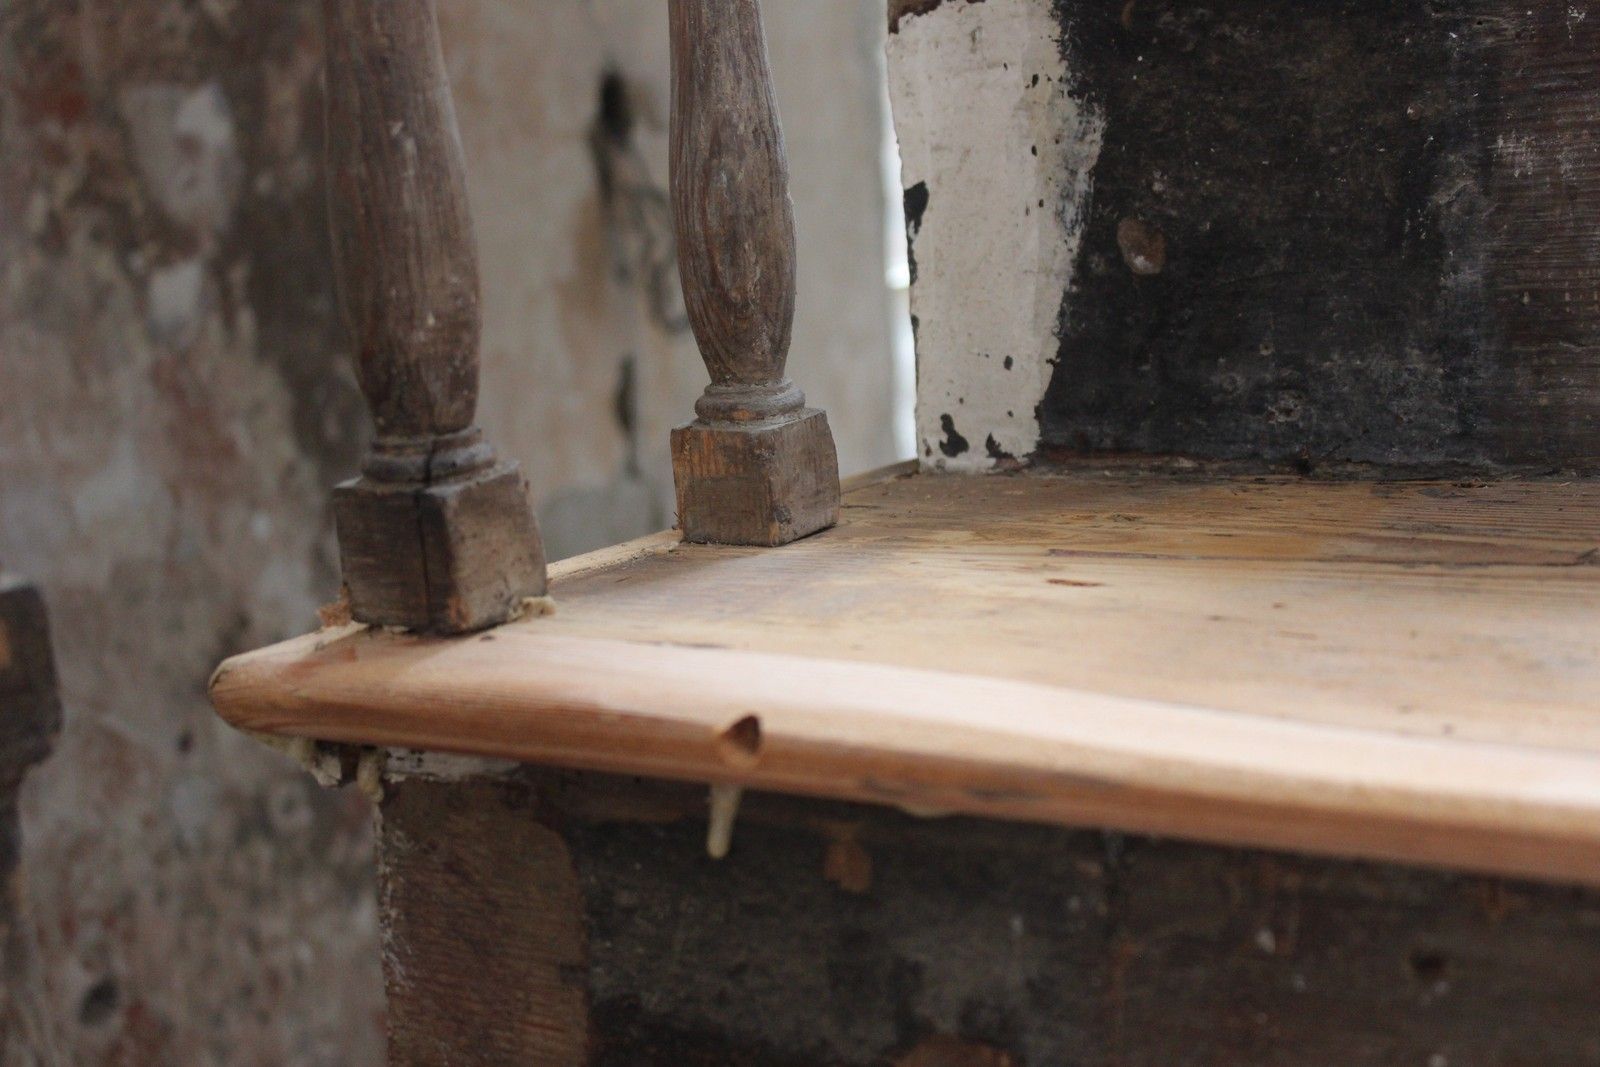
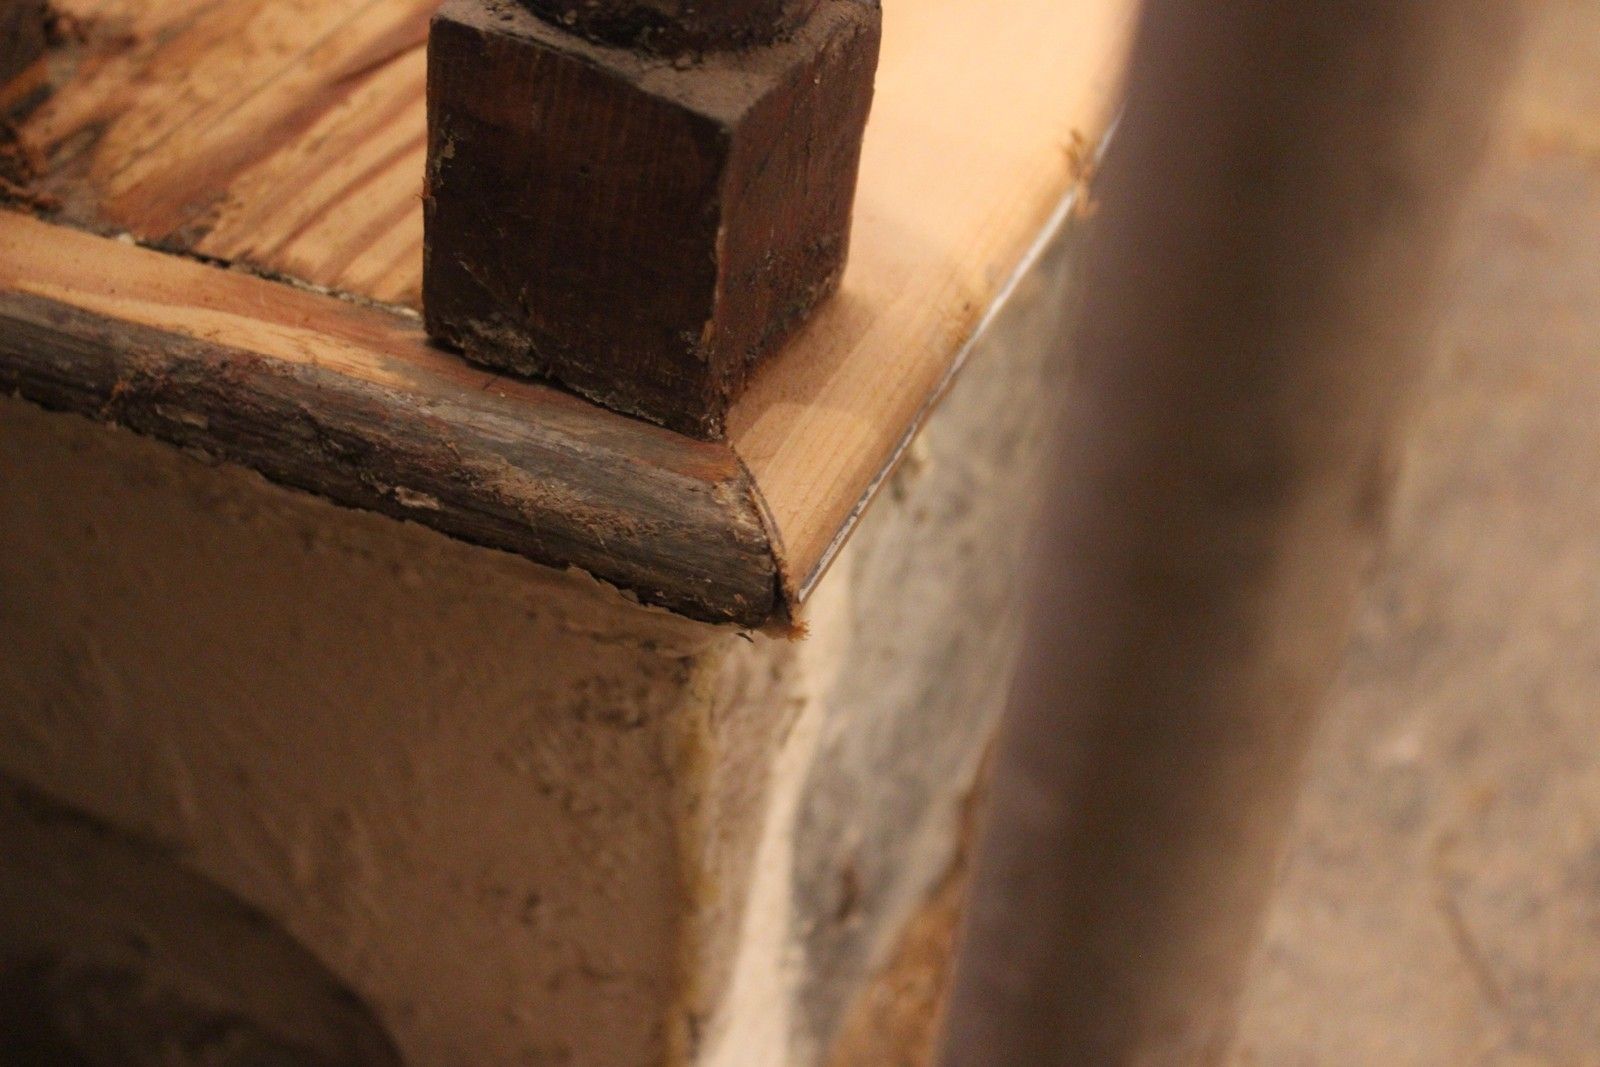
The ballister's dovetail joint before the new side nose is reattached:
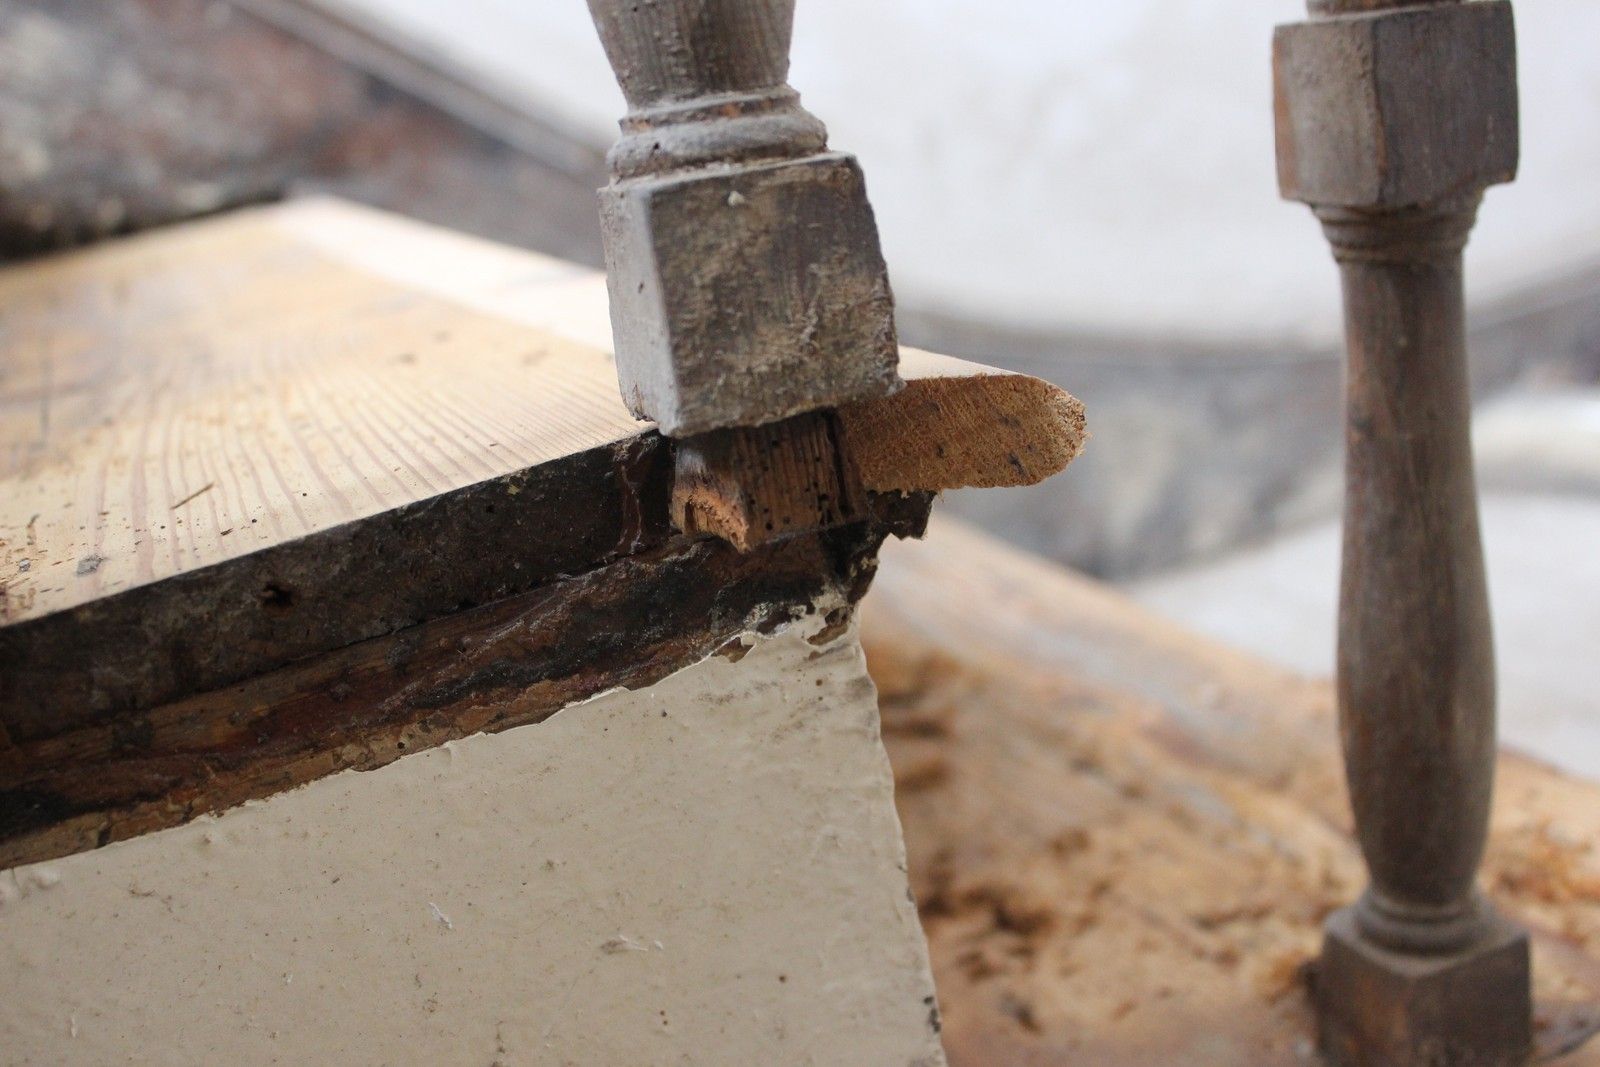

Interestingly on this tread, the top surface has worn down so much over the years that there is a very obvious dip in the center. Seamus spliced in the new nose and sanded it to match the dip in the tread:
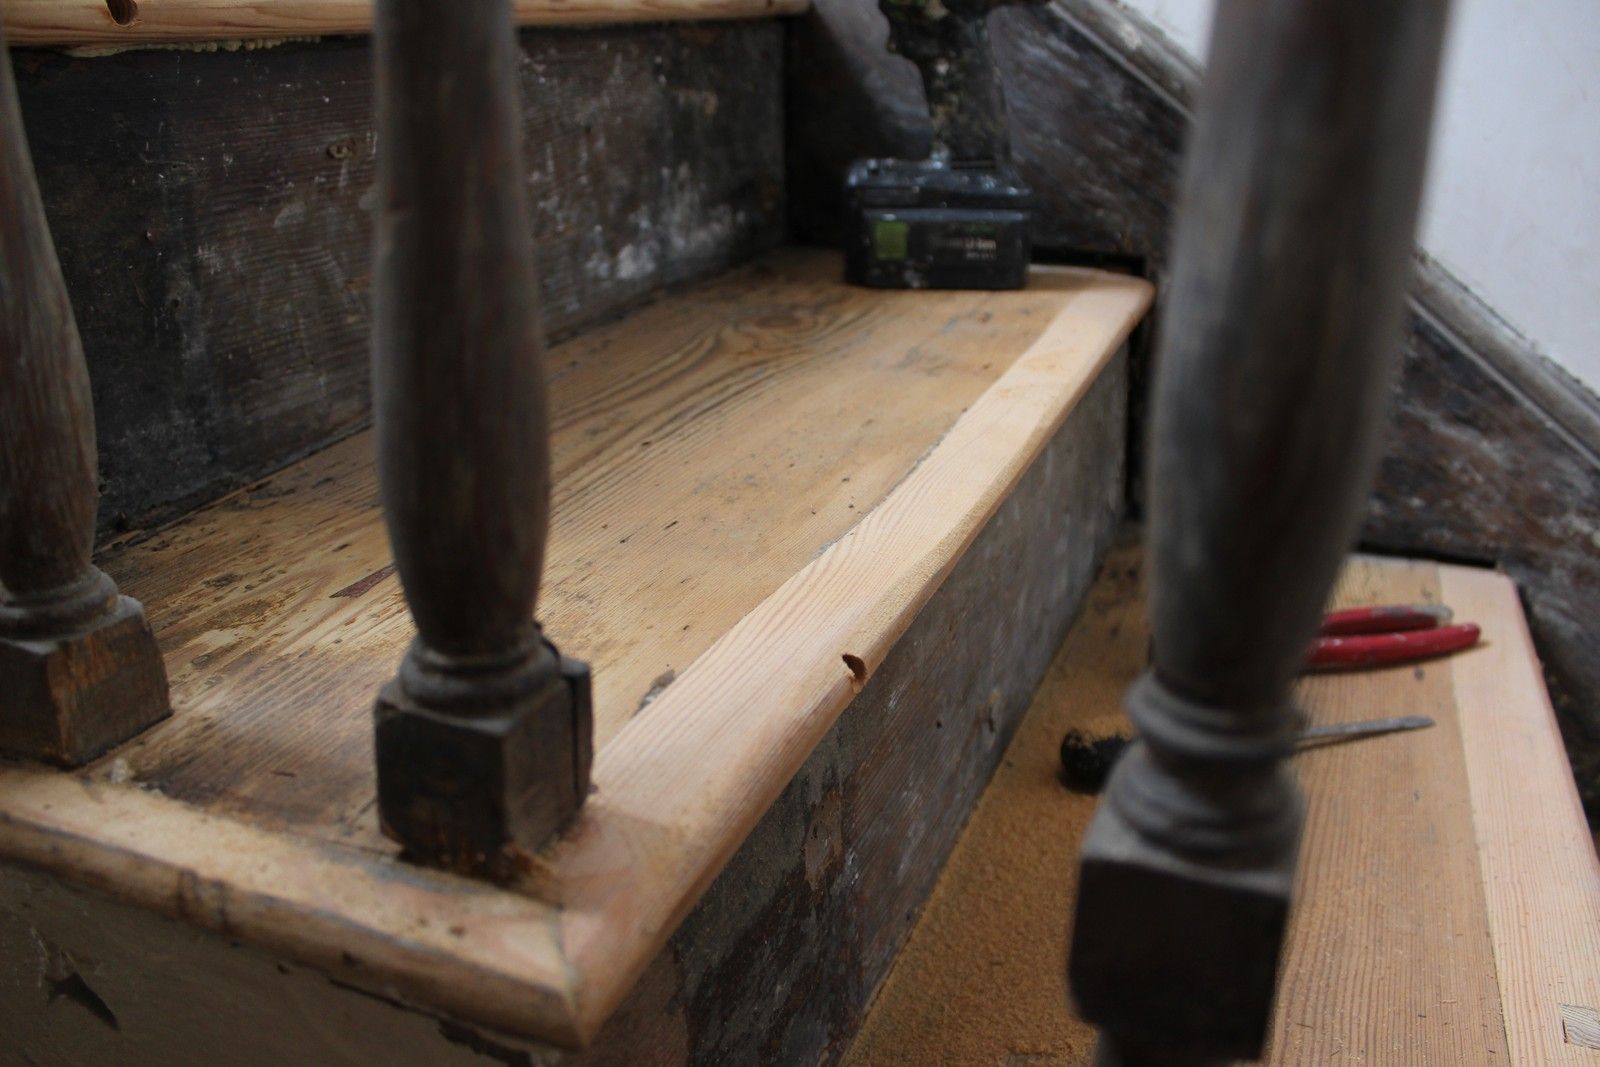

One of the dovetail sockets:
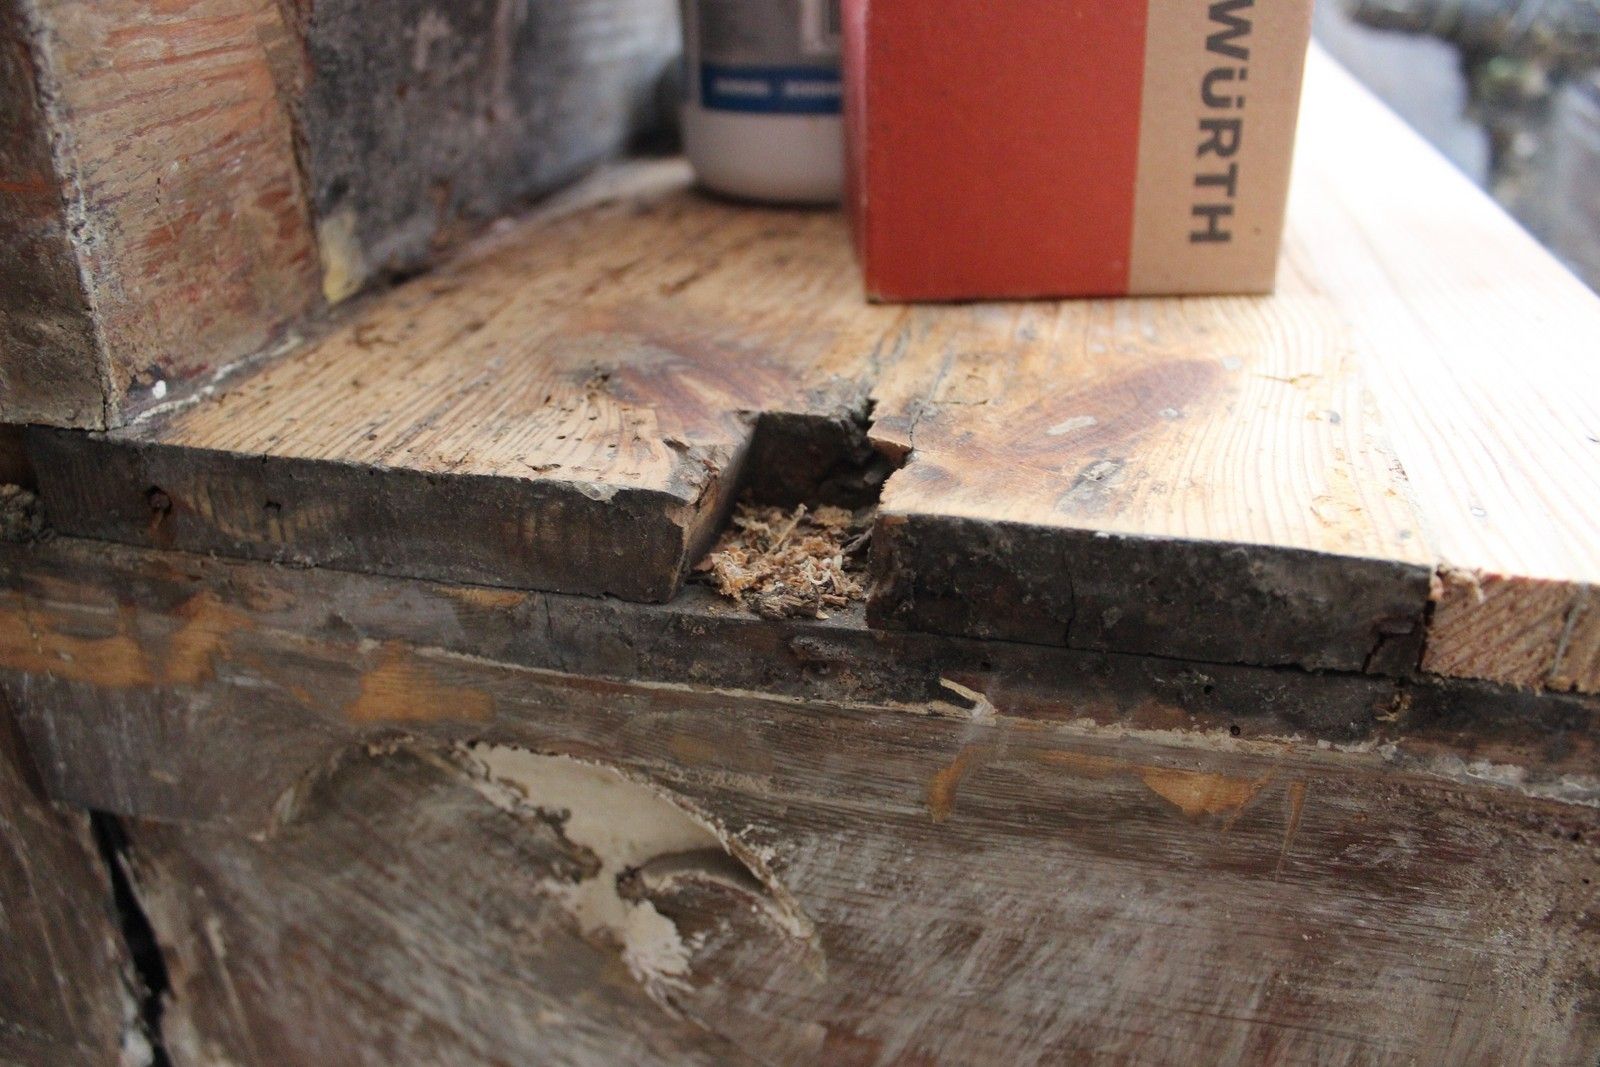

Once sanded back, the steps have a beautifully clean finish:
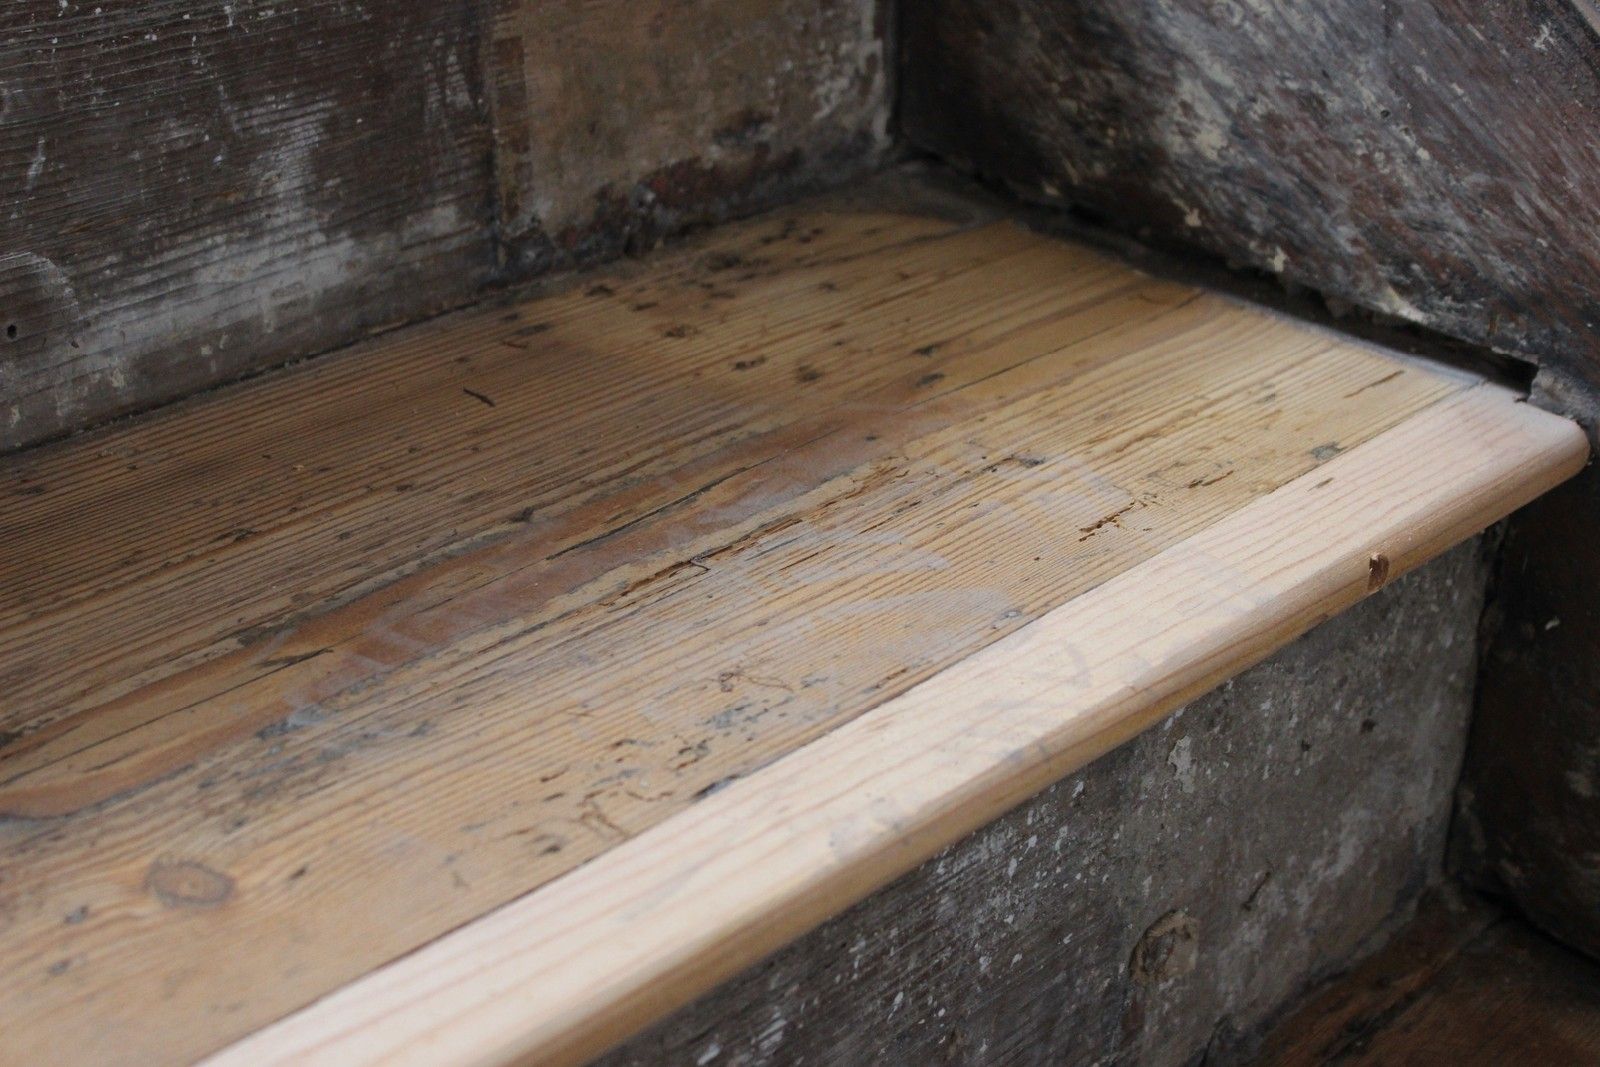


The lower step required a lot of attention, as it understandably received a lot of traffic:


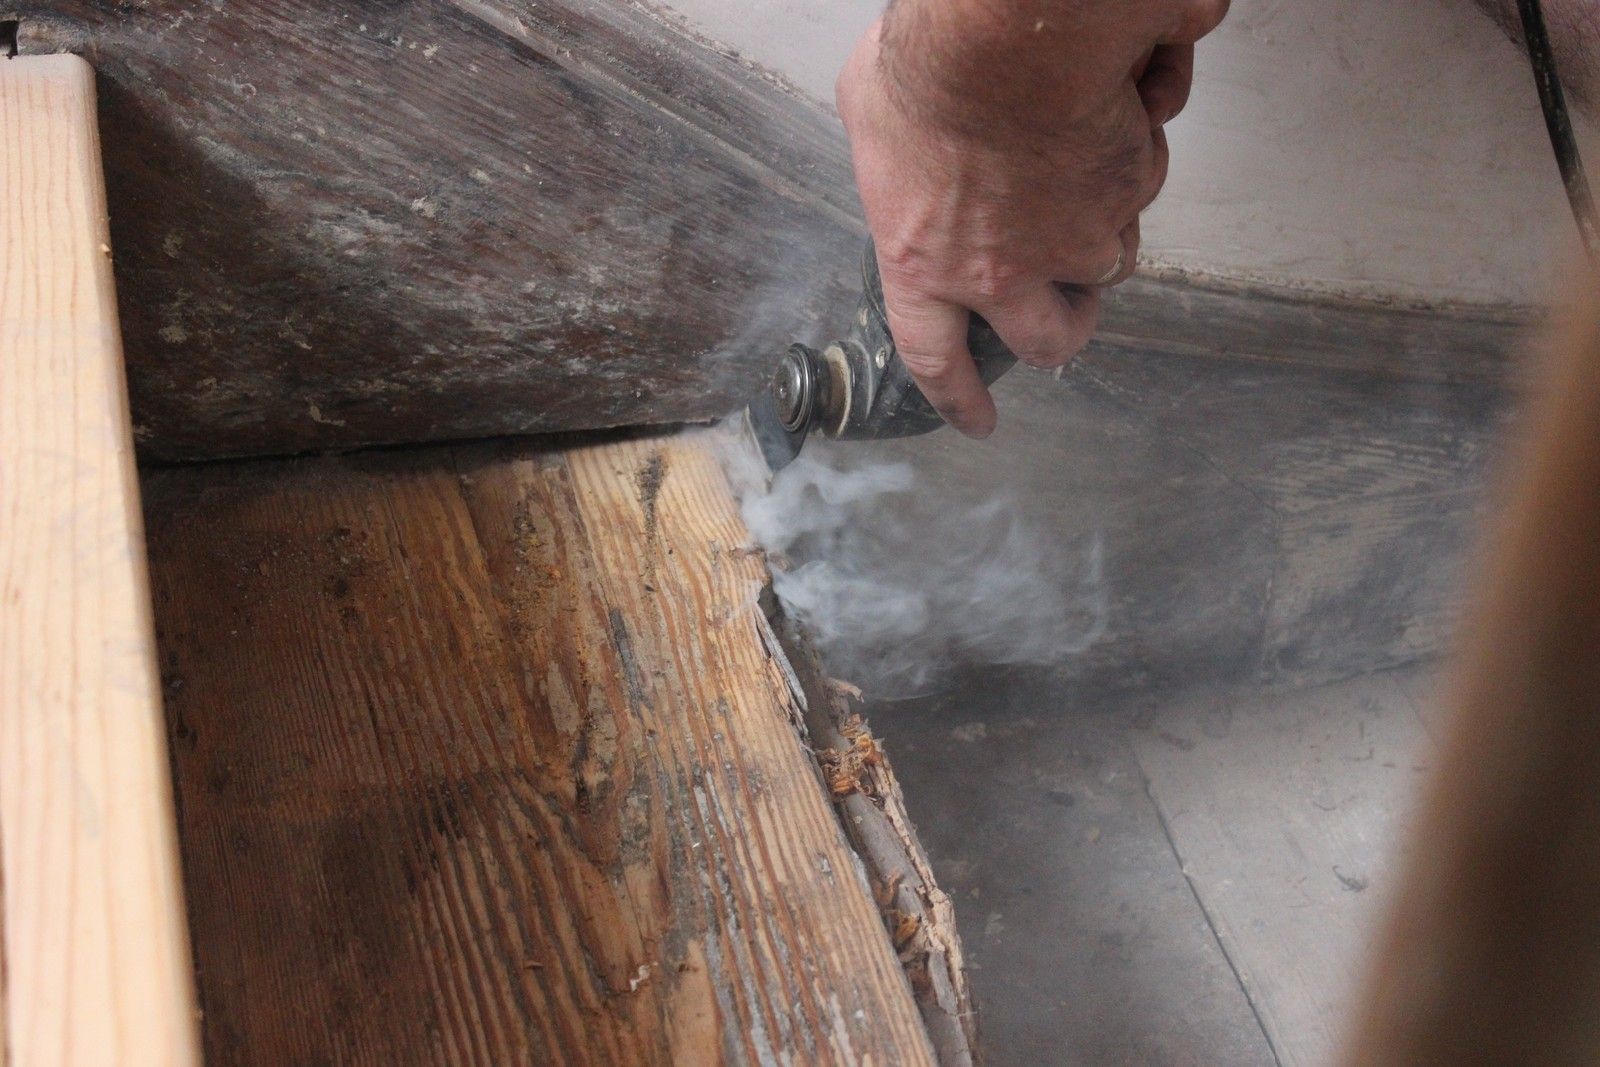
Seamus begins cutting out the damaged sections:


The finished product:


The entire stairs will be sanded back to give a smooth finish for painting.

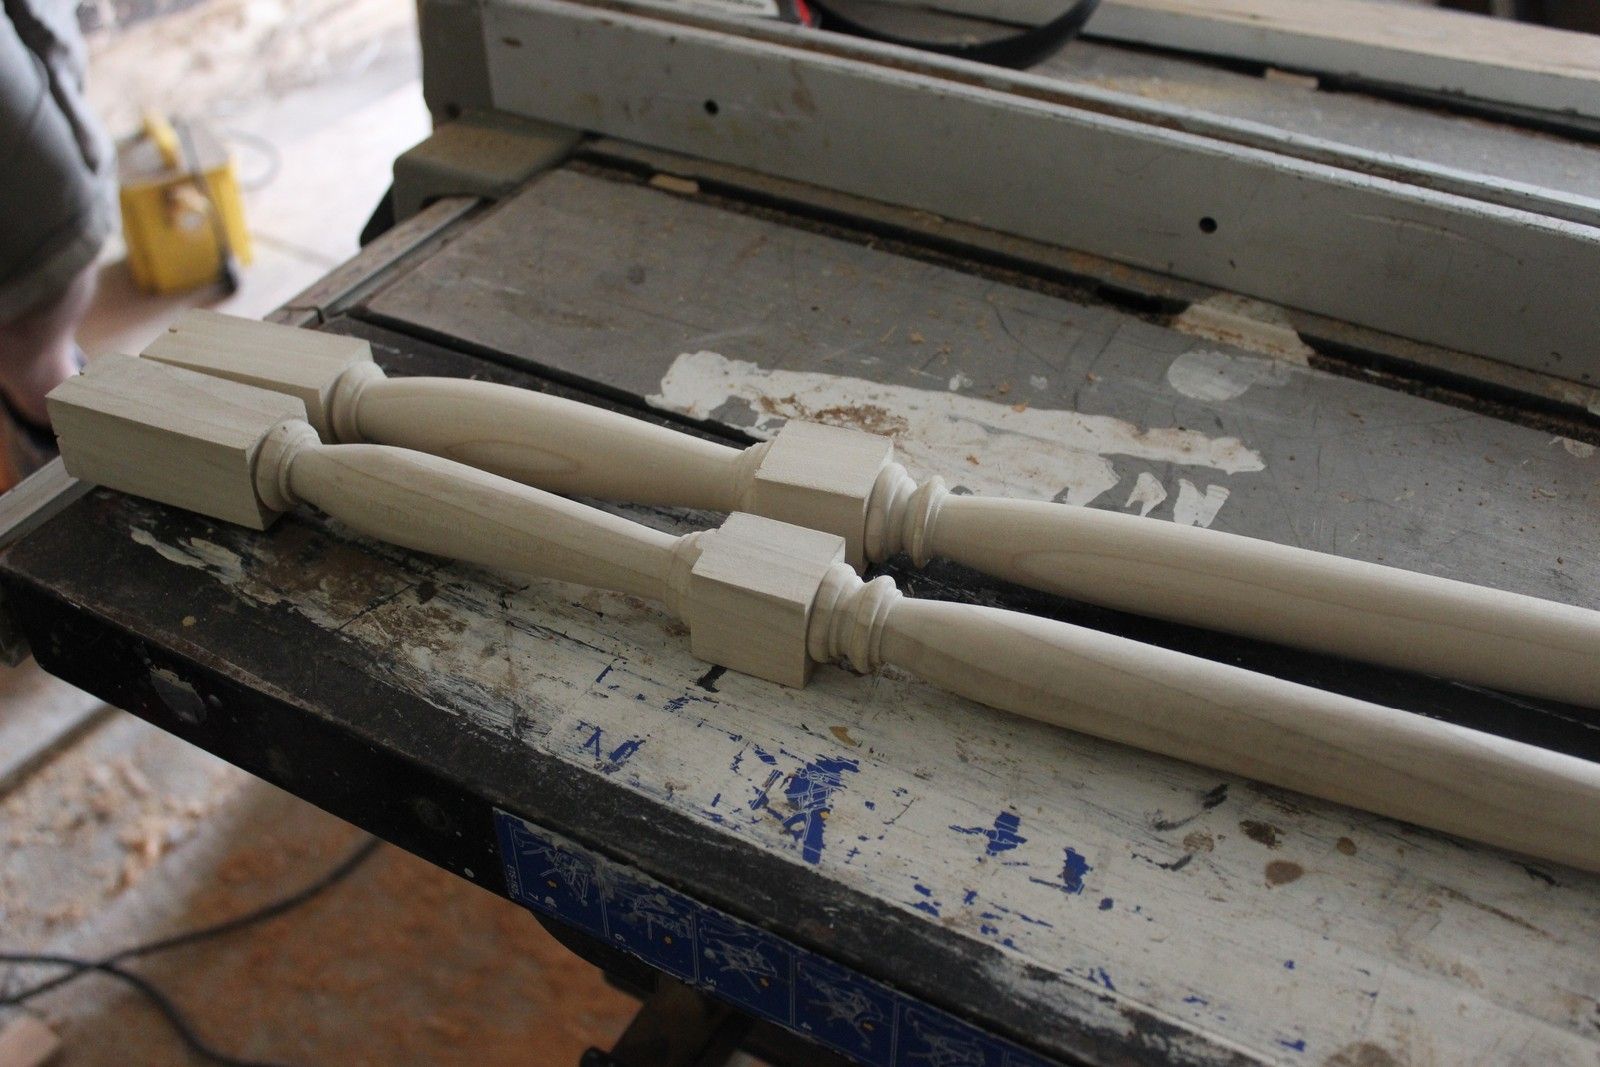
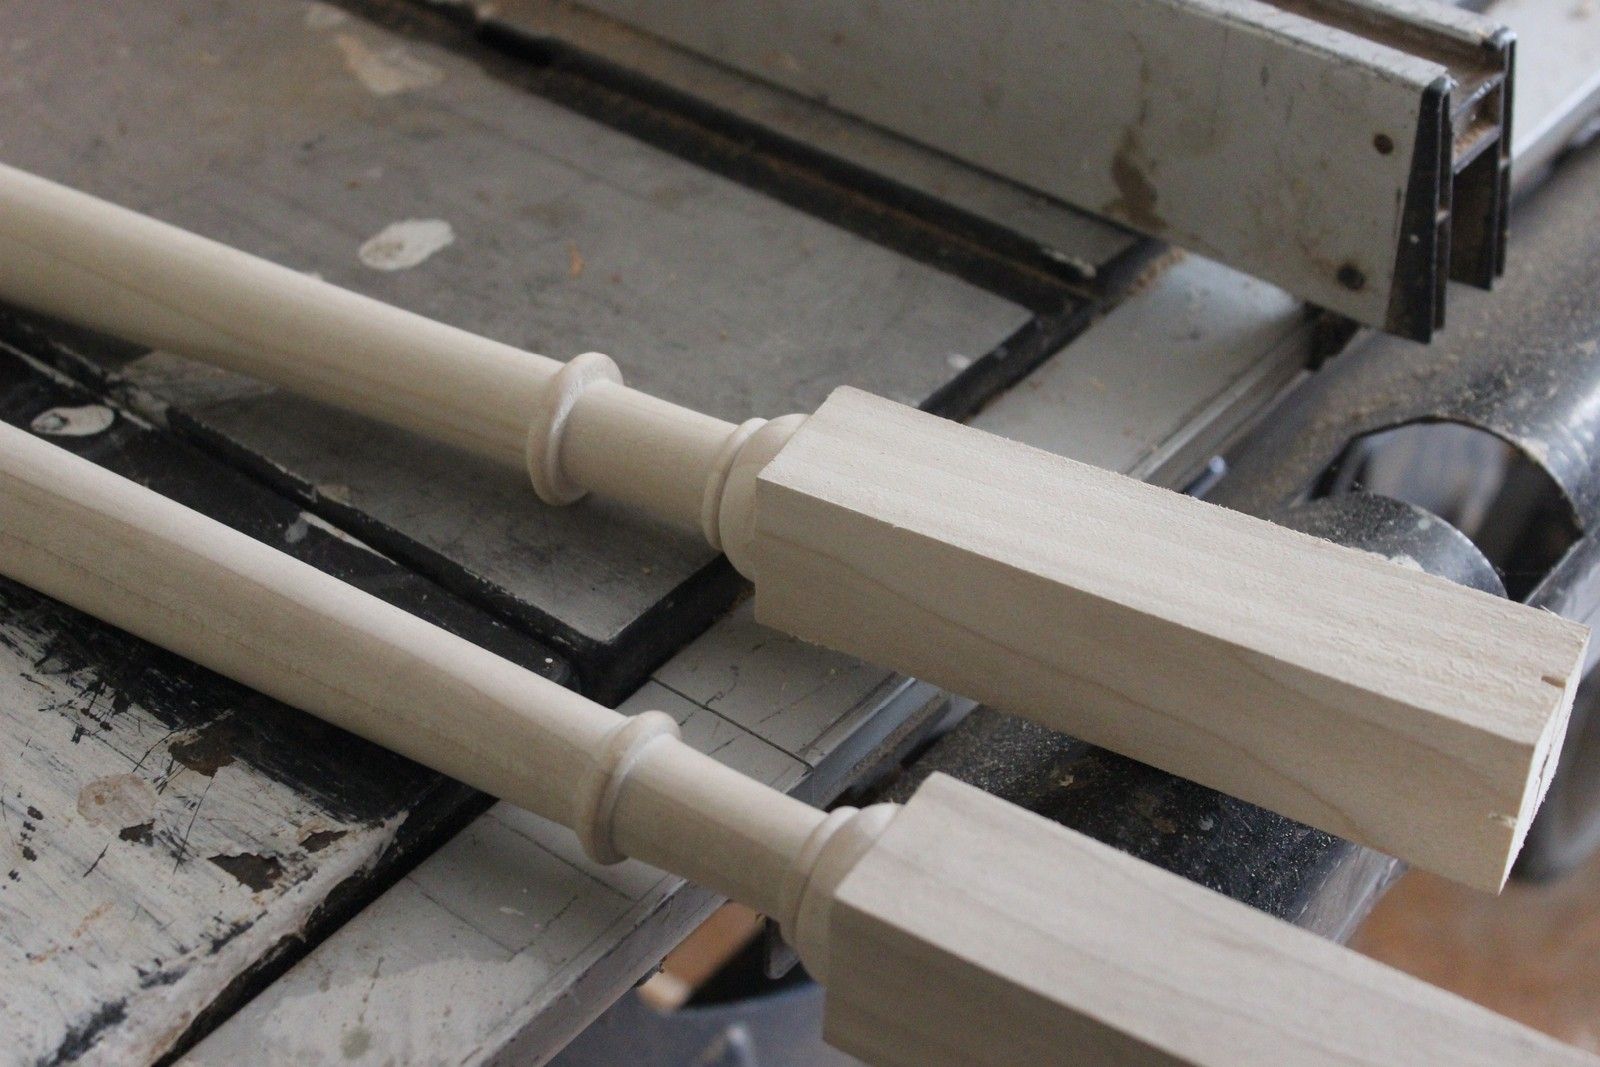
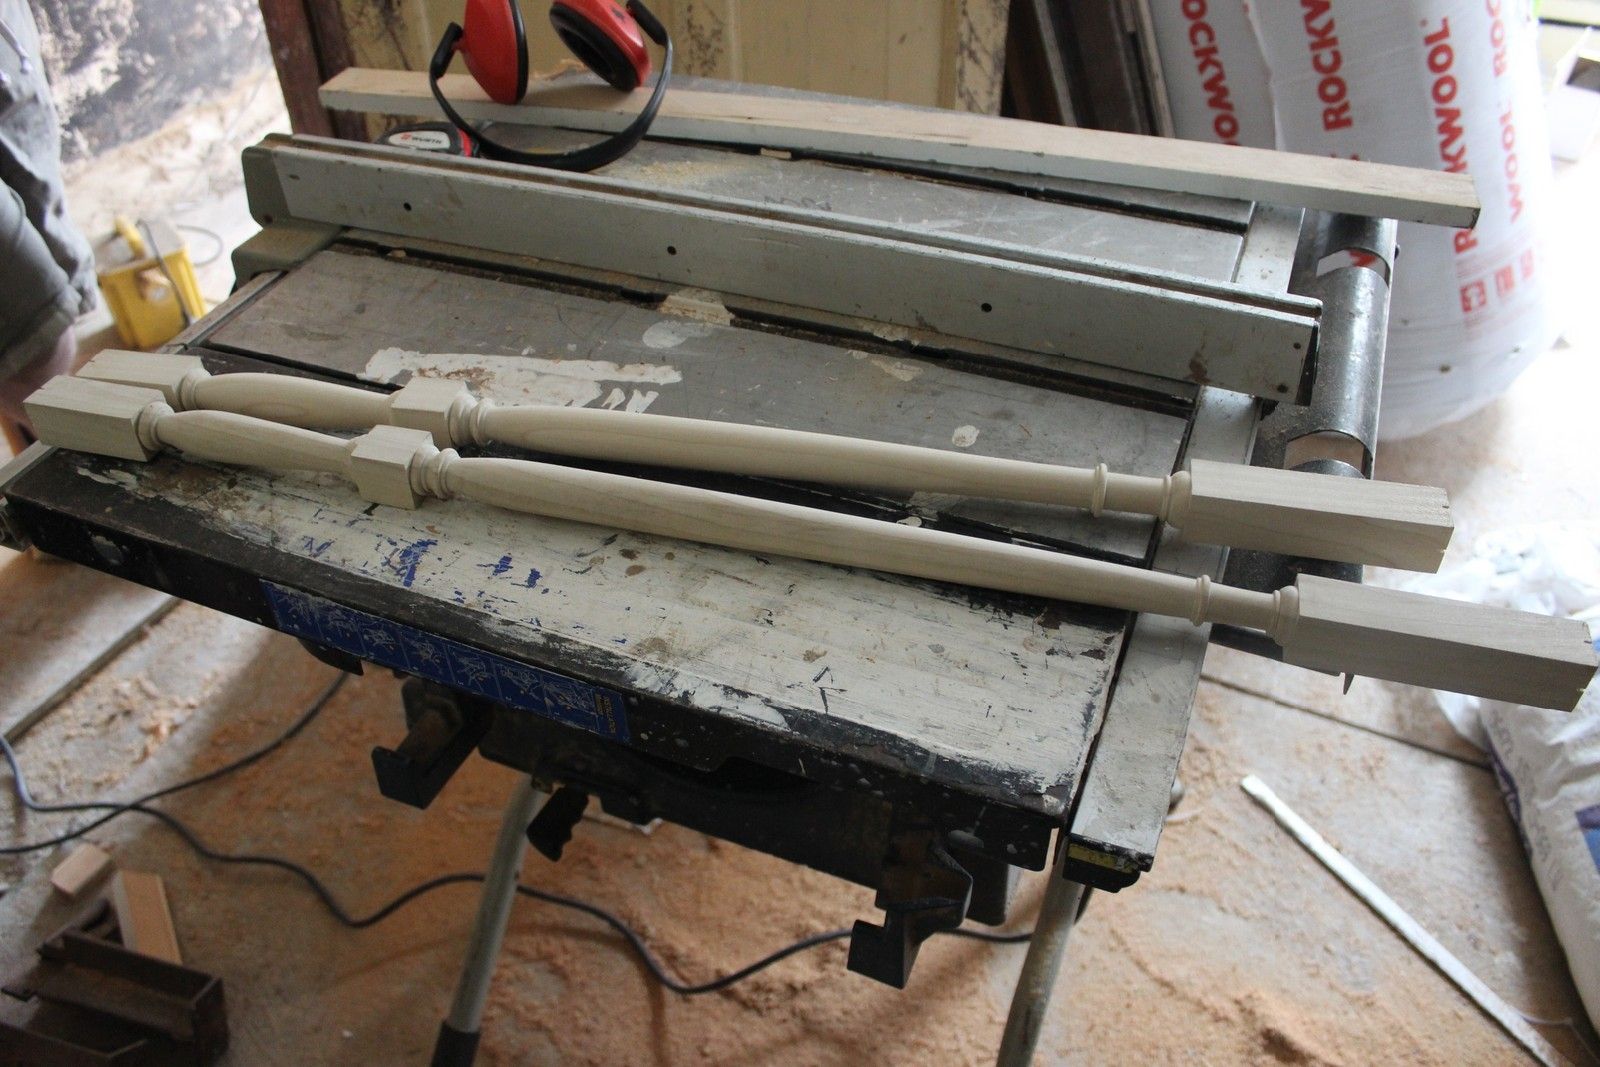
Seamus' friend Brendan is skilled at wood turning and agreed to reproduce 17 new ballisters to replace missing, damaged or incorrect pieces.

The results are fantastic:


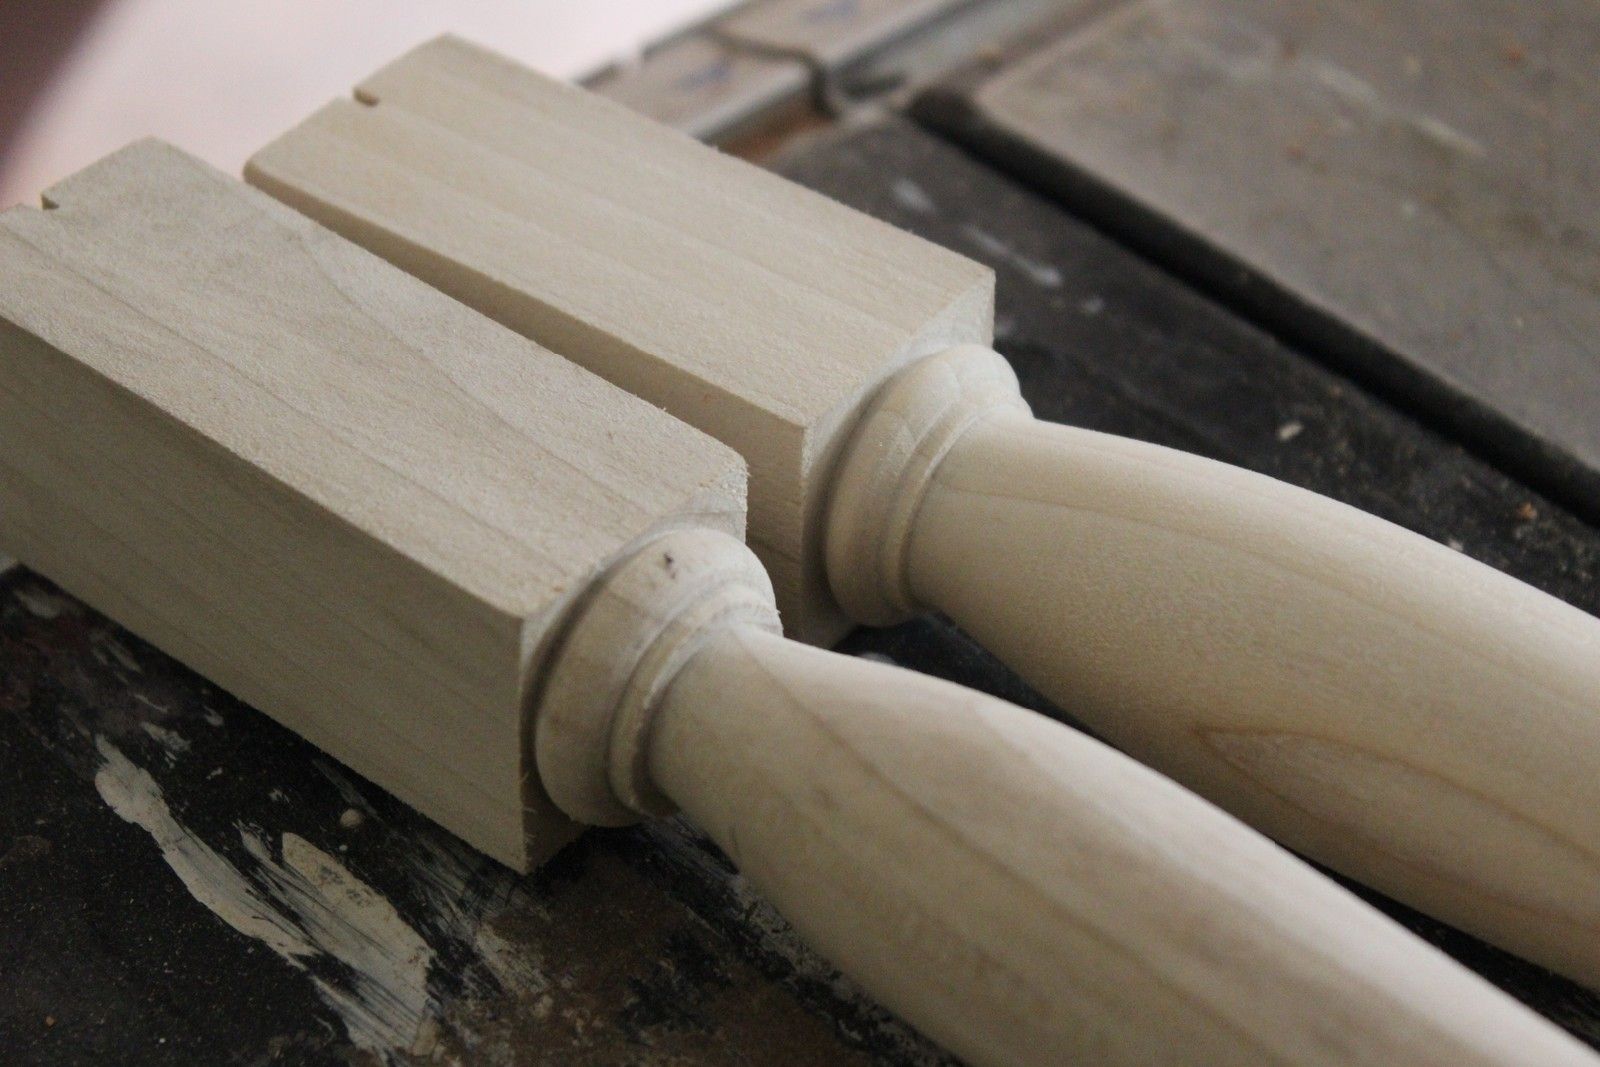
They have been reproduced with great accuracy, with regard for dimensions, profile and detail:

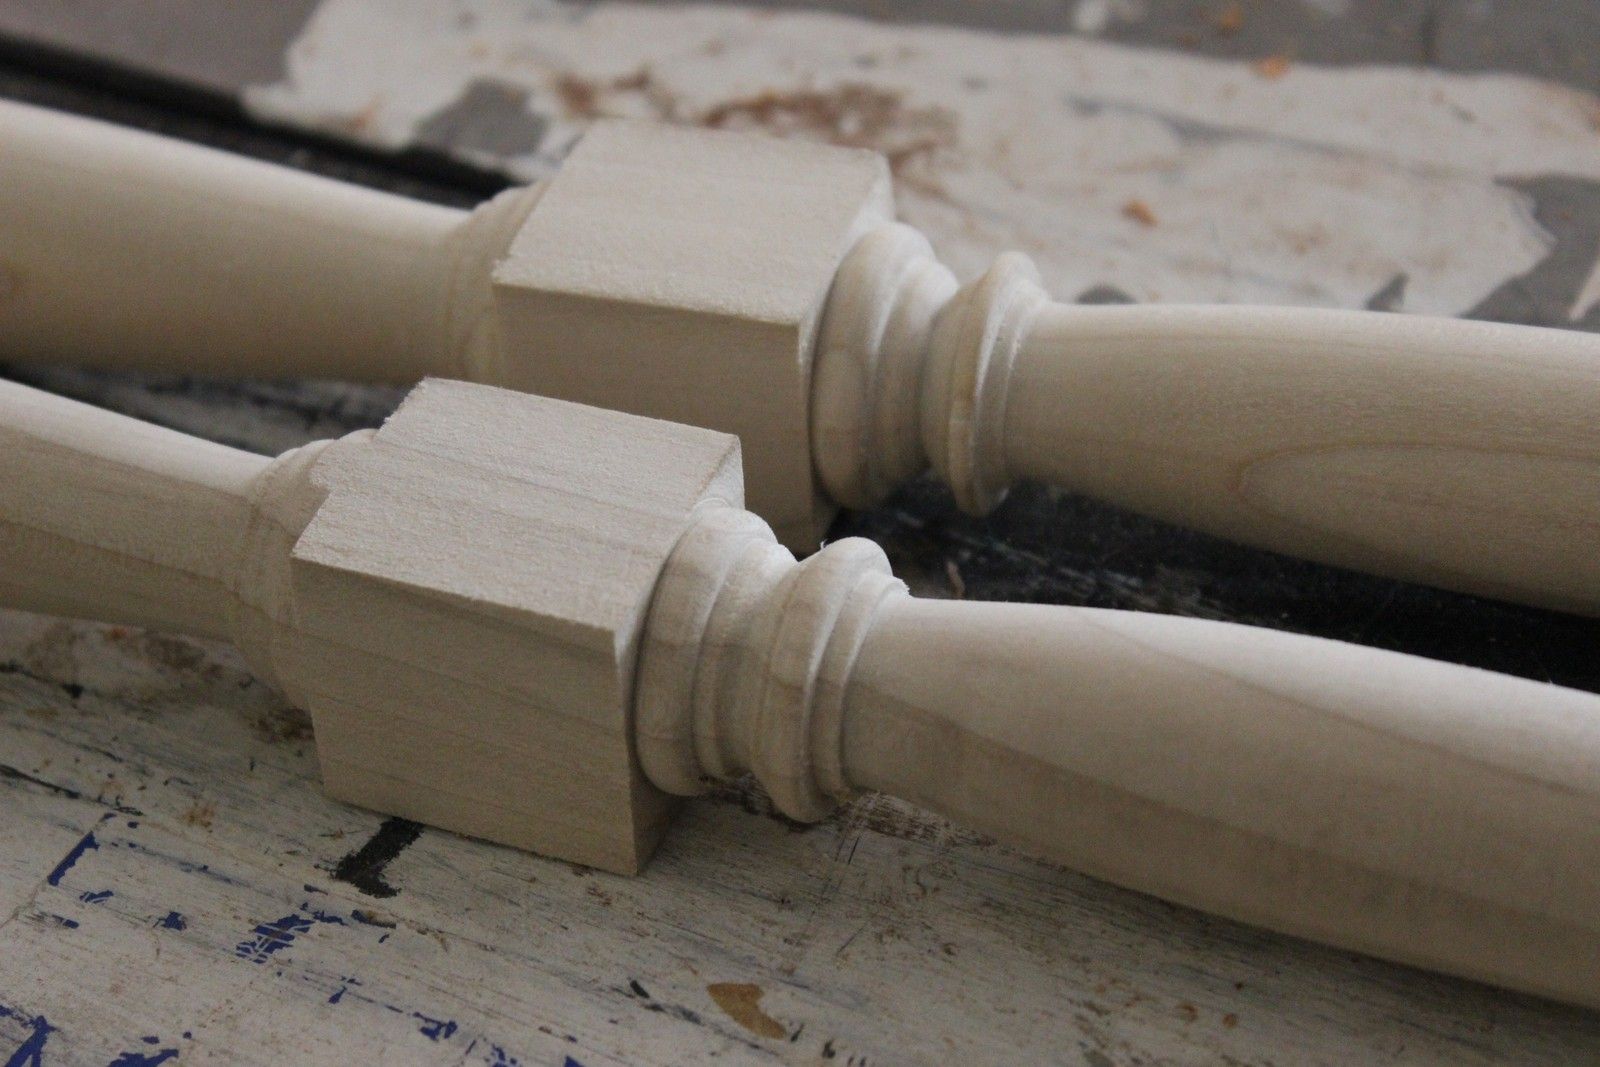

The 17 new ballisters include 5 entirely new pieces which will be reinstated at the very bottom of the stairs, replacing the later added Victorian knewl and topped with a salvaged (if possible) Georgian era monkey tailed rail.


Thursday, 4 June 2015

More Plastering & Tackling The Shutterboxes

Paddy from EcoIsle set to work on the first floor front room plaster repairs last week, along with the complete re-plastering of the bedroom behind.

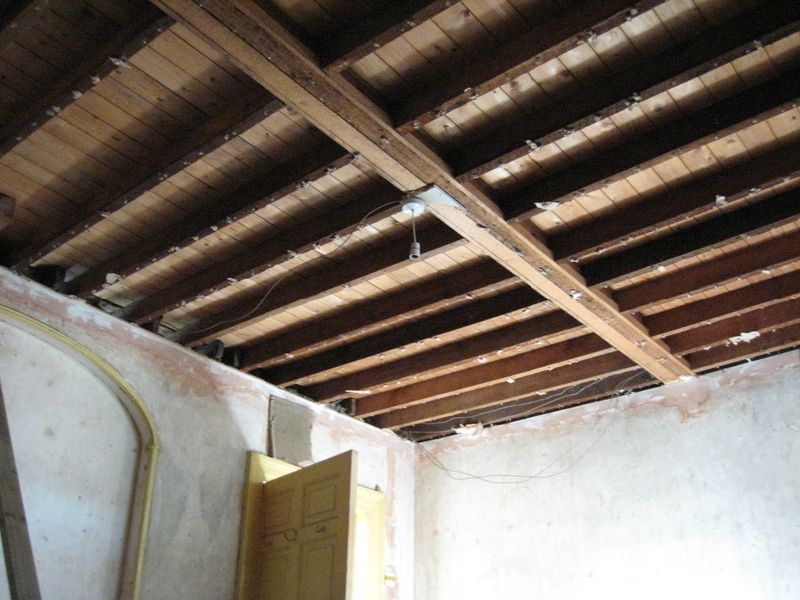
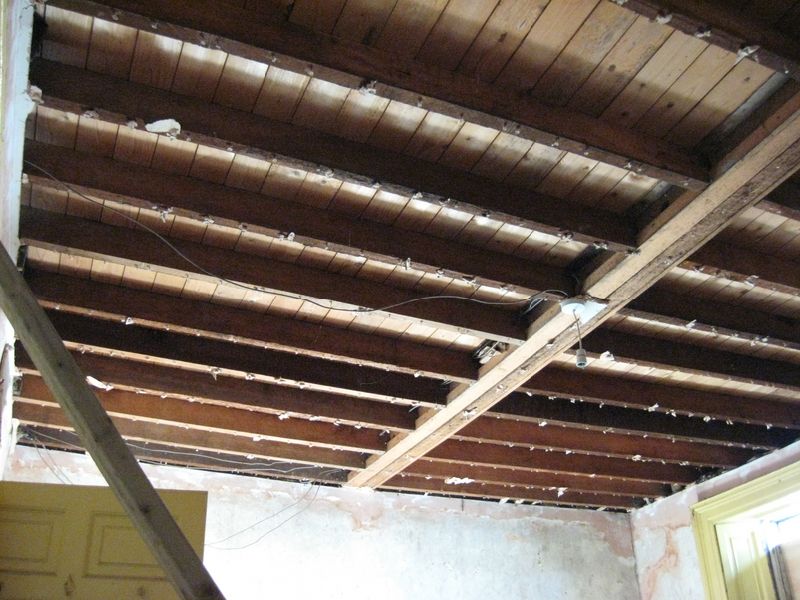
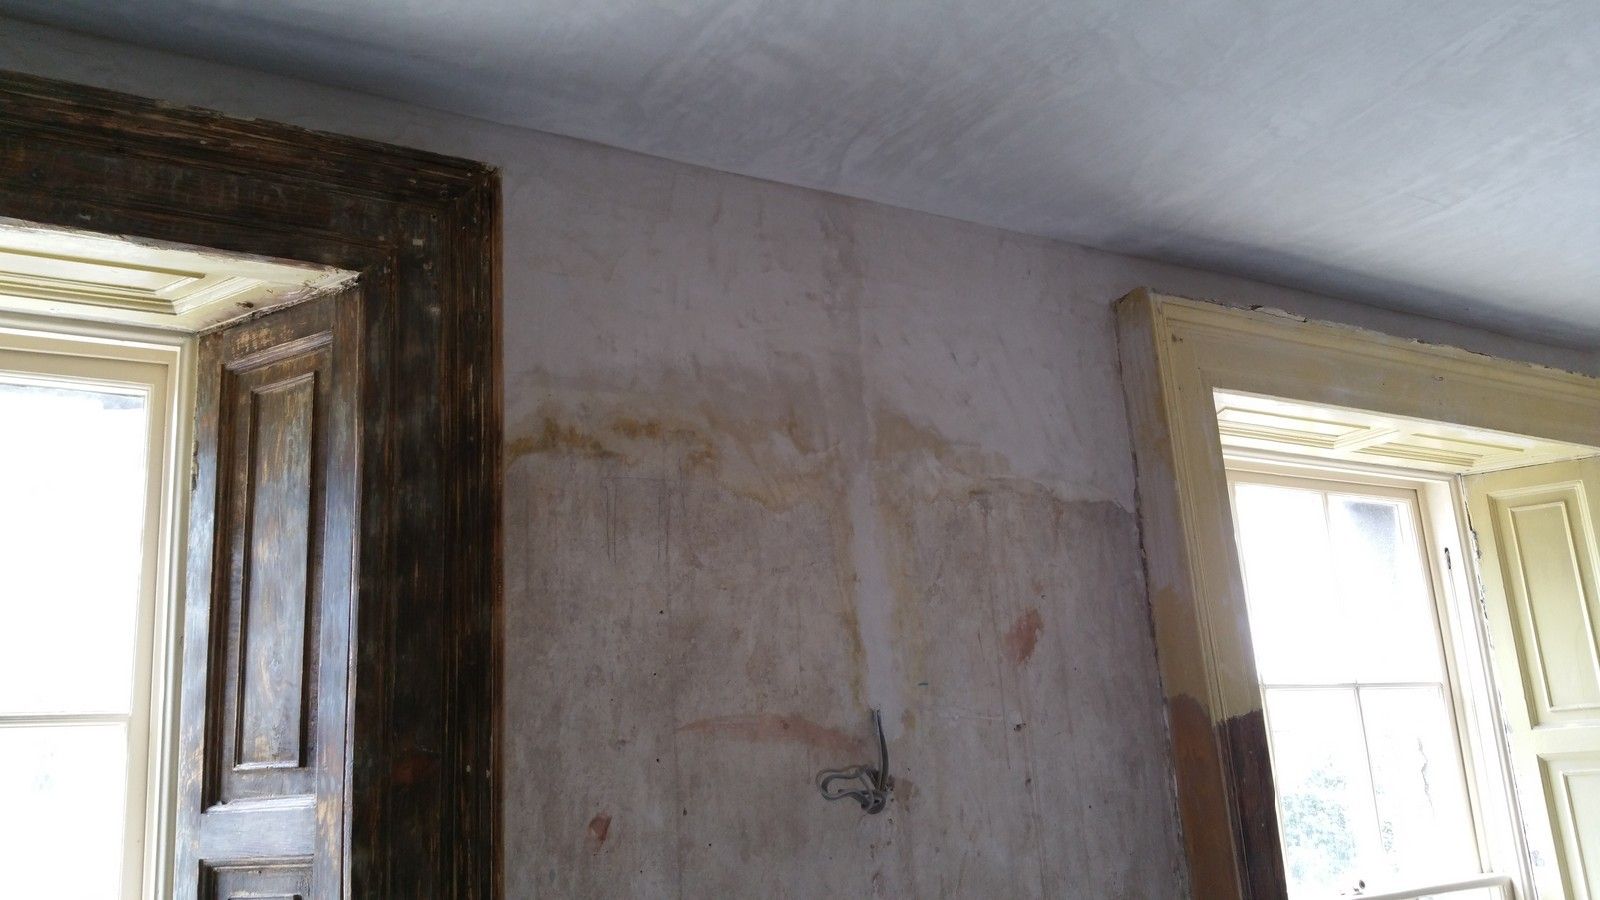
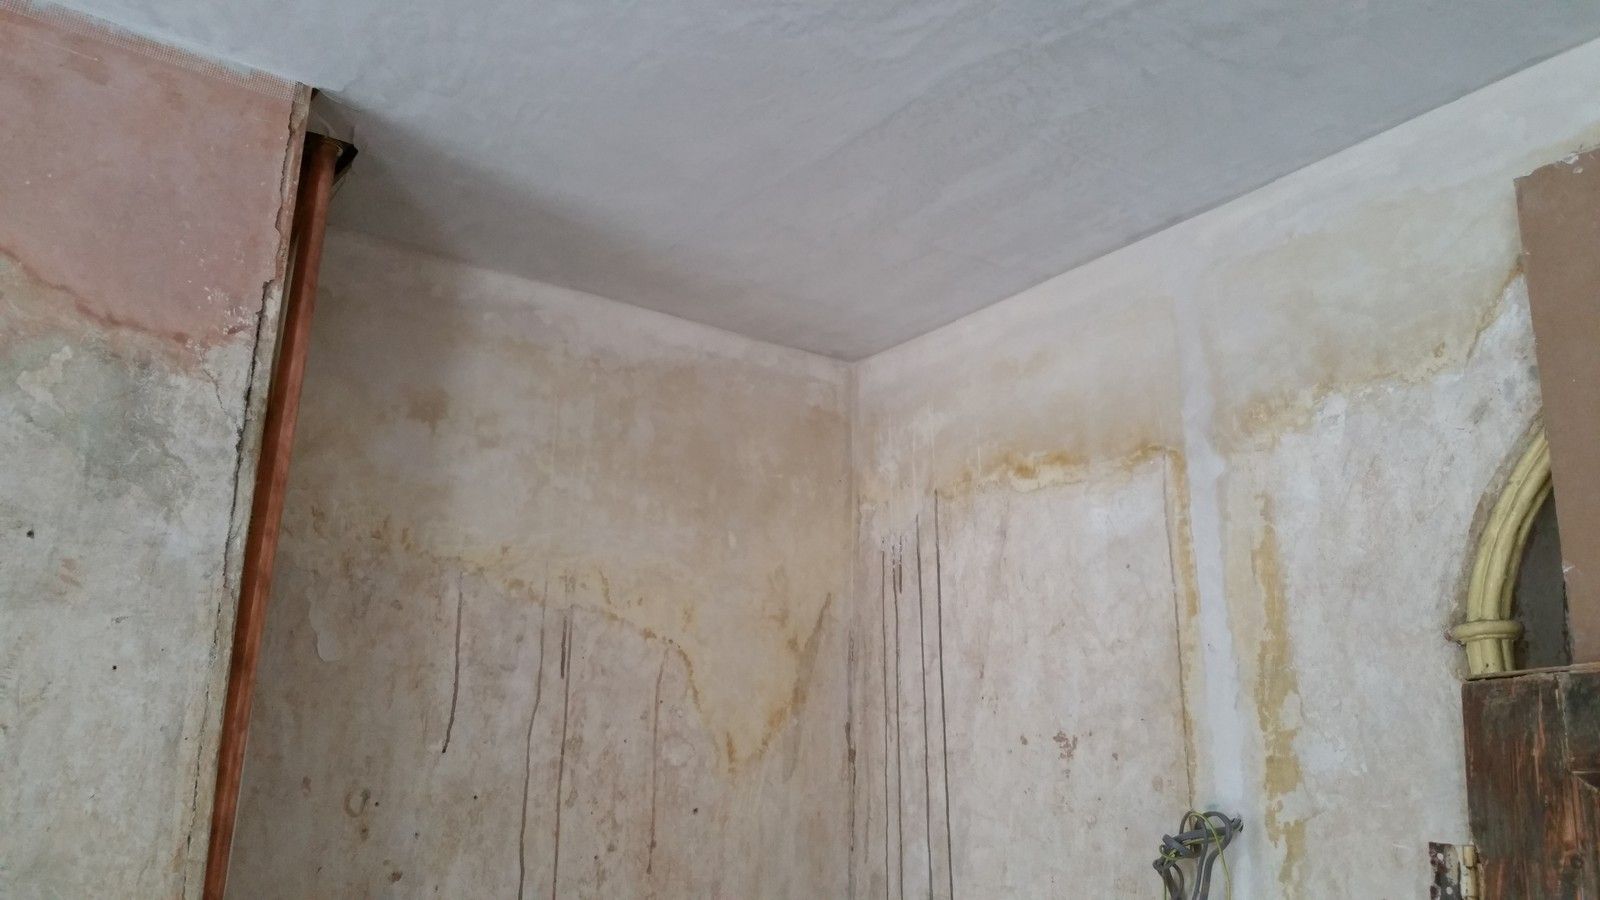
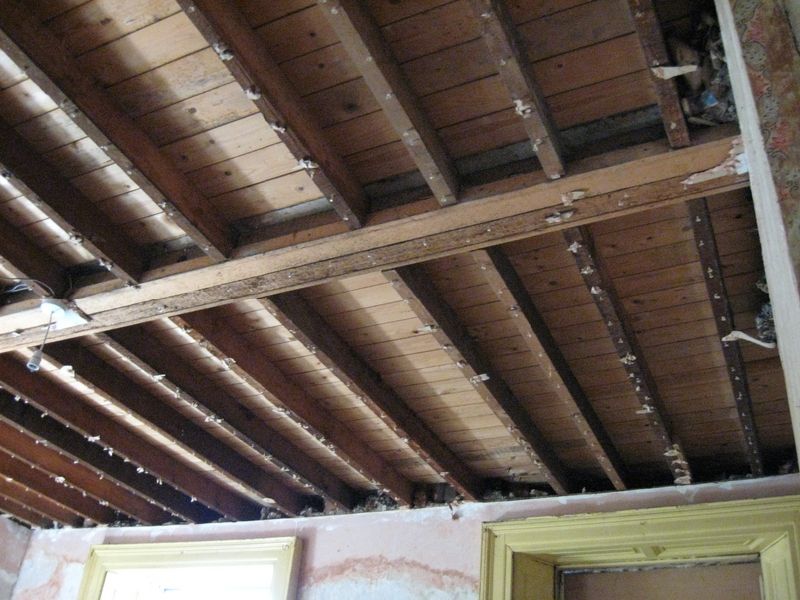
Most likely in the last fifty years, the original ceilings were removed from pretty much every room in the house, which resulted in the loss of all cornices and ceiling roses. The removal of the cornices left large gaping holes along the top of the walls in all rooms. This was then crudely patch repaired with modern plaster, resulting in a rough and uneven finish which was then typically wallpapered over.

This gypsum plaster (usually pink) needed to be dug out or smoothed over and blended with the existing plasterwork, with more lime plaster.

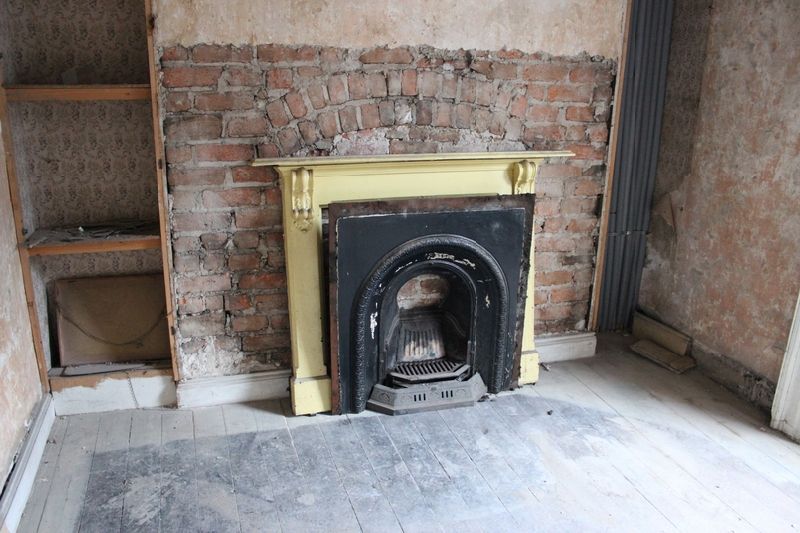
You can see this gypsum plaster here in older pictures:


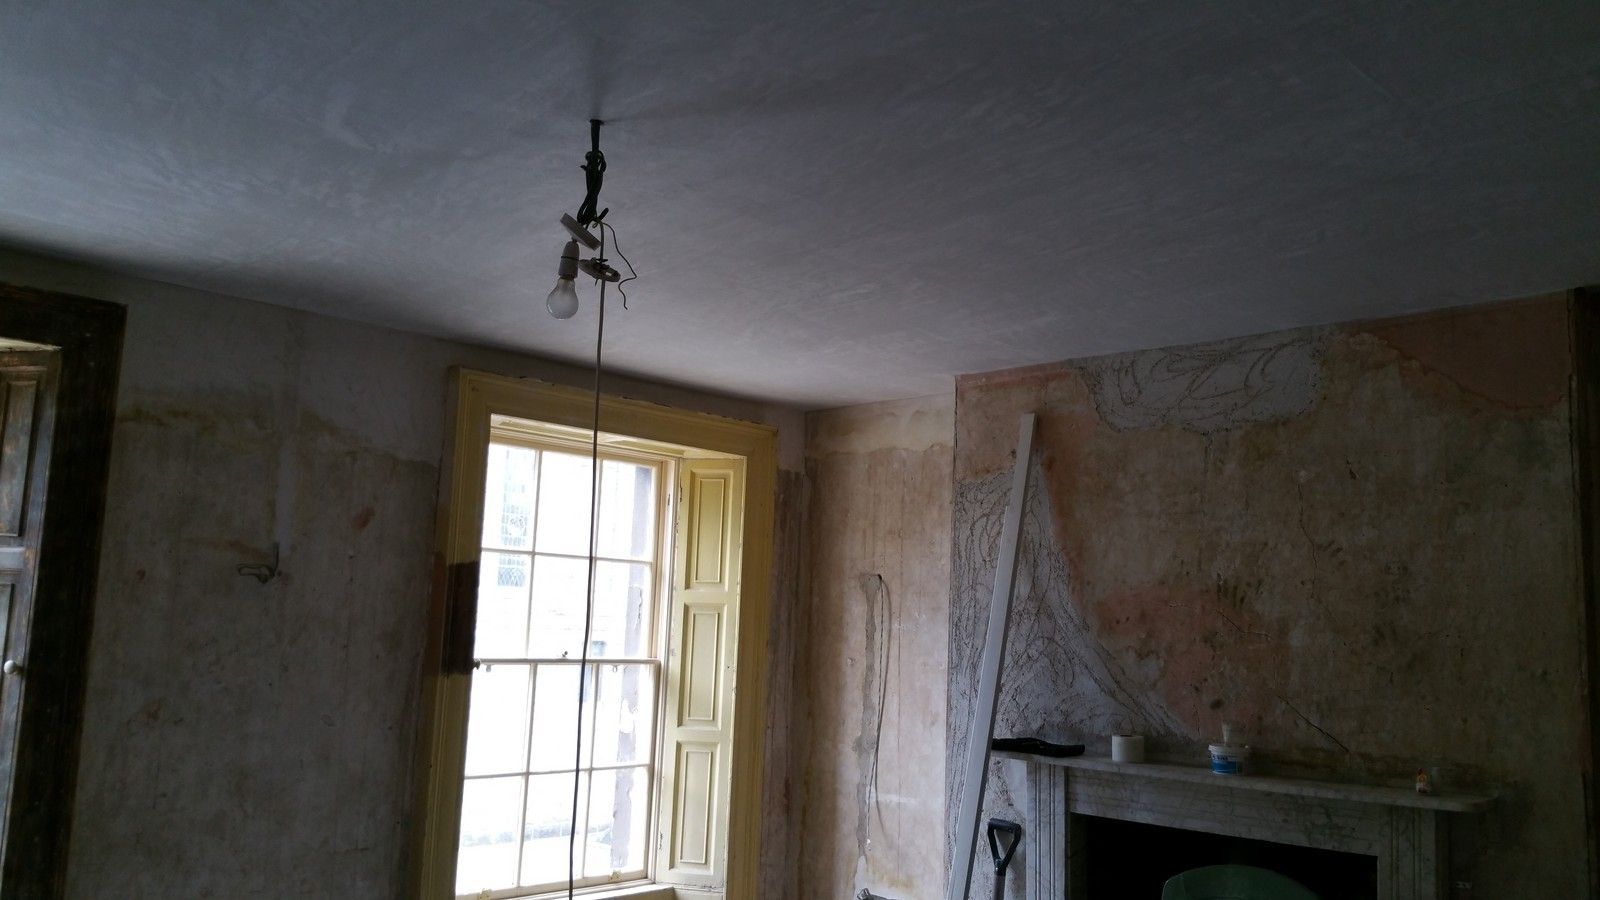
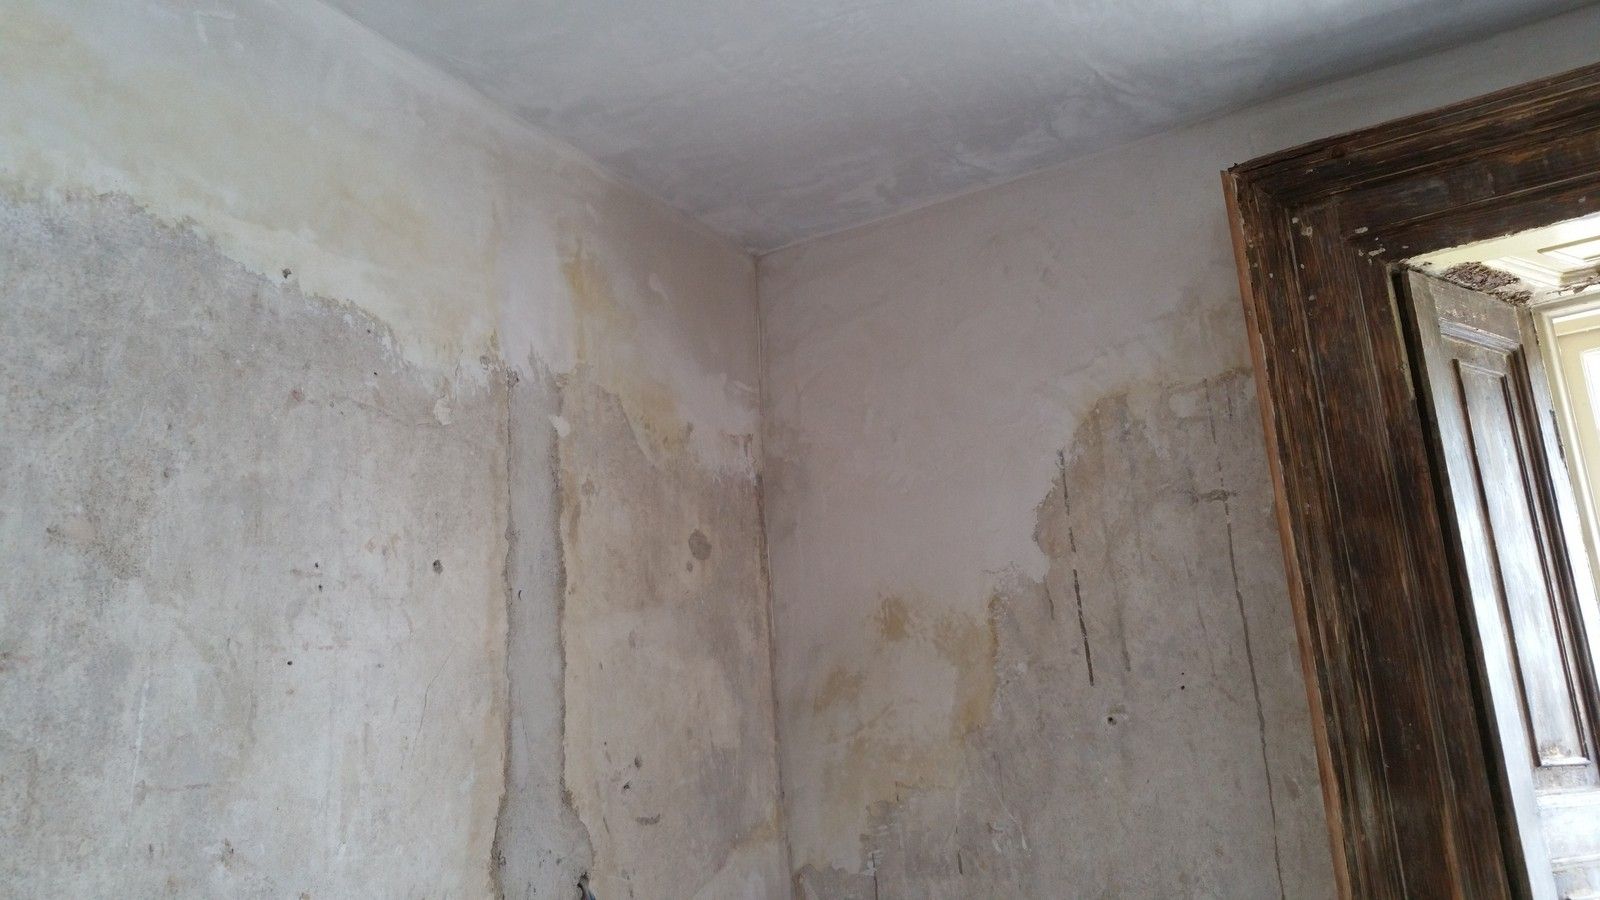
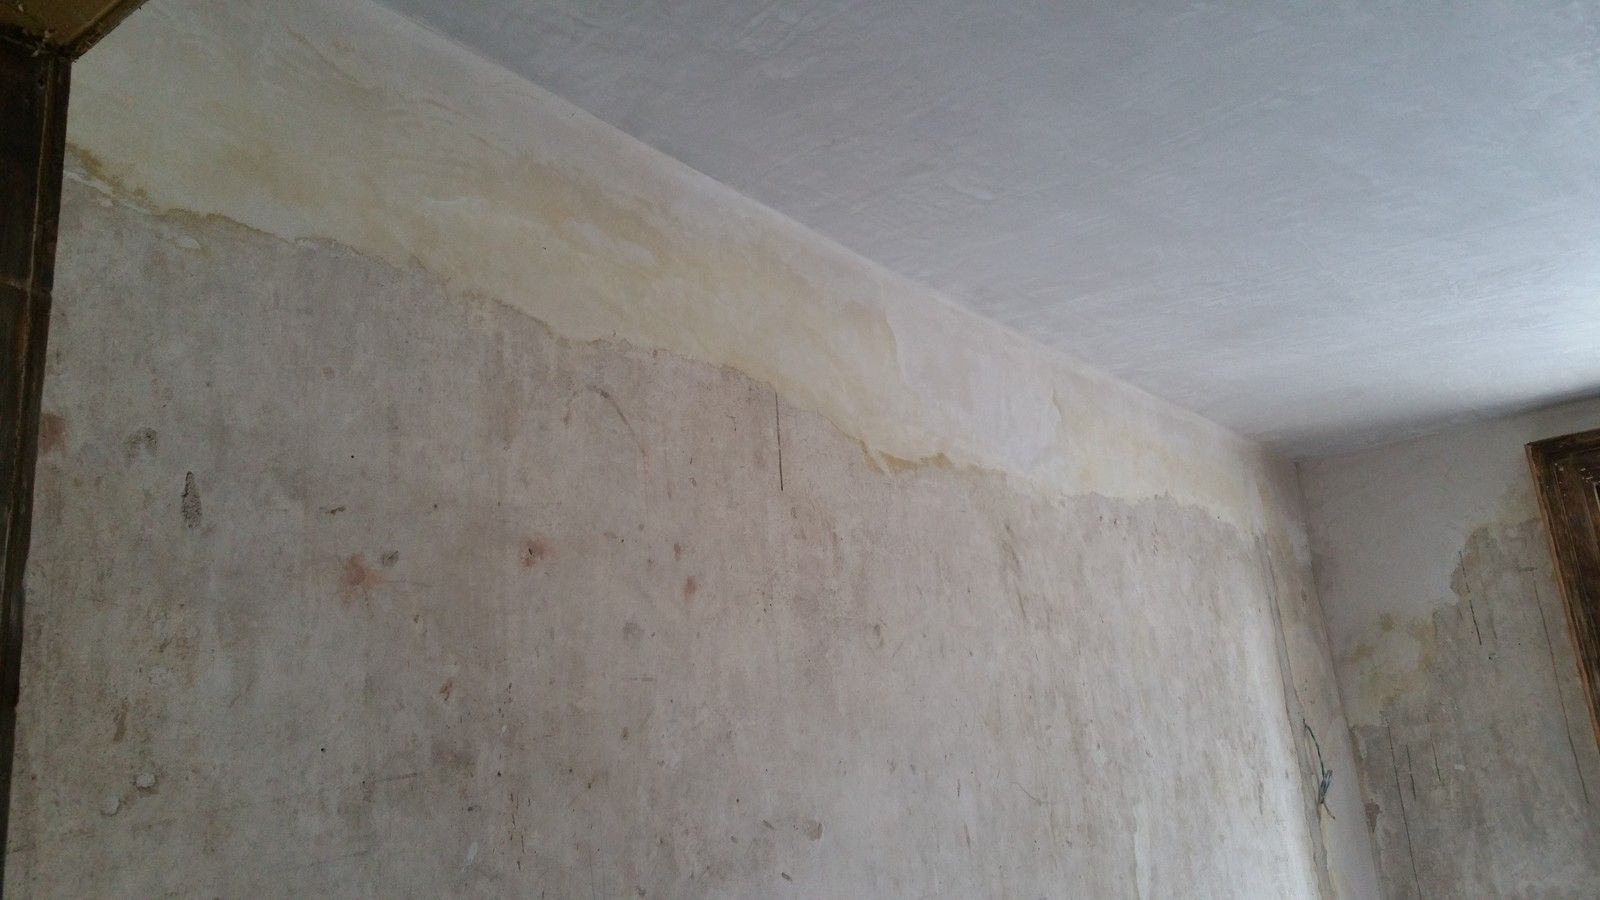
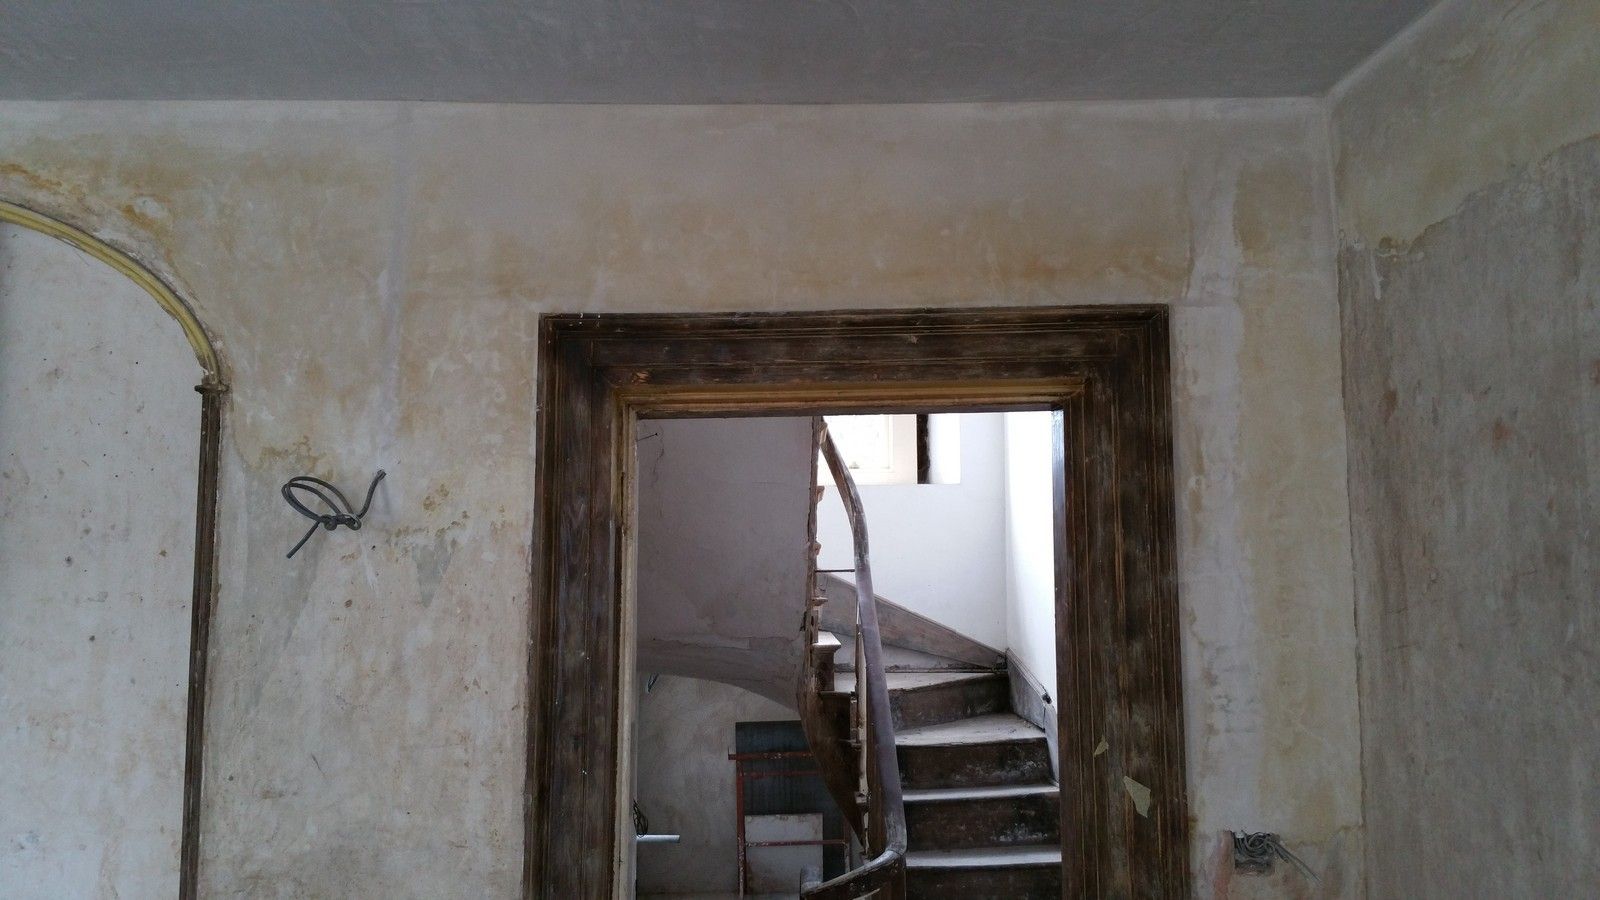
With the new ceilings in, the plaster repairs could begin:


Whilst the colour and stains on the older plaster would lead you to believe the overall finish is very poor, it's in remarkably good condition considering it's 195 years old. Once sanded with a super fine grit paper, the blends should be near invisible once decorated.

This was only the preliminary patching stage, a lot more, smaller repairs will be required to around architraves, skirting and shutterboxes.


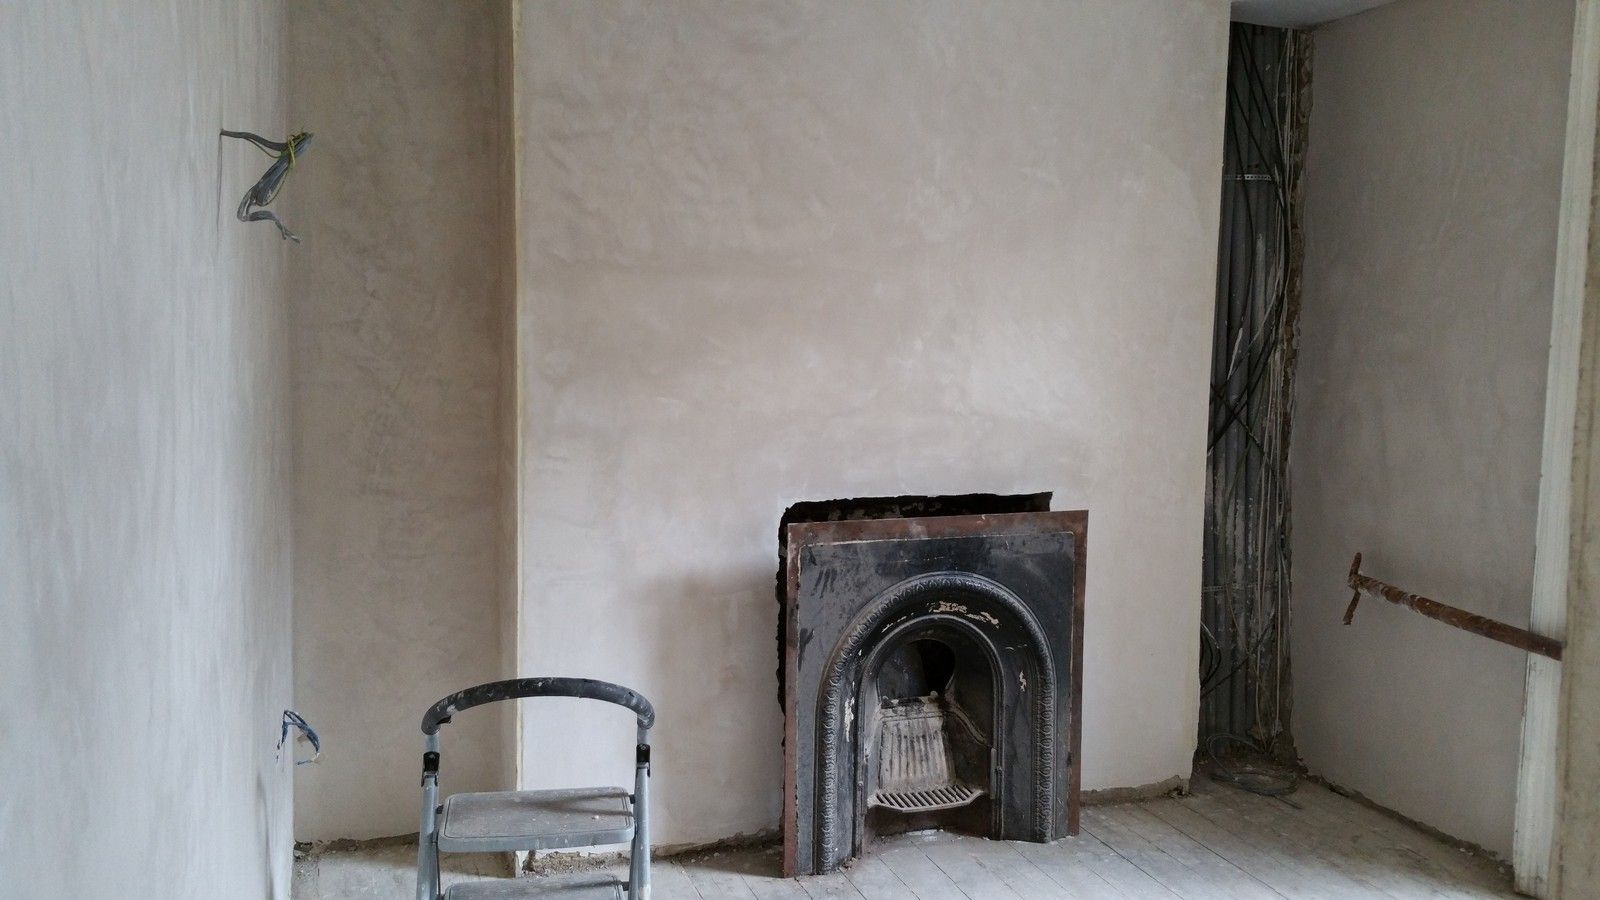
The chimney breast hasn't been completed yet as the fireplace surround has to be re-positioned ever so slightly first:


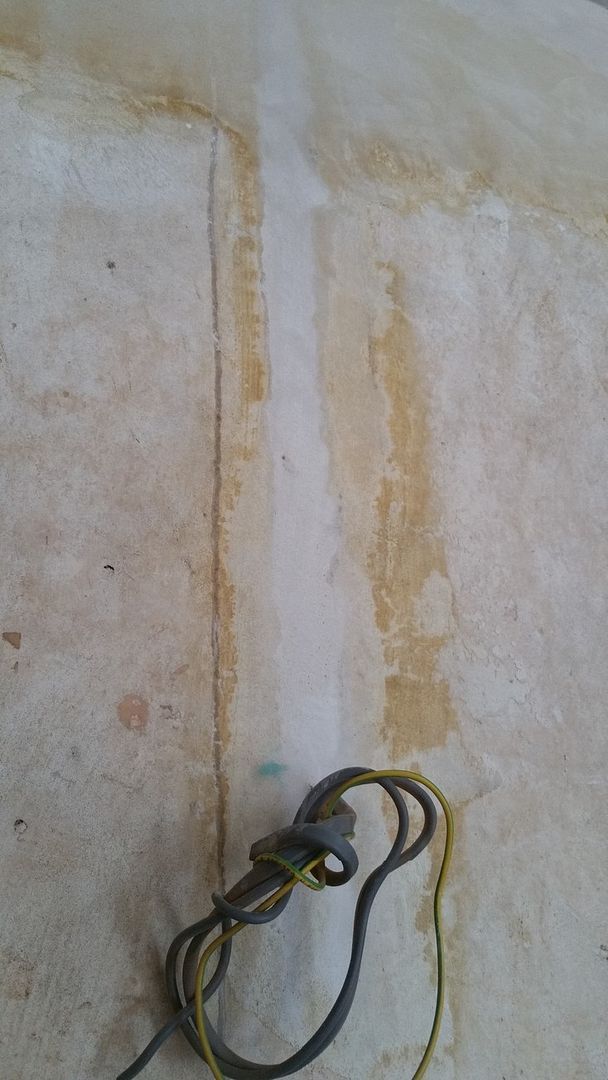
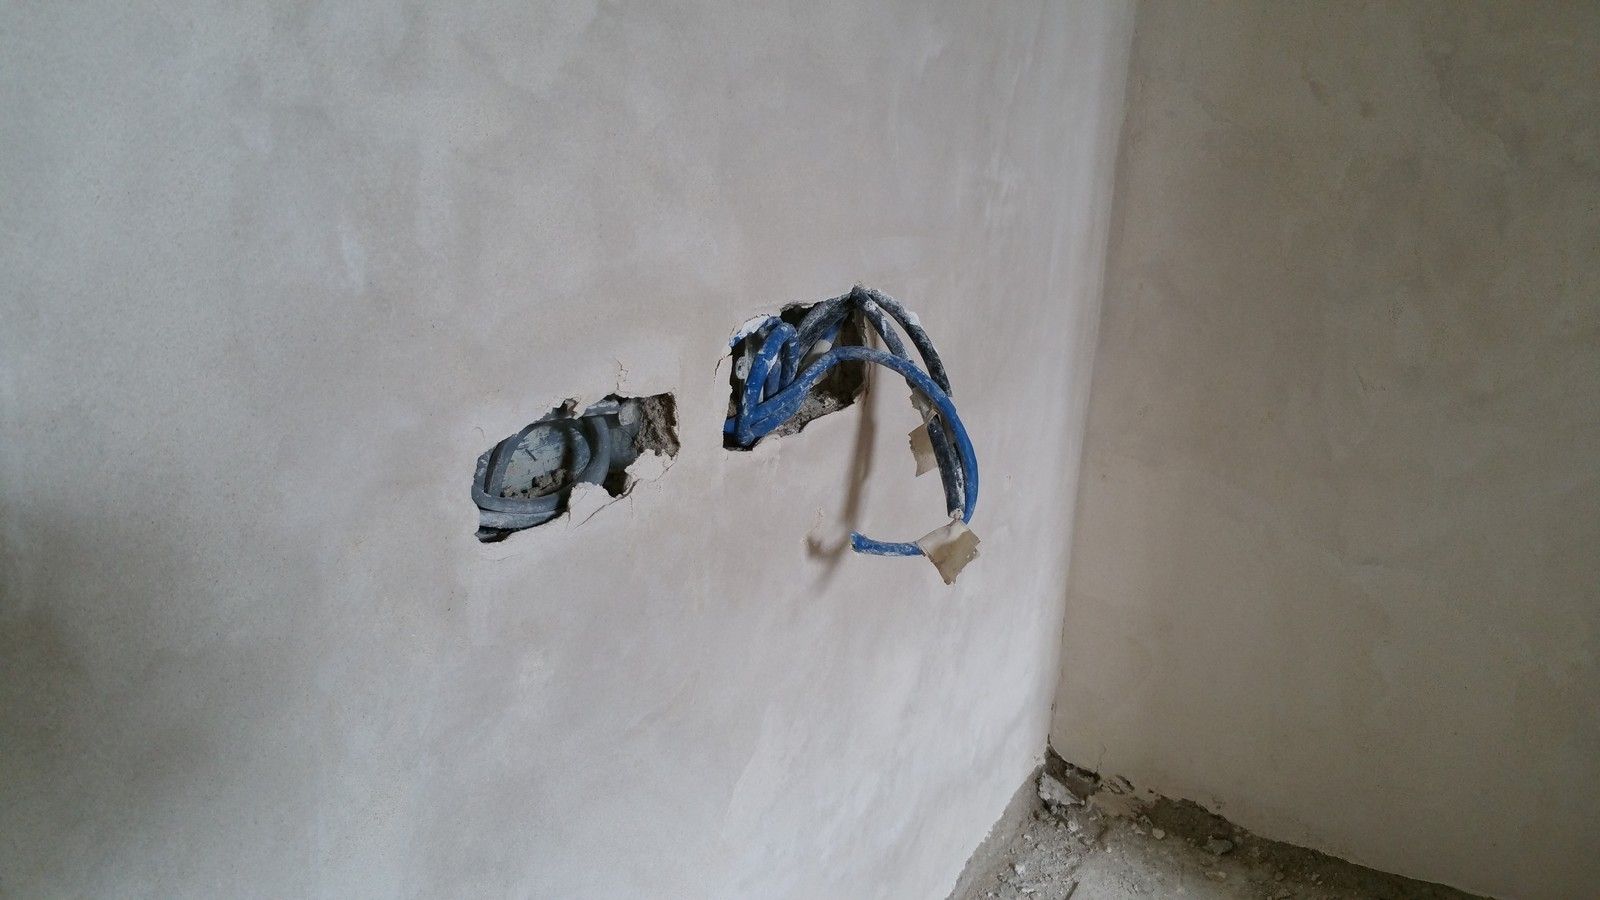
Small cracks in the plaster were also patched up:


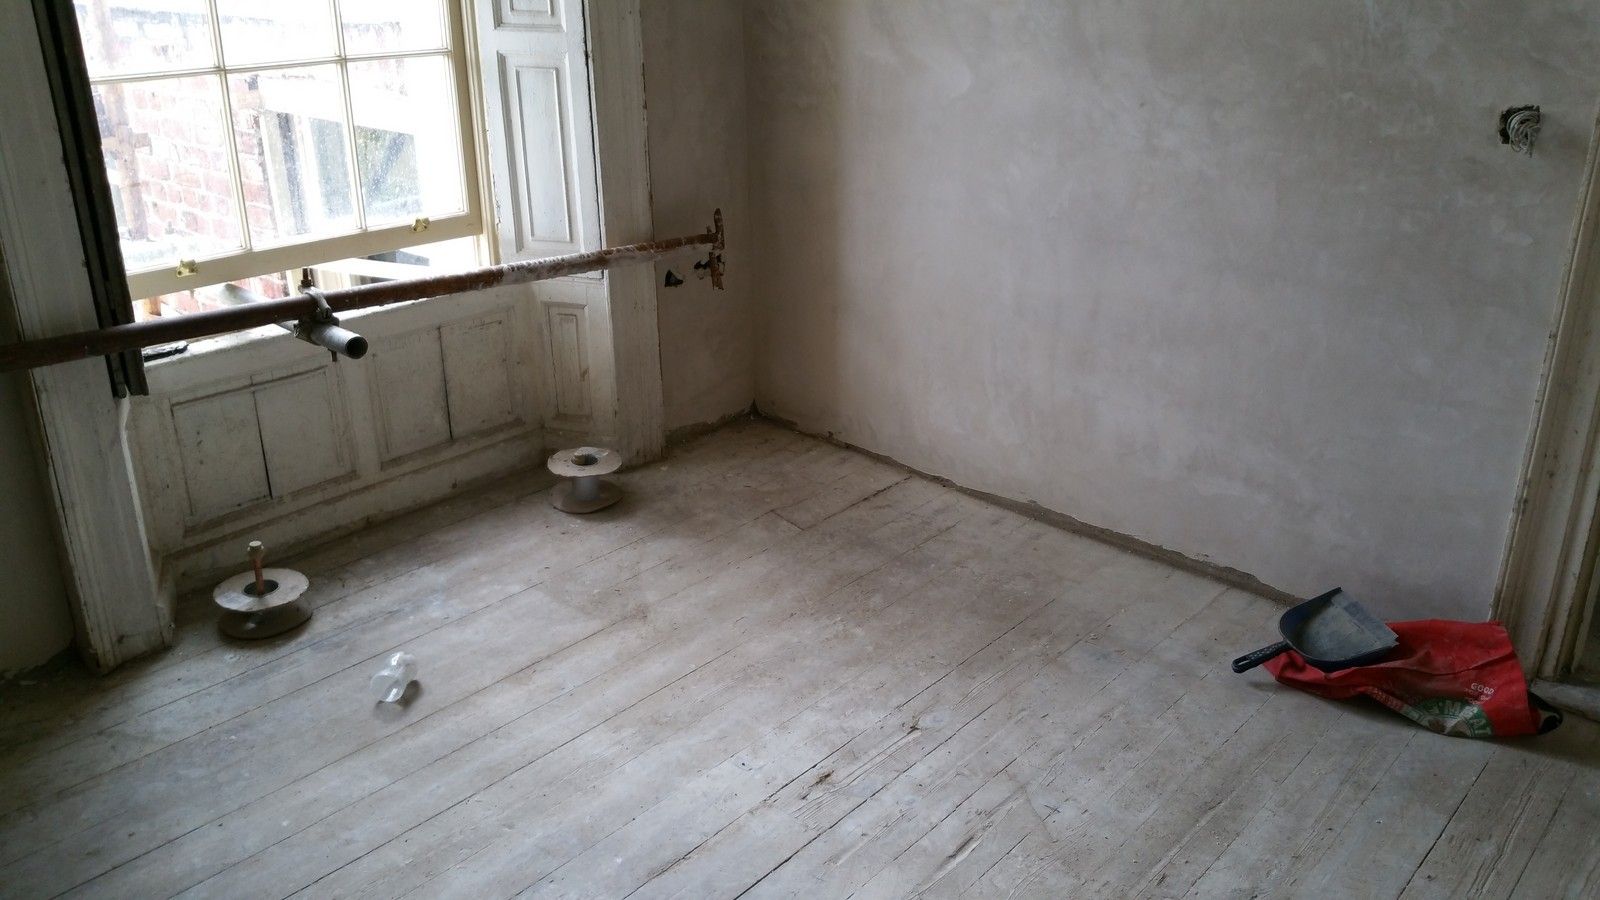
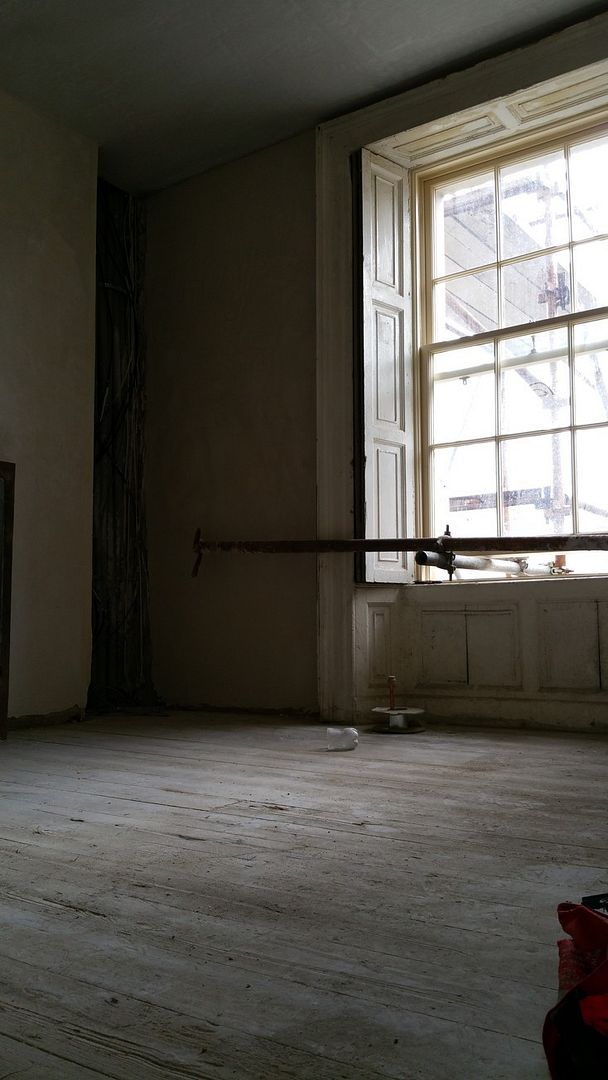
Moving onto the rear bedroom of the same first floor, it required a lot more work than the front room. Patch repair in this room simply wasn't an option, the plaster was rough, crumbling and patched in such a bad way, with a multitude of materials.

This is the only "before" picture I have to hand; the walls were wallpapered, presumably to cover up the nightmare underneath:


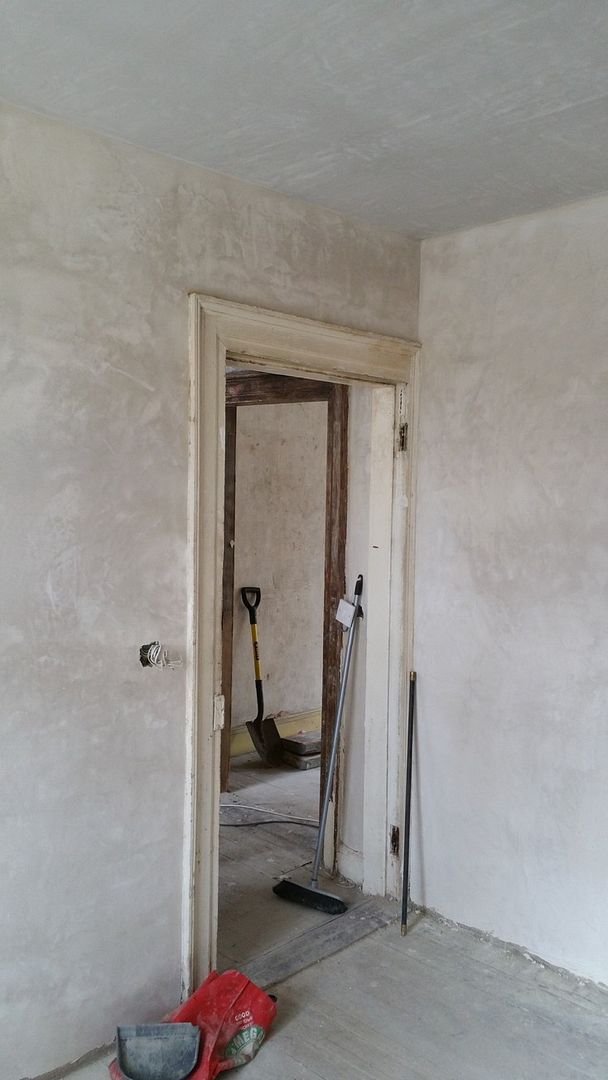
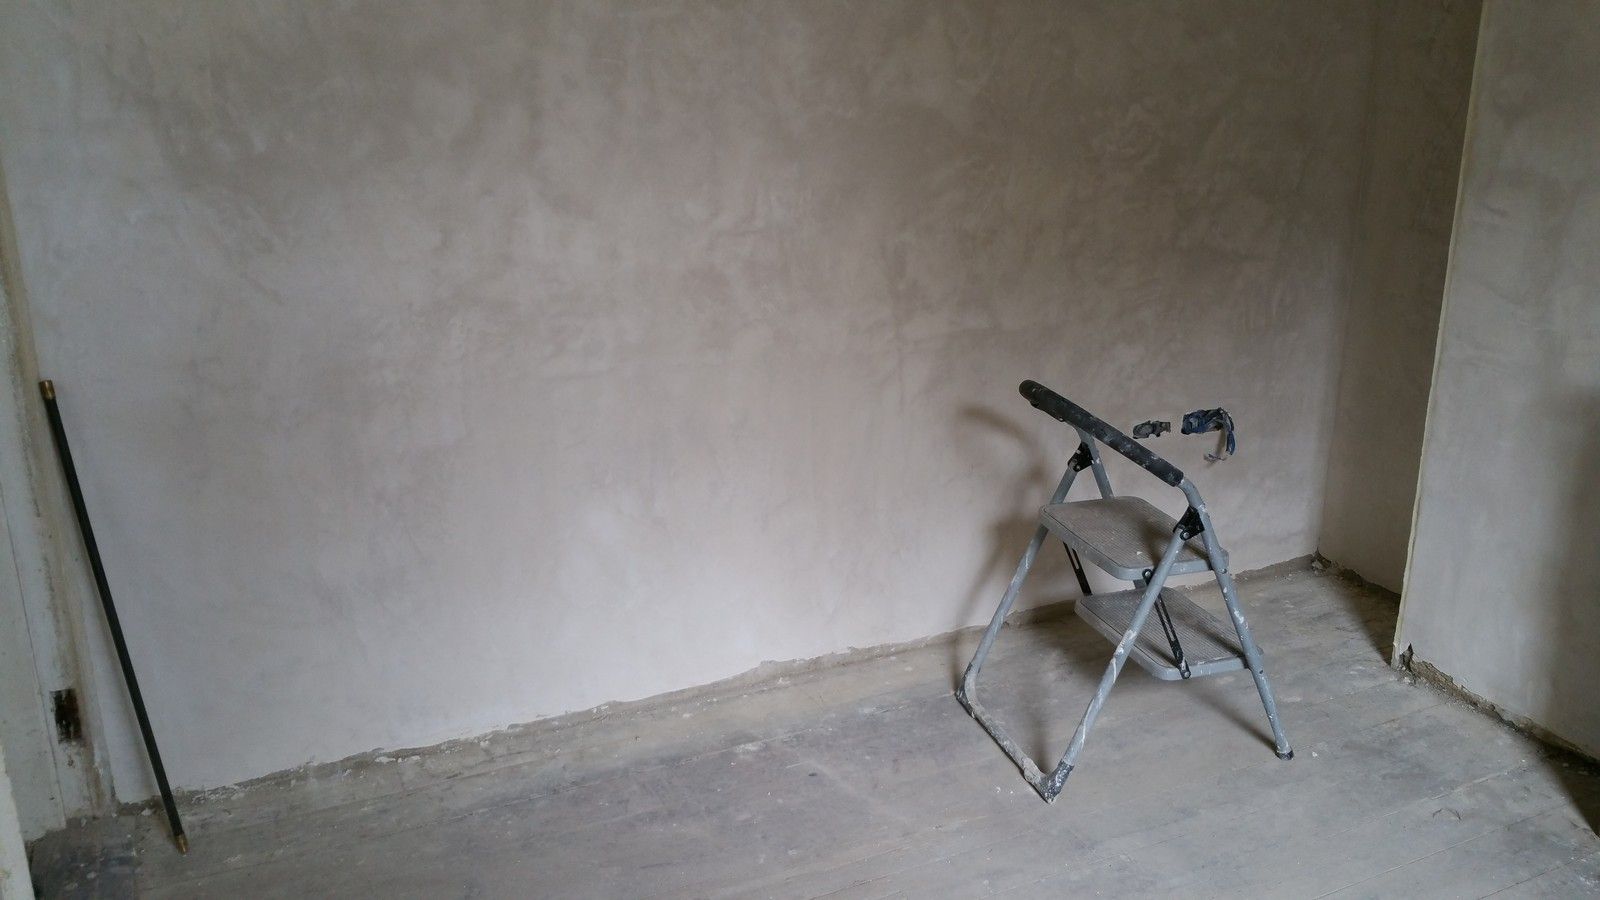
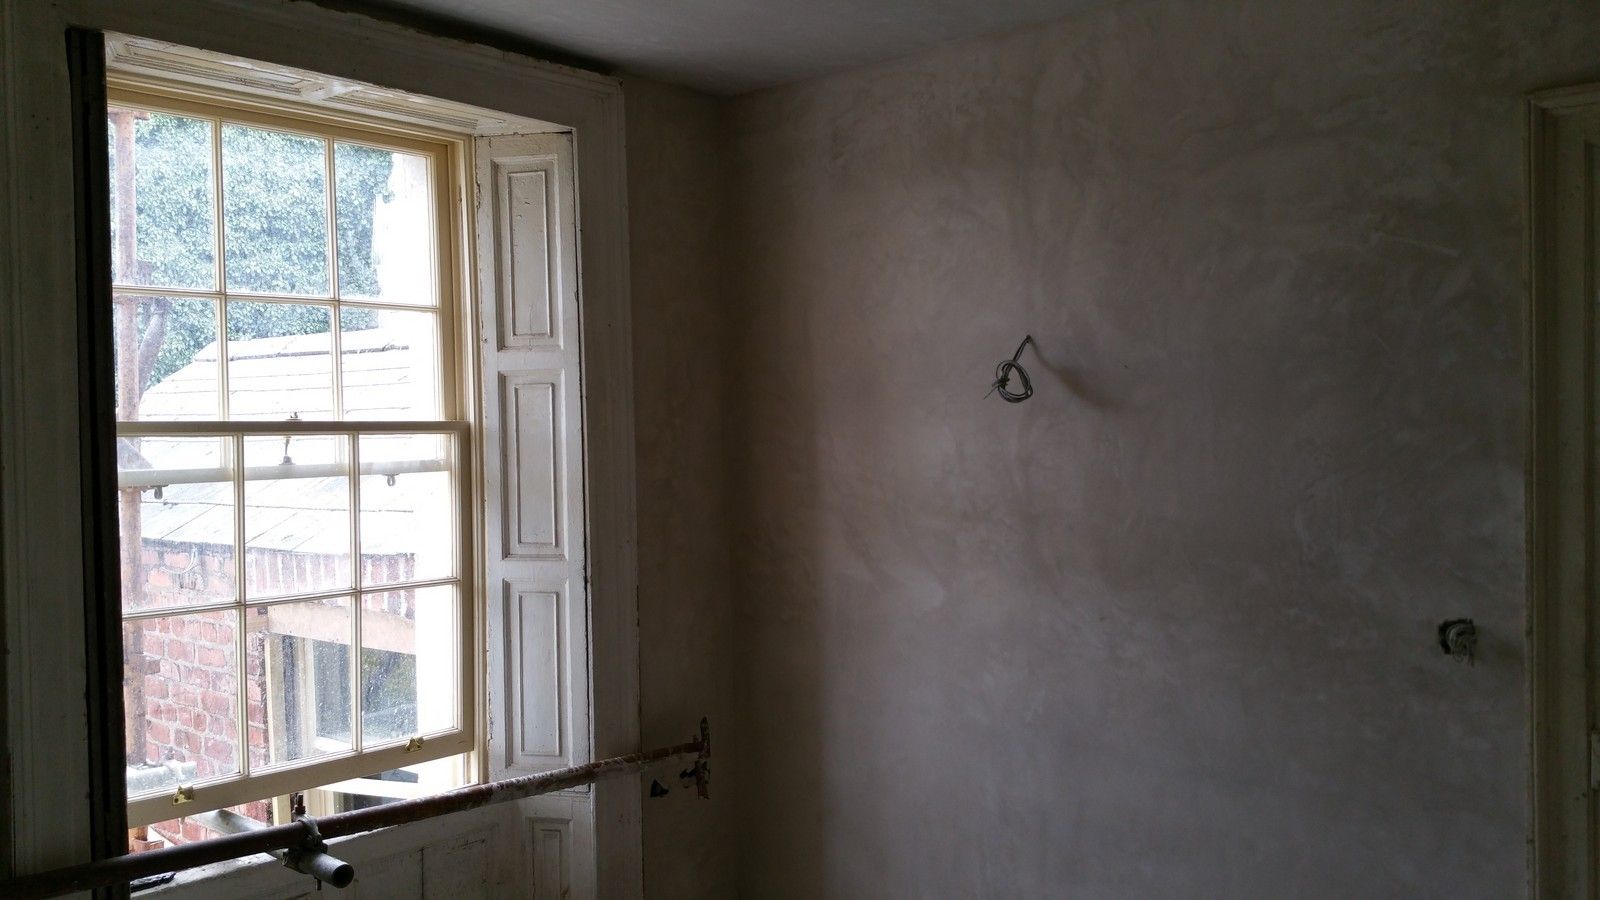
All the old plaster was removed, which allowed for a brand new finish:


The lime finish, whilst flat, isn't perfectly smooth and has very light texture to it:


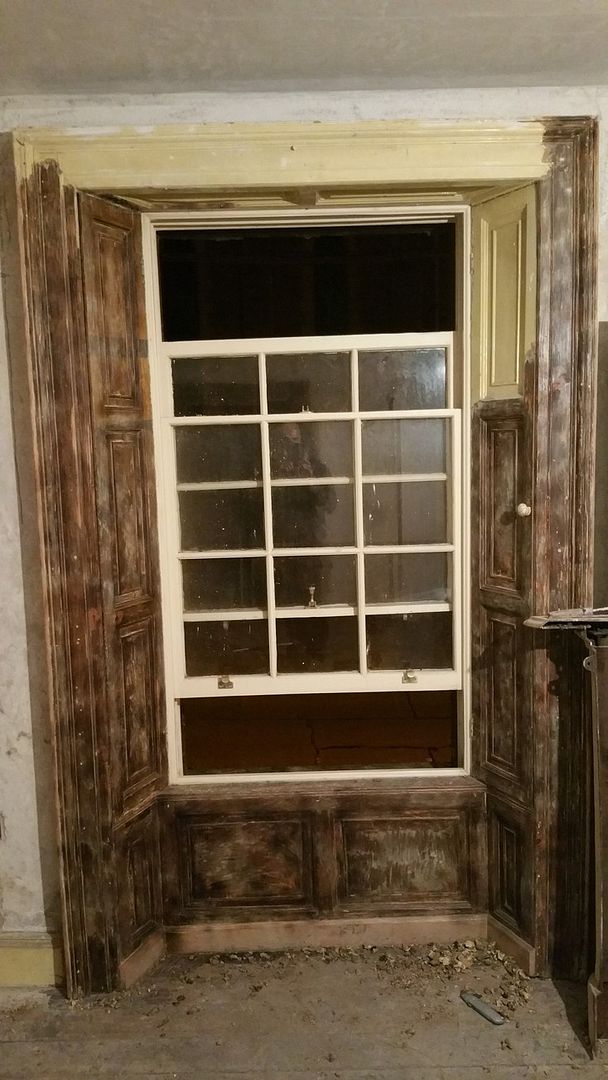
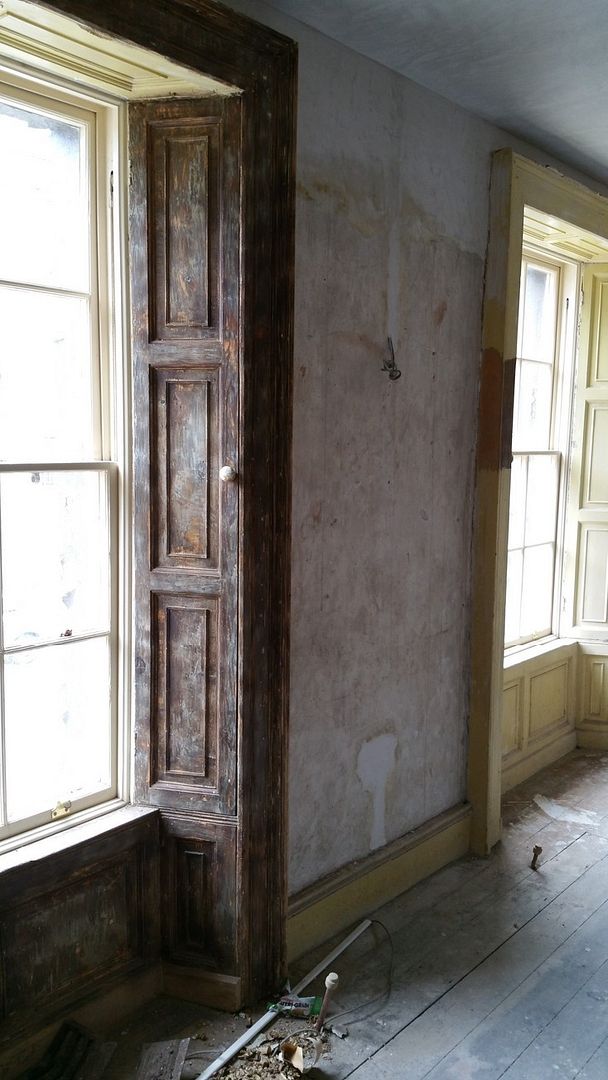
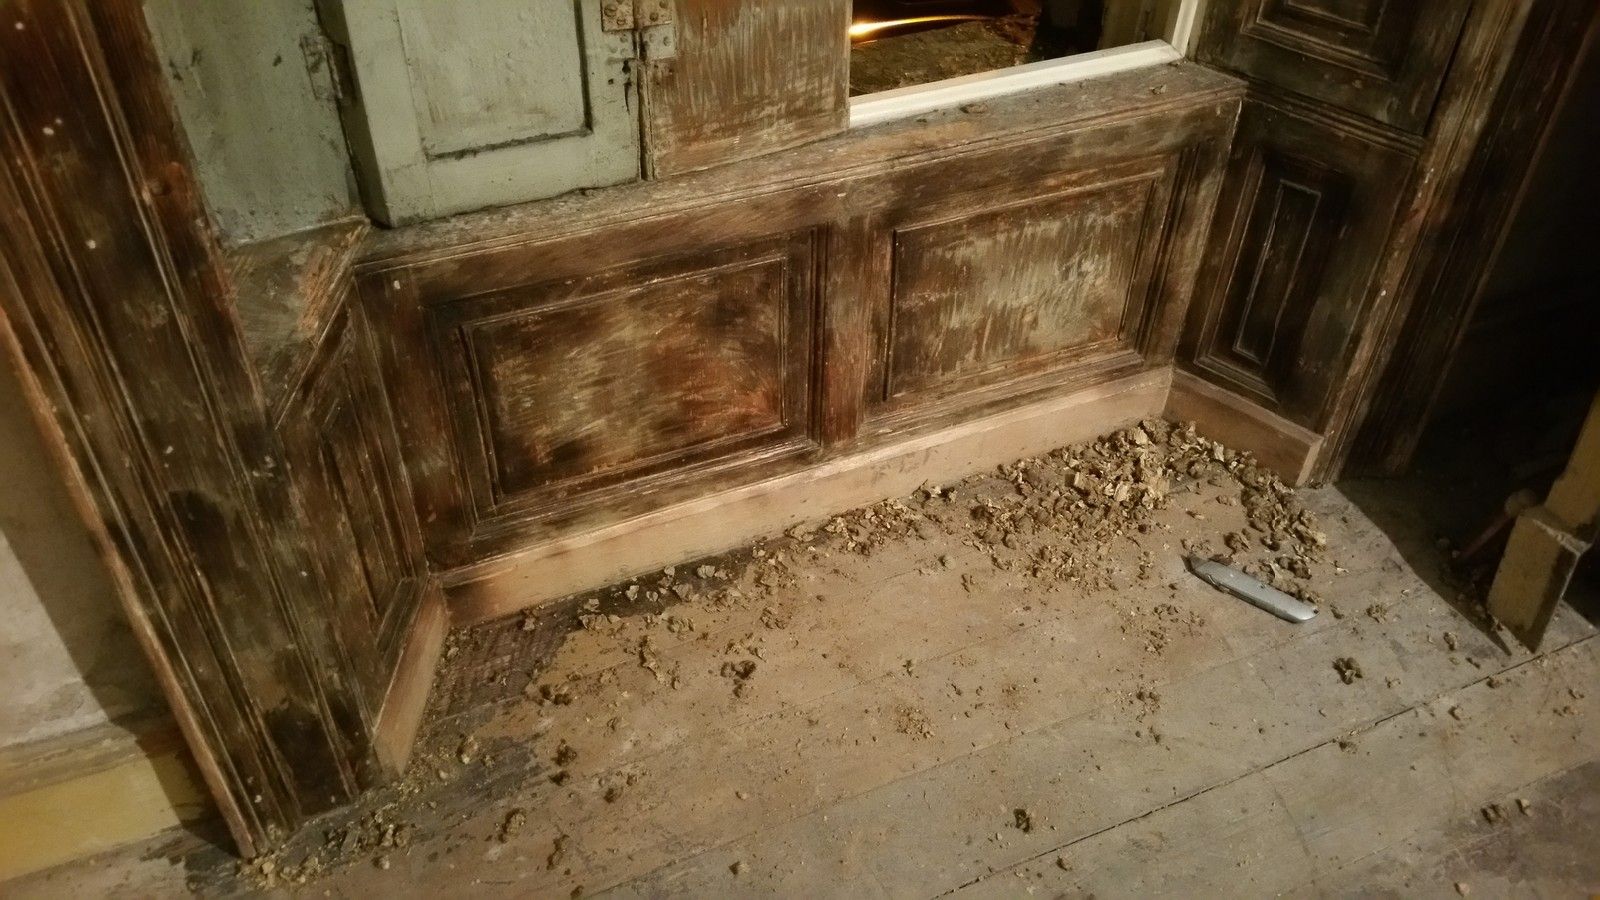
Finally, the shutterboxes in the first floor front room were tackled for the first time. There's three or four layers of thick, lead based paint which needs to be stripped by hand from the shutter panels and architraves.

Each 450mm x 250mm panel takes approximately one hour to strip, resulting in approximately 20 hours in total to strip the box of just one window. A grueling task, but no way around it:


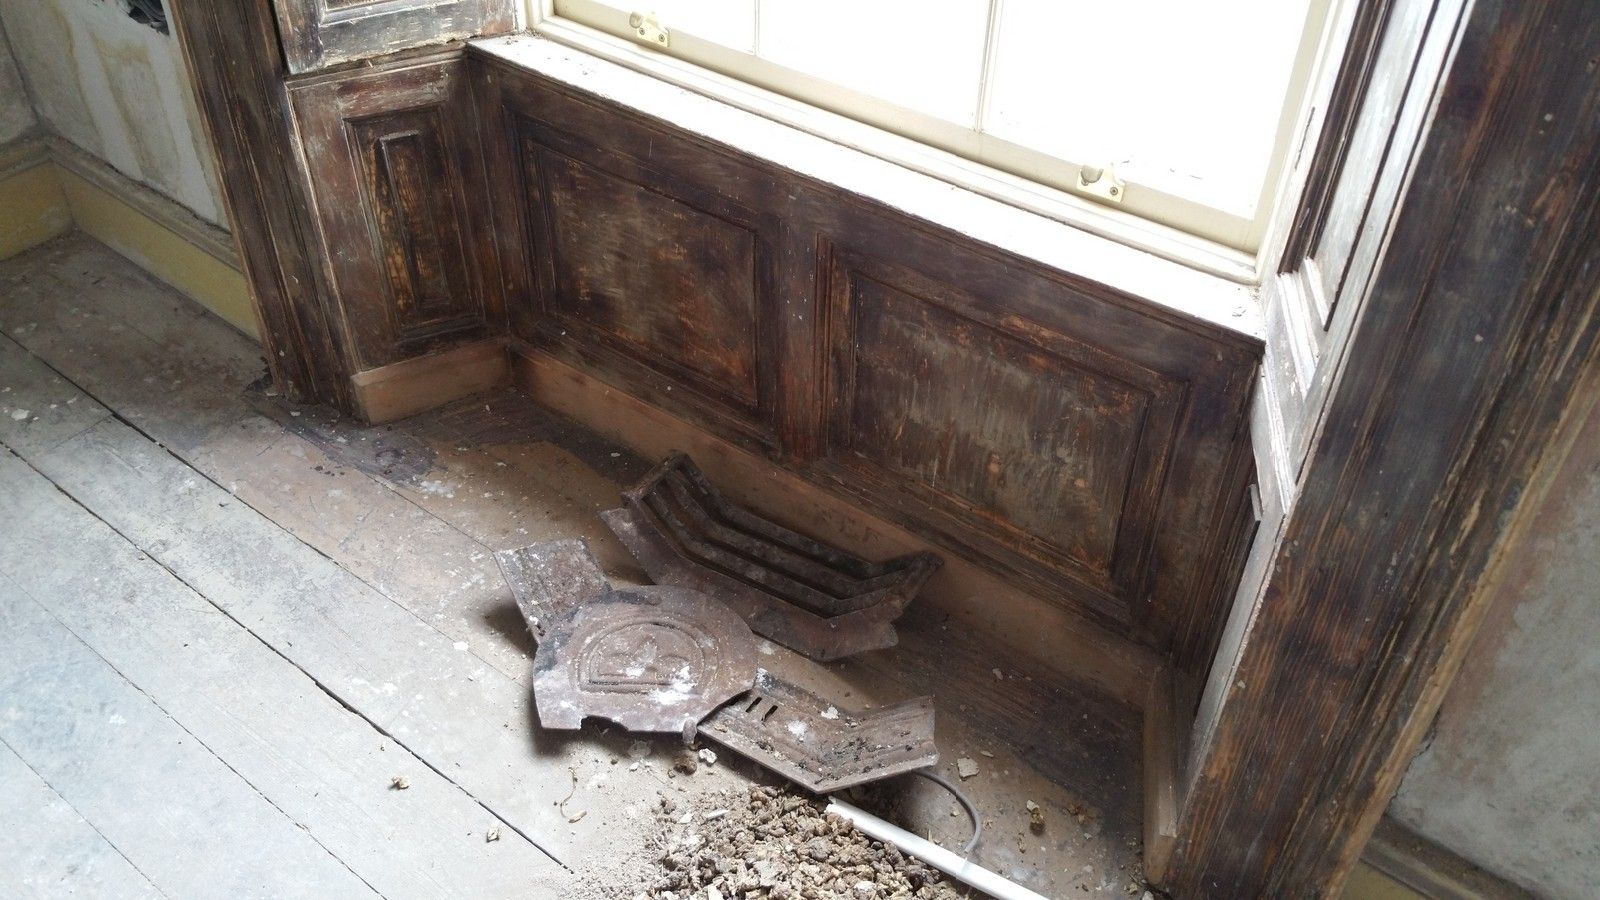
Several kilograms of paint hits the floor during the process.


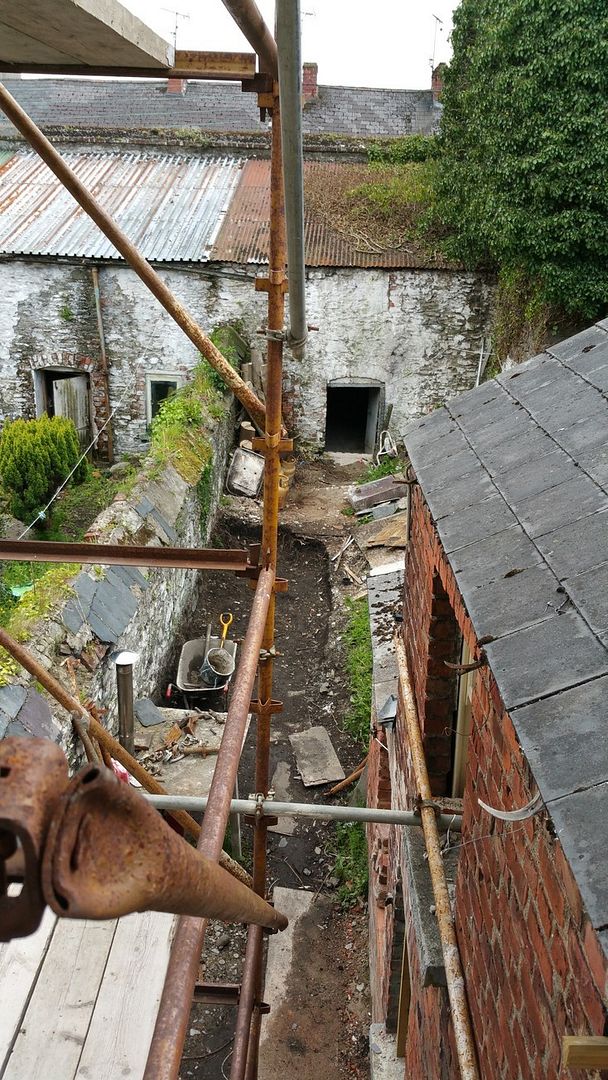
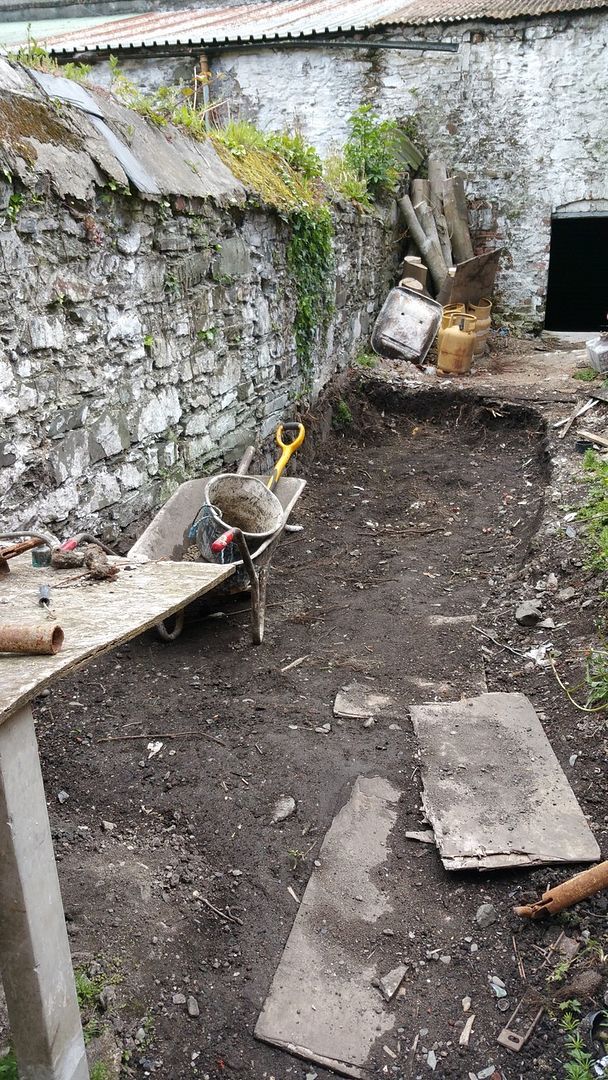
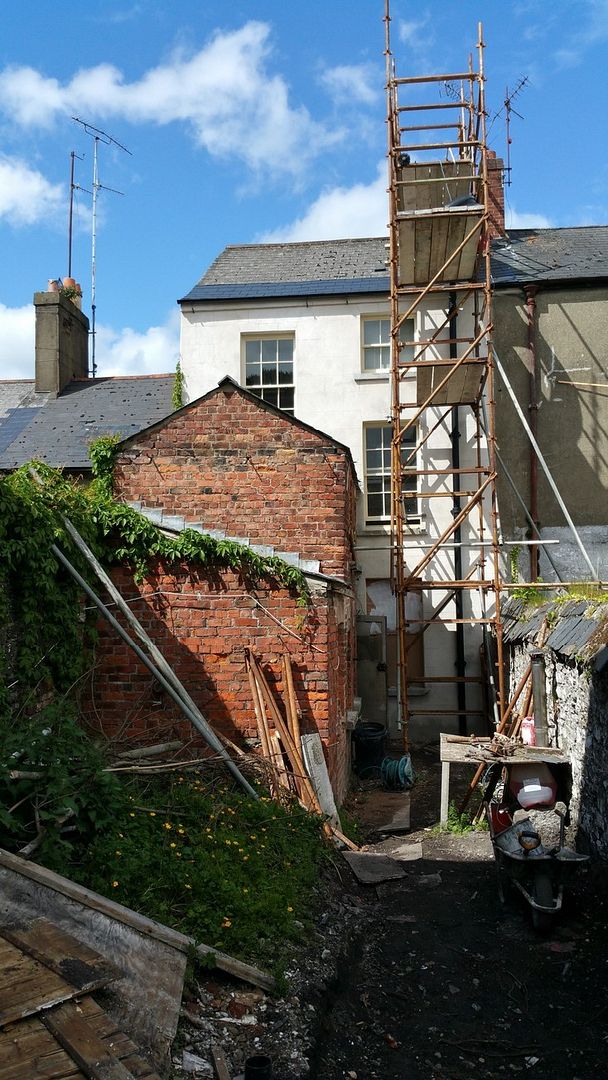
Myself and a friend spent four hours filling a skip out front one Sunday evening, clearing some of the garden. Better than sending the skip back empty. Ideally I'd like to drop the garden several feet lower, however priorities are elsewhere at the moment.


On a nice day, you can really see the potential this house has.