Wednesday, 11 May 2016

Studwork In The Return

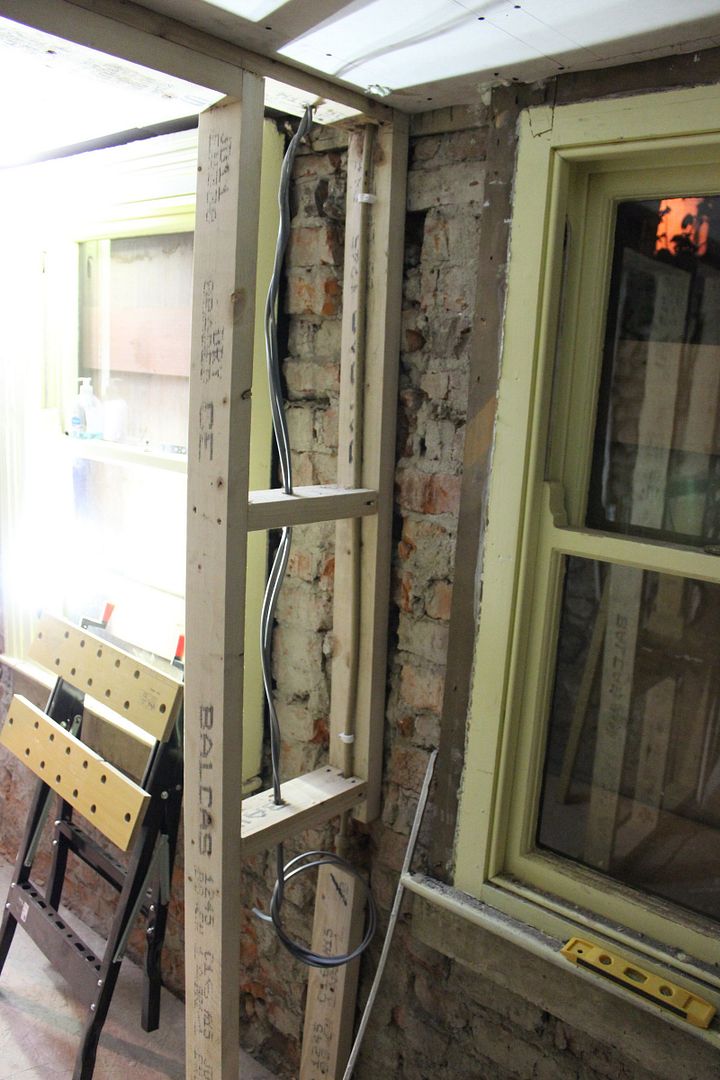
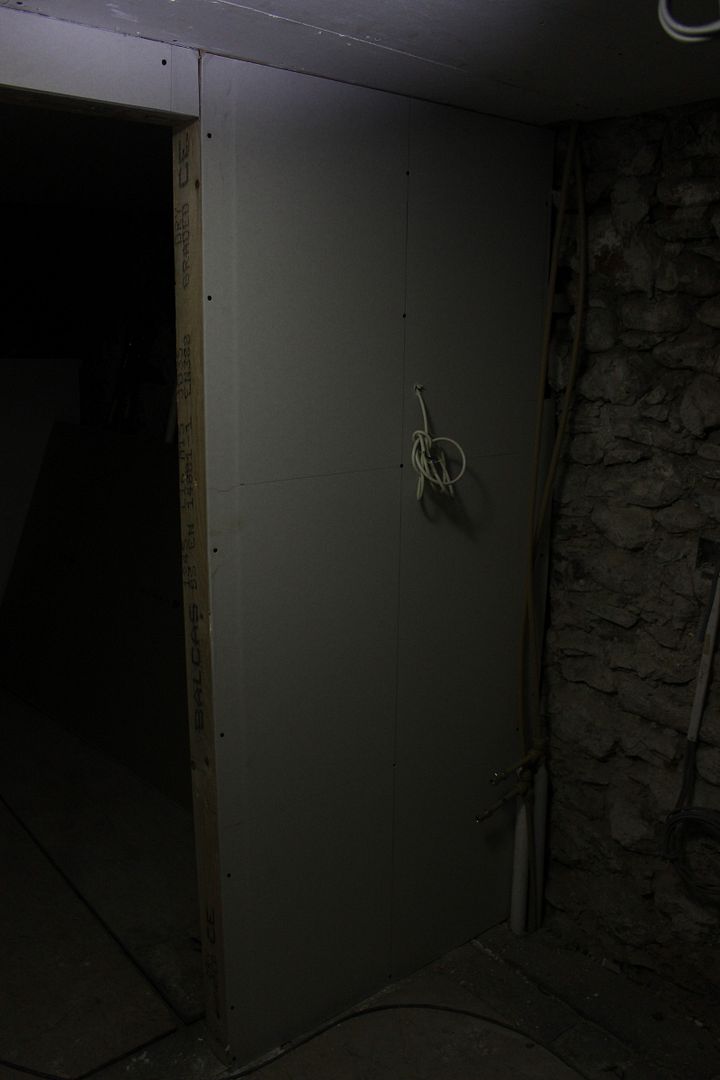
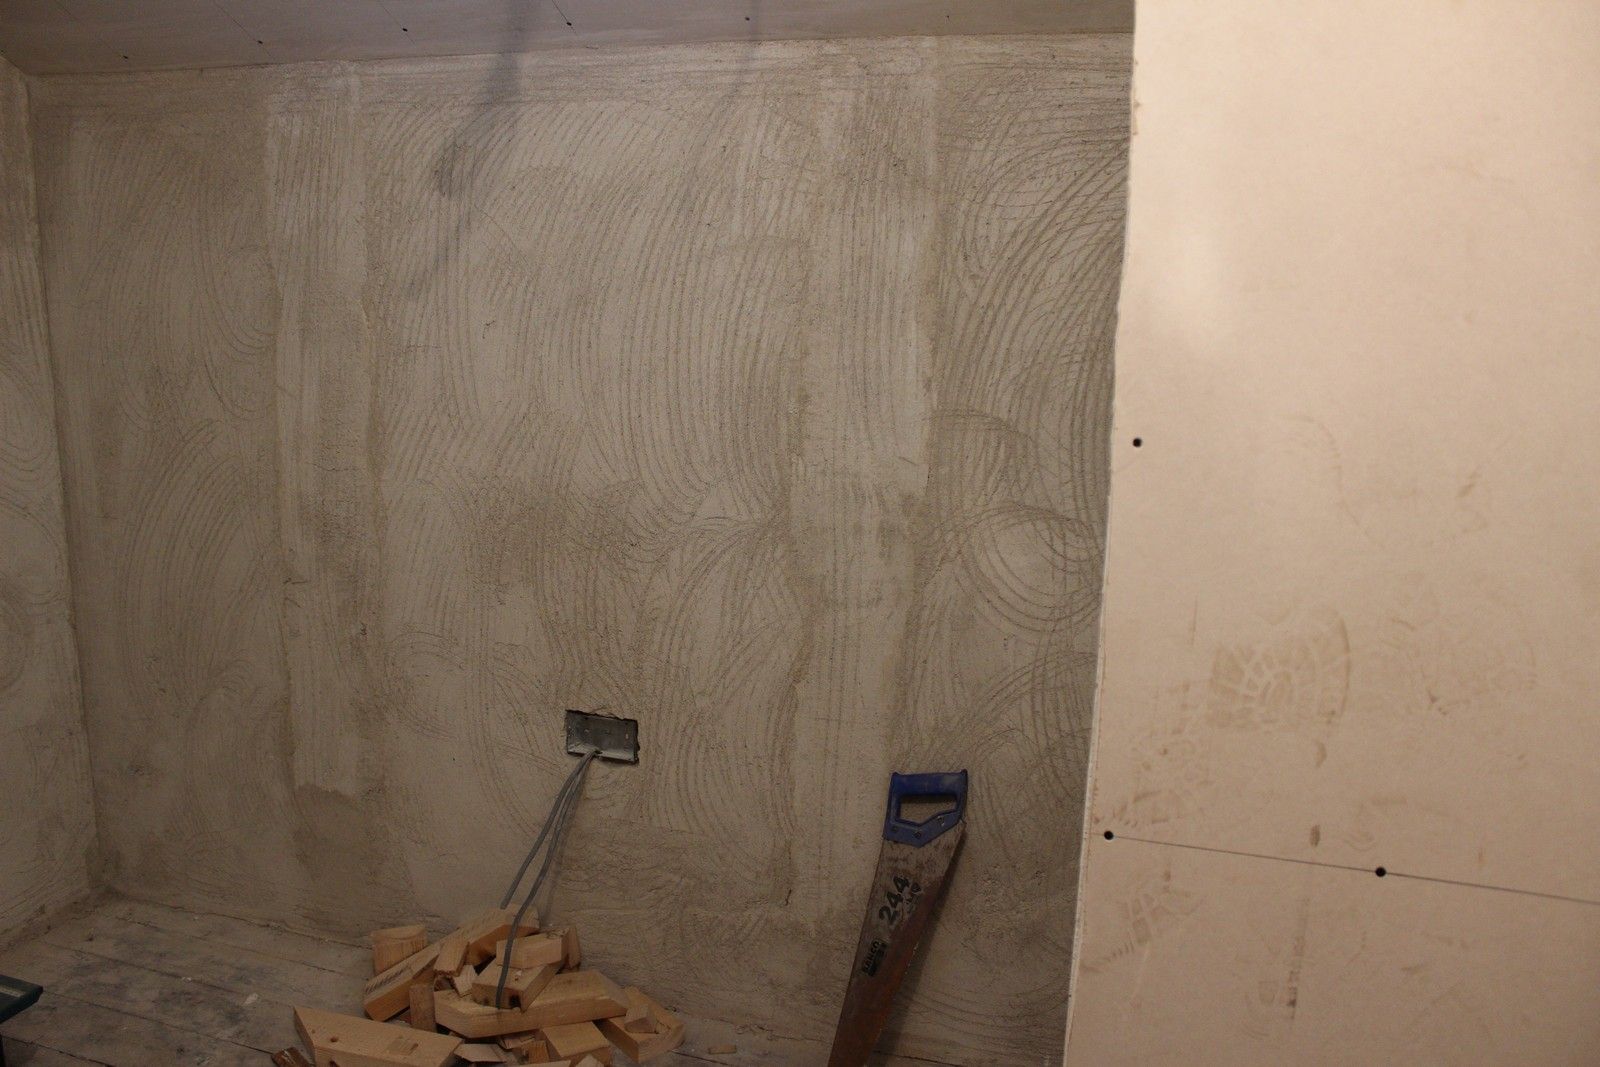
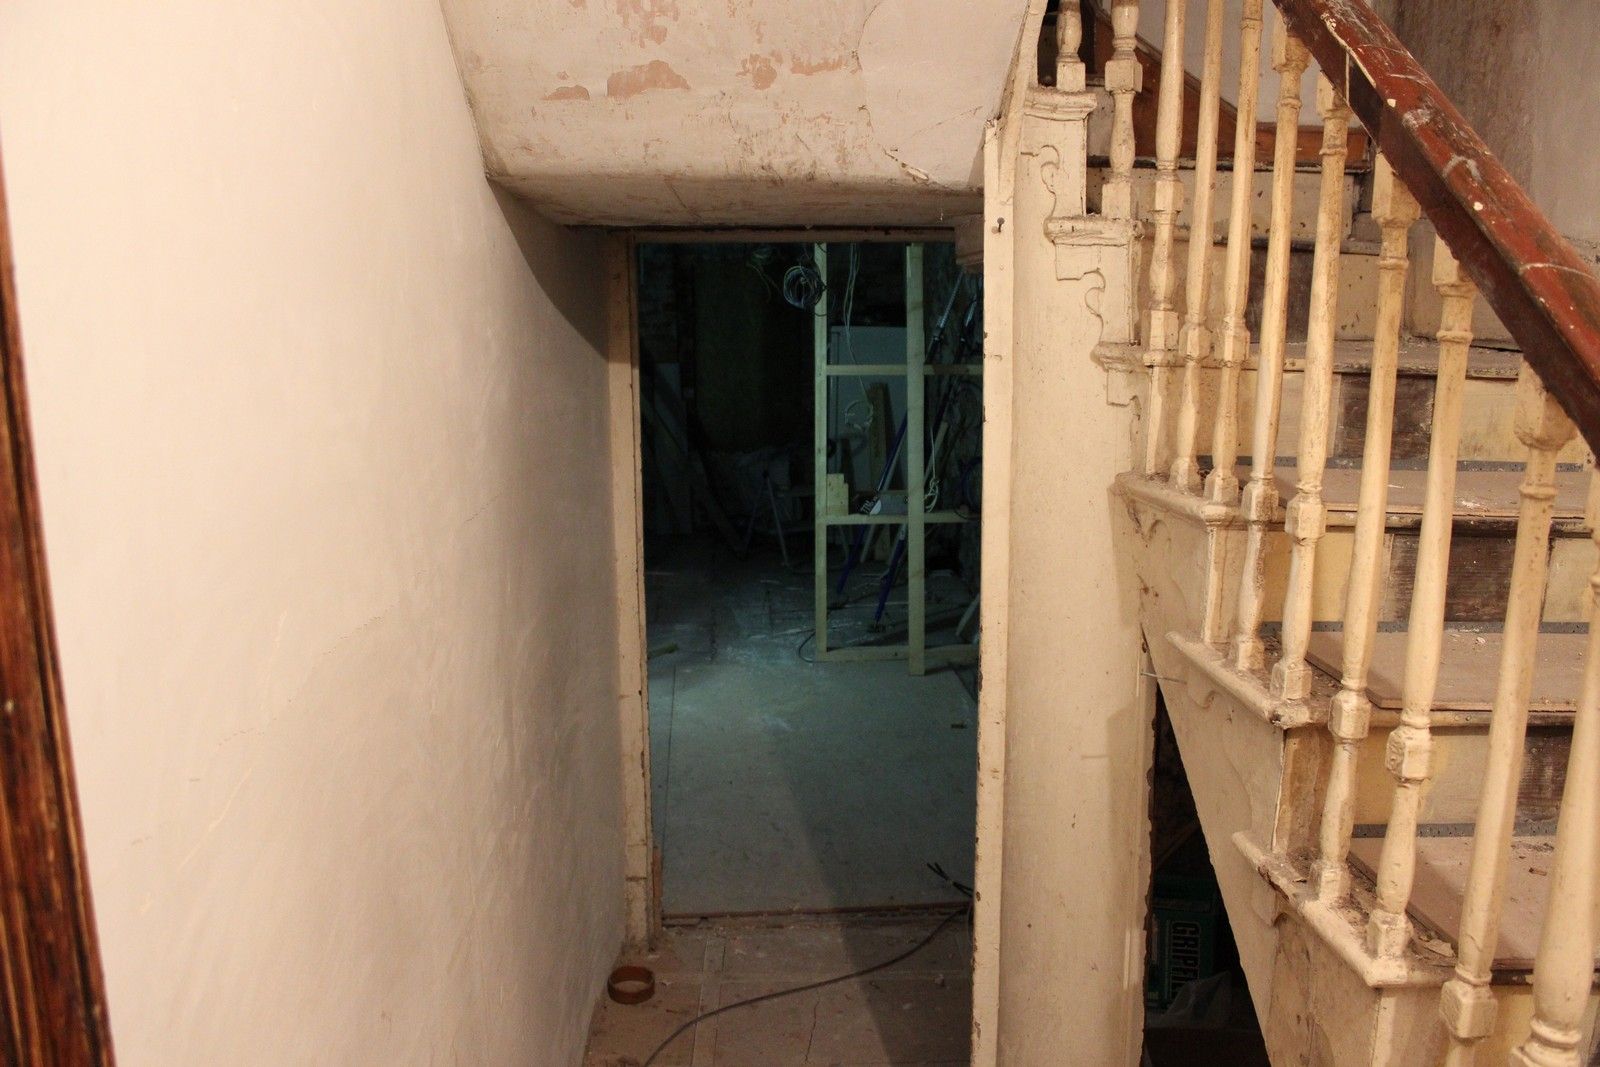
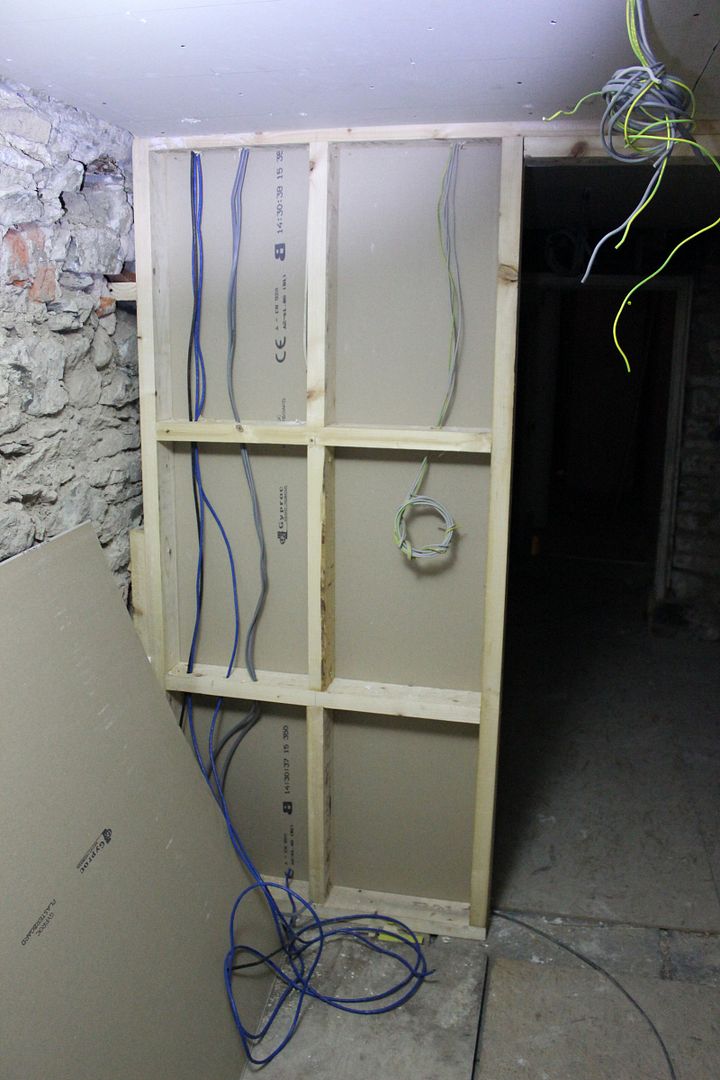
Some solid work was completed last week, primarily in the two story red brick Victorian return (extension). The first task at hand was to create a stud wall downstairs to separate the ground floor into two areas, a bedroom/study and a utility space by the back door:


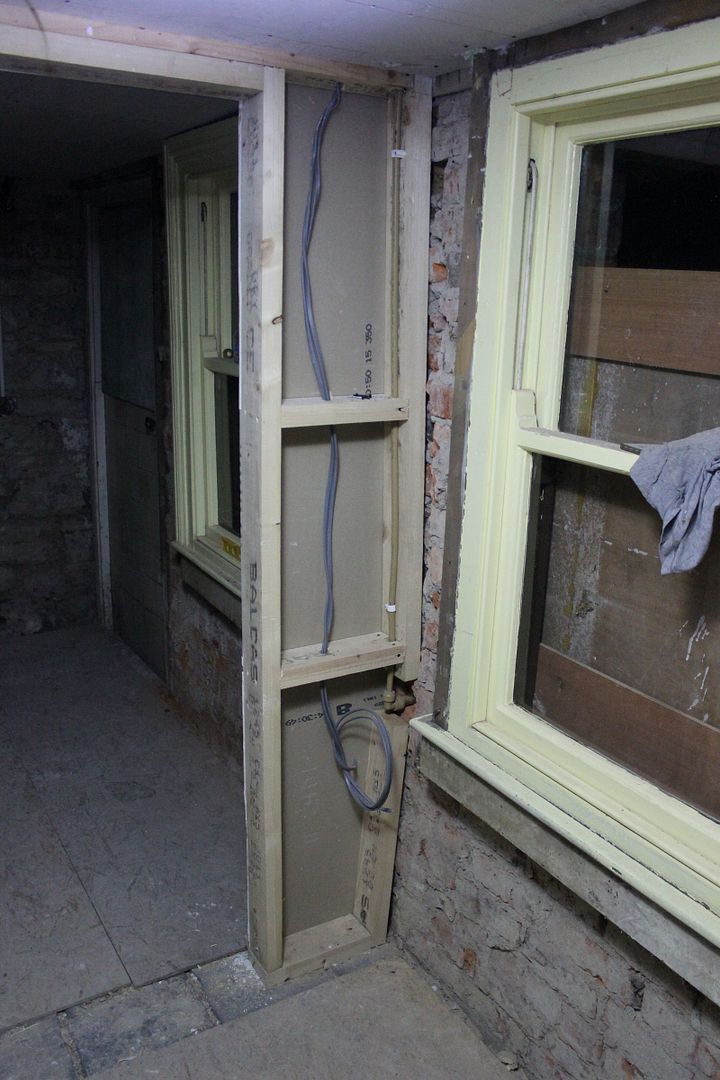
The stud wall is to be located in between the two original sash windows on the left side:
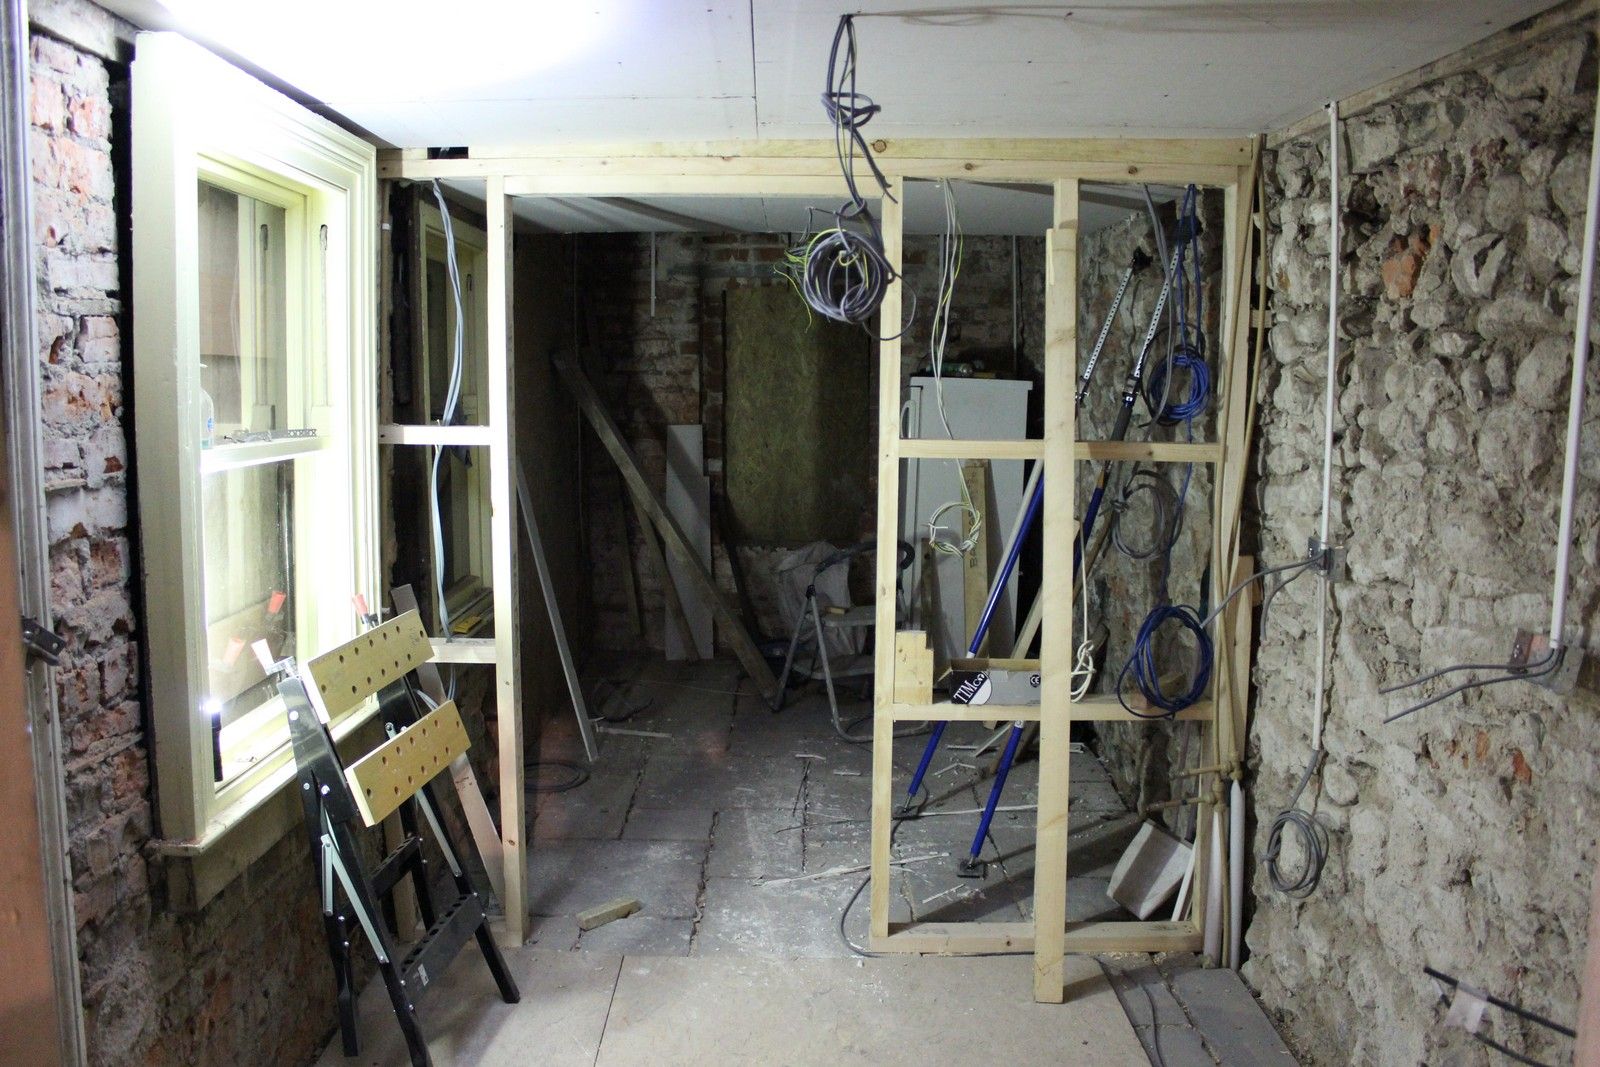
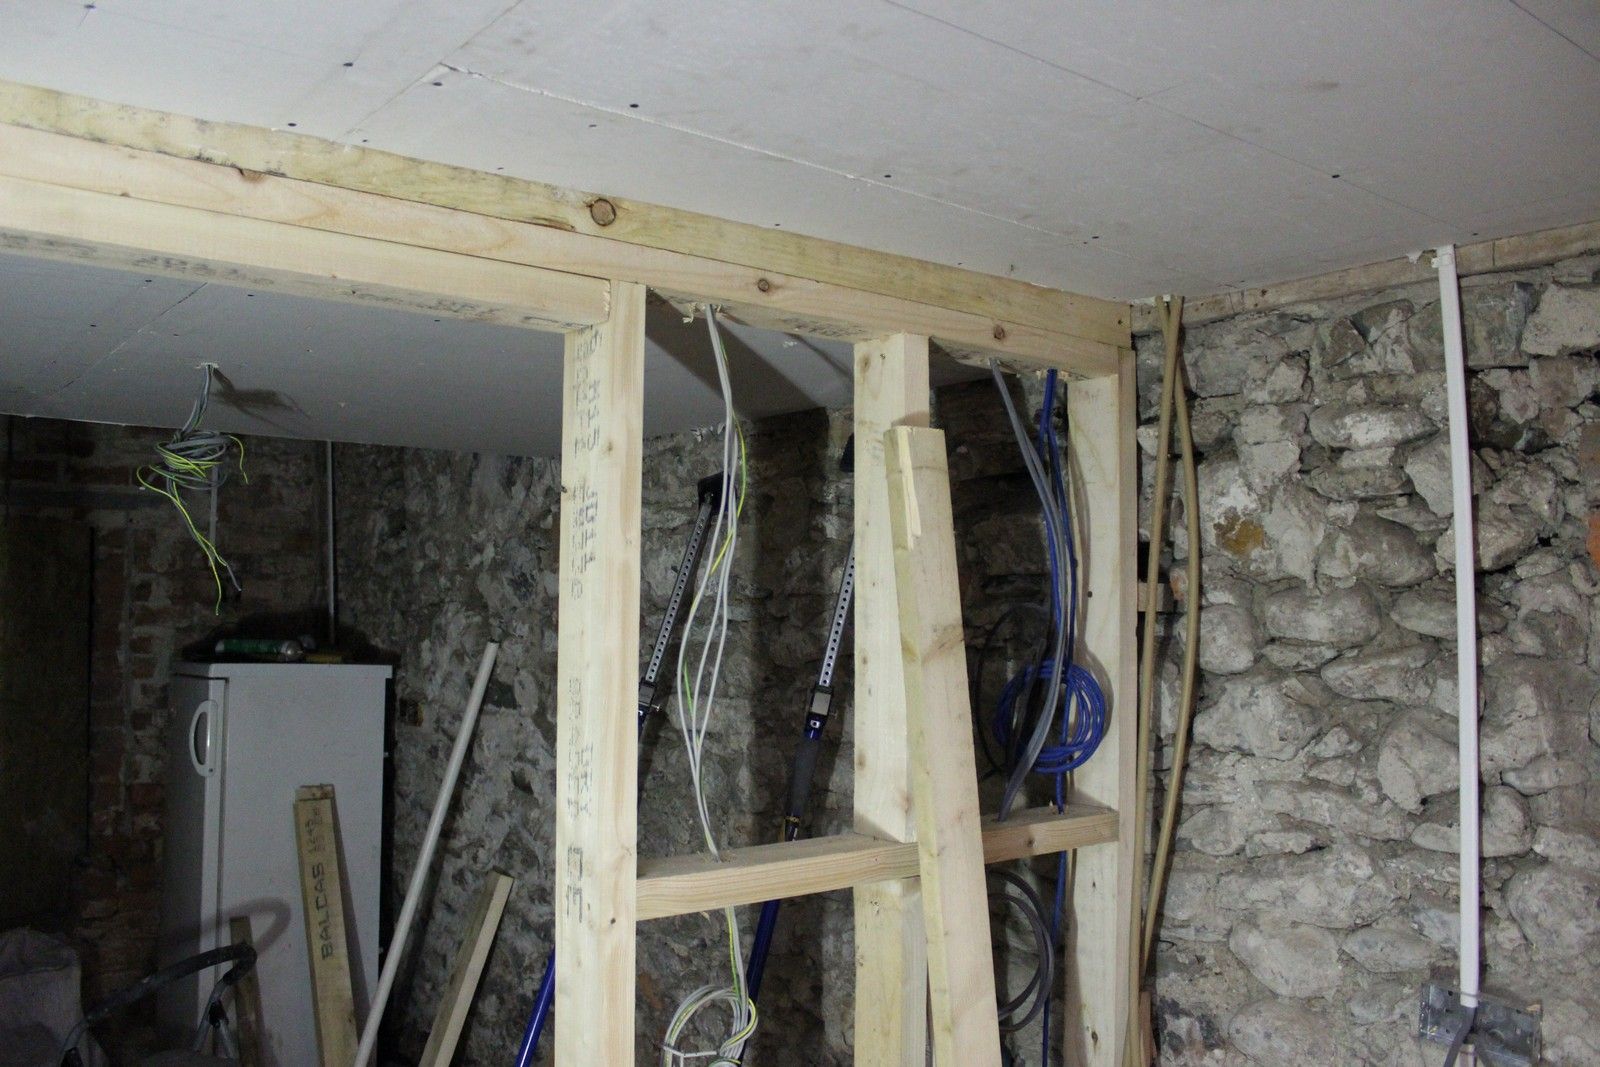
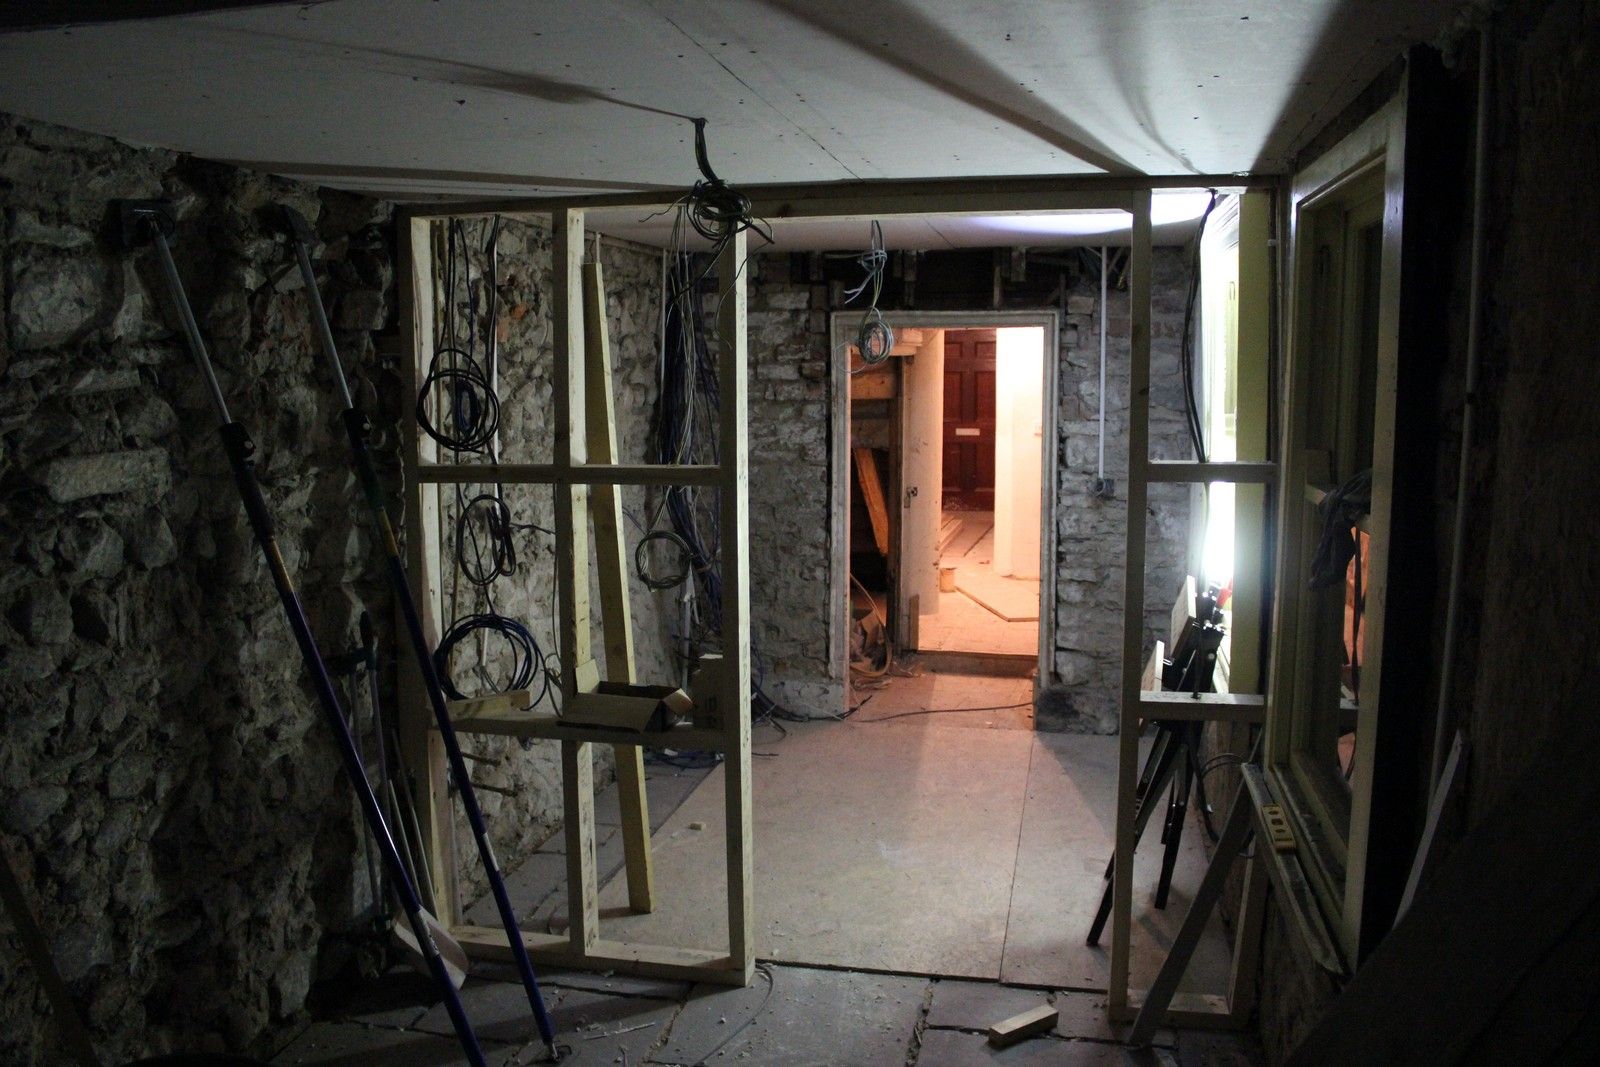

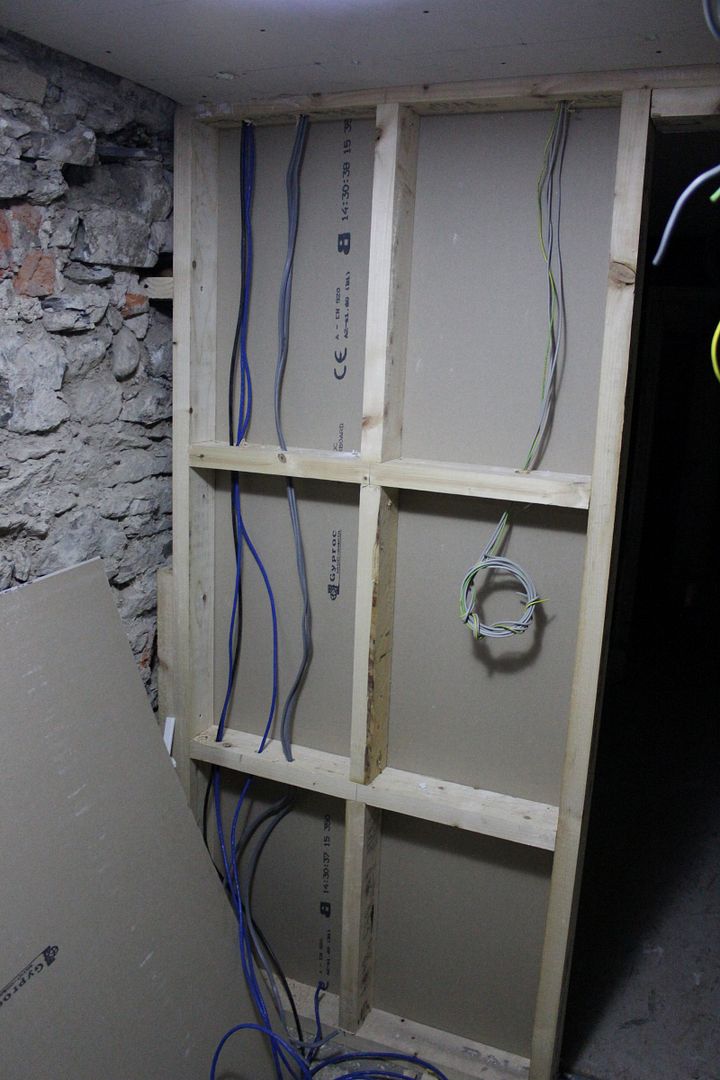
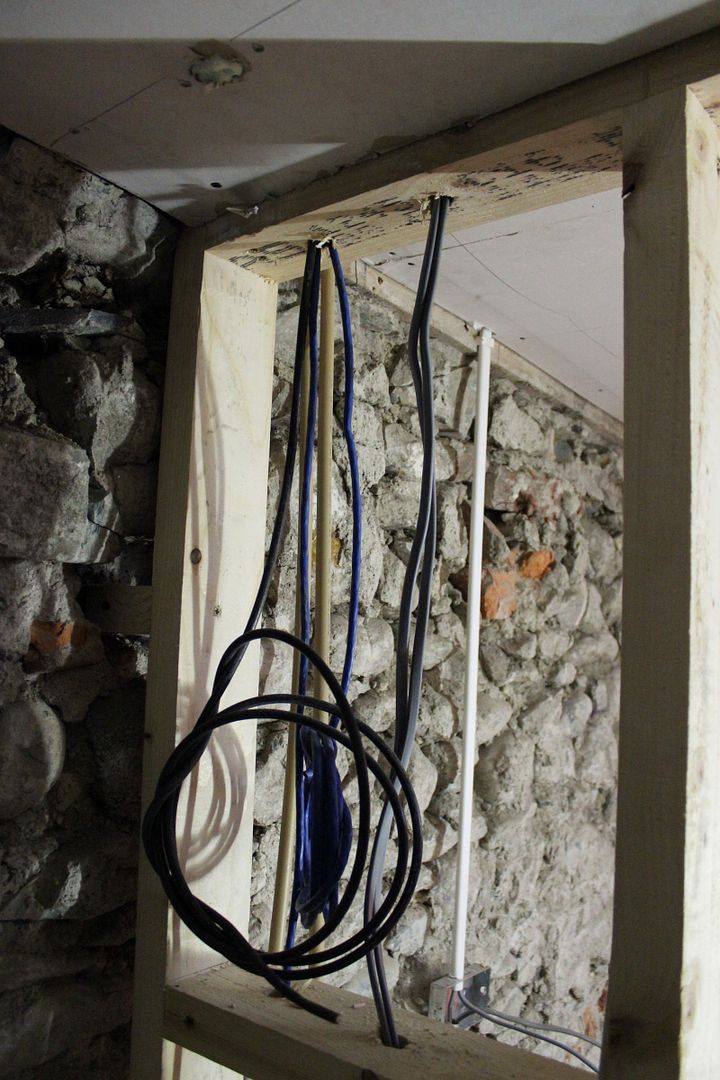
Electrical, co-axial and CAT 6a cable runs to be located within the wall:


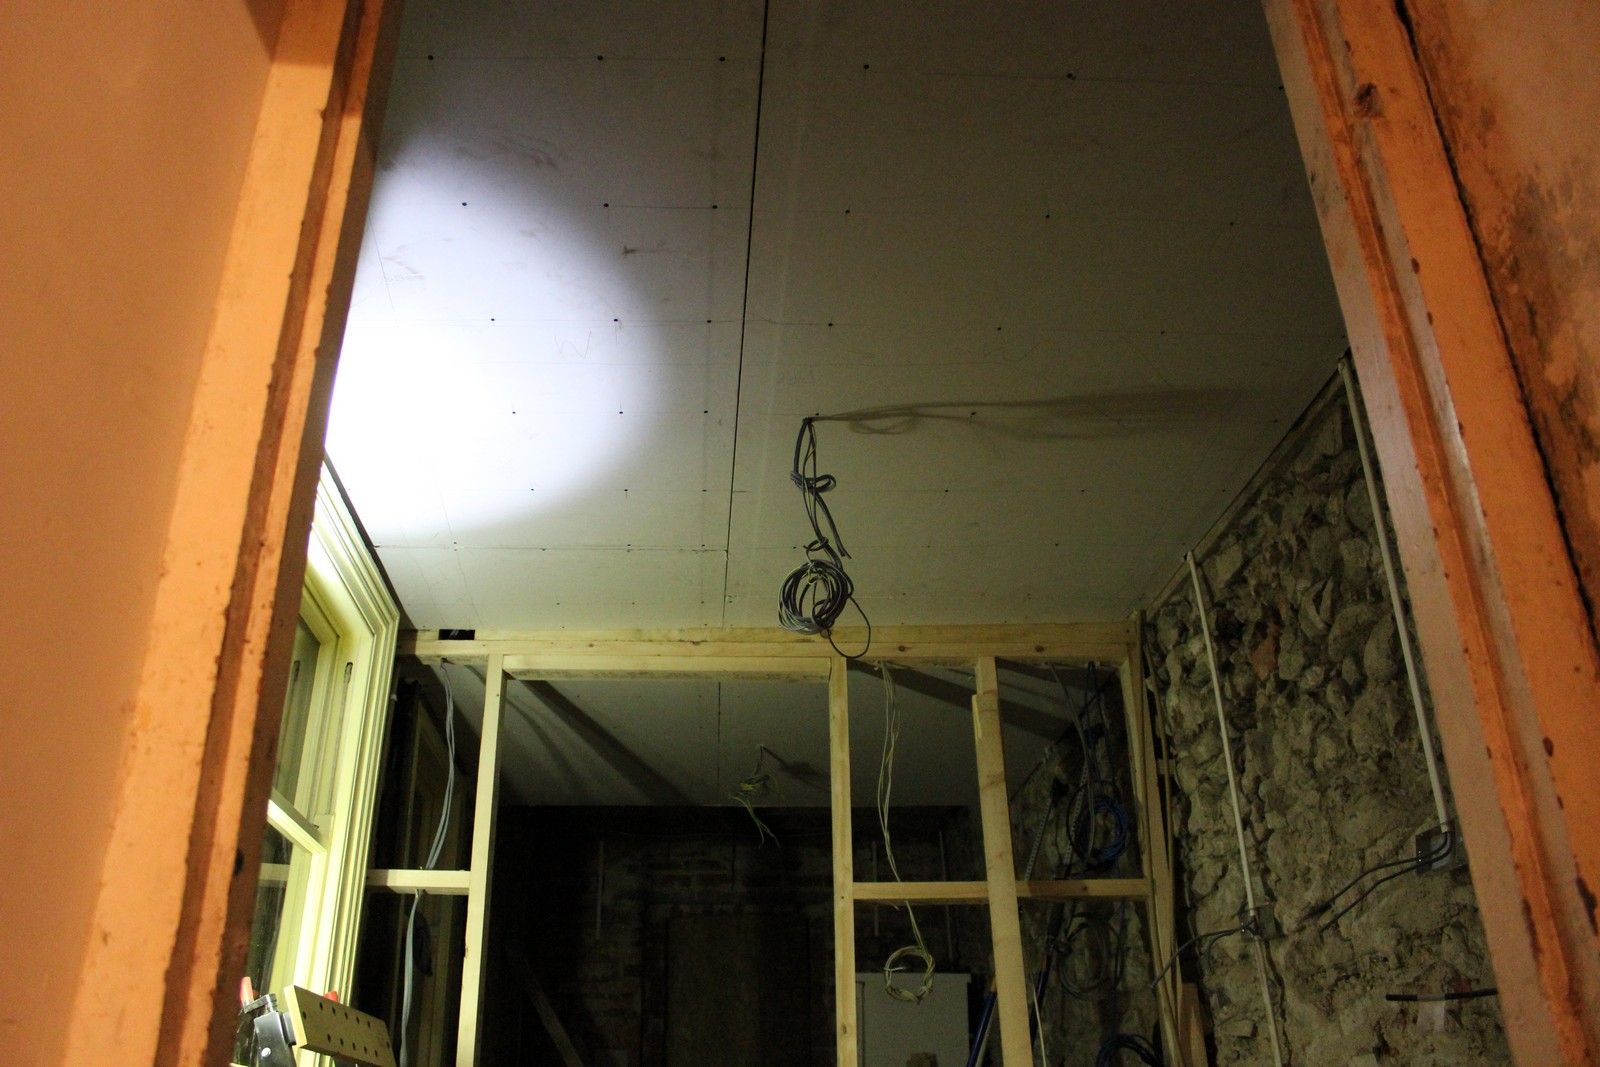
The ceiling was also installed after a very laborious leveling: 

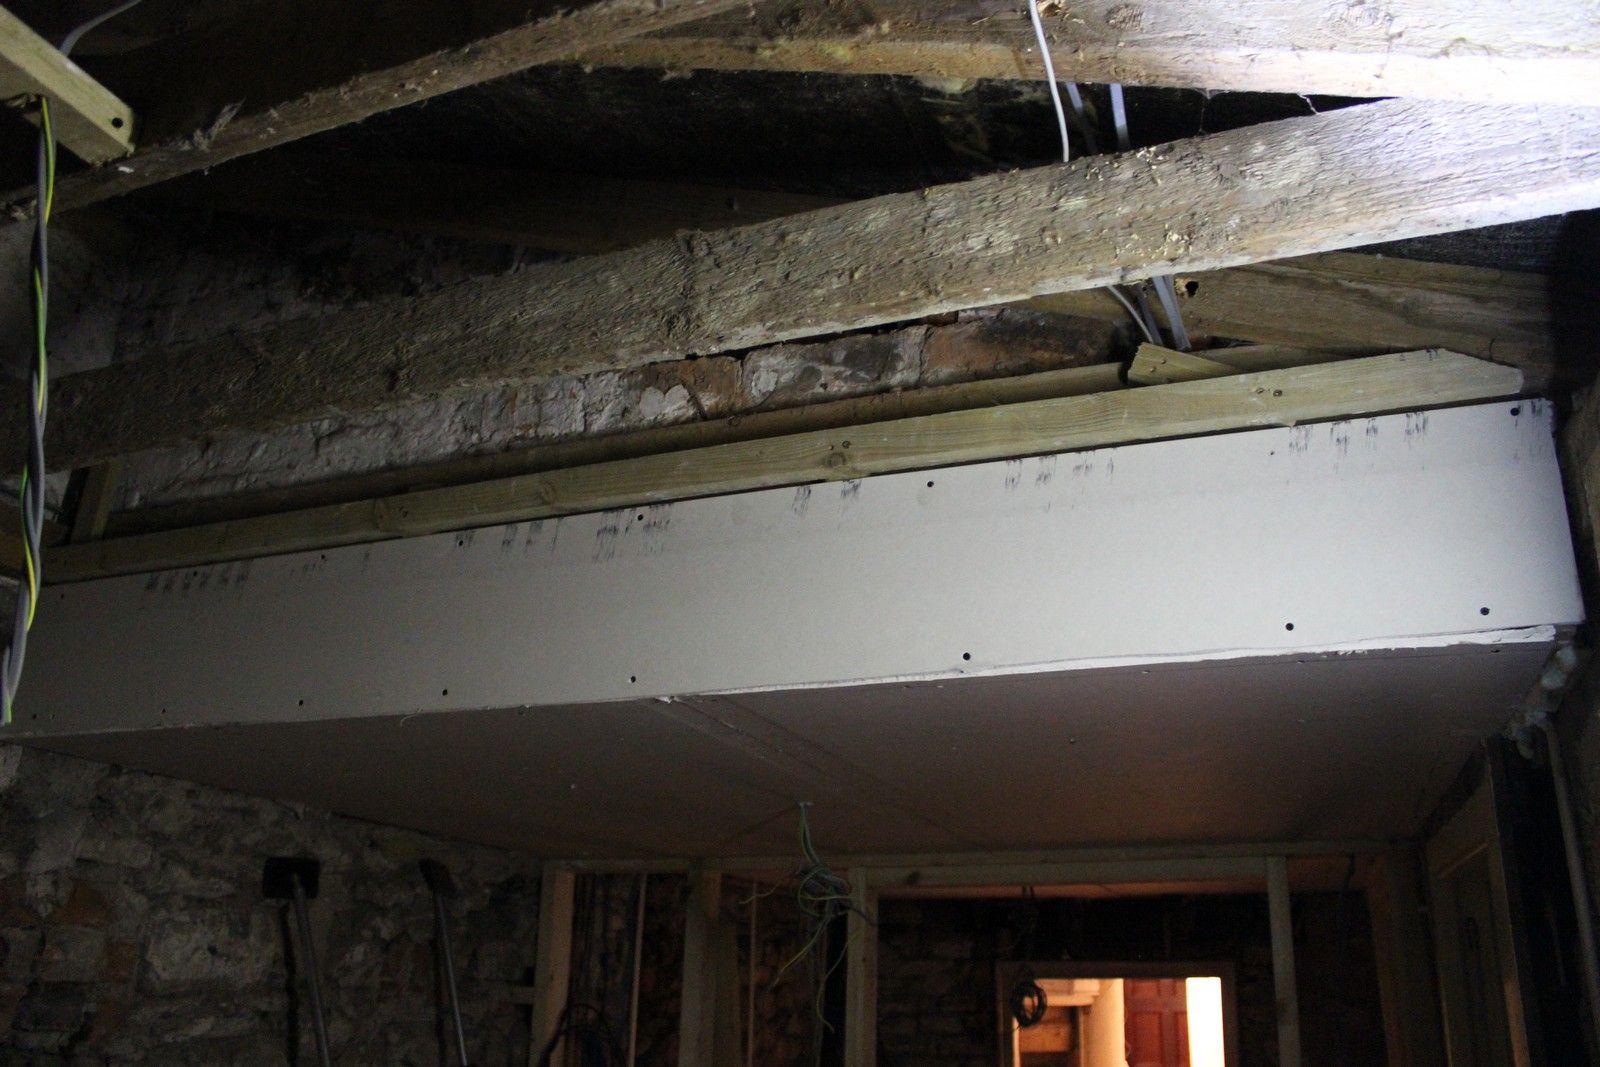
The ceiling will be about 30cm higher at the far end, due to the lean-to roof above:

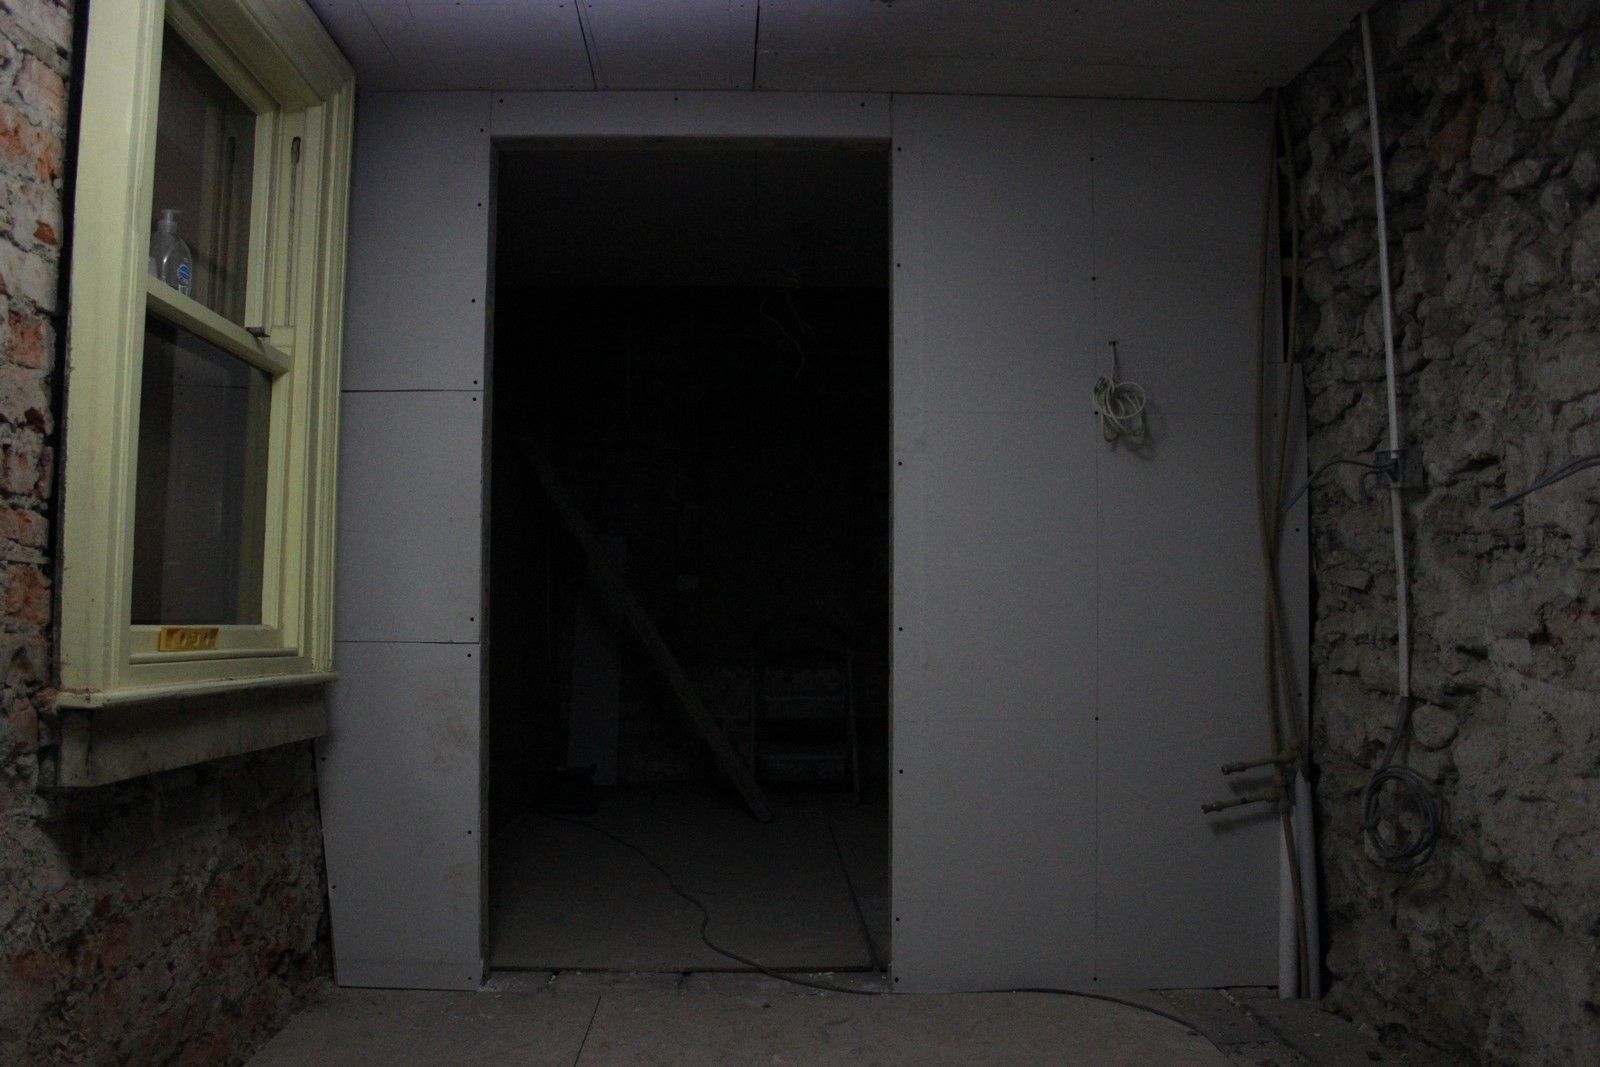
Slabbing begins:


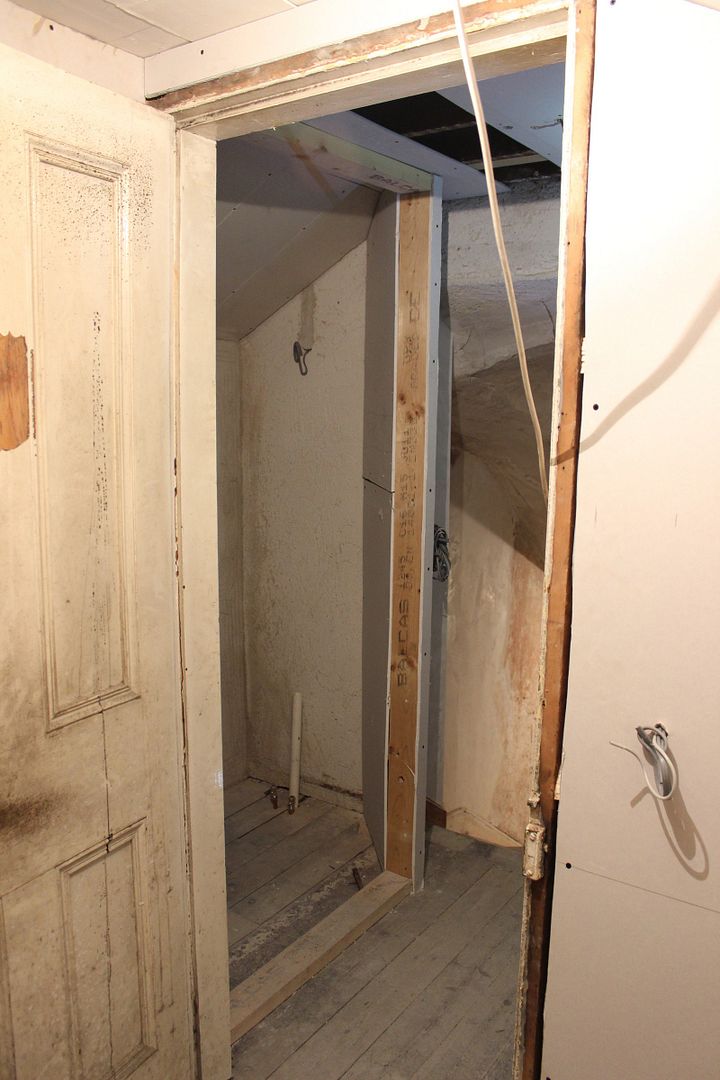
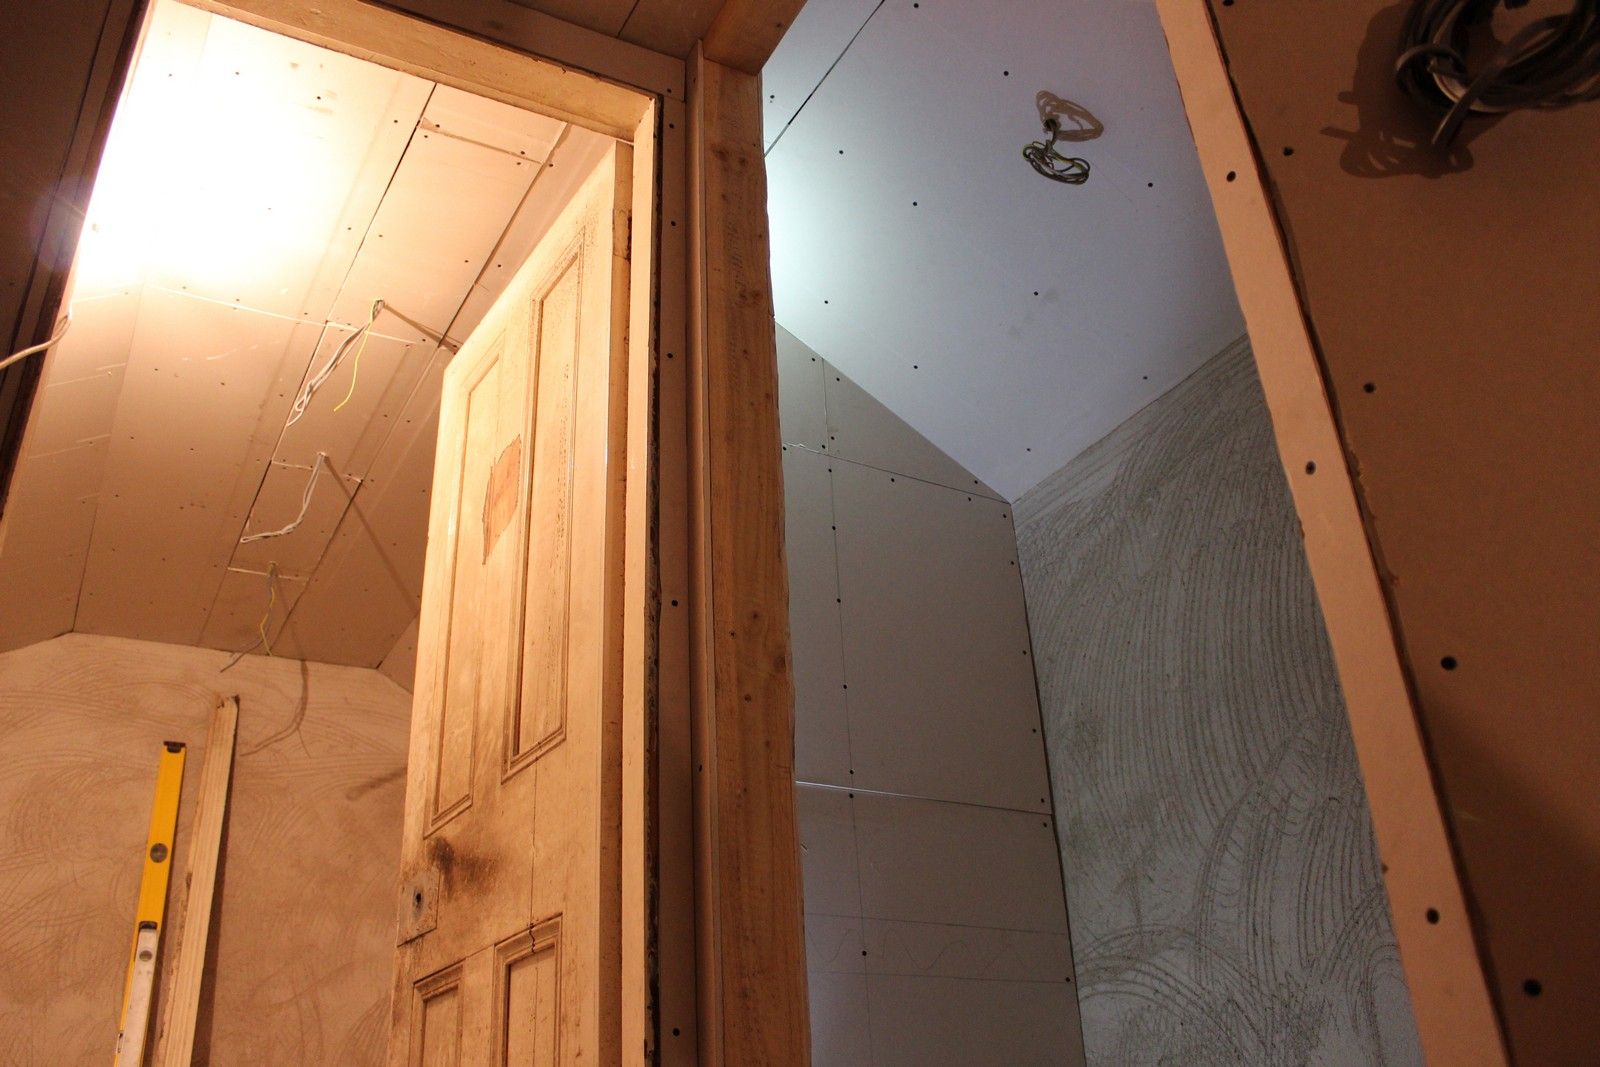
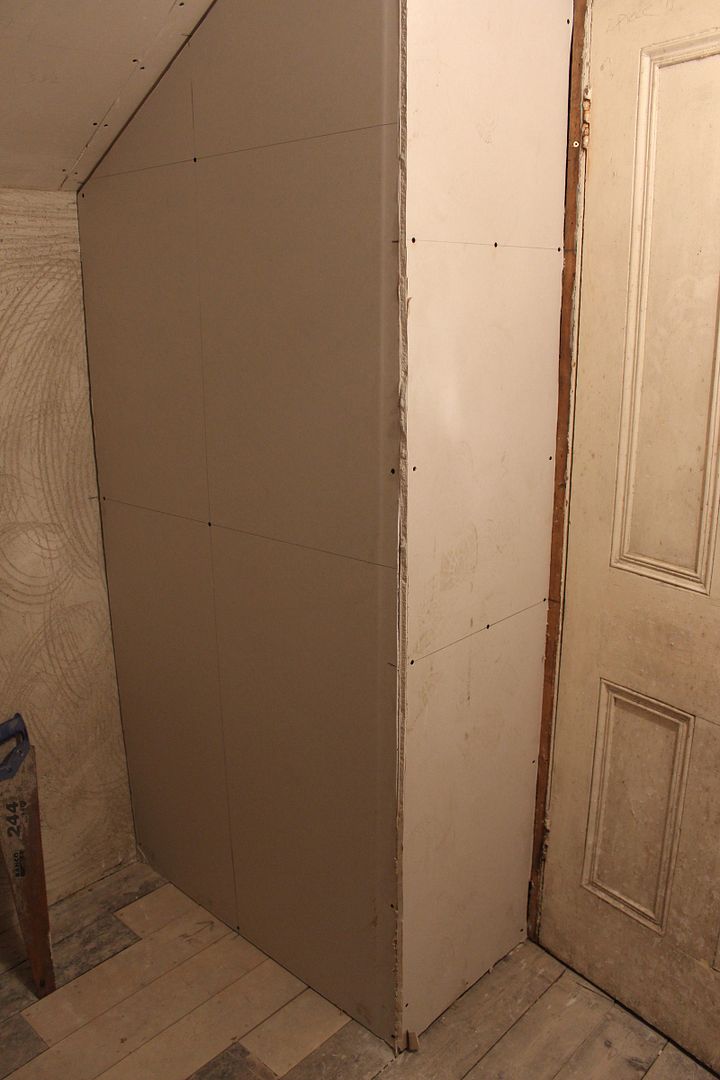
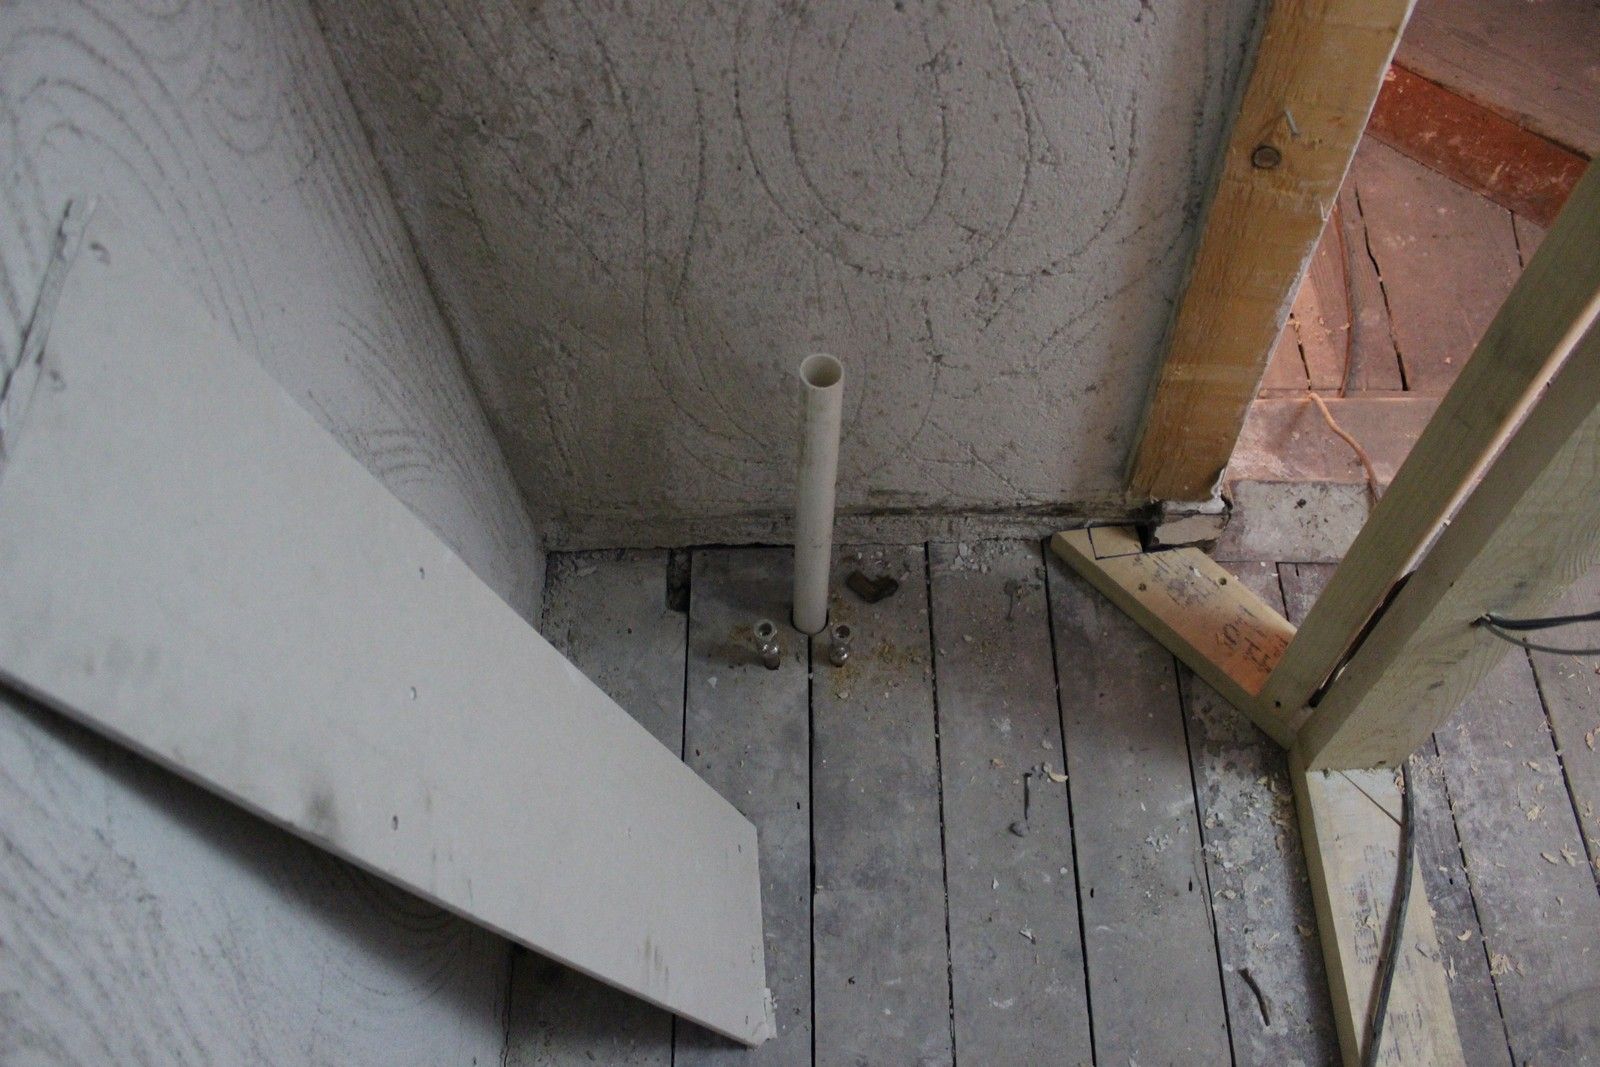
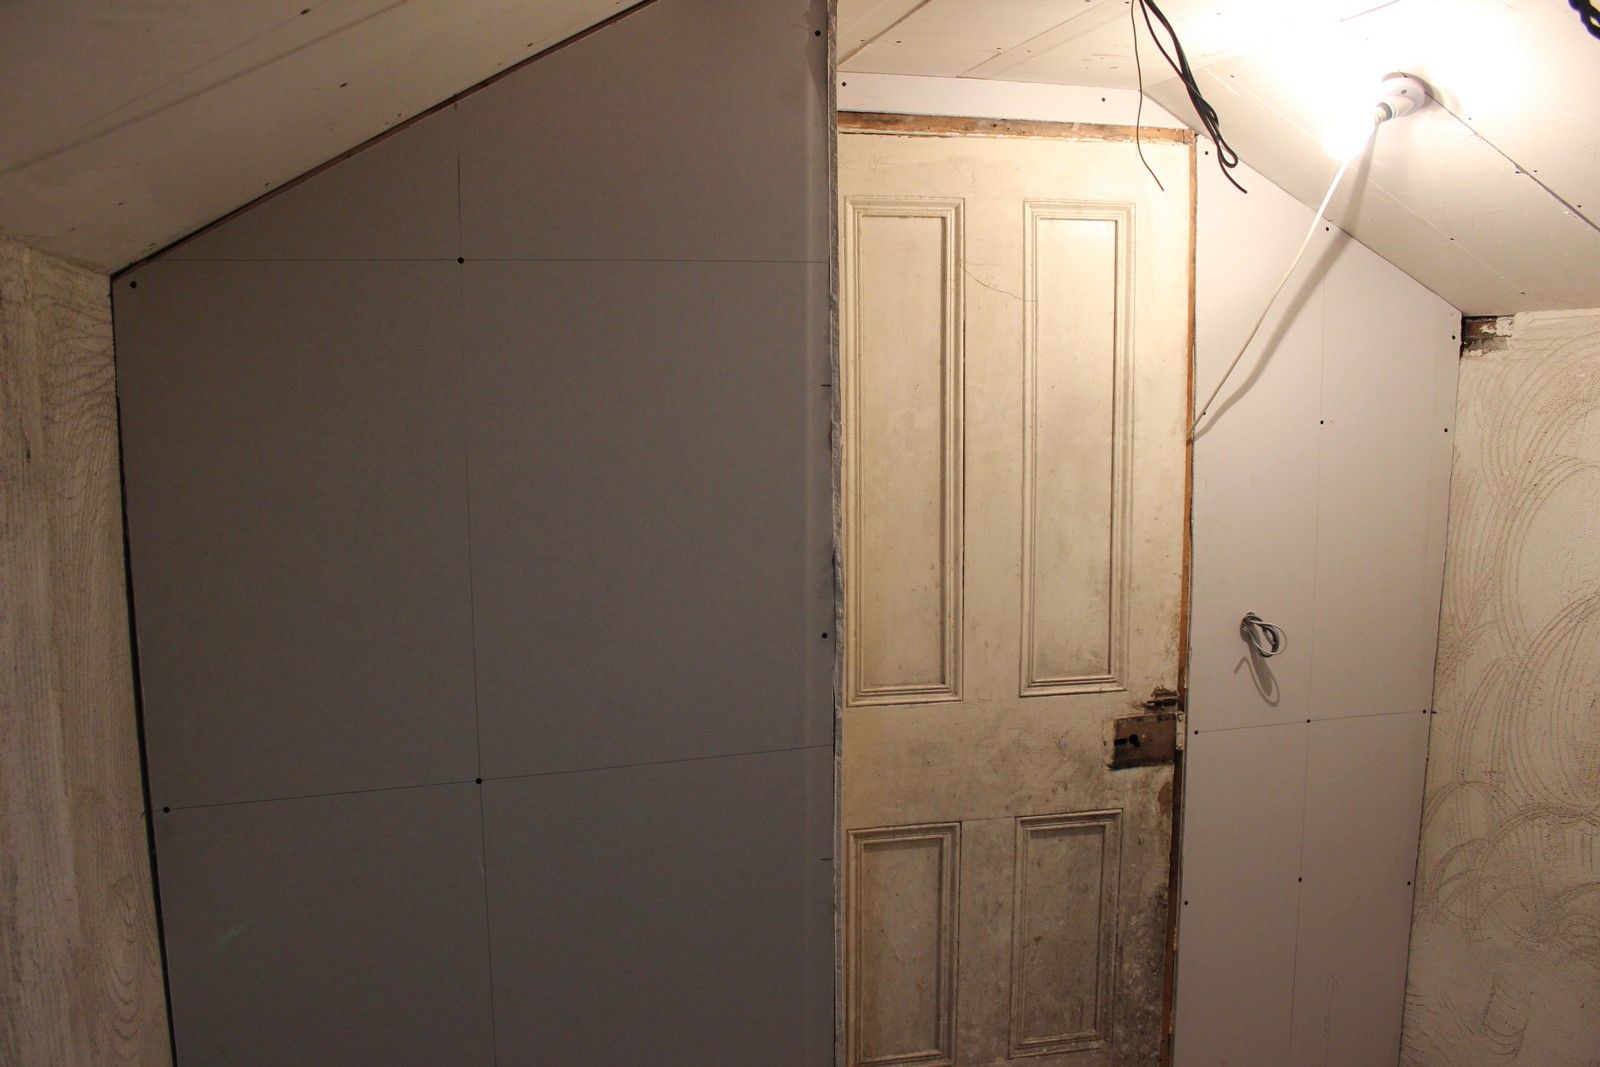
The wall layout upstairs in the return is based pretty much exactly on what was originally there before, with the exception of the extended wall for the small bathroom to be located on the right side. In the picture below, the studs on the right side make up the new bathroom wall, where the hot press was originally located:
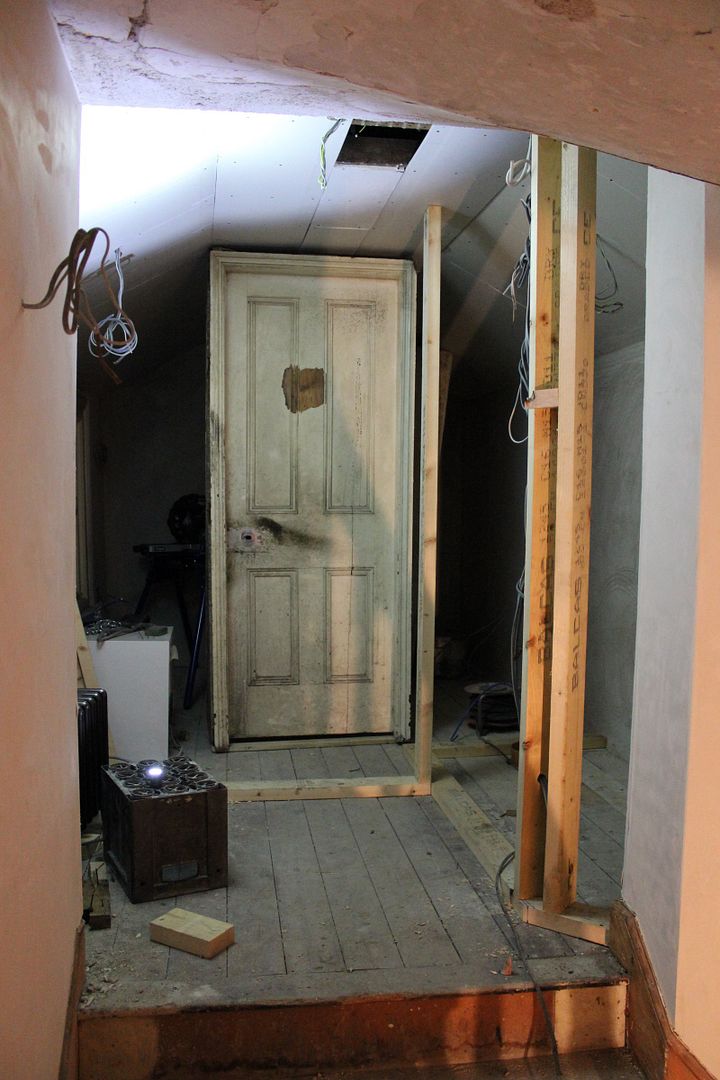
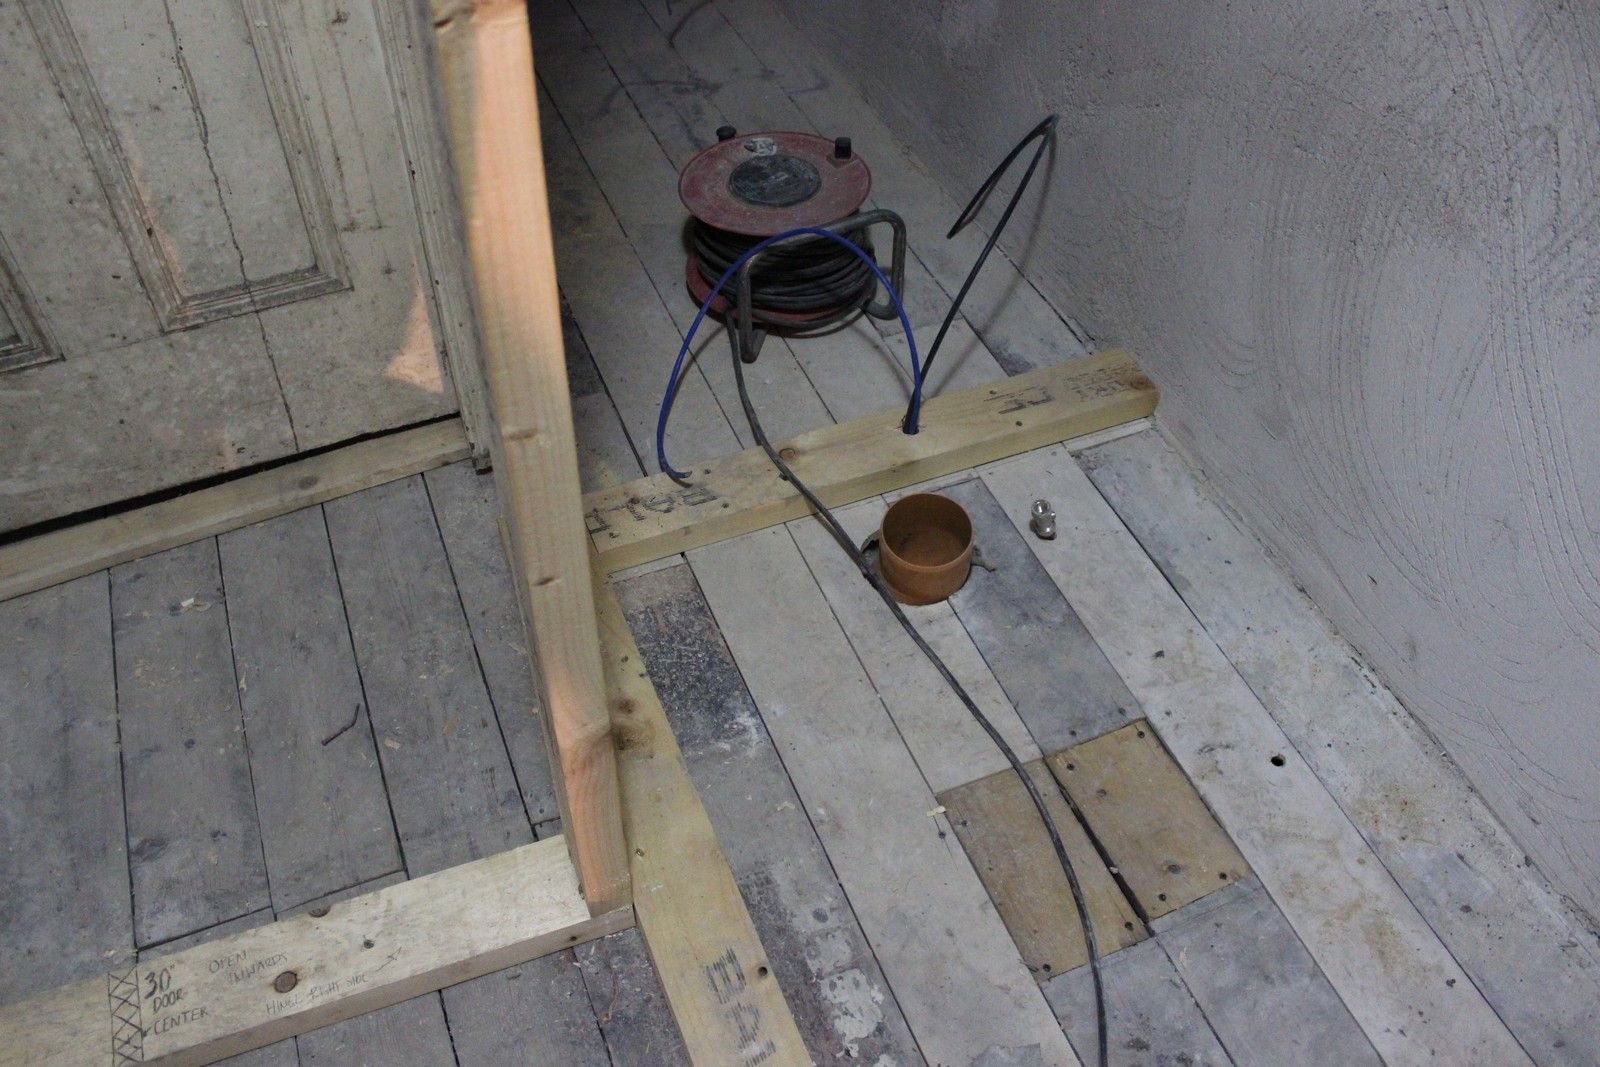
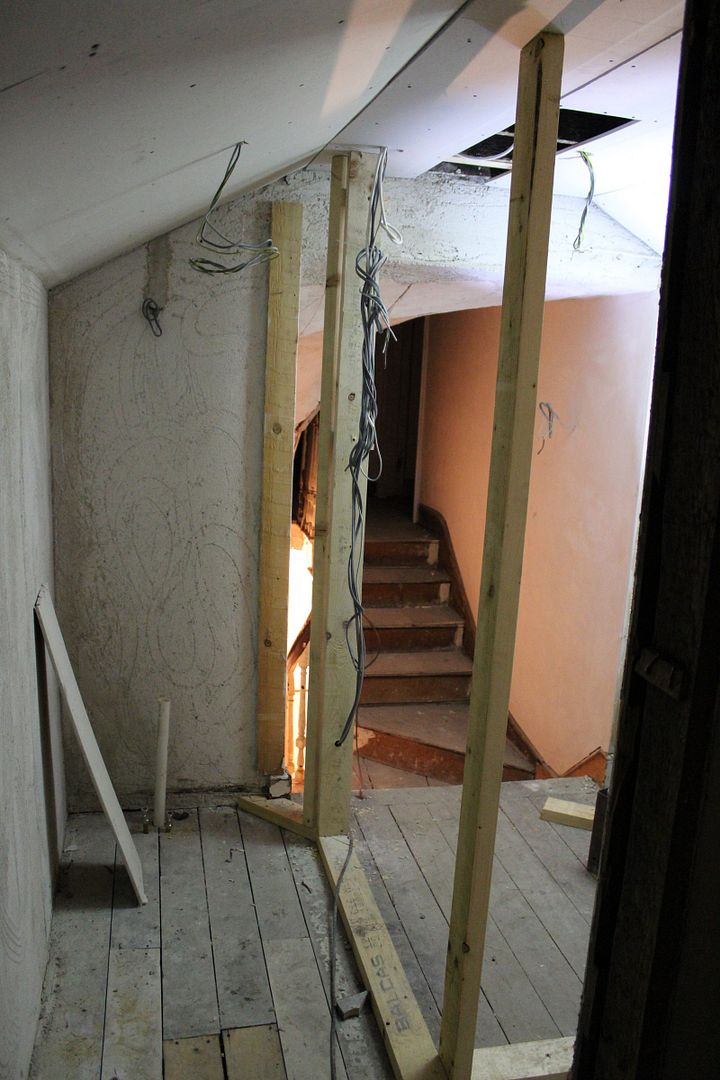
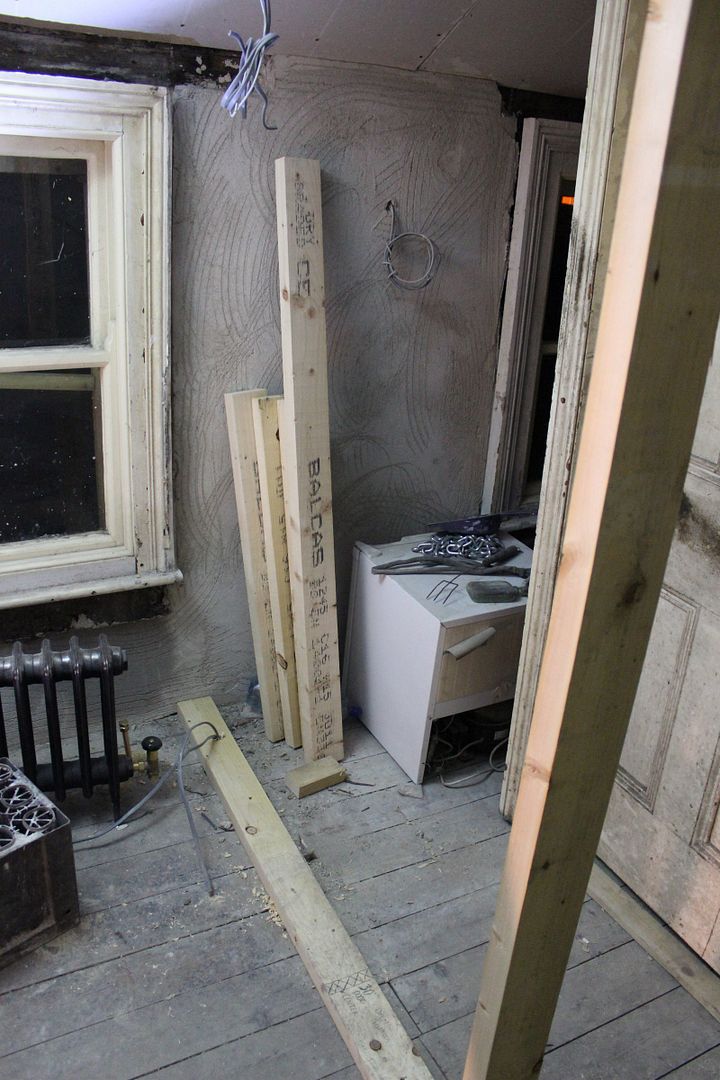

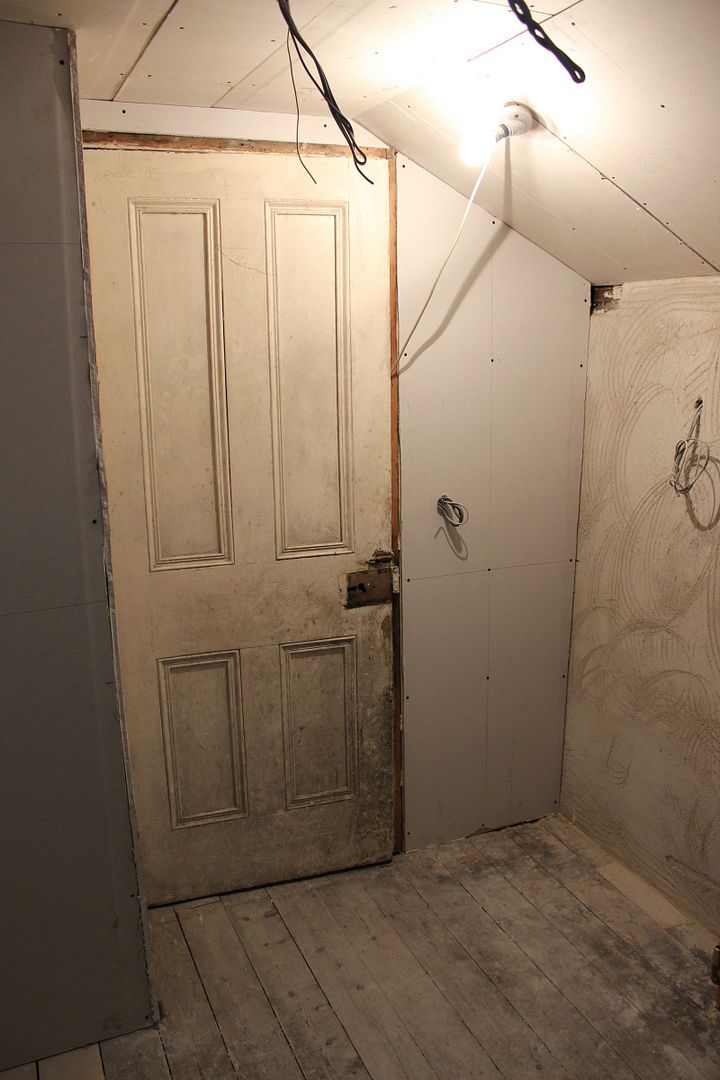
The original door below has been brought out of storage and positioned back where it once stood, albeit a few inches to the left. The small room behind the door was originally a bathroom and will now become a forth bedroom. About 20cm of landing space has been lost to the new small bathroom, however it makes for a decent sized bathroom space:
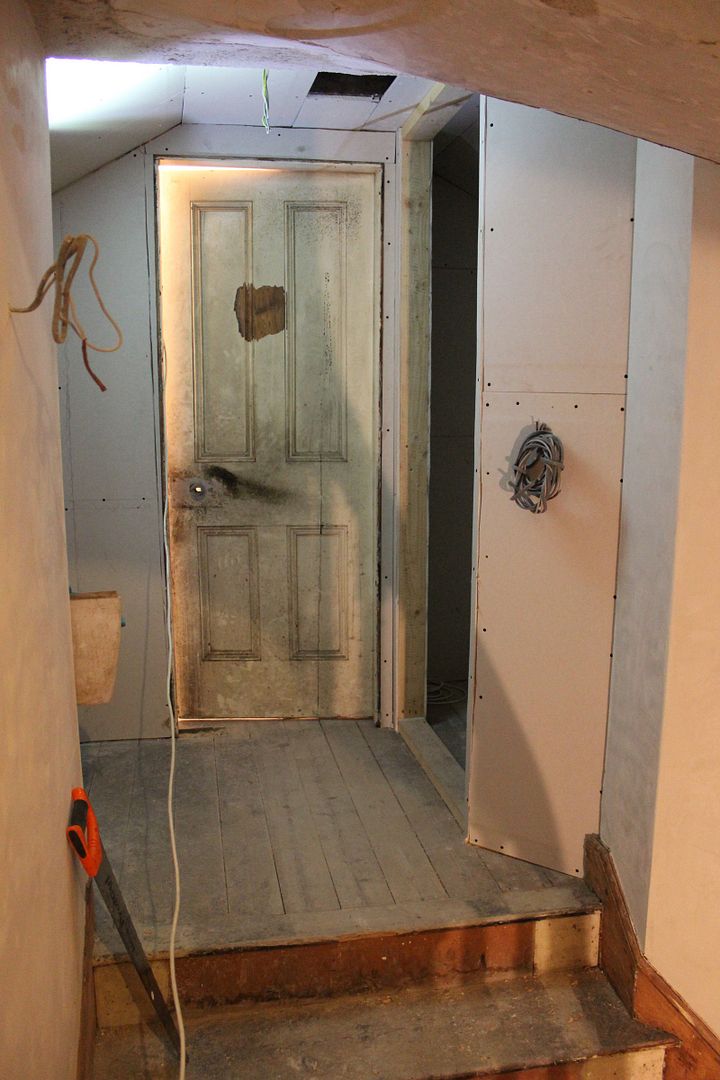

A perfectly matching bathroom door is being specially made to match the bedroom door:
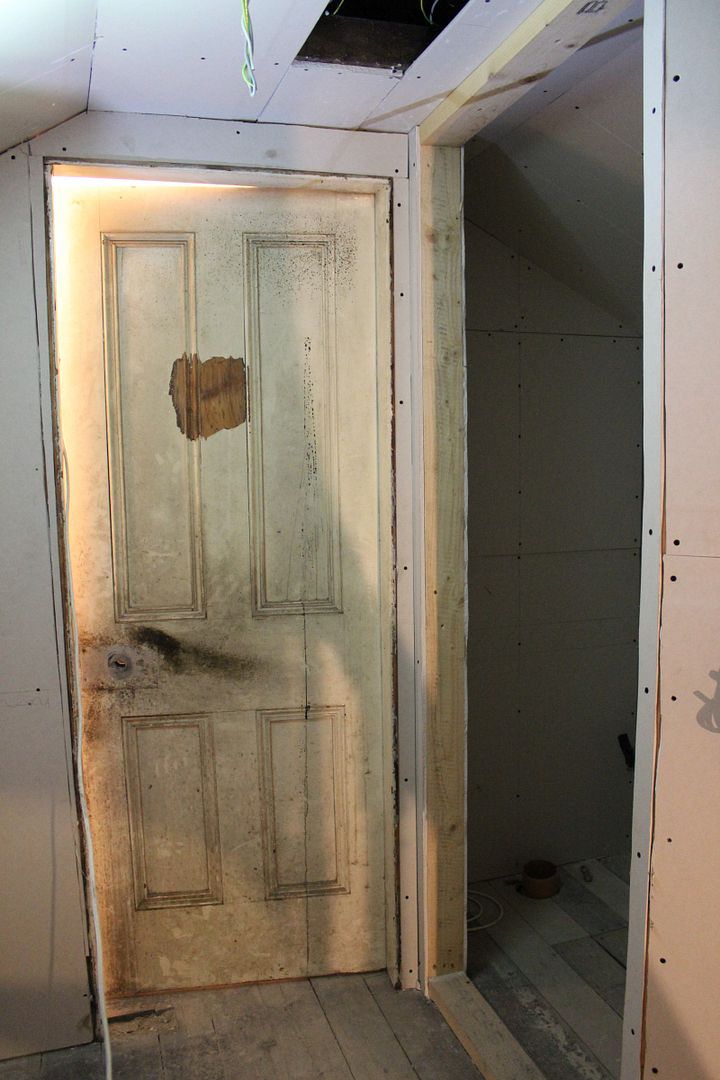


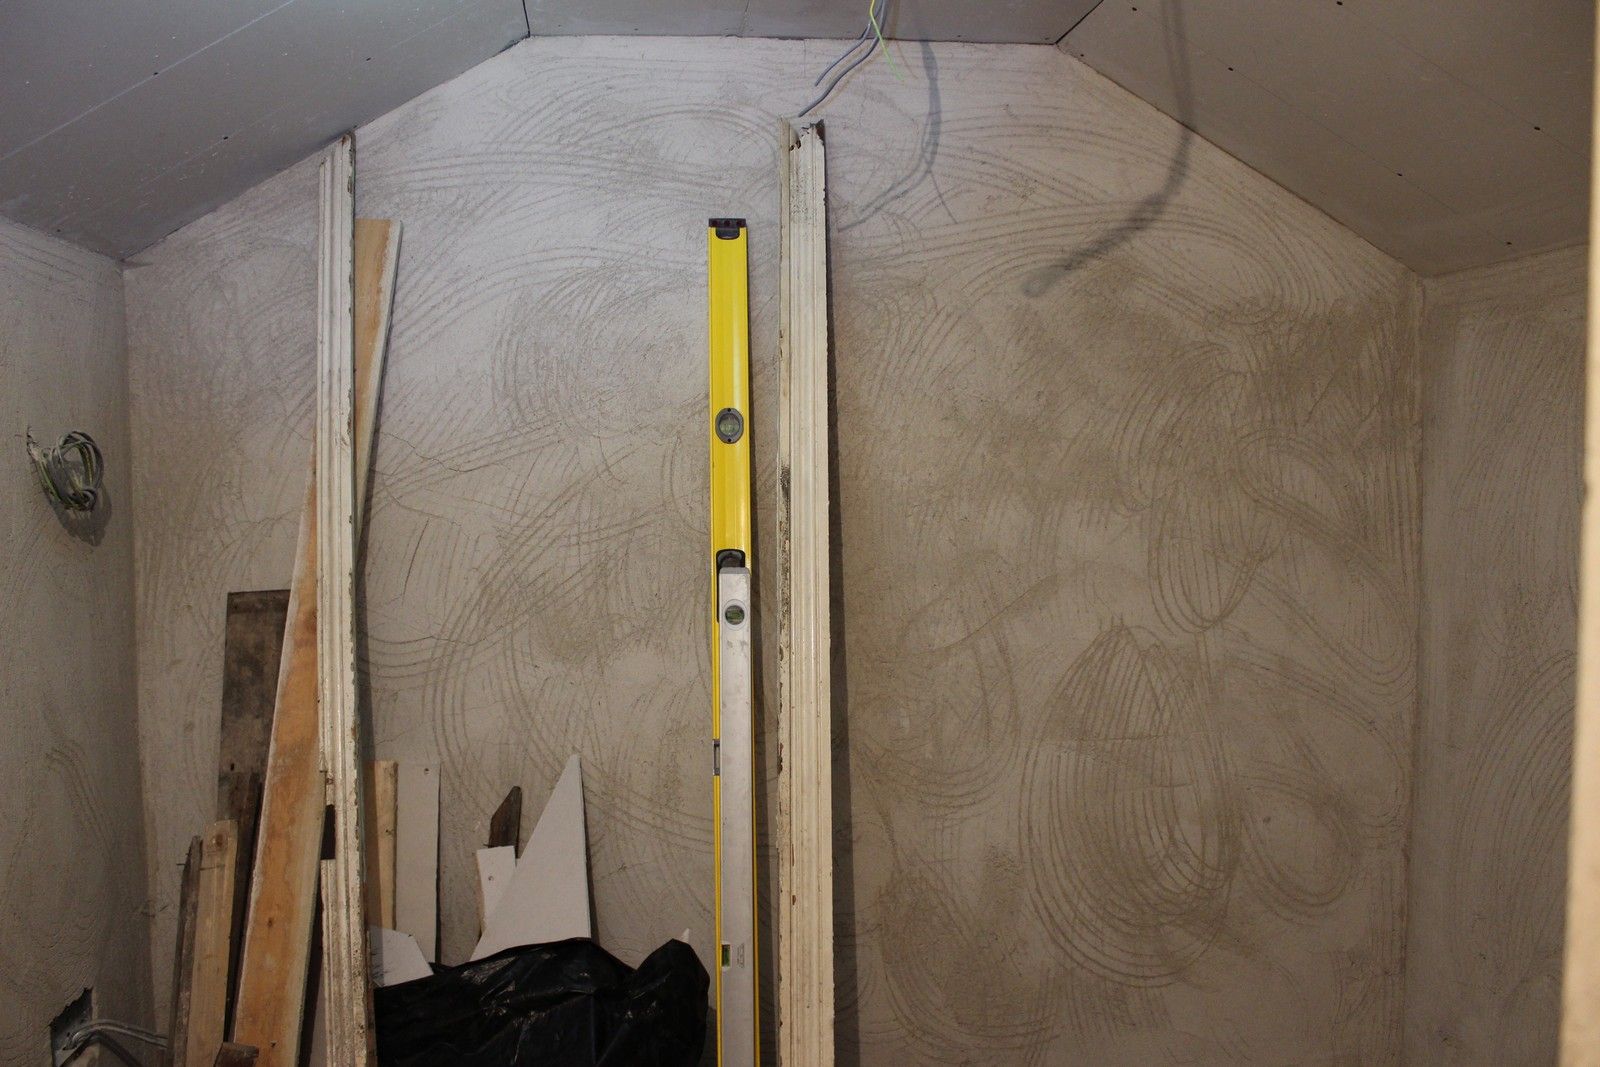
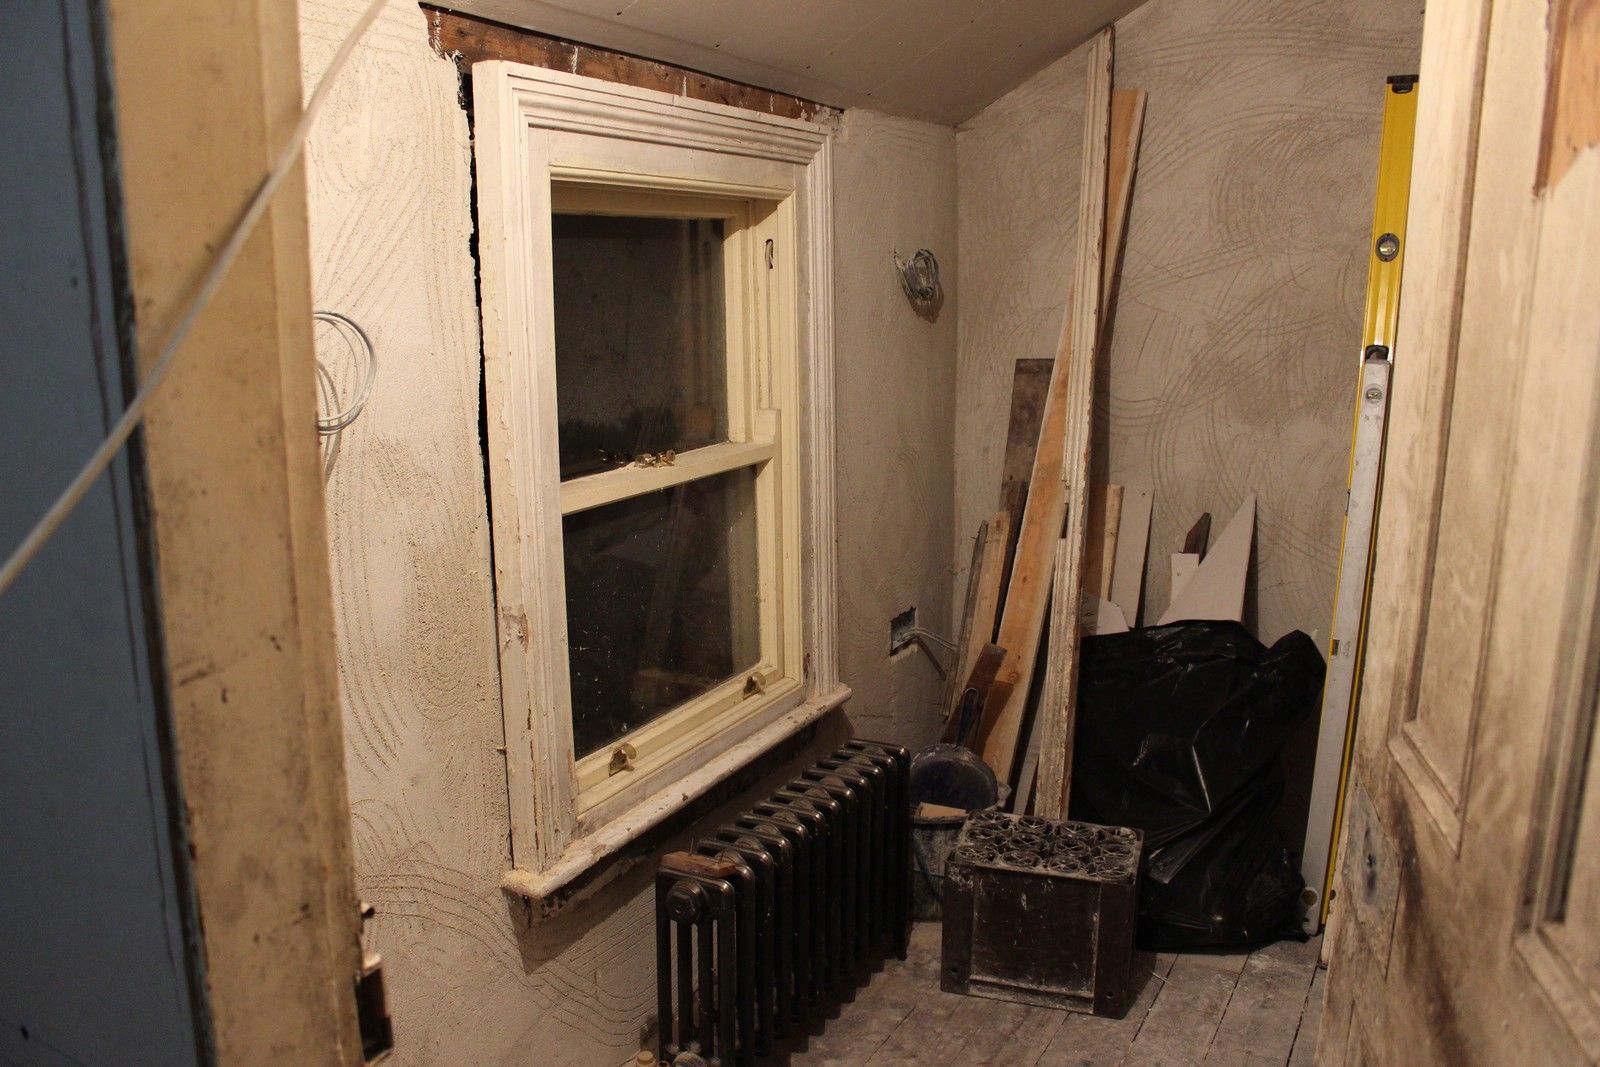
Inside the small bedroom:


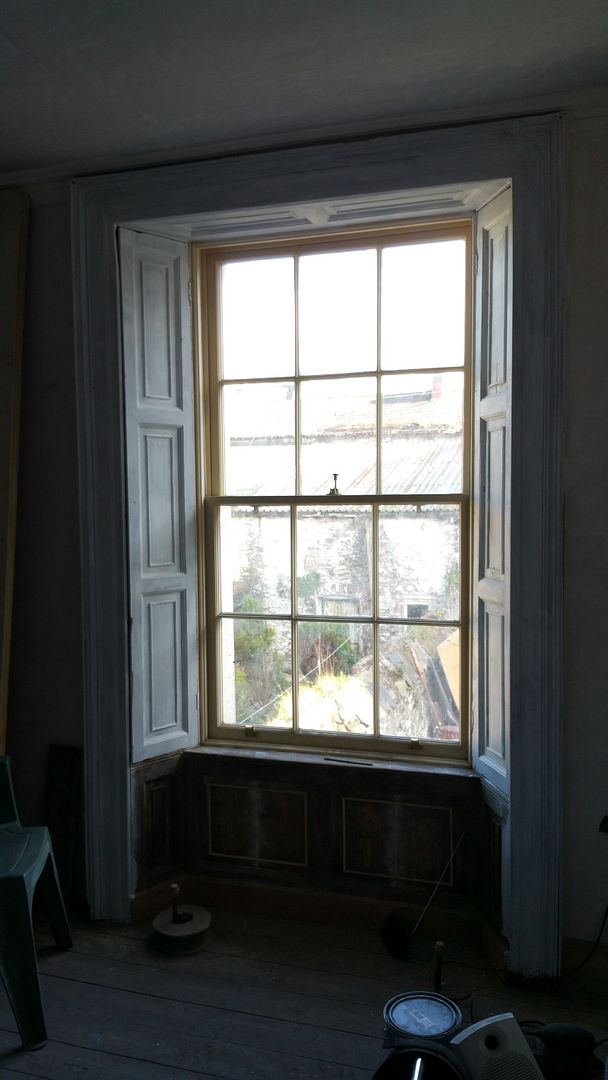
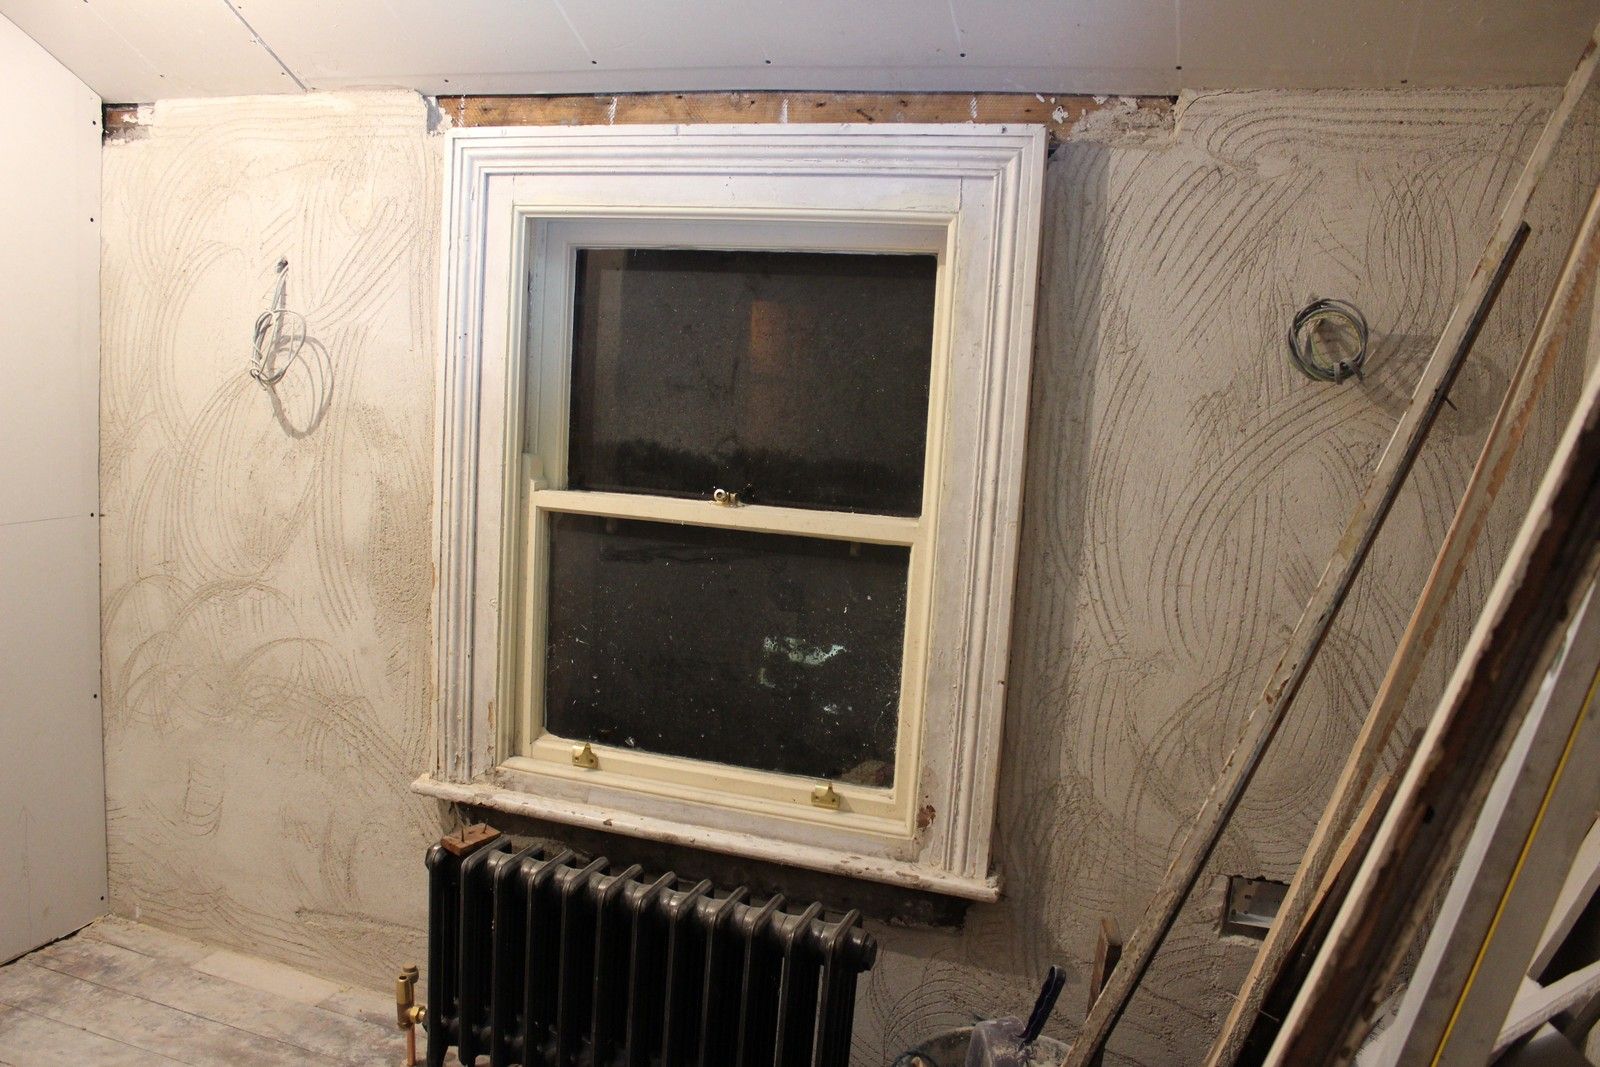
The original, restored sash window, surrounded by lime scratch coat, with a reclaimed Edwardian-style cast iron radiator:

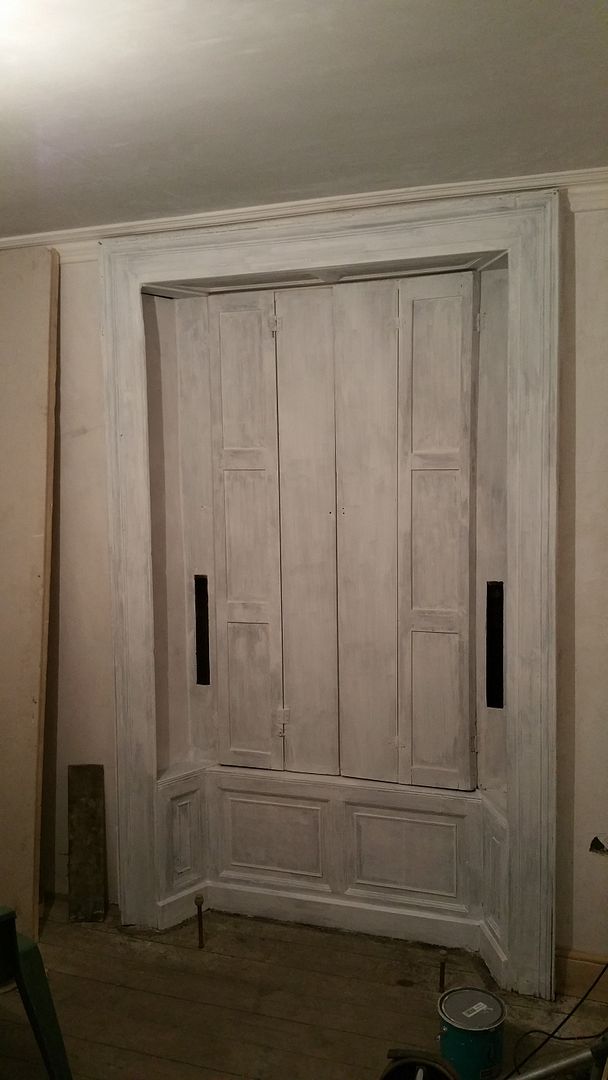
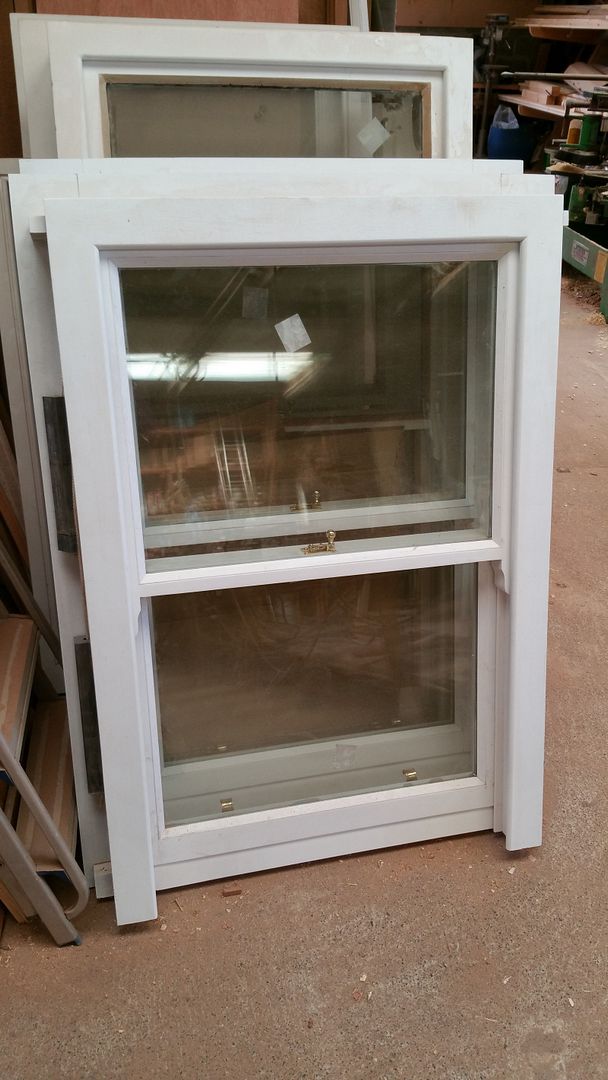
My two brand new sash windows for downstairs in the return, supplementing the originals, built by Paul Dowdall of Dowdall Joinery. Made to match the originals in every way, down to the profile of the sash horns. To be installed within the next fortnight:

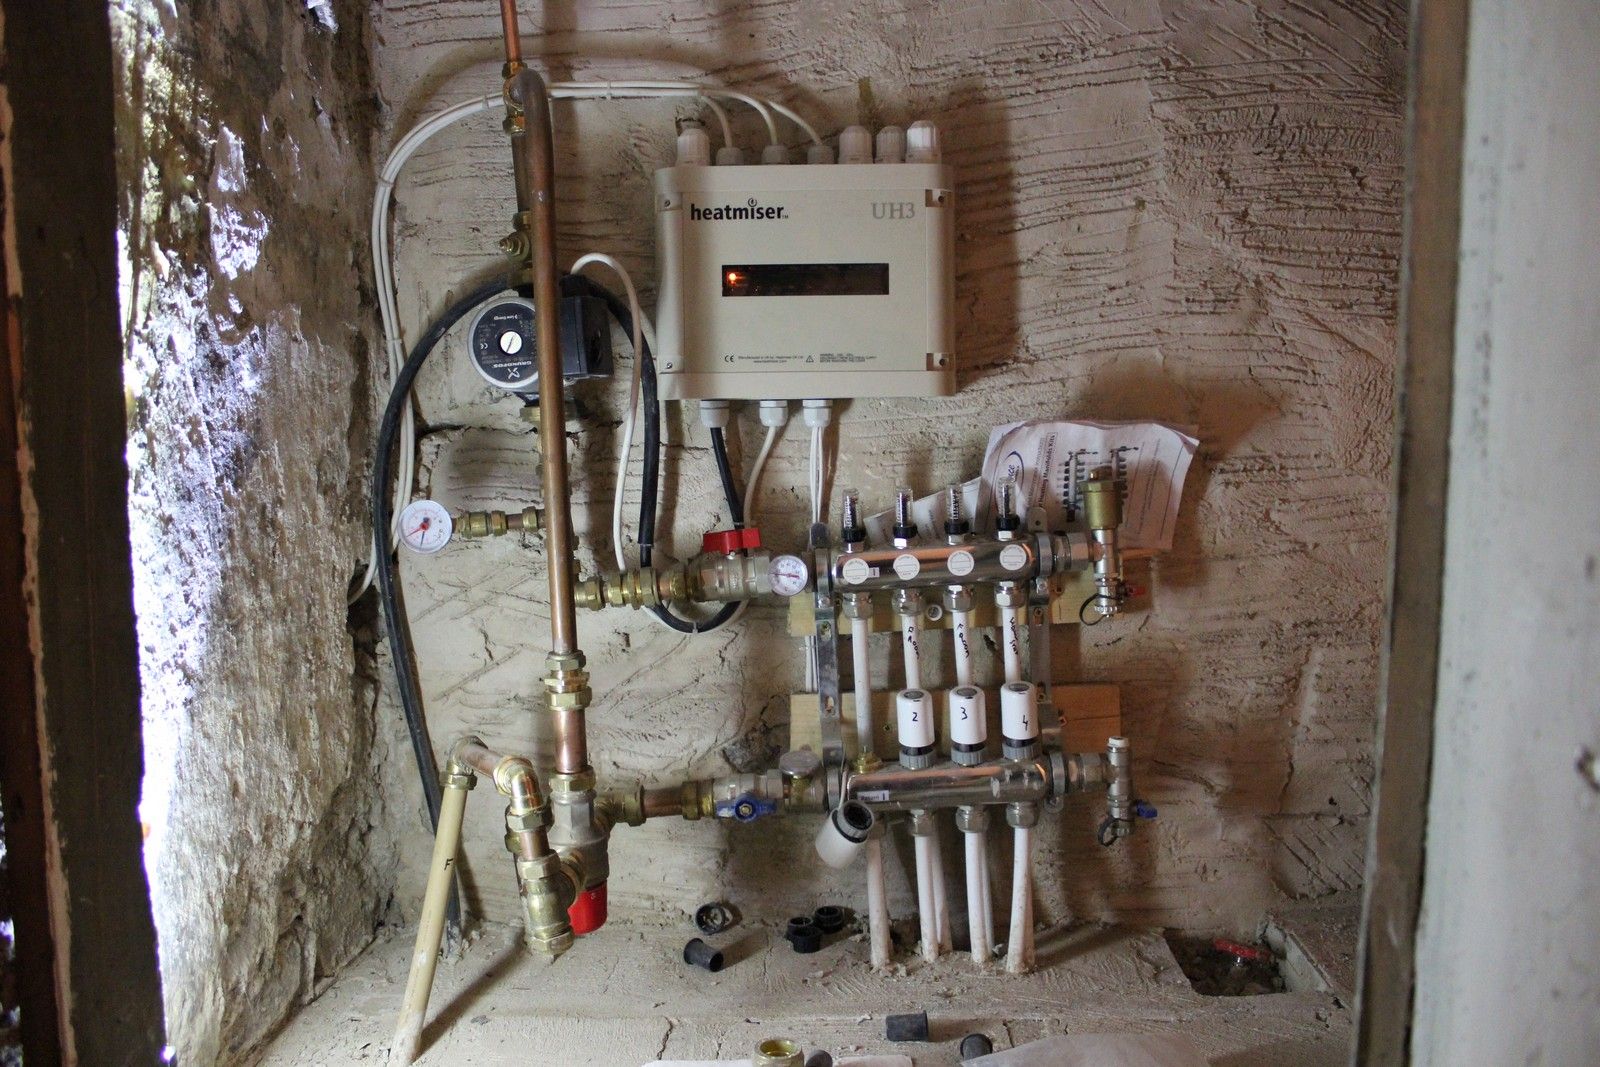
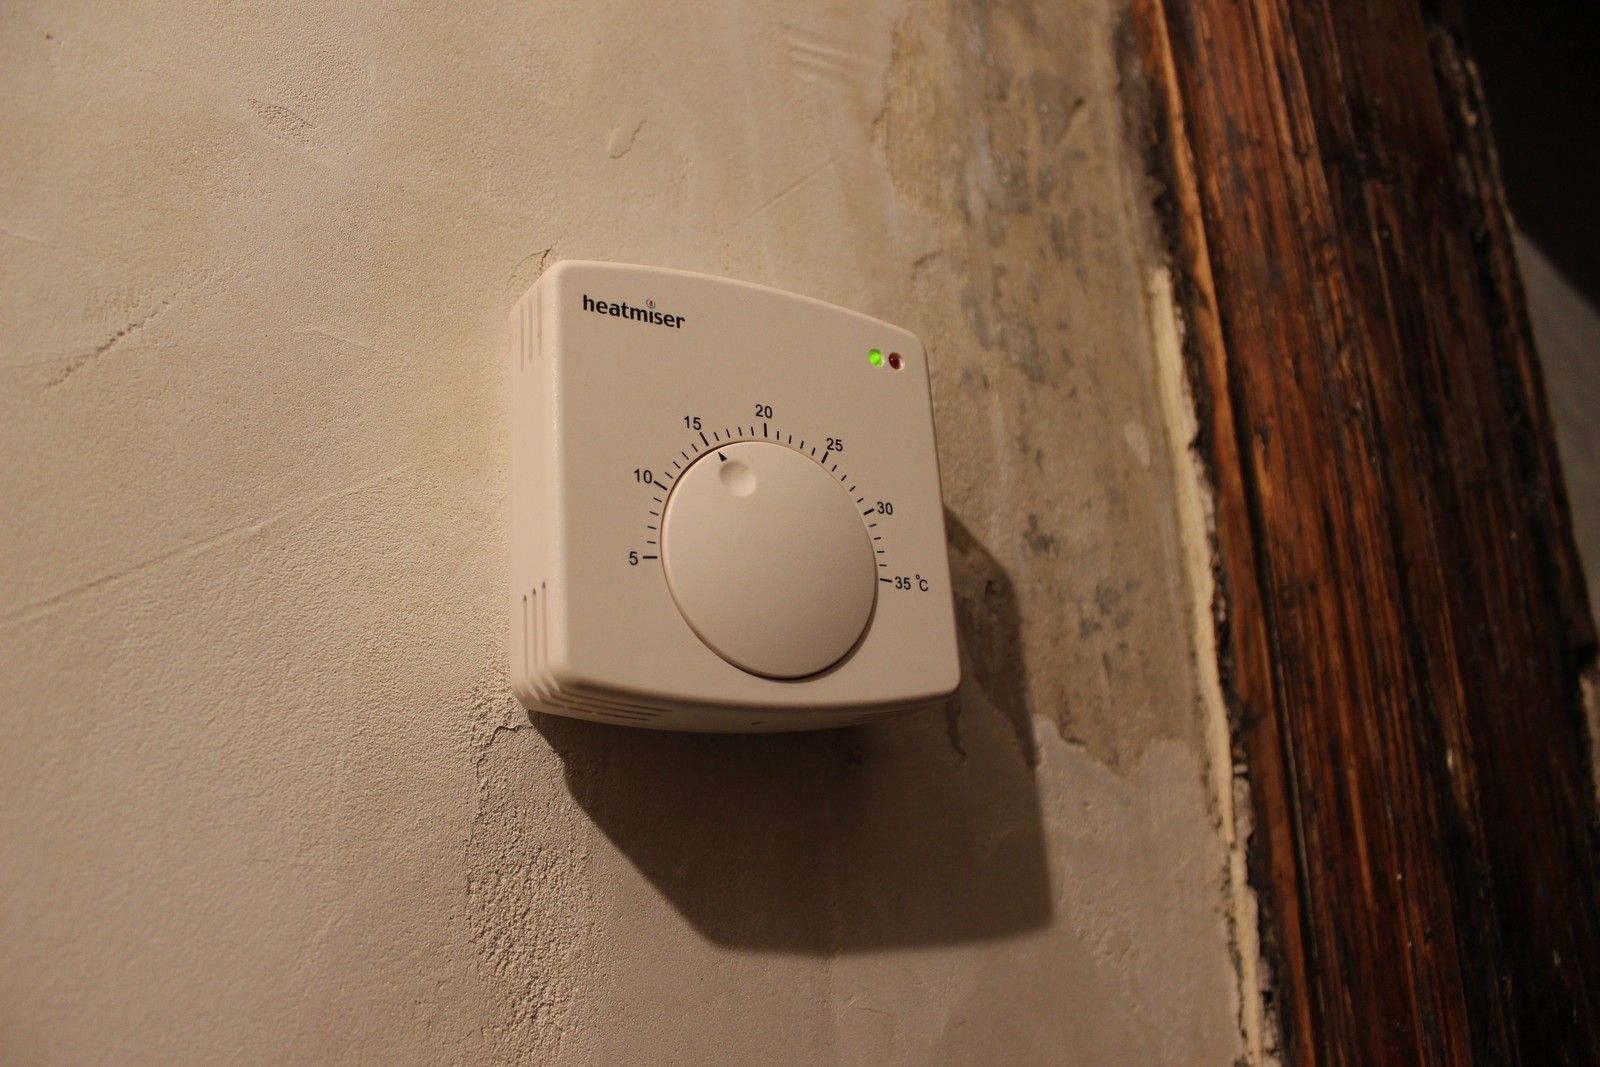
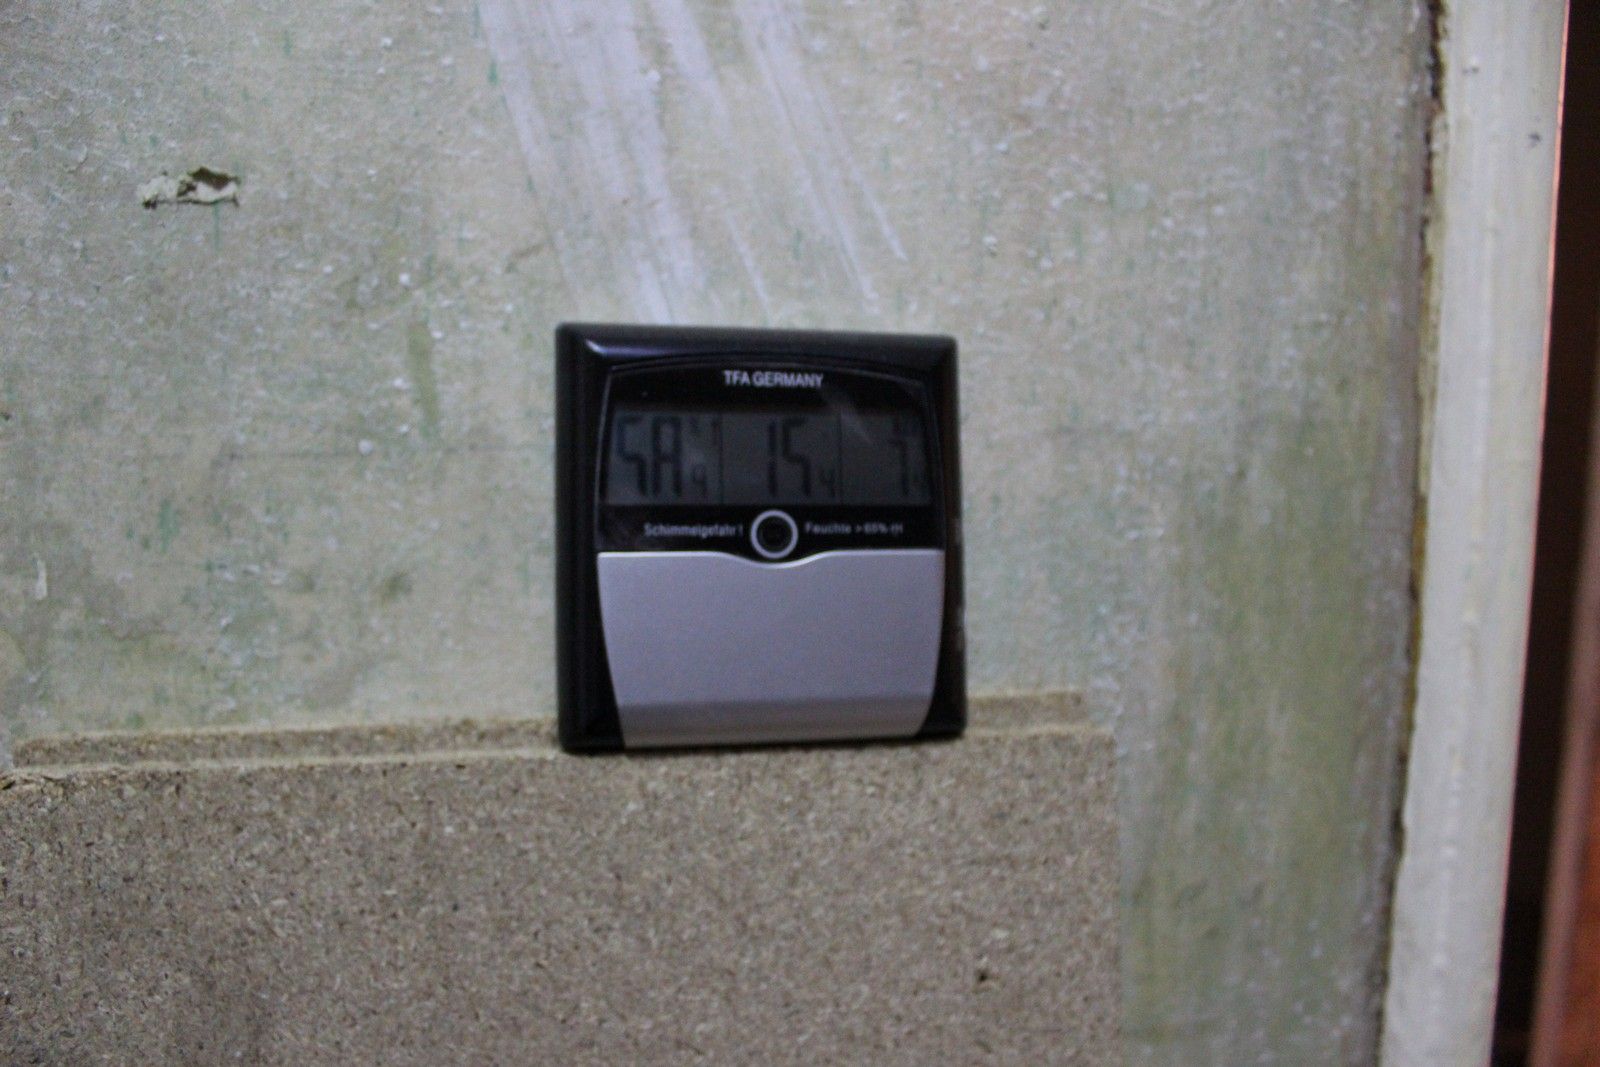
The underfloor heating within the limecrete floor has been a fantastic success so far and has been running continuously for the last four weeks in order to stabalise the heat levels within the fabric of the house, much to the dismay of my wallet. Despite zero insulation and a noticeable breeze from the still-unsealed return, the ground floor rooms are easily maintaining whatever temperature is being set. Currently it is ticking over at approx 16 degrees Celsius to climatise the floorboards before they are laid:


Tuesday, 26 April 2016

Some Skirting and Fireplace Installation

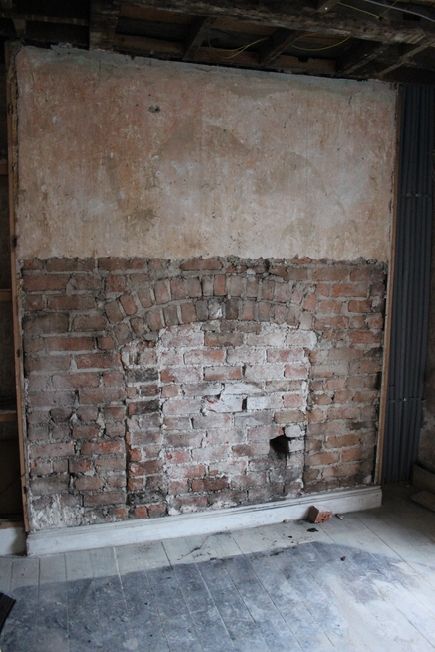
I'm continuing to work on the first floor rear room, which is to become a bedroom. When I purchased the house, the fireplace in this room was completely bricked up until I decided to open it once more and move the iron fireplace surround from the front main room and into this smaller room. The fireplace surround had many layers of paint and it all had to be stripped off in a painstaking process.

This is how it looked when the failing plaster was removed:

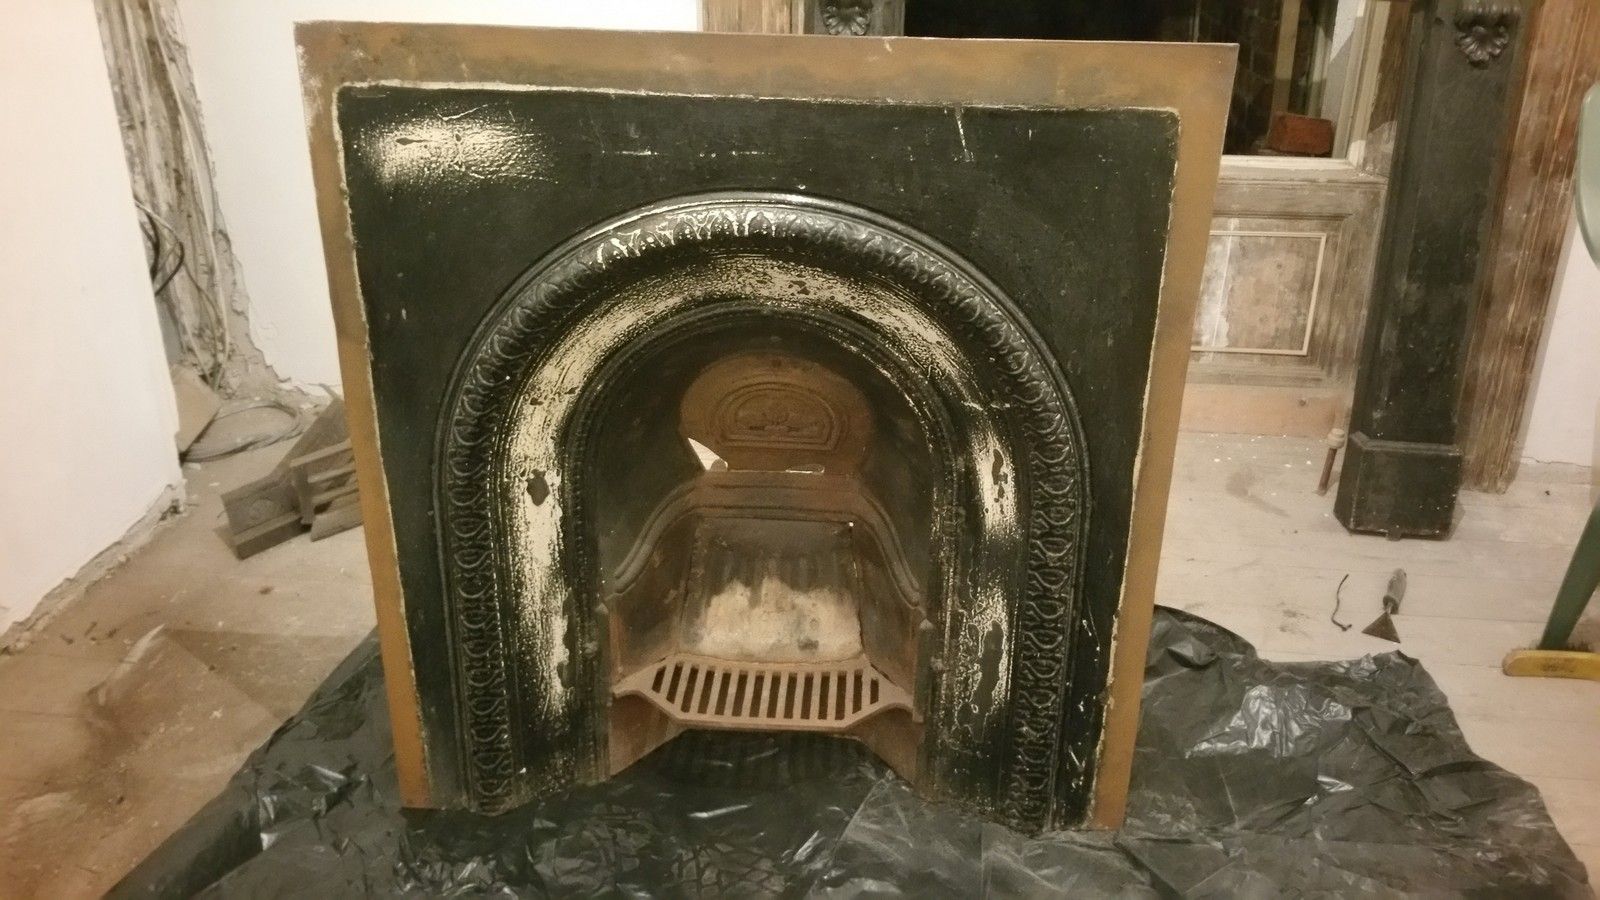
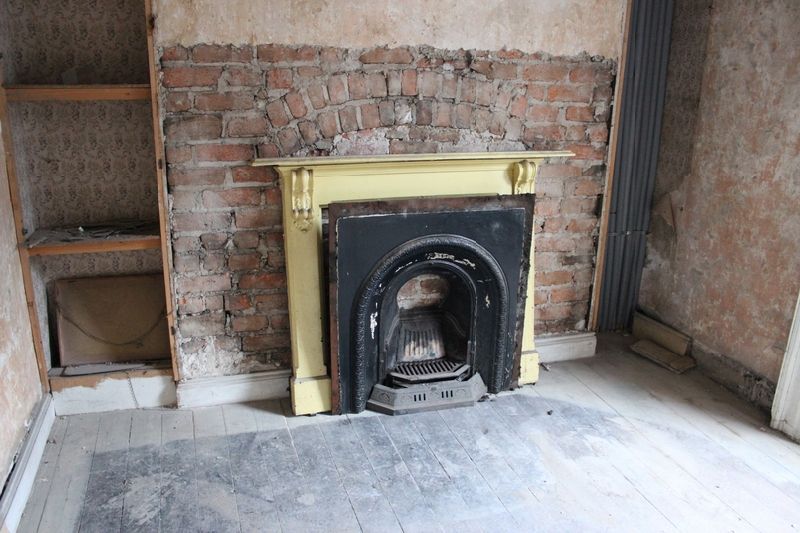
And this is the cast iron fireplace surround (yellow) and insert from the front room, set temporarily in place:

As mentioned in previous posts, the builders spent considerable time and money attempting to re-open the flue of this fireplace, however it transpired much to our disappointment that the entire upper section of the chimney in the attic would have to be dismantled as the whole flue had been bricked over. It just wasn't worth the cost to get a working fireplace in a room that would rarely ever have a lit fire.

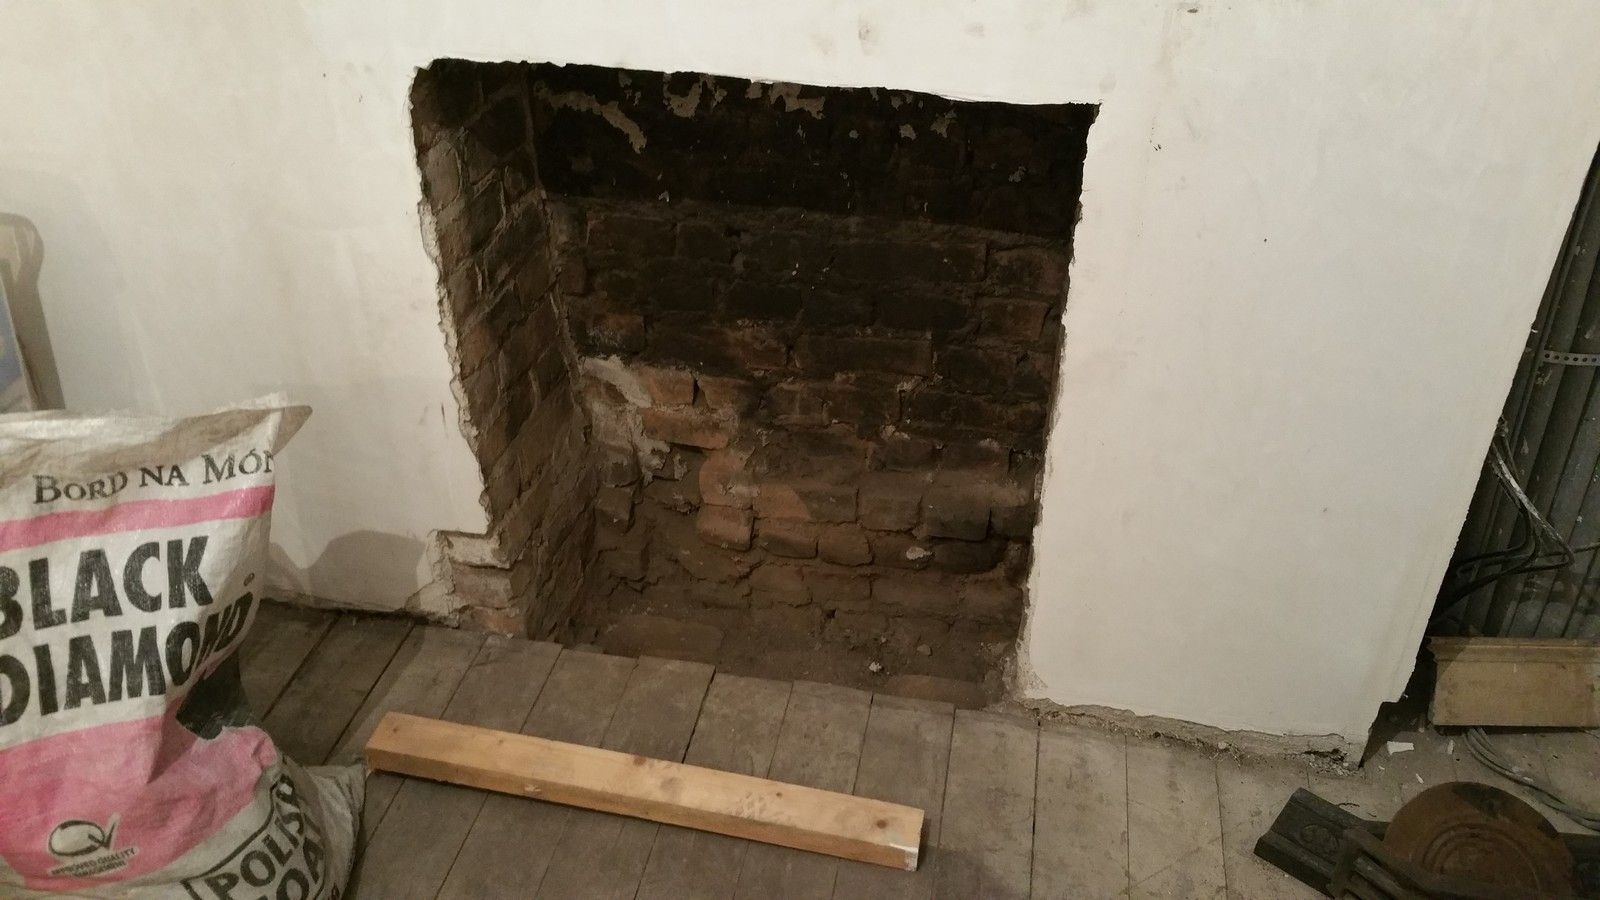
The good news however was that I now had an open fireplace:


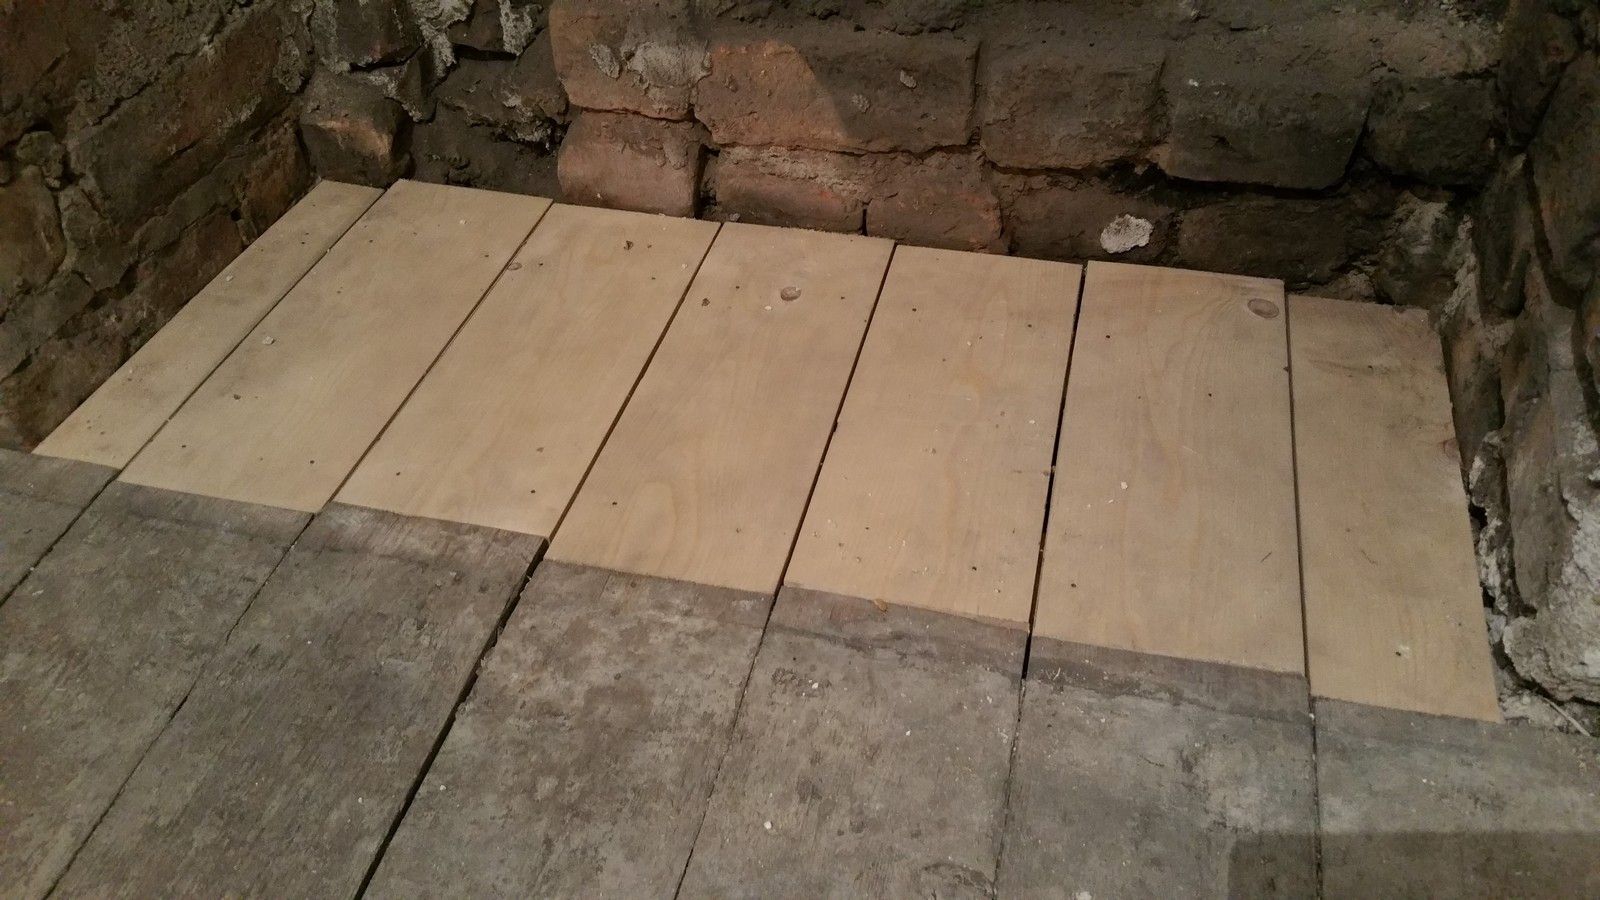
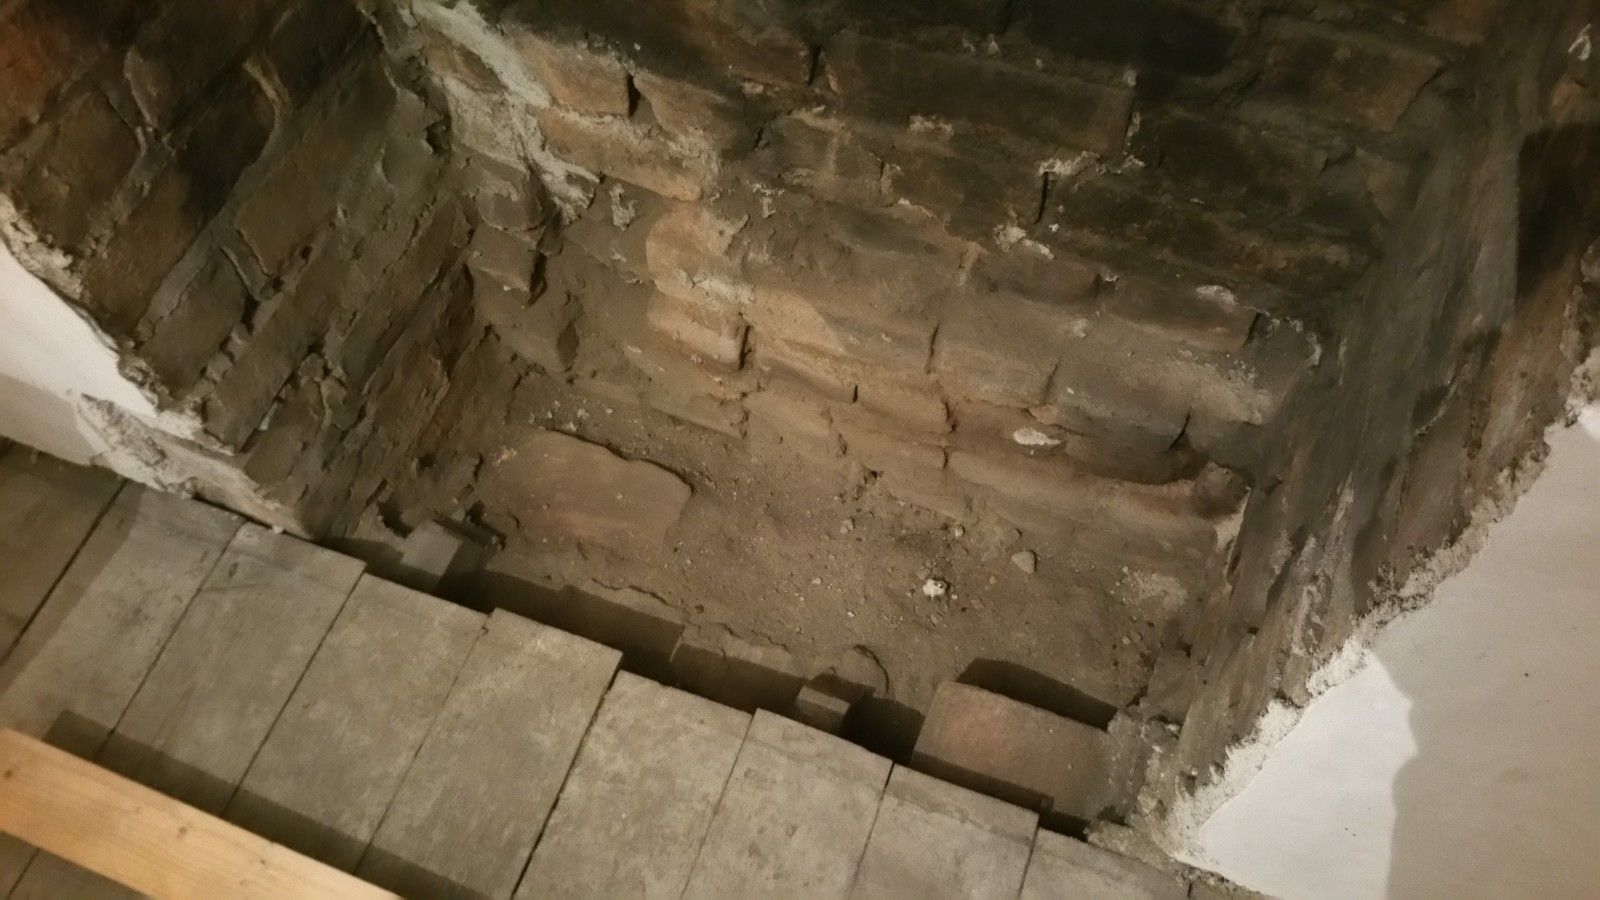
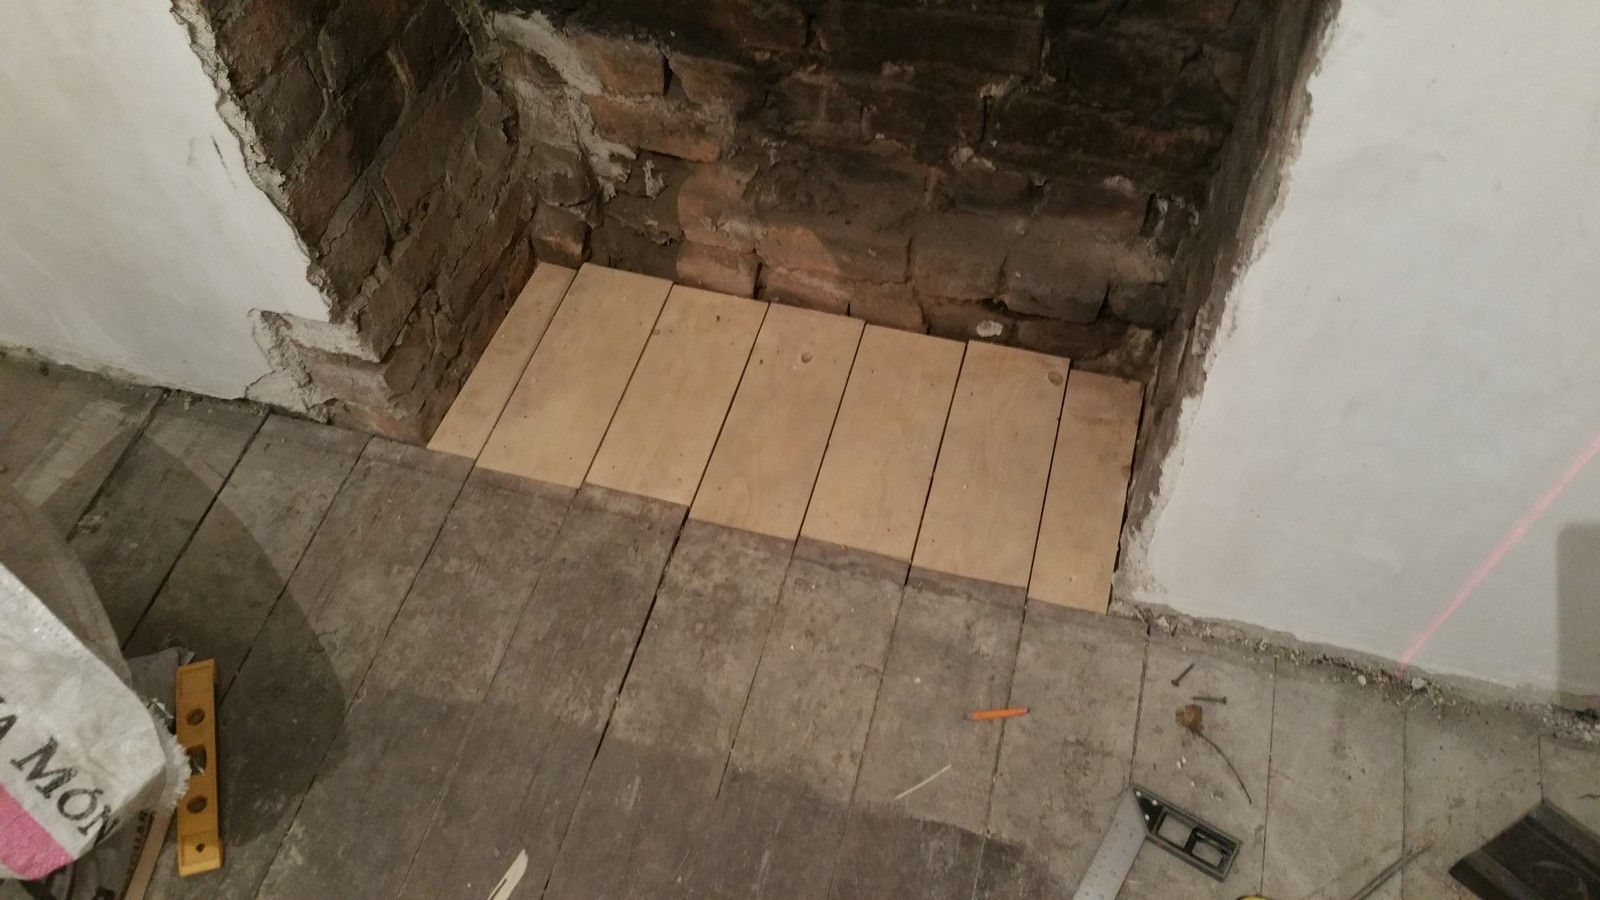
The first step was to run new floor boards right into the hearth area:


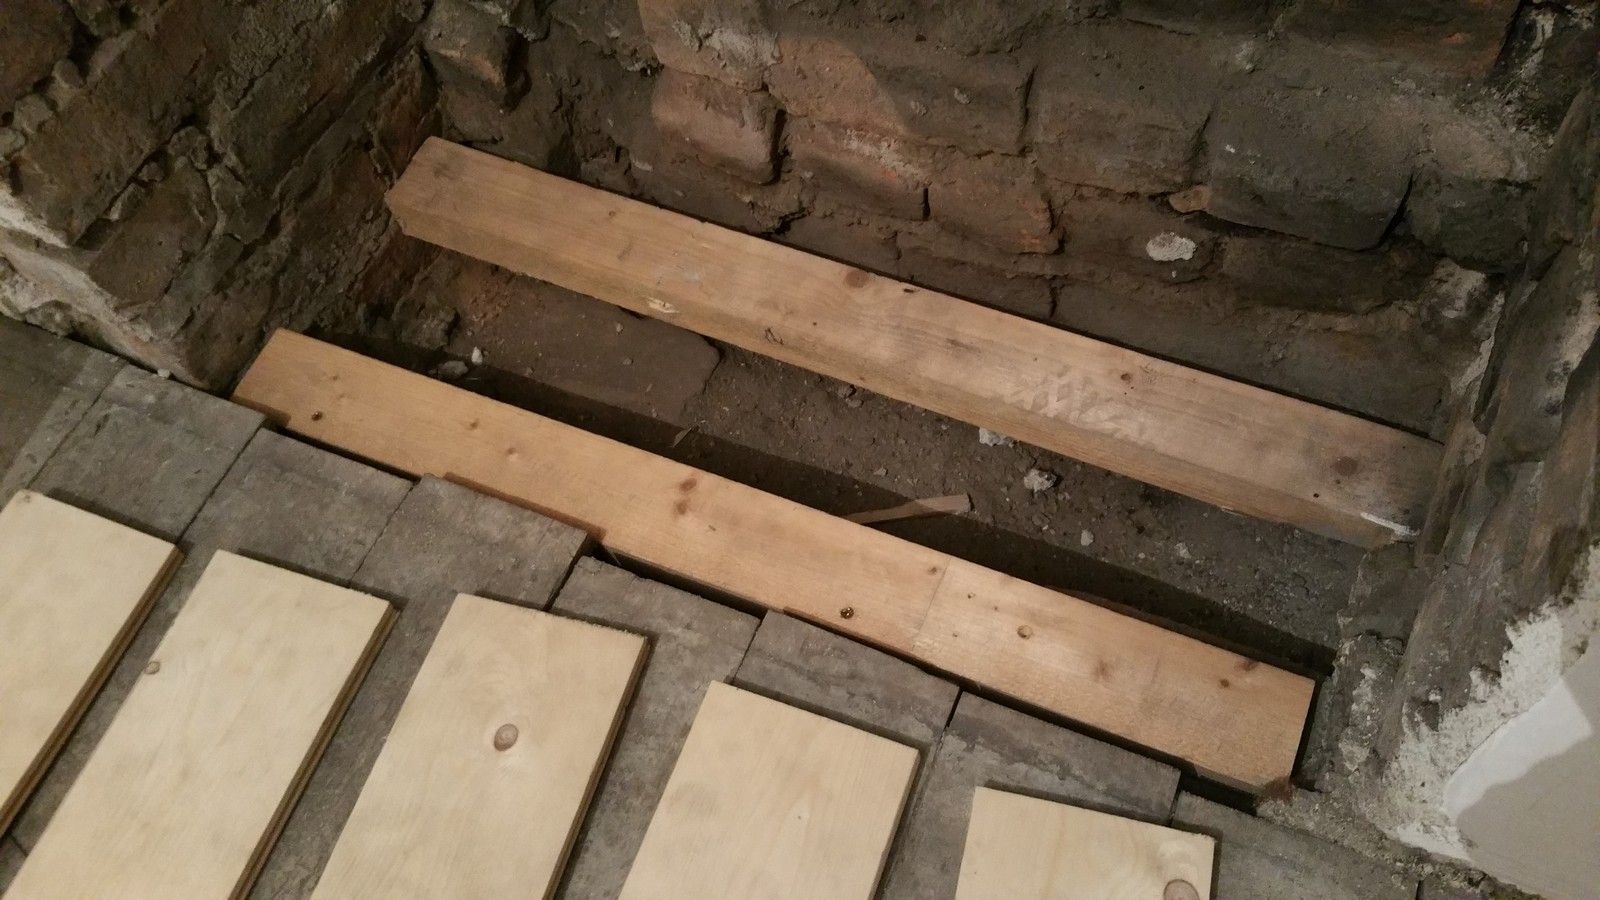
Wedging in some small joists:


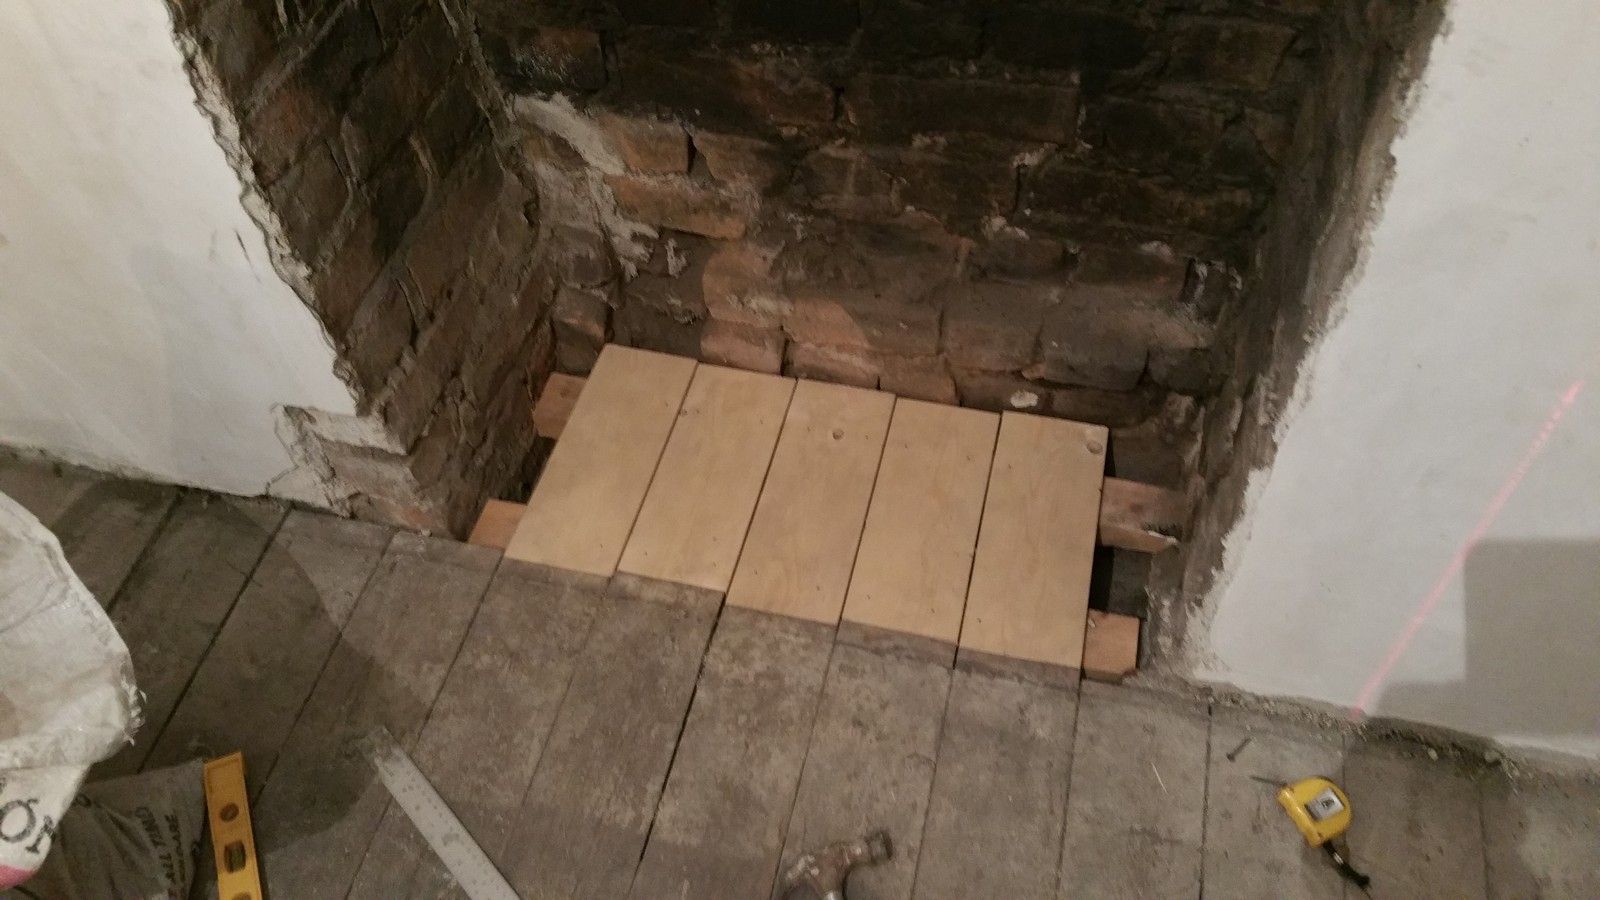
I cut boards to the same size as the 200 year old originals and nailed them down:


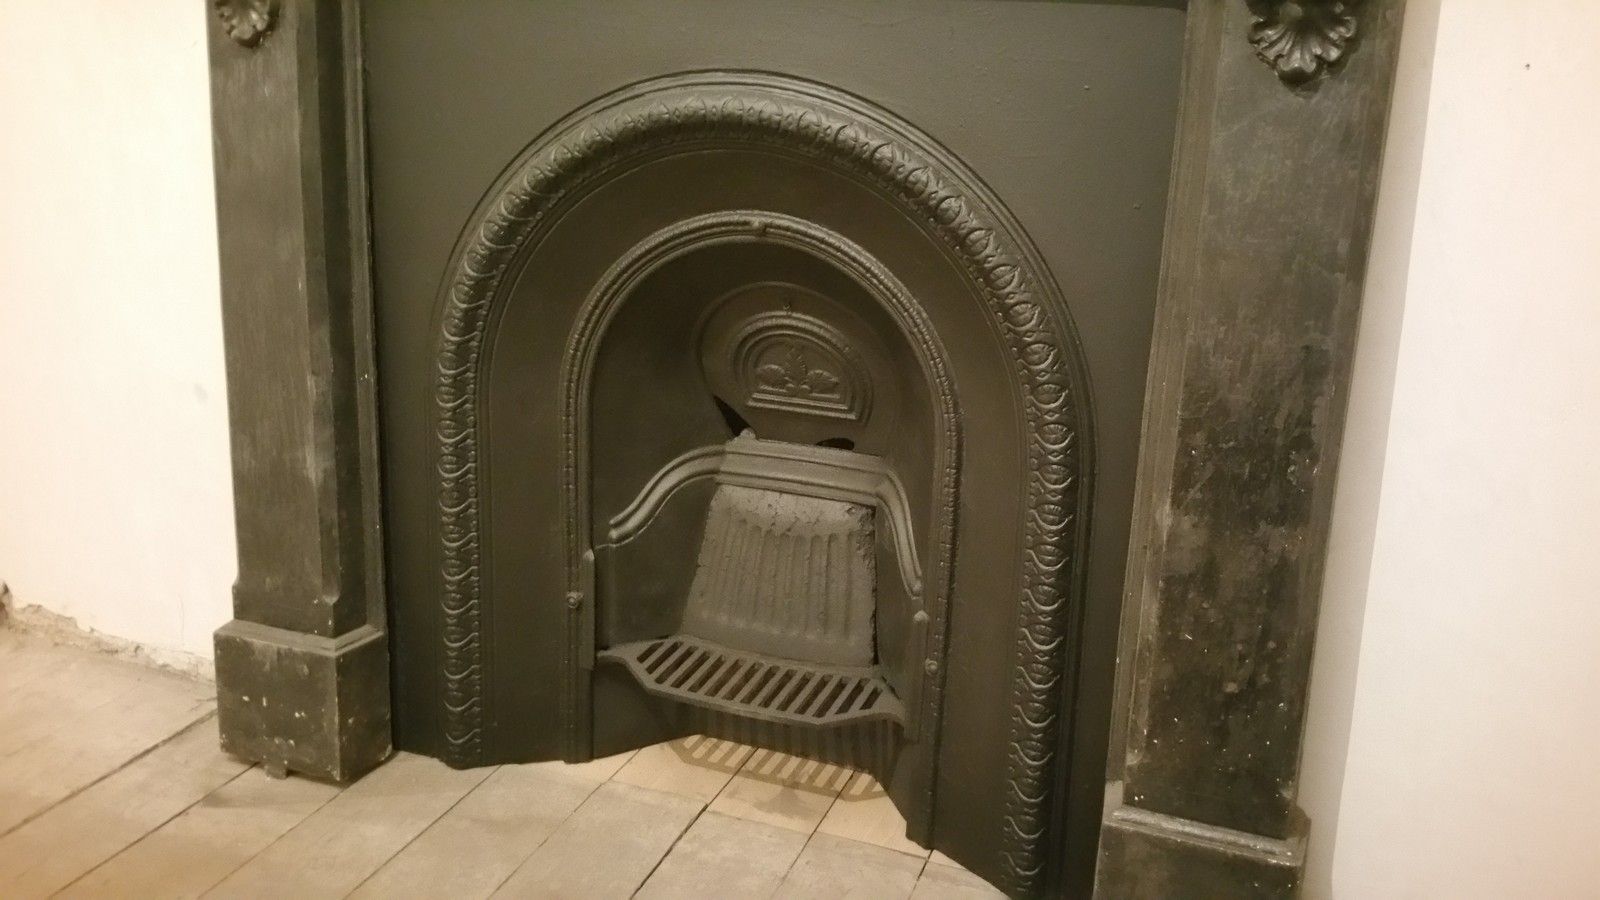
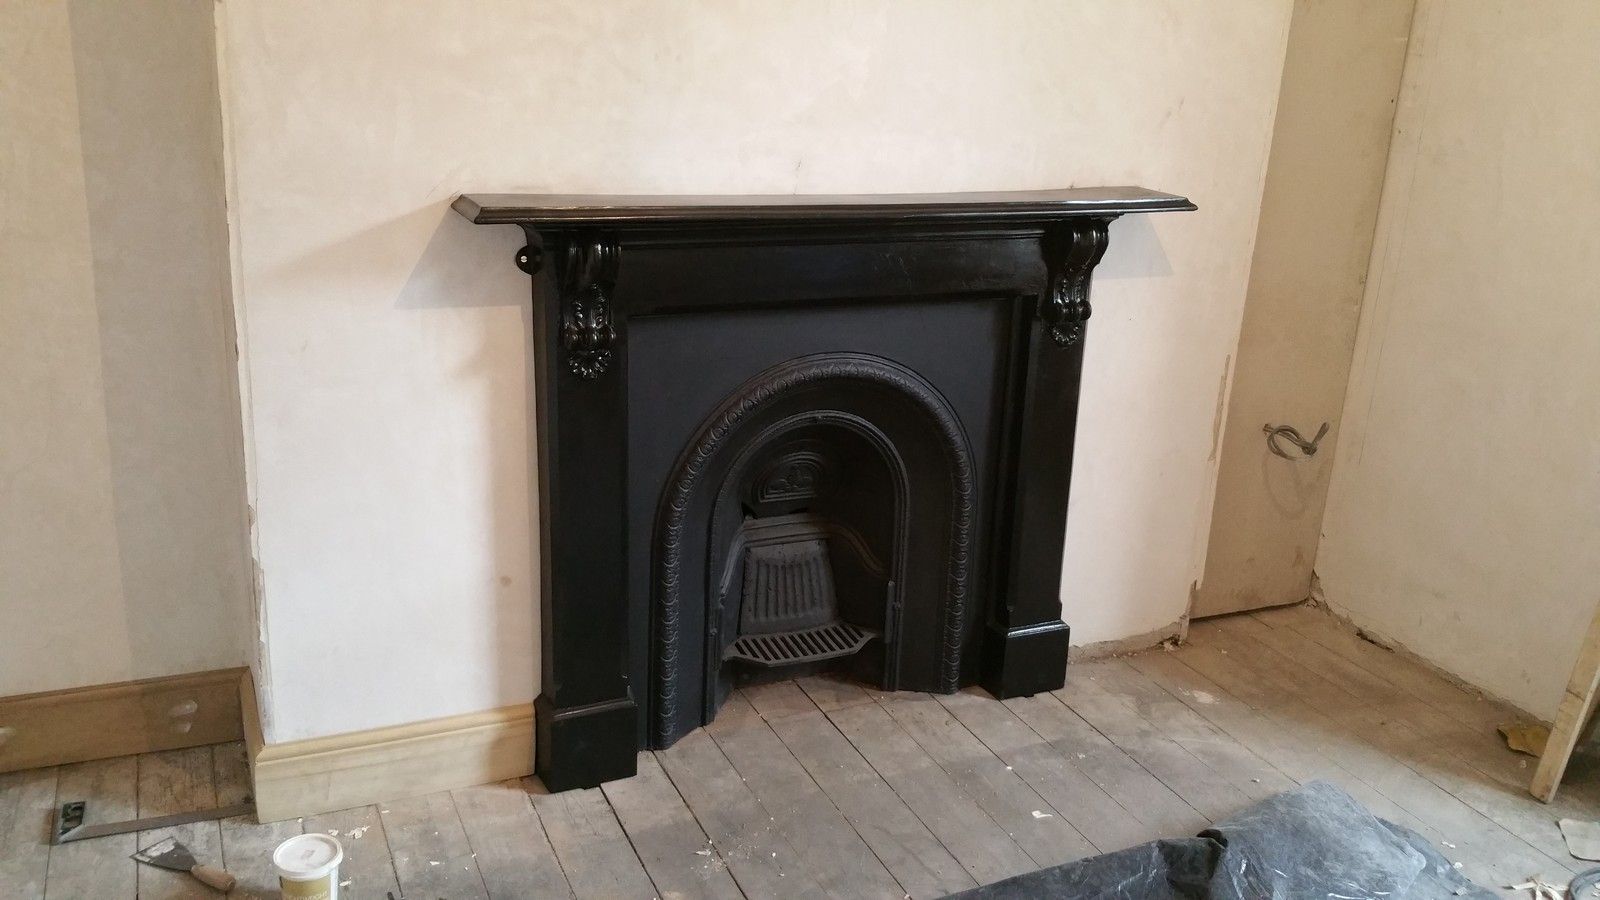
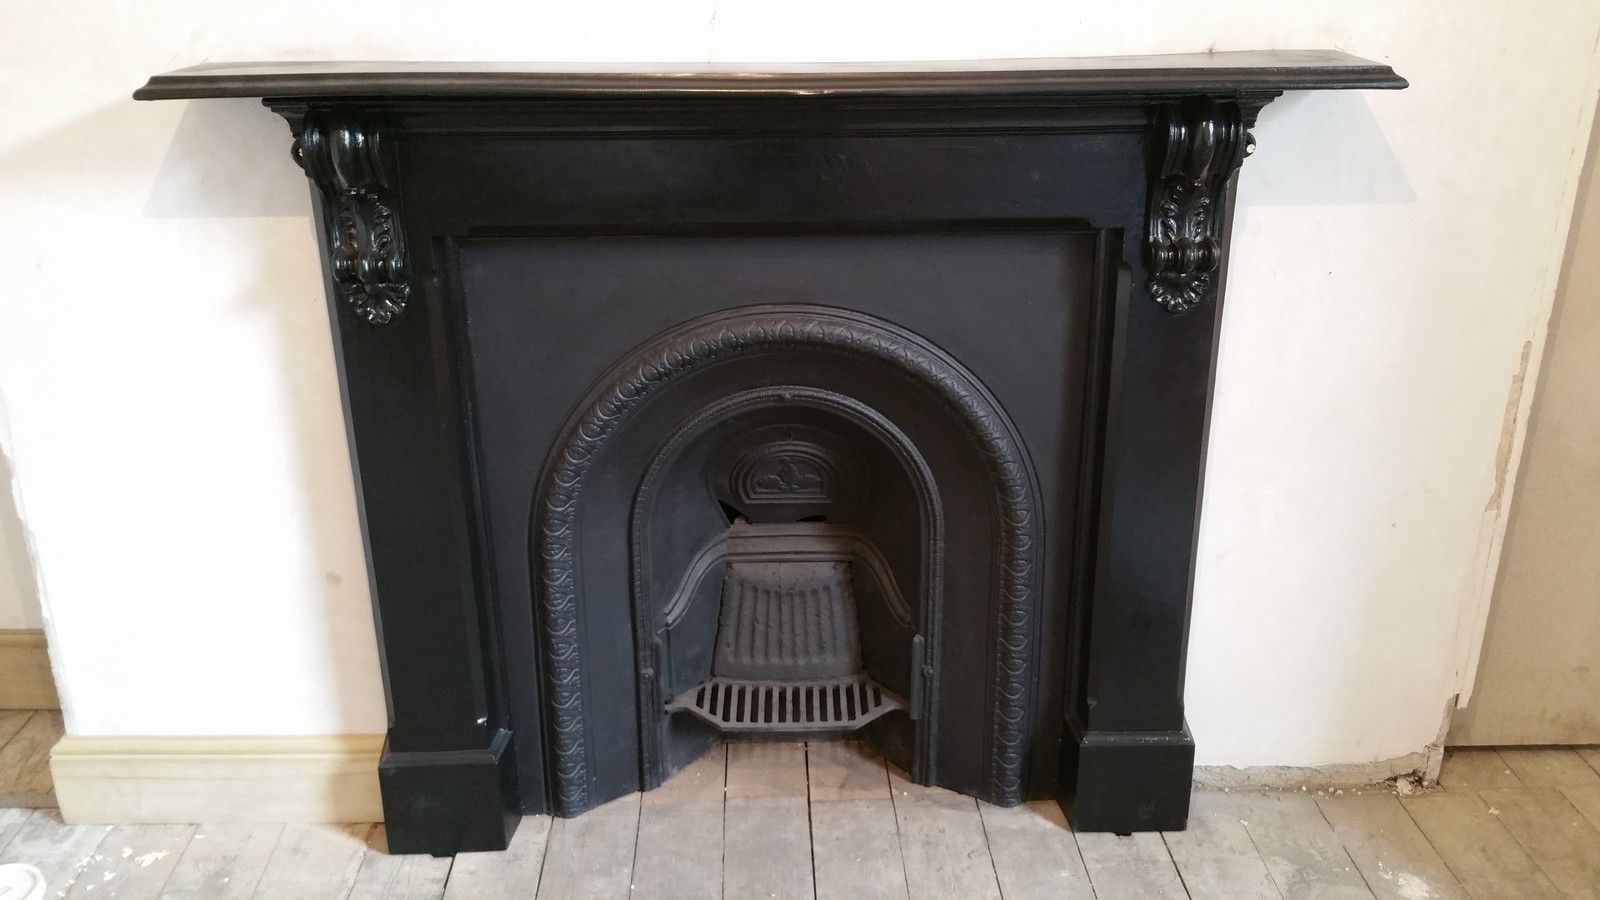
The Victorian fireplace insert was in bad shape and required sanding back and respraying. It came out well with just regular stove spray paint:


The fireplace surround was also stripped back with a heat gun and lots of elbow grease:

INSERT ADDITIONAL STRIPPING PICTURES


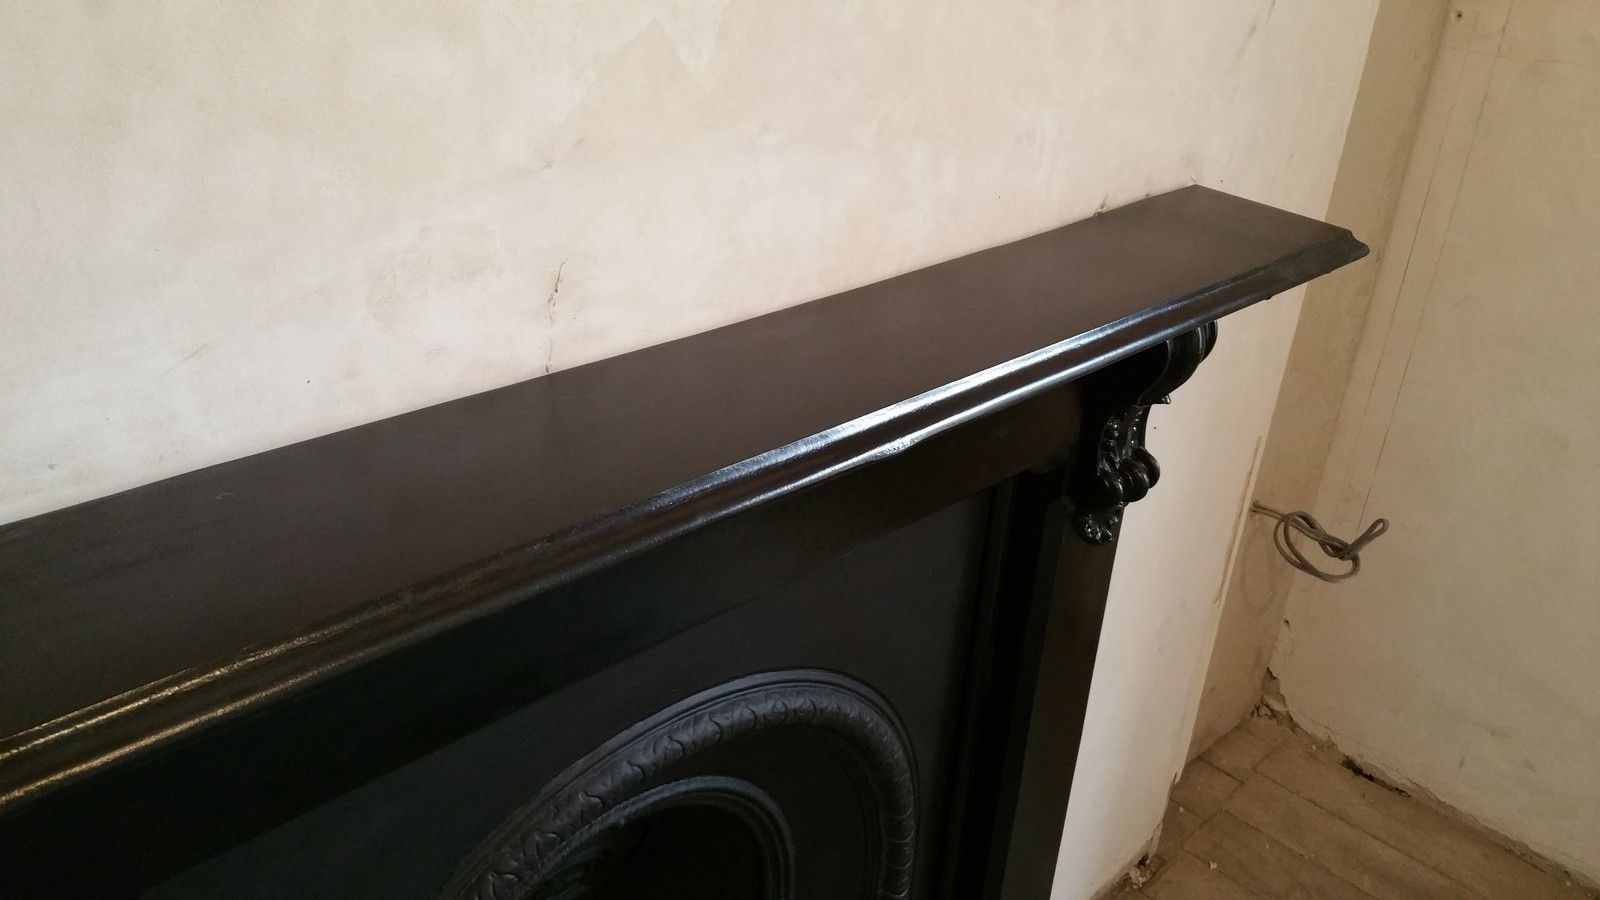
The surround was then sprayed with three coats of satin black spray paint:


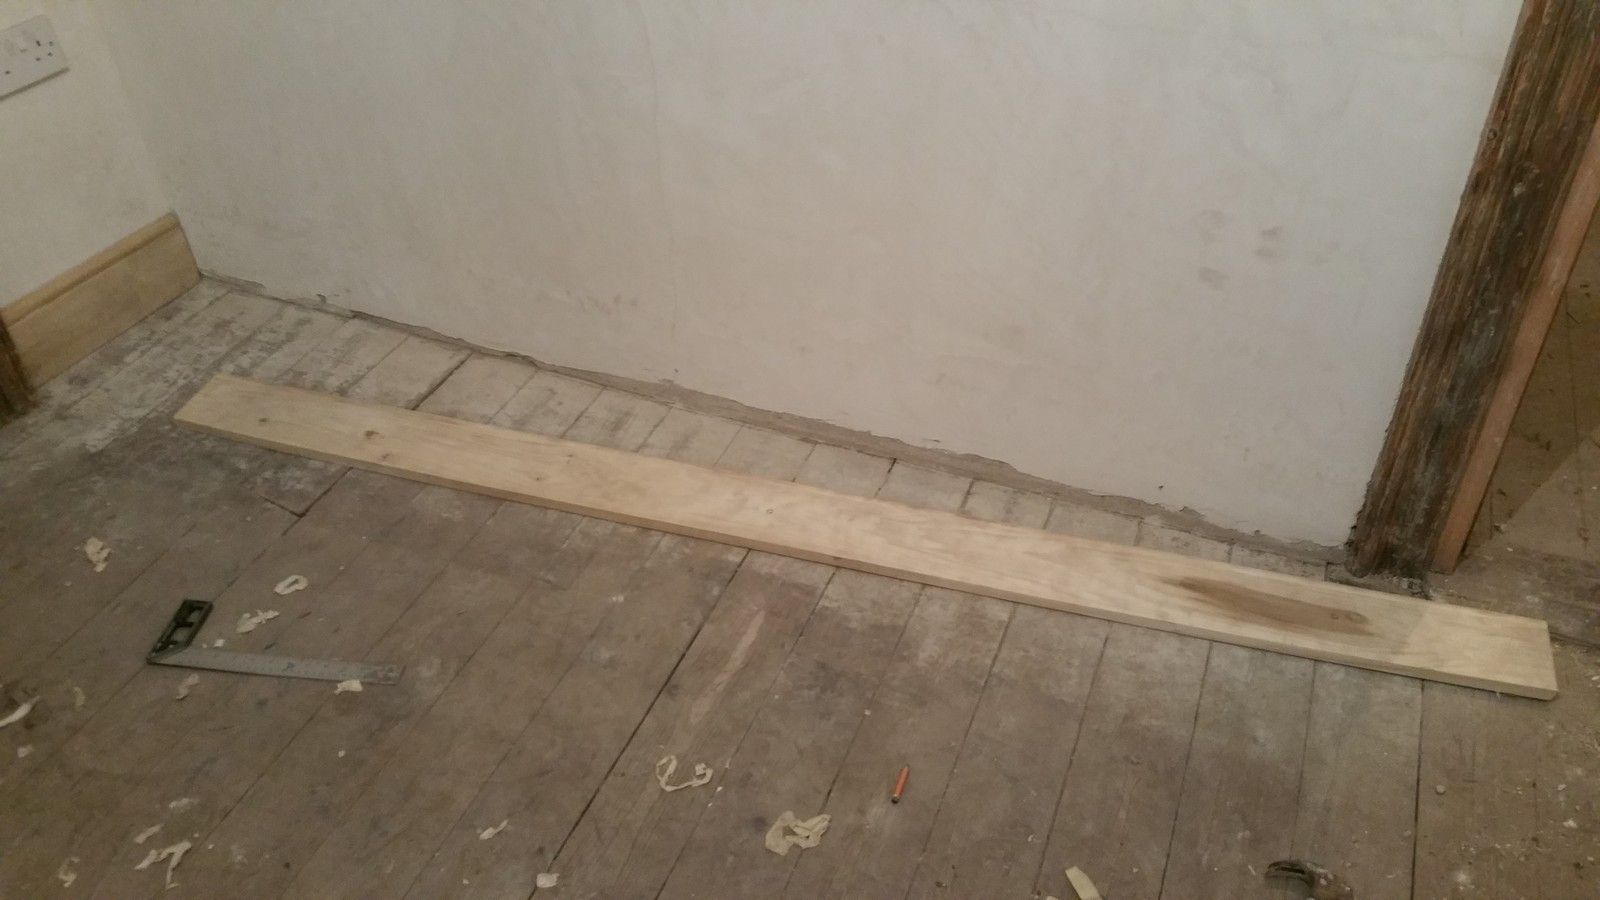
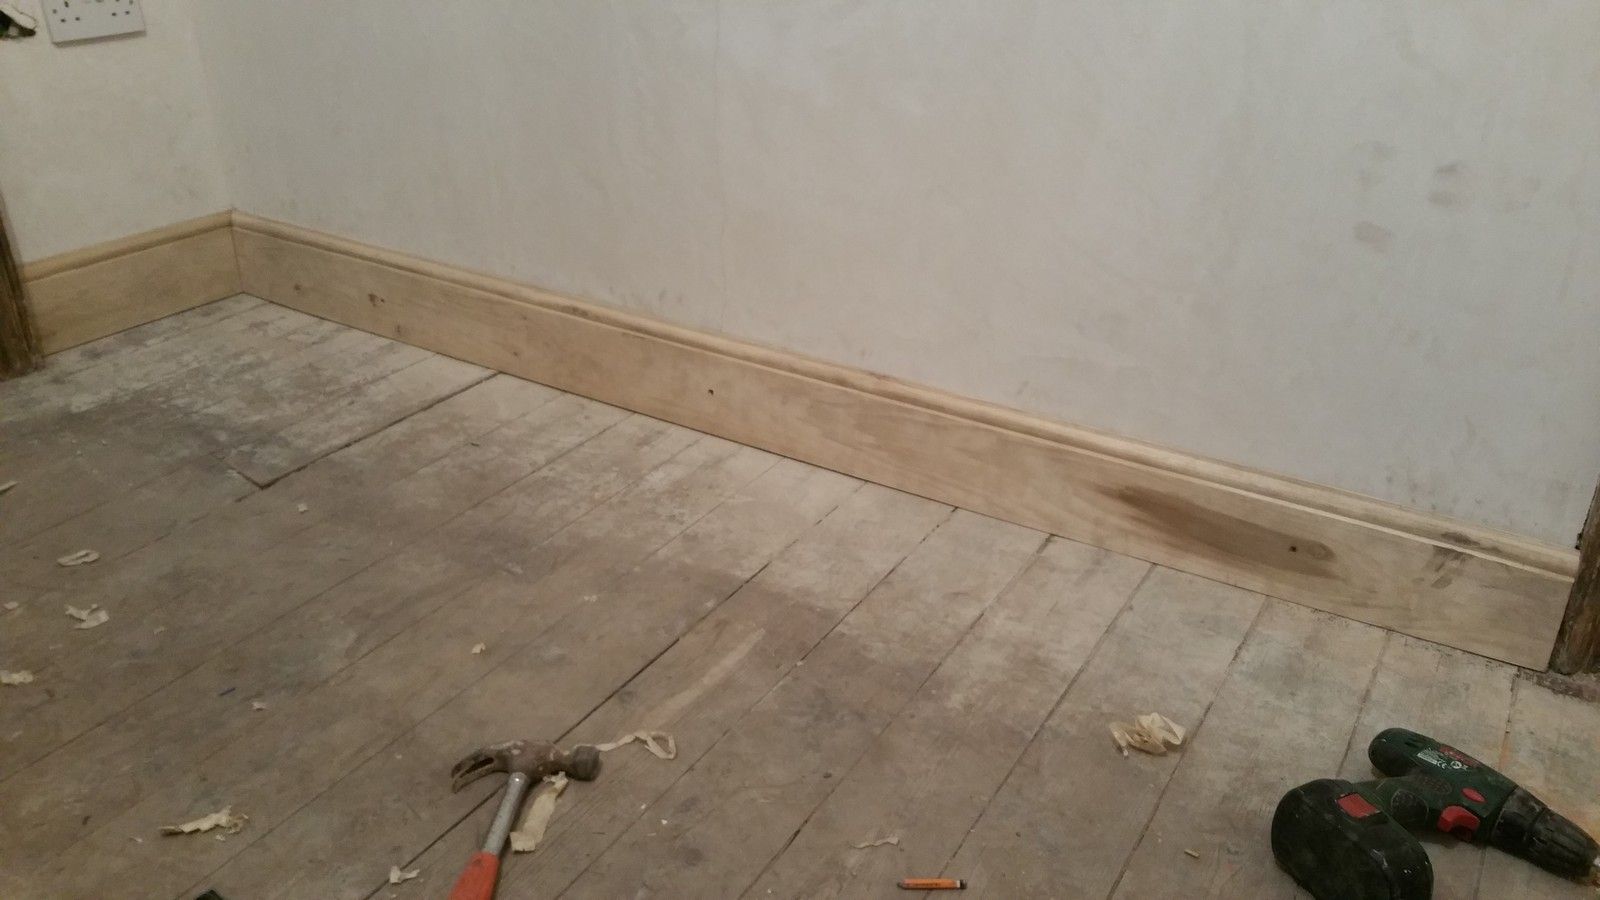
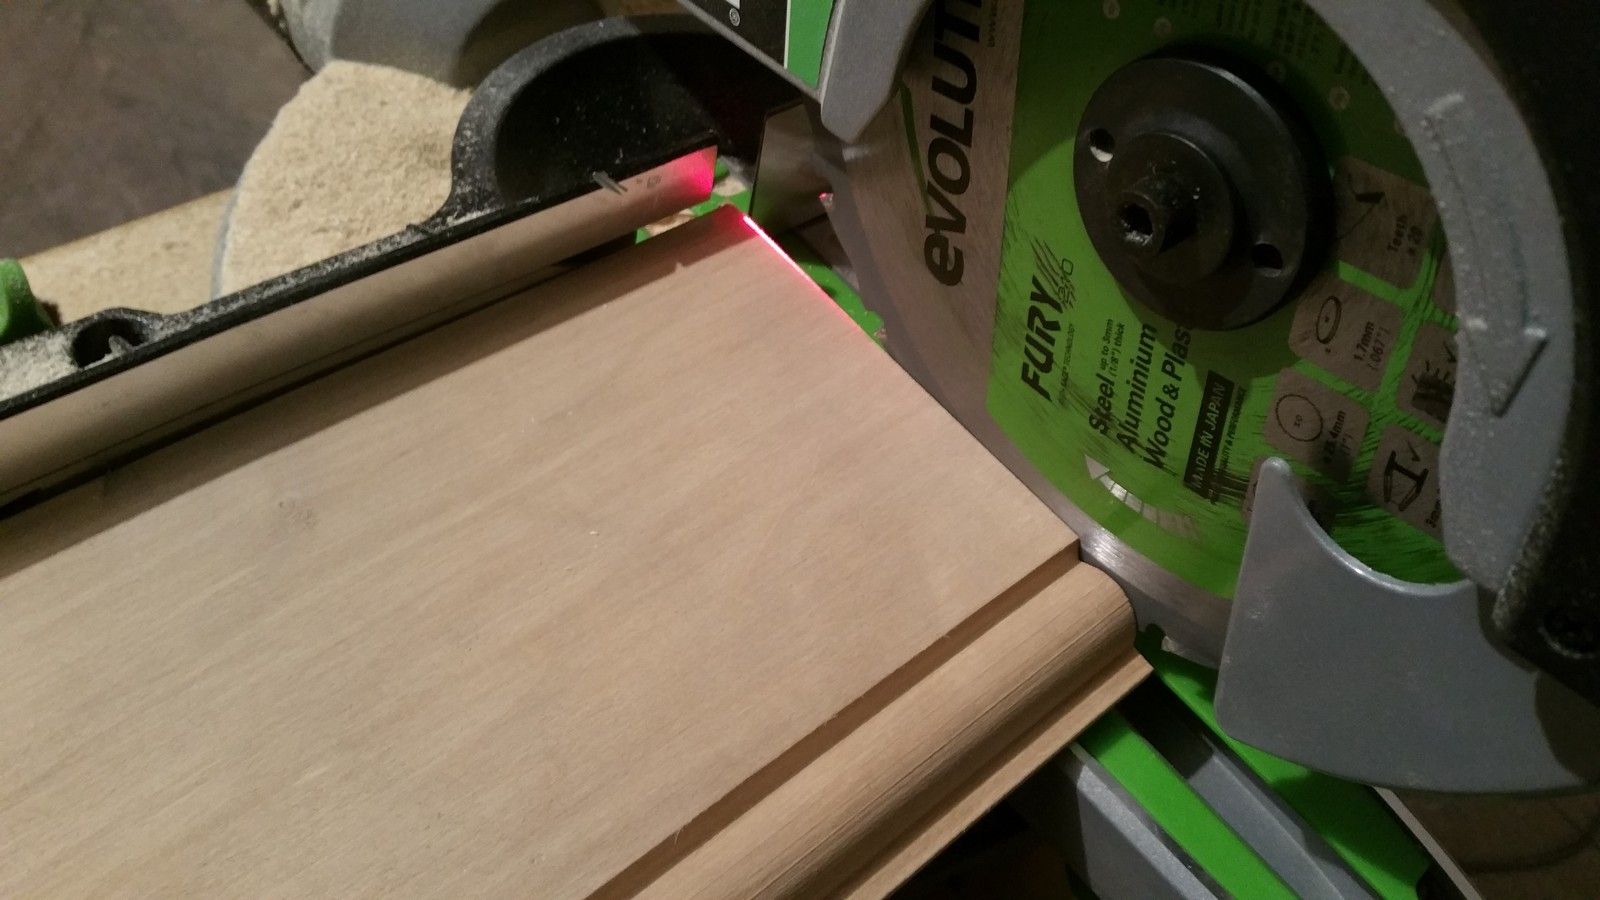
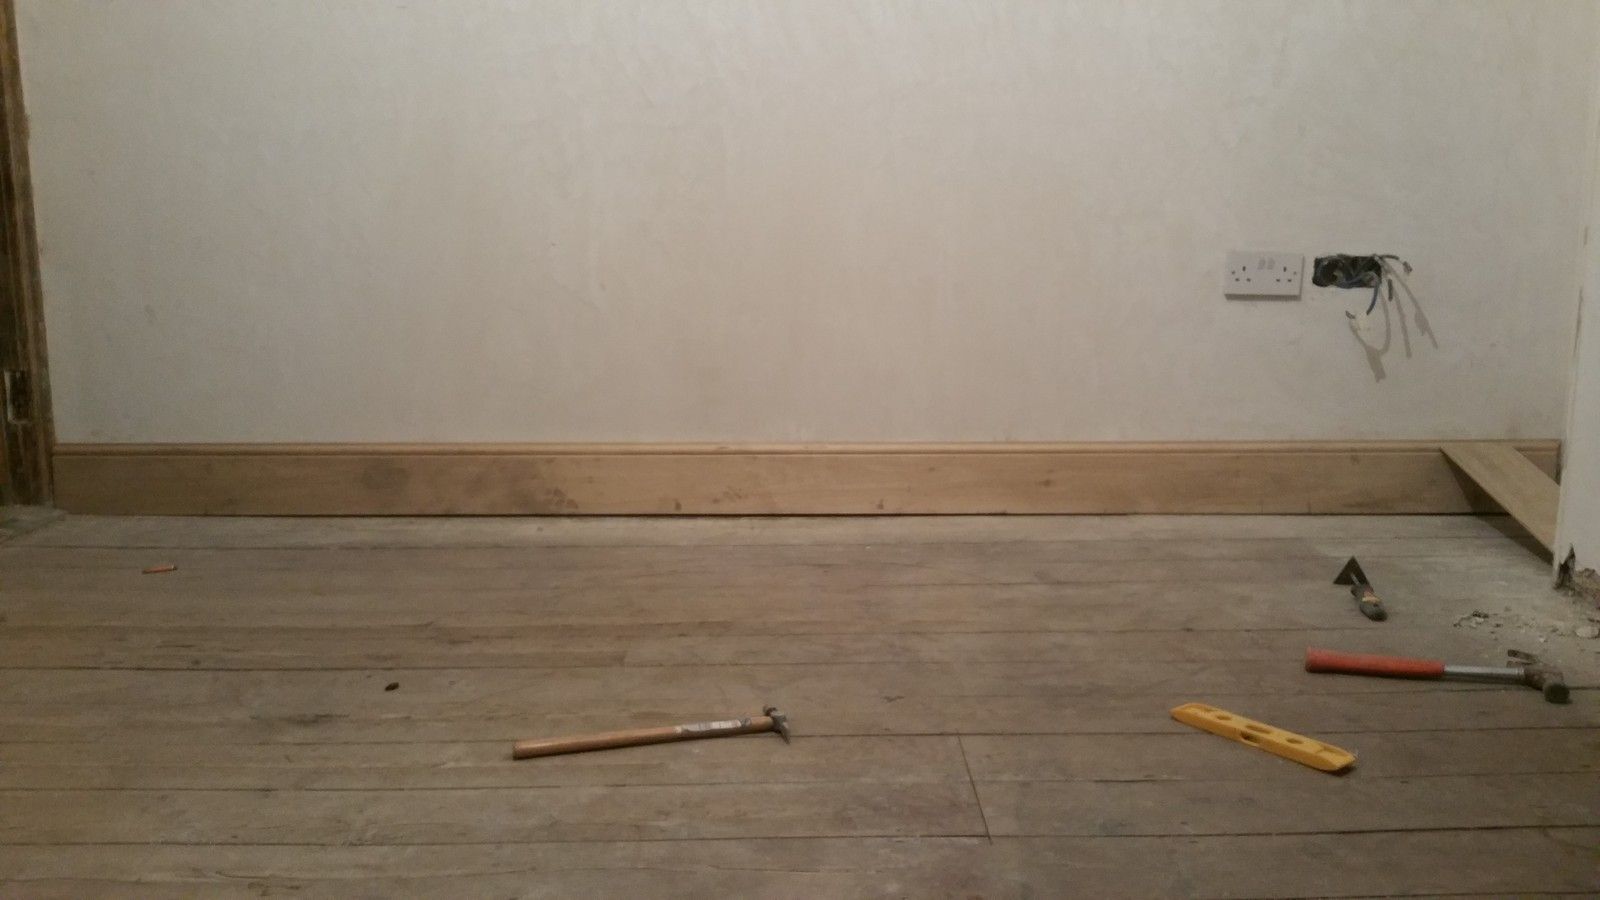
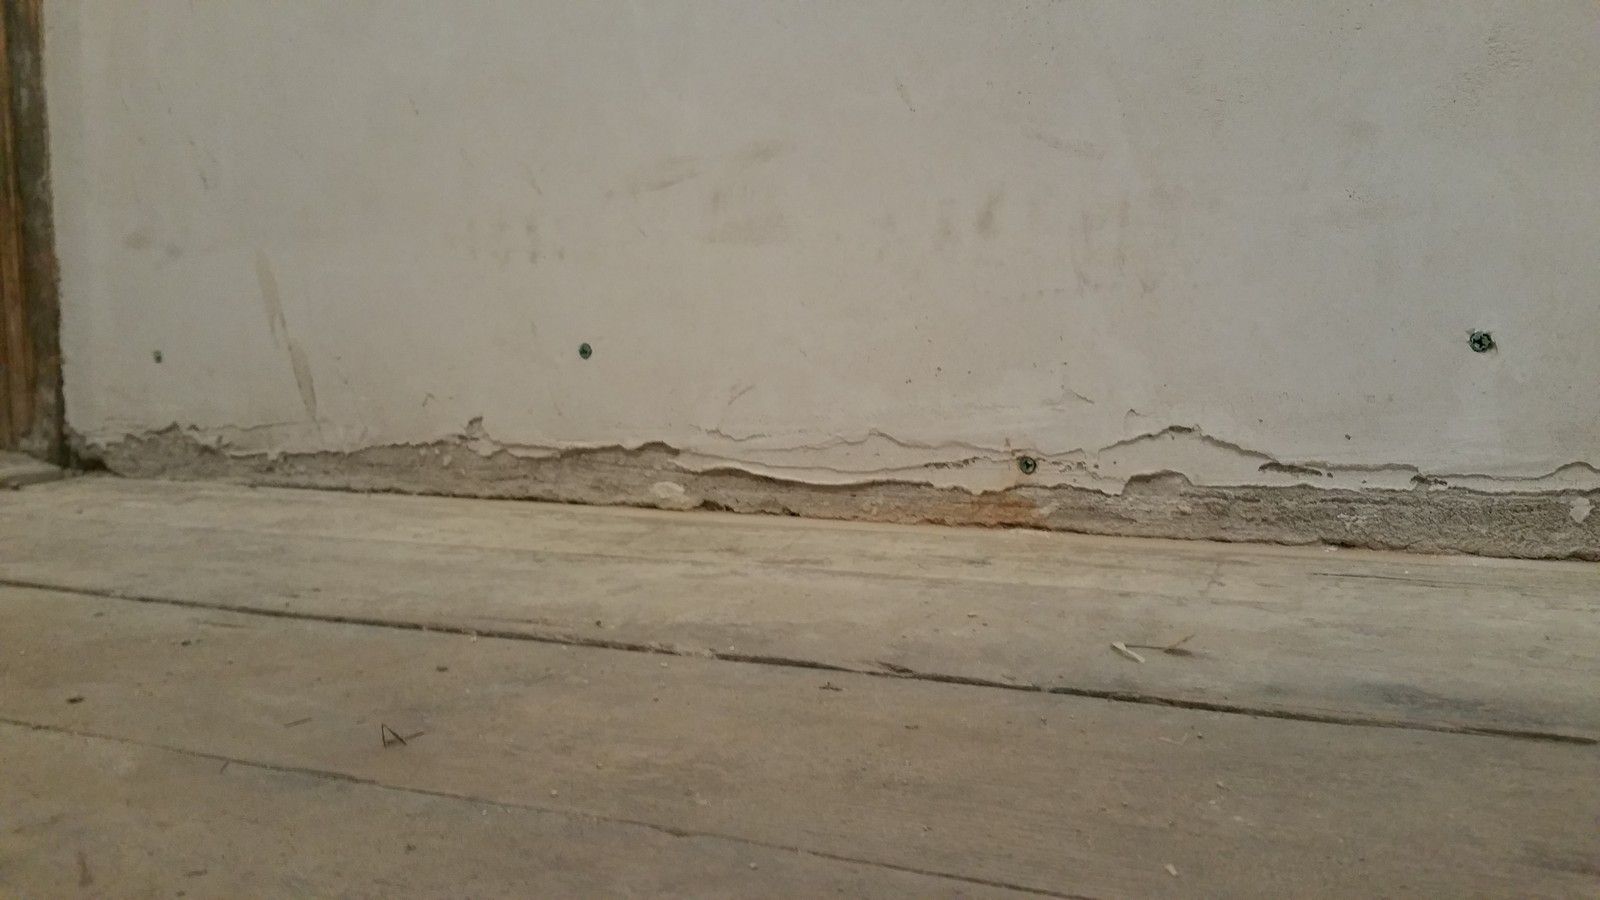
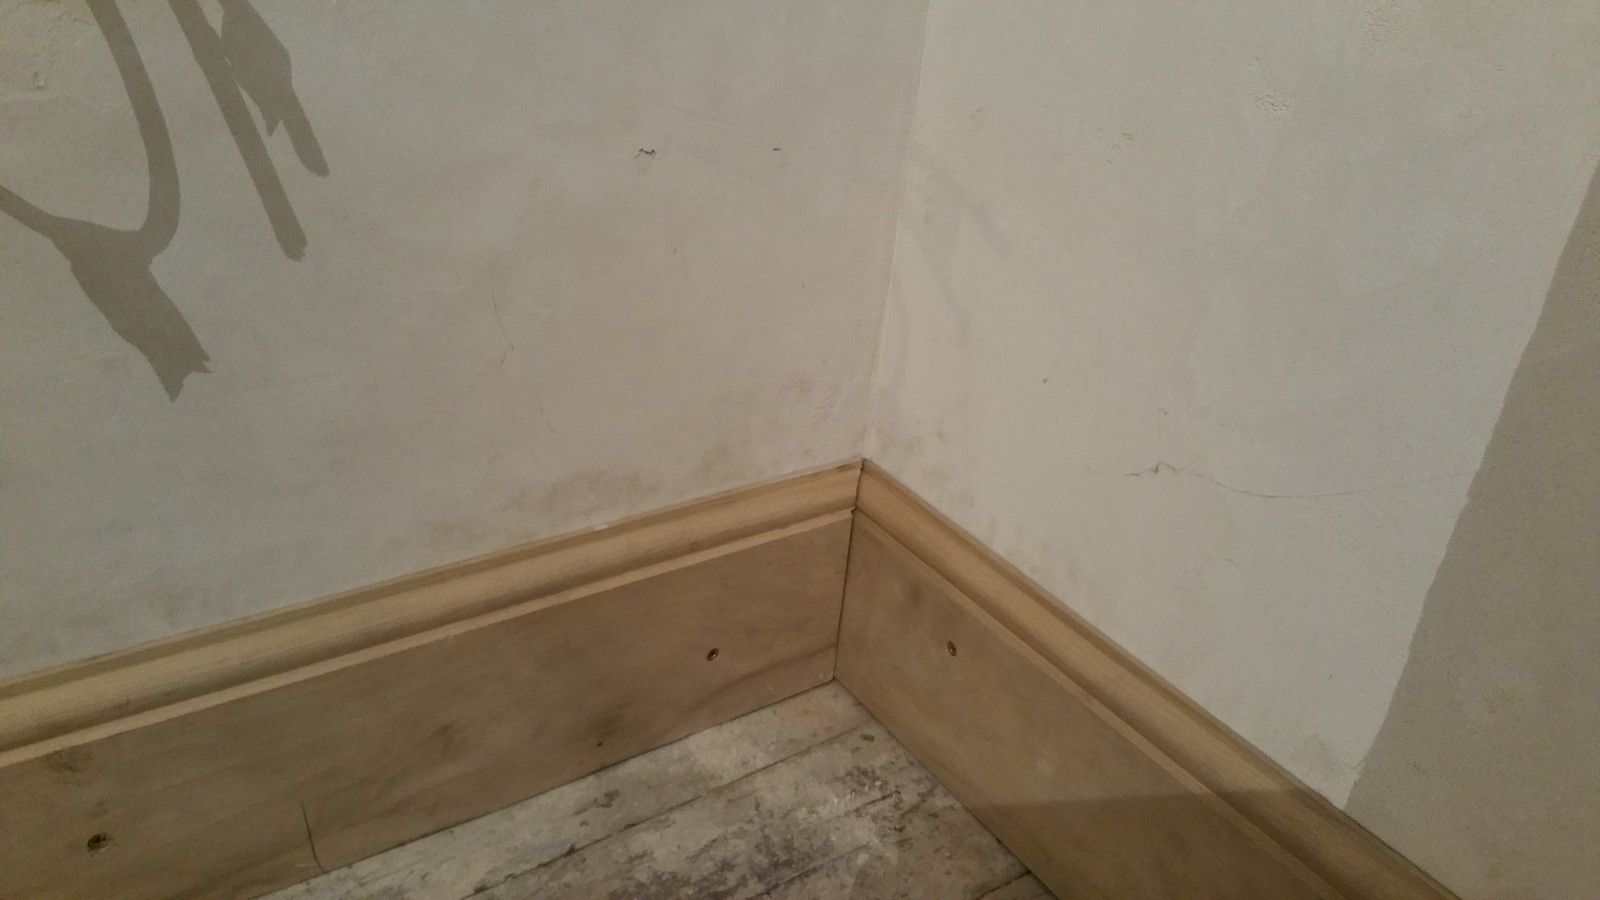
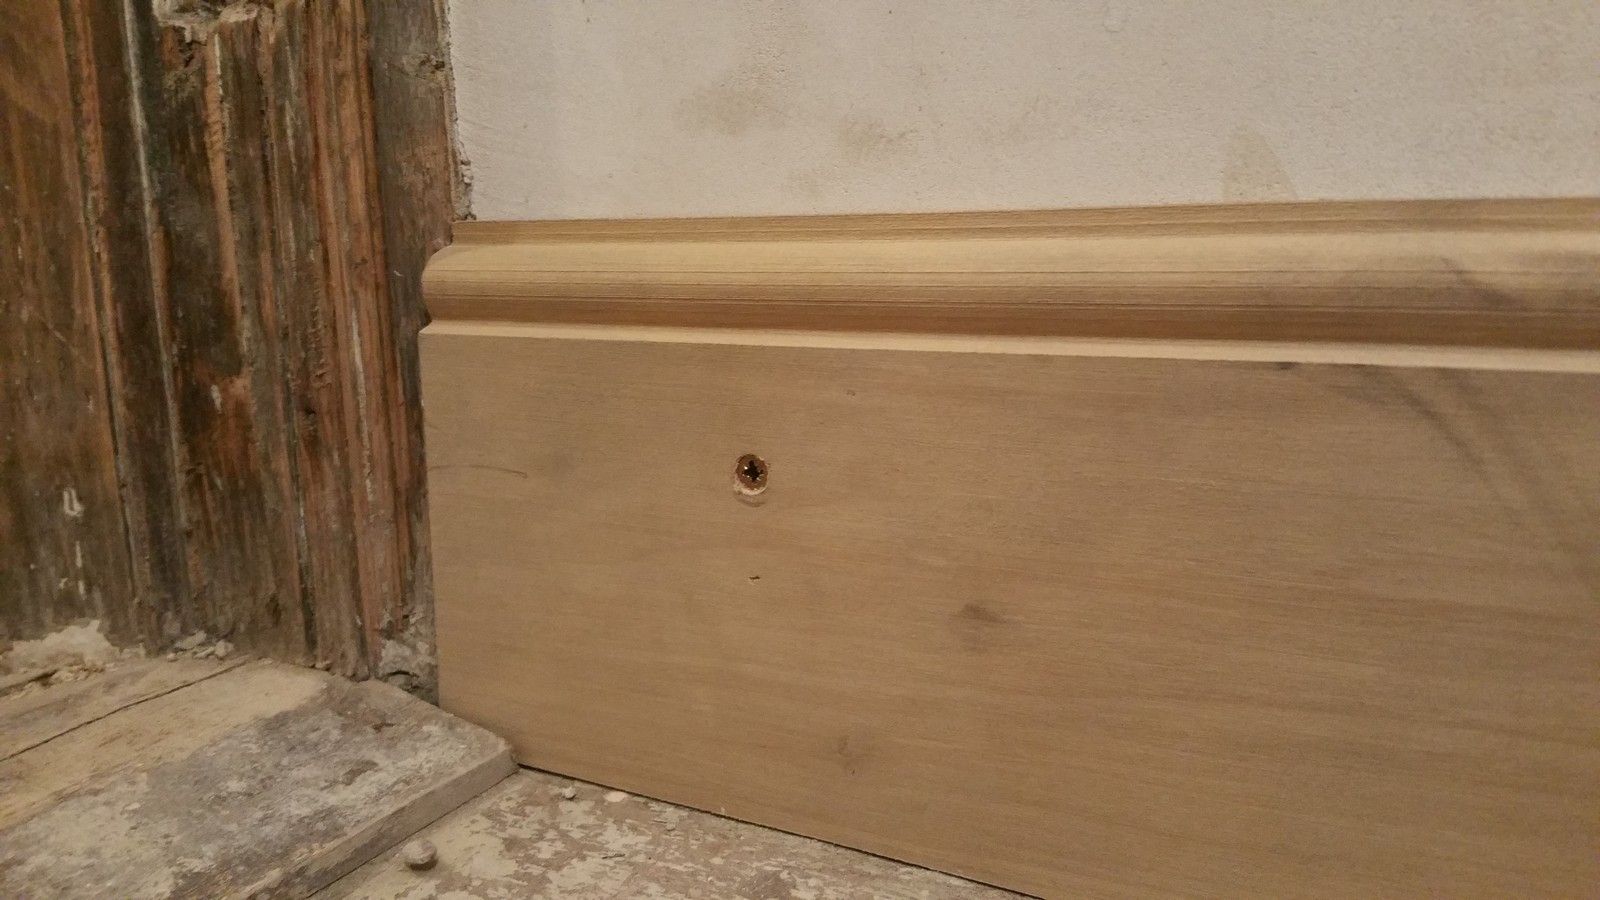
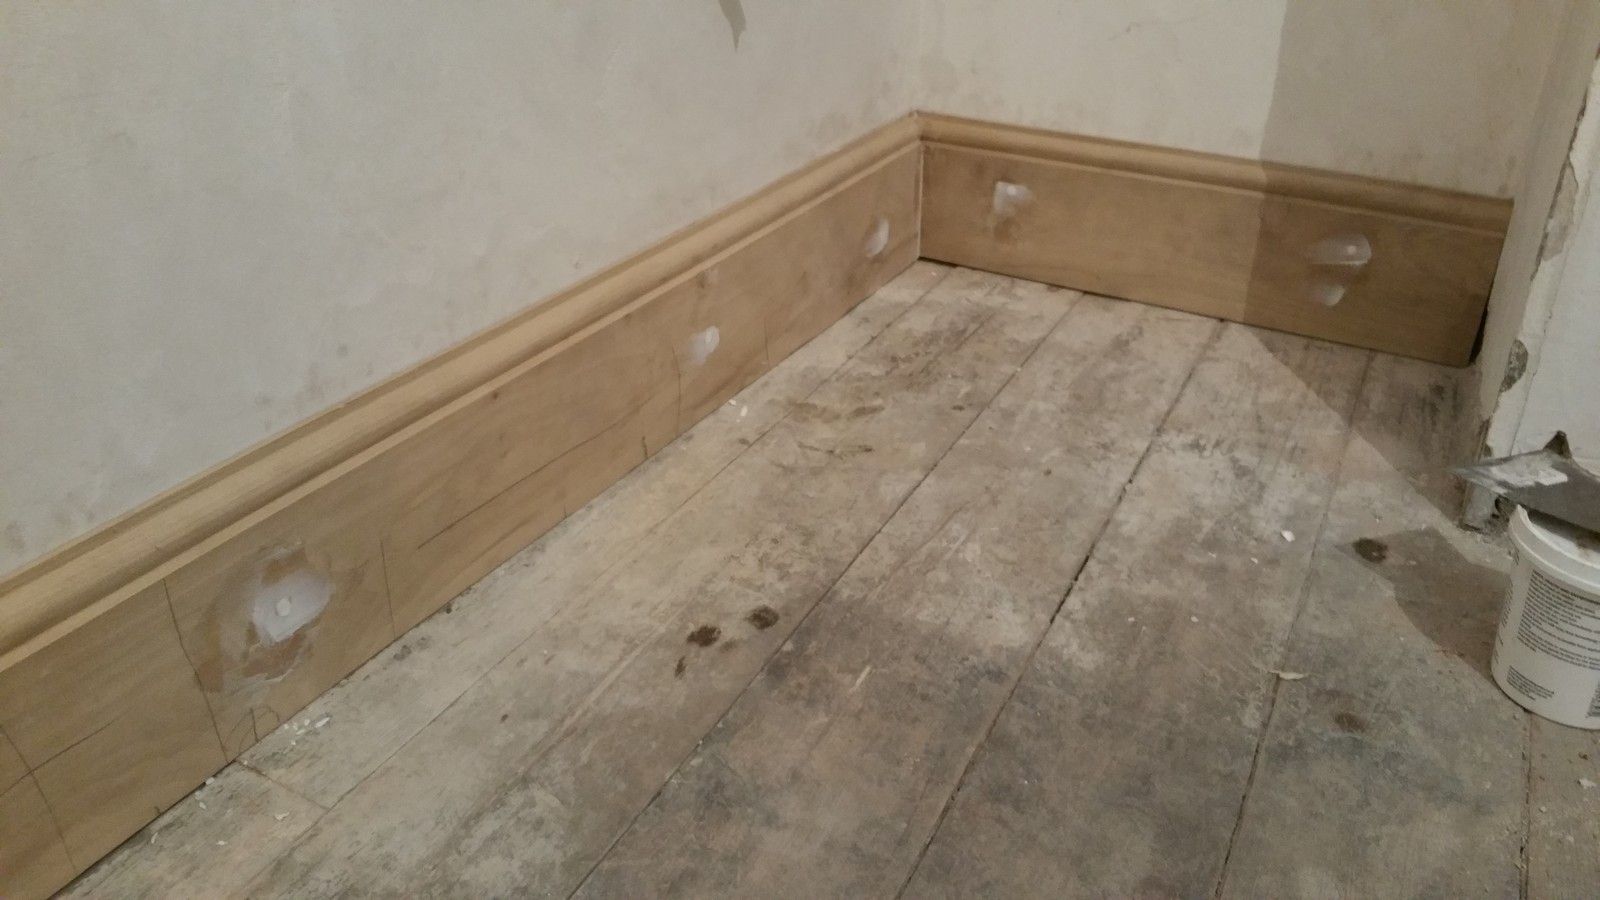
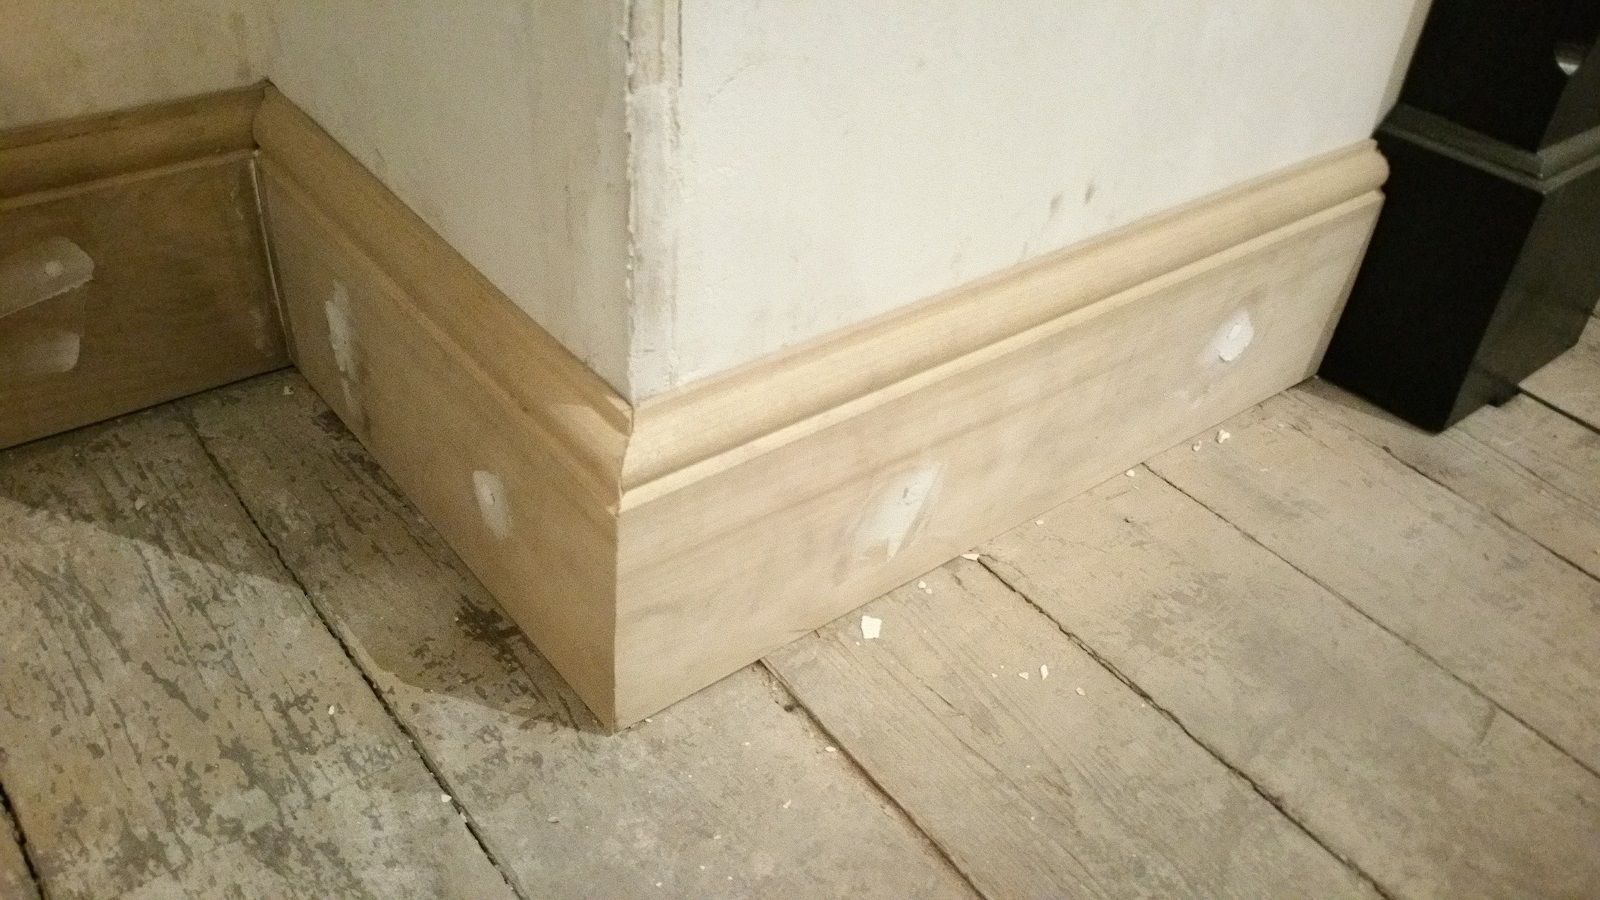
Work continued in this room with new skirting to replace the old damaged sections. It was made up by Paul Dowdall and run to match the exact profile of the original skirting with a custom router bit:


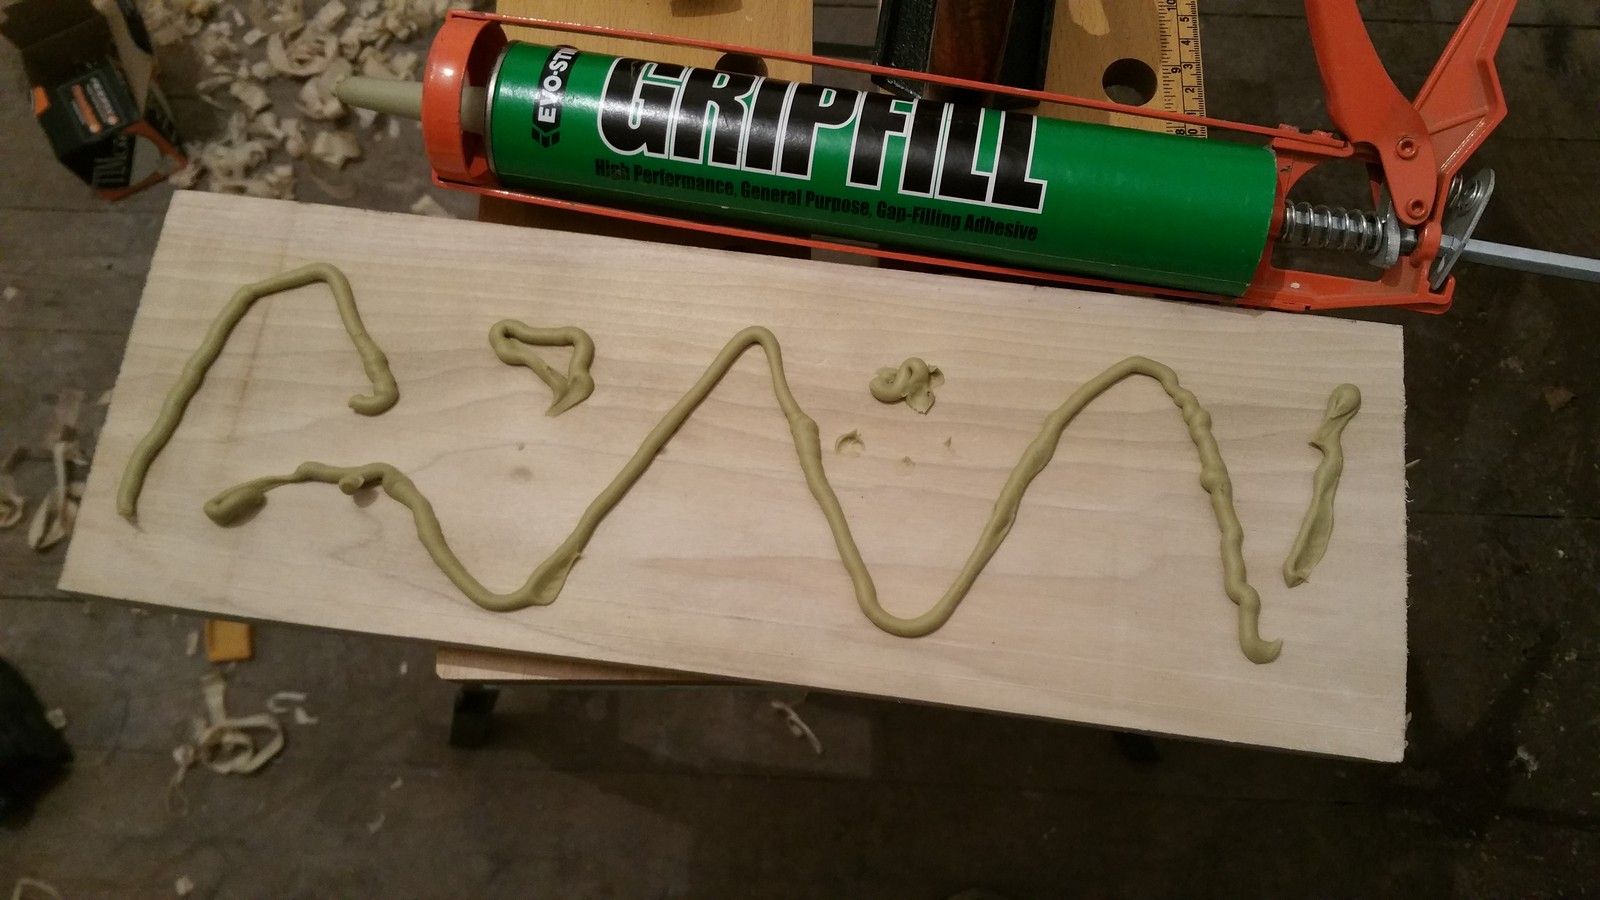
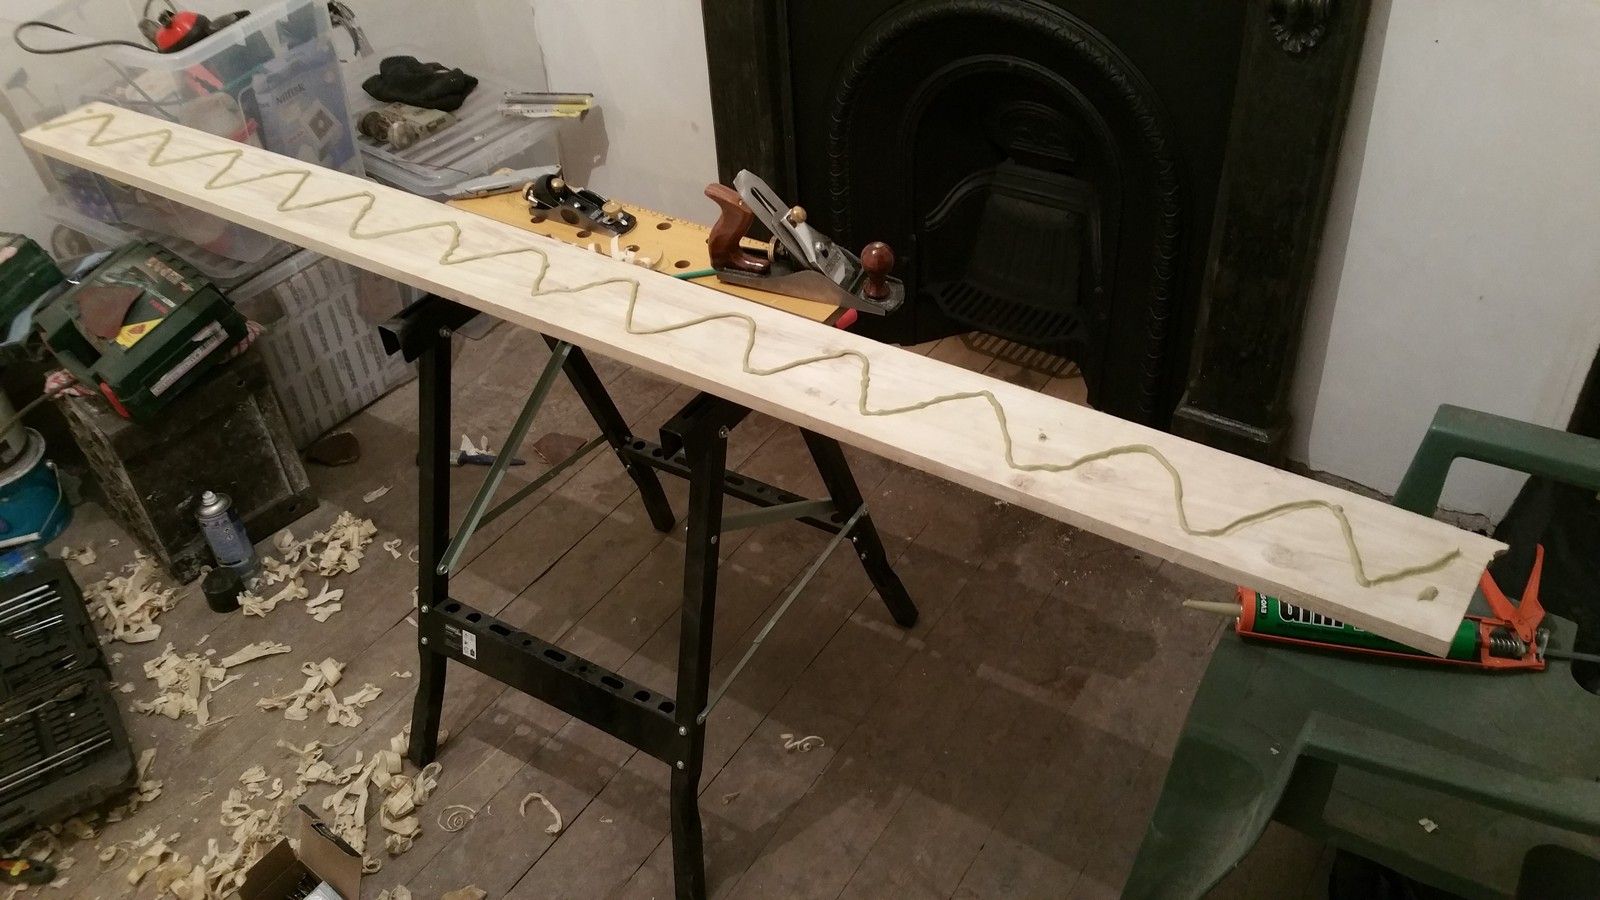
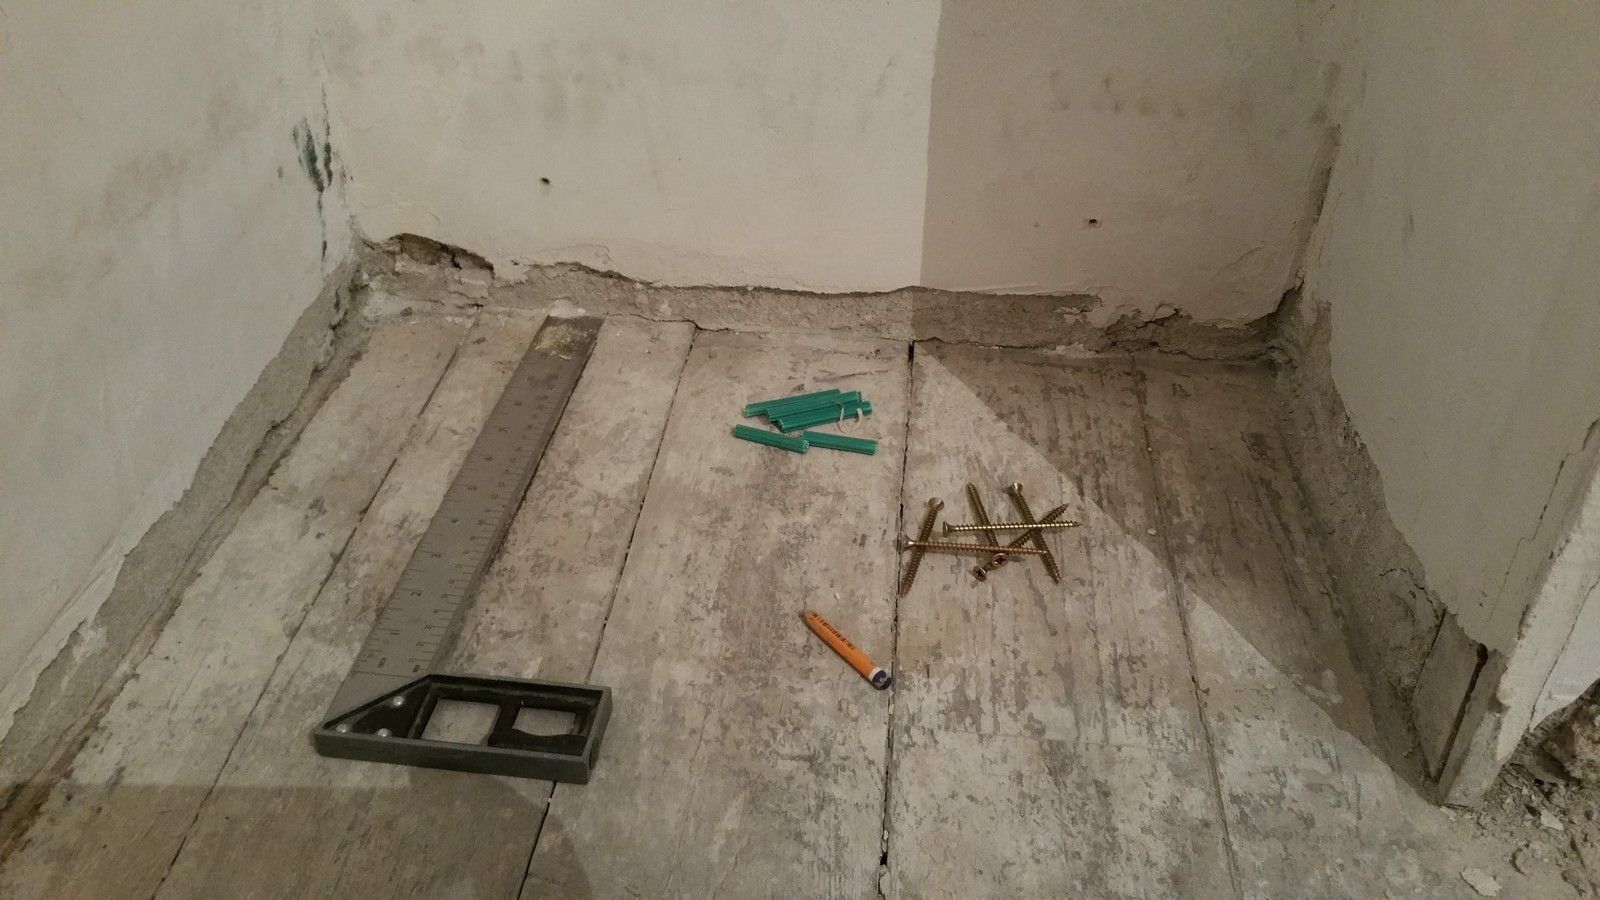
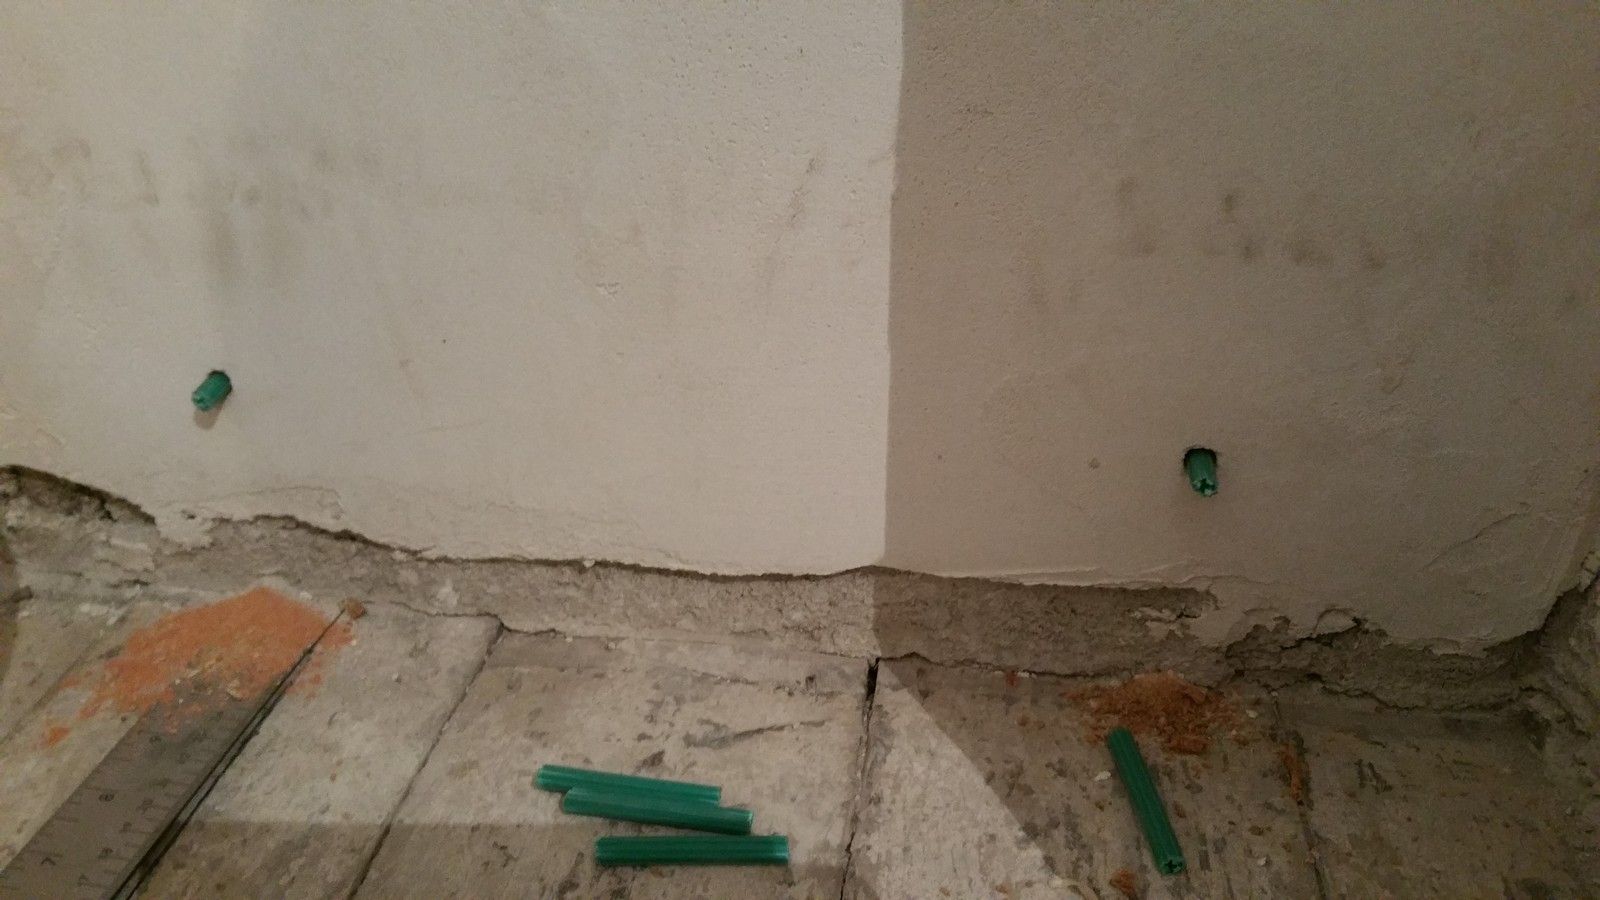
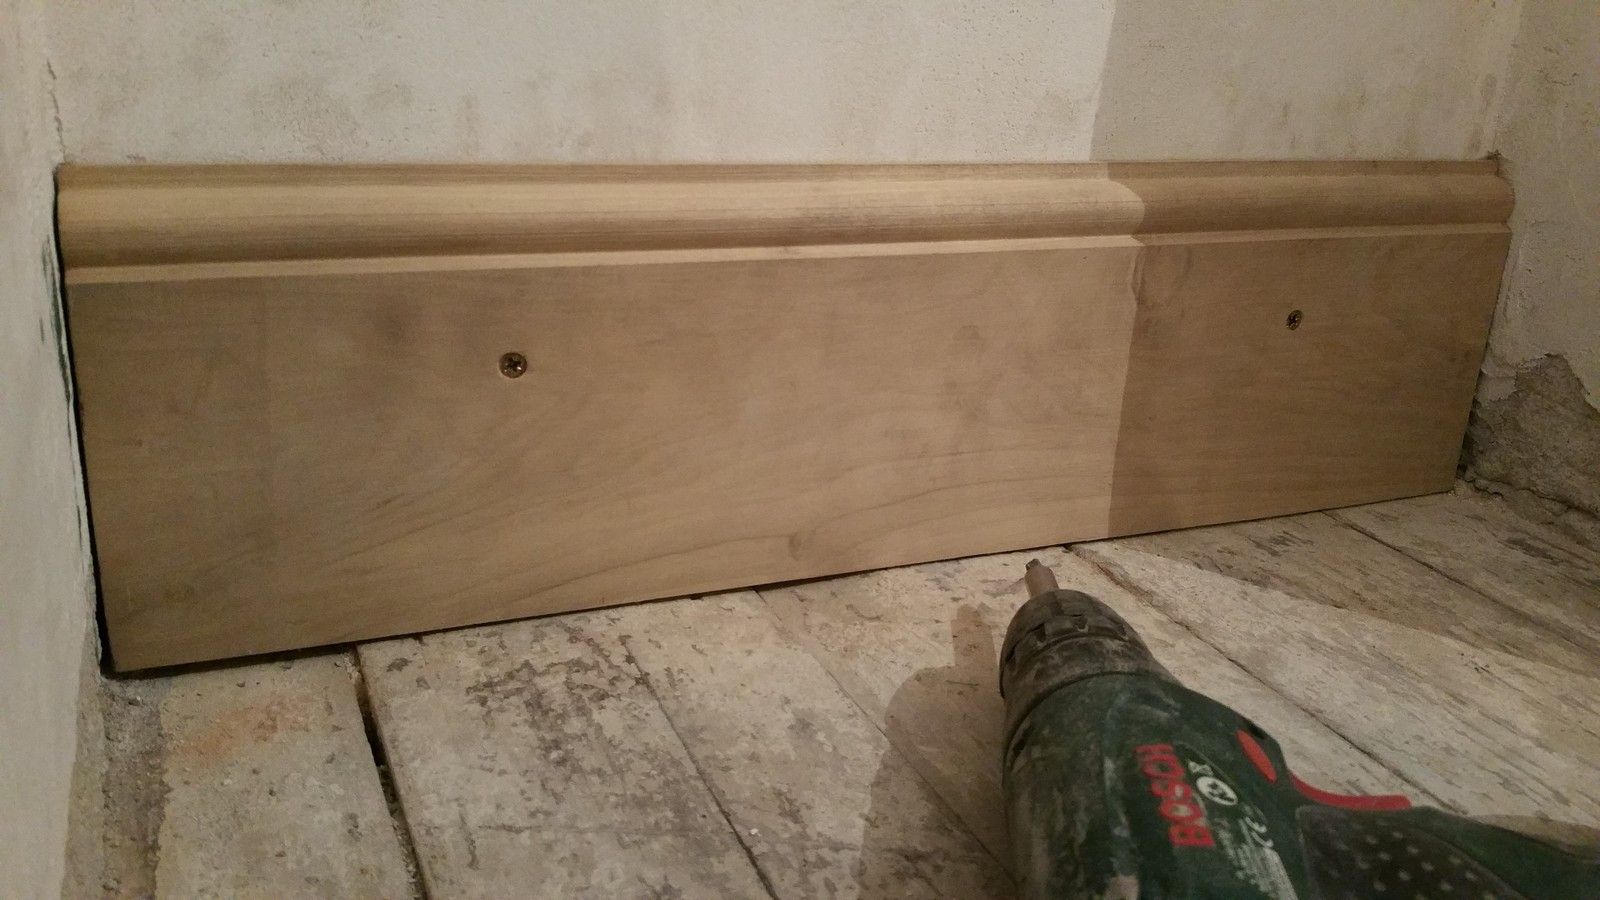
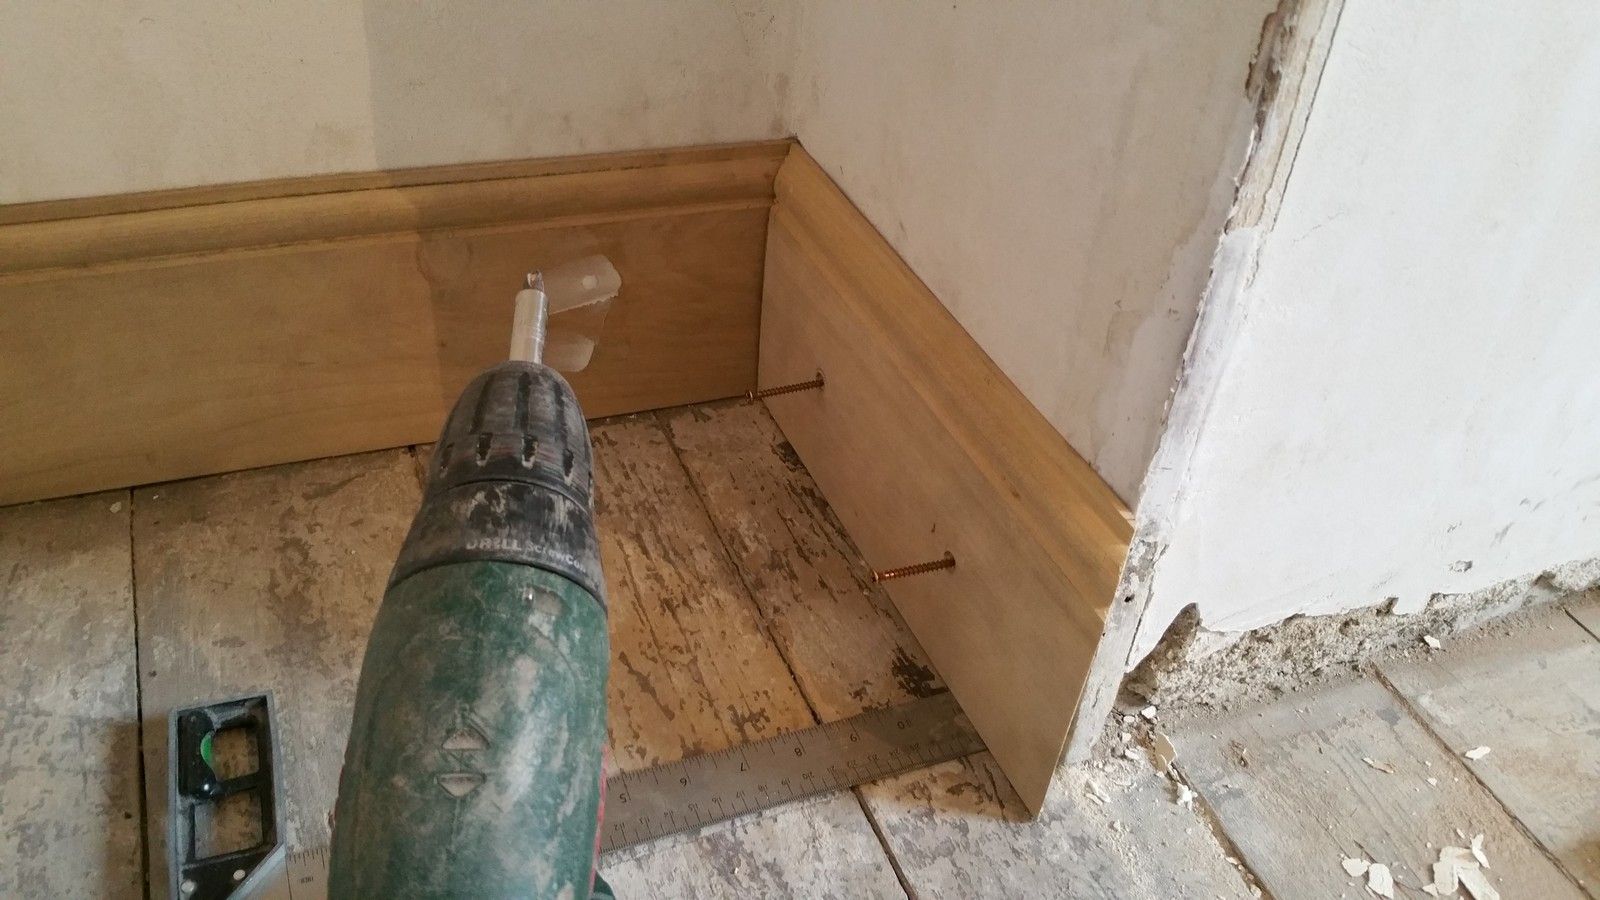
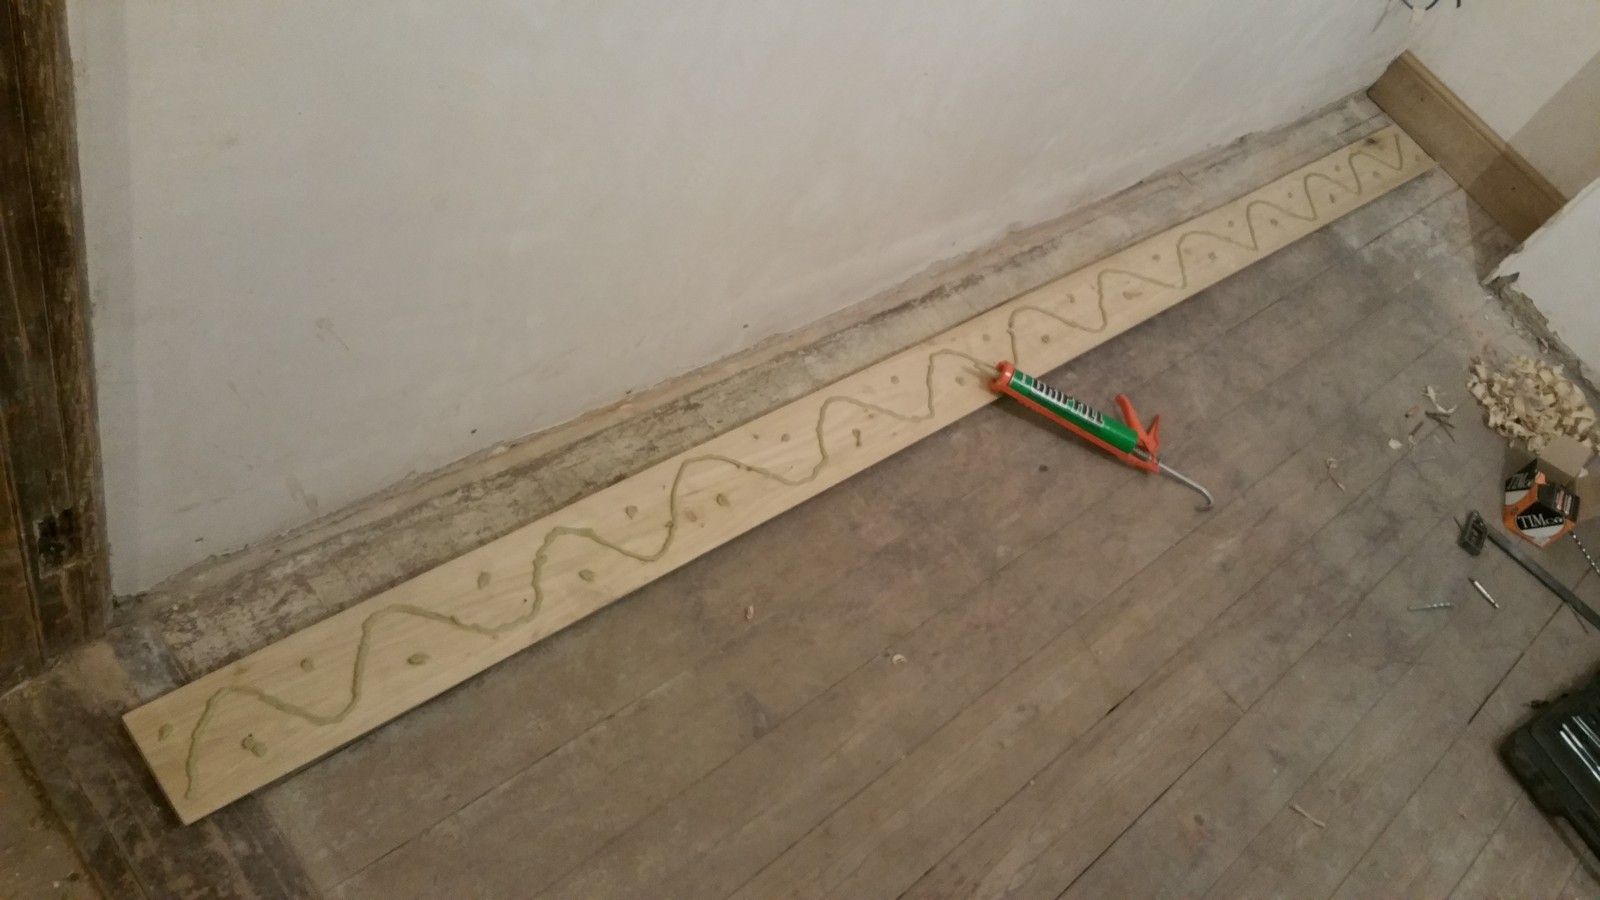
I'm attaching the skirting with a combination of screws, plugs and strong adhesive:


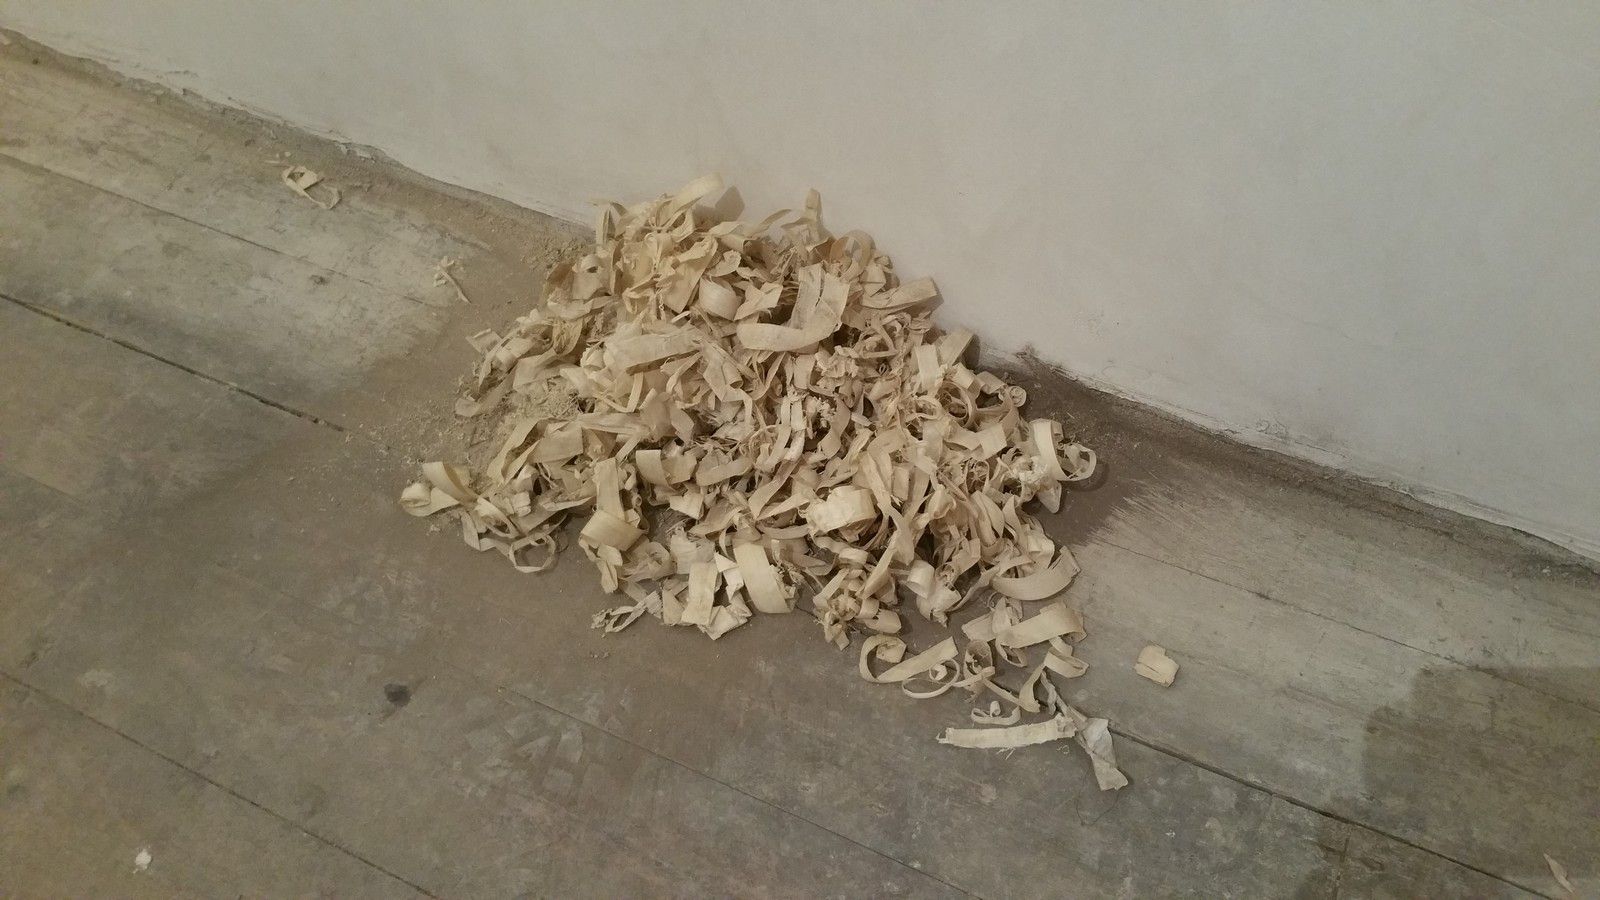
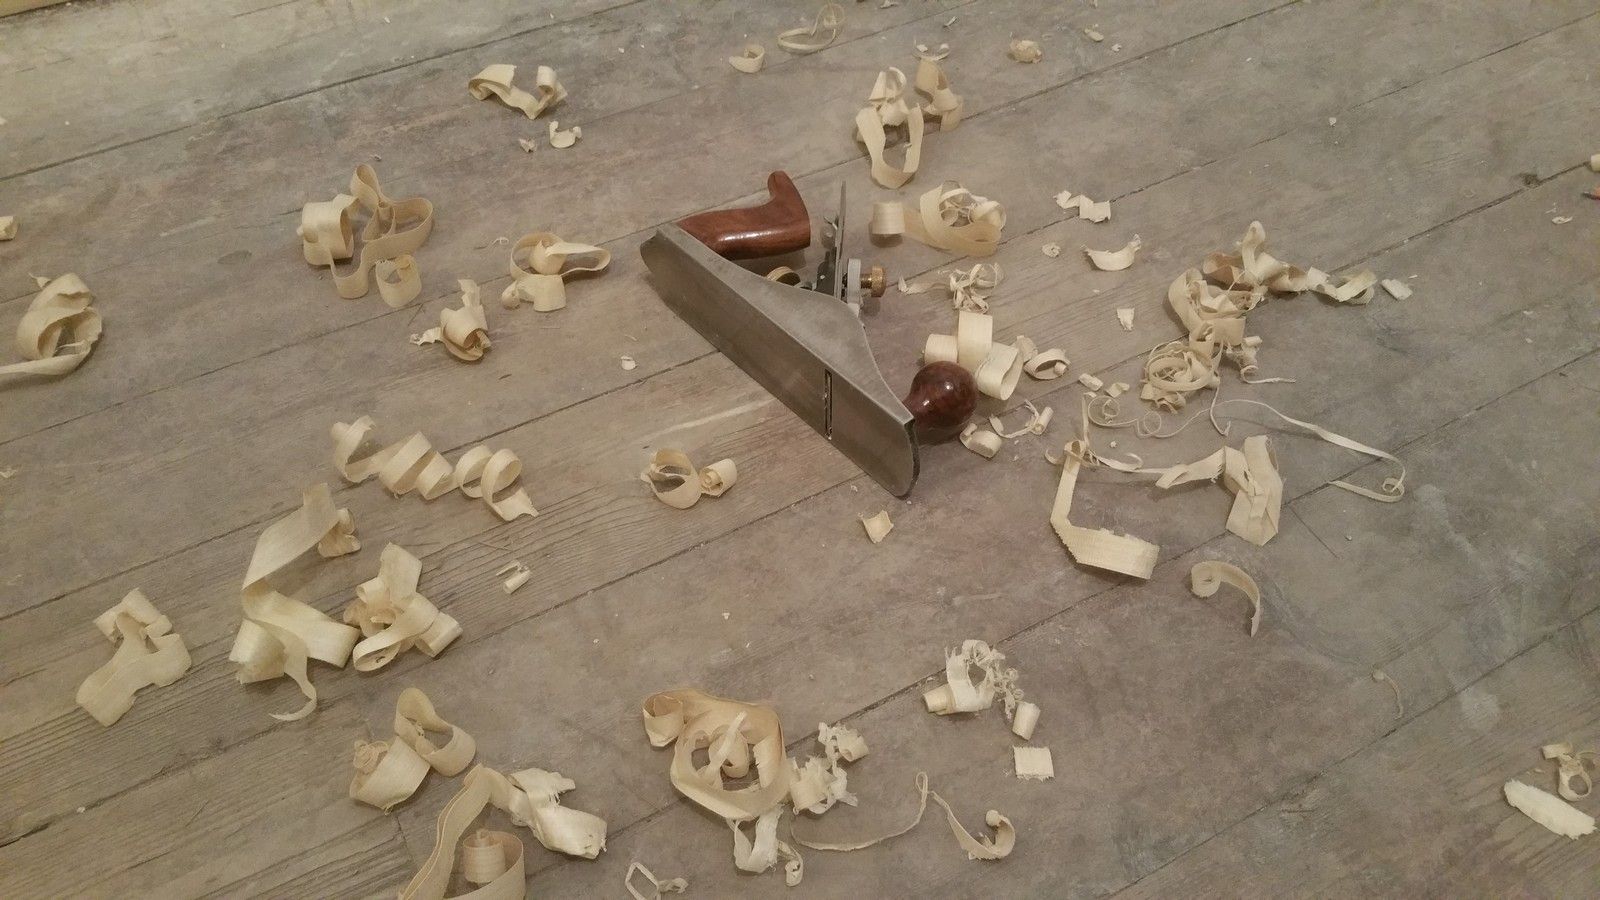
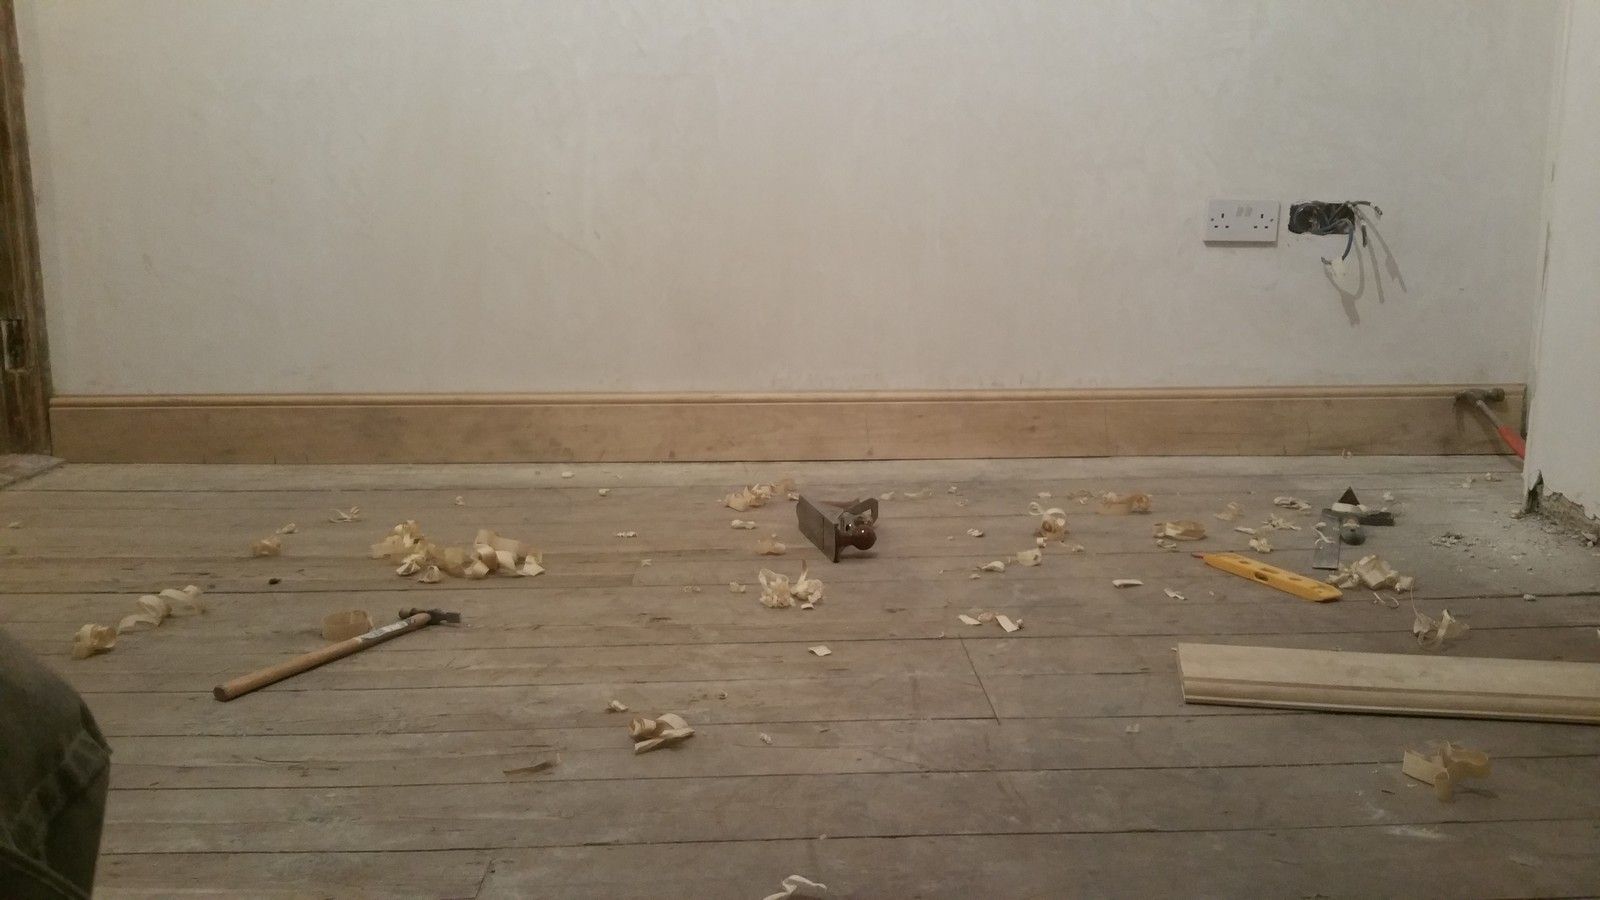
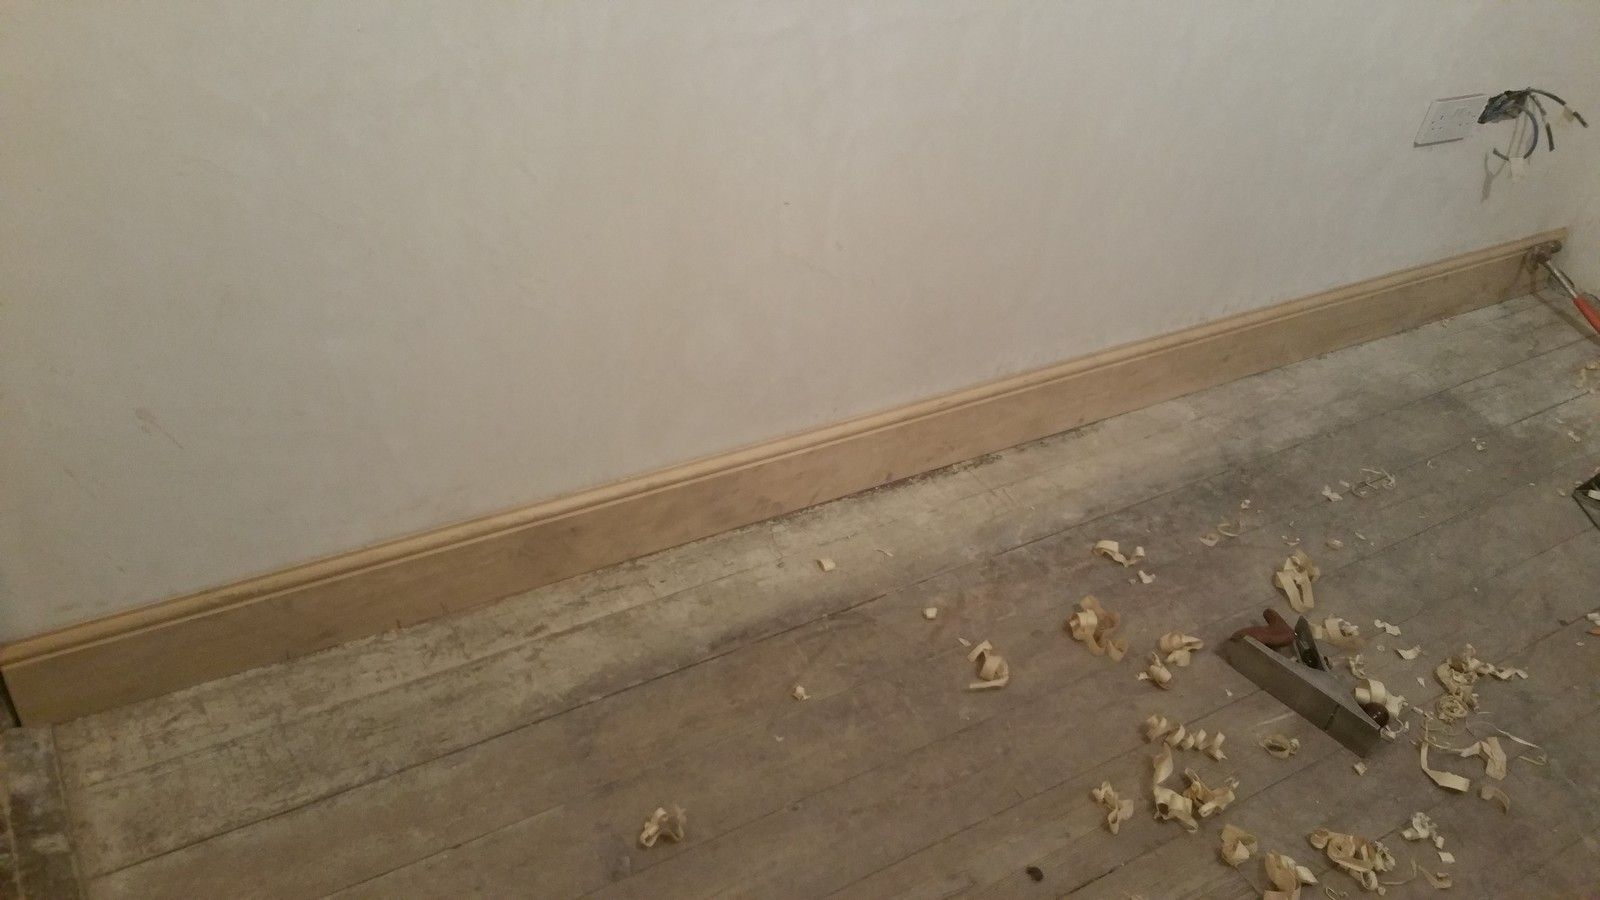
The underside of the boards are also planed to match the uneven profile of the floor:


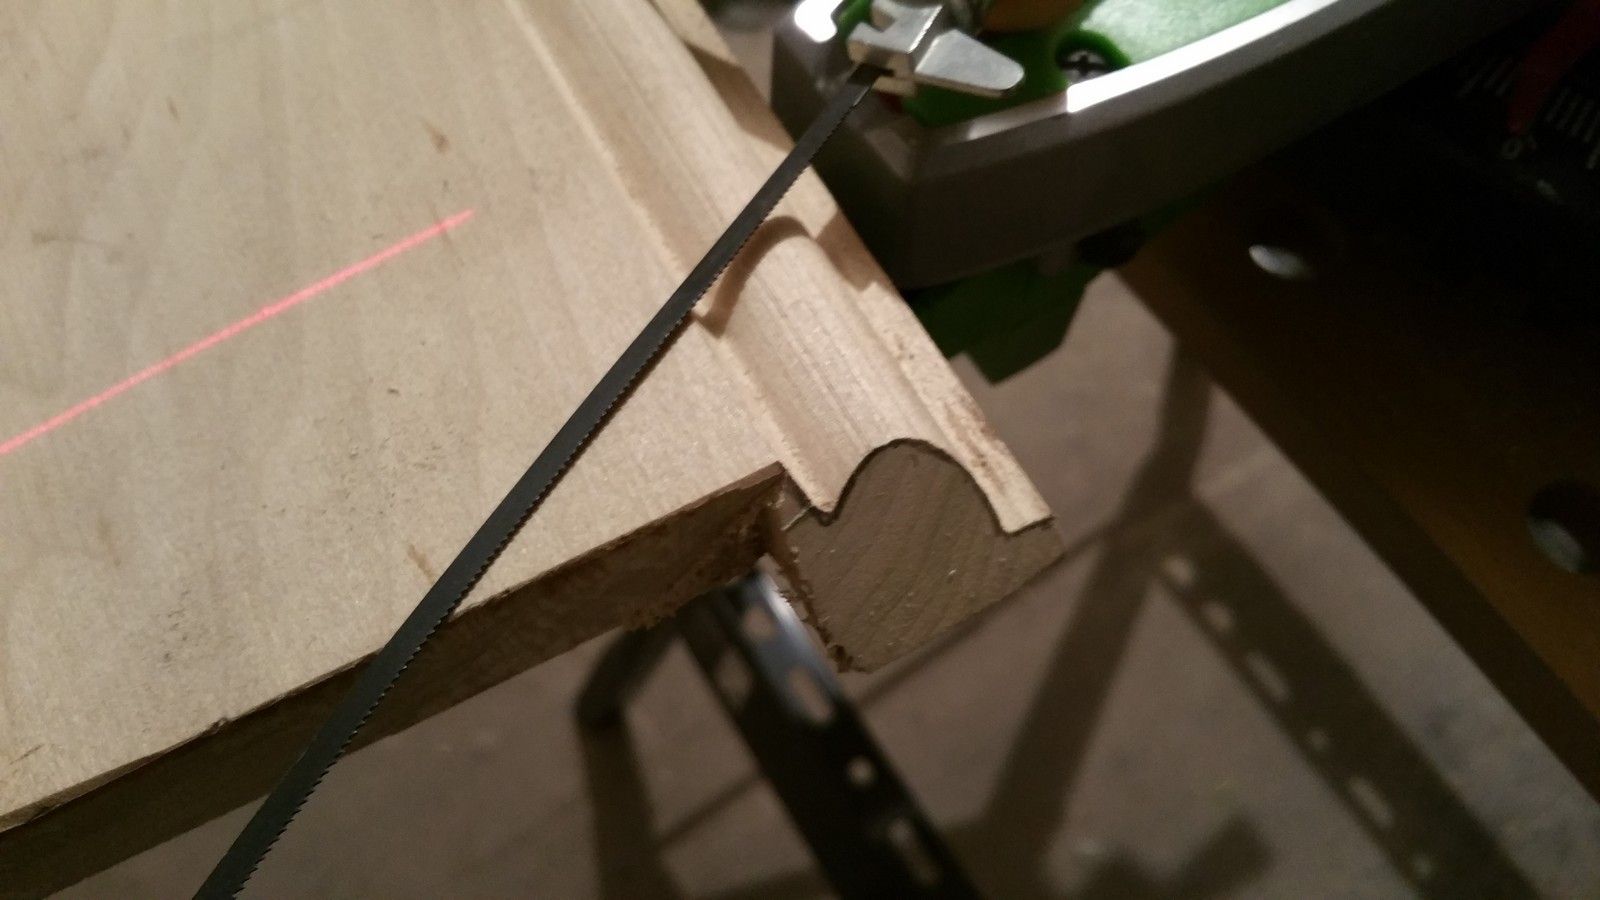
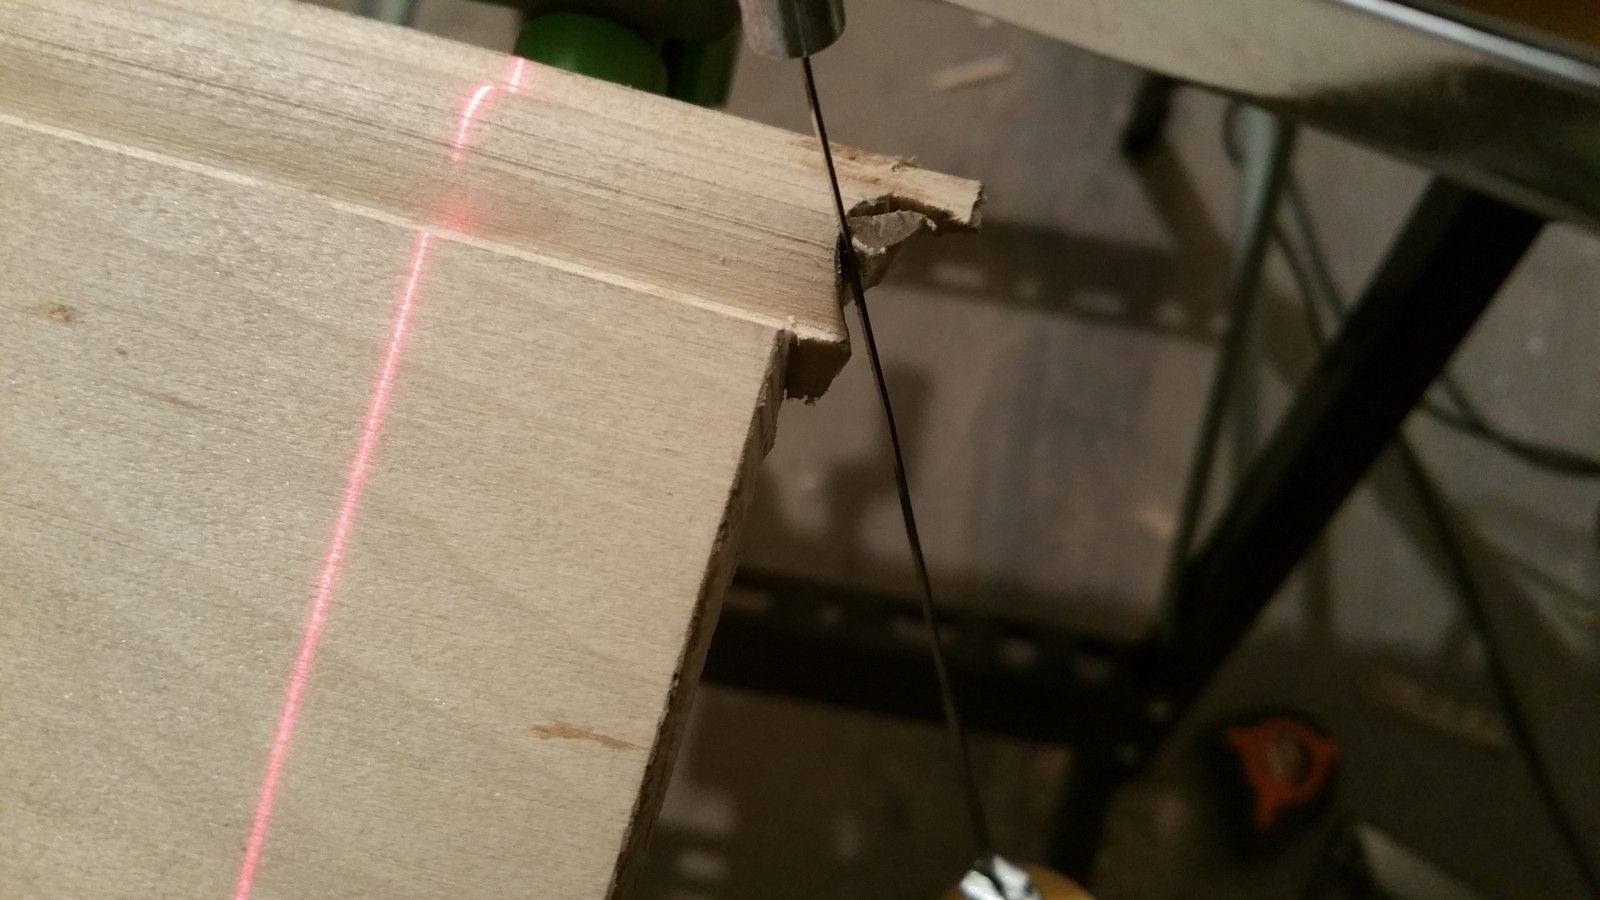
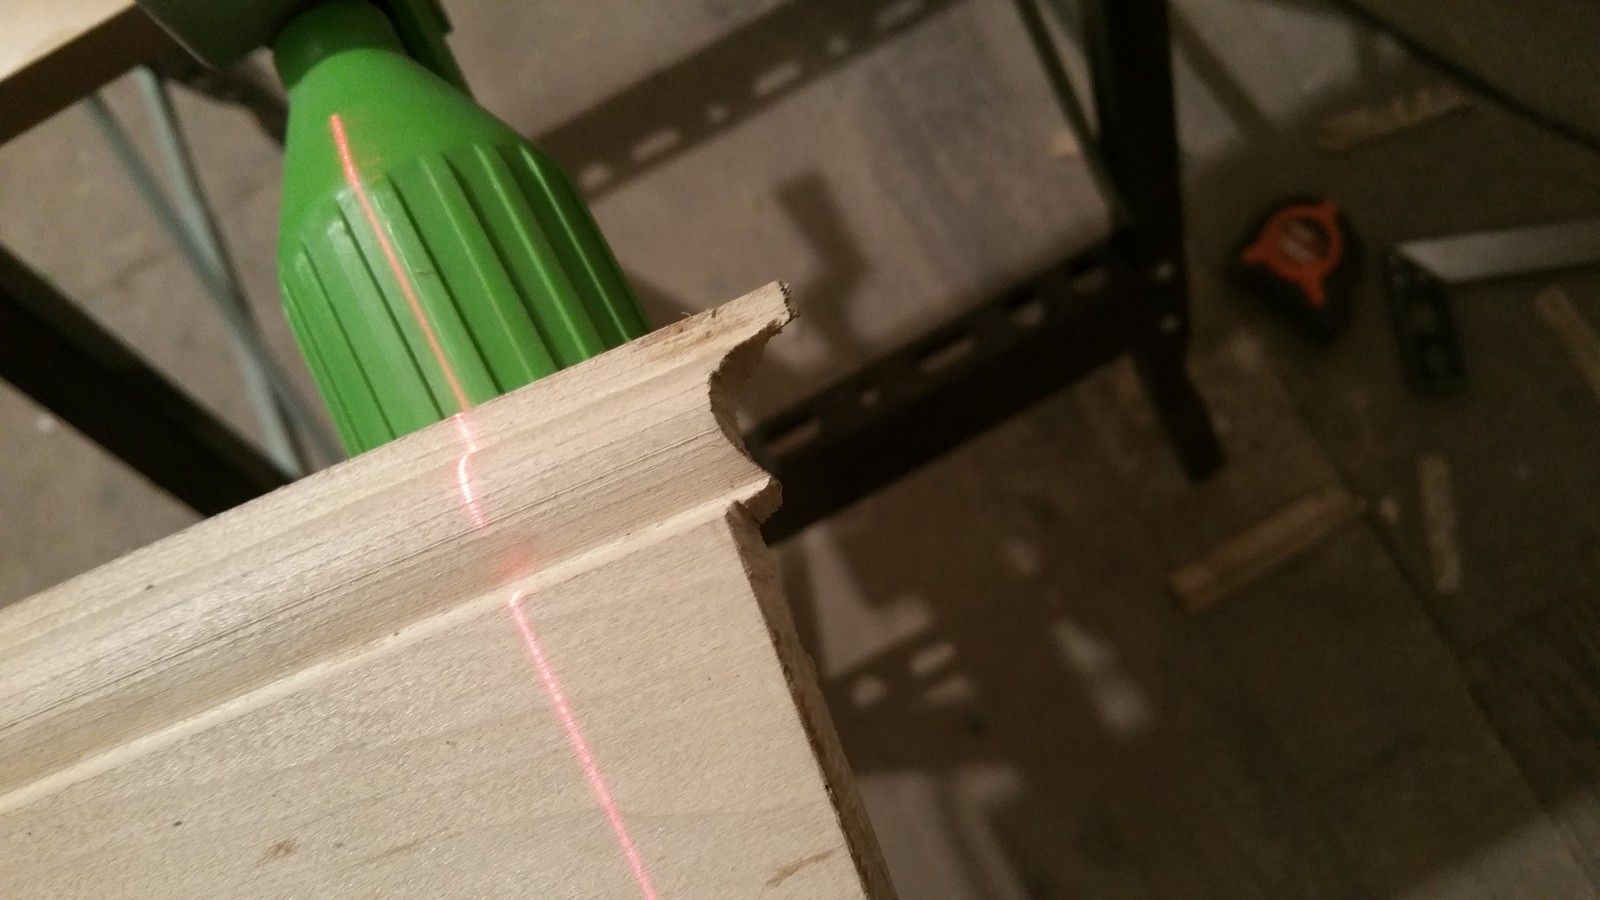
The inside corner joins are made with coped edges, created with a coping saw:


Below is the longest run of skirting in the room before planing, highlighting the dip in the floor:


After planing:


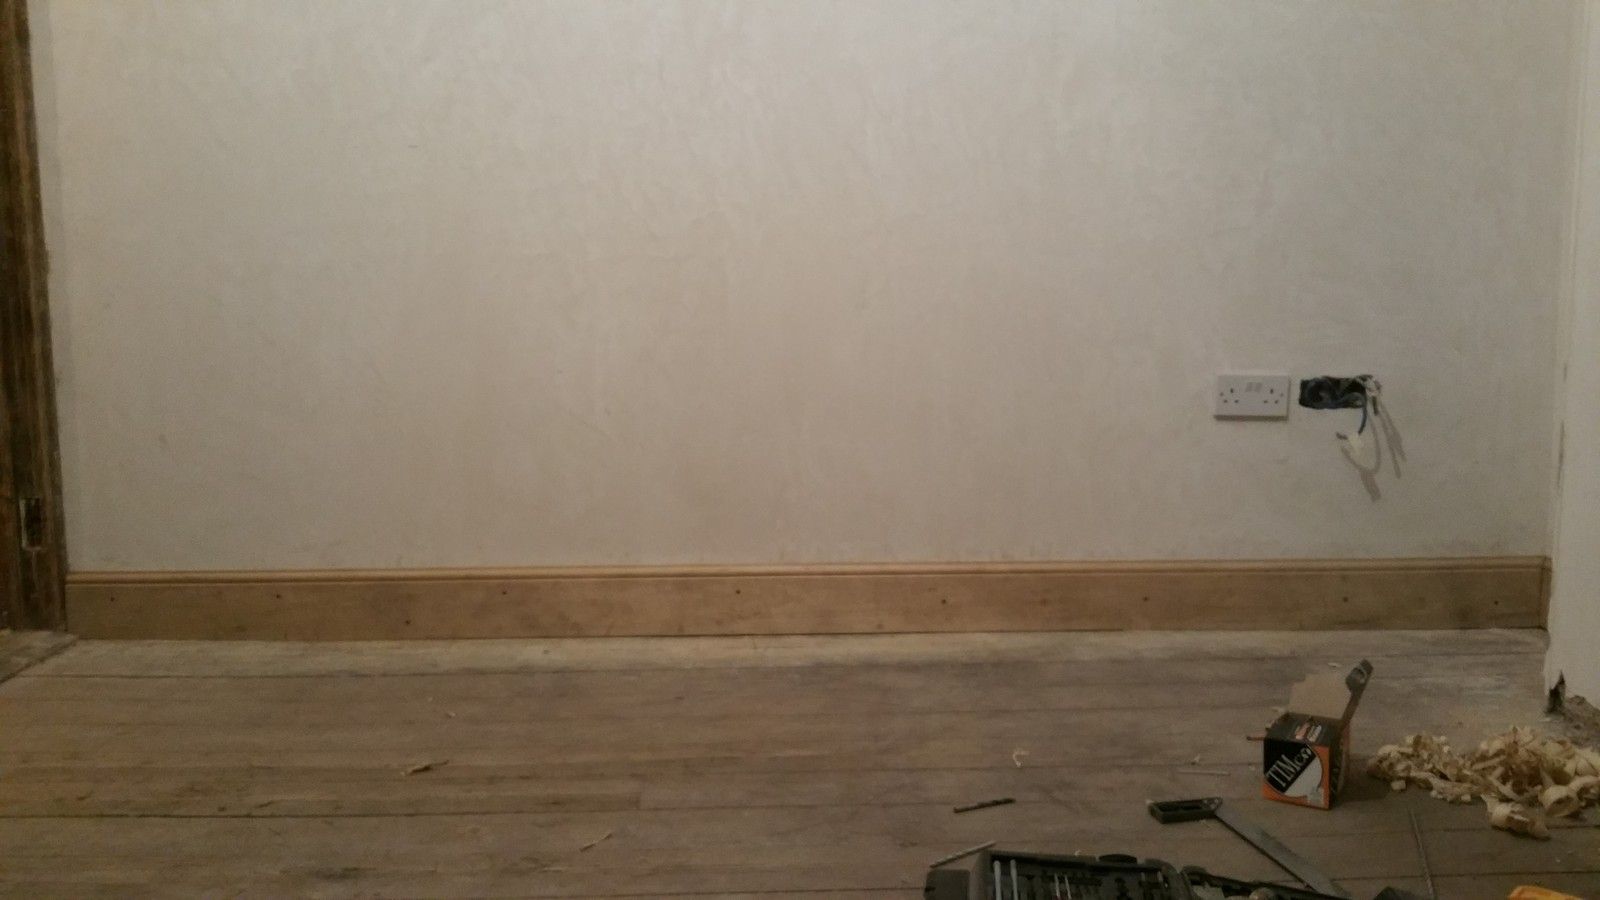
After planing, the boards are then permanently fixed to the walls:


Plugging the interior walls is relatively easy, due to the brick construction and lack of stone:


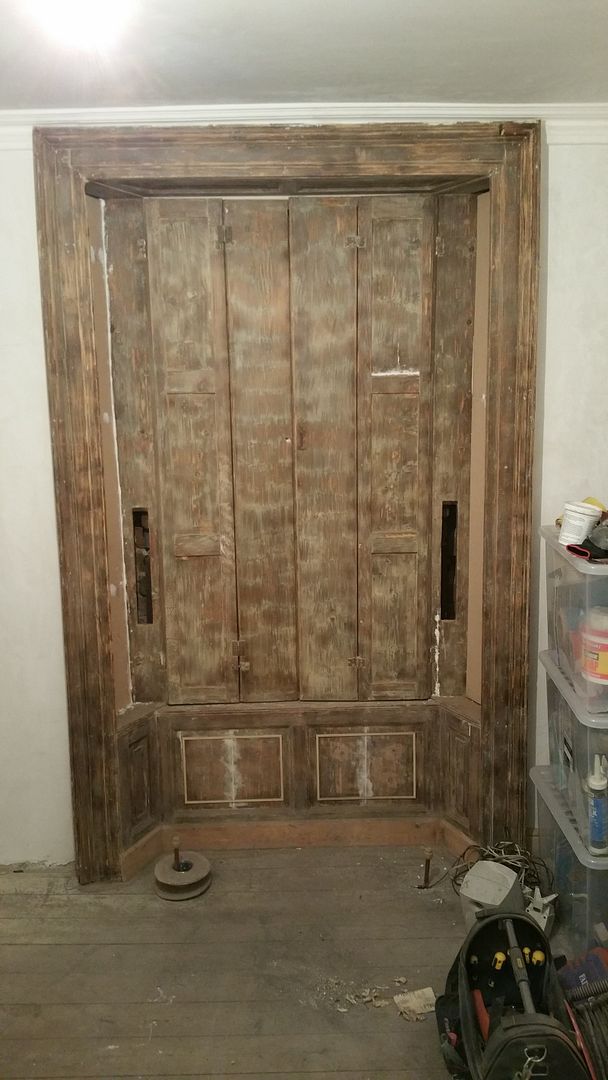
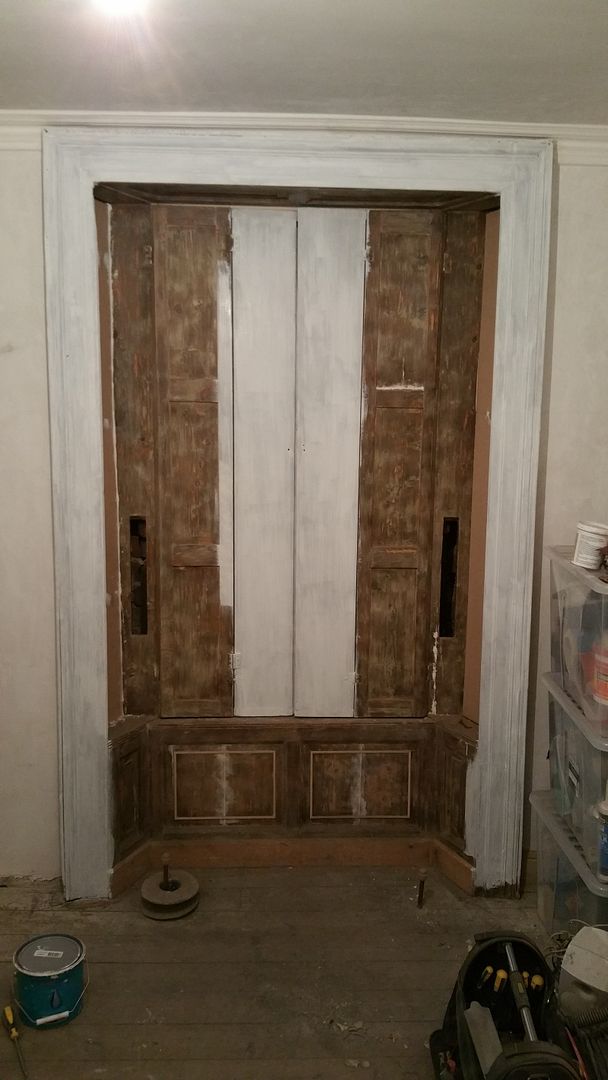
Priming of the joinery has also begun:


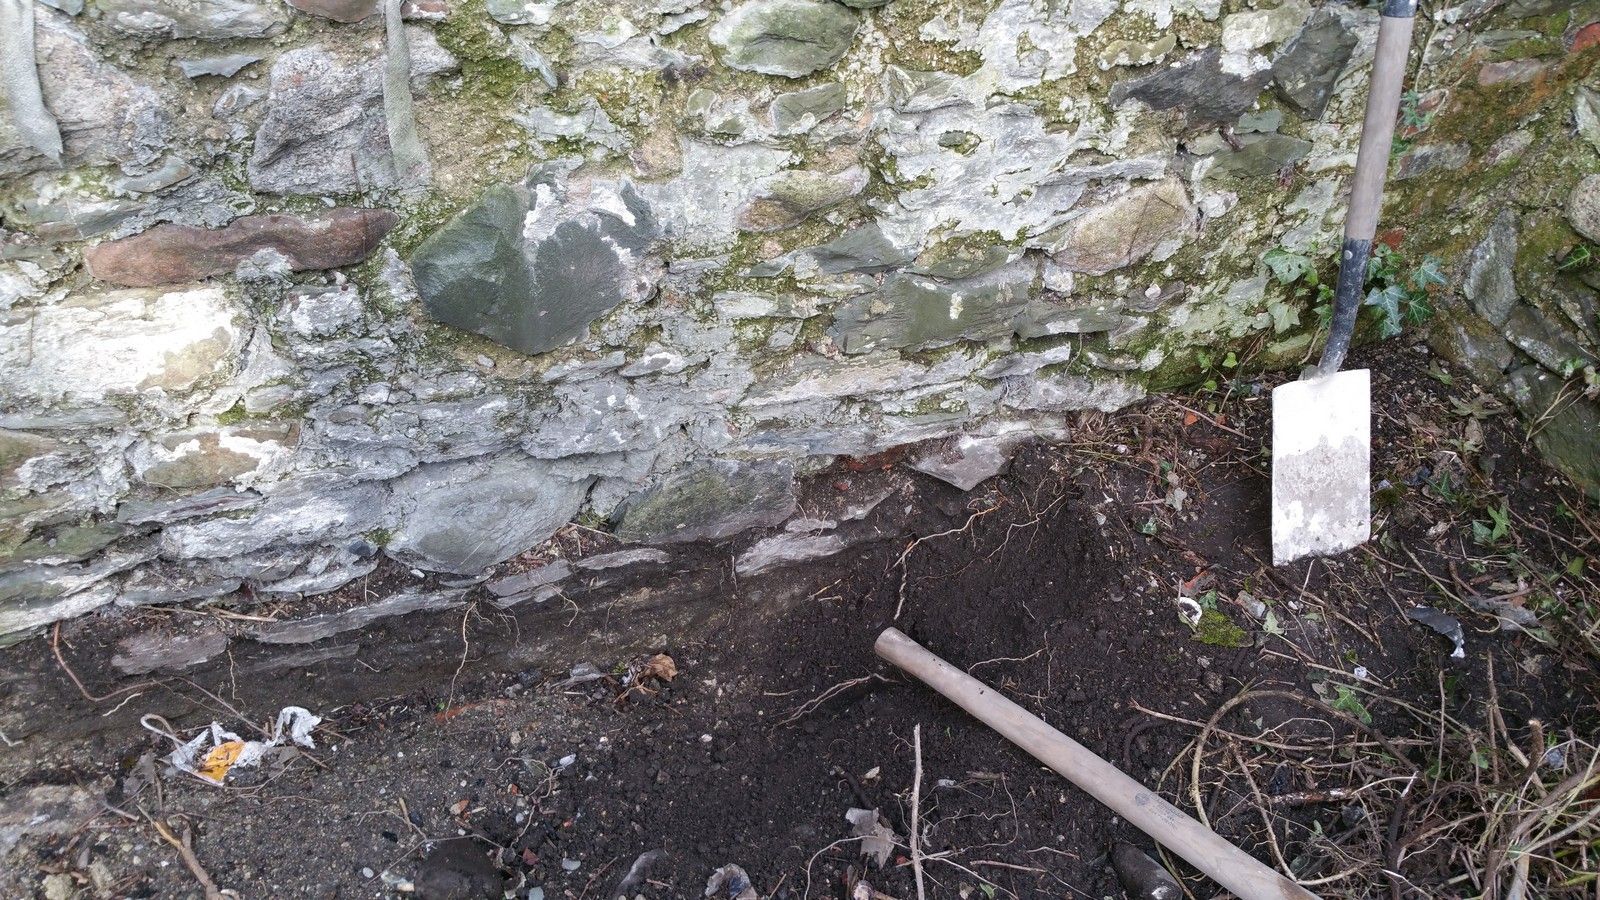
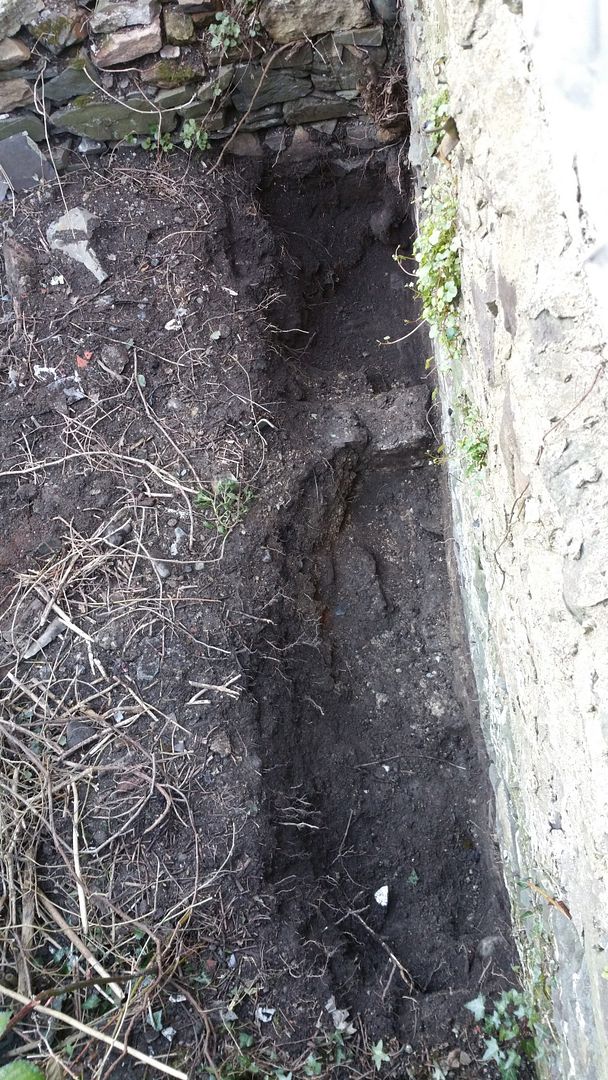
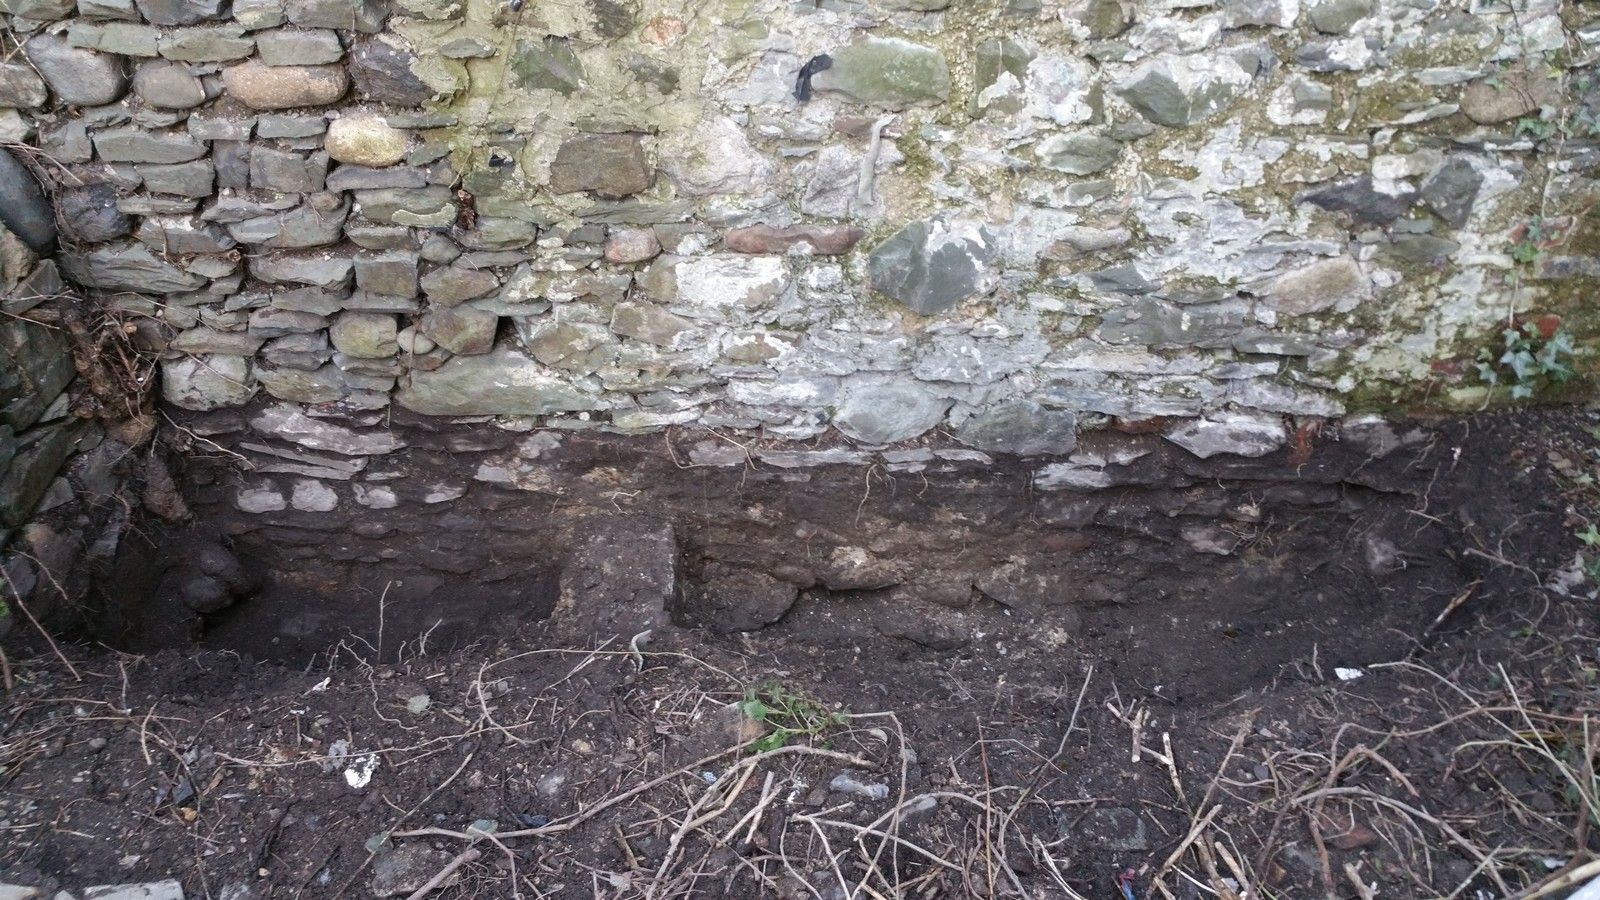
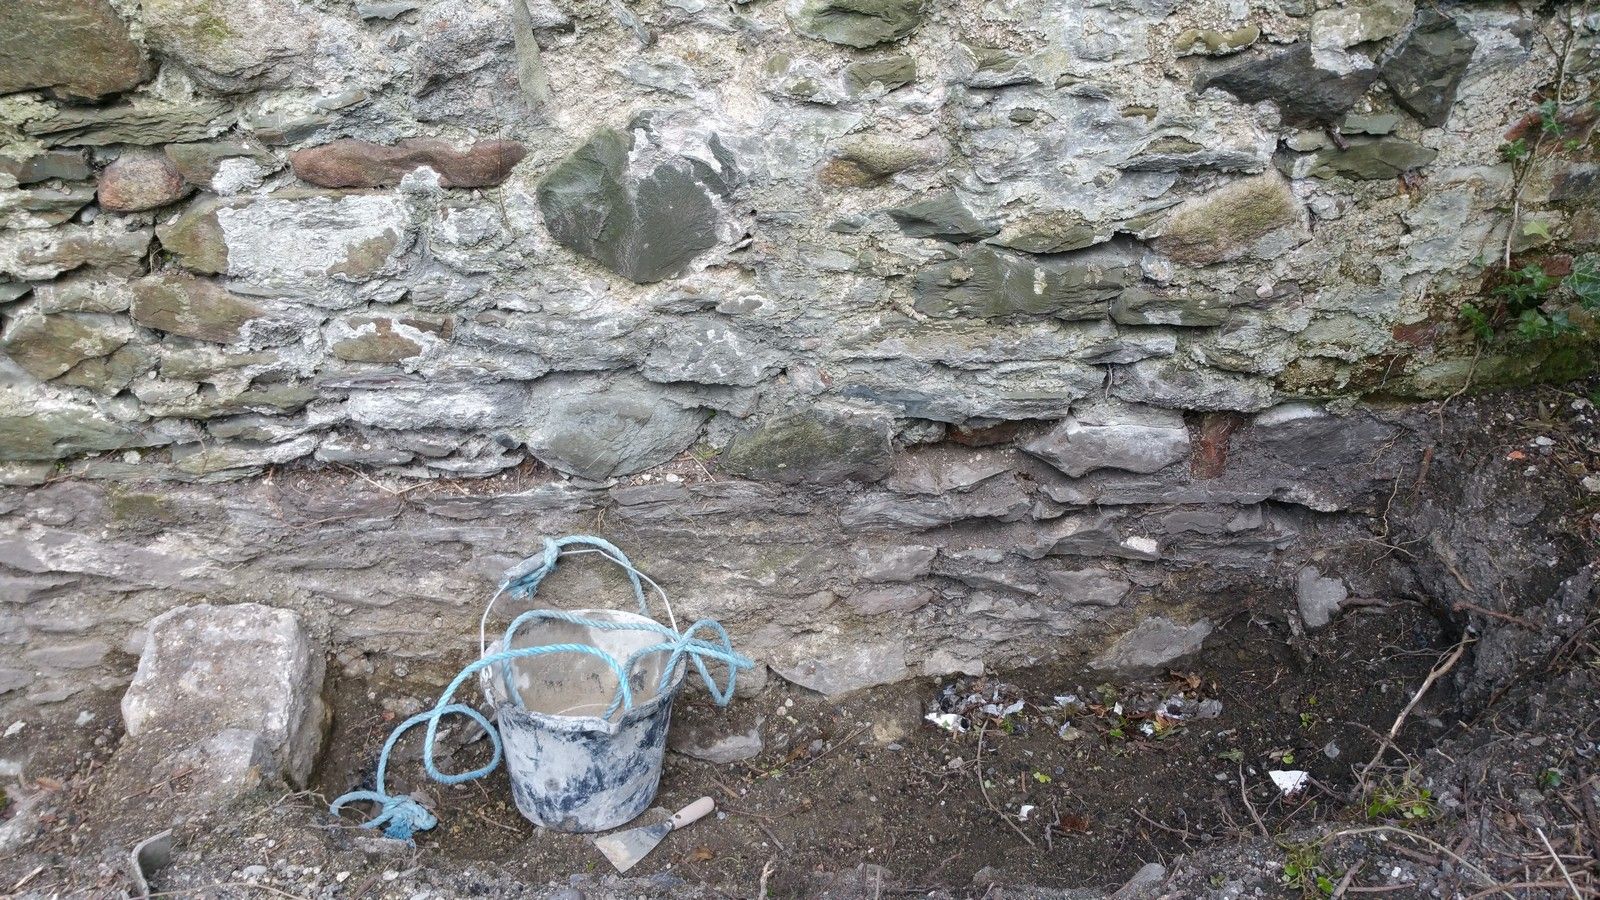
What I believe to be penetrating damp downstairs in the small return continues to persist, so I hopped the garden wall and further expanded the trench beside the outside of the wall in an effort to lower the ground level:


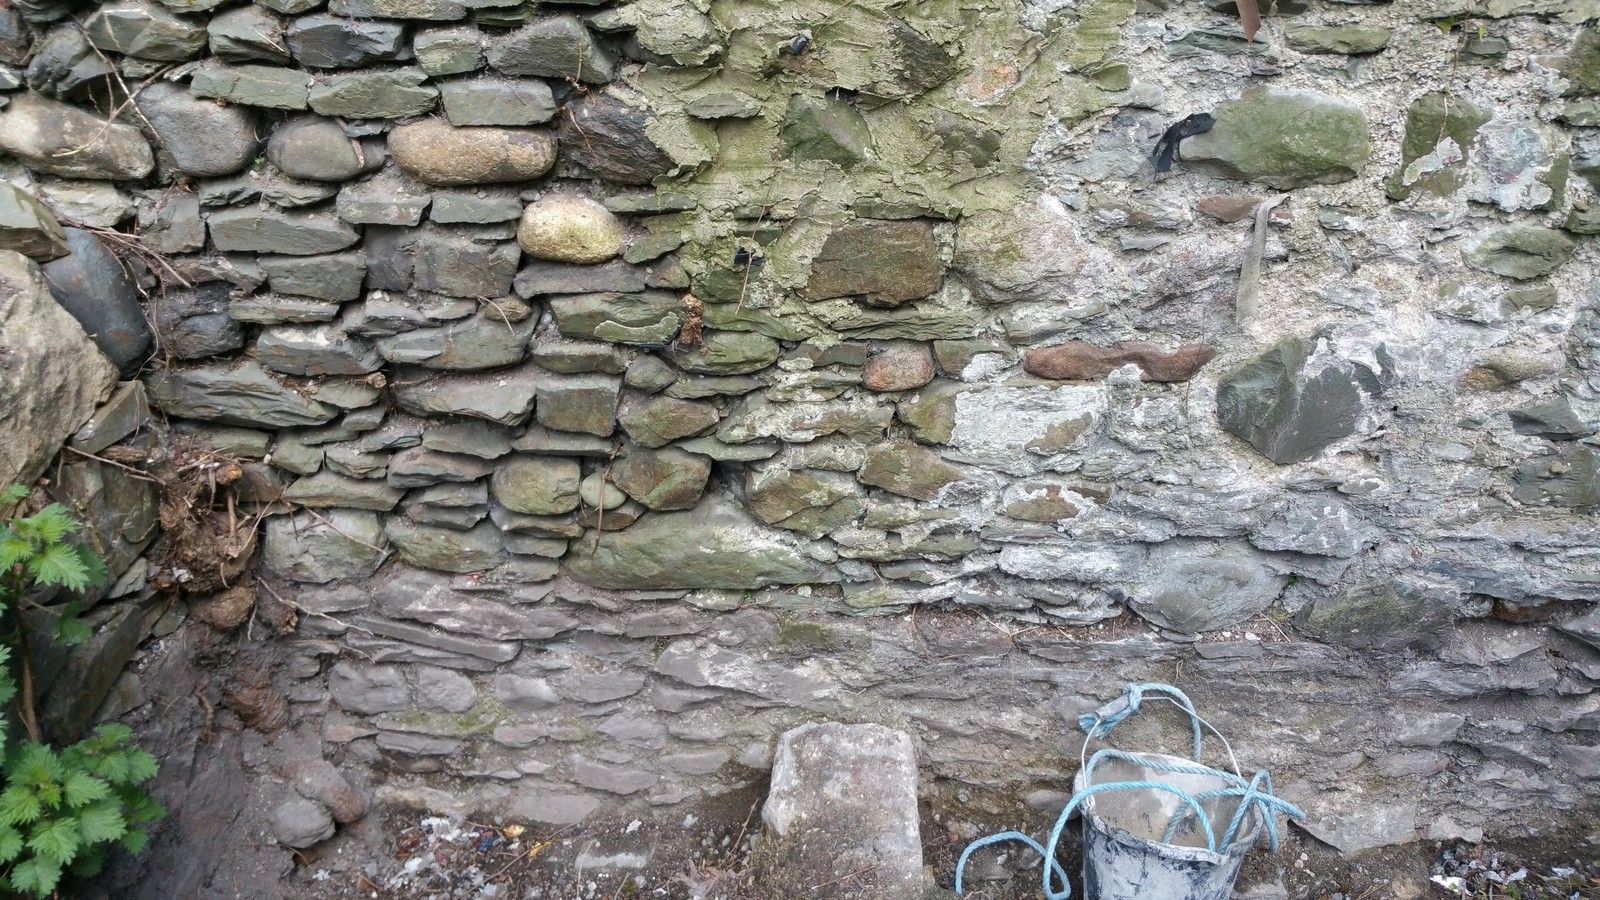
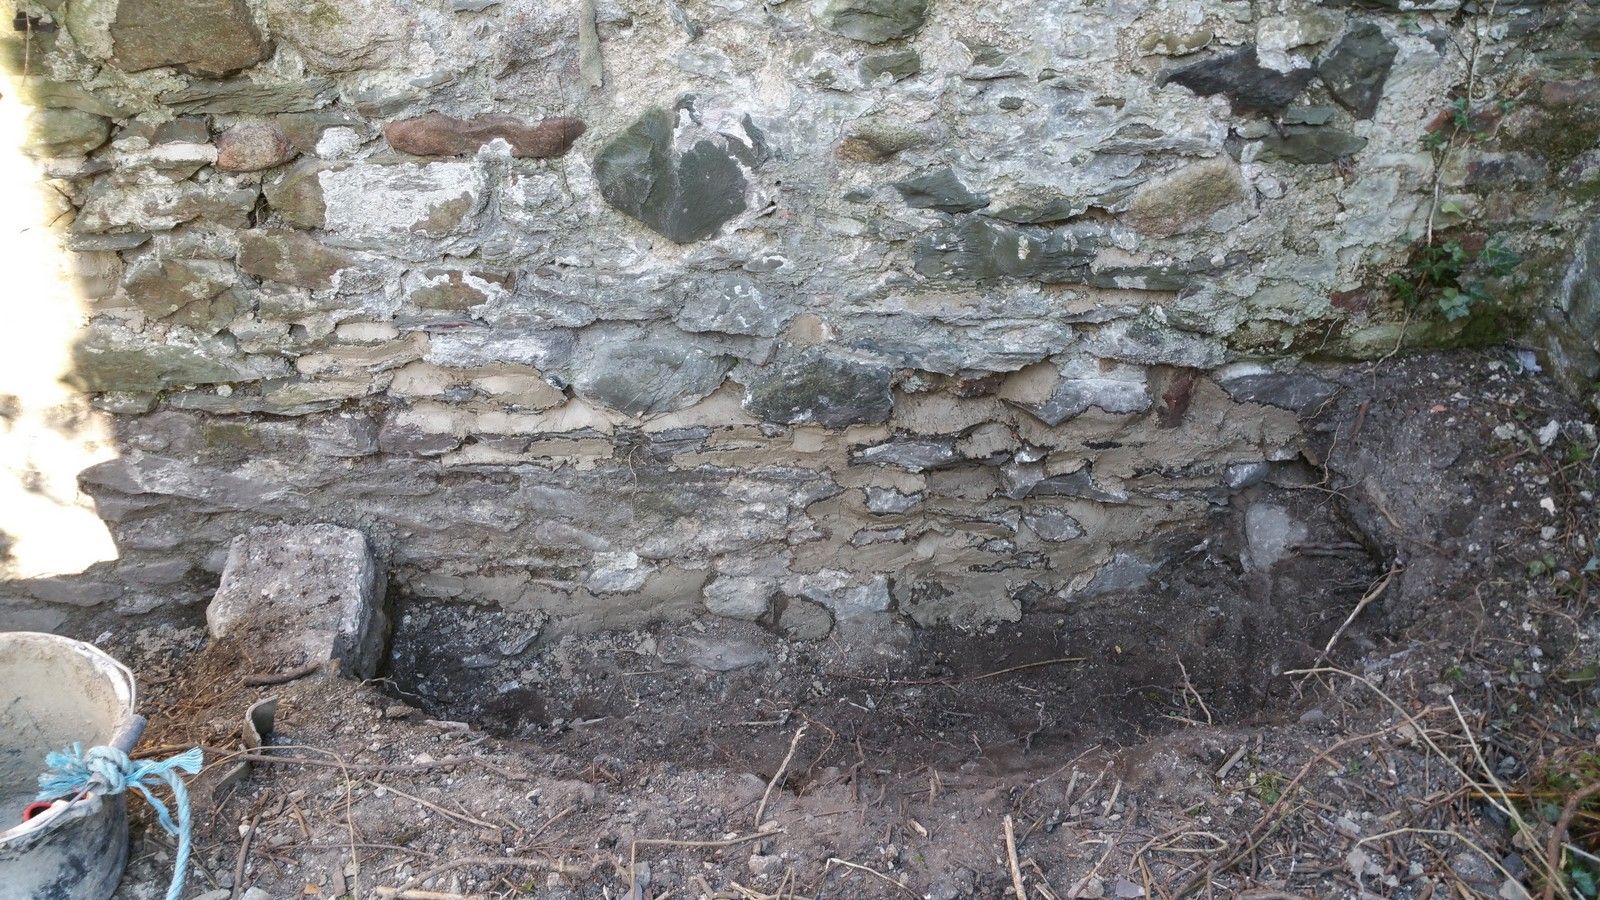
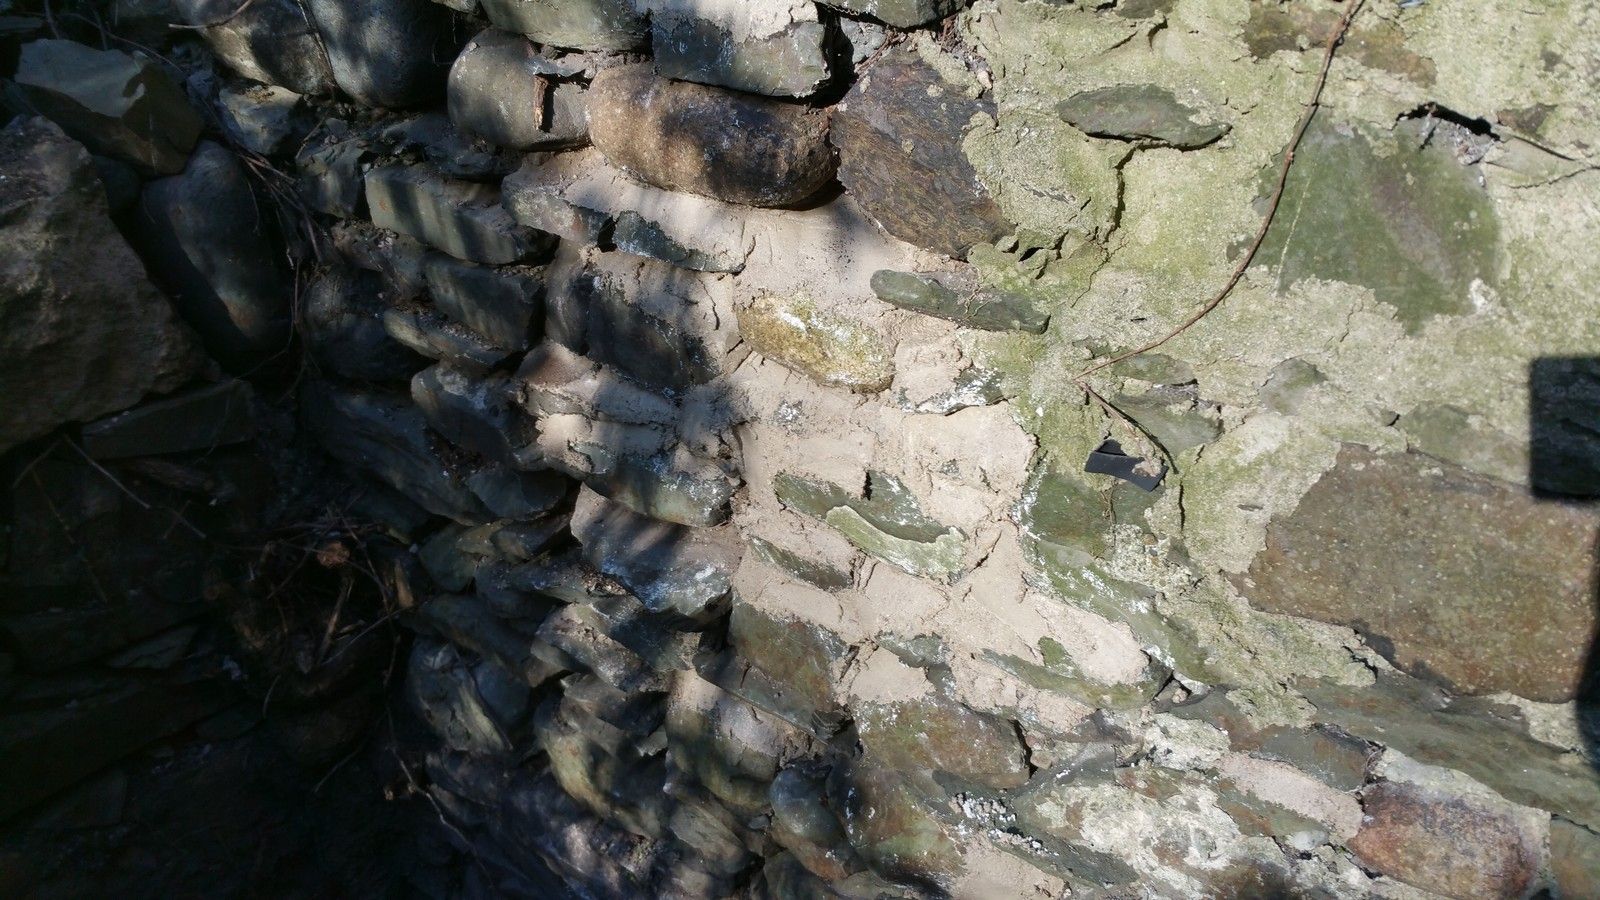
I have also begun repointing the stone wall, to prevent water getting through the wall into the return. I'm using a lime mortar mix. Before:


After (not complete):