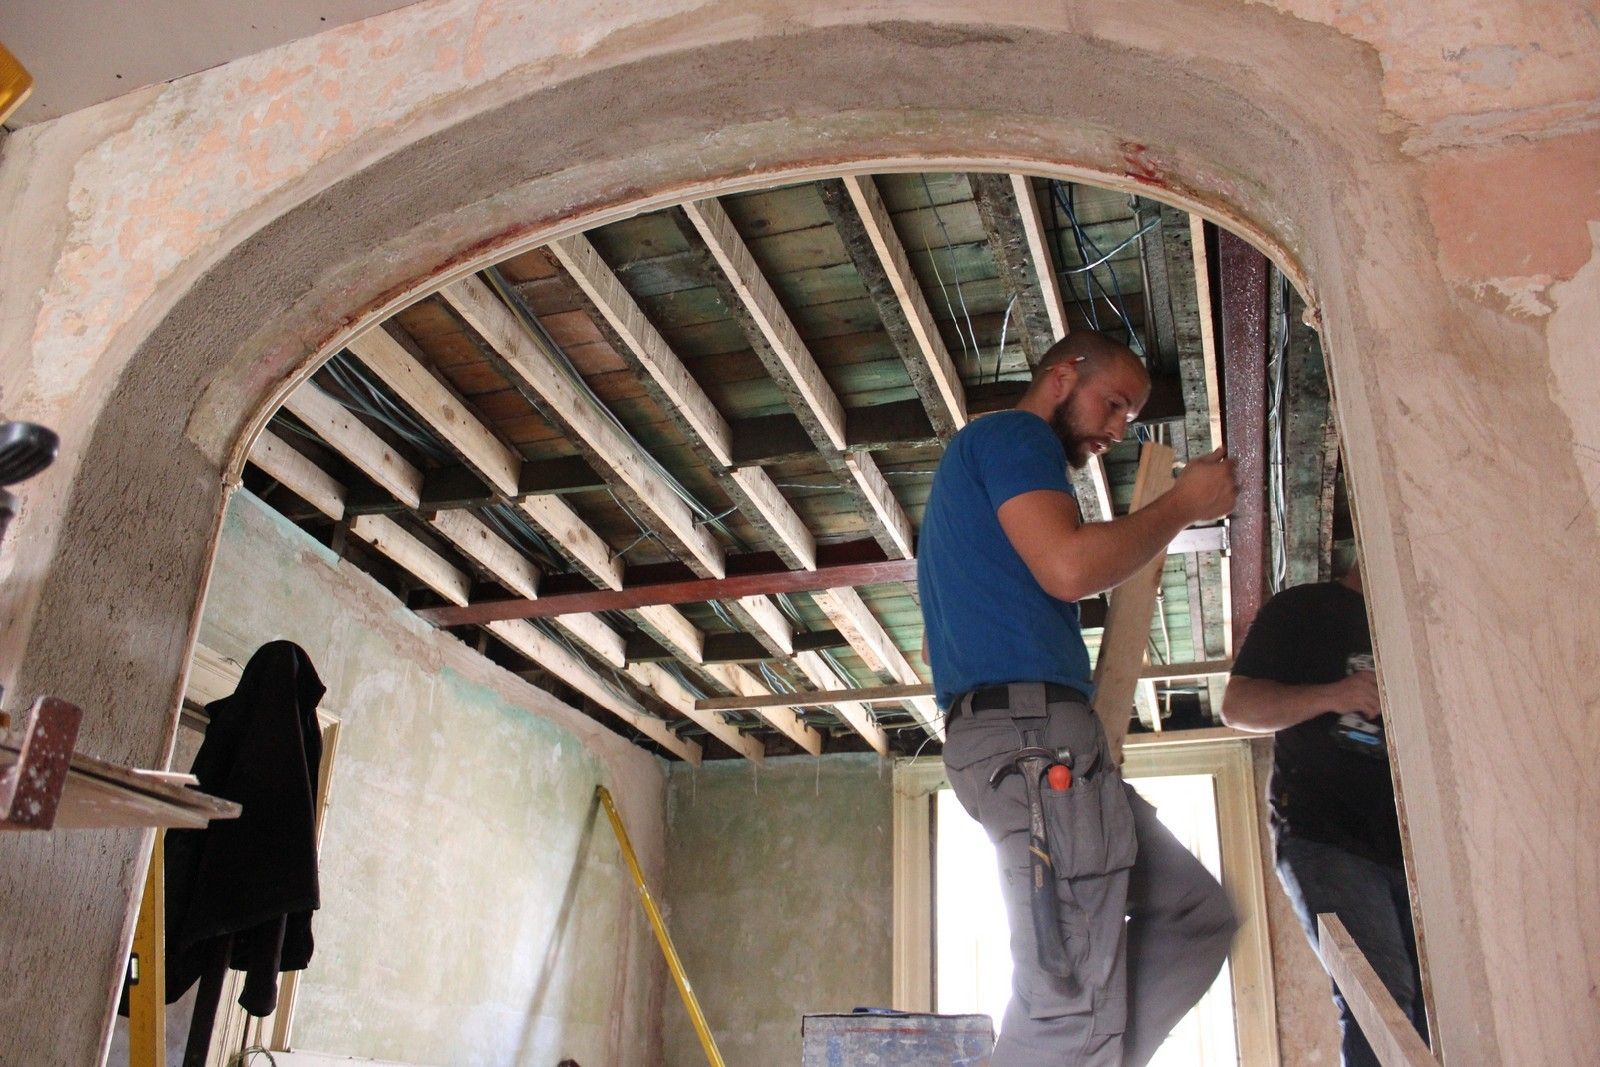
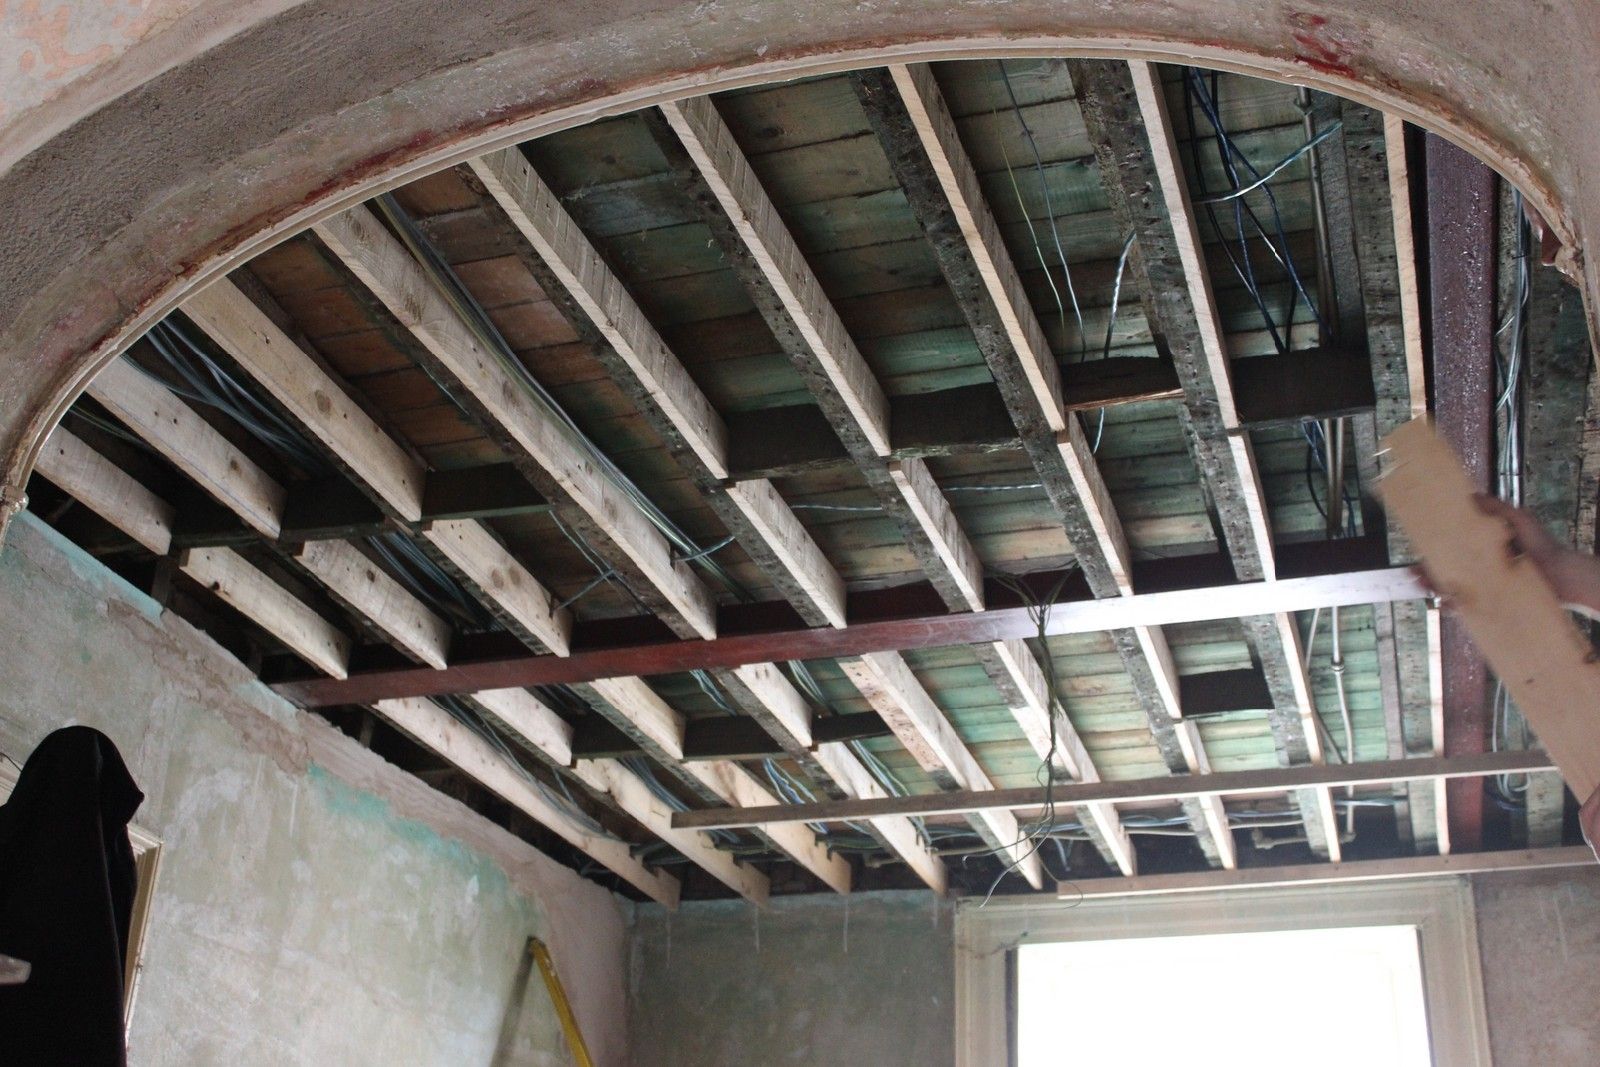
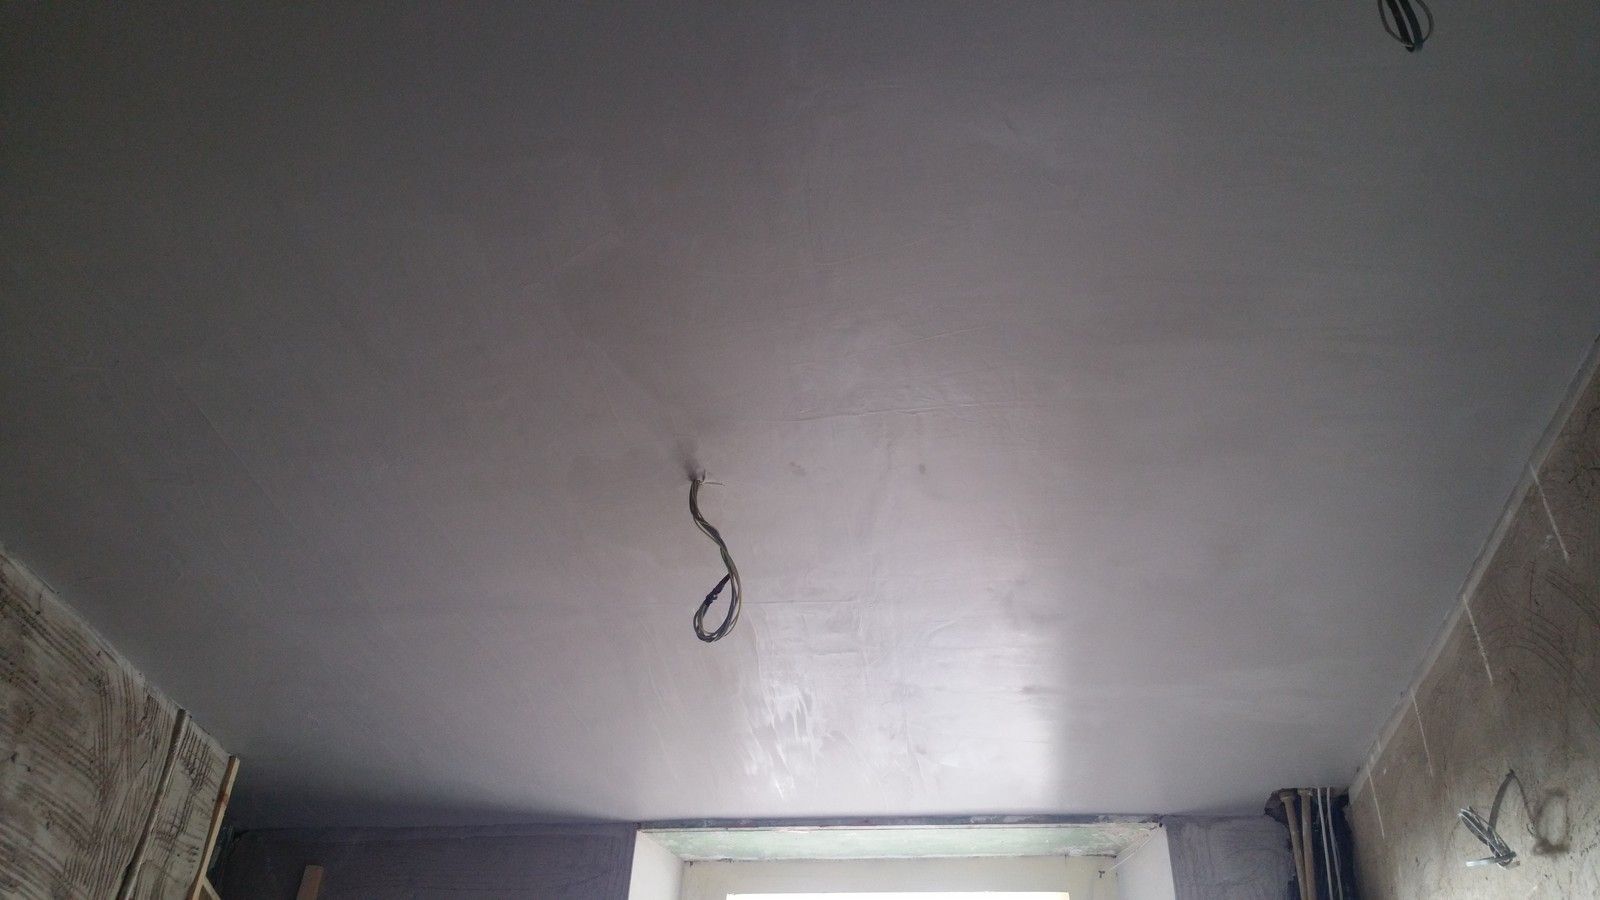
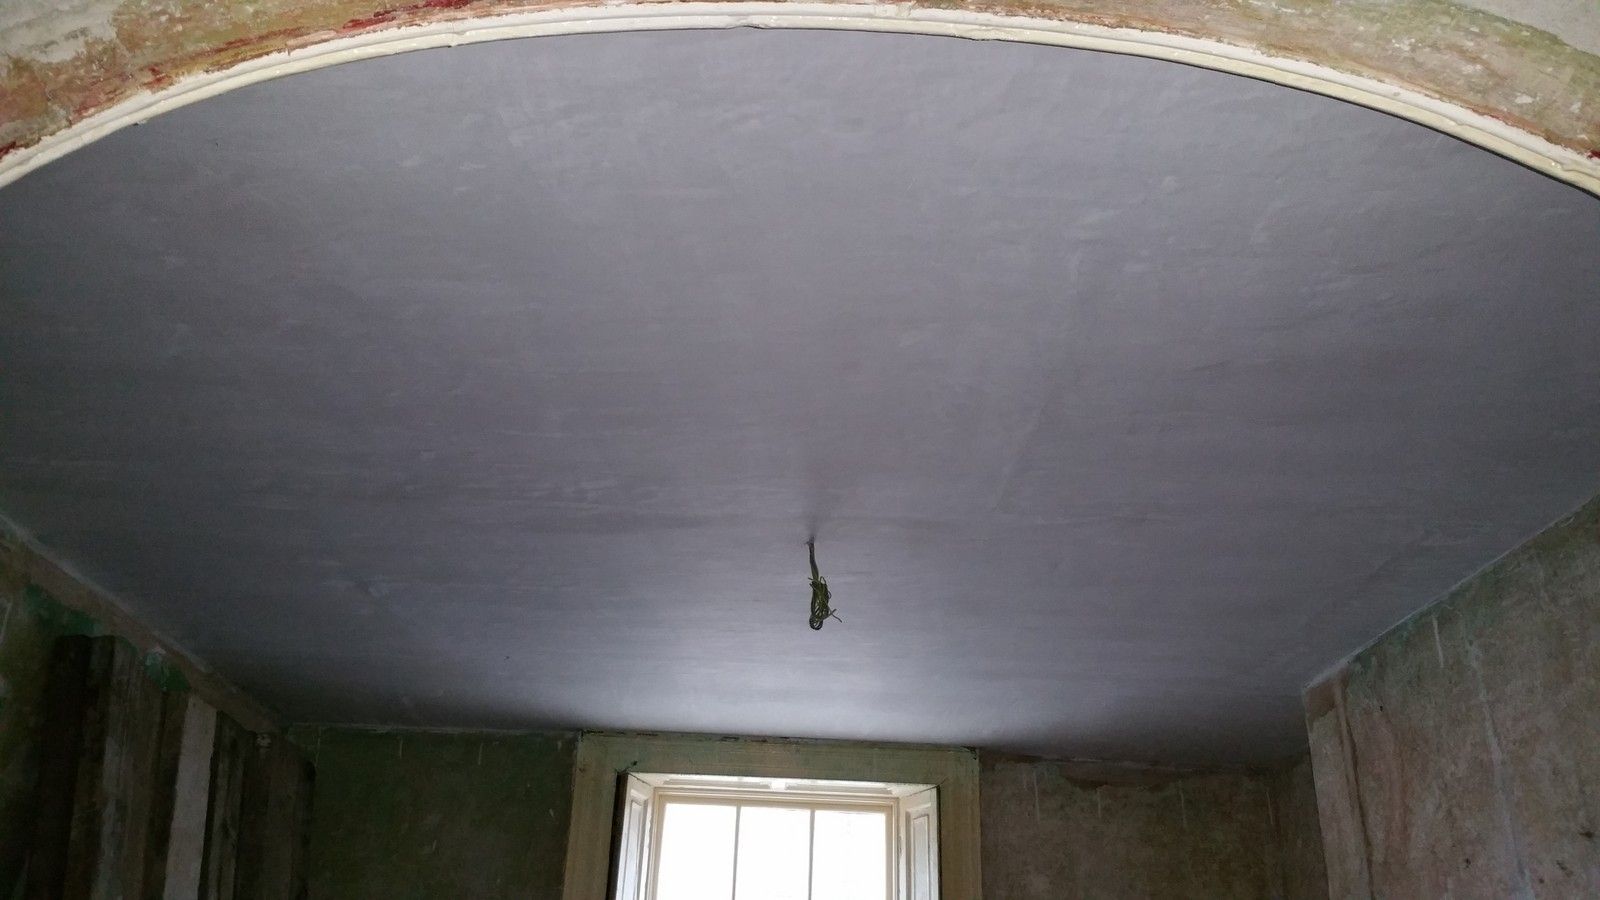
Starting with the ground floor front room (dining room), the ceiling was taken down and redone from scratch. It was decided that the cornicing that is to be reinstated would never look right with the shape the ceiling was currently in, so it was best to start again with the main objective being to get it as straight as possible.
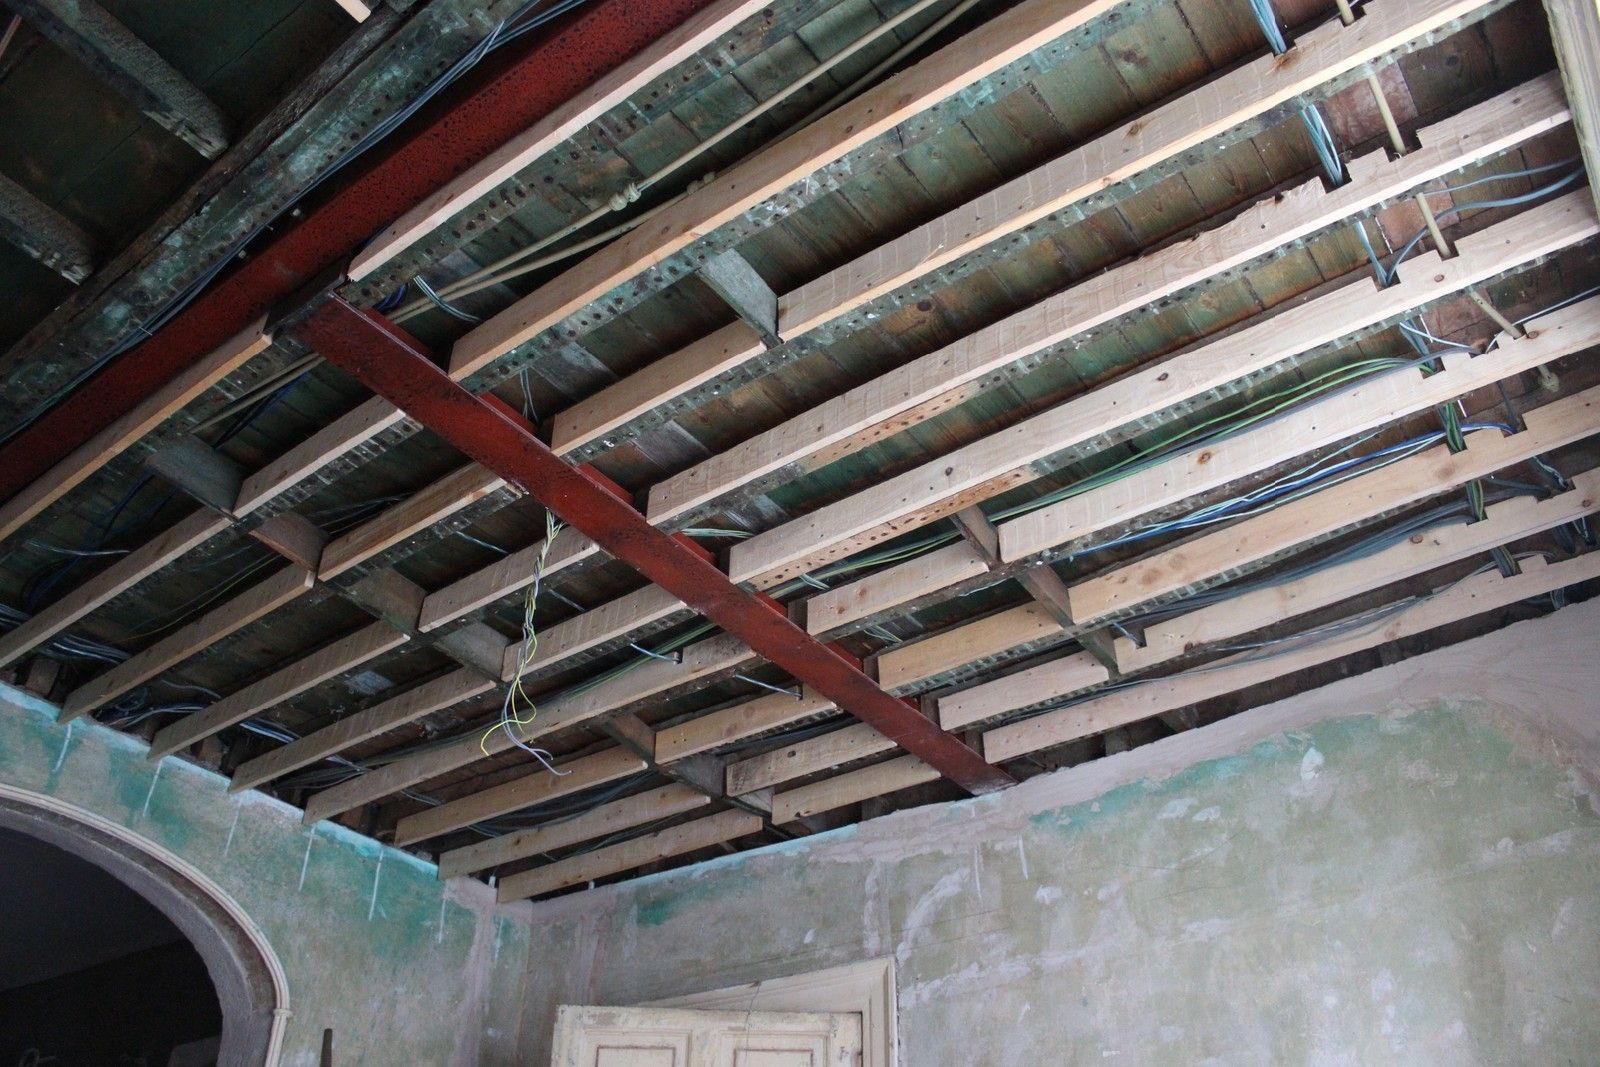
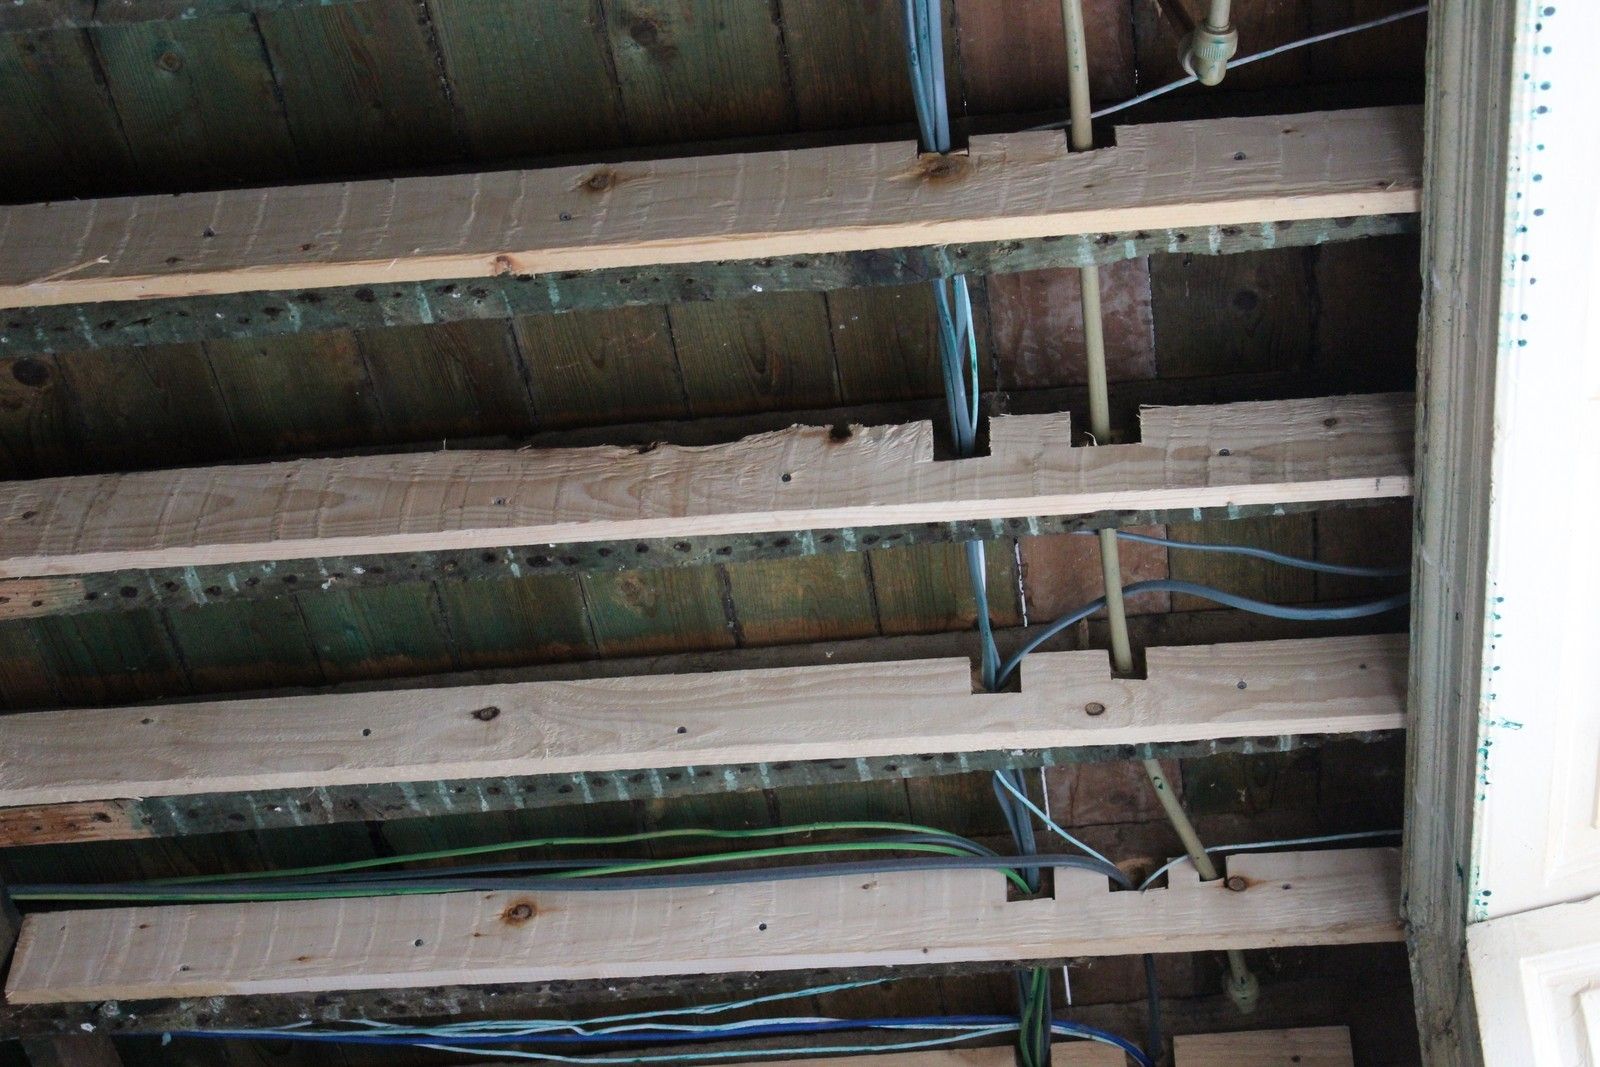
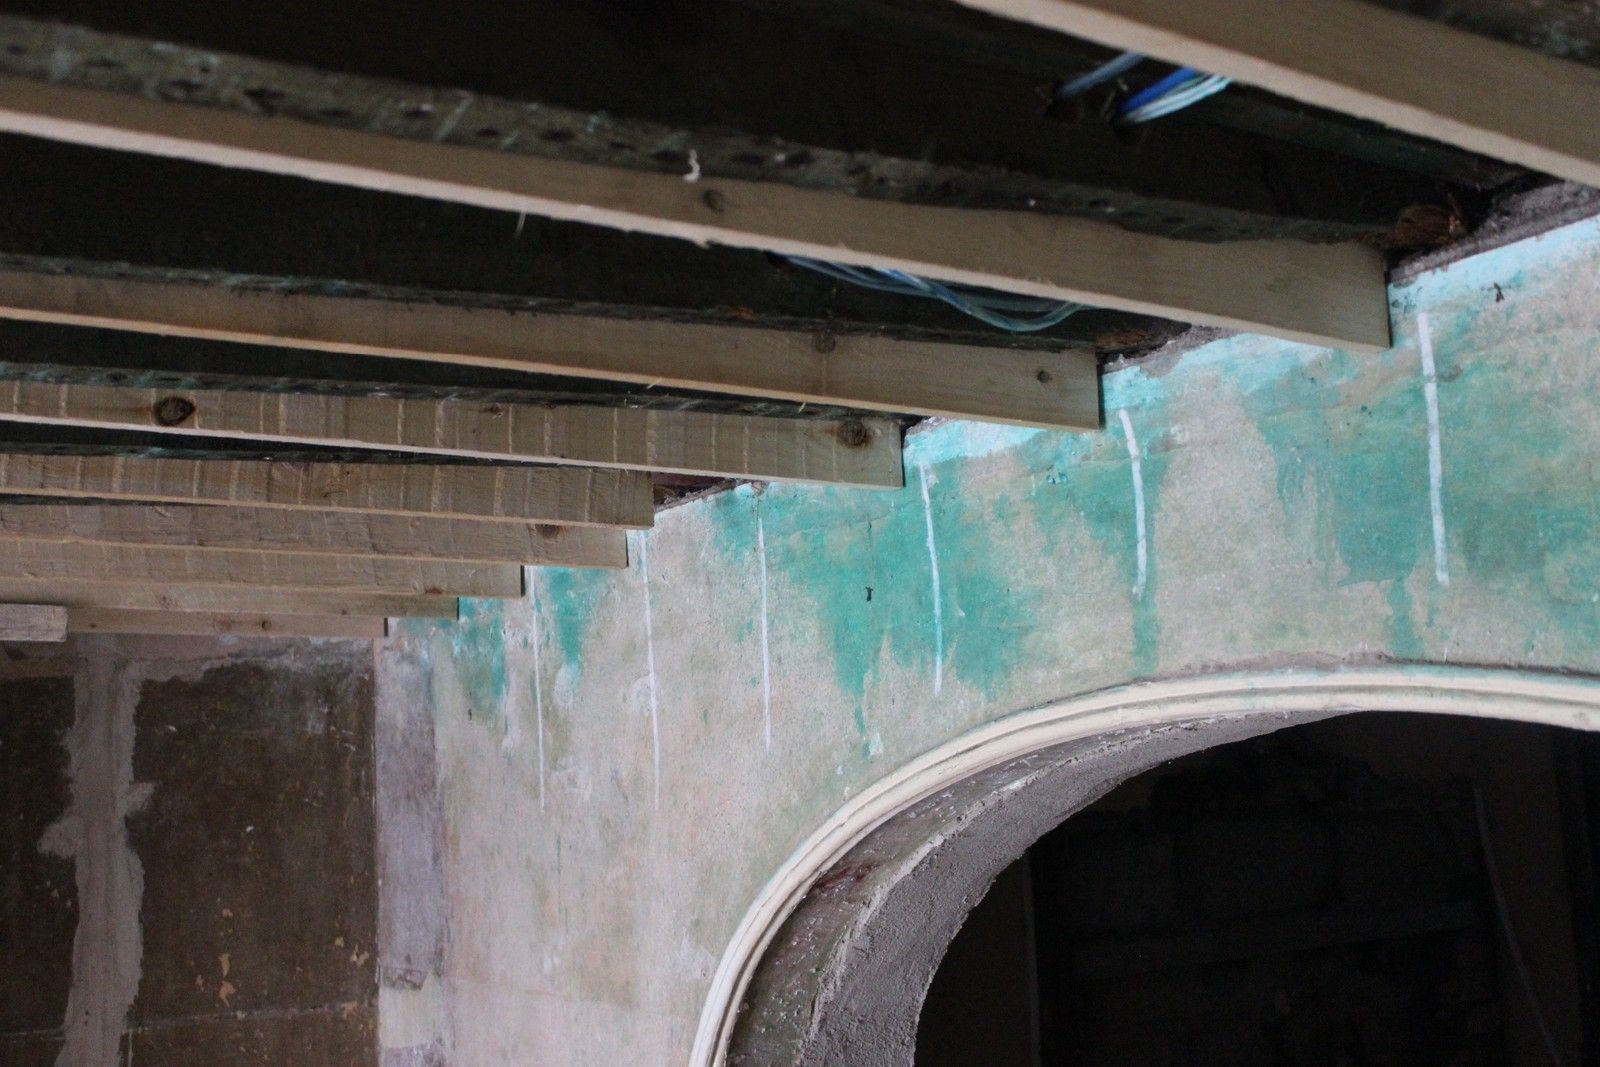
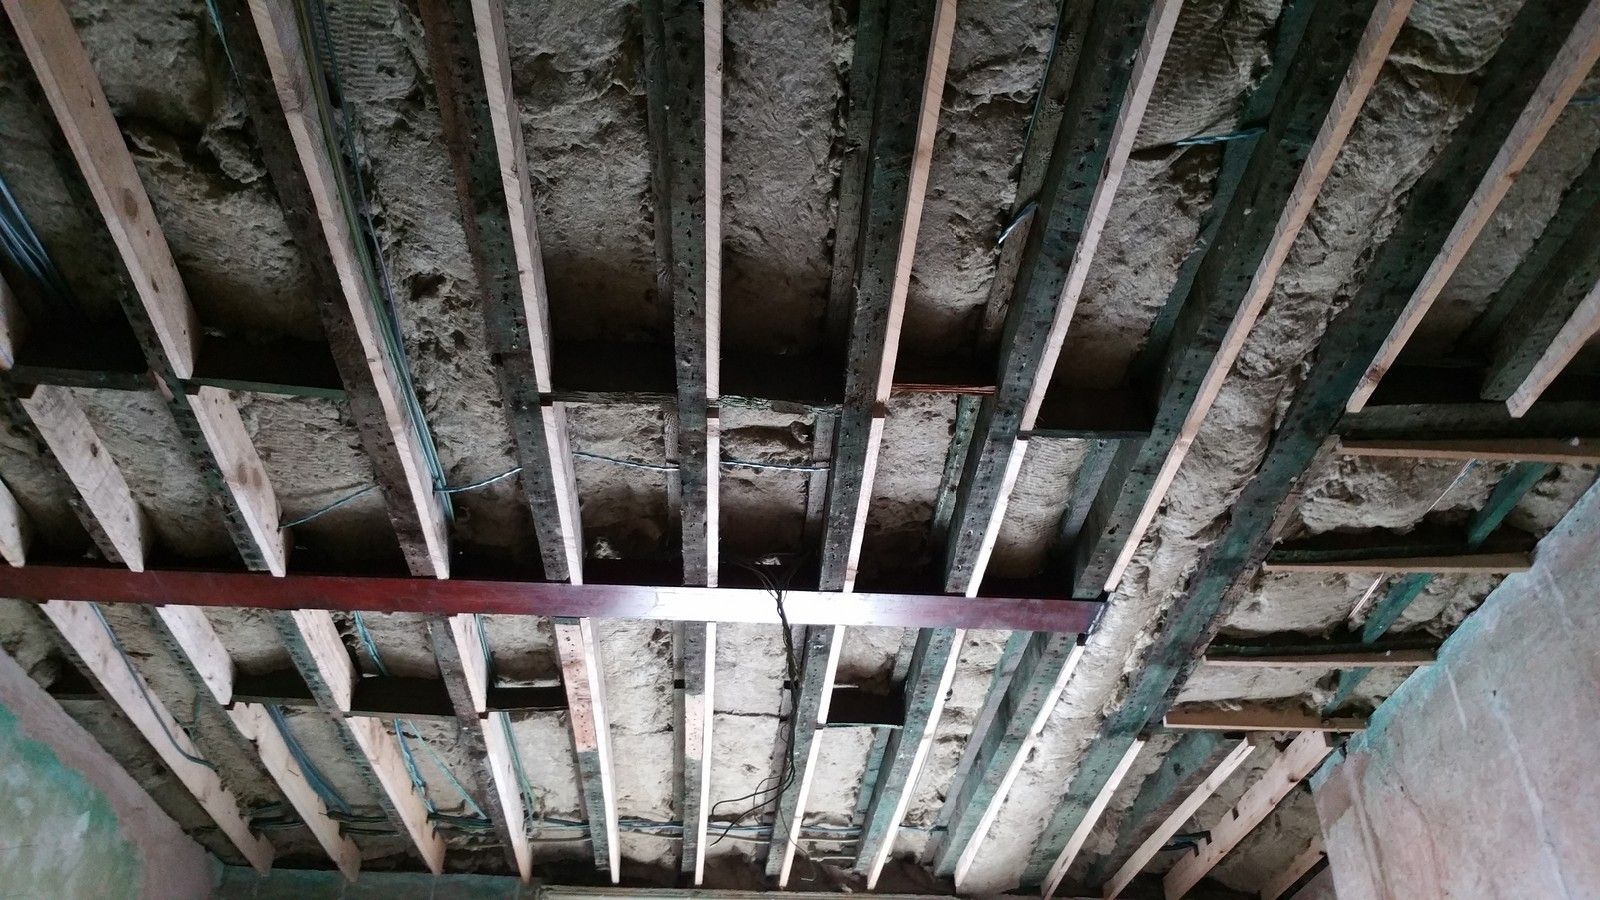
This was a complicated task and took two solid days to get the levels correct due to the horribly uneven floor joists above, as mentioned previously. So additional timber was attached alongside the existing joists, to which the ceiling could be attached:
The picture below illustrates really well how much the levels were off:
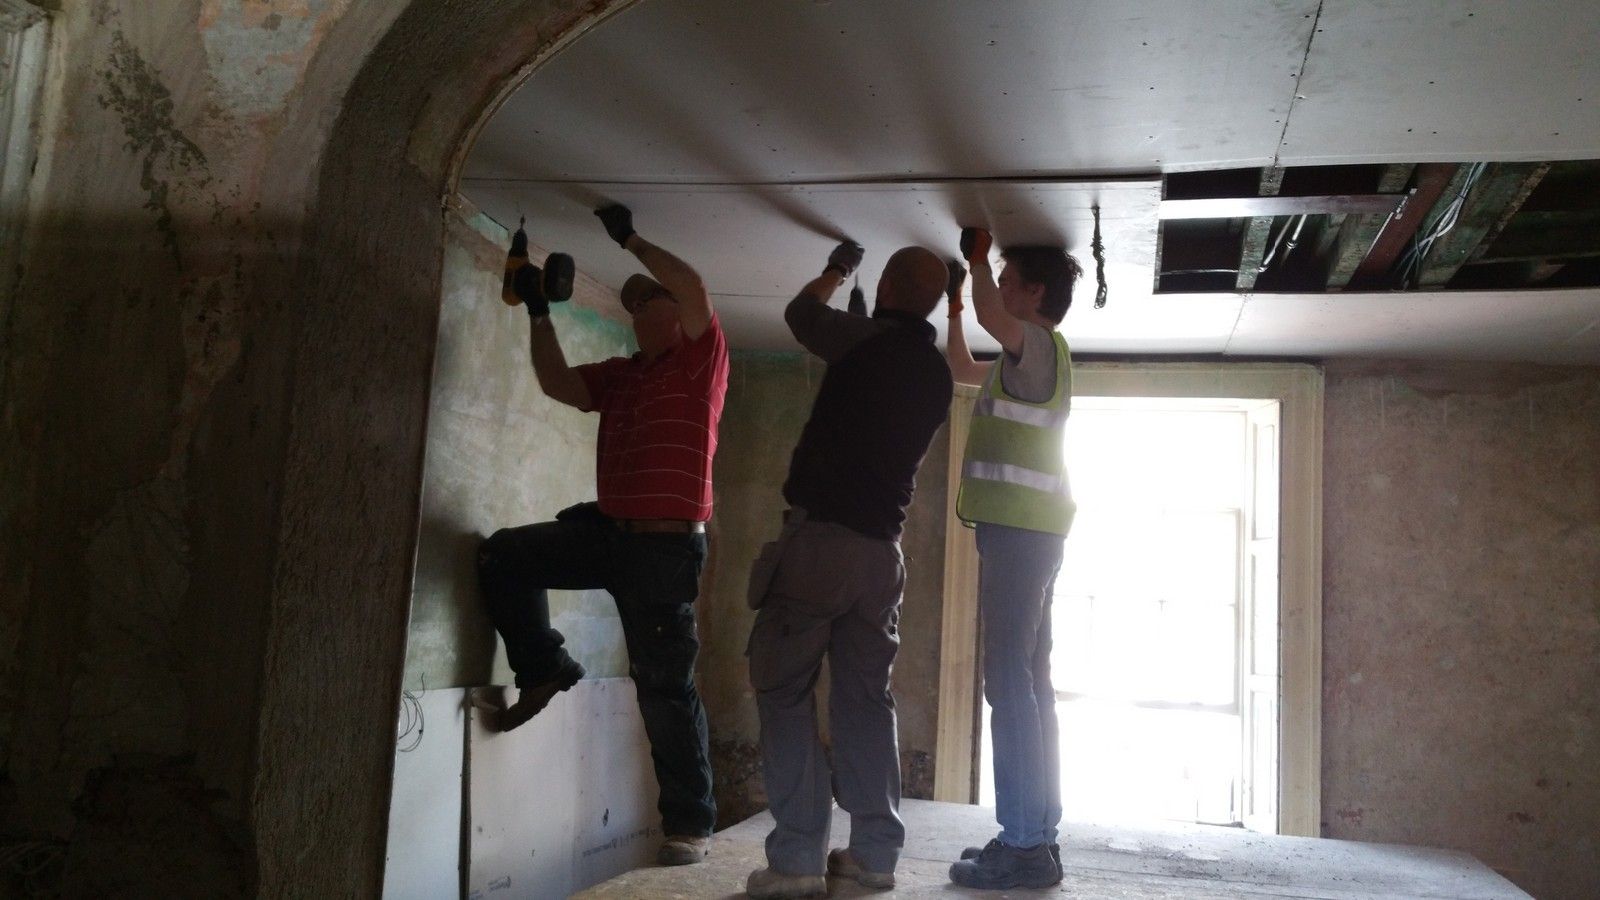
Rockwool was then added for sound insulation and the ceiling could then begin to be reinstalled:
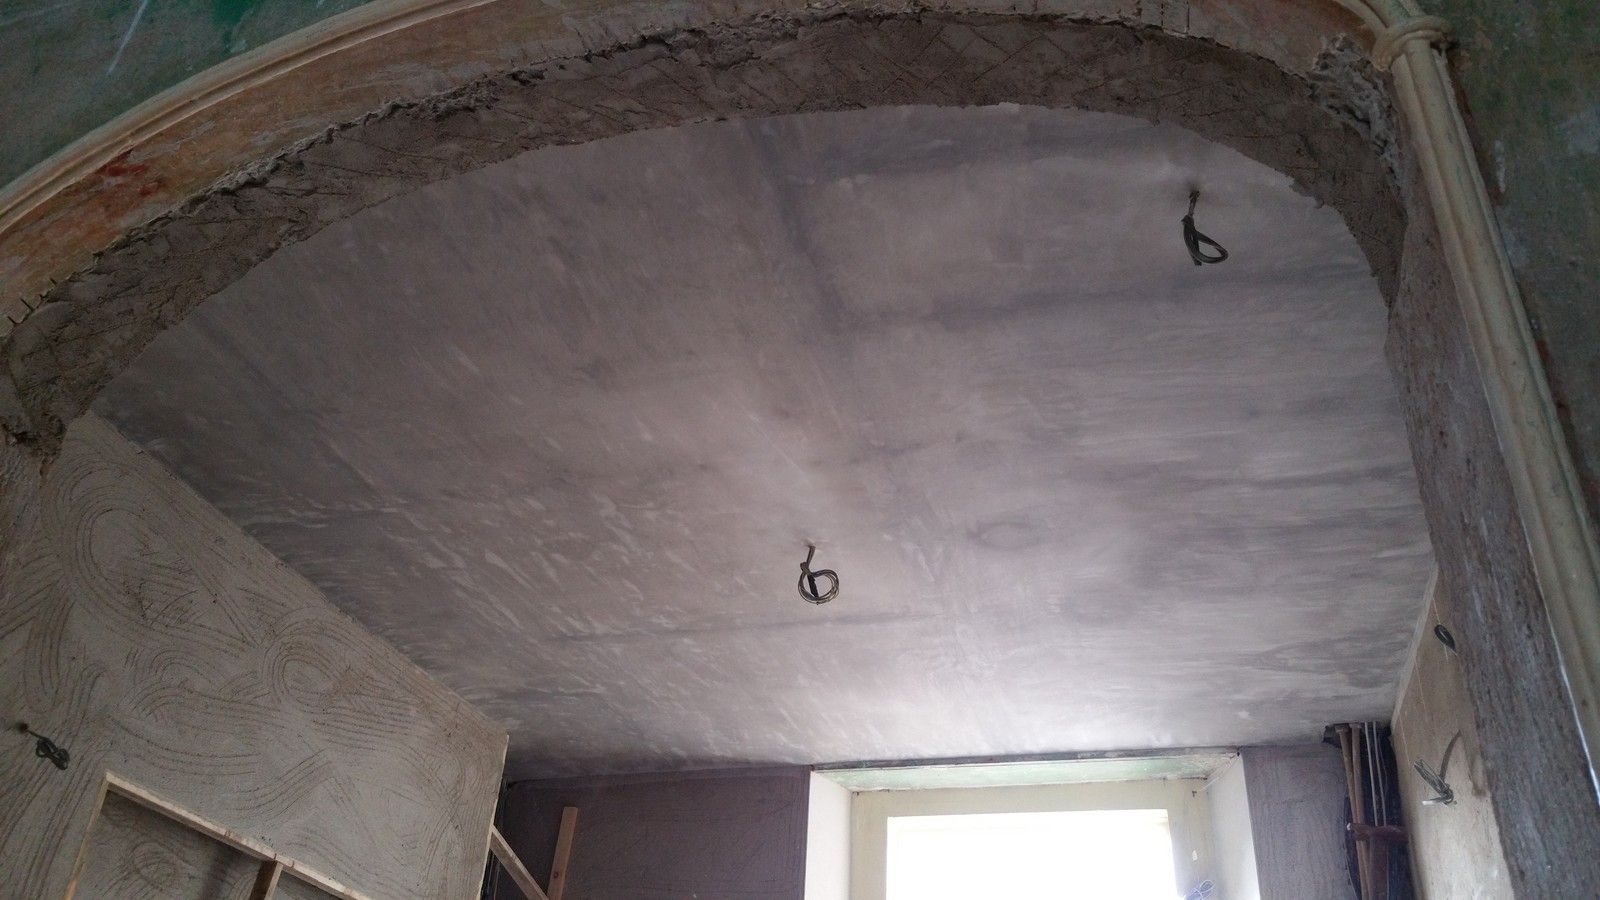
Once installed, plastering could begin with modern gypsum (the ceilings have been the only place gypsum has been used).
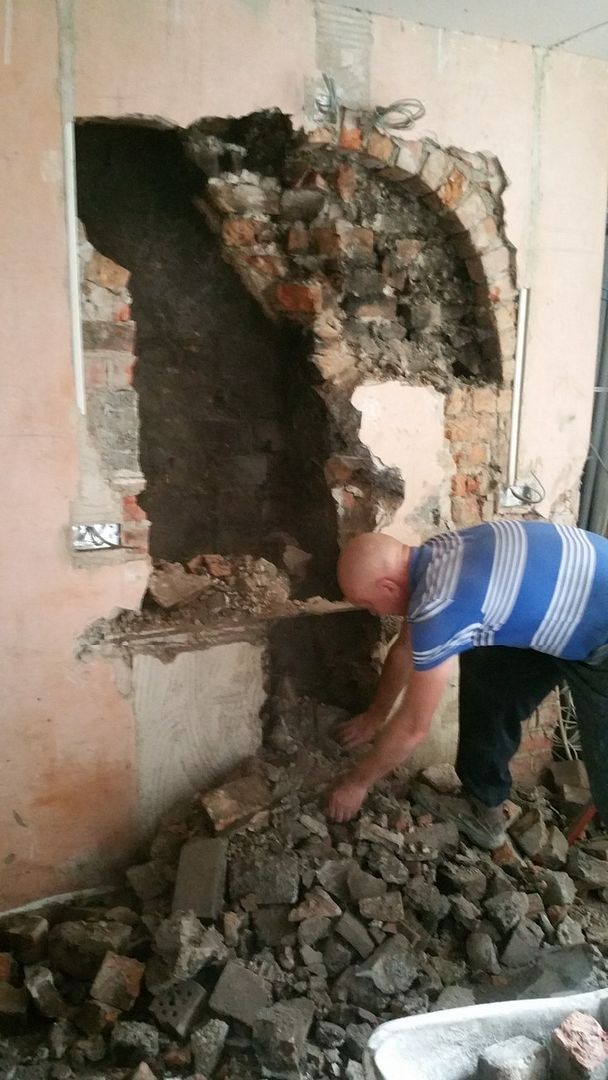
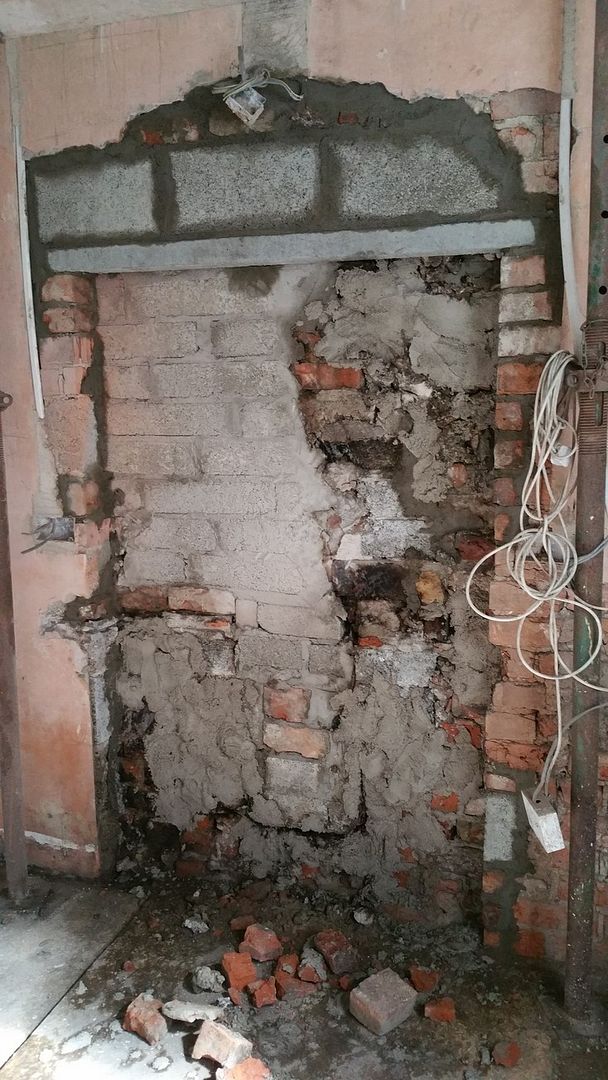
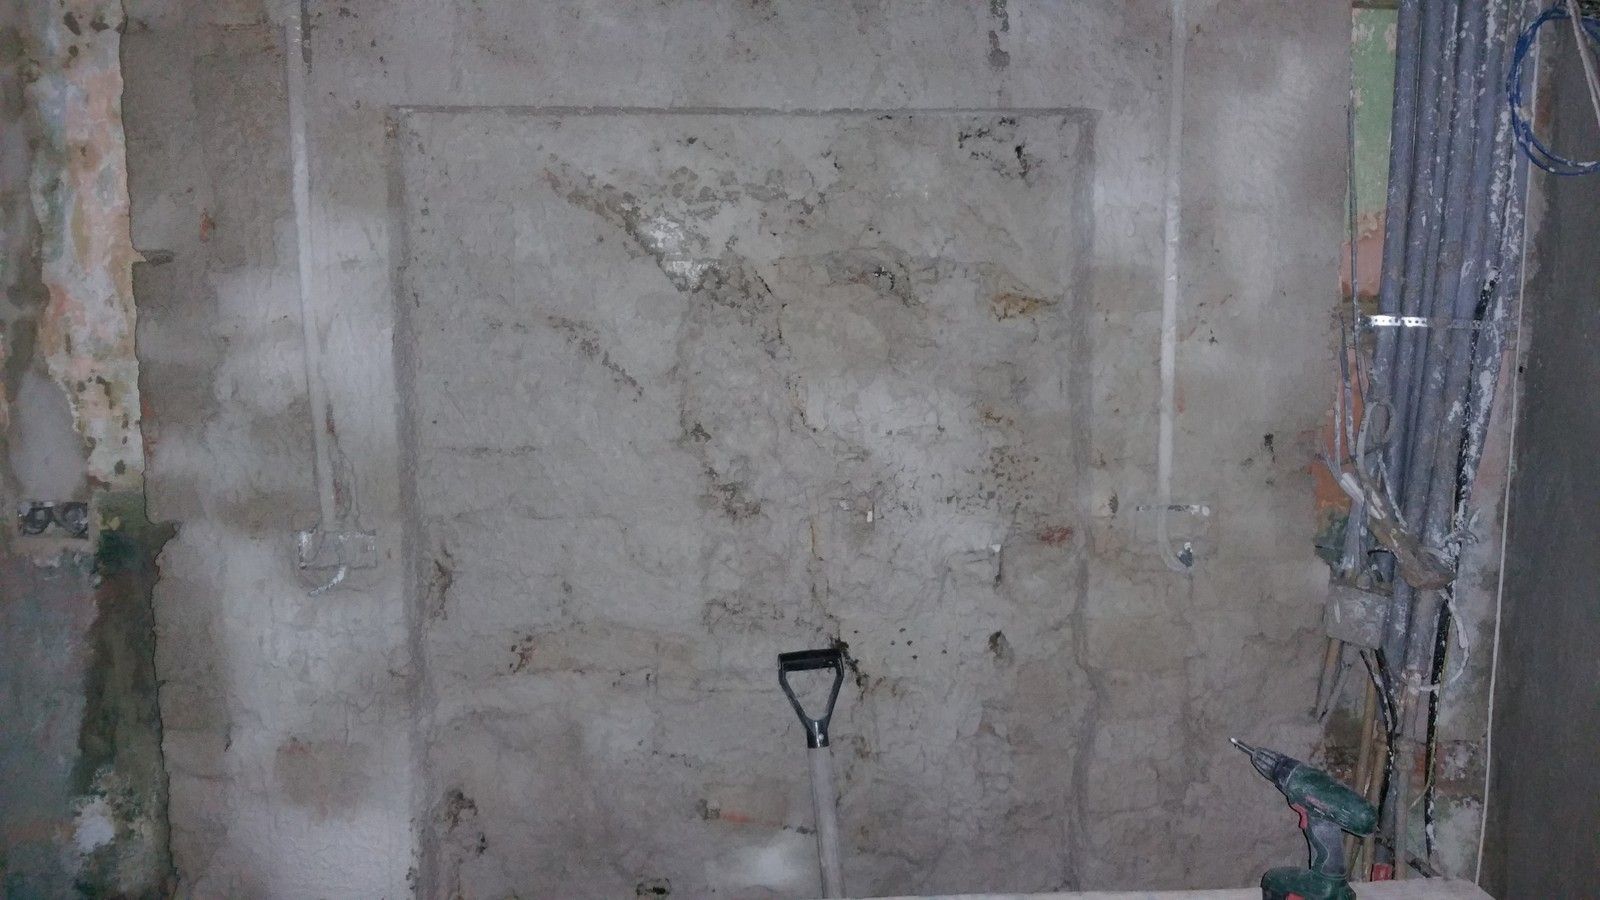
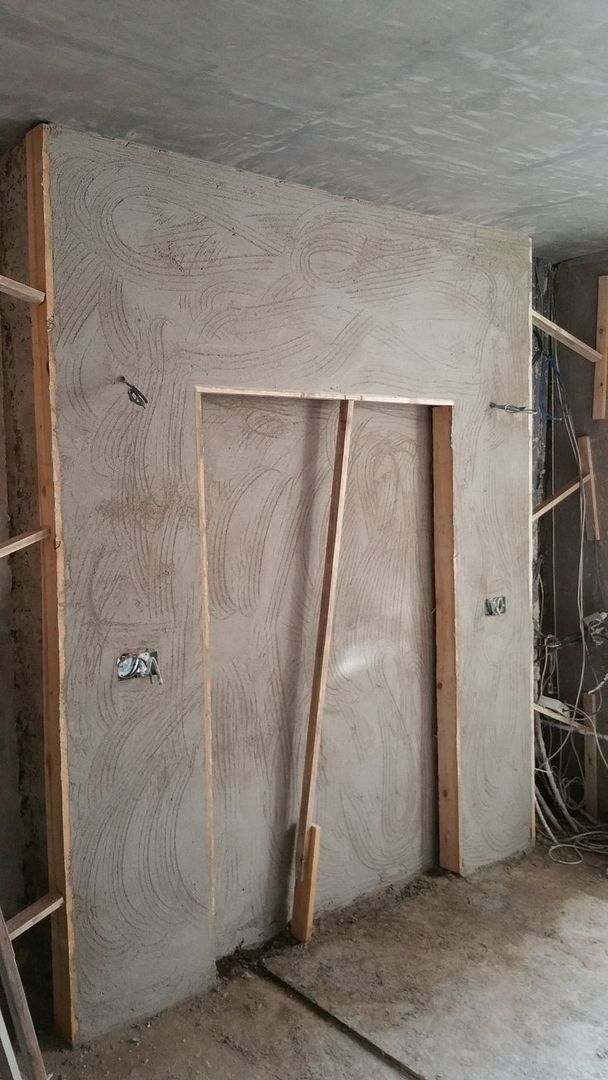
As mentioned in recent posts, the opening of the chimney breast in the kitchen just wasn't possible to the extent I wanted, but four inches of depth was achievable which is better than nothing. The opening has since been filled and shaped:
Lime plastering begun, with new low-level sockets for just above the countertop and additional wall lighting to match the front room:
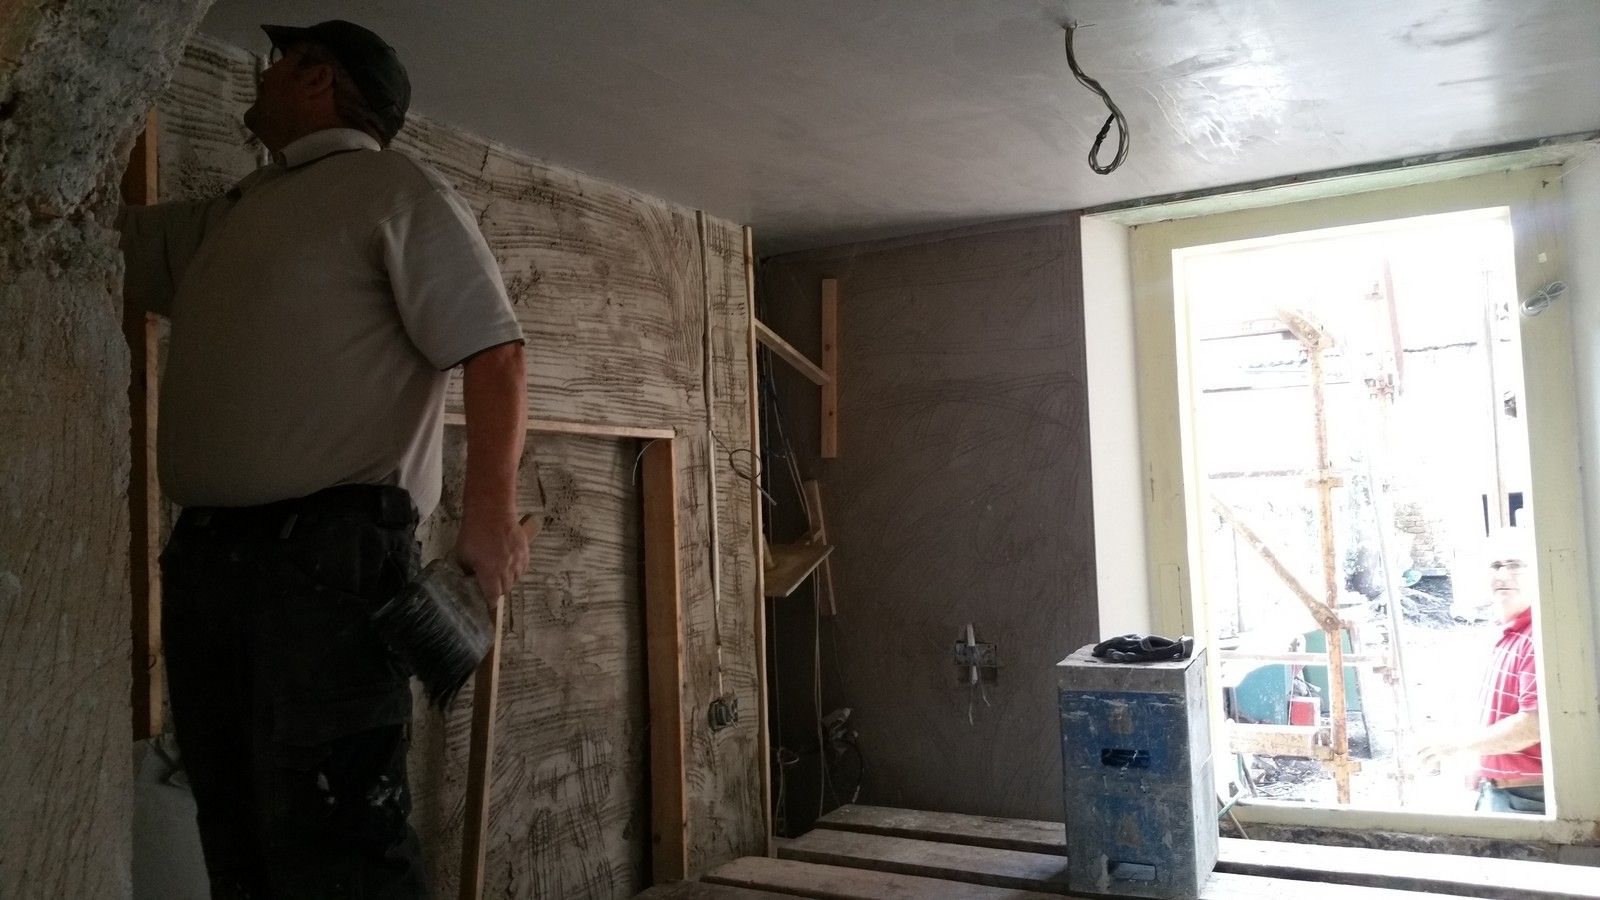
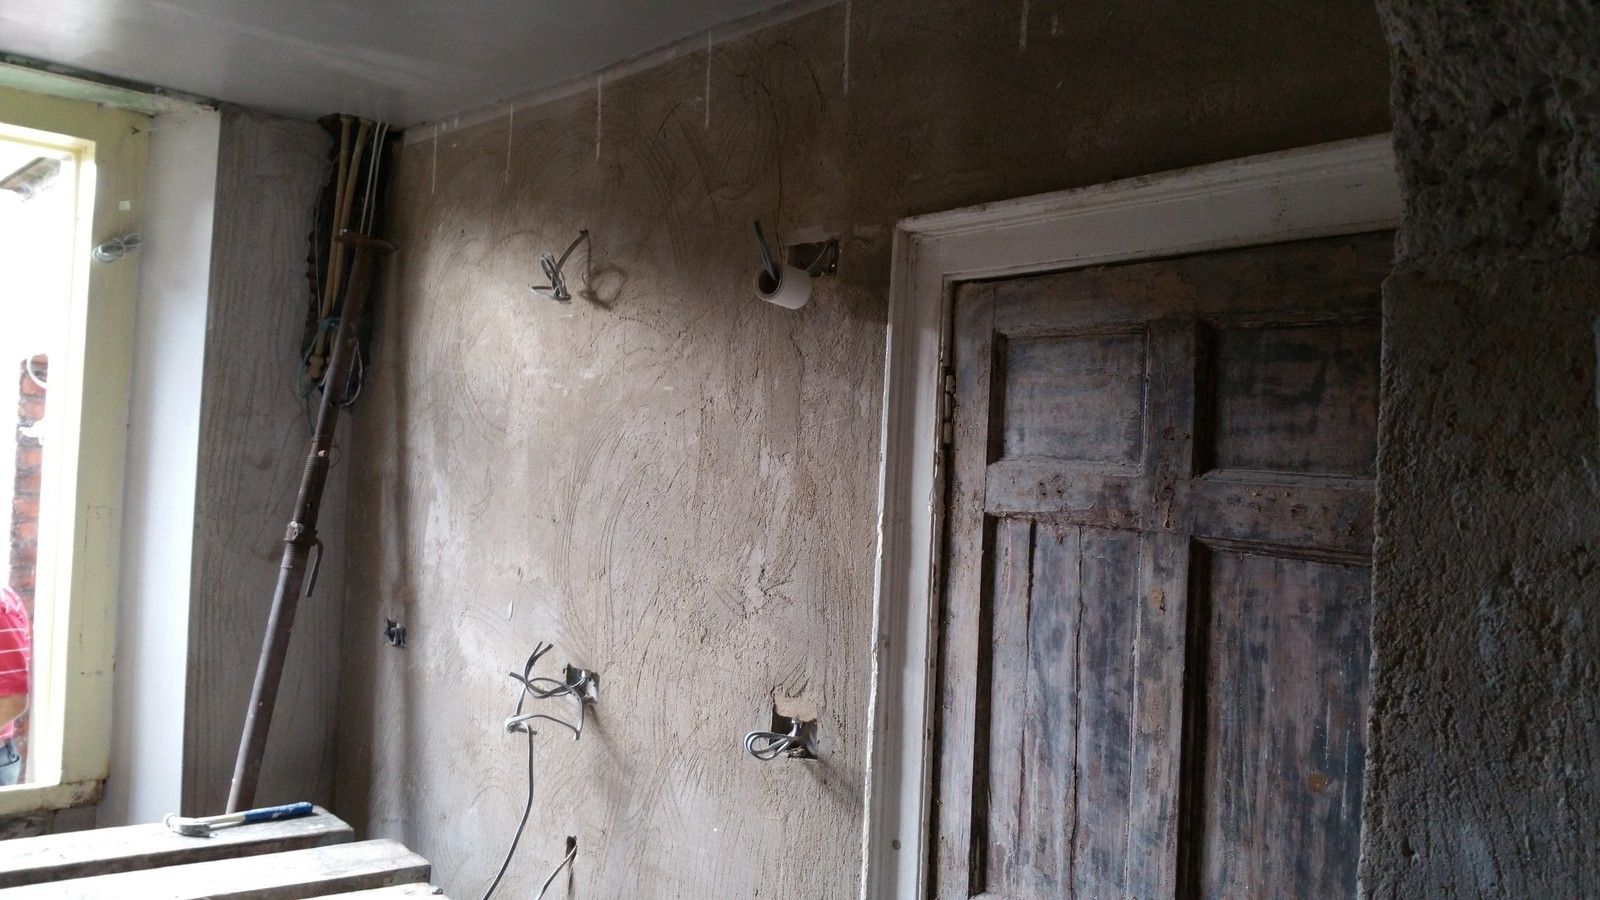
Plastering continuing in the kitchen:
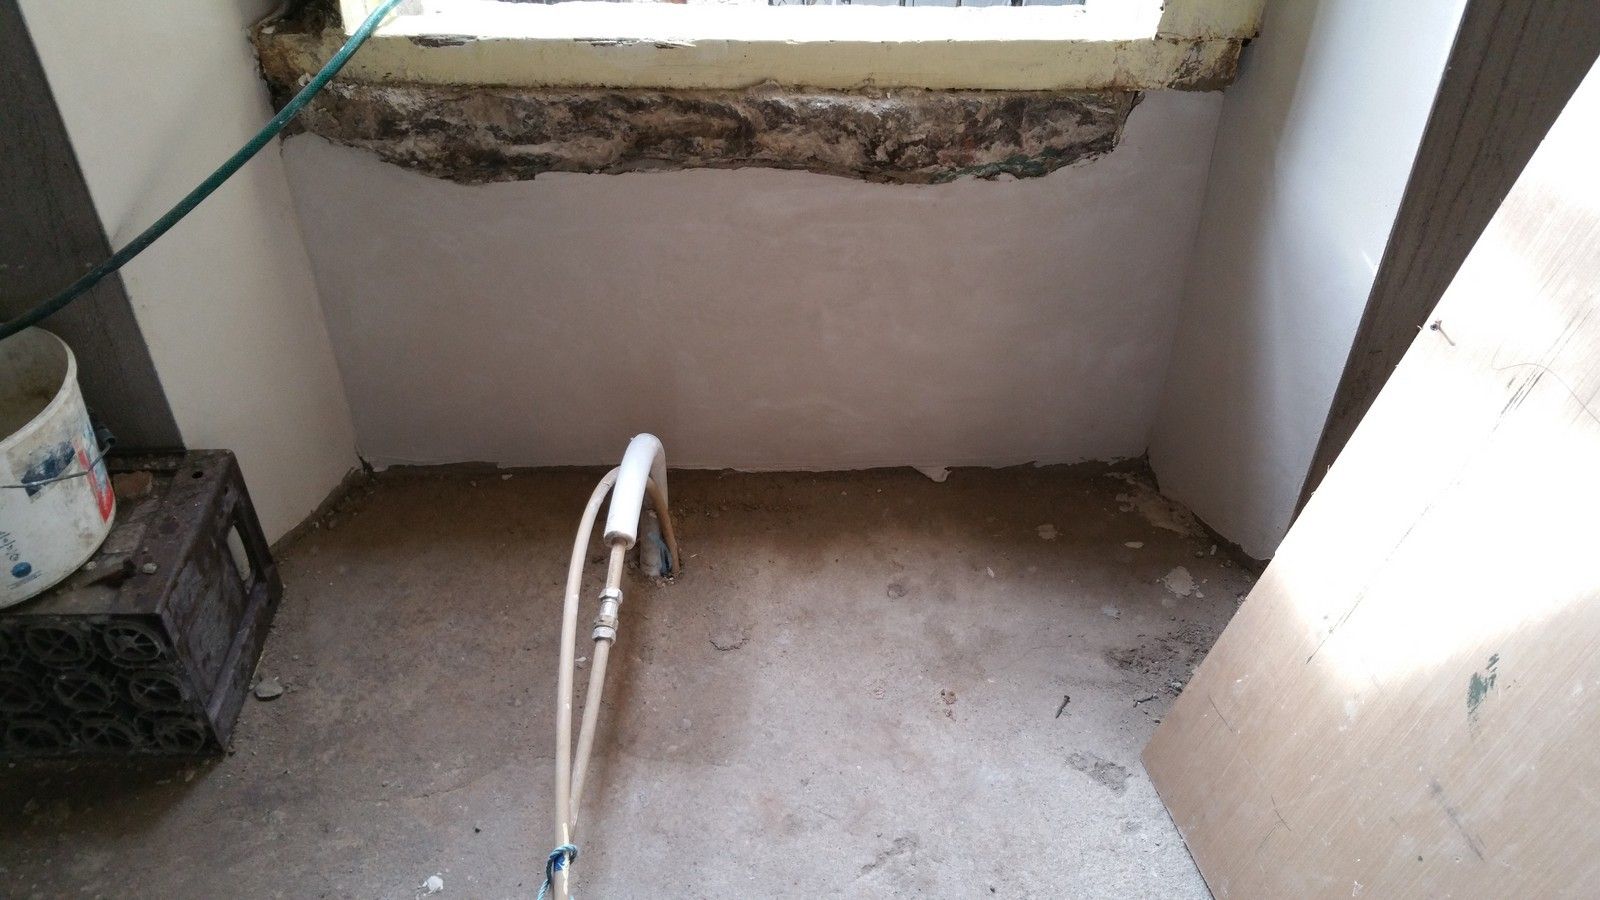
Below is the backside of the huge granite window sill protruding into the kitchen. The intention is to have the countertop flush with the top of the window frame at this point, as cutting the sill could result in it cracking. A Belfast sink will reside on this lower portion of counter:
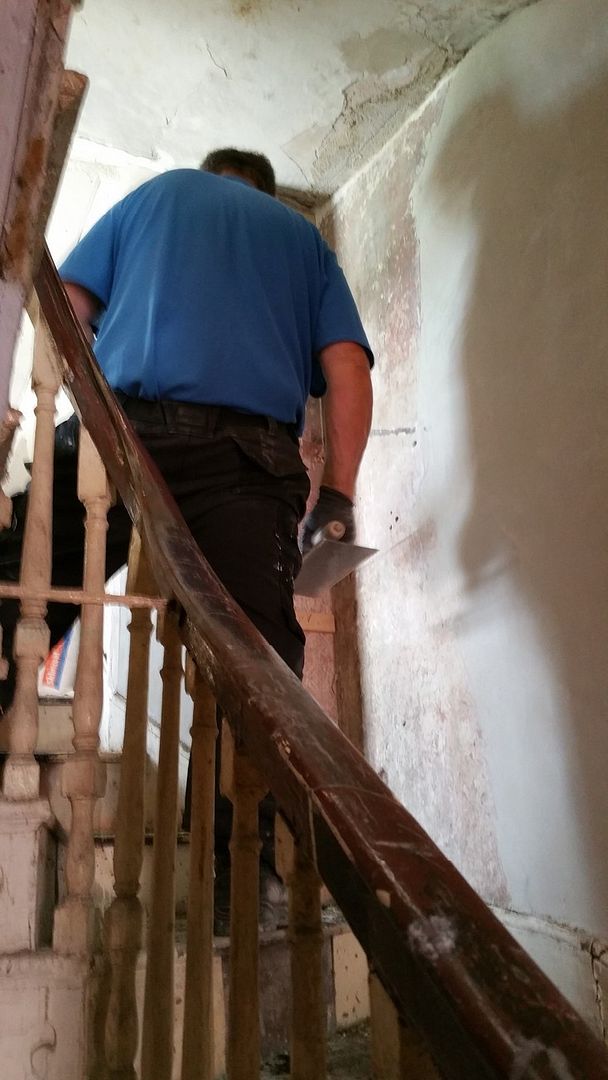
More plastering on the stairs:
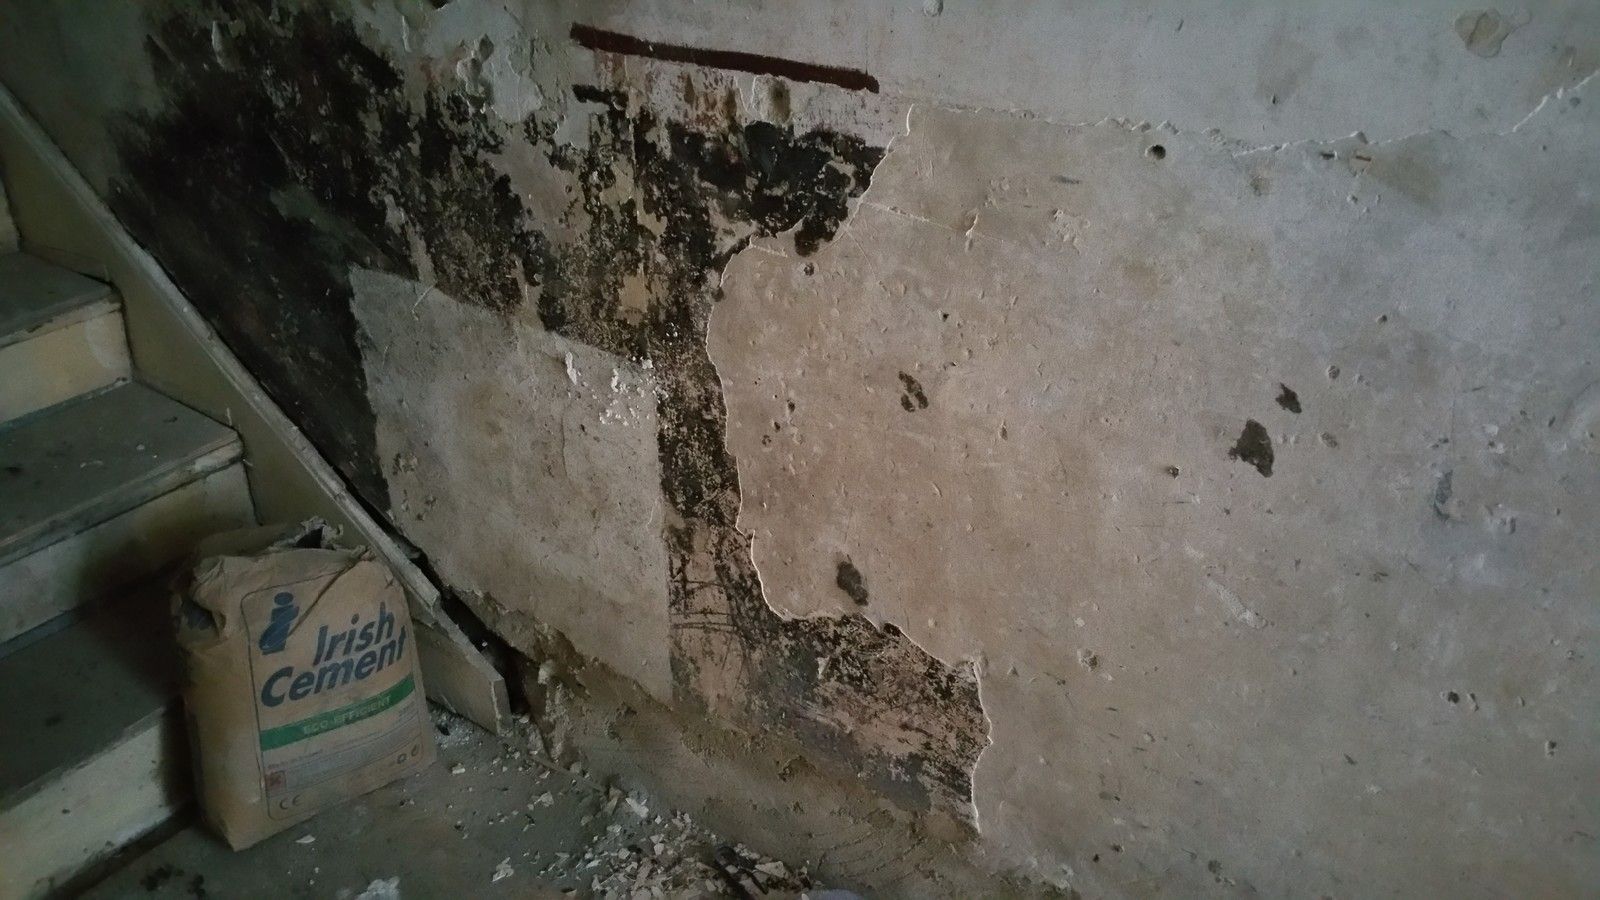
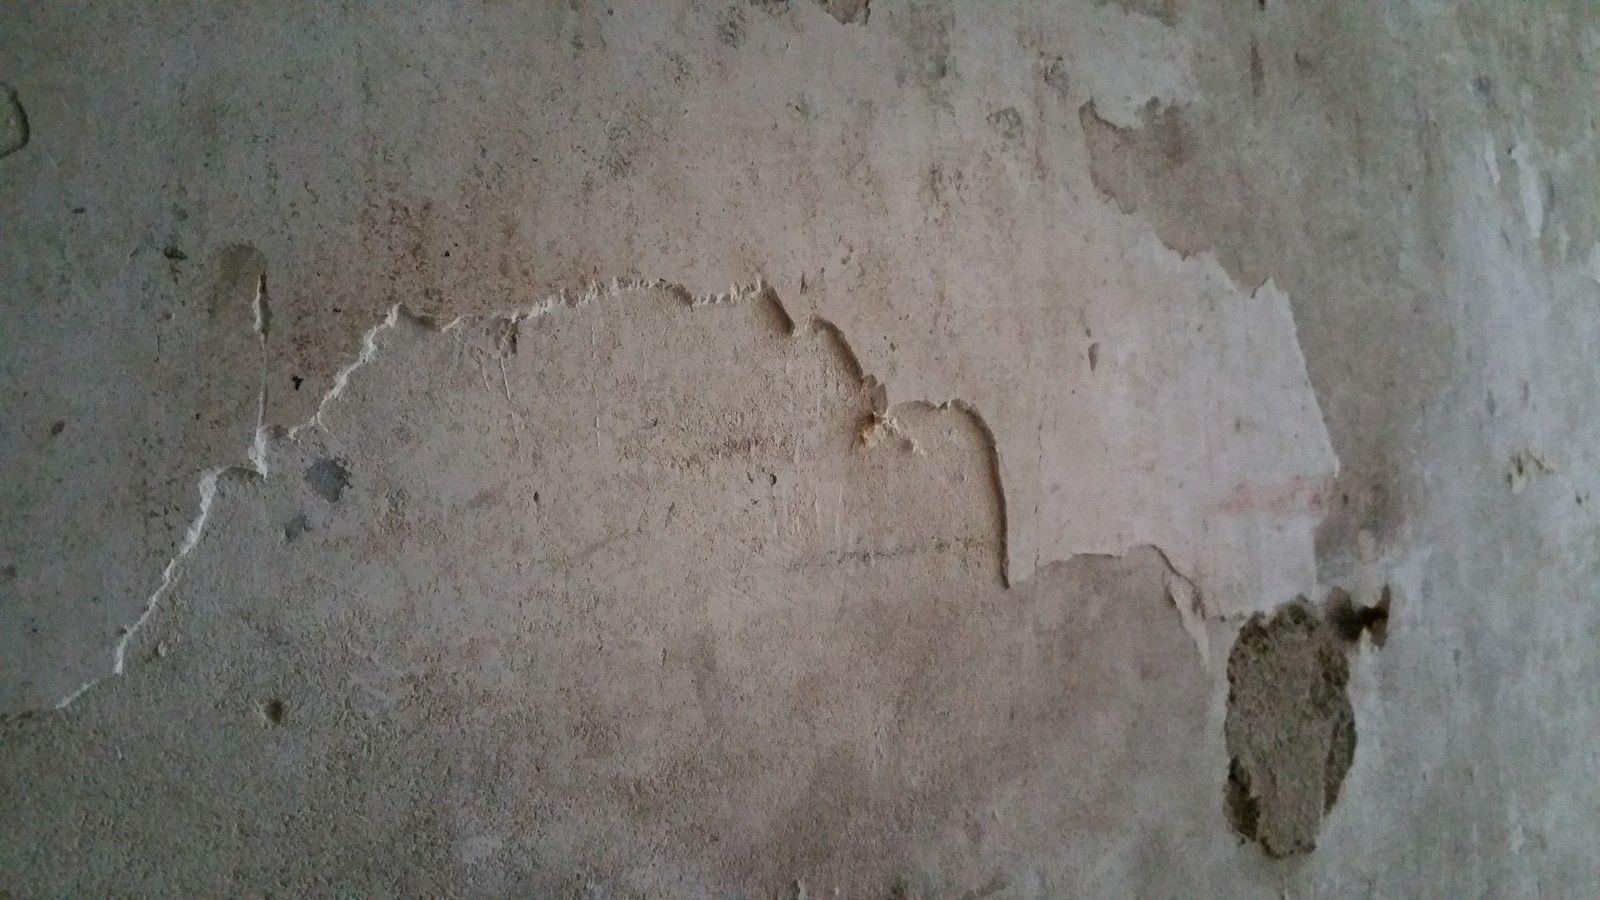
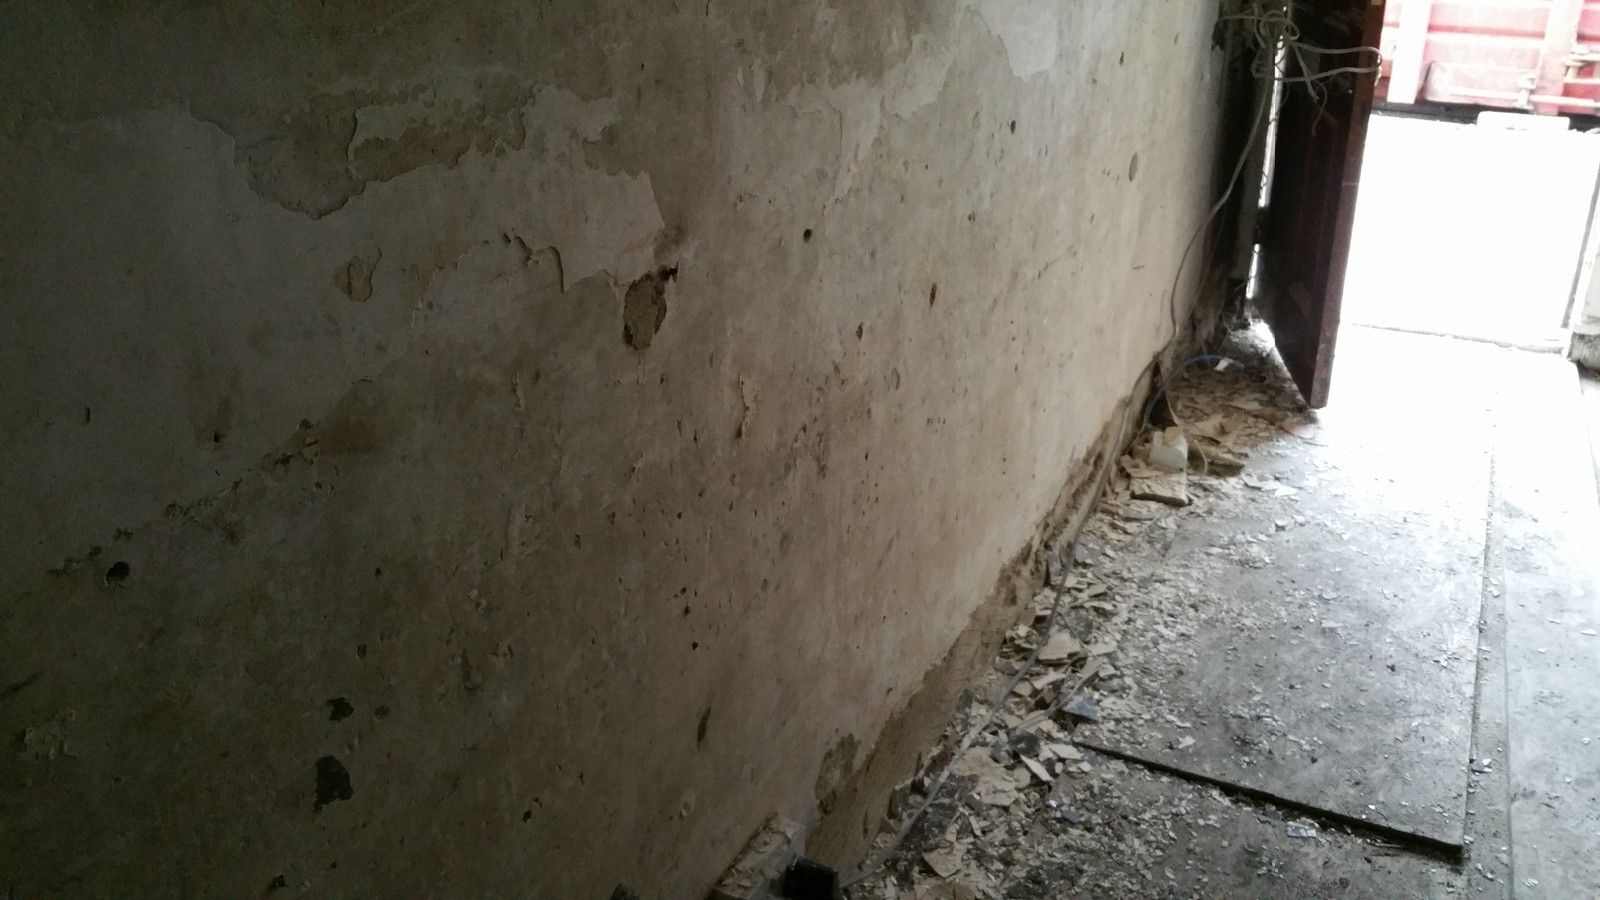
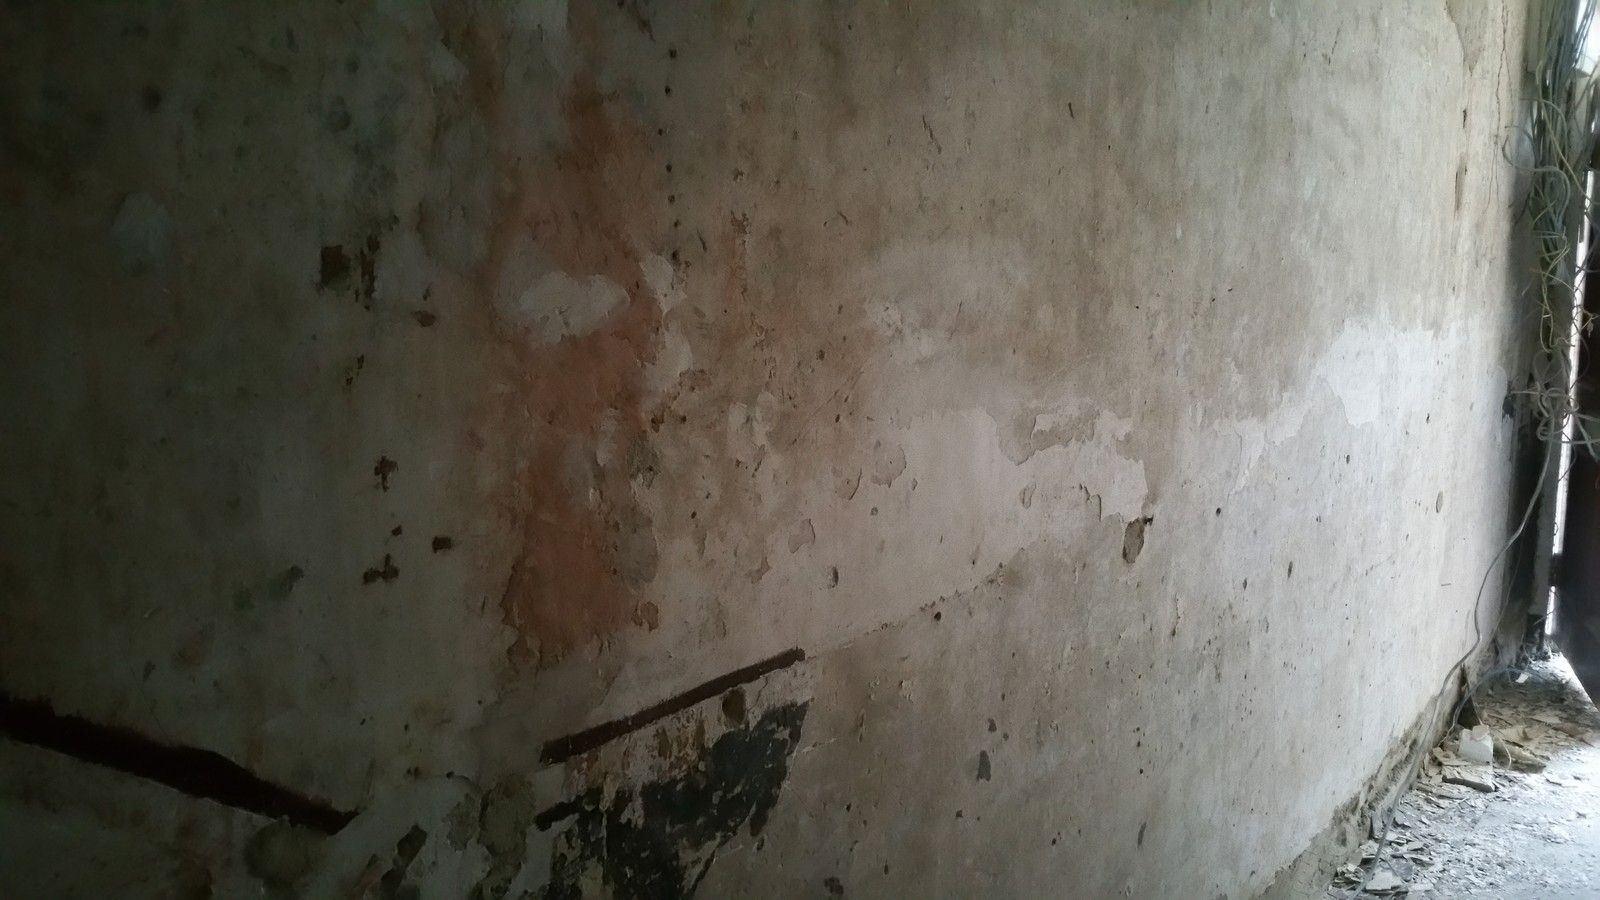
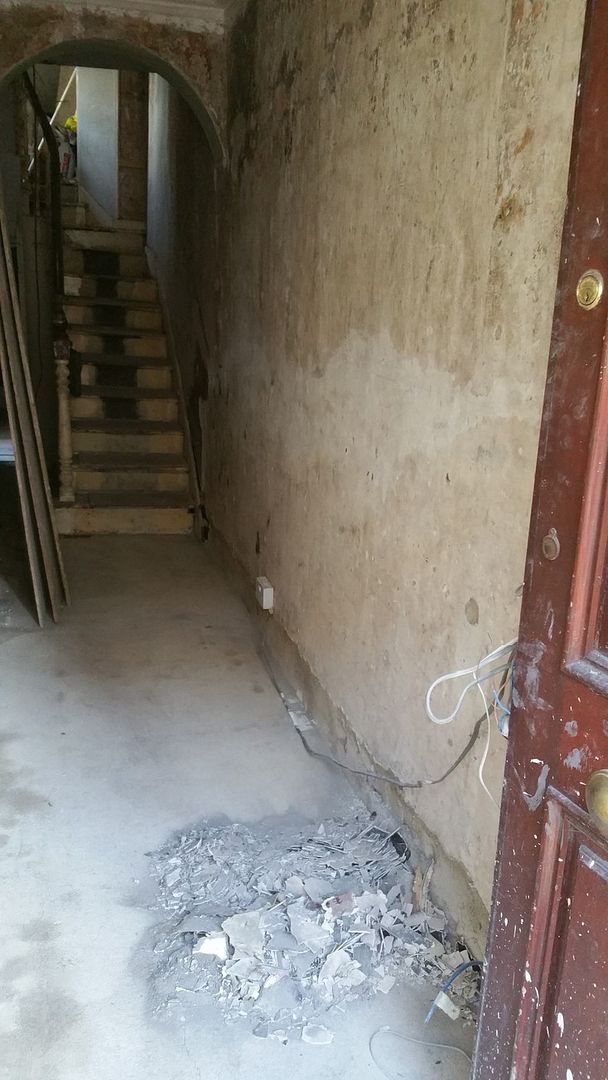
Something that has worried me for a while is the black layer of plaster on the lower section of the right hand hall wall. It ran all the way from the stairs down to the front door and was cracked and broken all over. But it turns out to be some kind of bittle, relatively recent skim repair plaster that came off very easily, exposing the original lime underneath. This lime can now be patch repaired like all the other walls:
No clue why it was ever applied, it came out great!
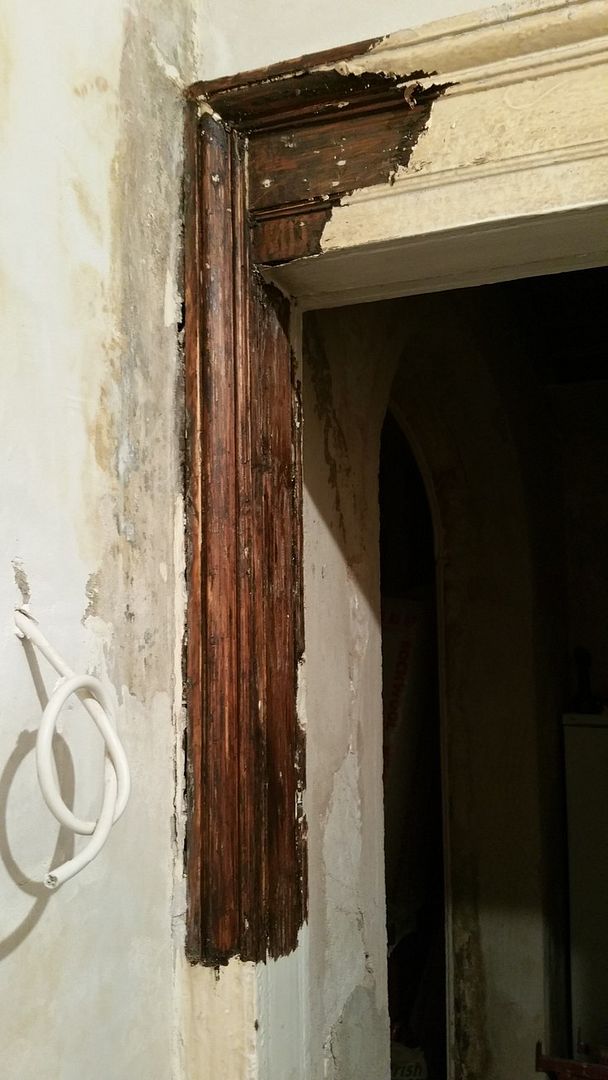
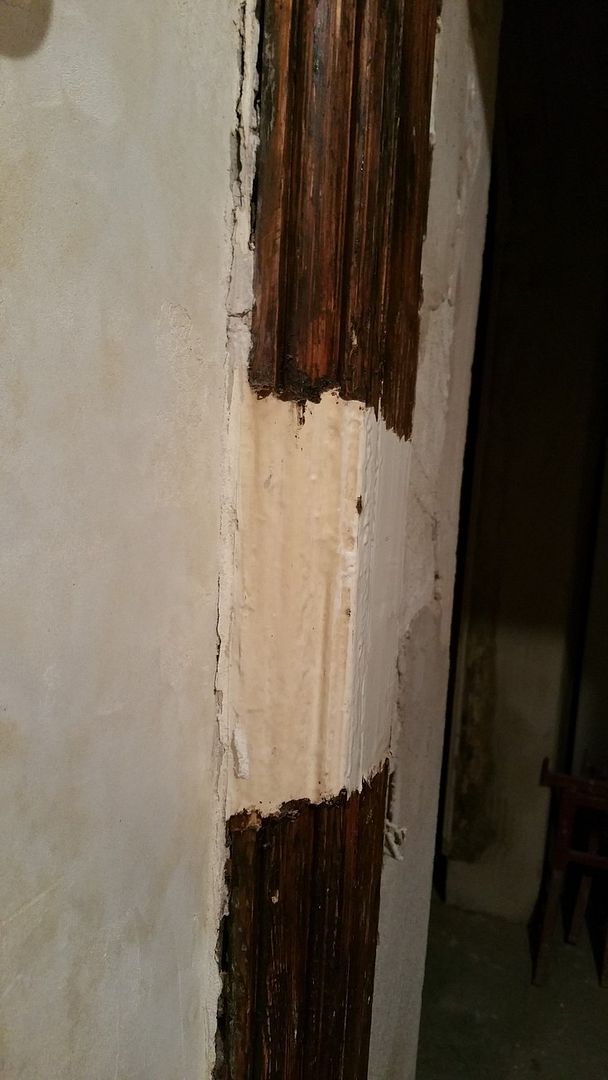
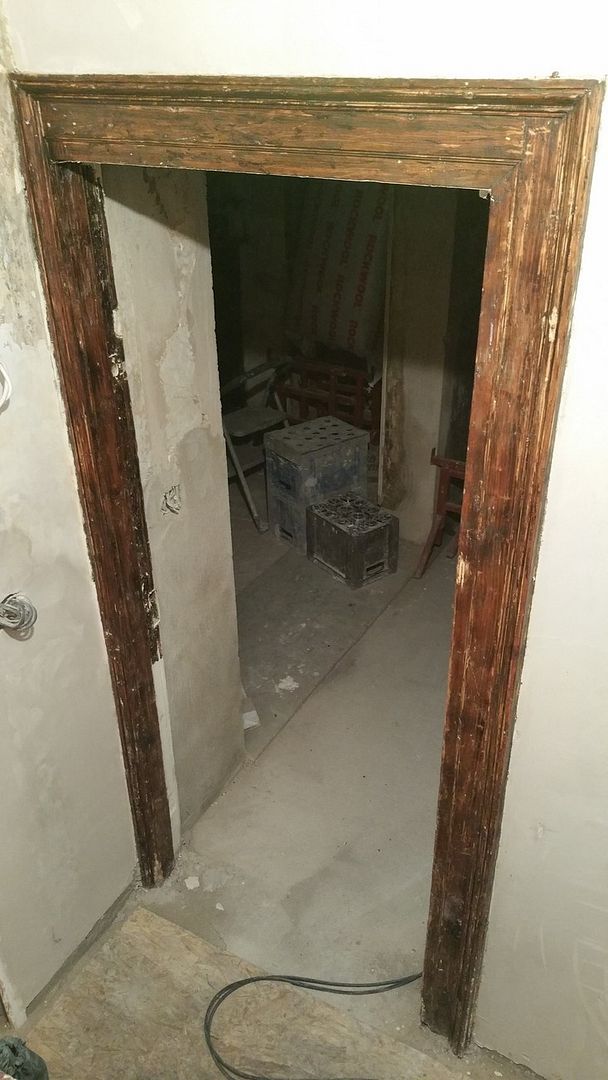
I also started stripping paint on the ground floor, just for a chance of pace; it makes all the difference:
Every bit of detail just gets lost behind the thick paint:
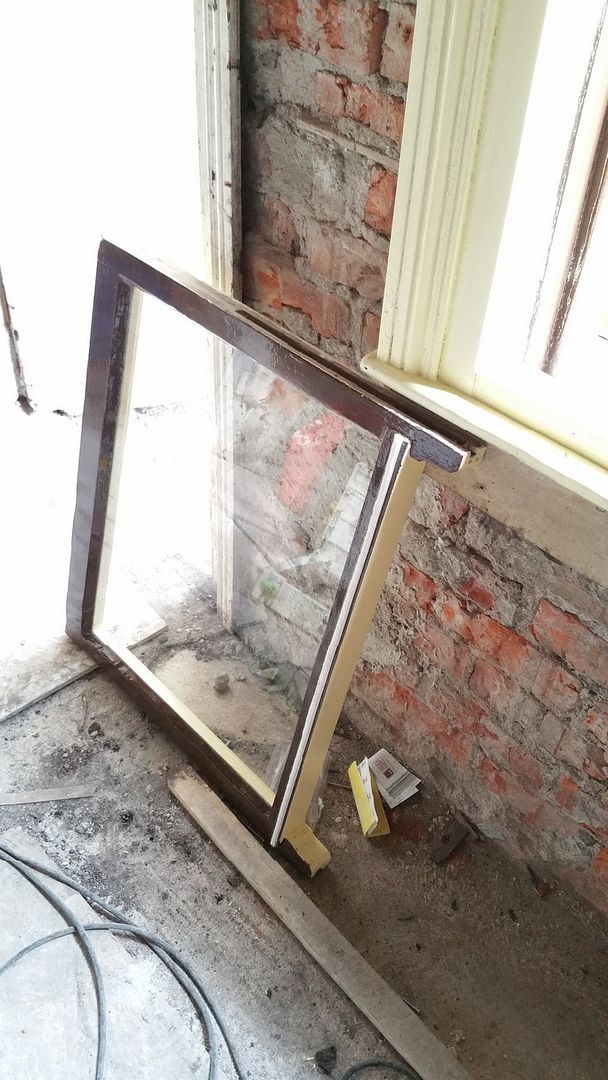
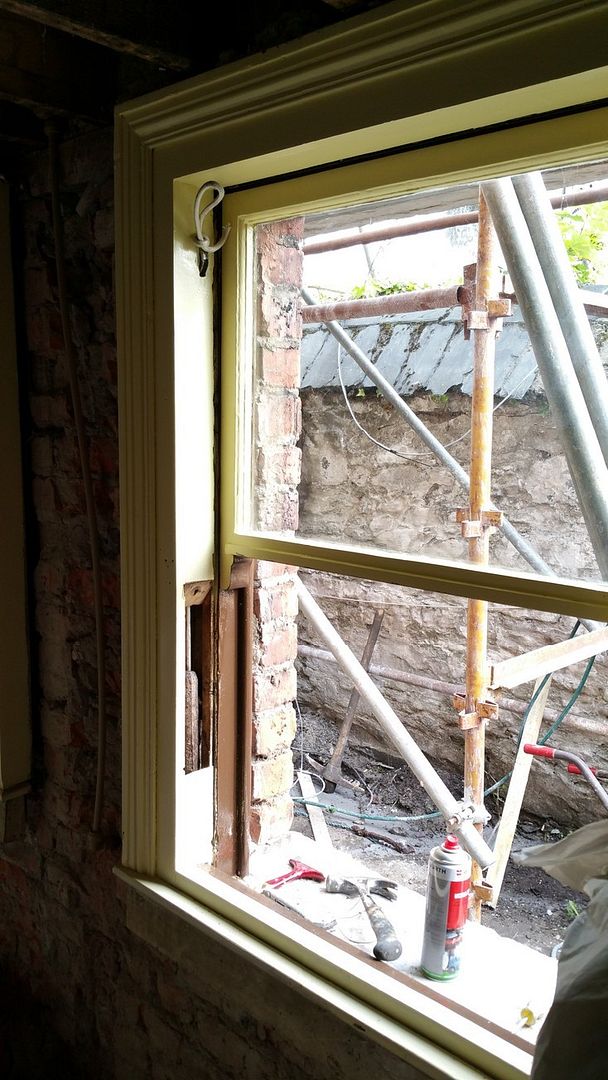
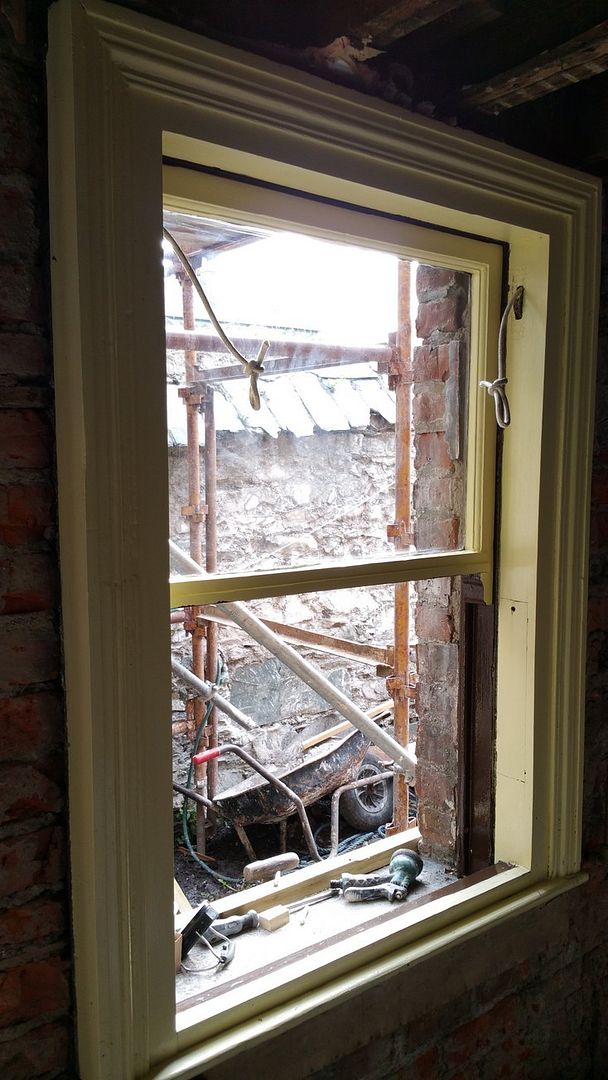
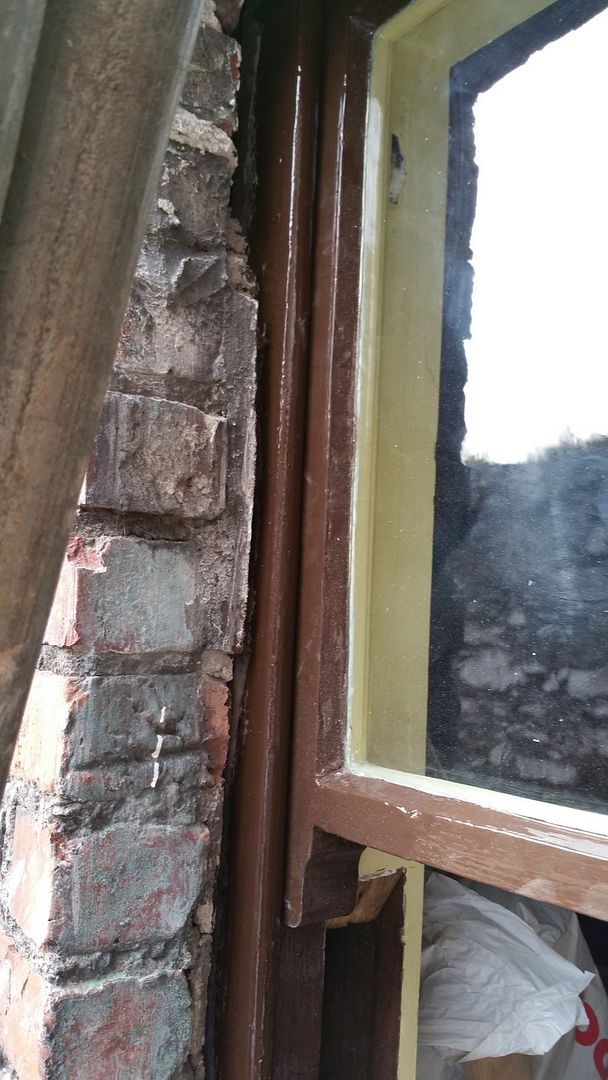
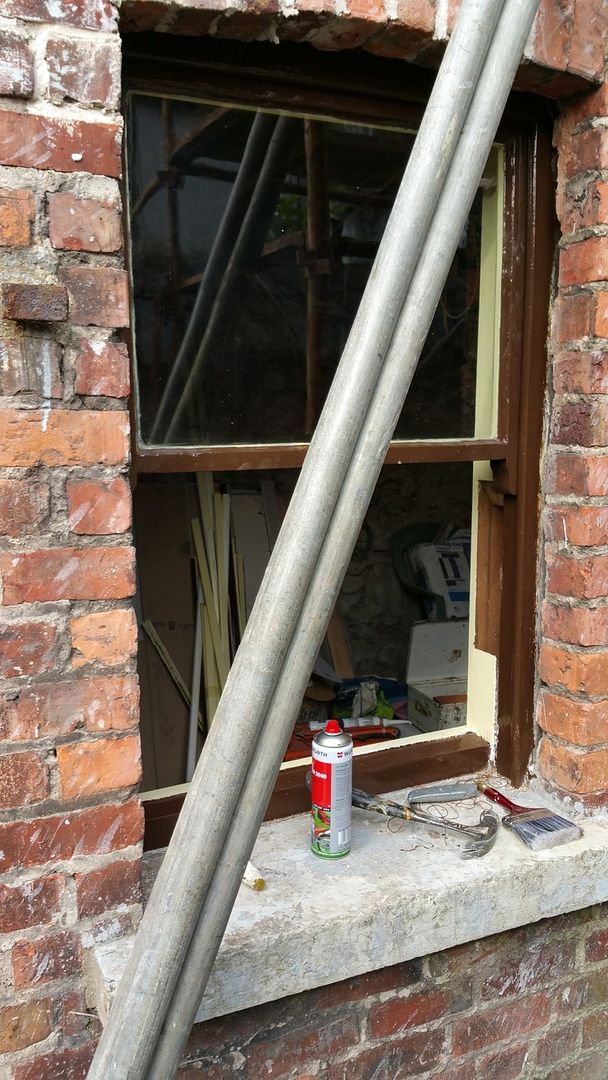
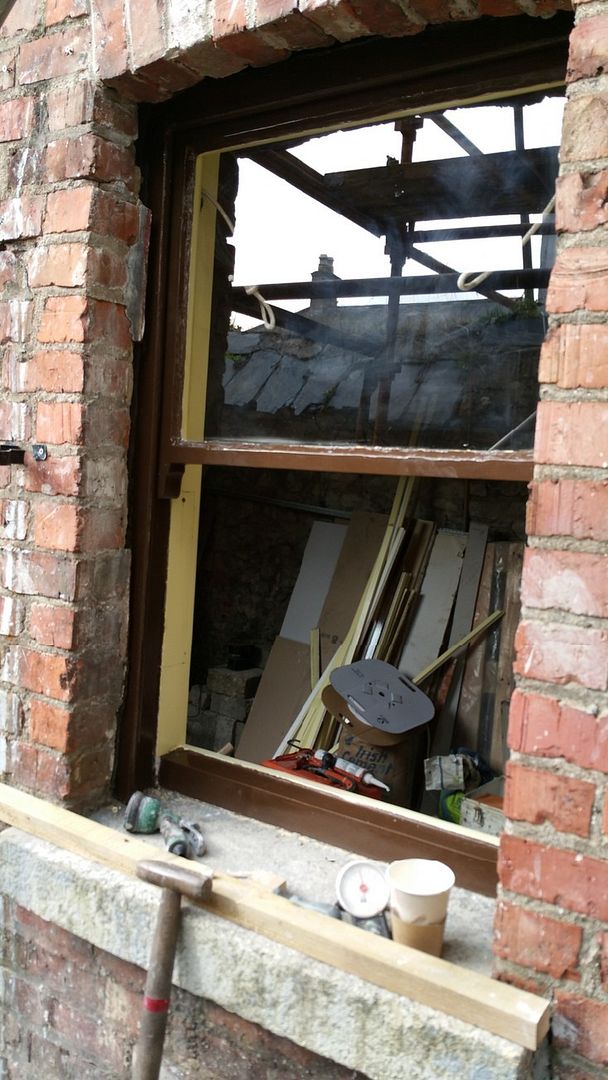
Seamus Martin of Sash Window Repairs was also here last week, installing the restored Victorian sashes downstairs in the return:
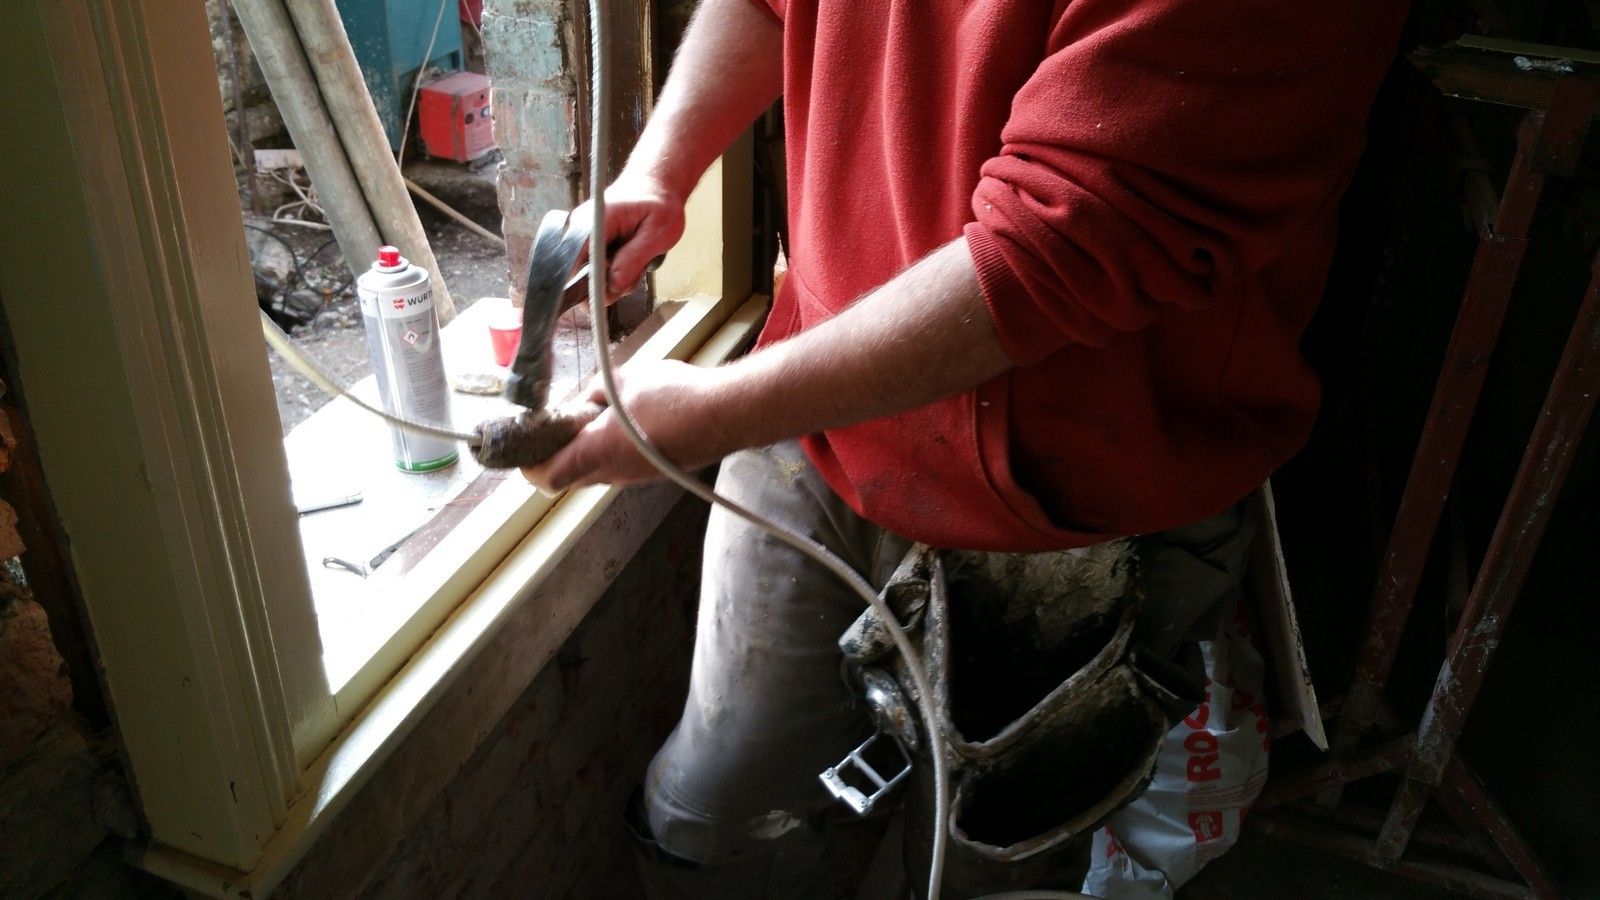
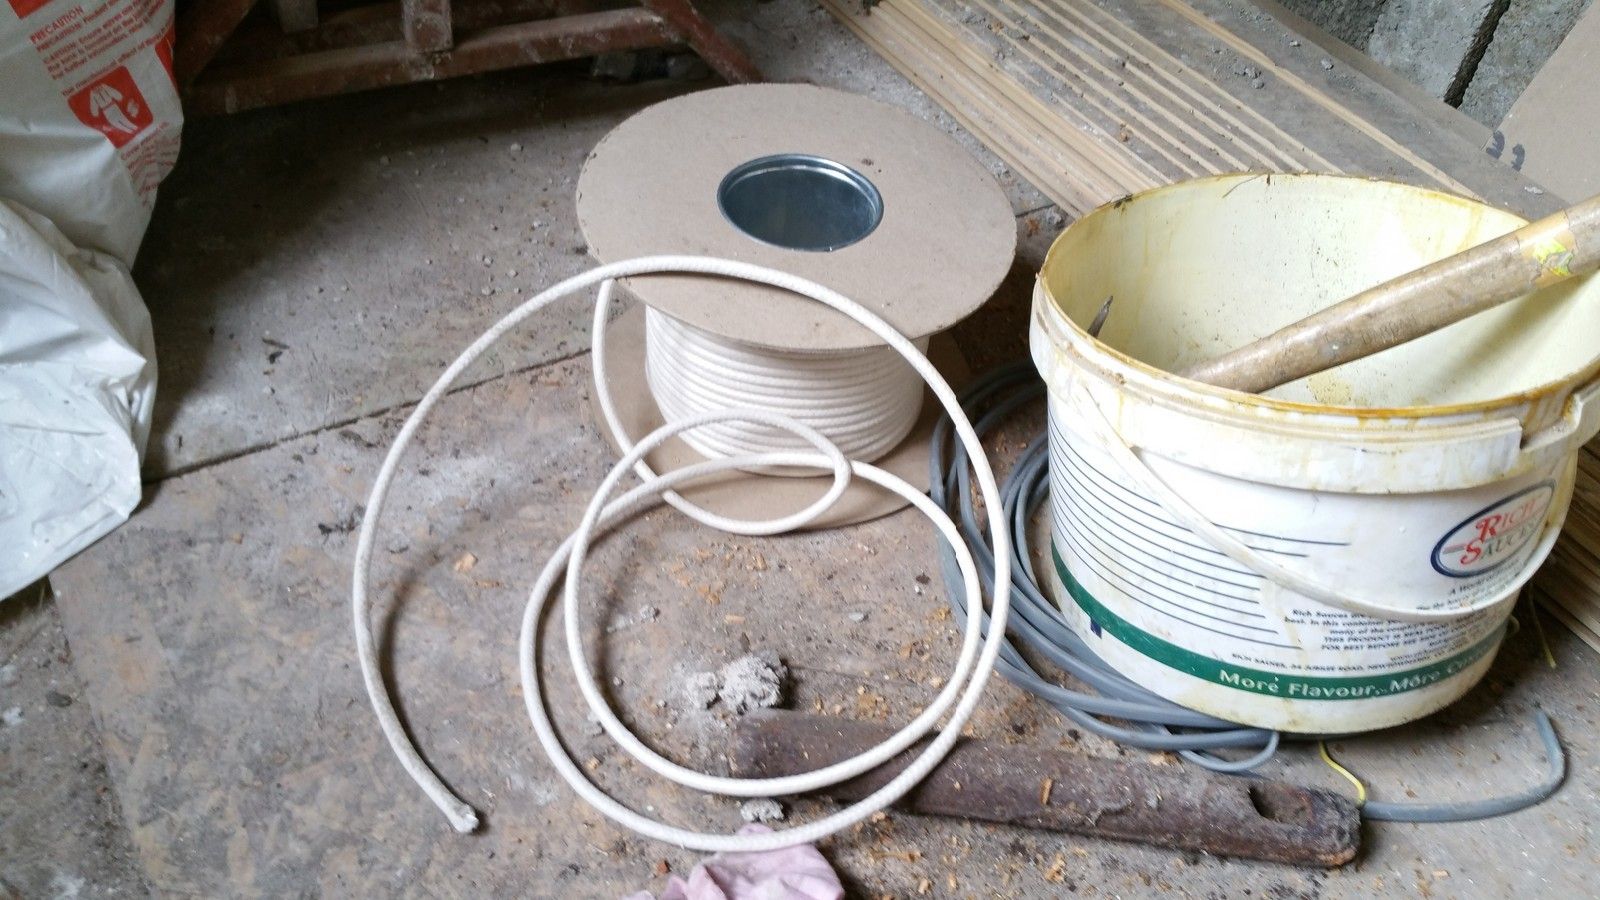
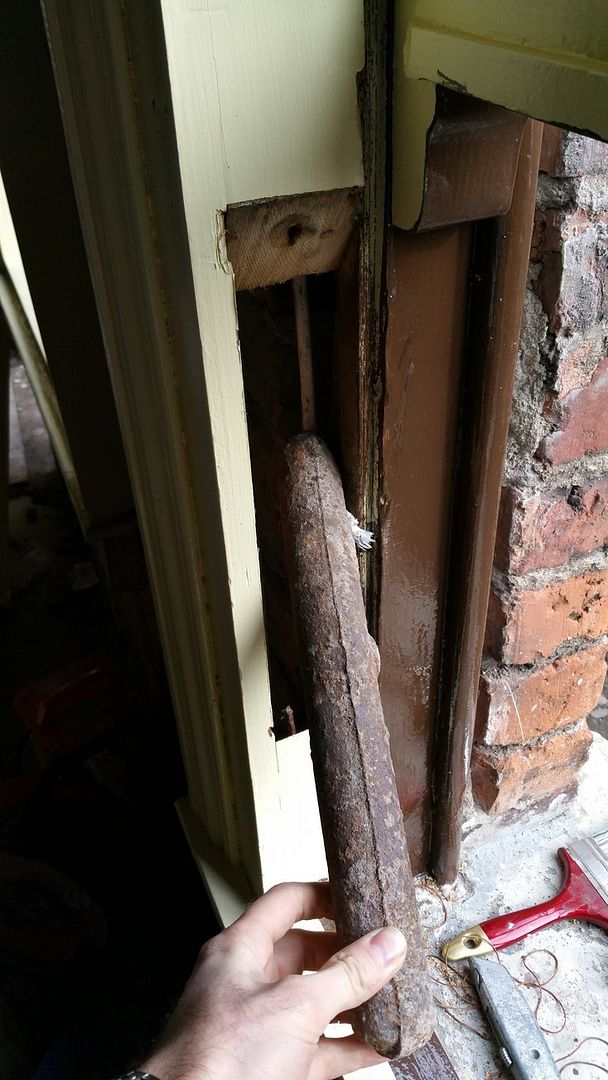
The weights being installed:
The brown paint is the final finish but the cream colour will be changed. The windows also need to be realigned and pushed forwards more once work begins on the return again, to bridge the gap between the brickwork and the frames. The glass is original single glazed, crown glass.
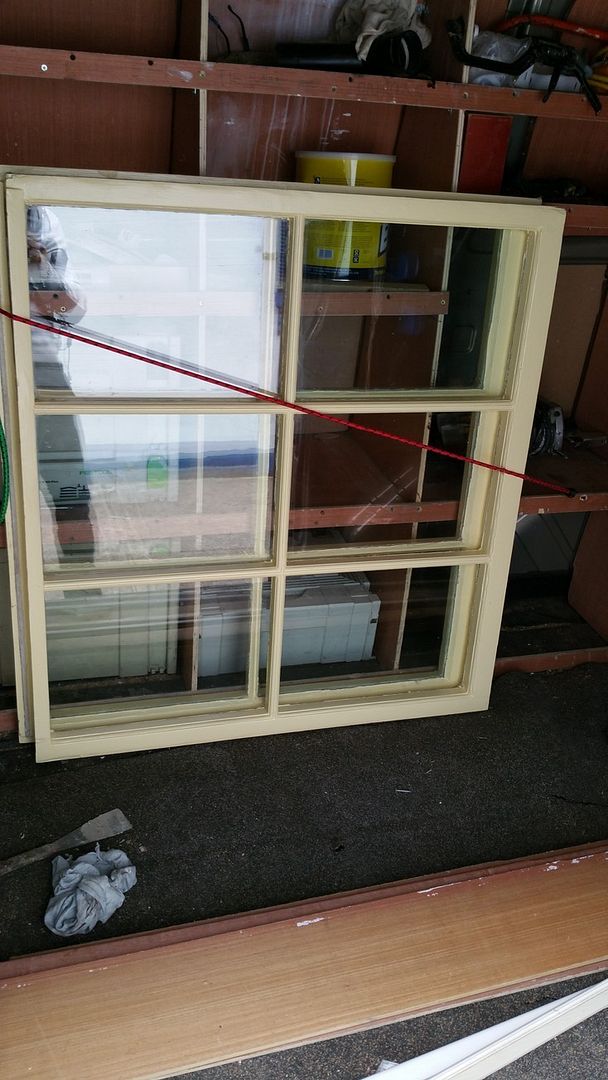
The restored sashes for the kitchen window, with the reinstated glazing bars and six over six configuration crown glass:
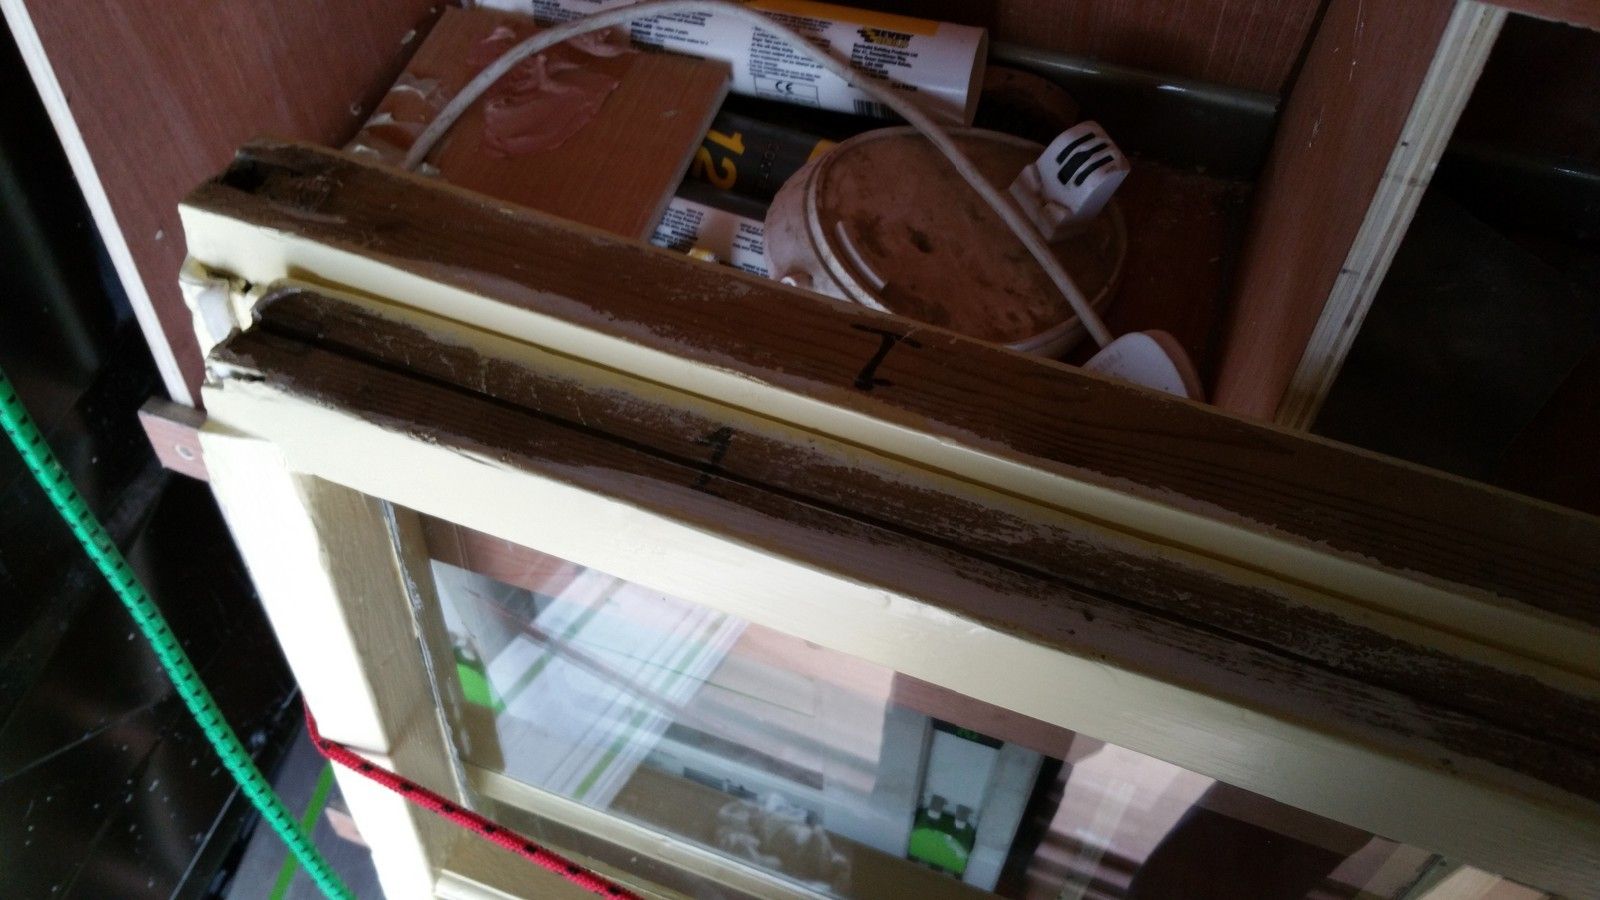
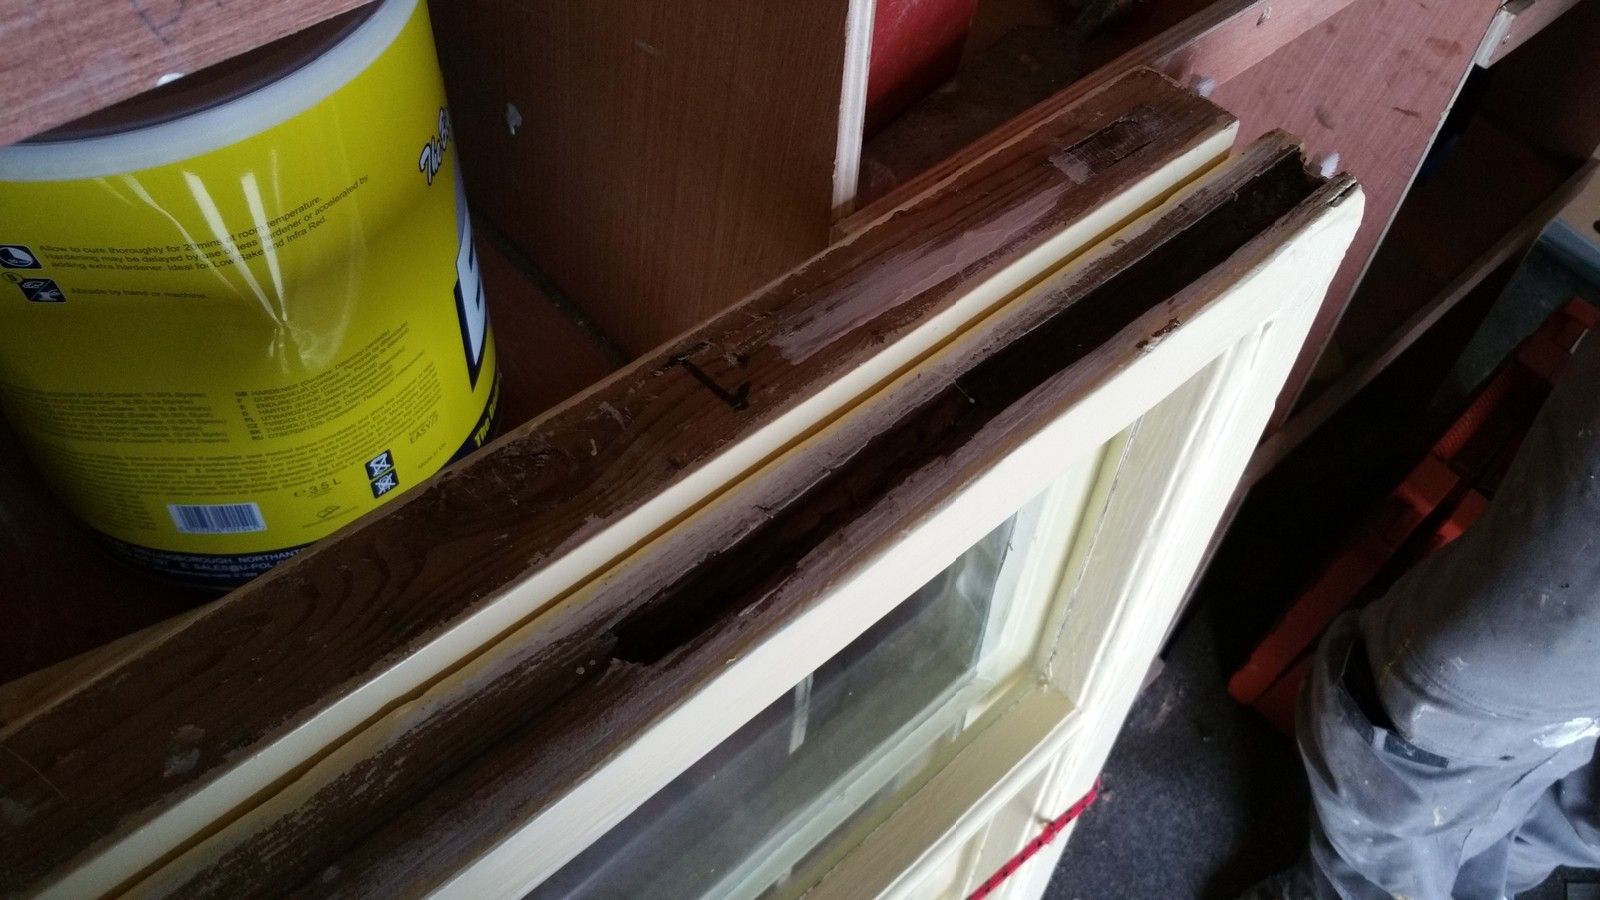
Interestingly, whilst both sashes are original, the lower sash had no tracks for weight ropes, indicating that the lower sash was never actually weighted. This was somewhat common at the back of these houses, or on the very top floors to save on cost and complexity. Seamus is creating a new track for me so both sashes are weighted and fully functional (sashes have yet to be installed).
Where the tracks should be:
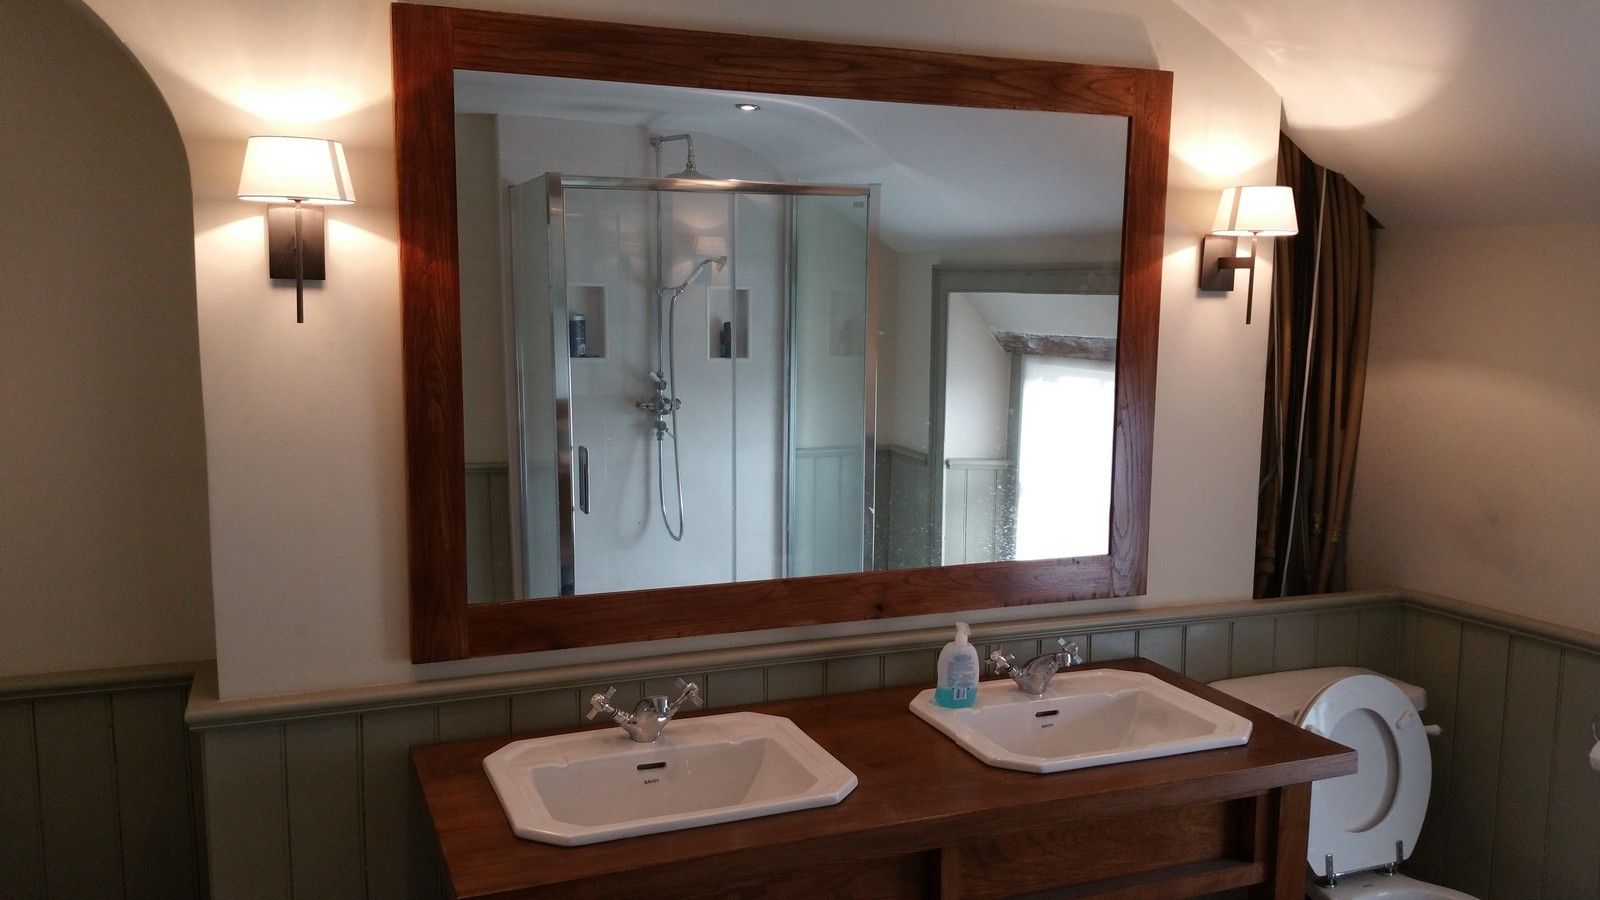
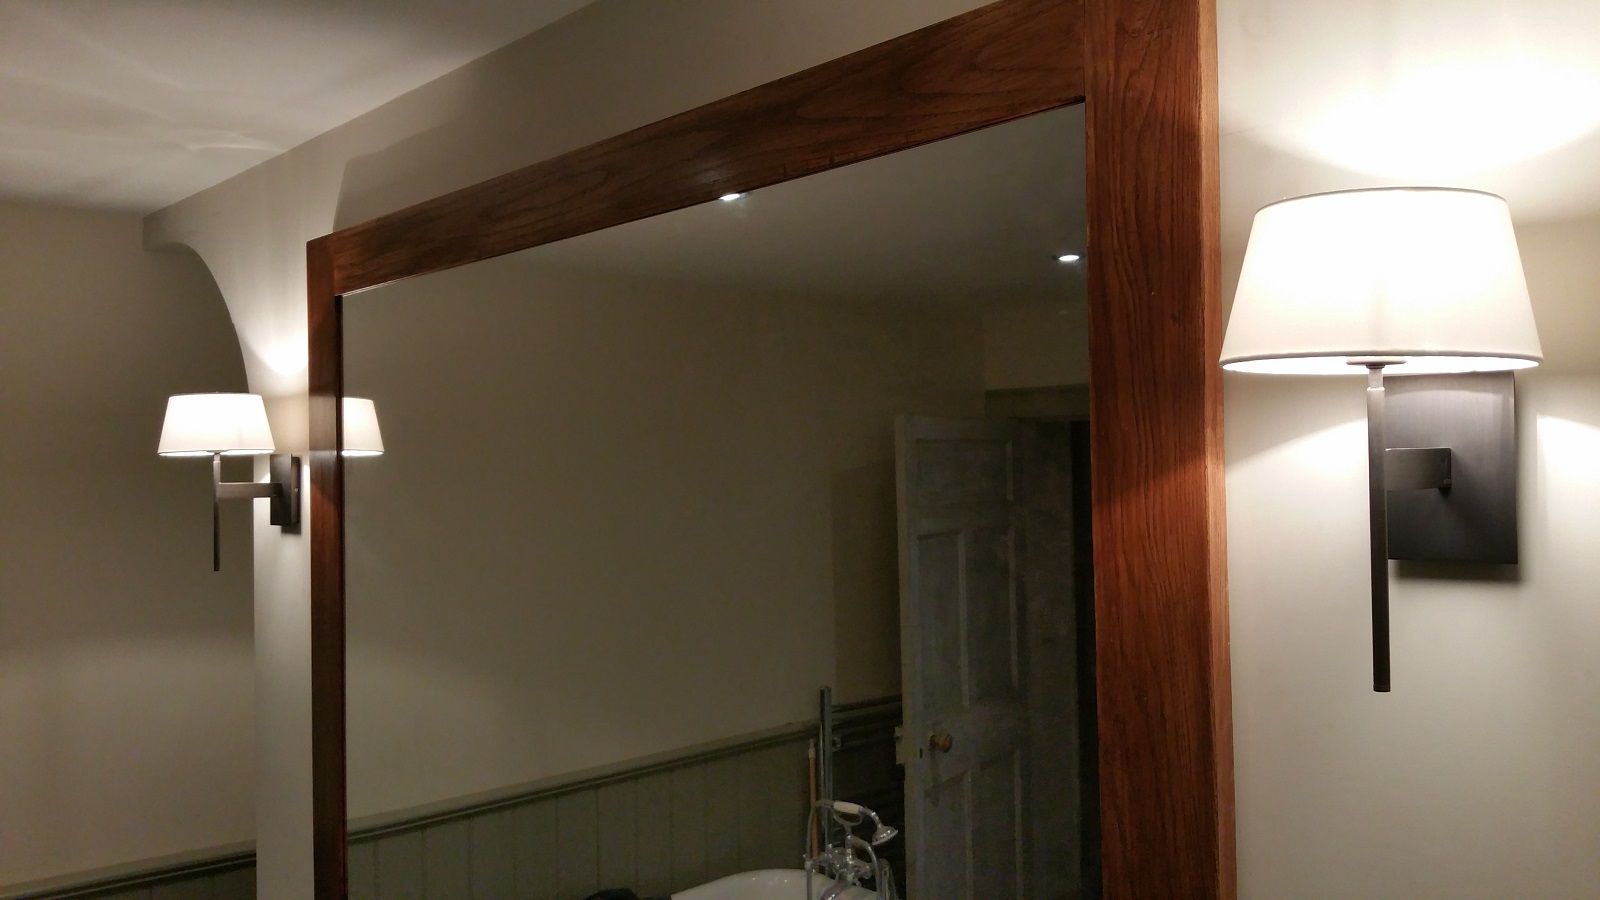
Whilst my electrician was working on the ground floor, I asked him to install my bathroom wall lights which i've had for some time, they look fantastic!
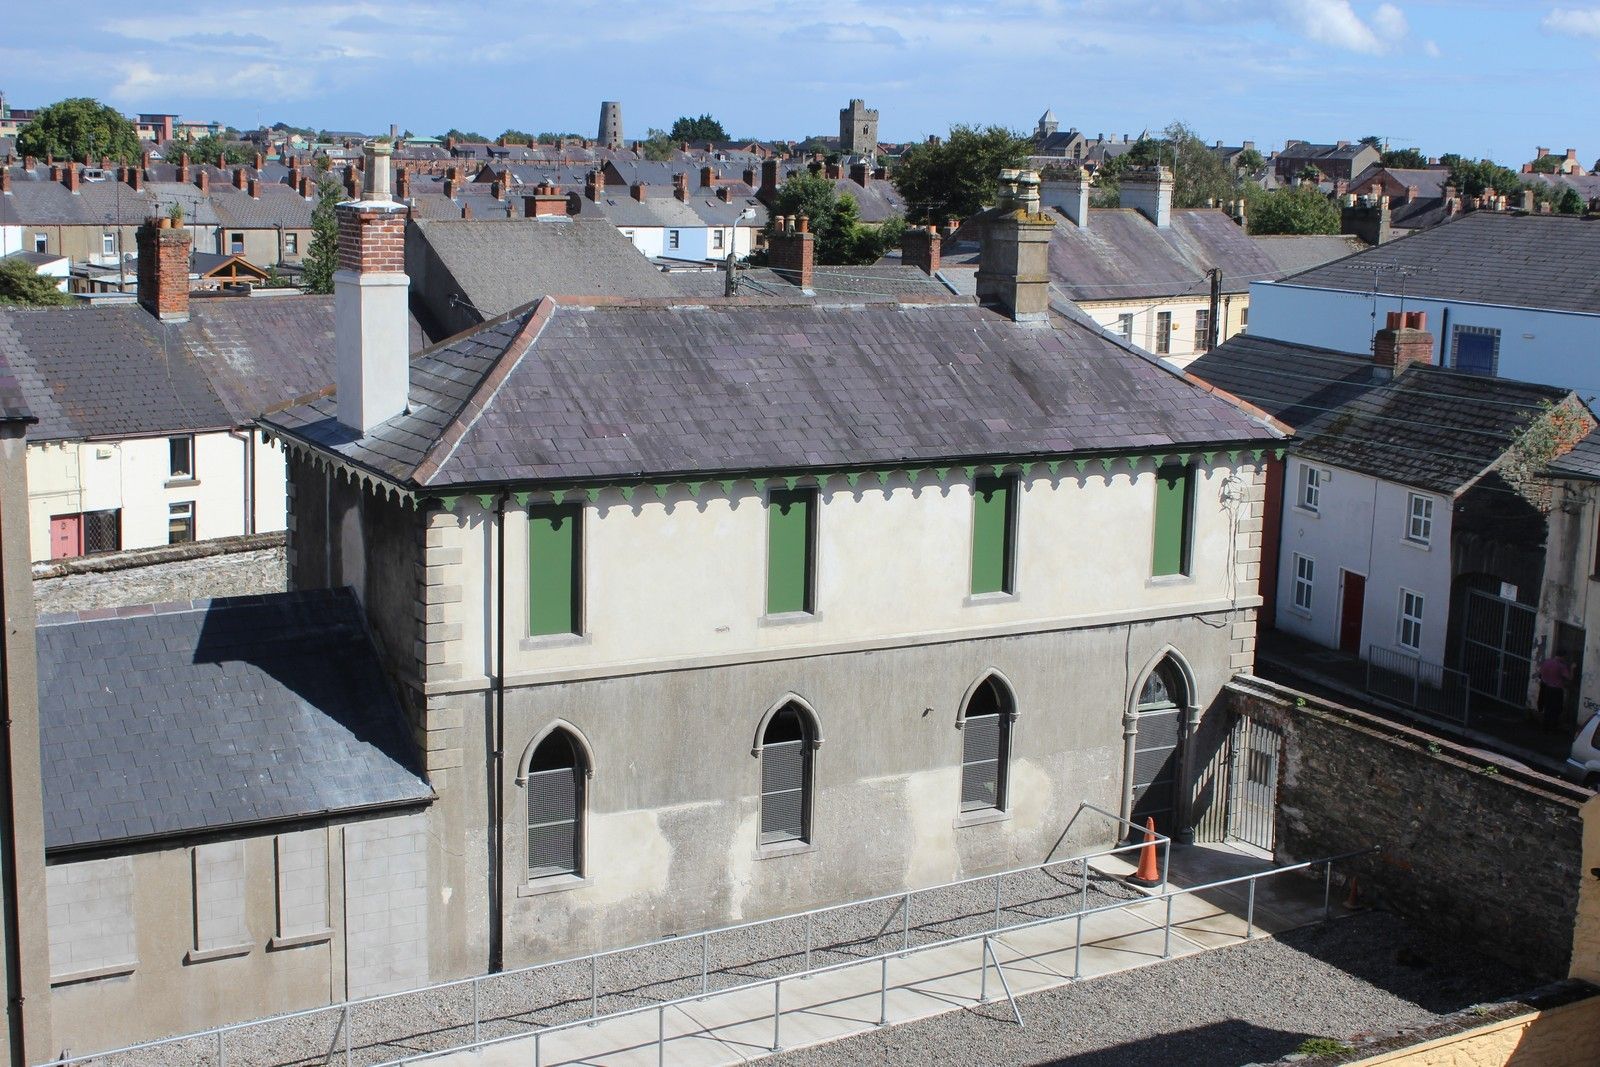
And Wellington Hall's infant school next door has some work of it's own just completed, with a newly re-pointed chimney, new lime render and a window refurbishment underway:
