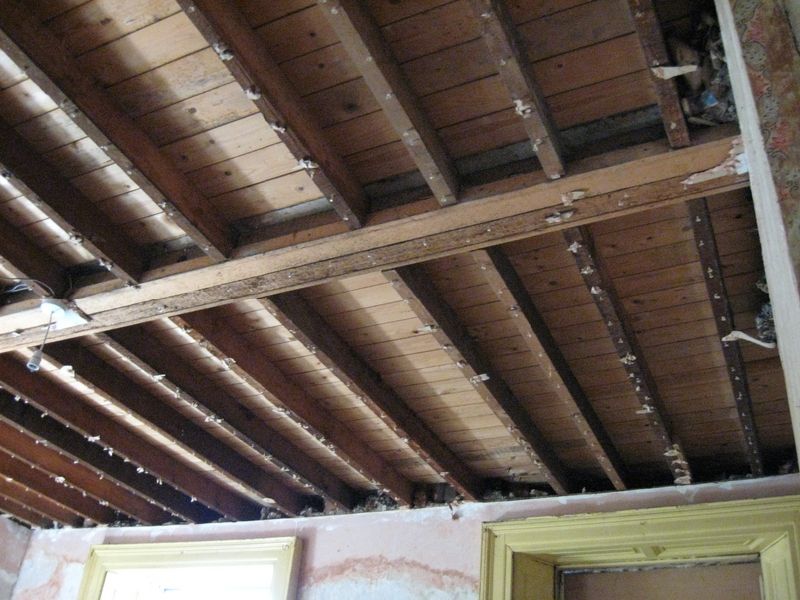
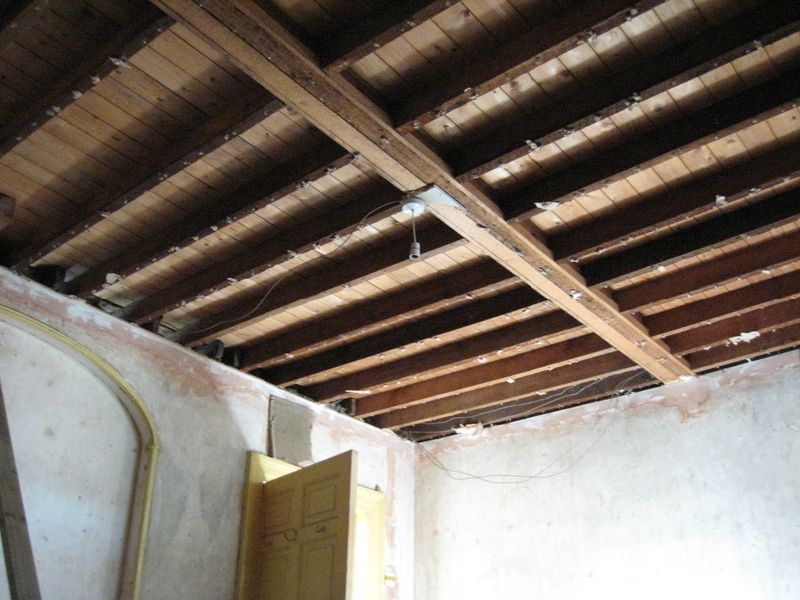
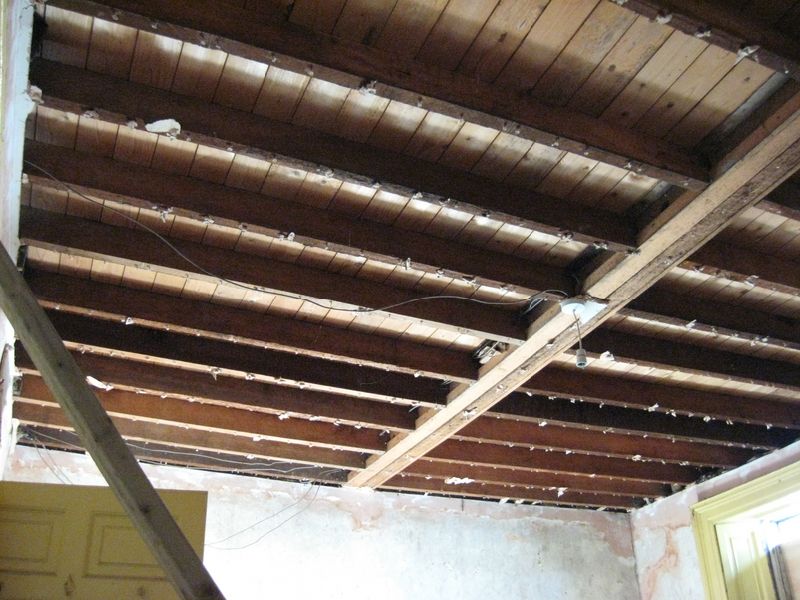
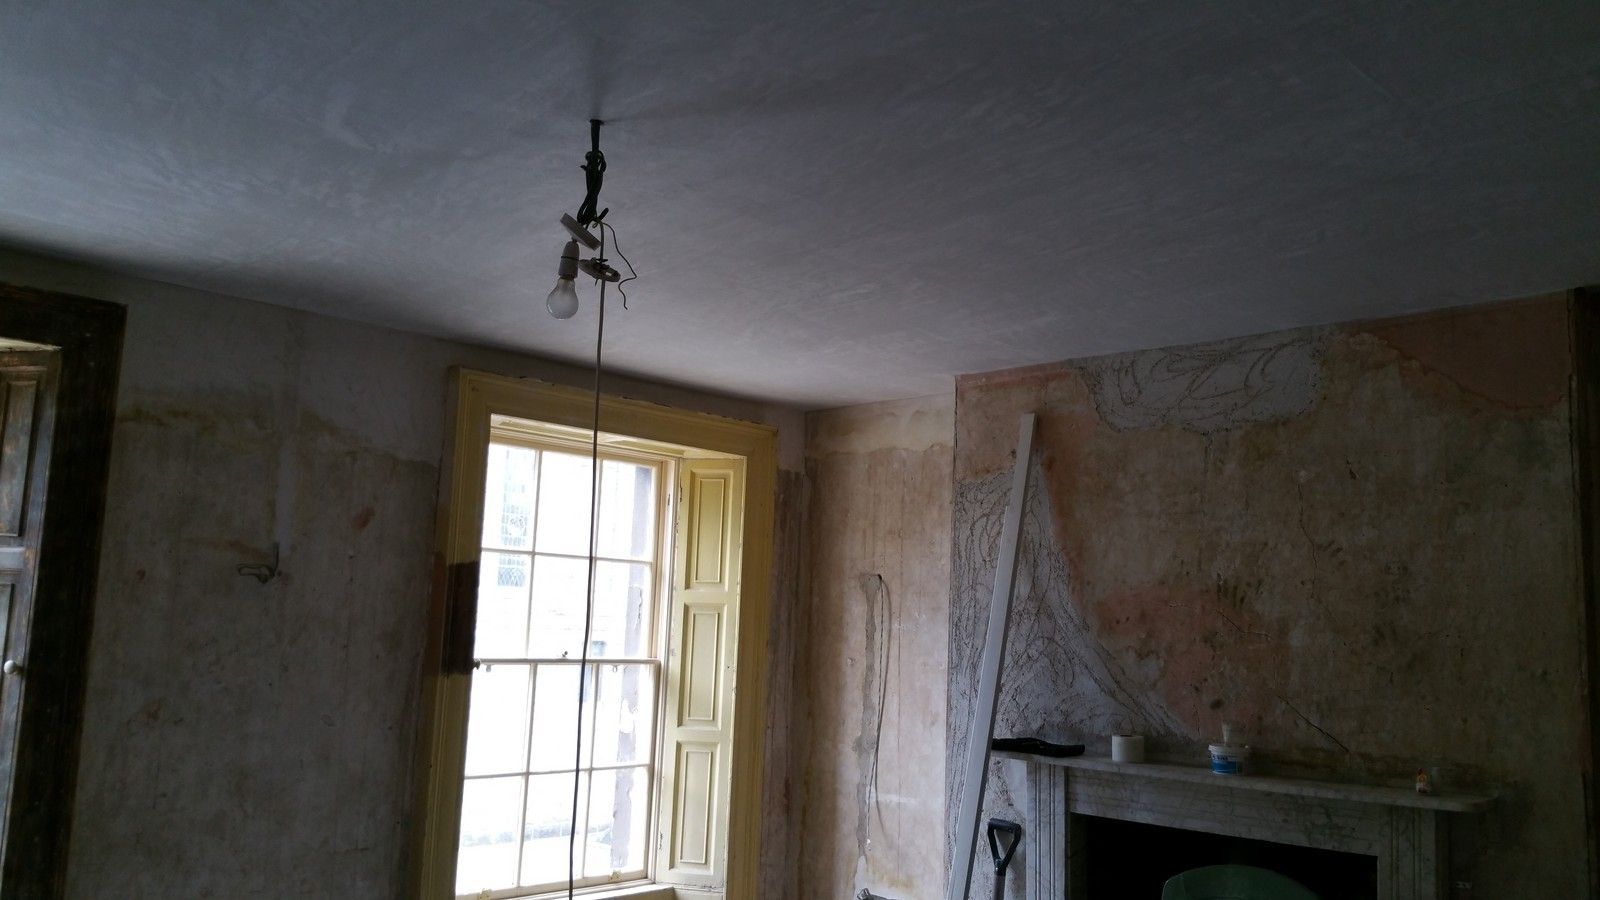
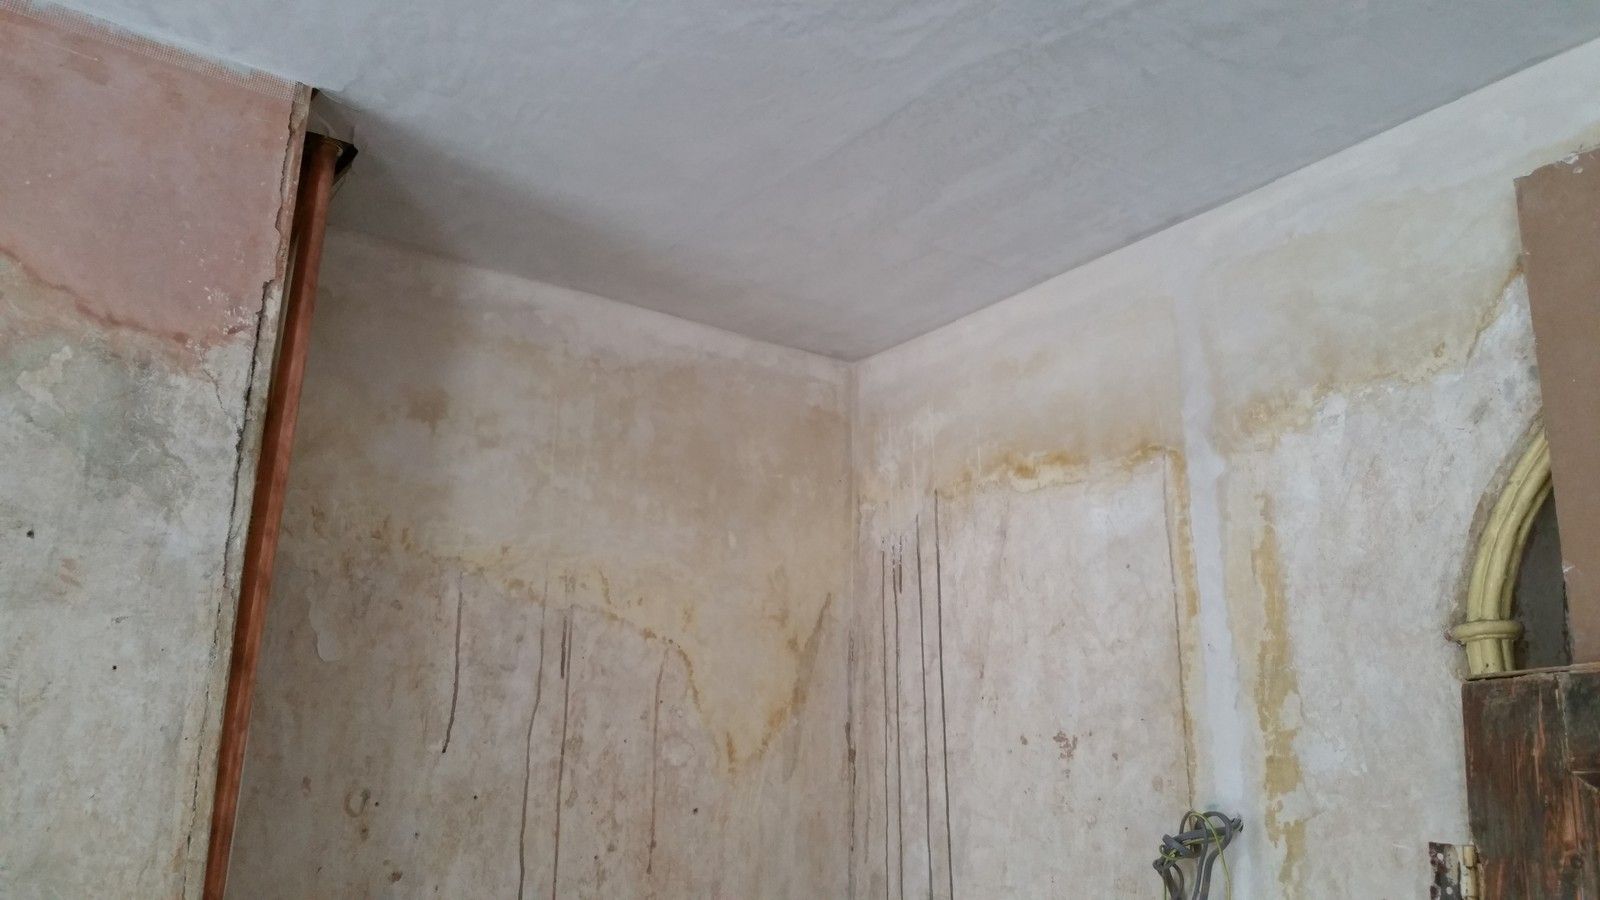
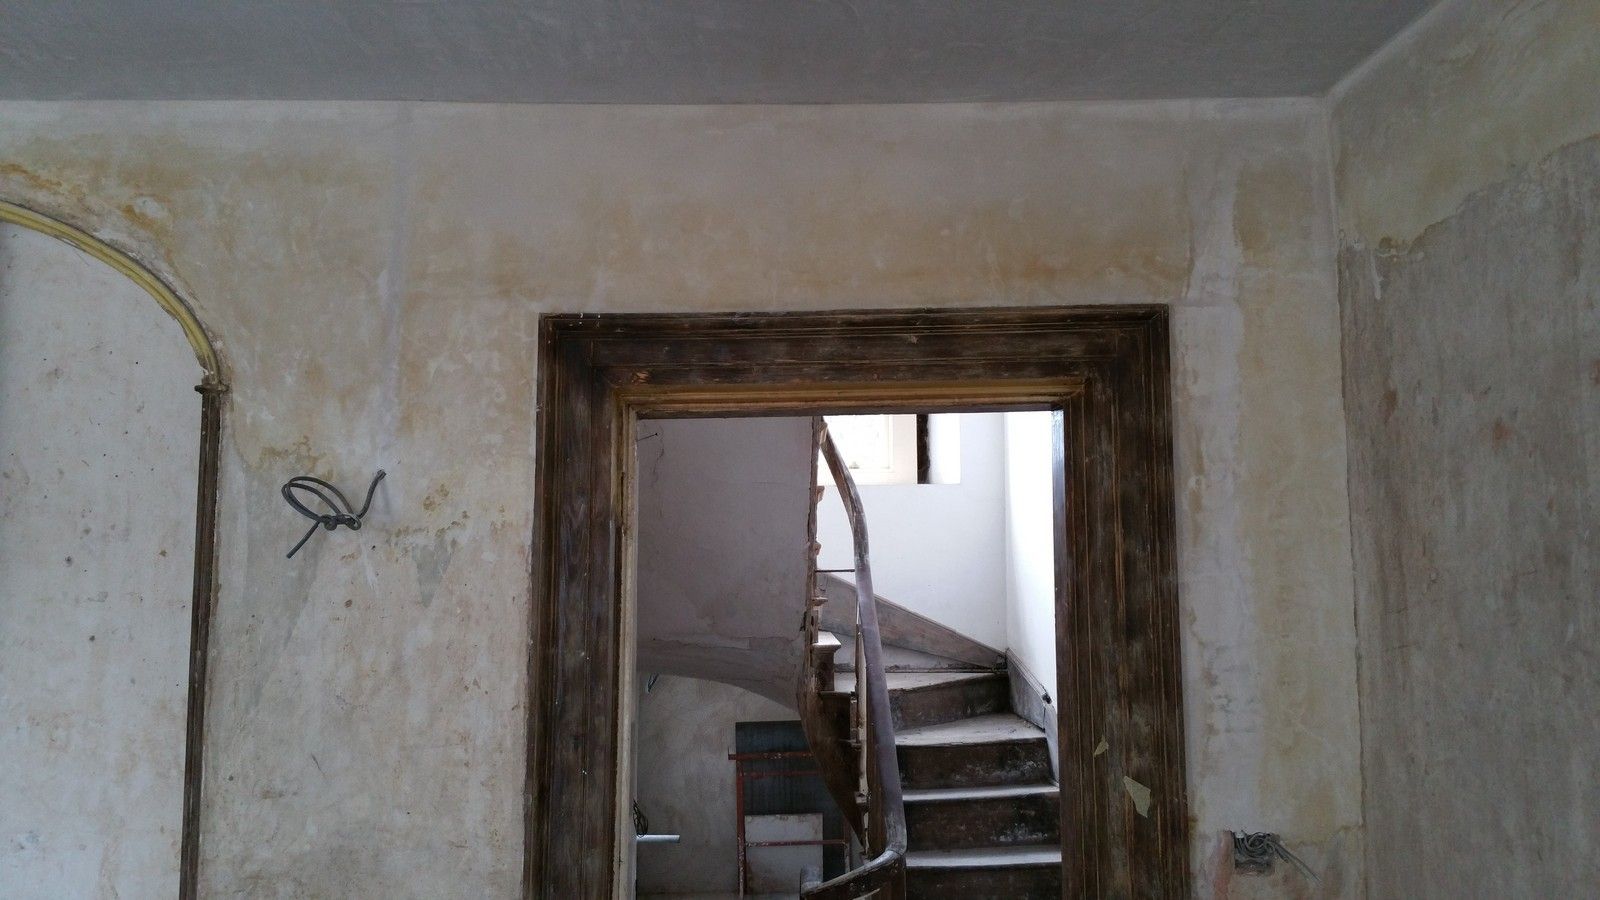
Most likely in the last fifty years, the original ceilings were removed from pretty much every room in the house, which resulted in the loss of all cornices and ceiling roses. The removal of the cornices left large gaping holes along the top of the walls in all rooms. This was then crudely patch repaired with modern plaster, resulting in a rough and uneven finish which was then typically wallpapered over.
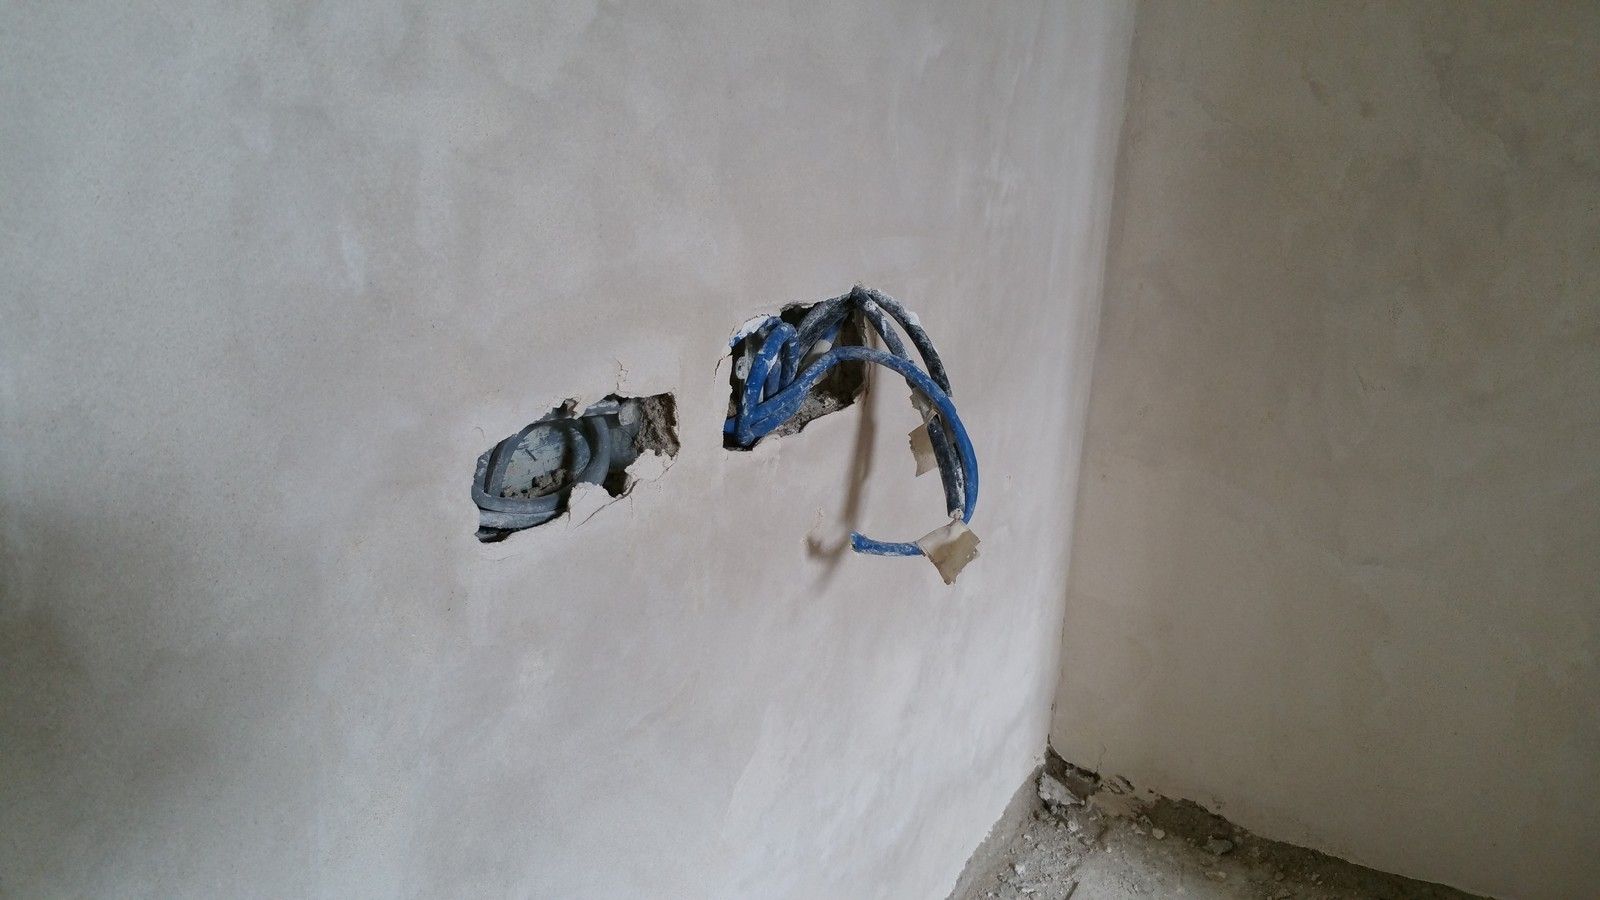
This gypsum plaster (usually pink) needed to be dug out or smoothed over and blended with the existing plasterwork, with more lime plaster.
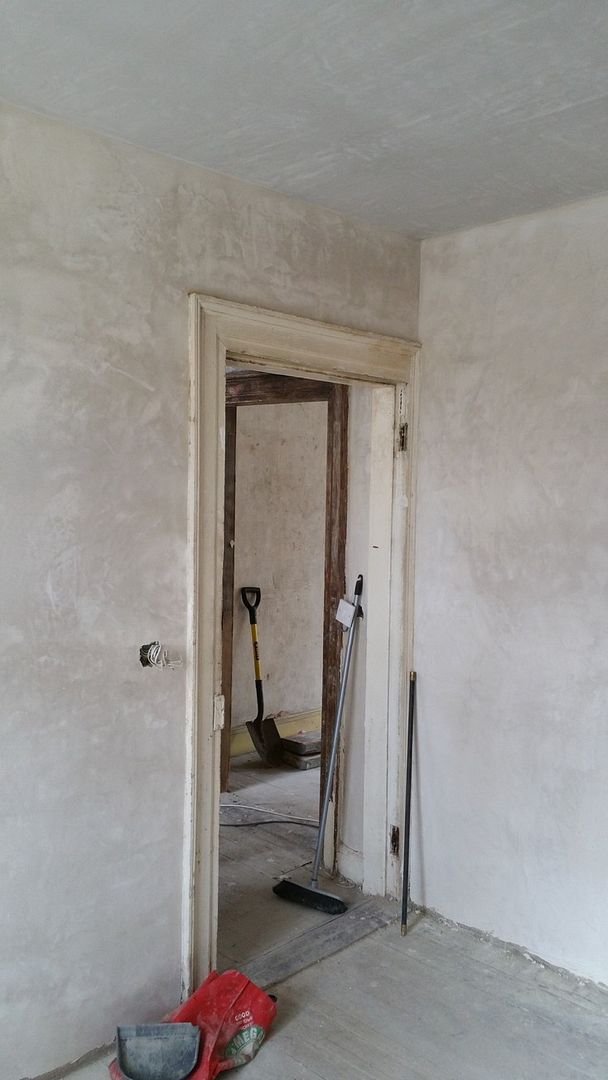
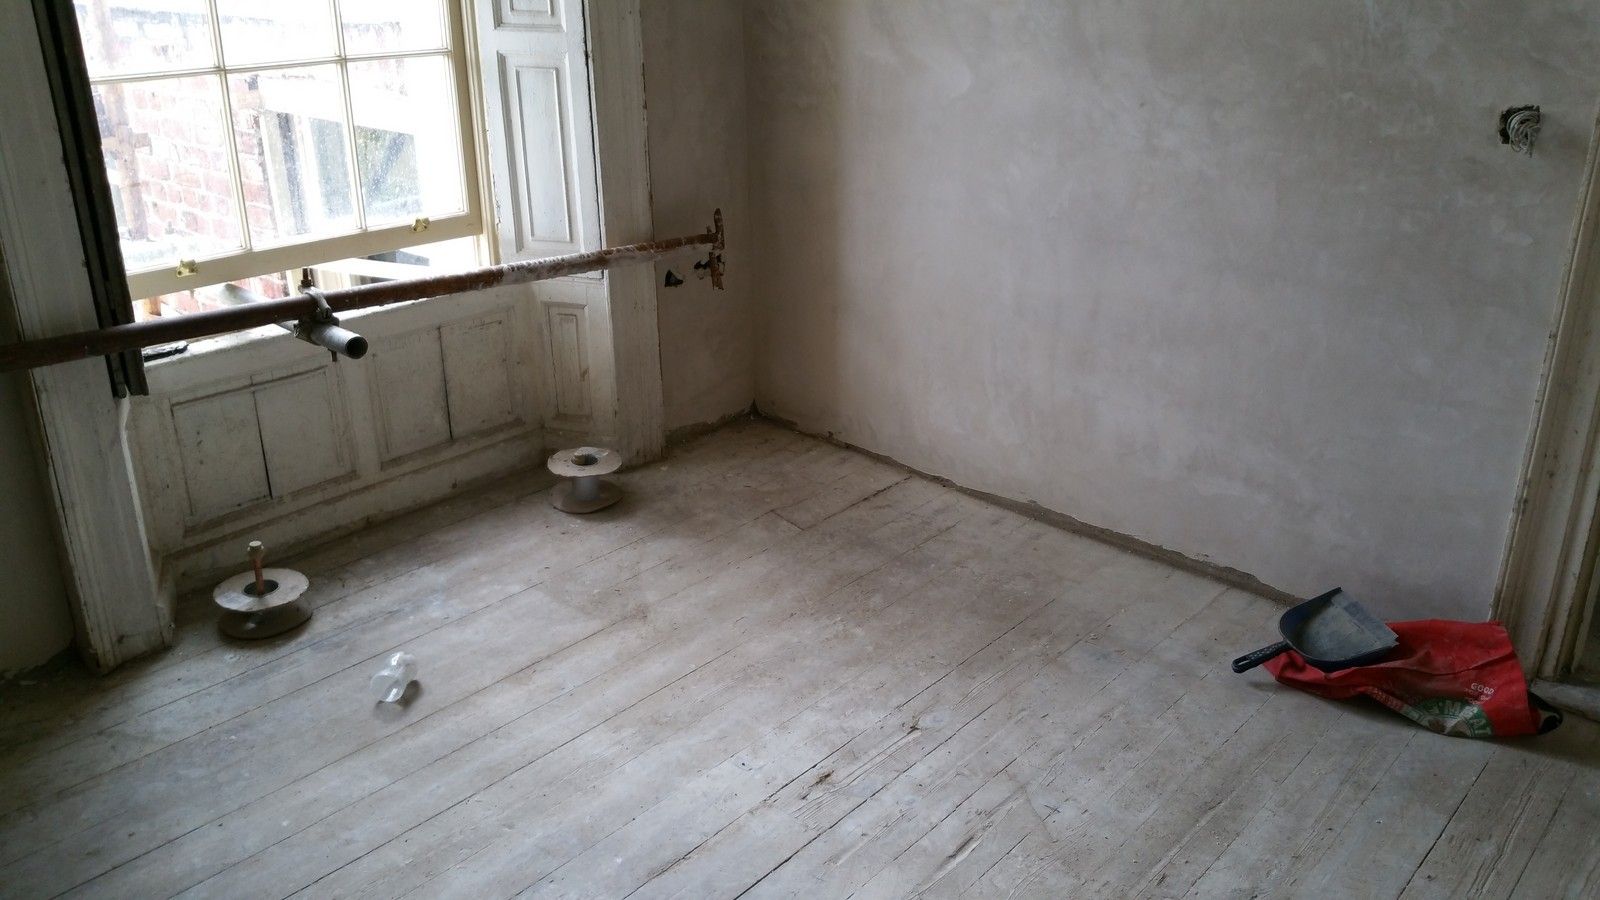
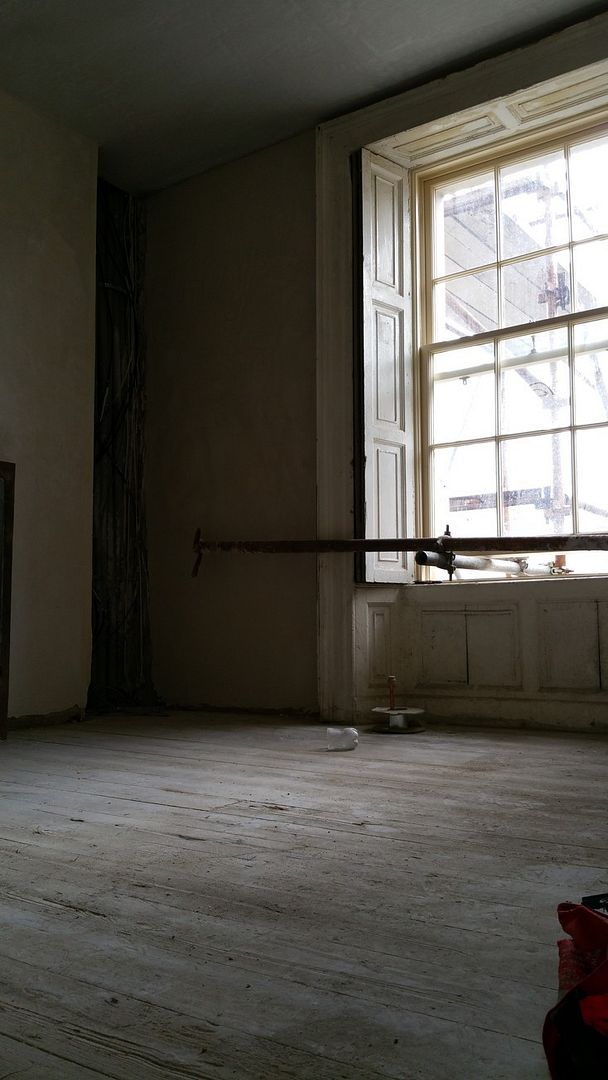
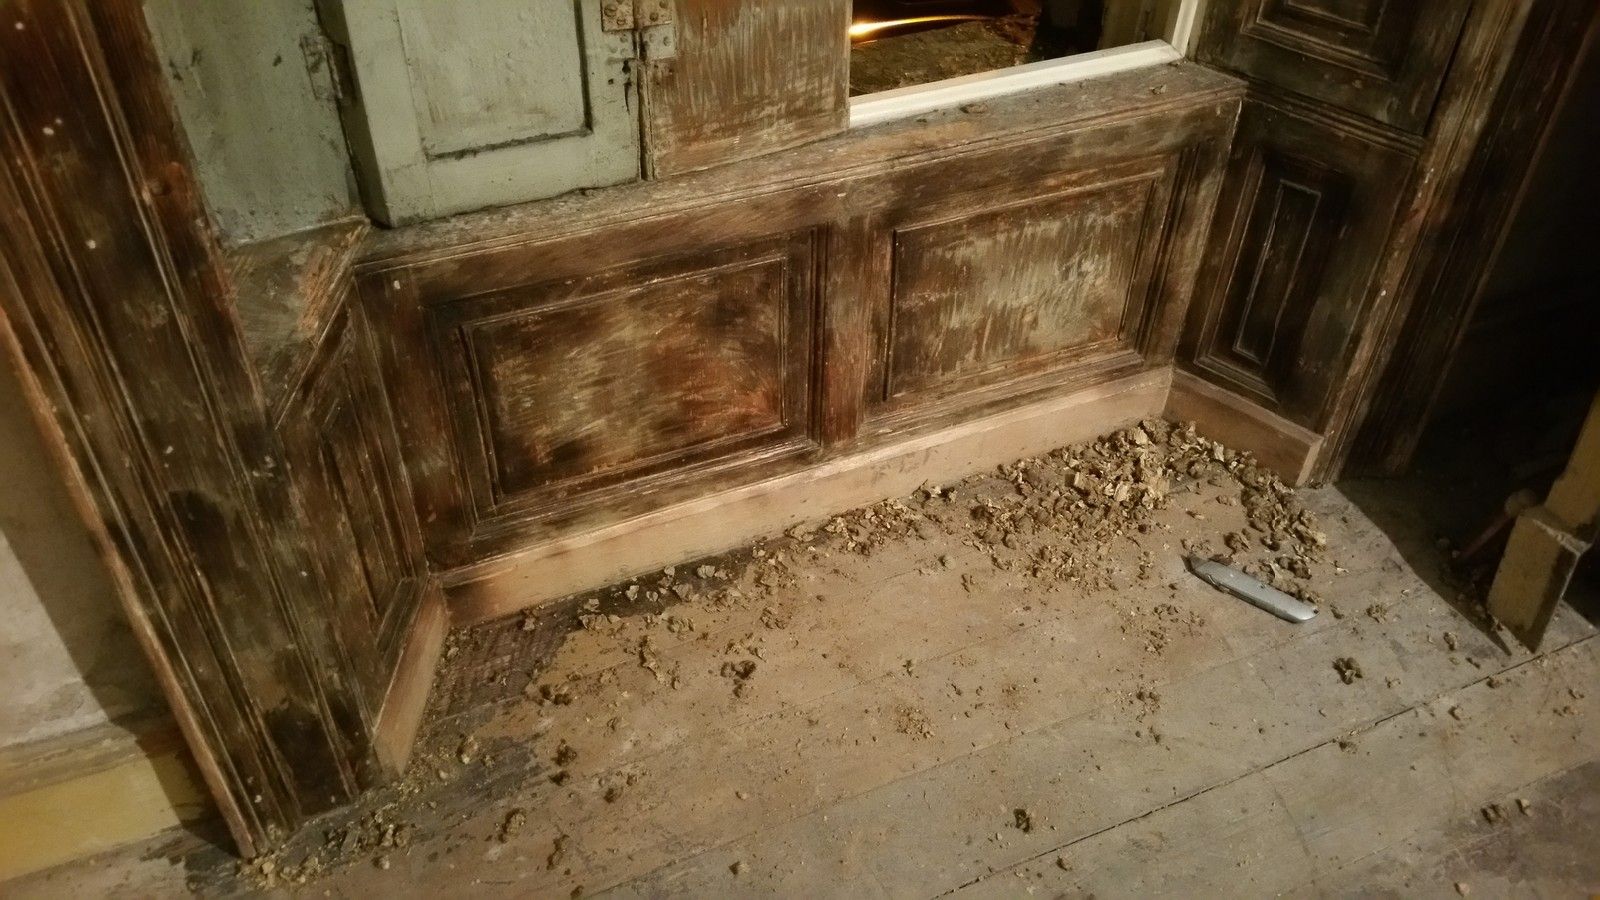
You can see this gypsum plaster here in older pictures:
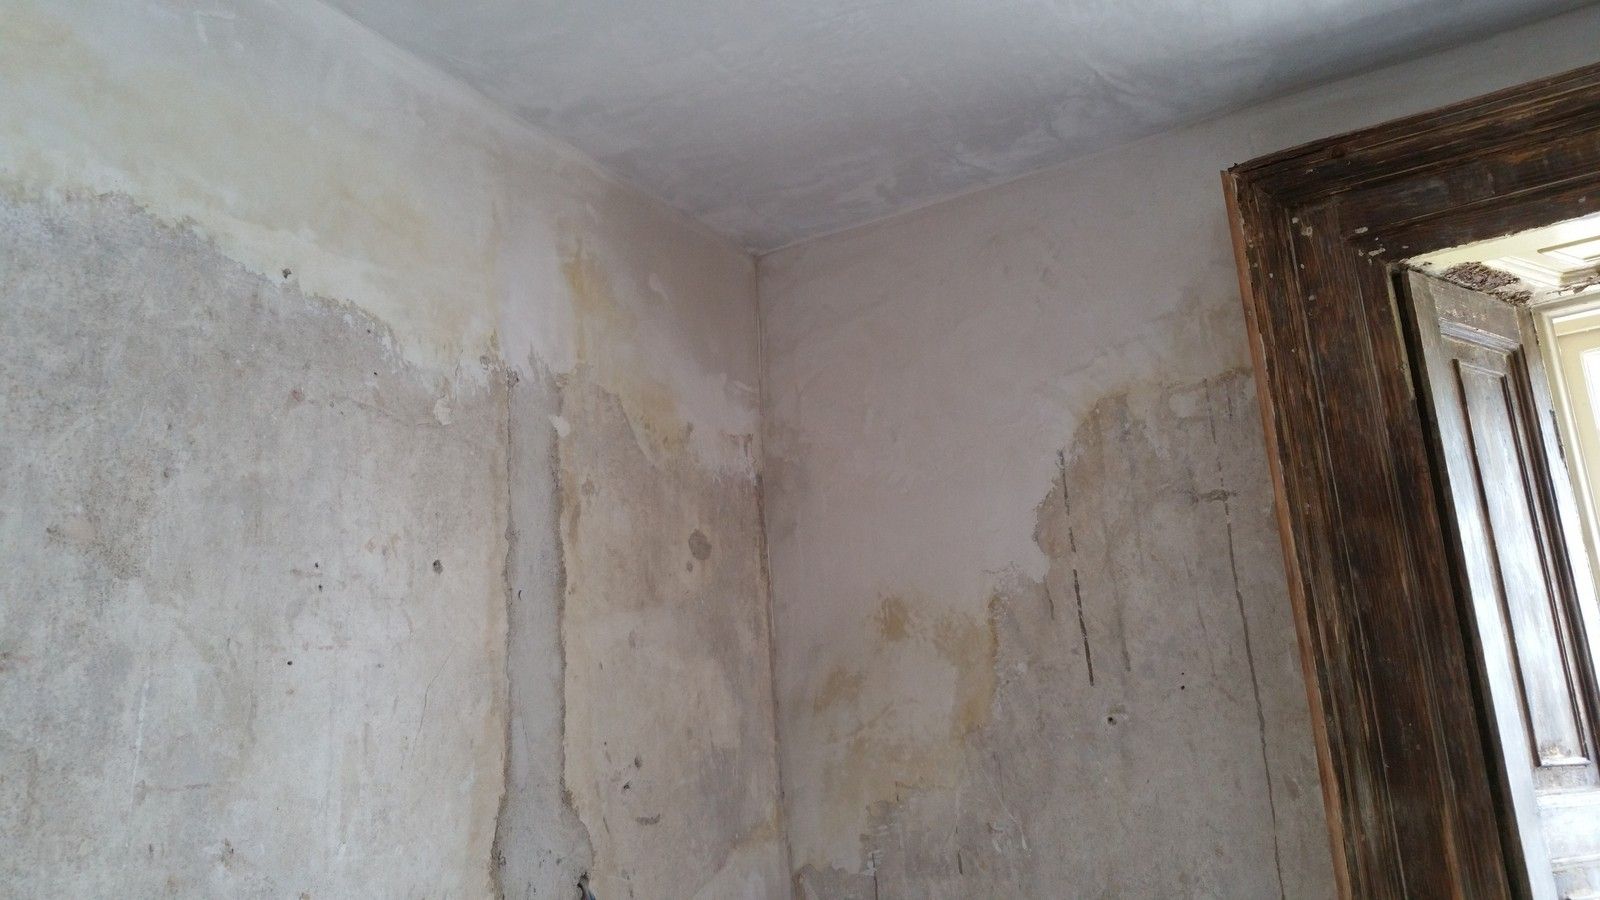
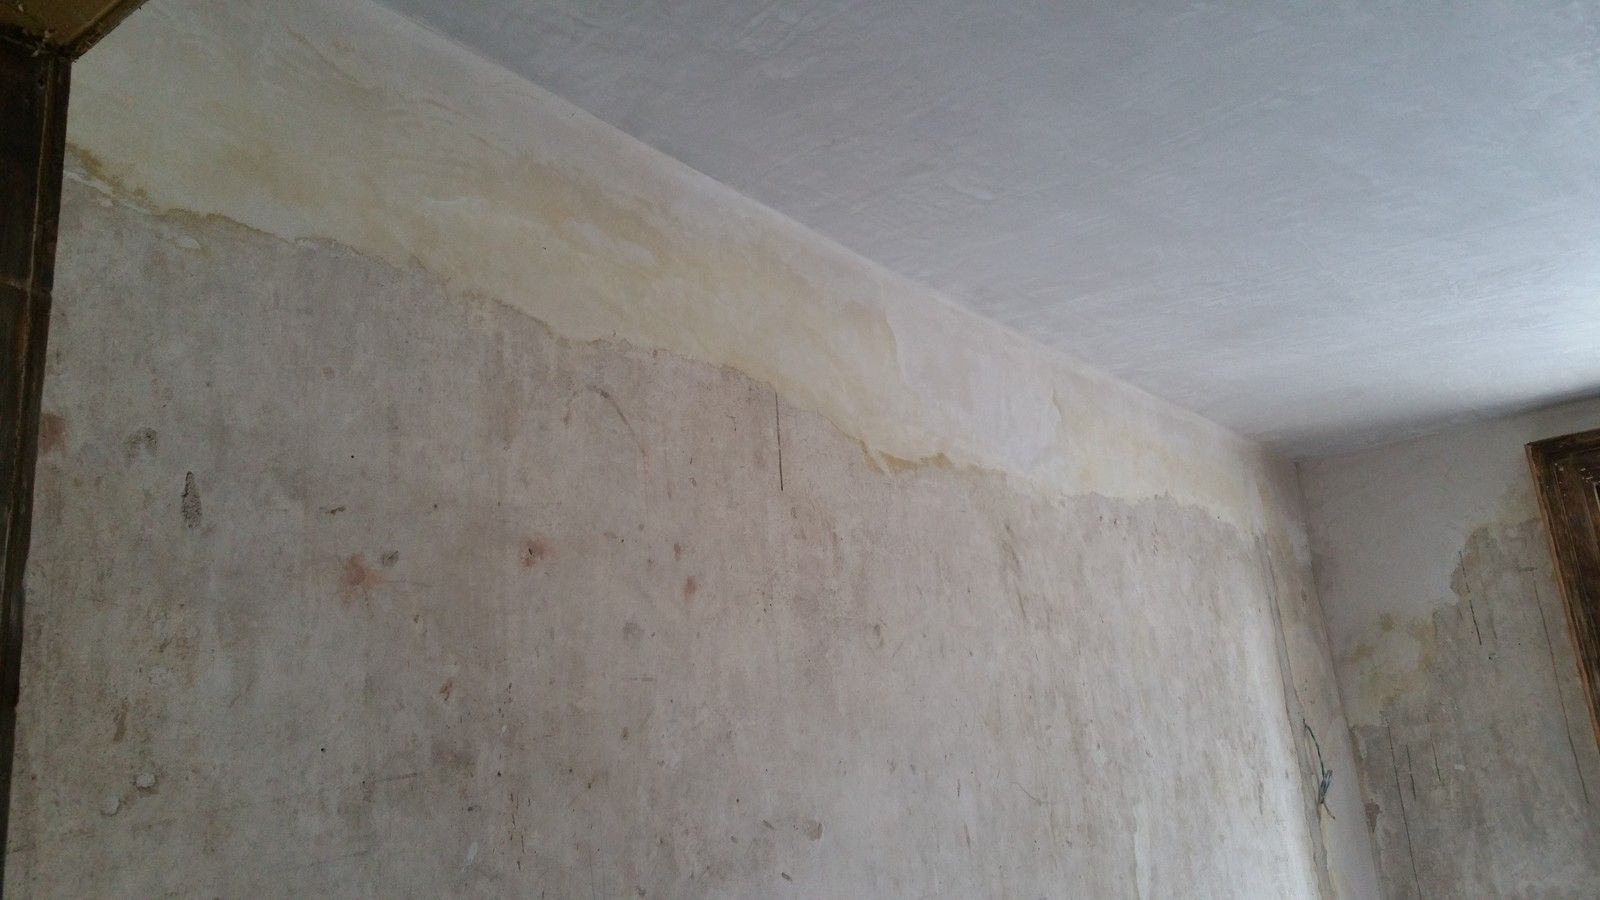
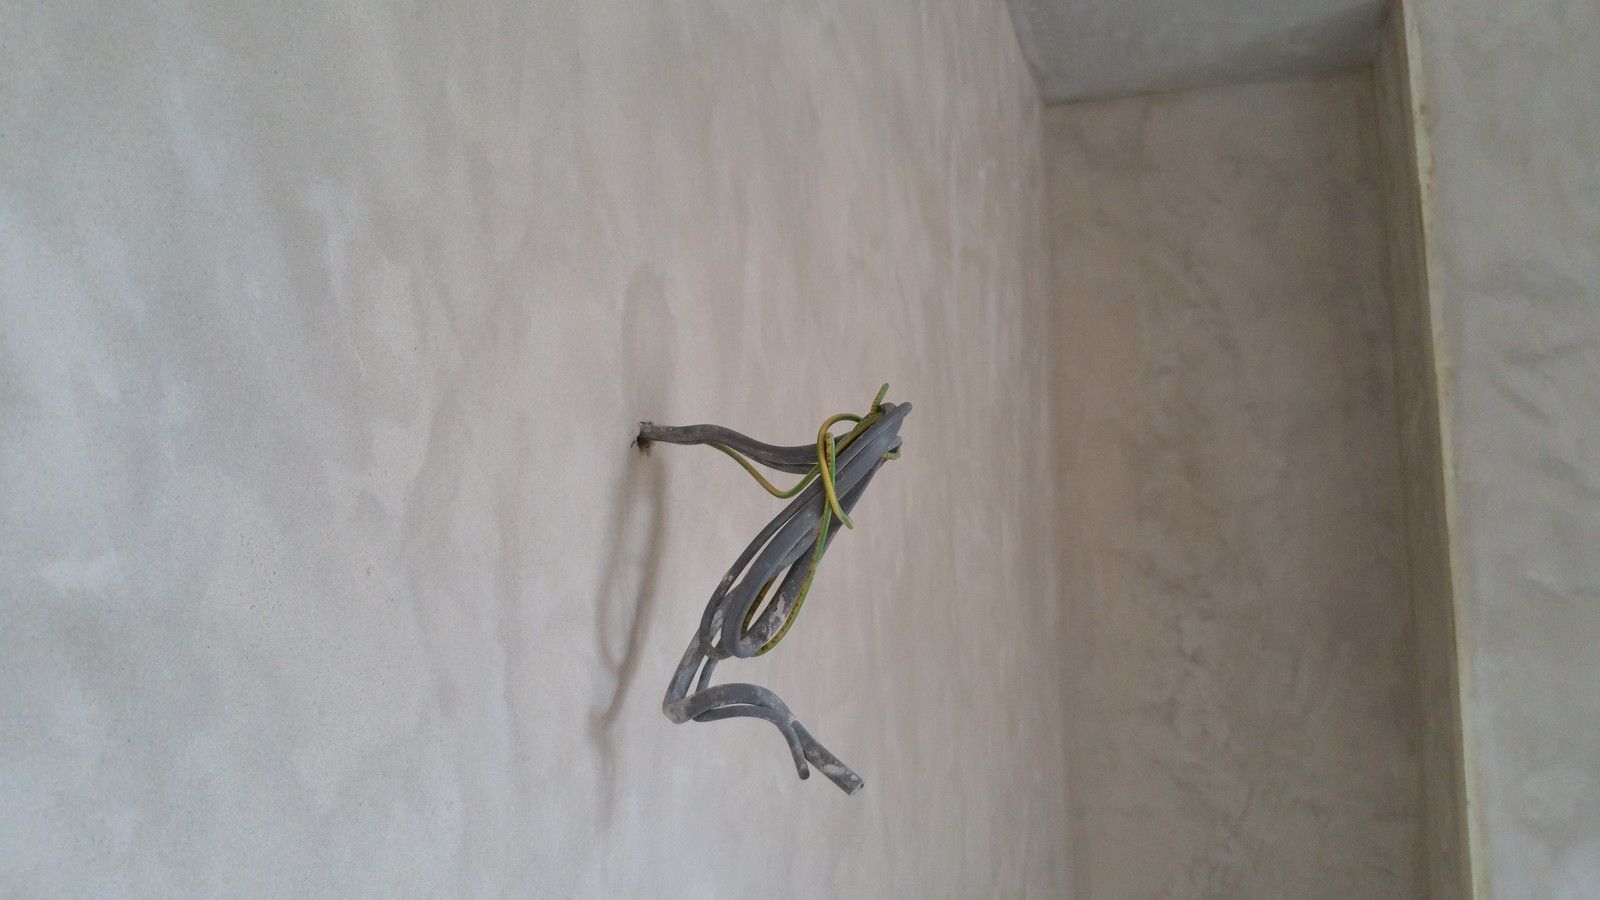
With the new ceilings in, the plaster repairs could begin:
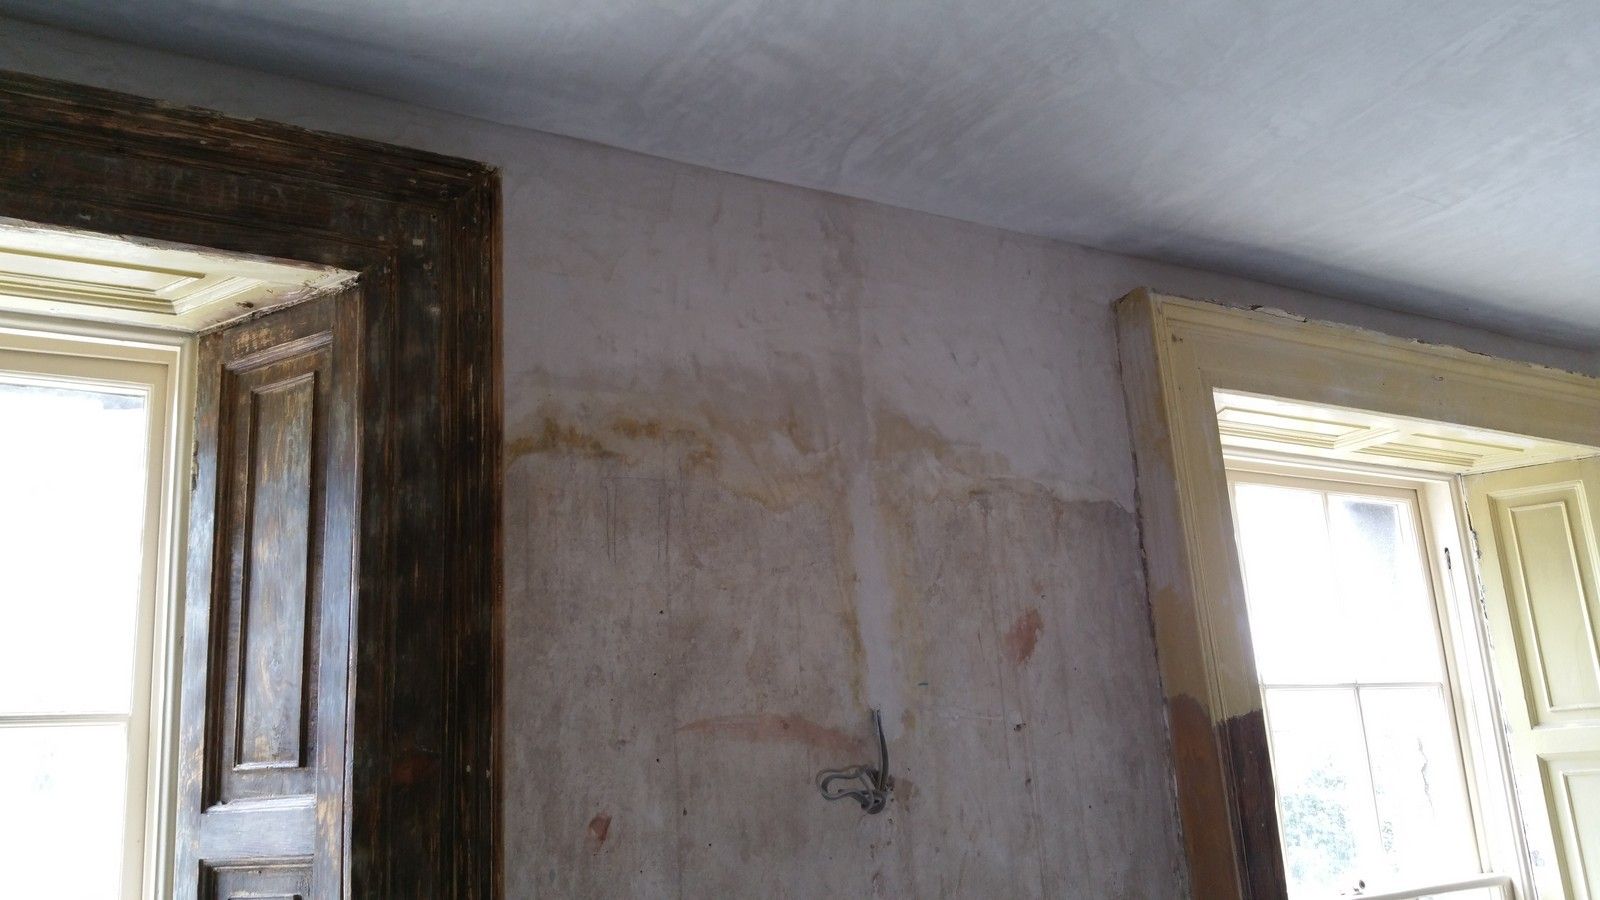
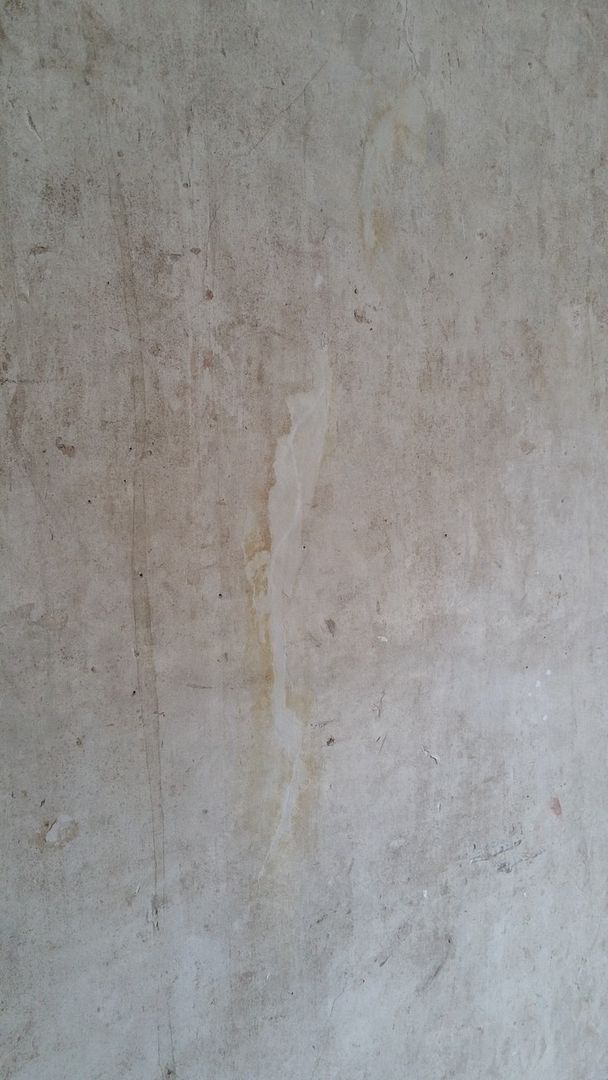
Whilst the colour and stains on the older plaster would lead you to believe the overall finish is very poor, it's in remarkably good condition considering it's 195 years old. Once sanded with a super fine grit paper, the blends should be near invisible once decorated.
This was only the preliminary patching stage, a lot more, smaller repairs will be required to around architraves, skirting and shutterboxes.
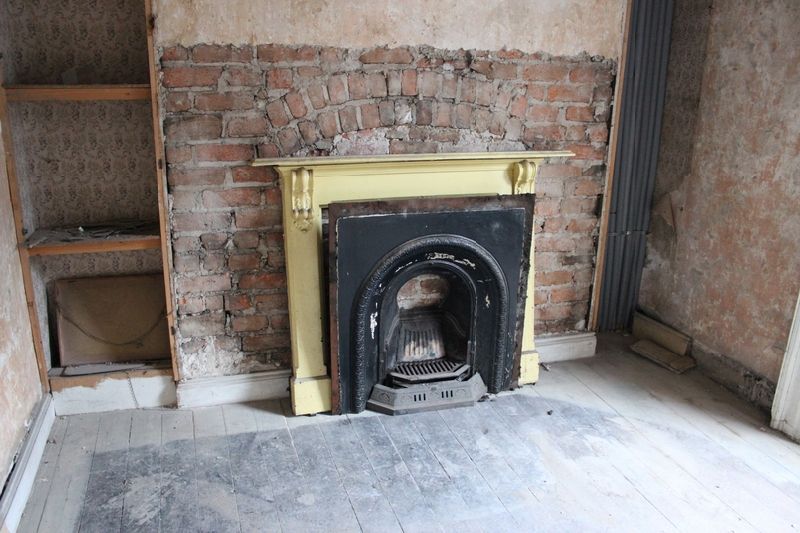
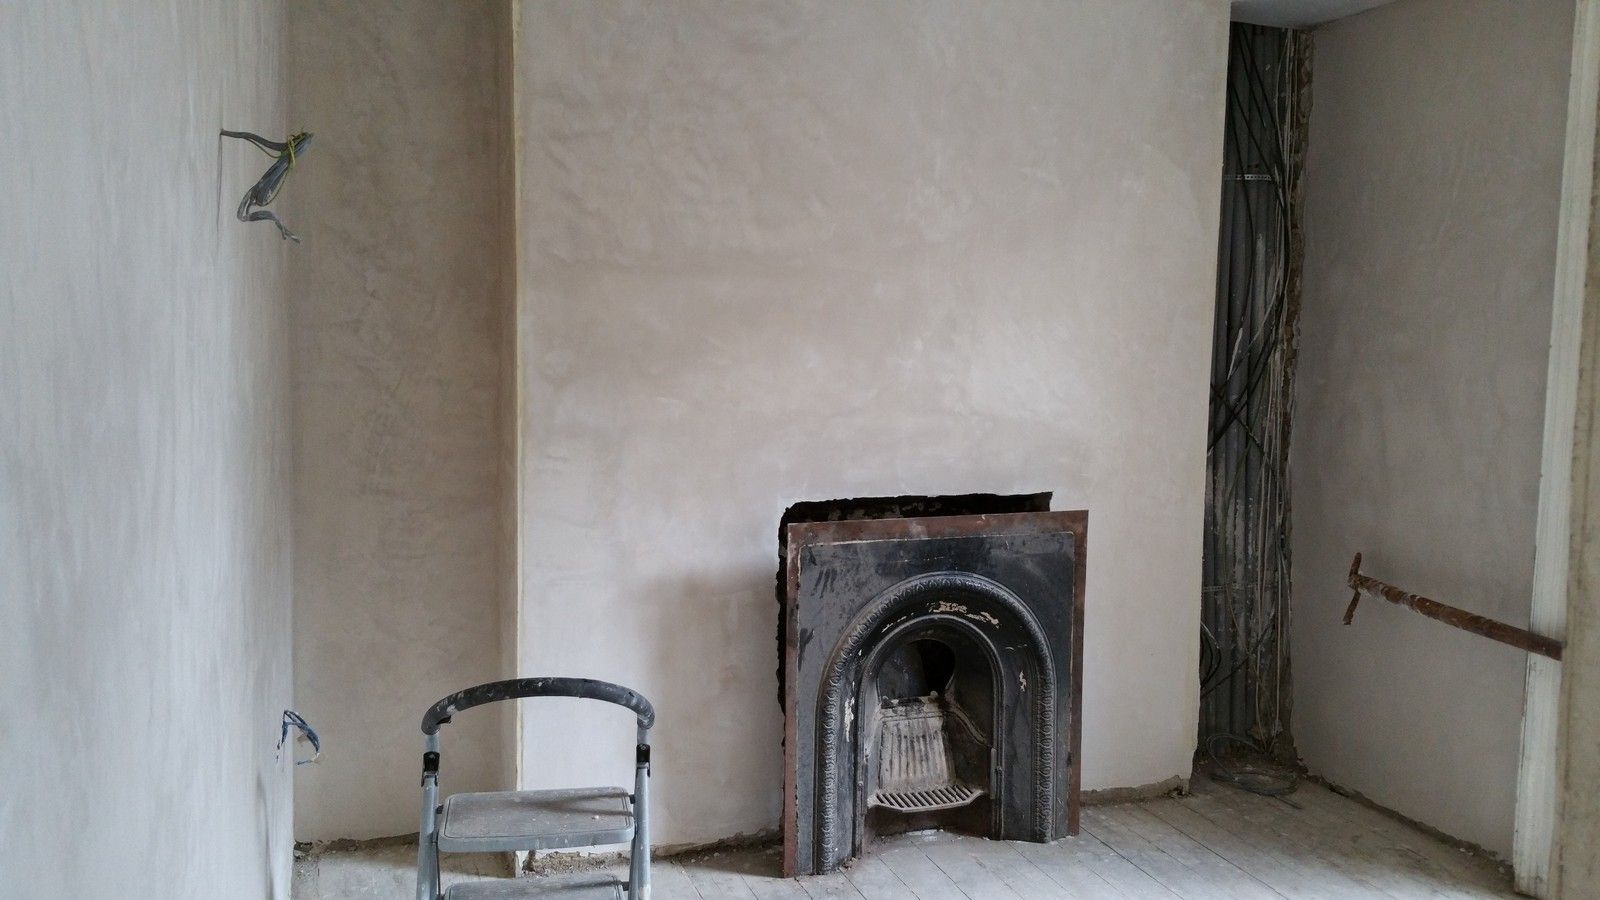
The chimney breast hasn't been completed yet as the fireplace surround has to be re-positioned ever so slightly first:
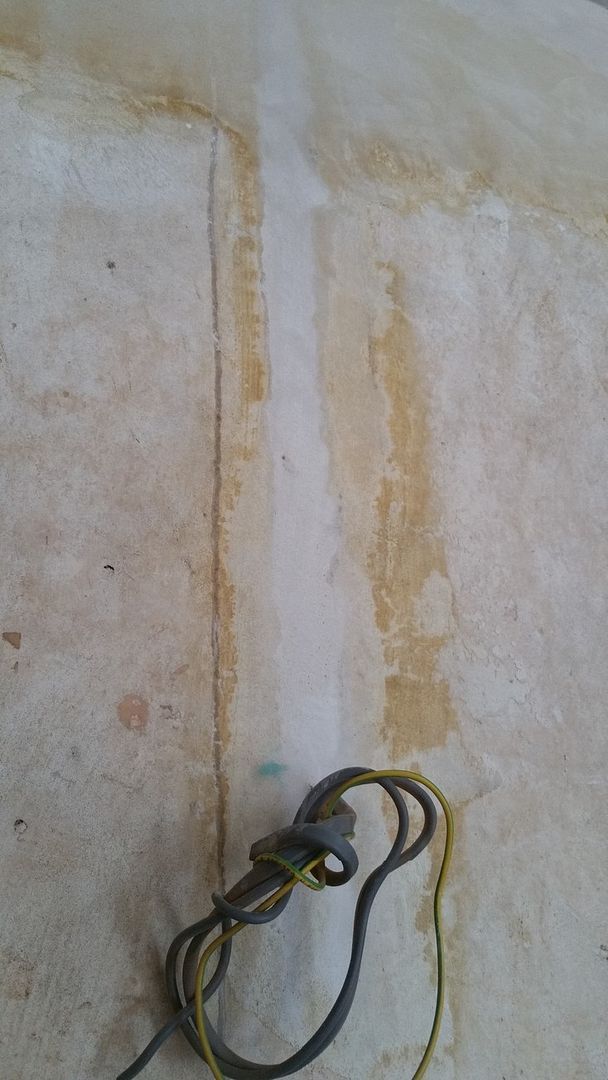
Small cracks in the plaster were also patched up:
Moving onto the rear bedroom of the same first floor, it required a lot more work than the front room. Patch repair in this room simply wasn't an option, the plaster was rough, crumbling and patched in such a bad way, with a multitude of materials.
This is the only "before" picture I have to hand; the walls were wallpapered, presumably to cover up the nightmare underneath:
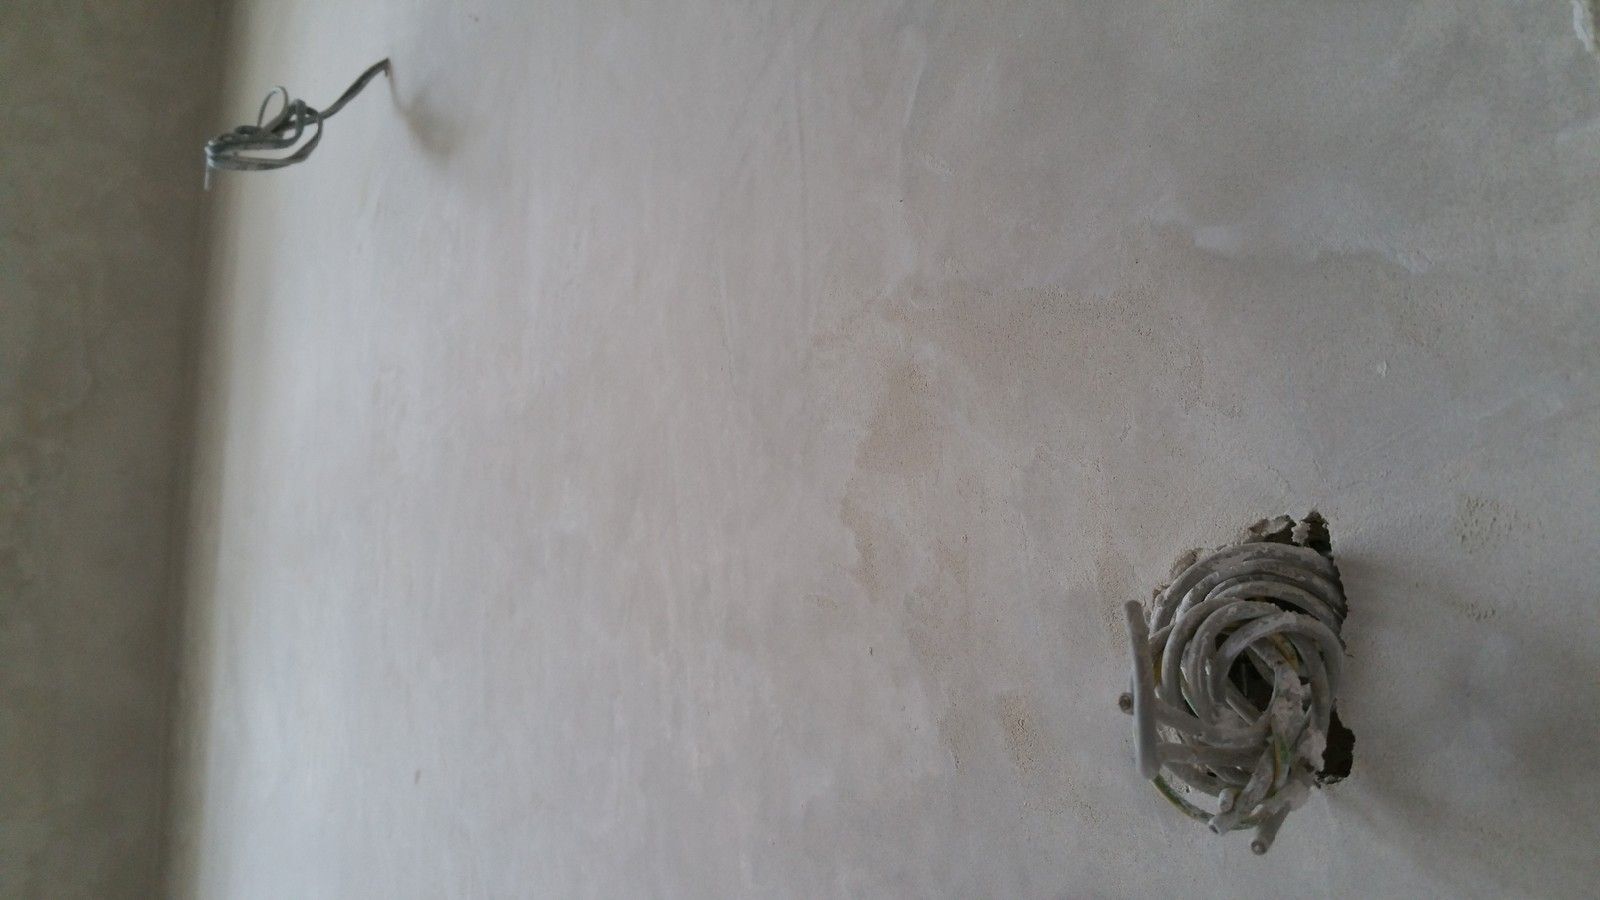
All the old plaster was removed, which allowed for a brand new finish:
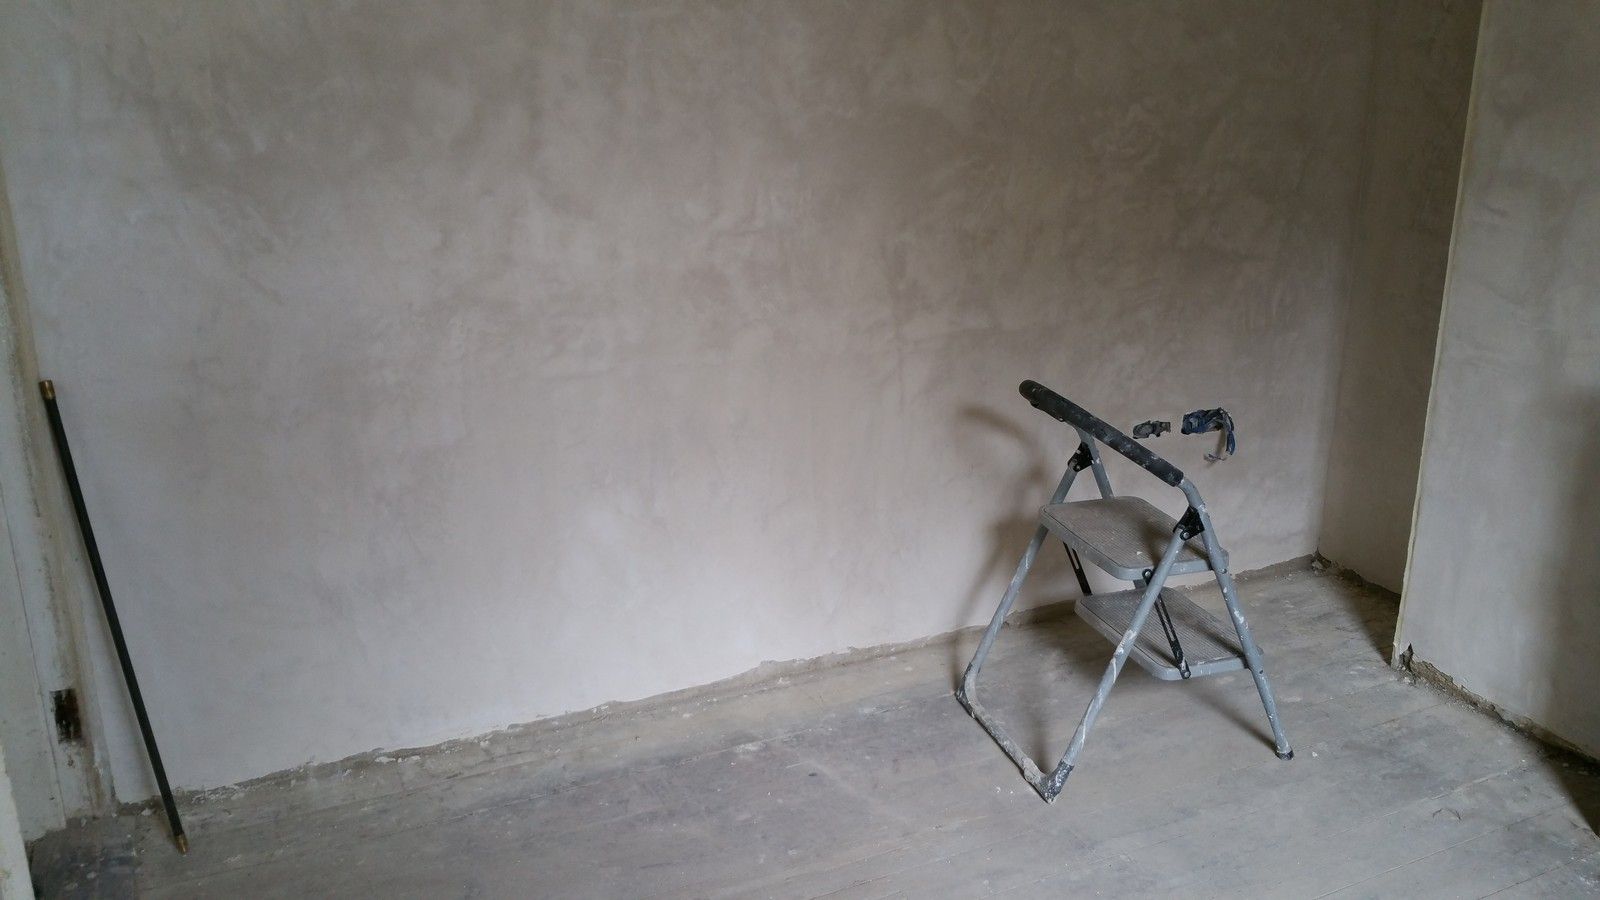
The lime finish, whilst flat, isn't perfectly smooth and has very light texture to it:
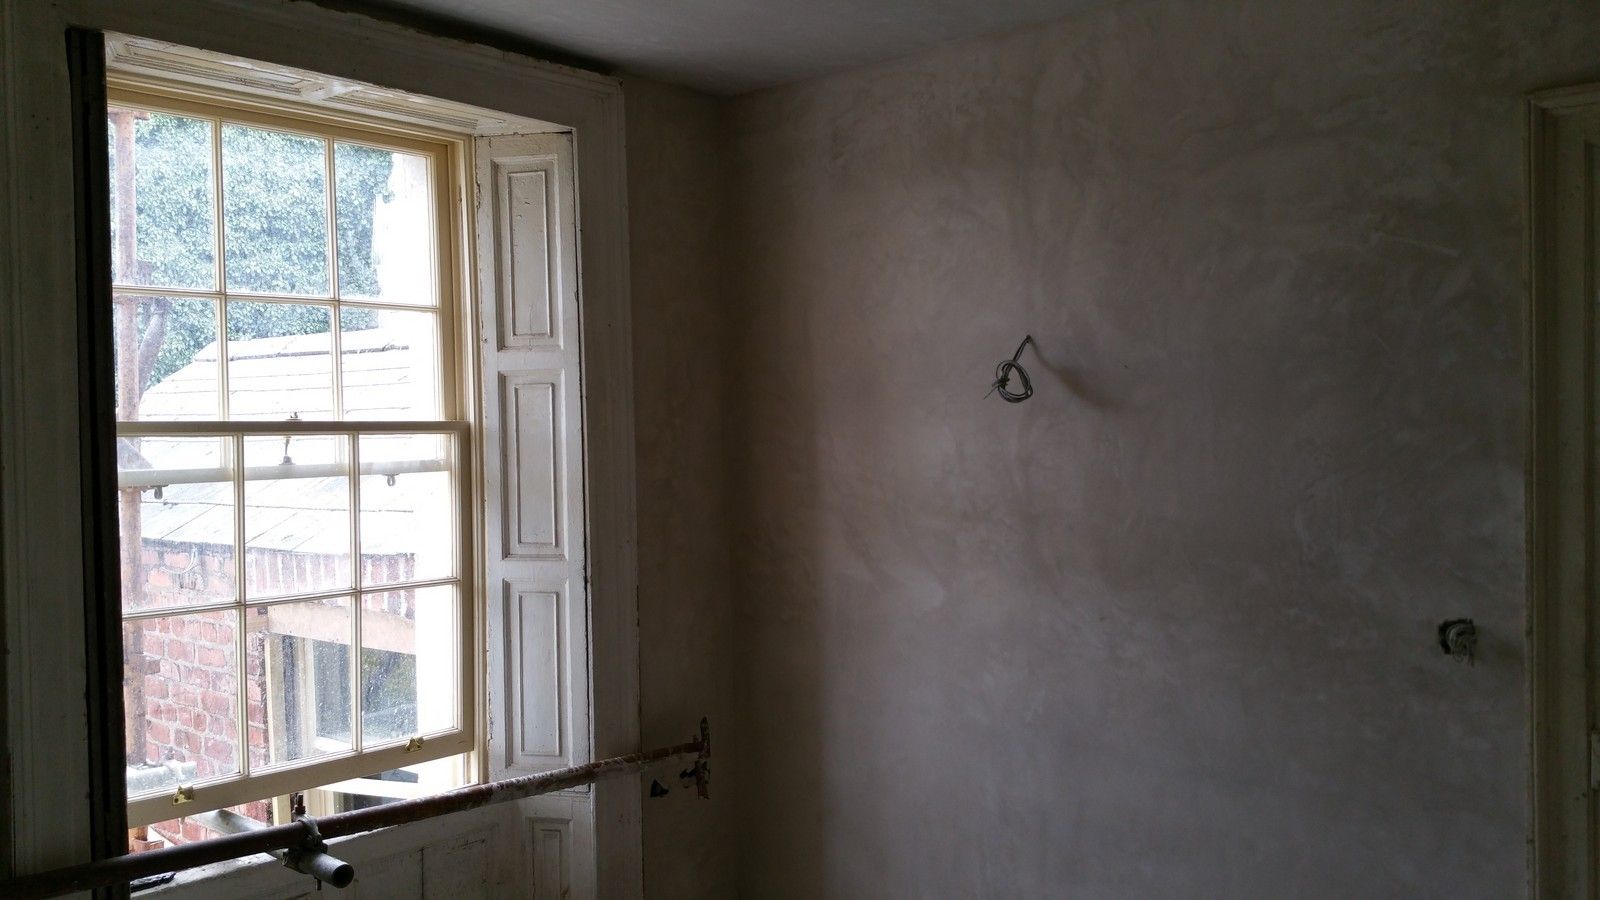
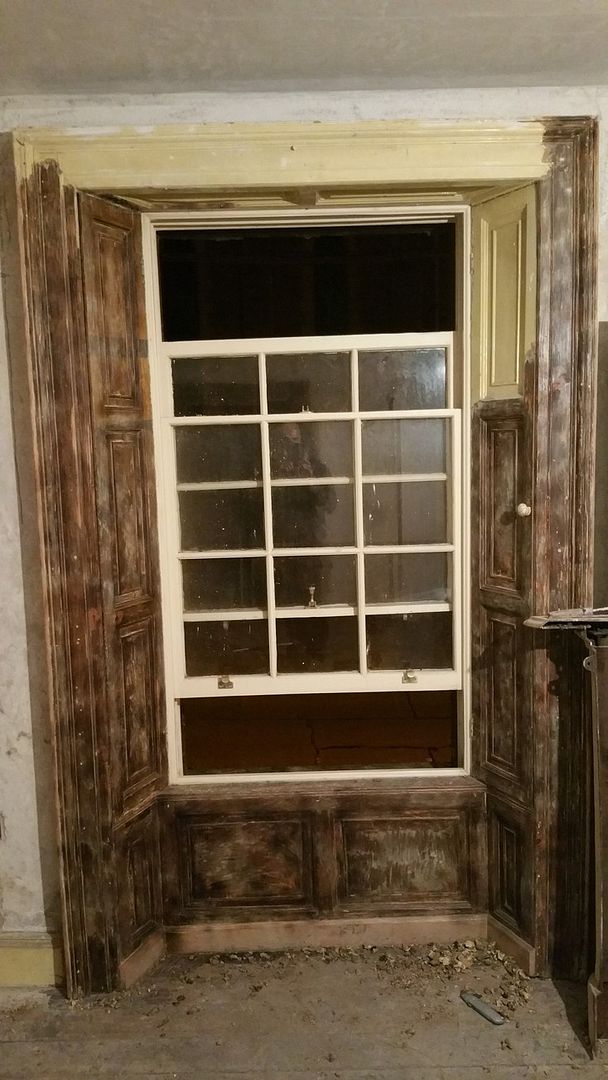
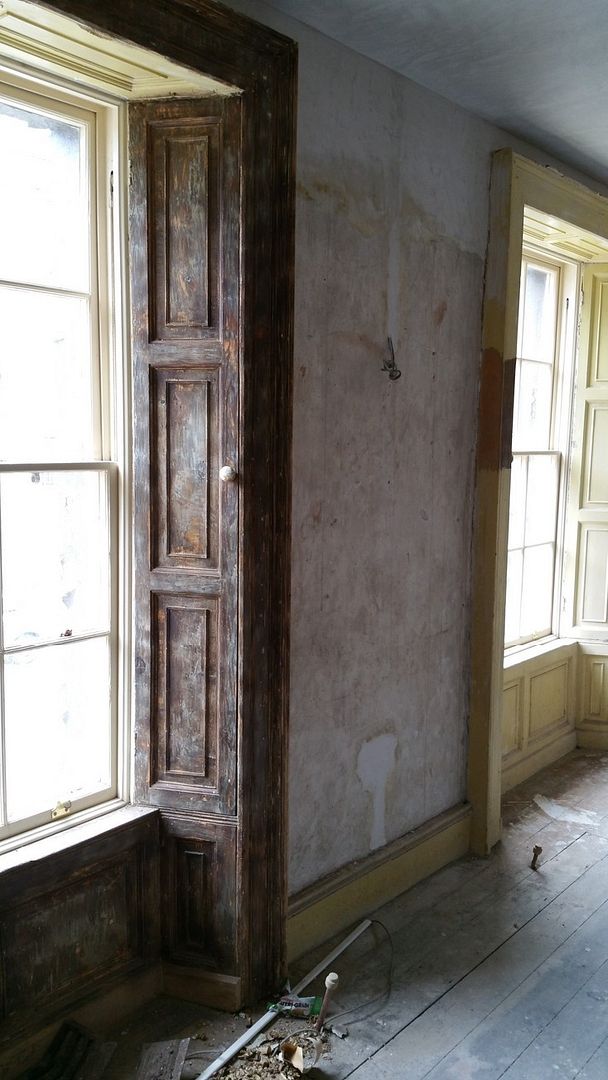
Finally, the shutterboxes in the first floor front room were tackled for the first time. There's three or four layers of thick, lead based paint which needs to be stripped by hand from the shutter panels and architraves.
Each 450mm x 250mm panel takes approximately one hour to strip, resulting in approximately 20 hours in total to strip the box of just one window. A grueling task, but no way around it:
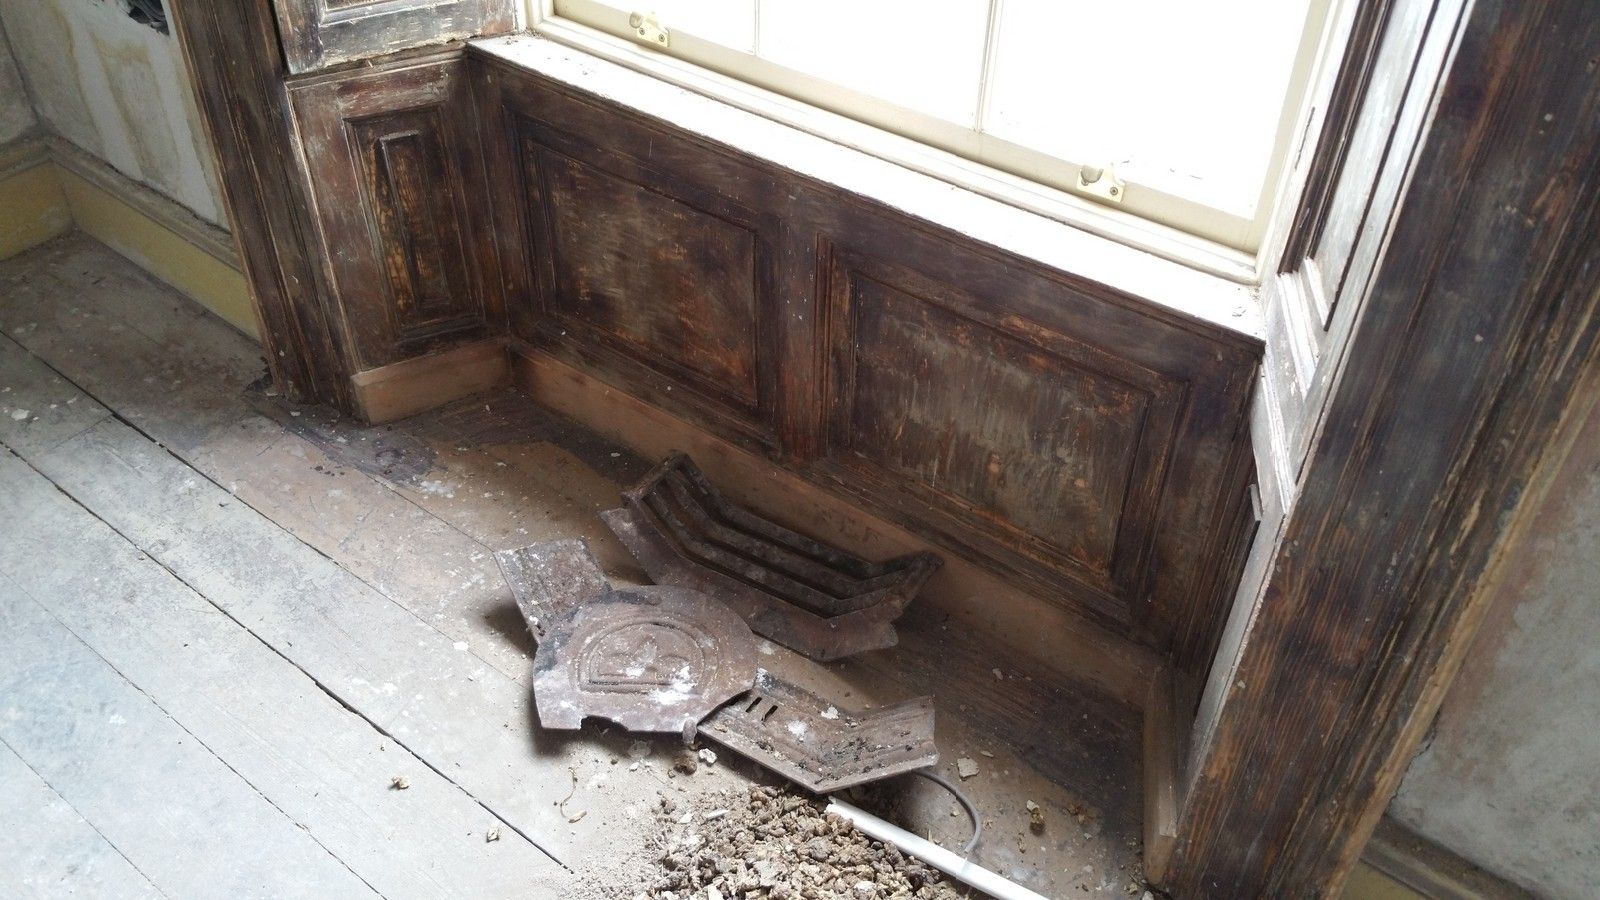
Several kilograms of paint hits the floor during the process.
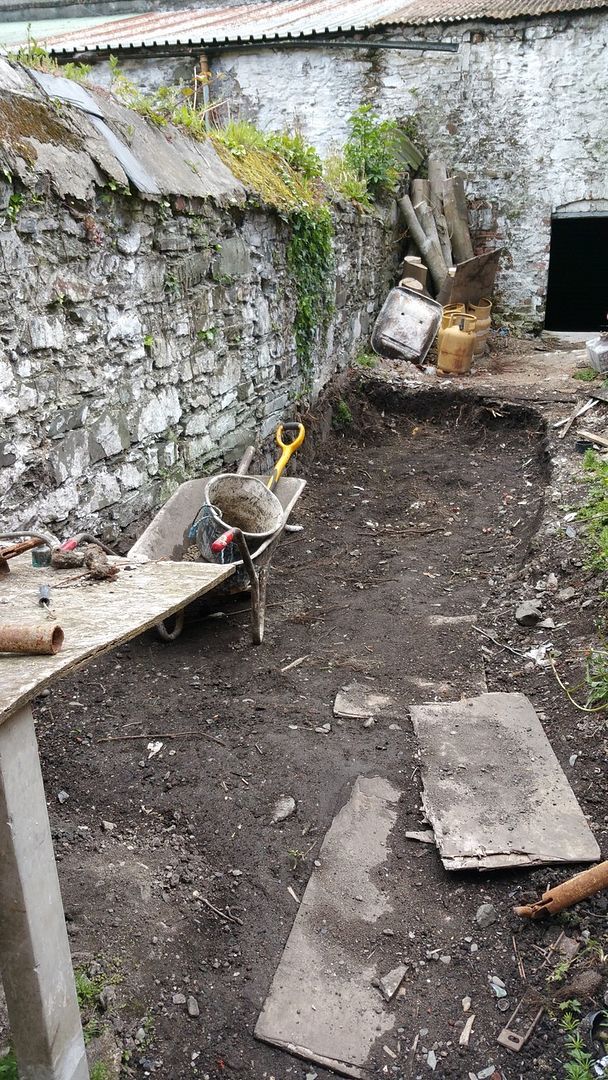
Myself and a friend spent four hours filling a skip out front one Sunday evening, clearing some of the garden. Better than sending the skip back empty. Ideally I'd like to drop the garden several feet lower, however priorities are elsewhere at the moment.
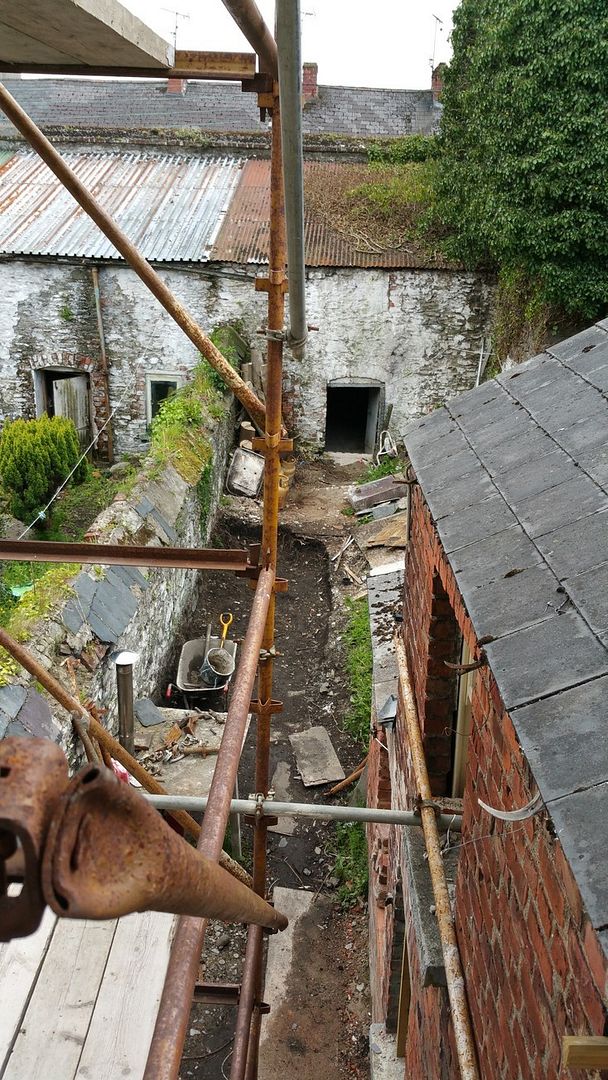
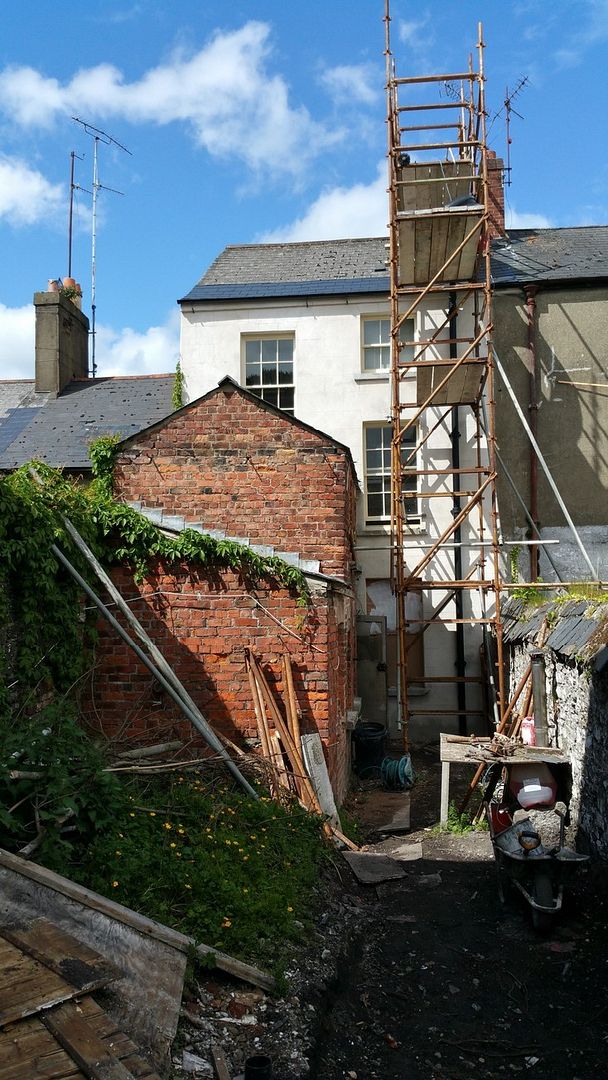
On a nice day, you can really see the potential this house has.
Hi Stephen
ReplyDeleteBrilliant. Excellent job.
I'm in the process of purchasing a Georgian property and was wondering if I could contact you in private for some advice on how best to approach a similar sensitive project?
Hi Stephen,
ReplyDeleteThe replacement windows look amazing, do you mind me asking where you sourced them from? As I am in the process of gathering quotes for 6 over 6 windows & a lot of companies that quoted actually use plant on bars.
Many thanks,
Ciara
Hi Ciara.
DeleteThe windows are not replacements, they are the originals restored by Pat Lynch, Conservation Joinery. Some of the rear windows have completely new sashes built from scratch, but all with original Georgian hardwood and glazing. You will not get authentic Georgian windows from any big firm, like Munster Joinery etc, the profiles, dimensions etc of all the timber will be different and not true to the period. The only option is to have a conservation joiner build them, if authenticity is important.
Thanks for the comment!
Stephen
A mixer is the best way to mix sand and cement rendering a wall. Screed battens fixed to wall to help level render. Use a straight edge to level up render.
ReplyDeletehttp://renderplus.com.au/service/wall-cladding/
Hey! I have read all your Blog this So Nice and Awesome service you have provided, I learn many new things from here and want implement my website. If you are also Know for Plasterer St Albans related to this then visit my website.
ReplyDelete