CAT6a cable allows network speeds of up to 10GBASE-T (10-Gigabit) and each room receives at least two cables. Each room is also supplied with two CT100 co-axial cables, allowing the sharing of both satellite feeds and terrestrial digital TV. There is also five co-axial feeds to the attic to supply an antenna and satellite dish.
Alarm cable was also run to every window, outside door, control panel location etc.
Running the feeds to the attic (black cable):
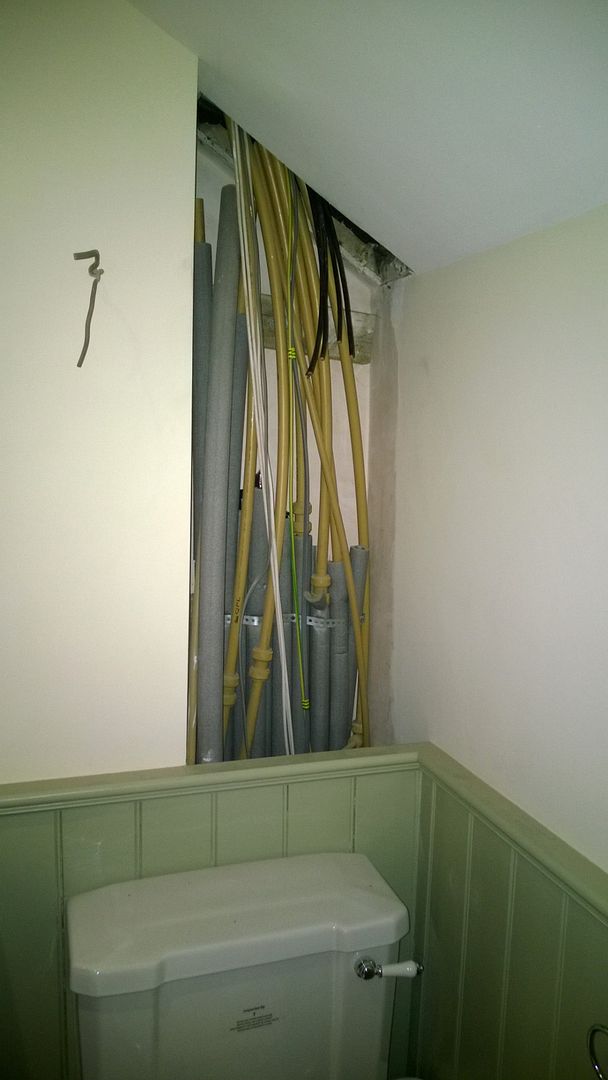
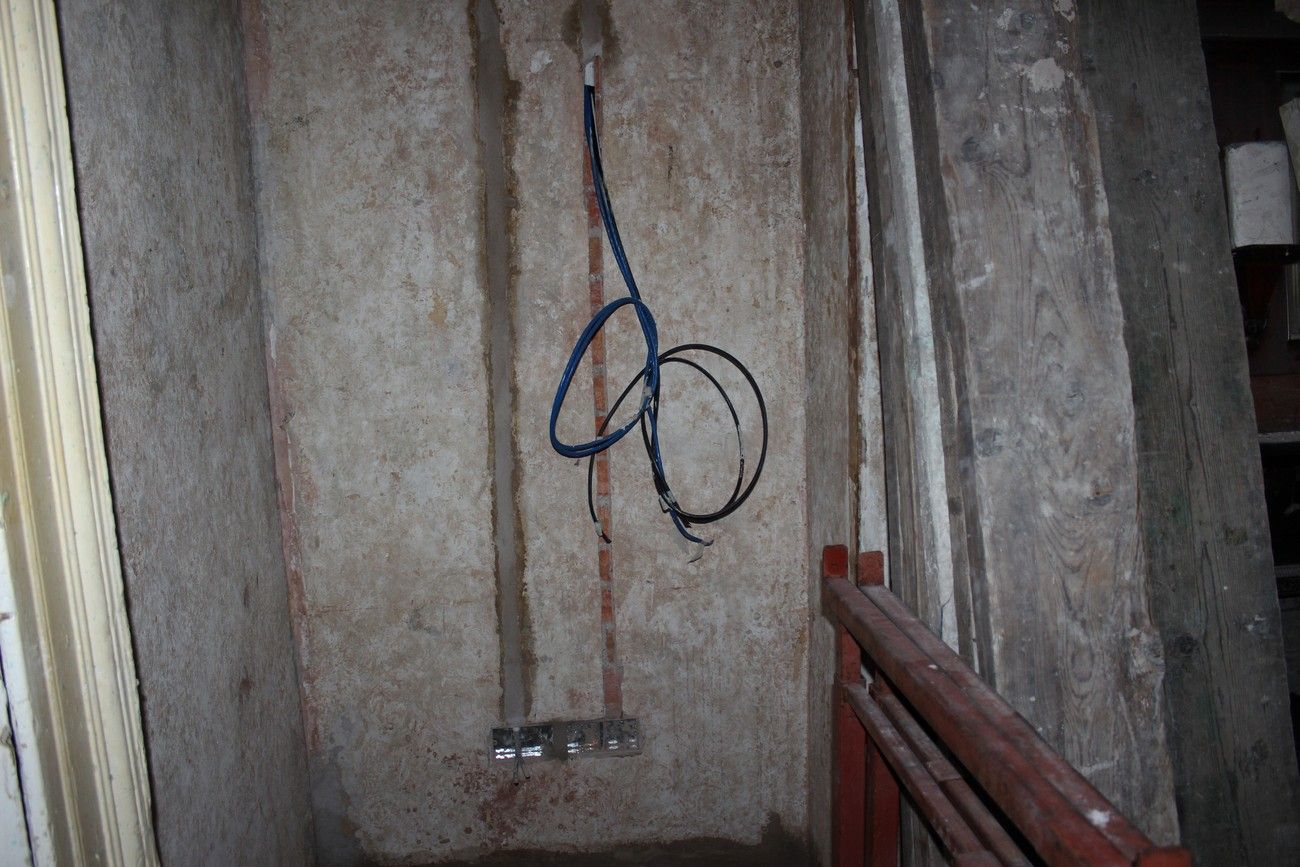
Top floor bedroom:

First floor living room has the most cable runs, as the main TV will be mounted within the archway. The corner beside the TV will have a small cabinet, housing amplifier, video sources etc. There are also speaker cables run through this room for 5.1 surround sound (6.1/7.1 would be too intrusive with the amount of speakers required):

TV location has numerous power, CAT6a, speaker and co-axial runs:
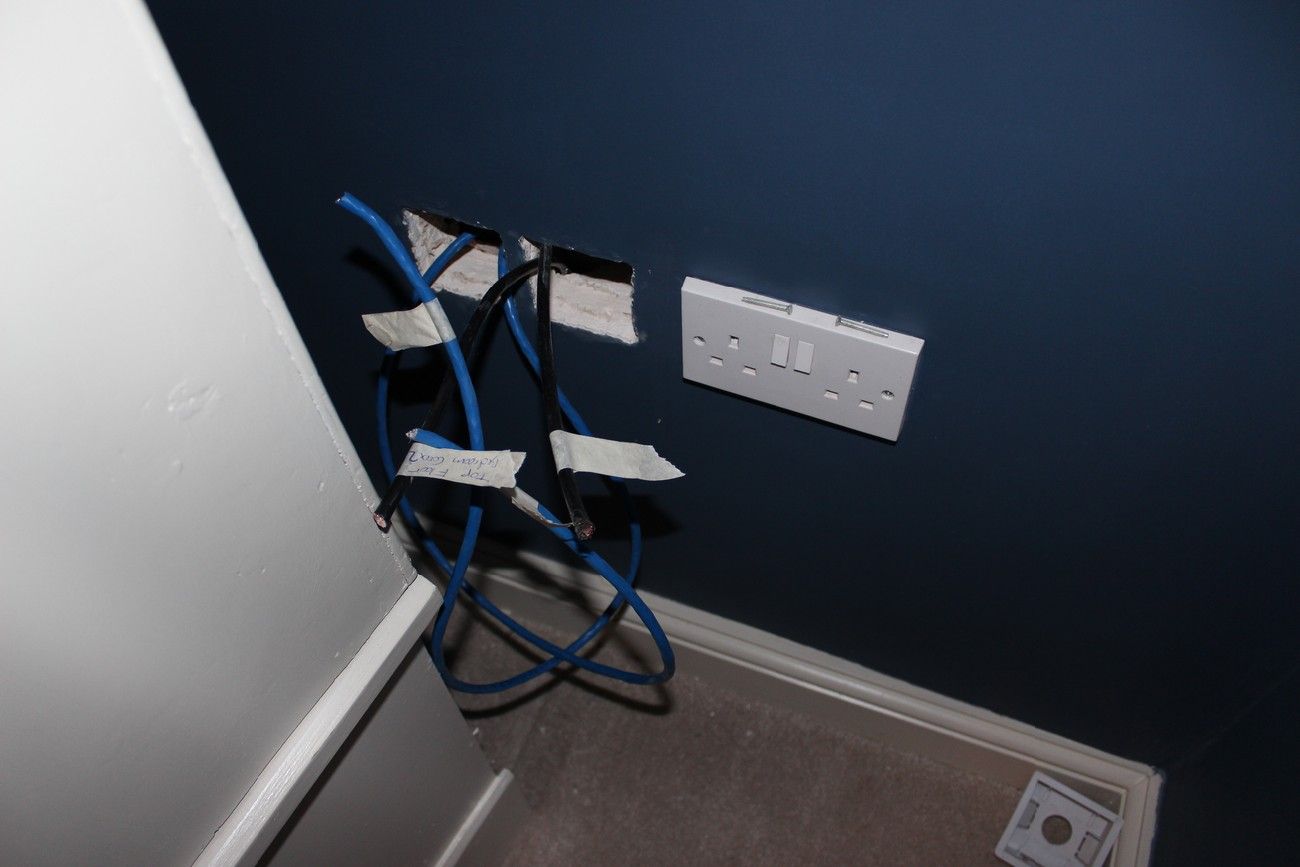
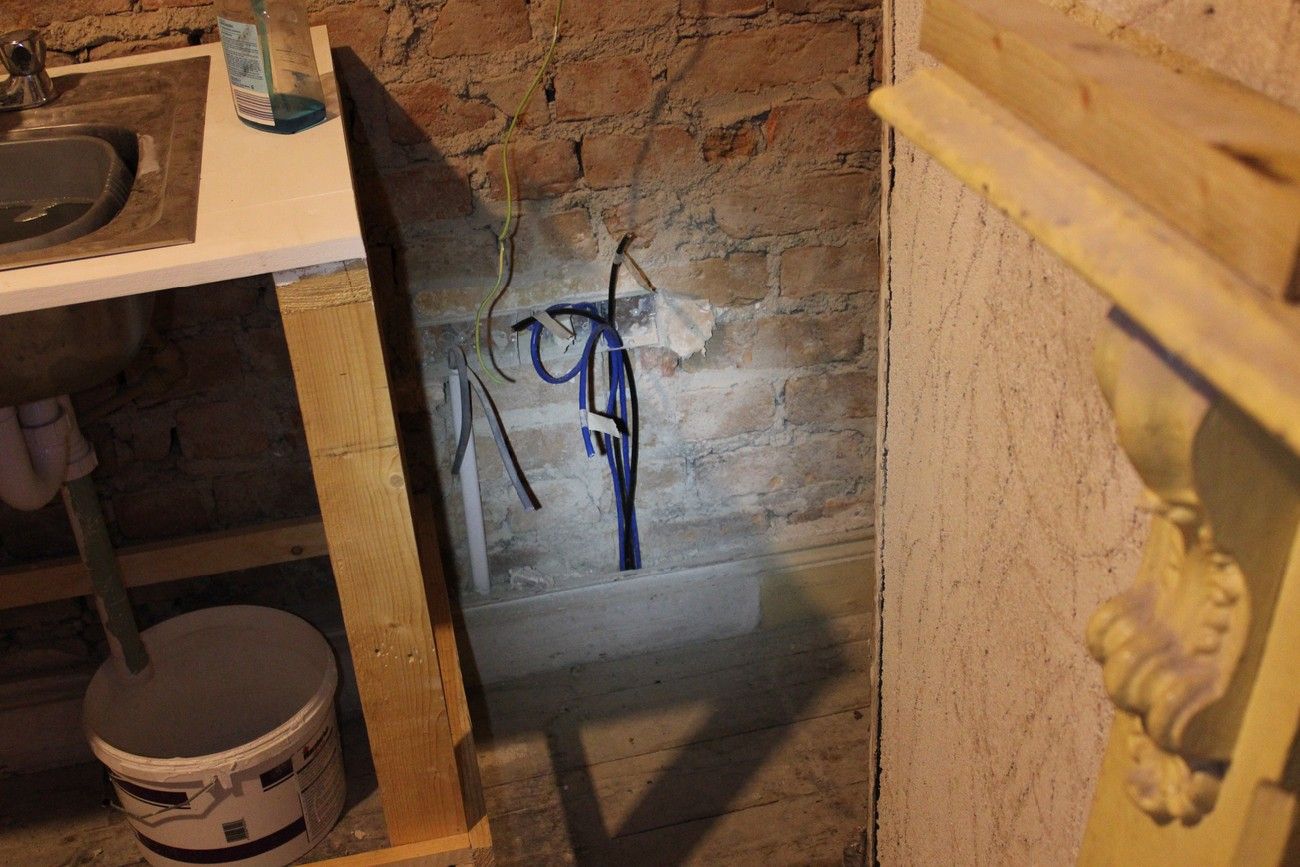
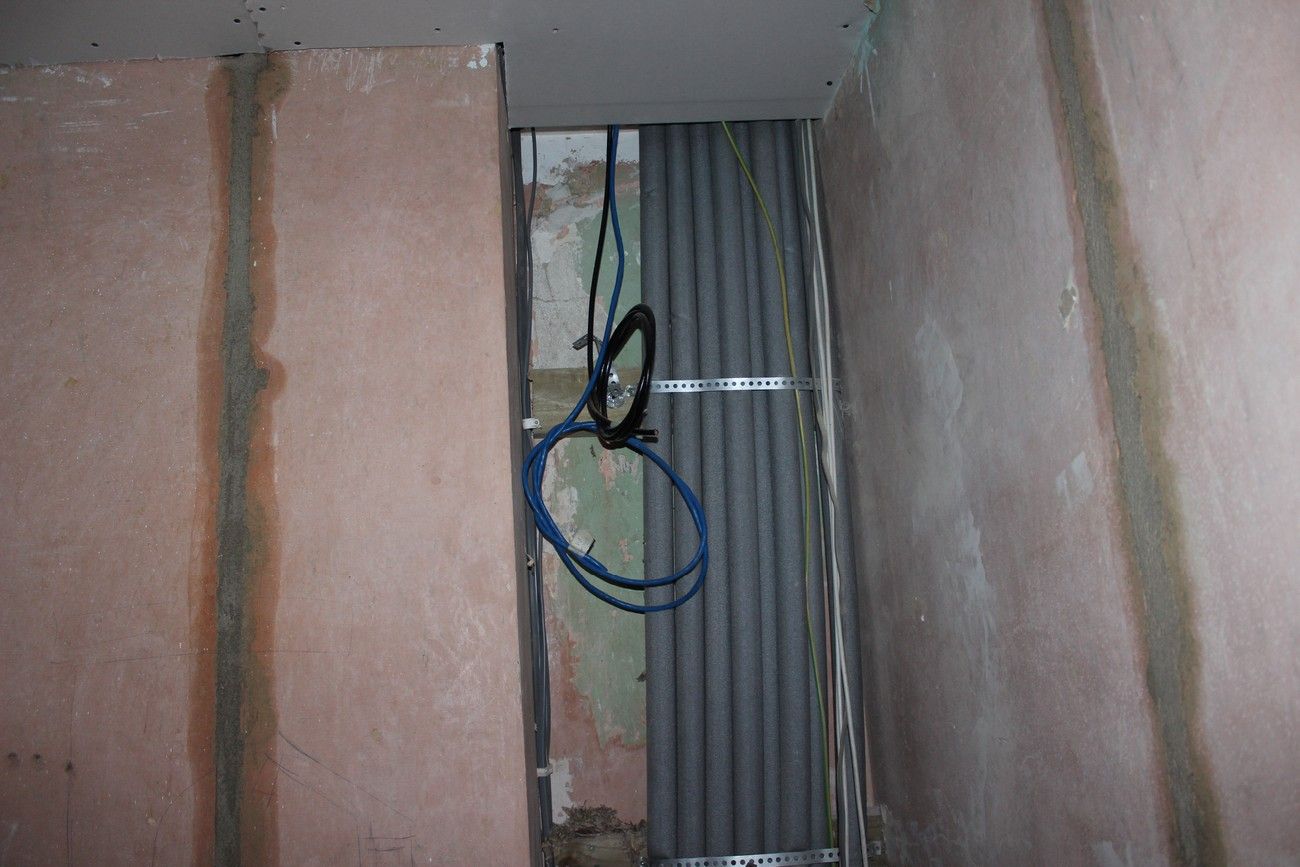
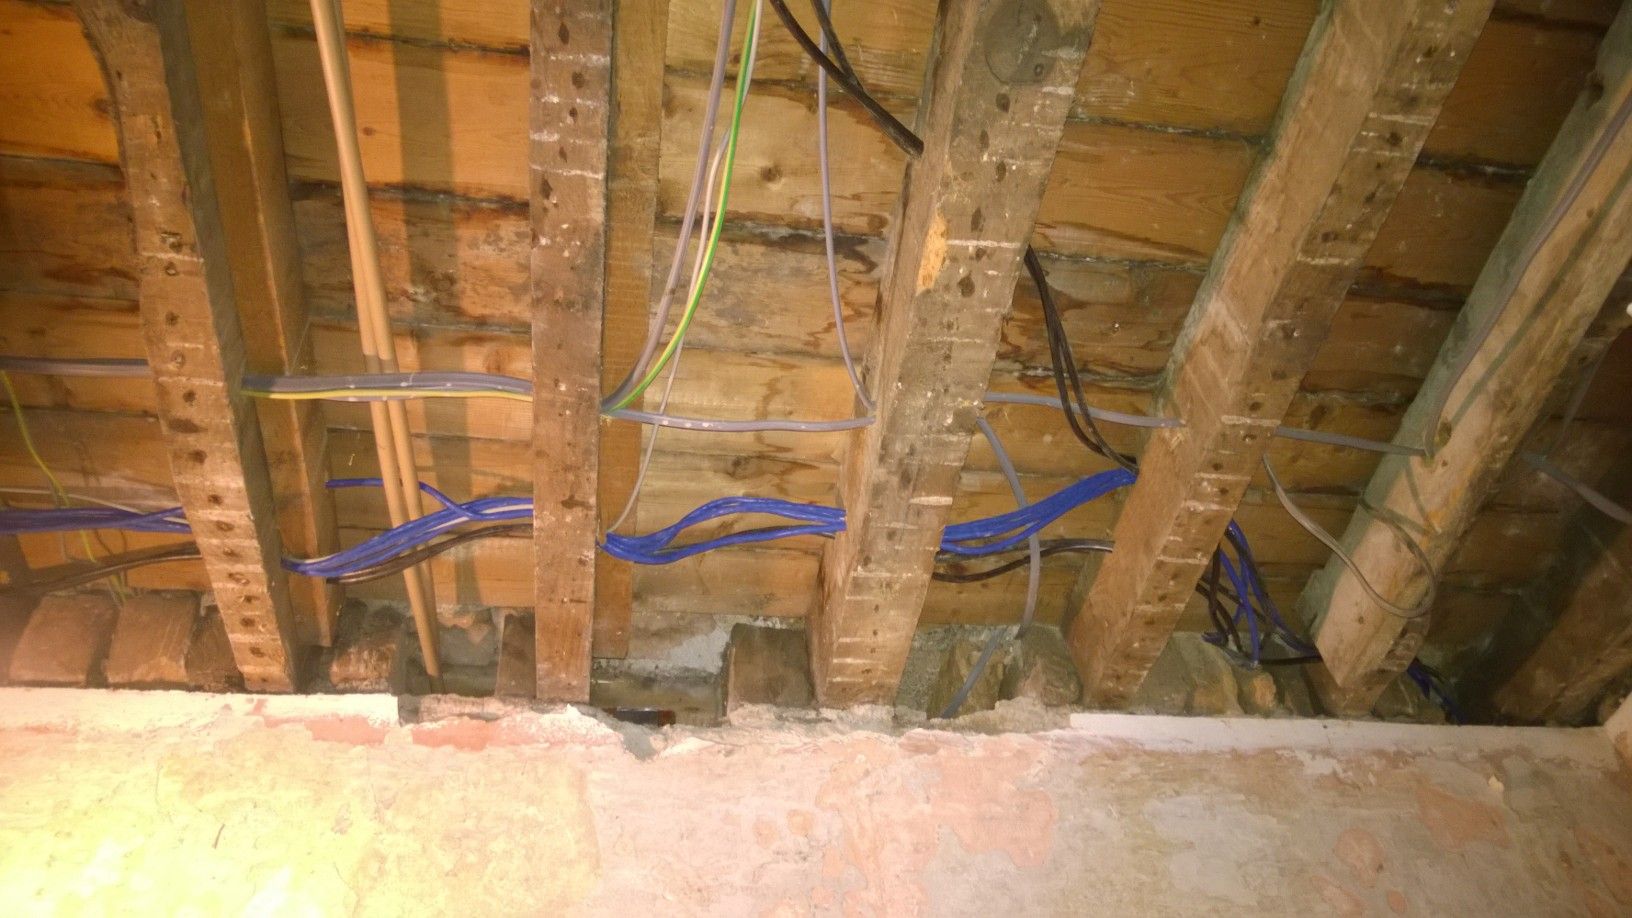
First floor rear bedroom:
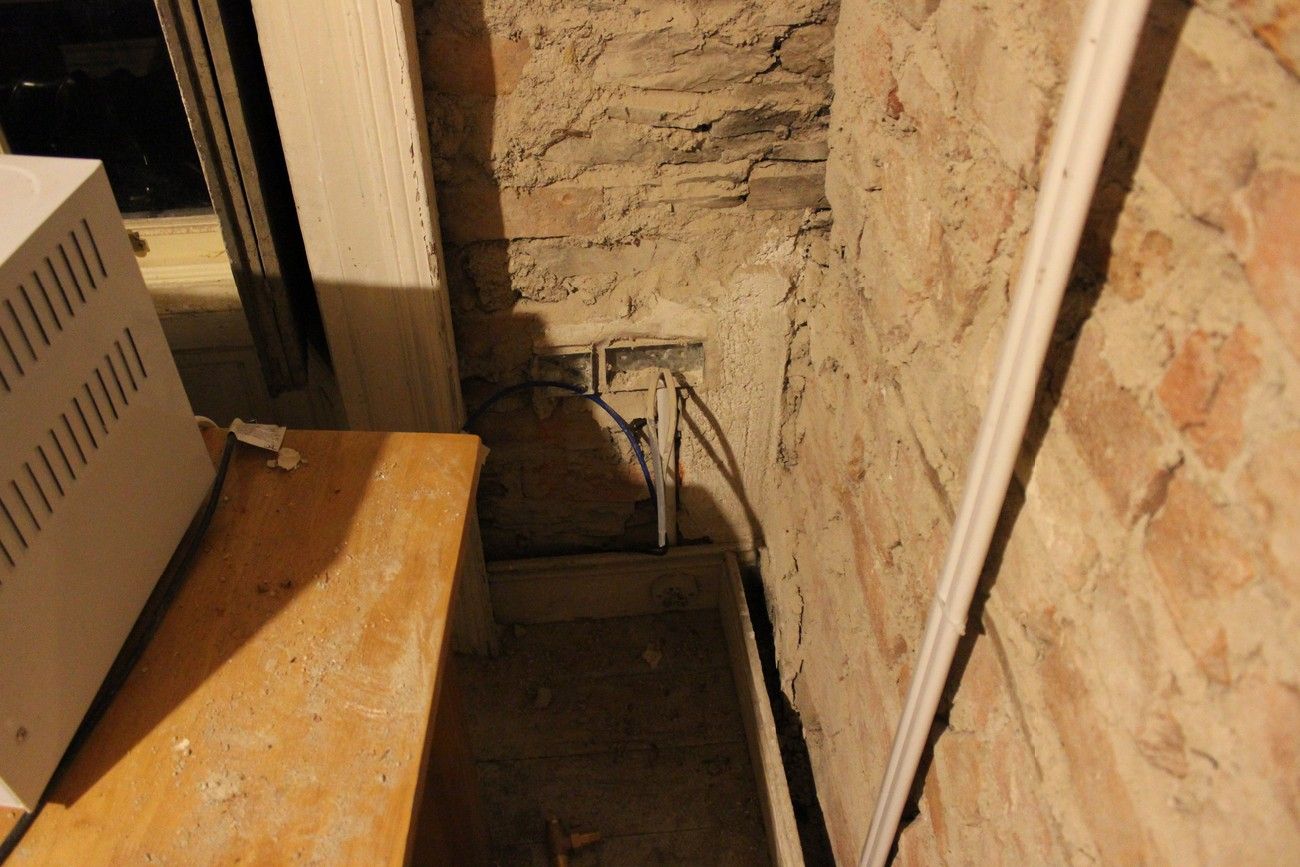
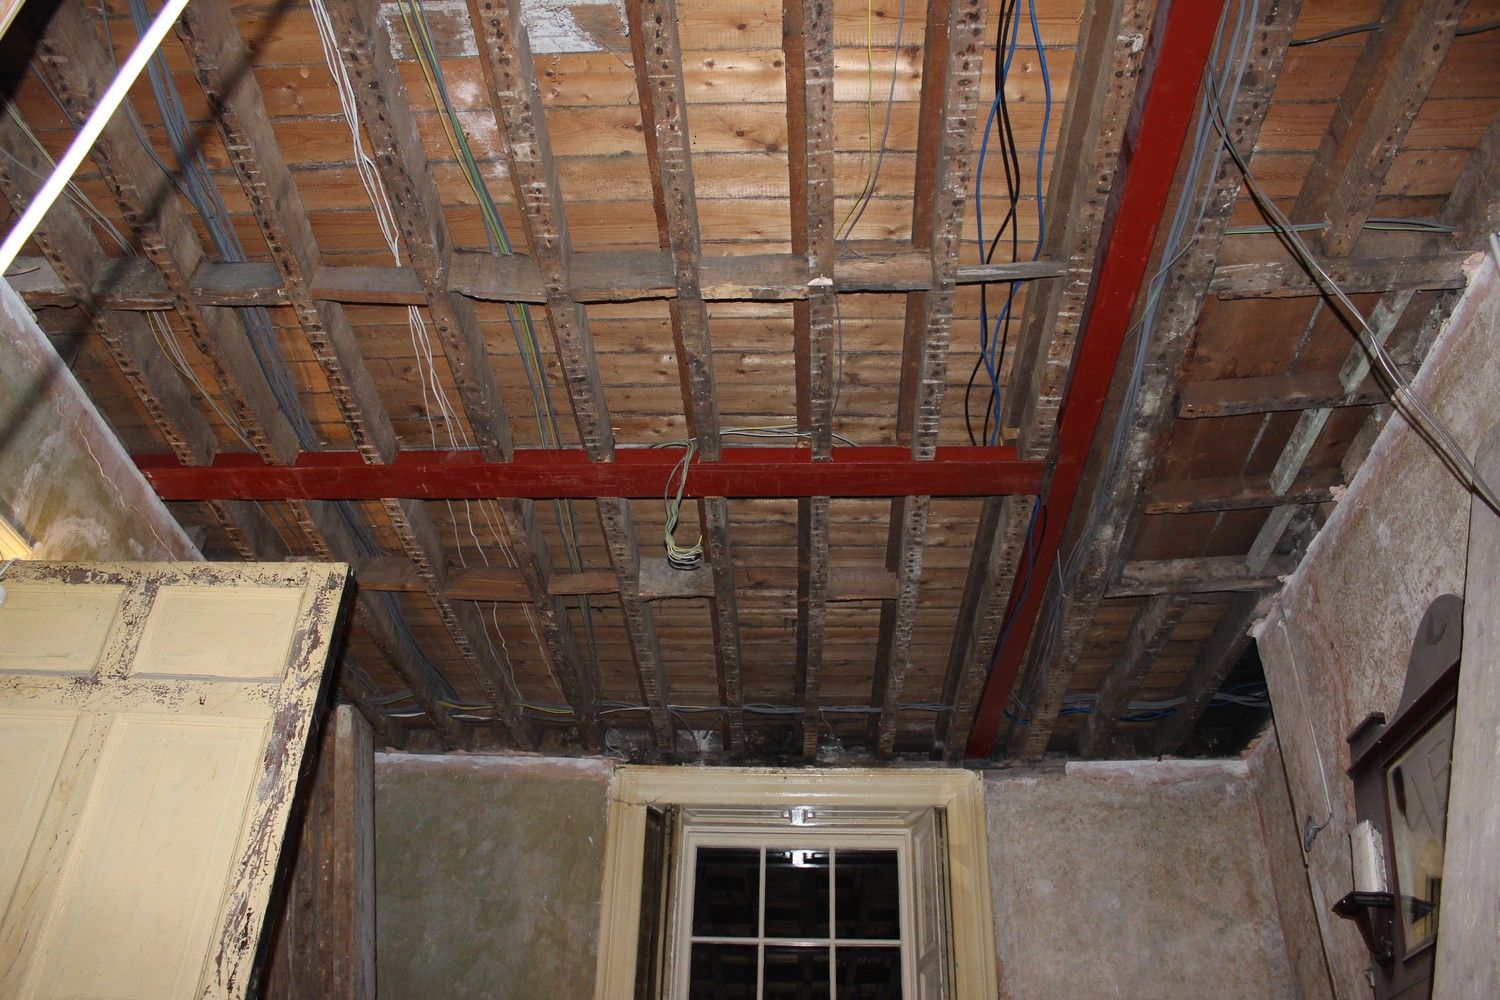
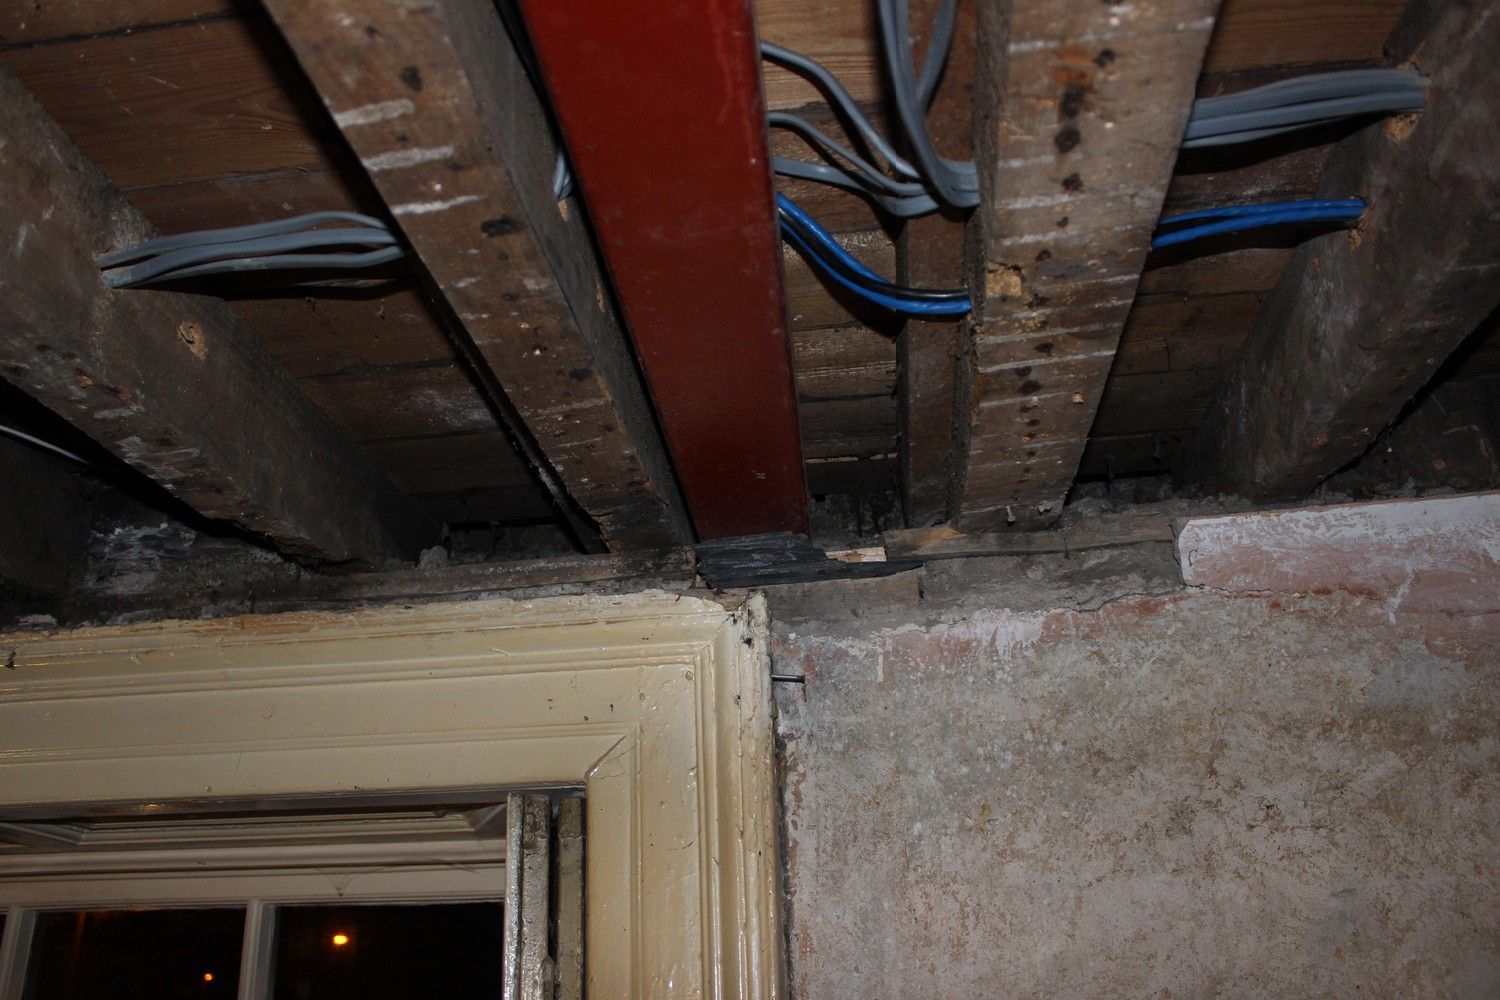
The hallway:
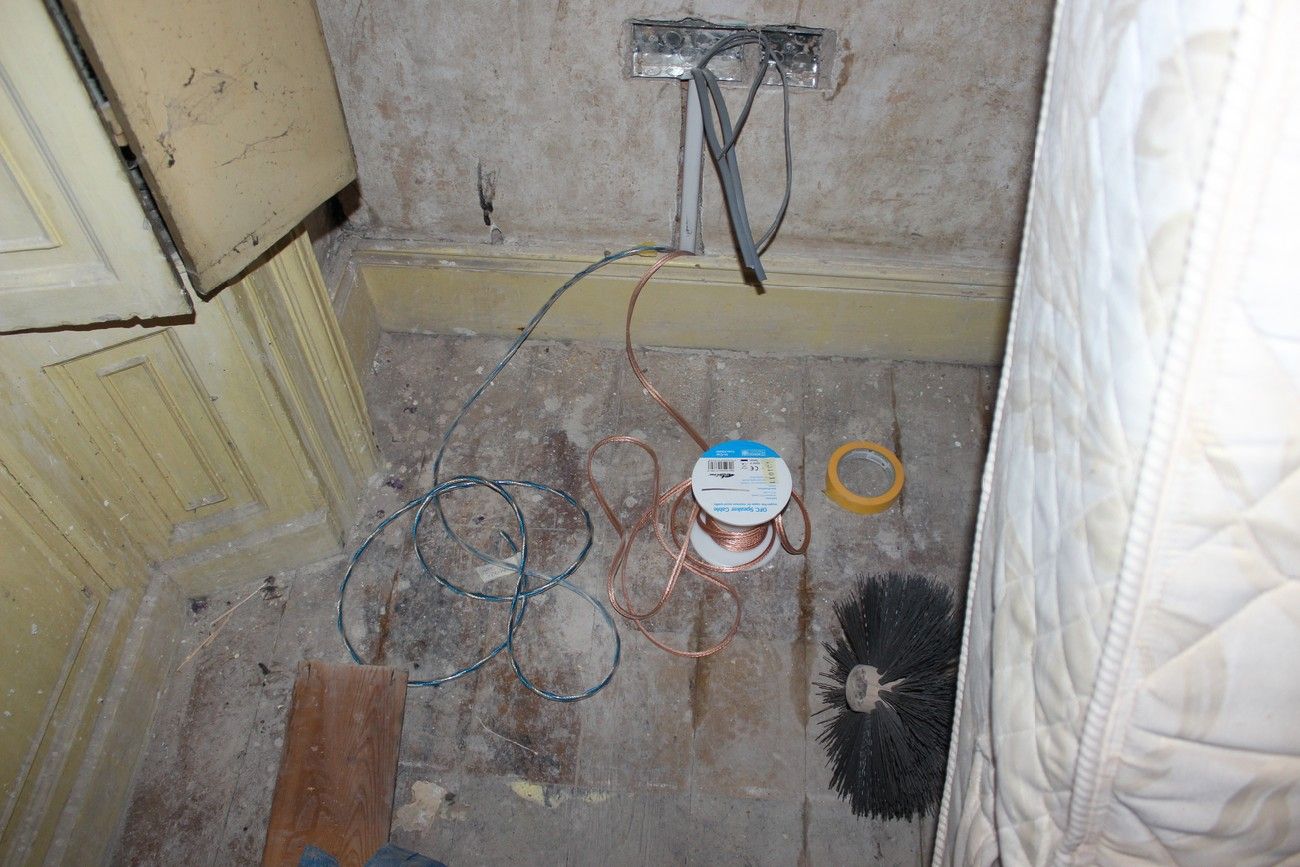
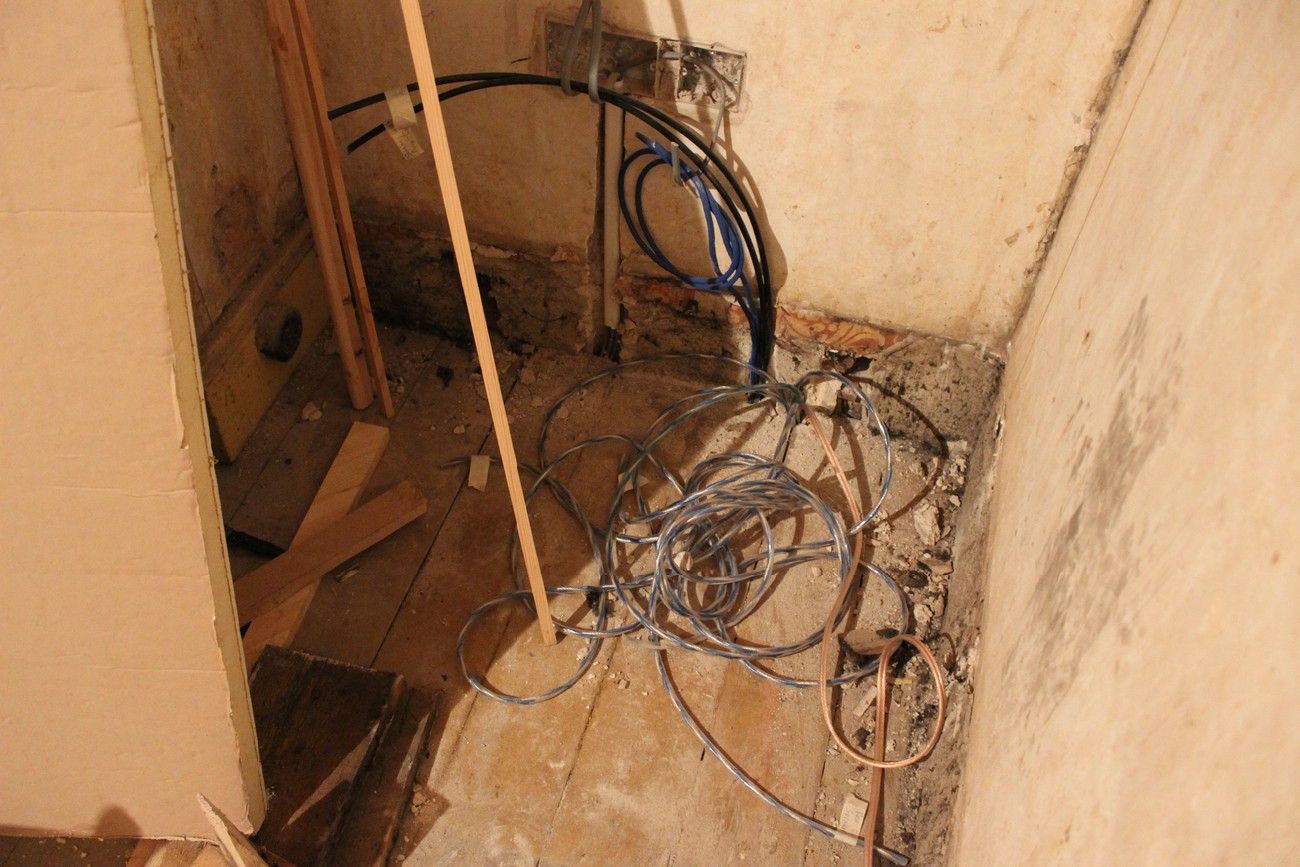
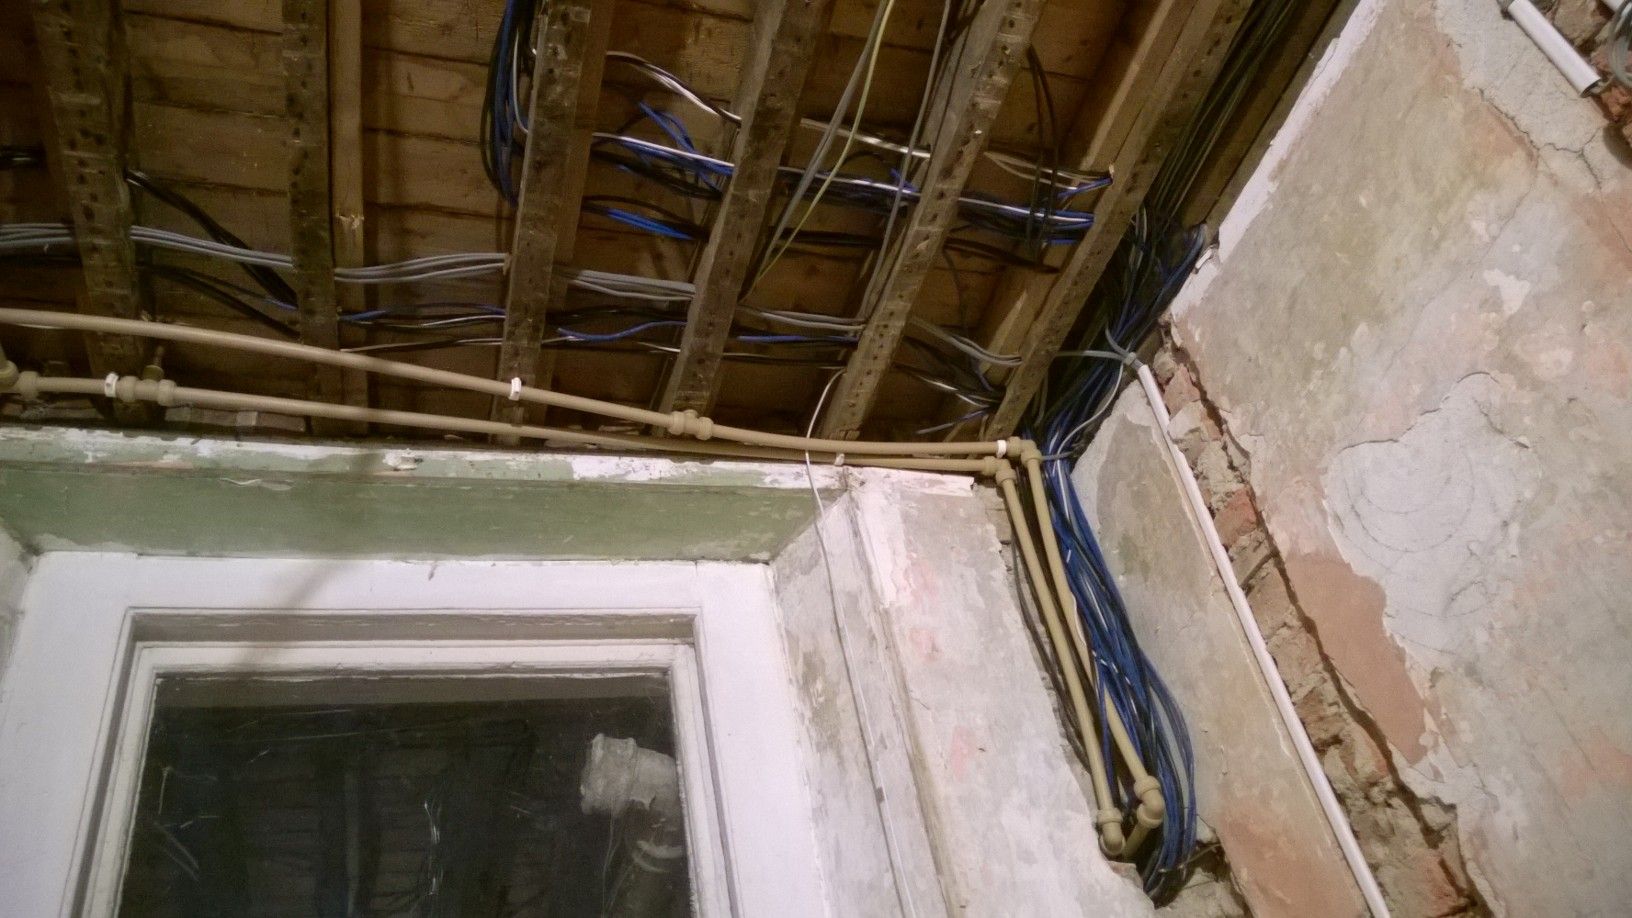
The kitchen:
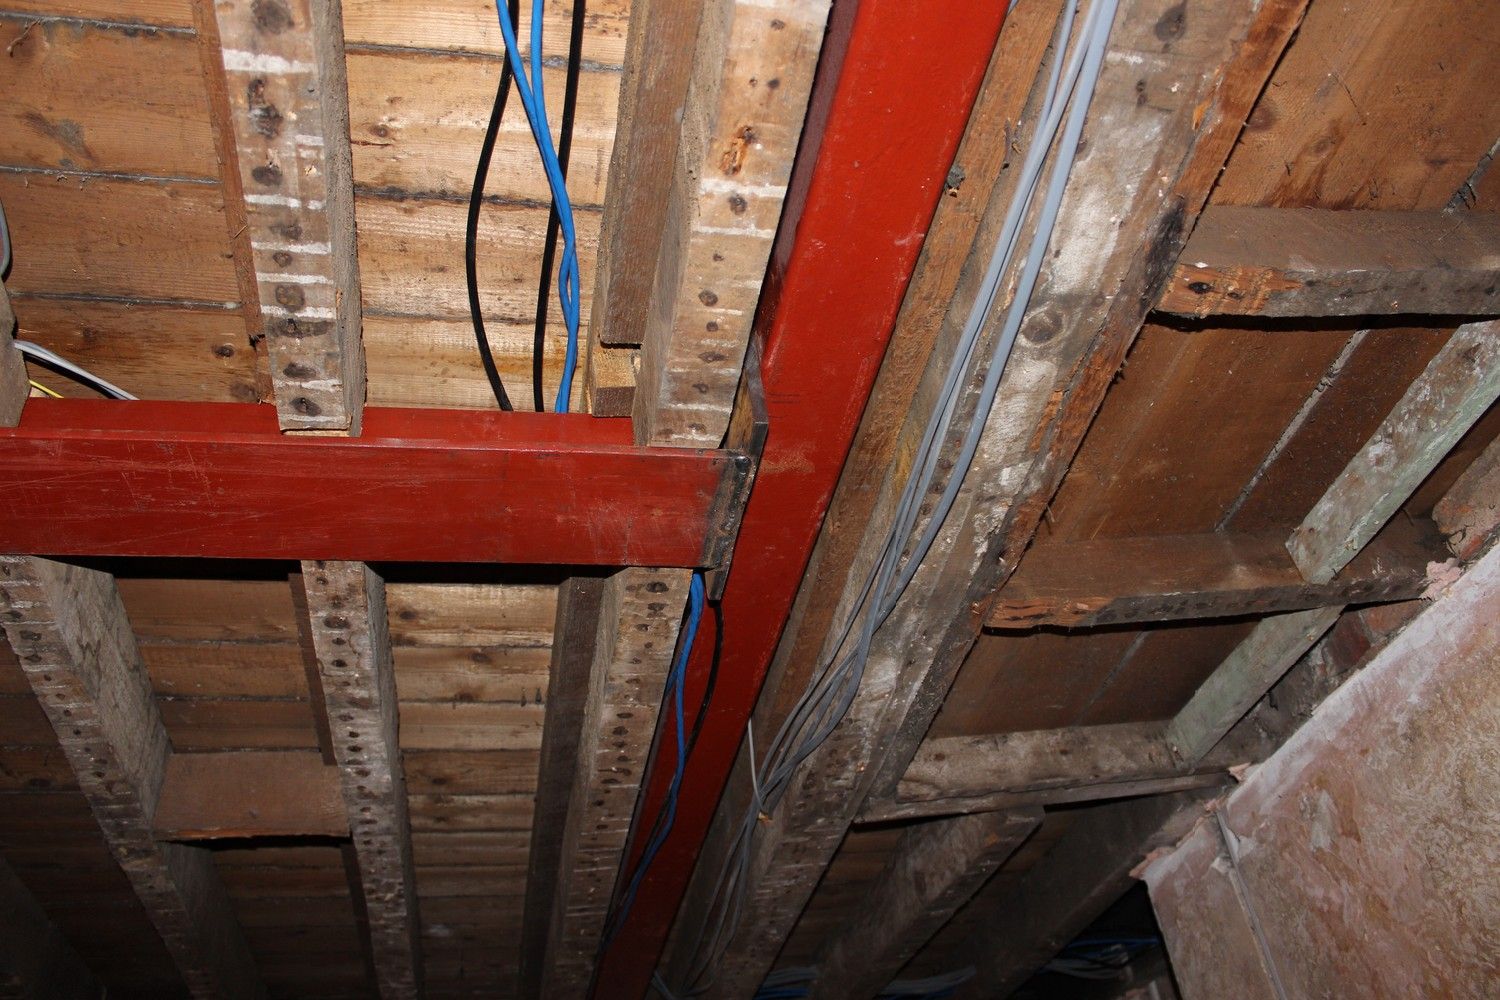
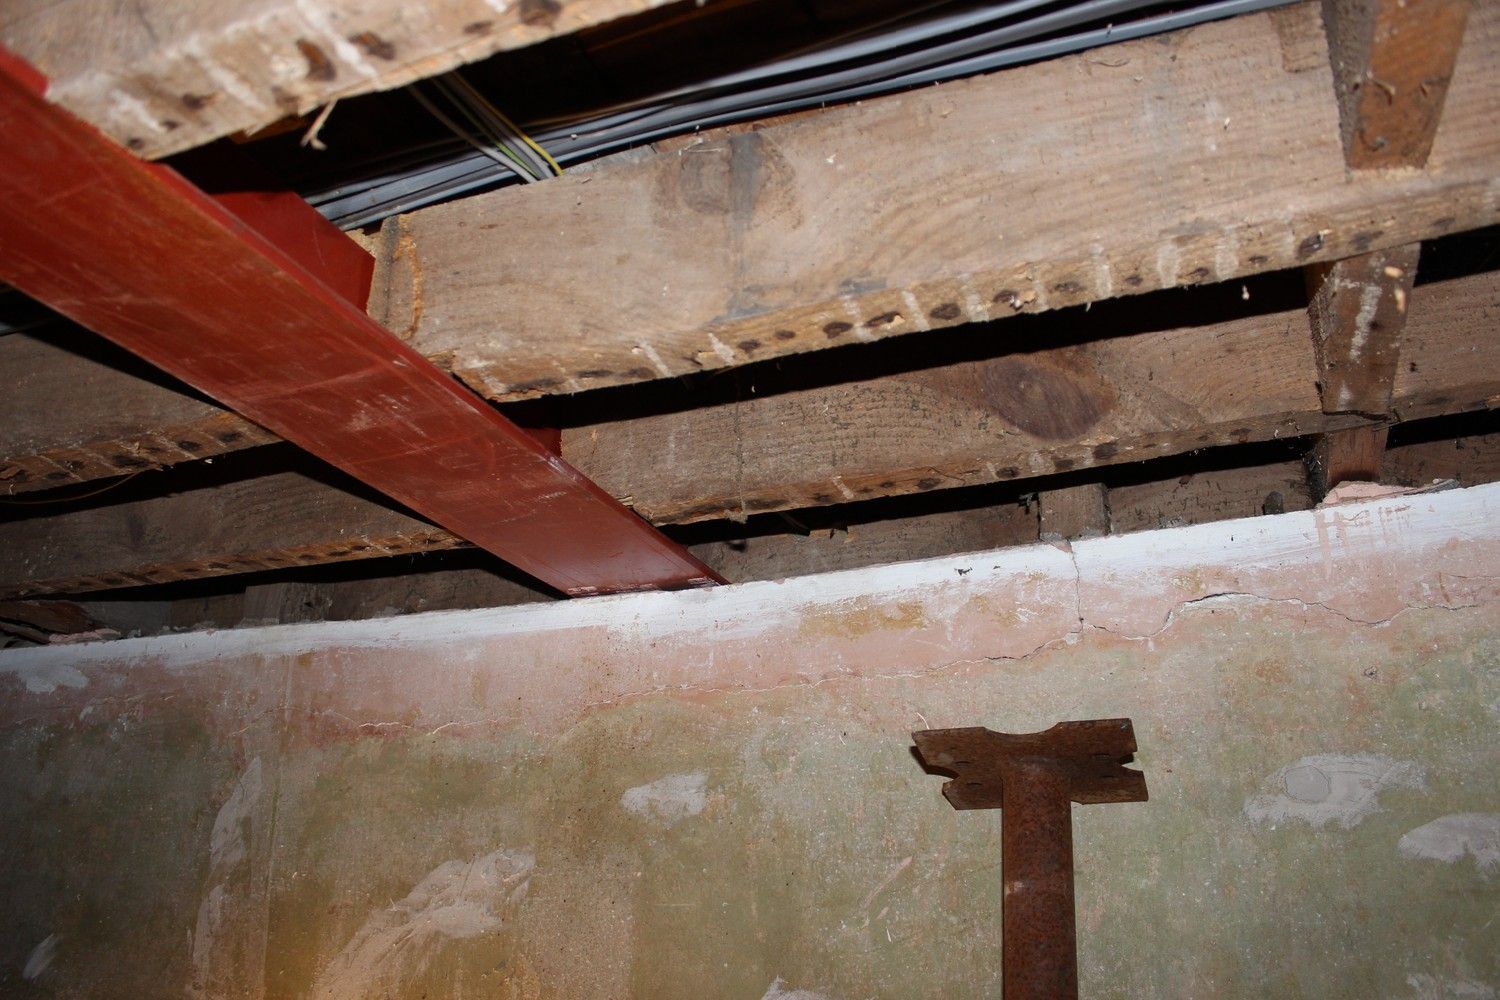
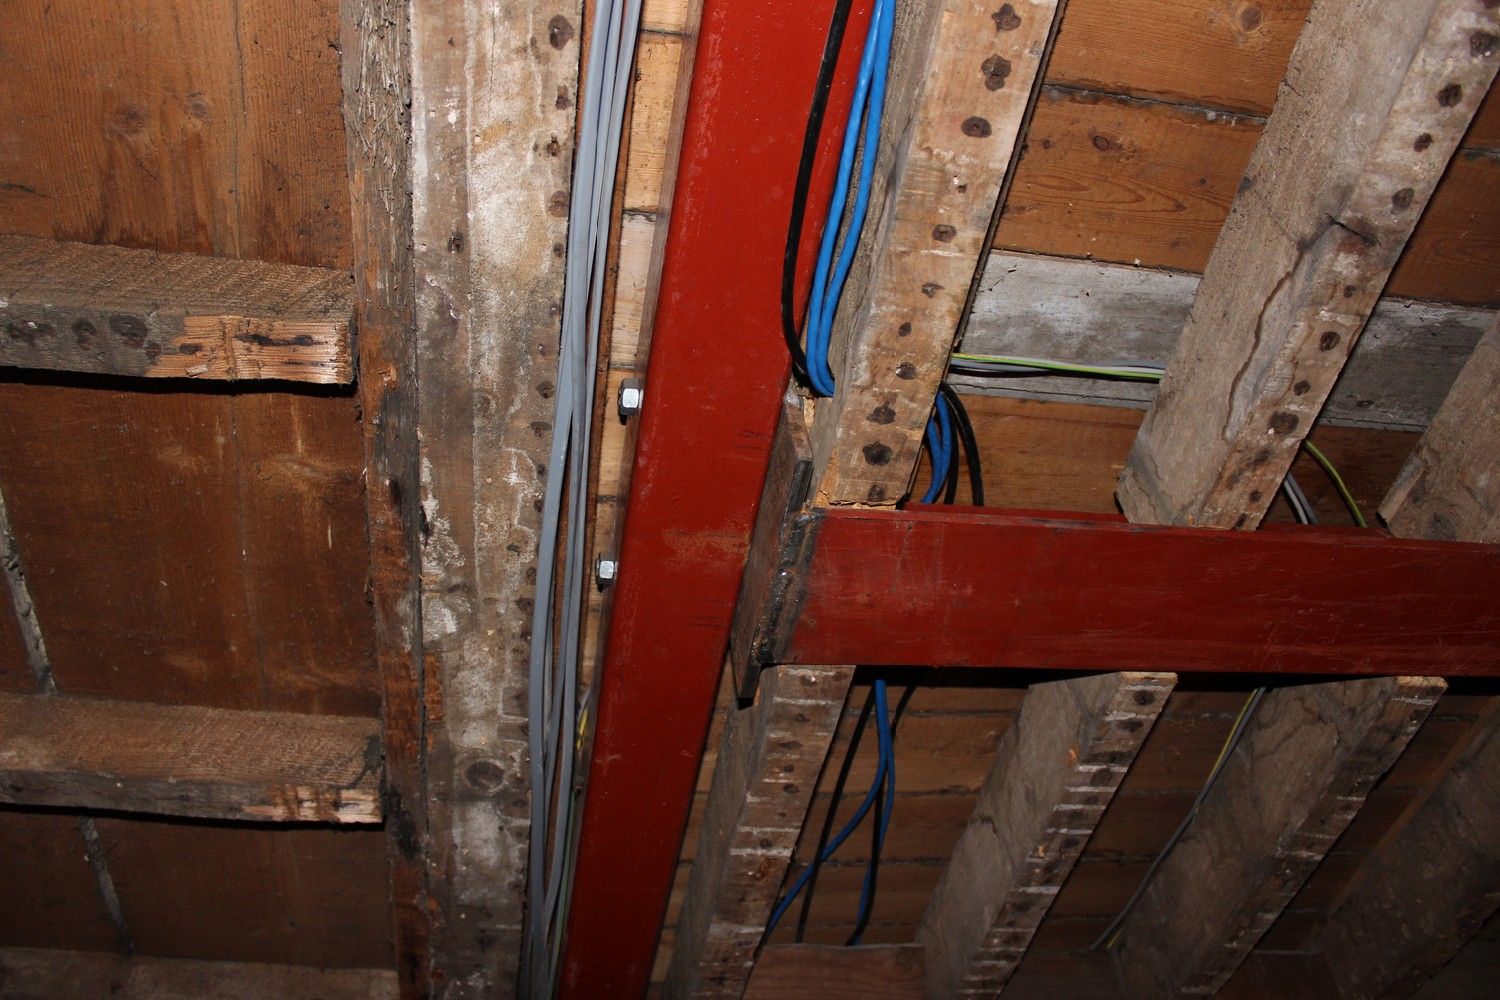
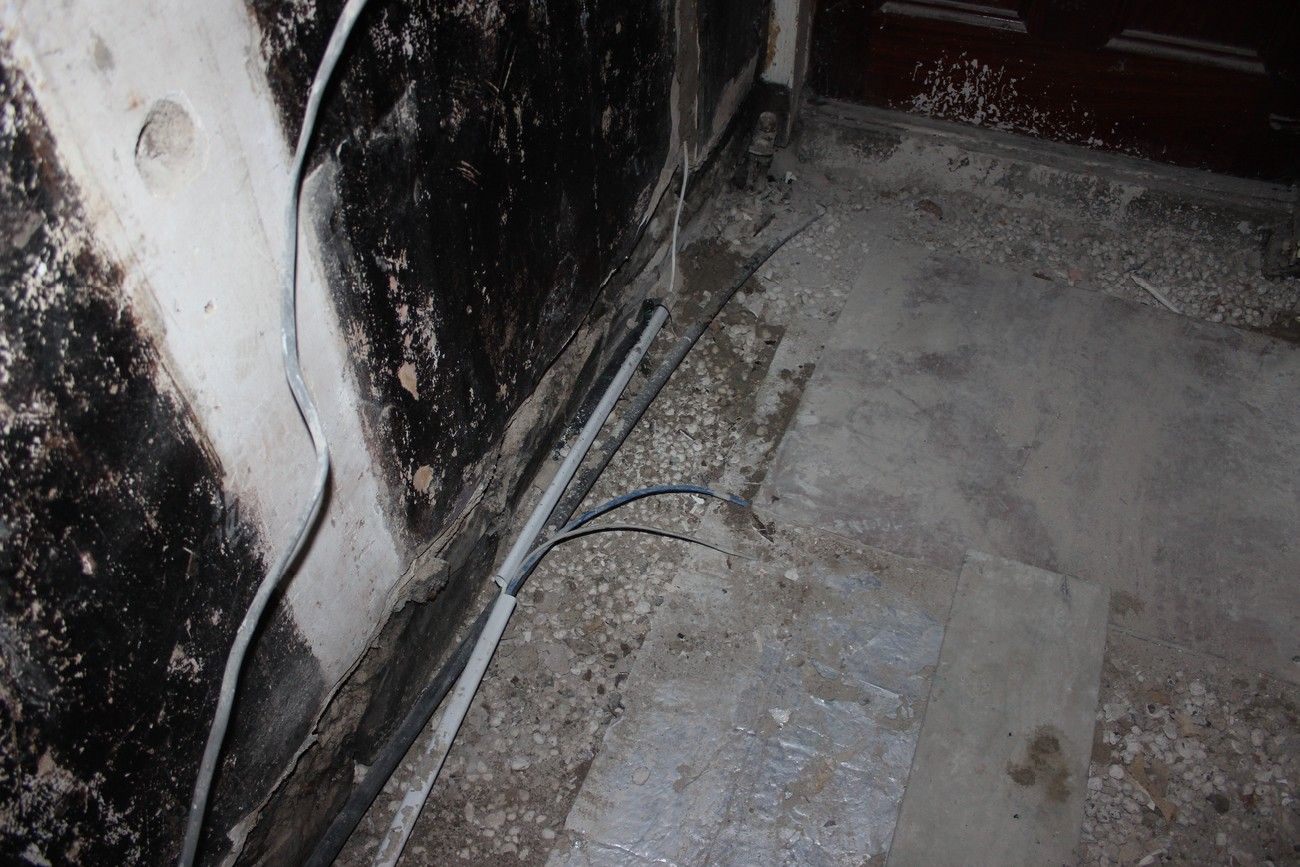
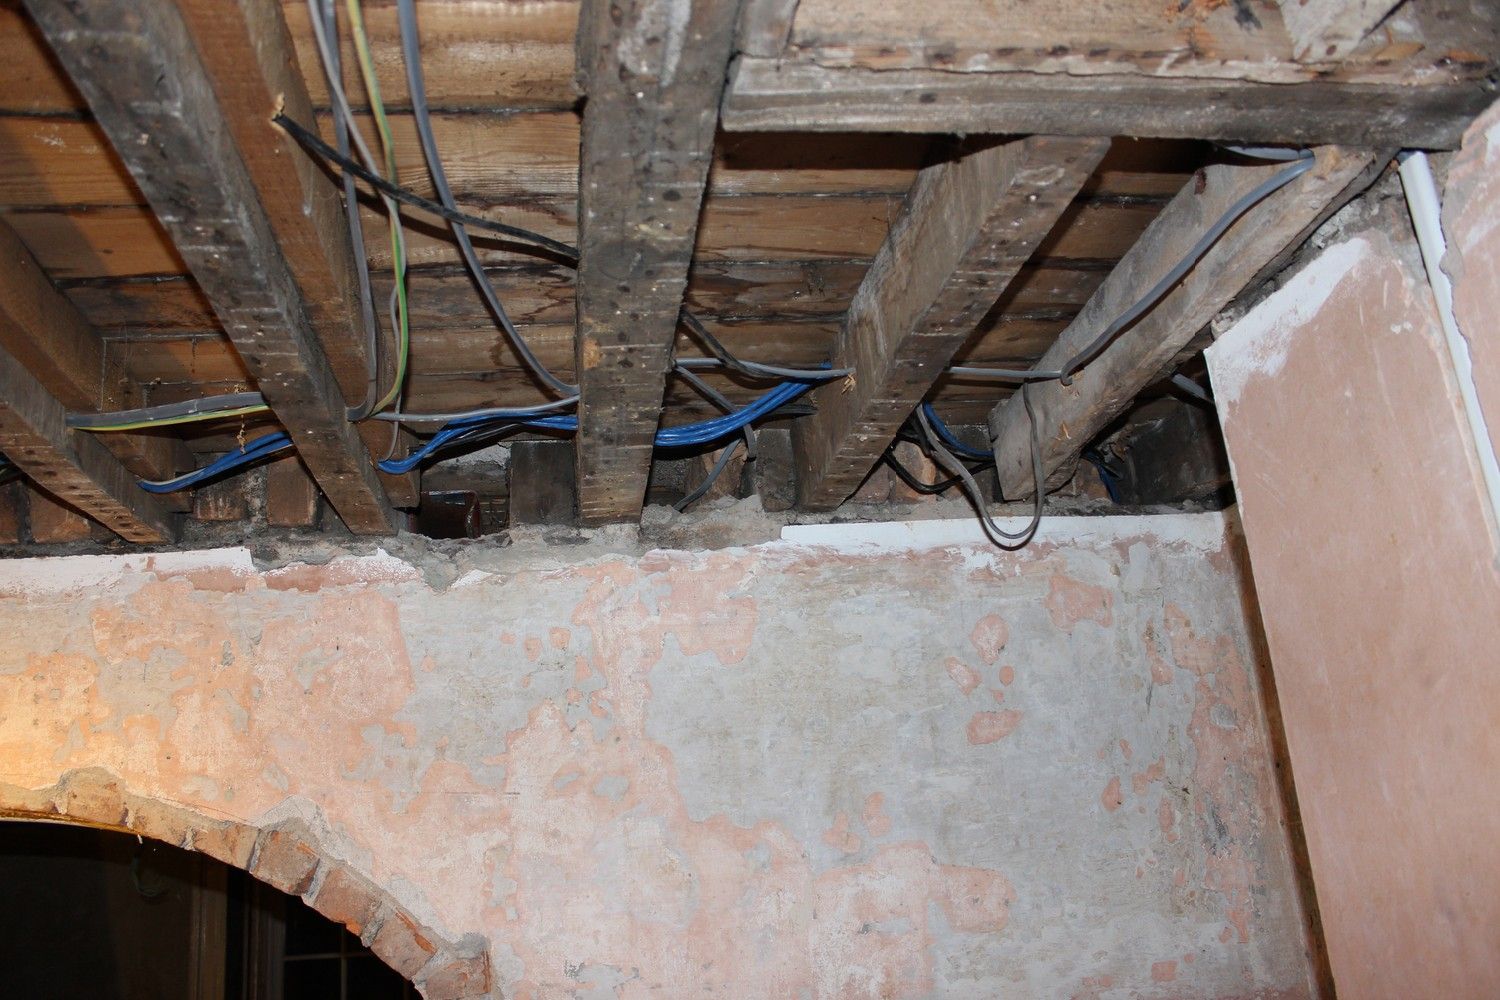
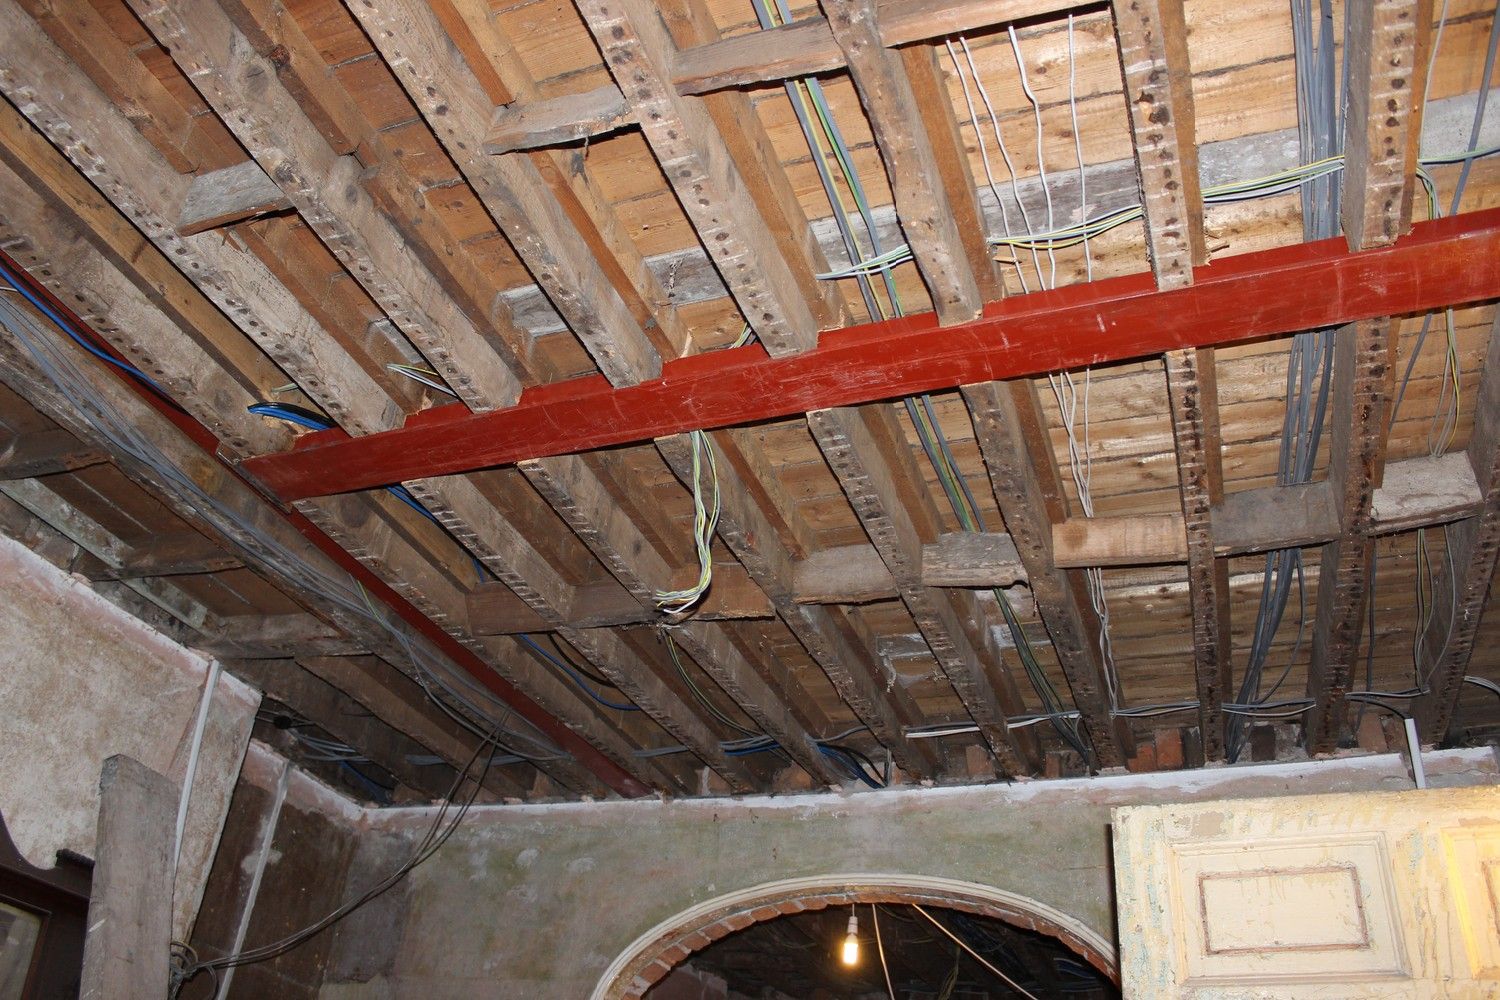
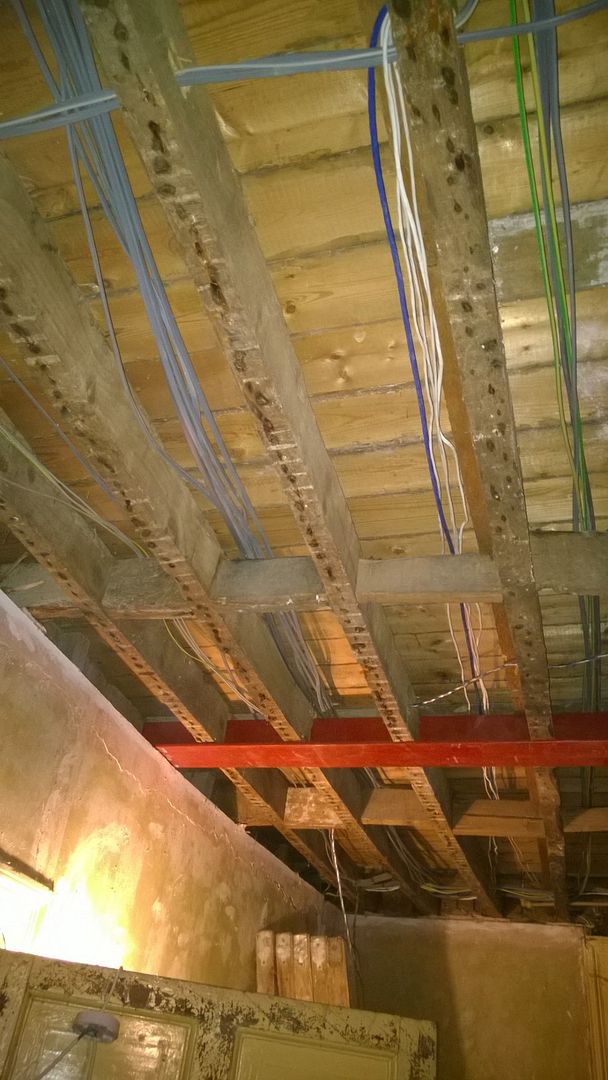
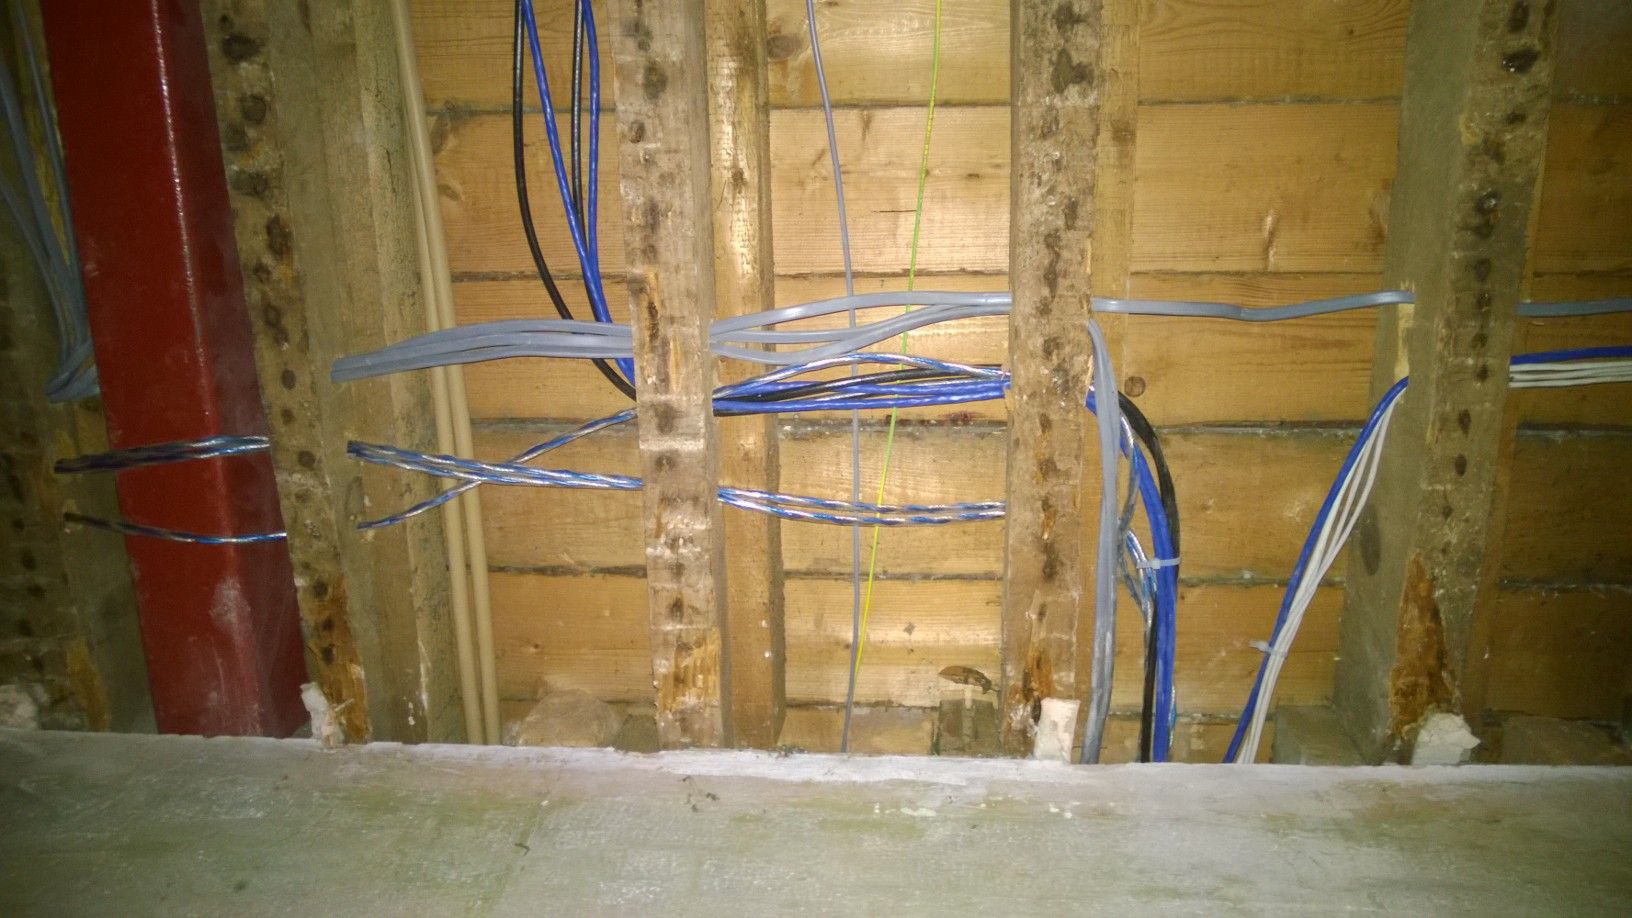
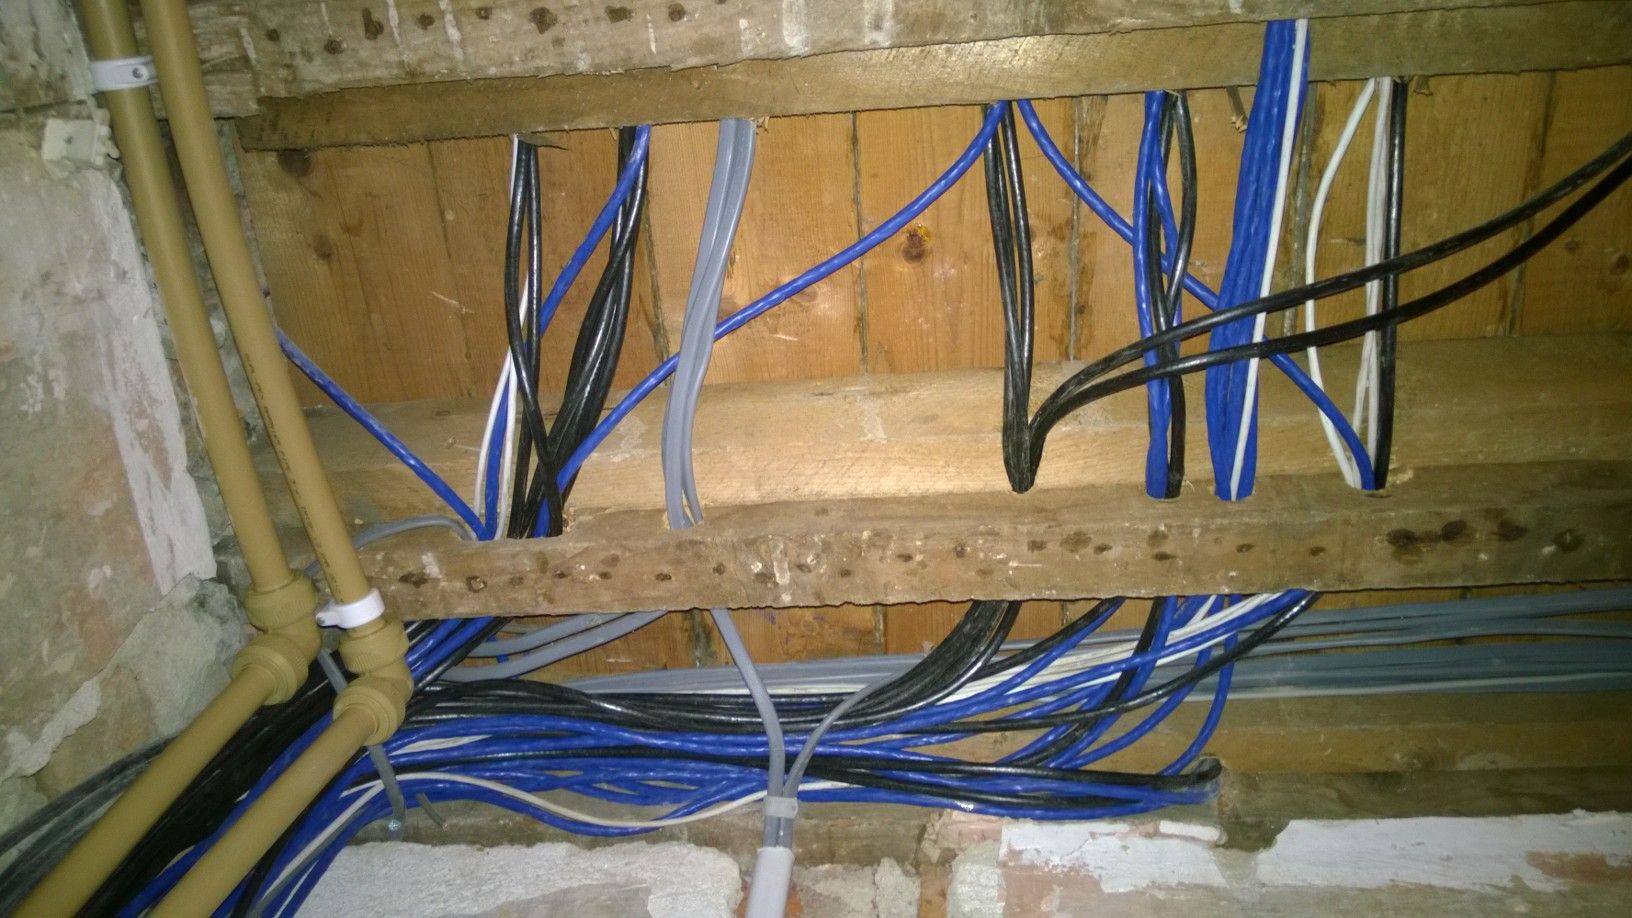
Feeds throughout the house:
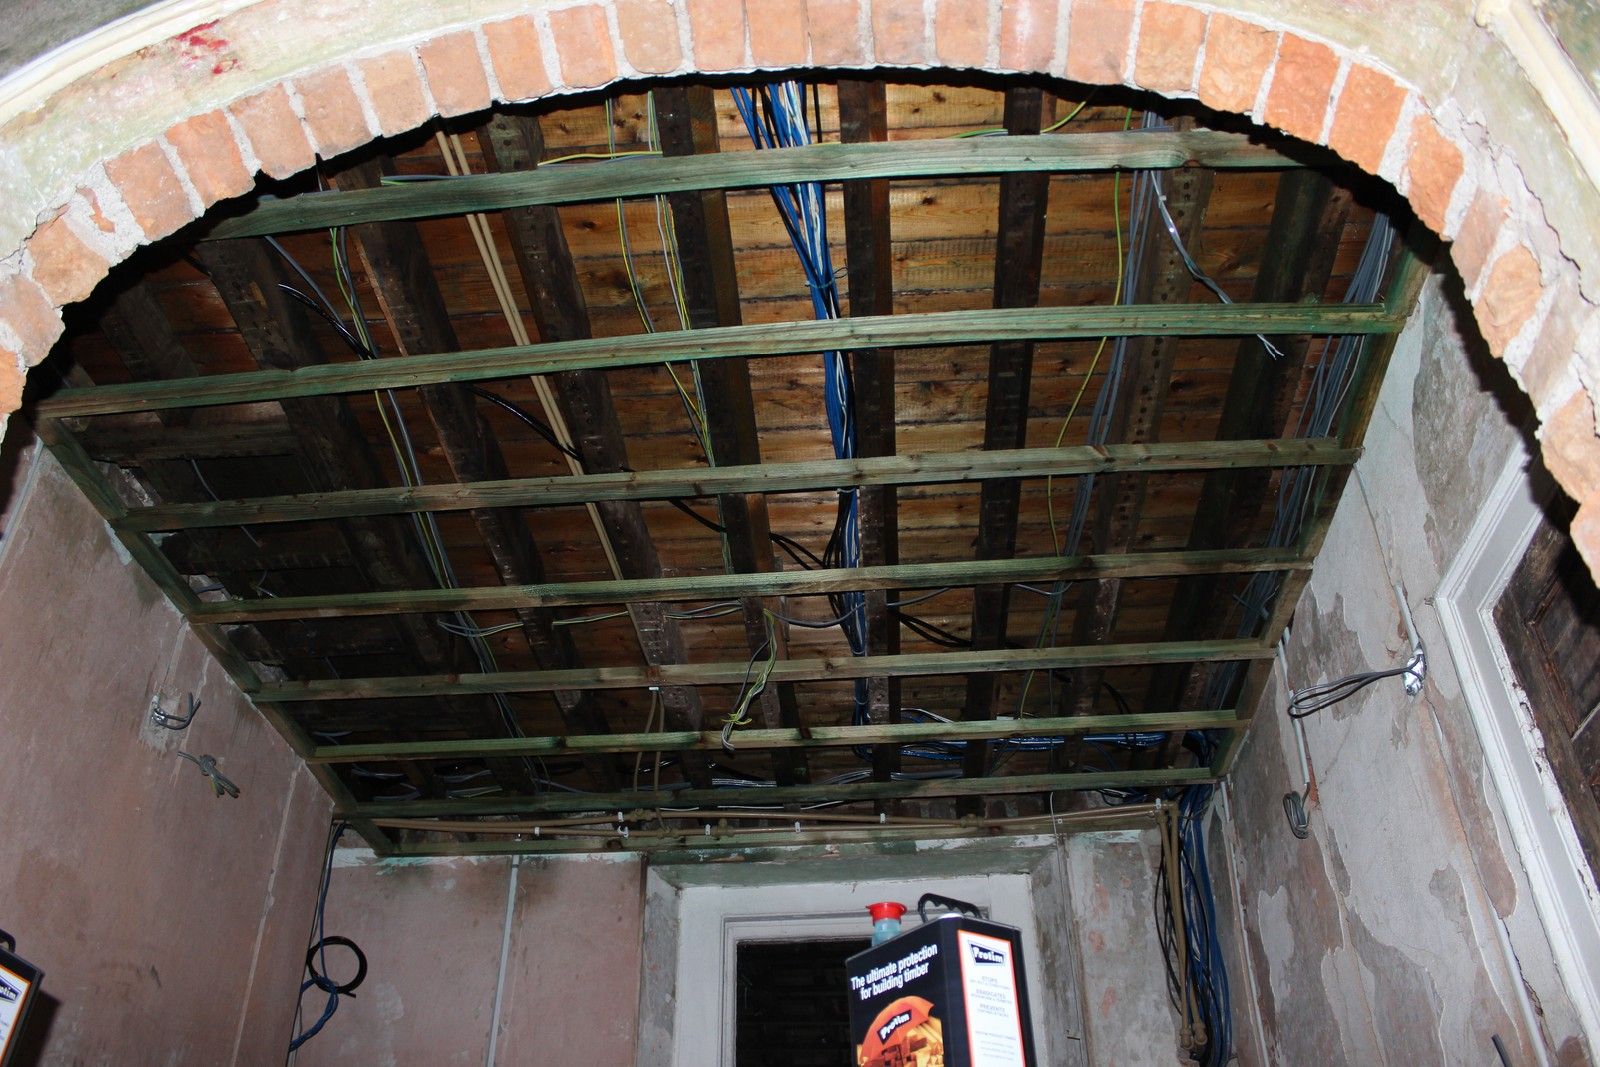
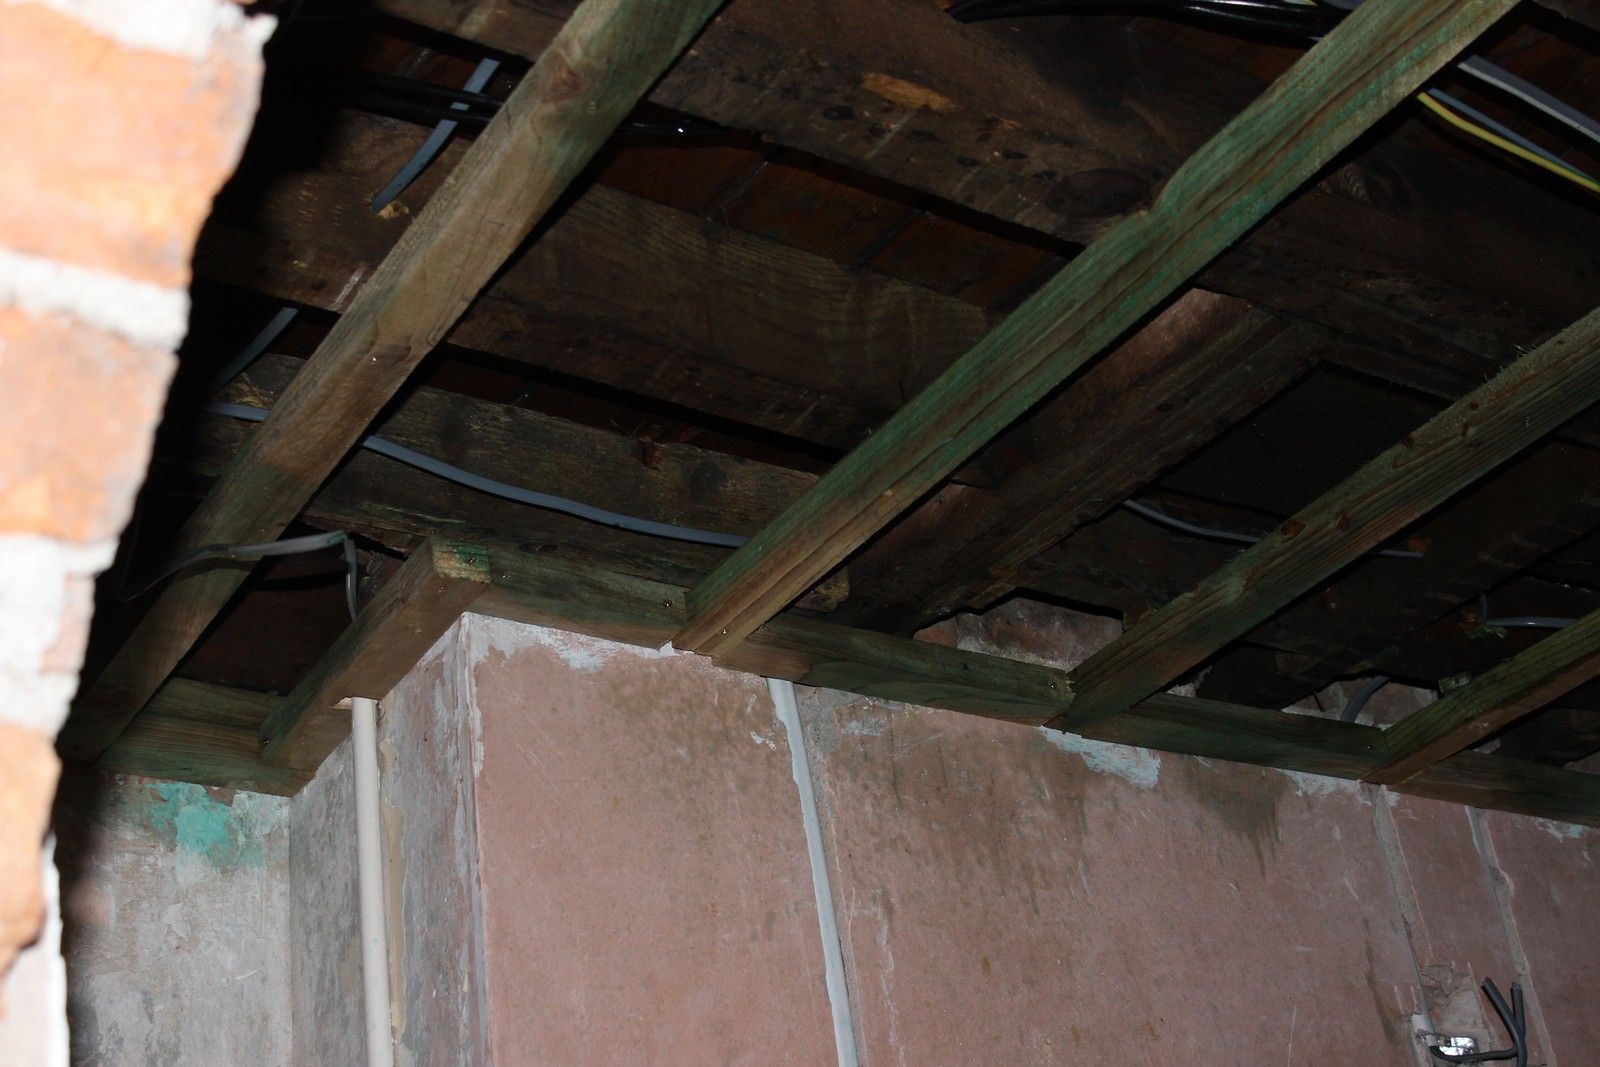
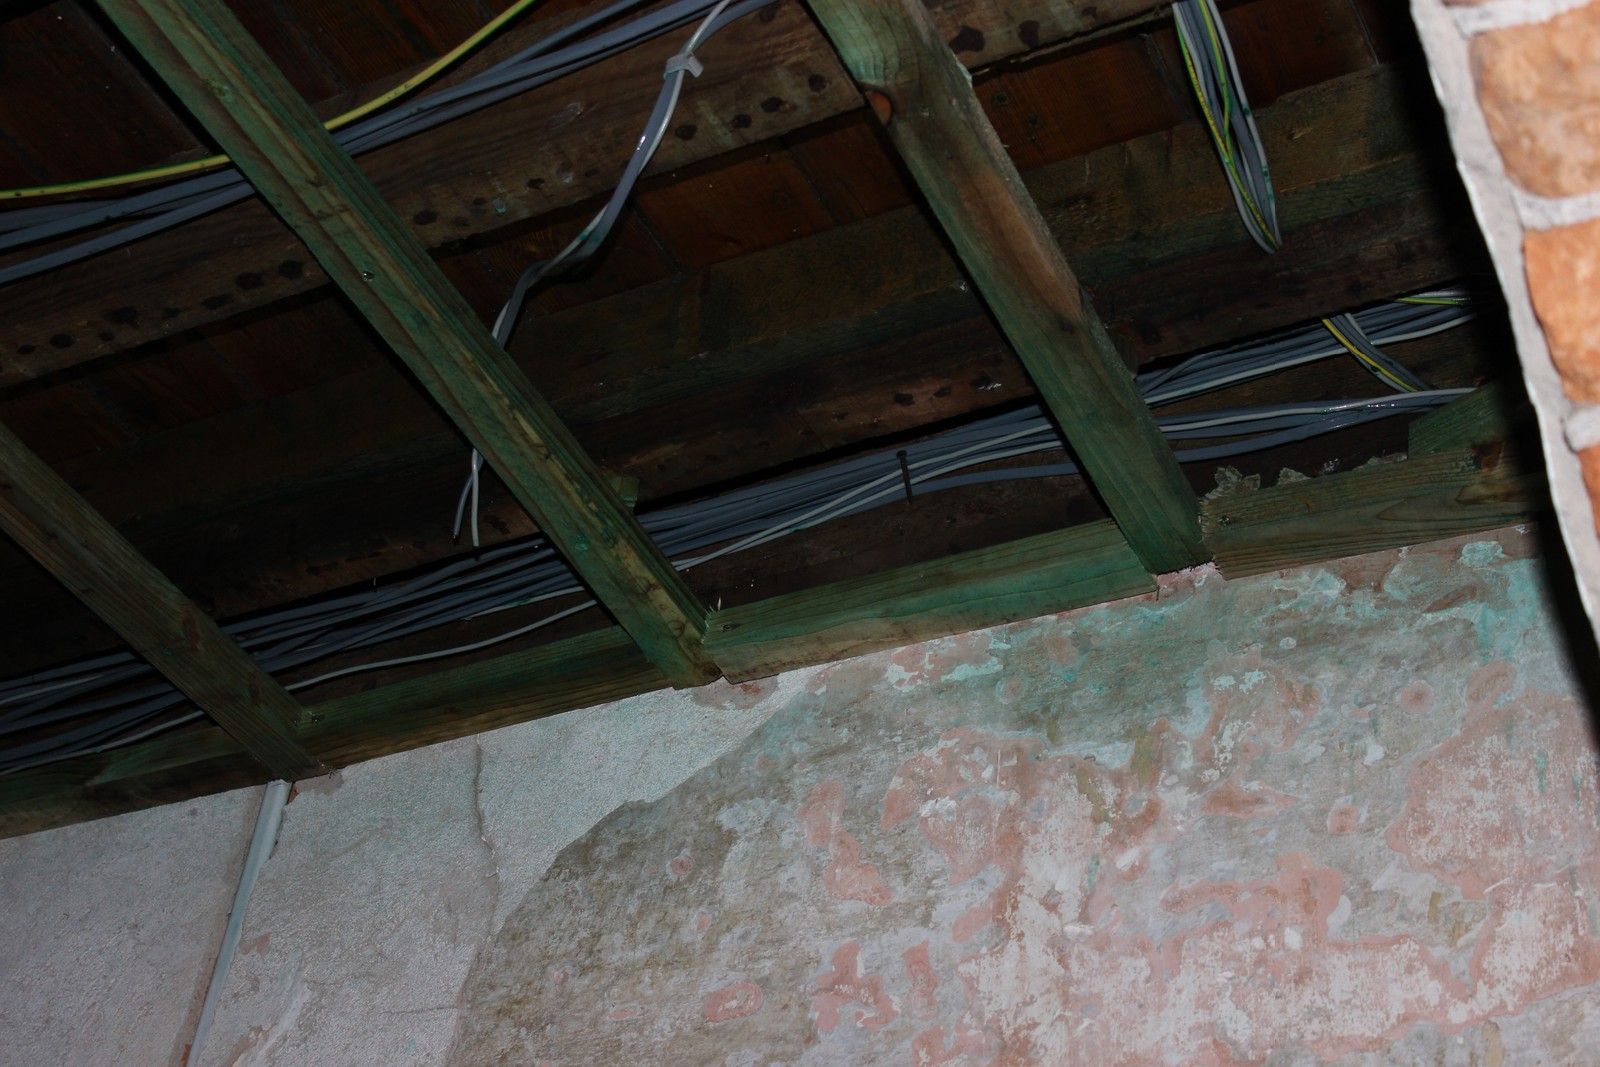
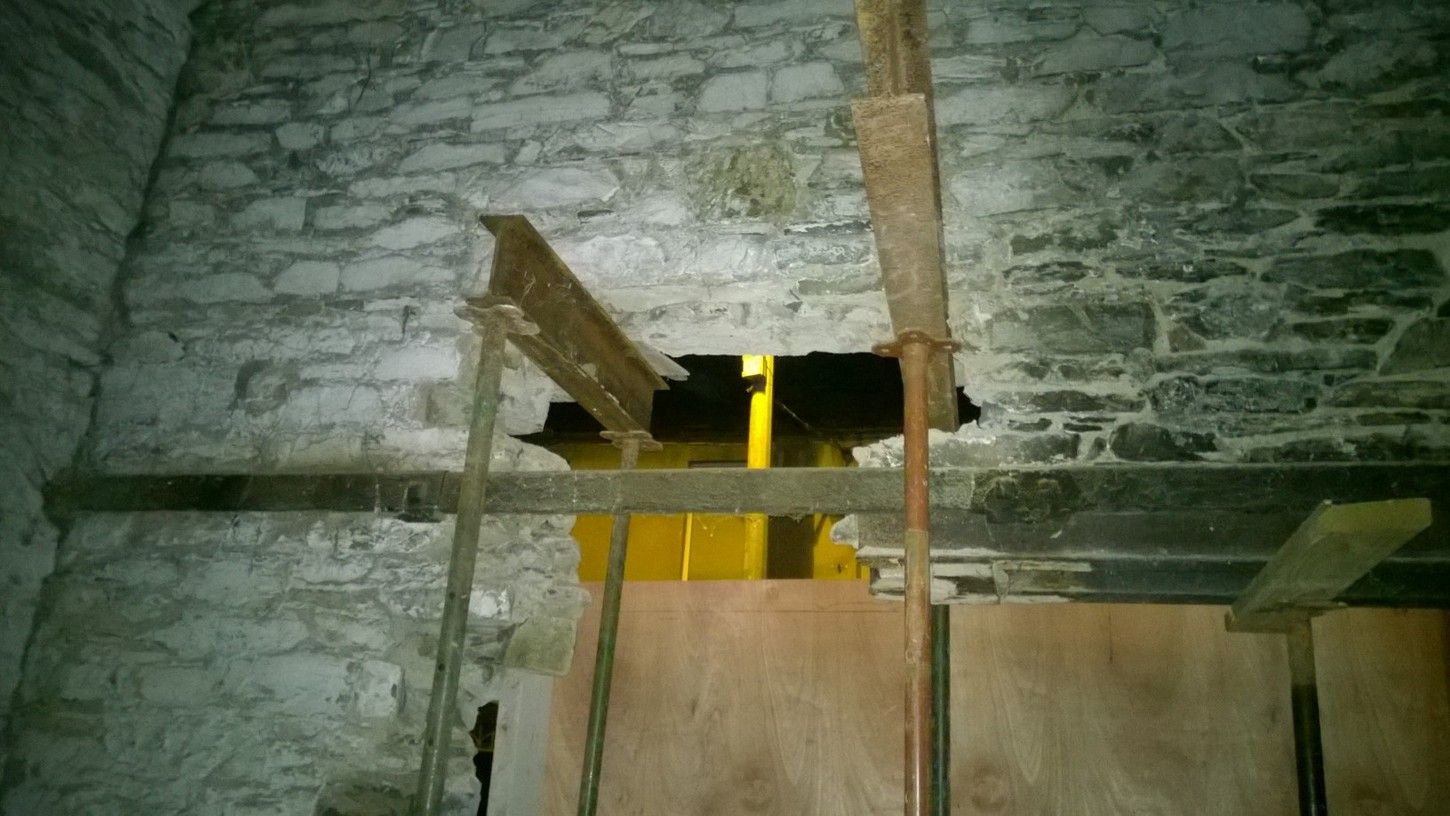
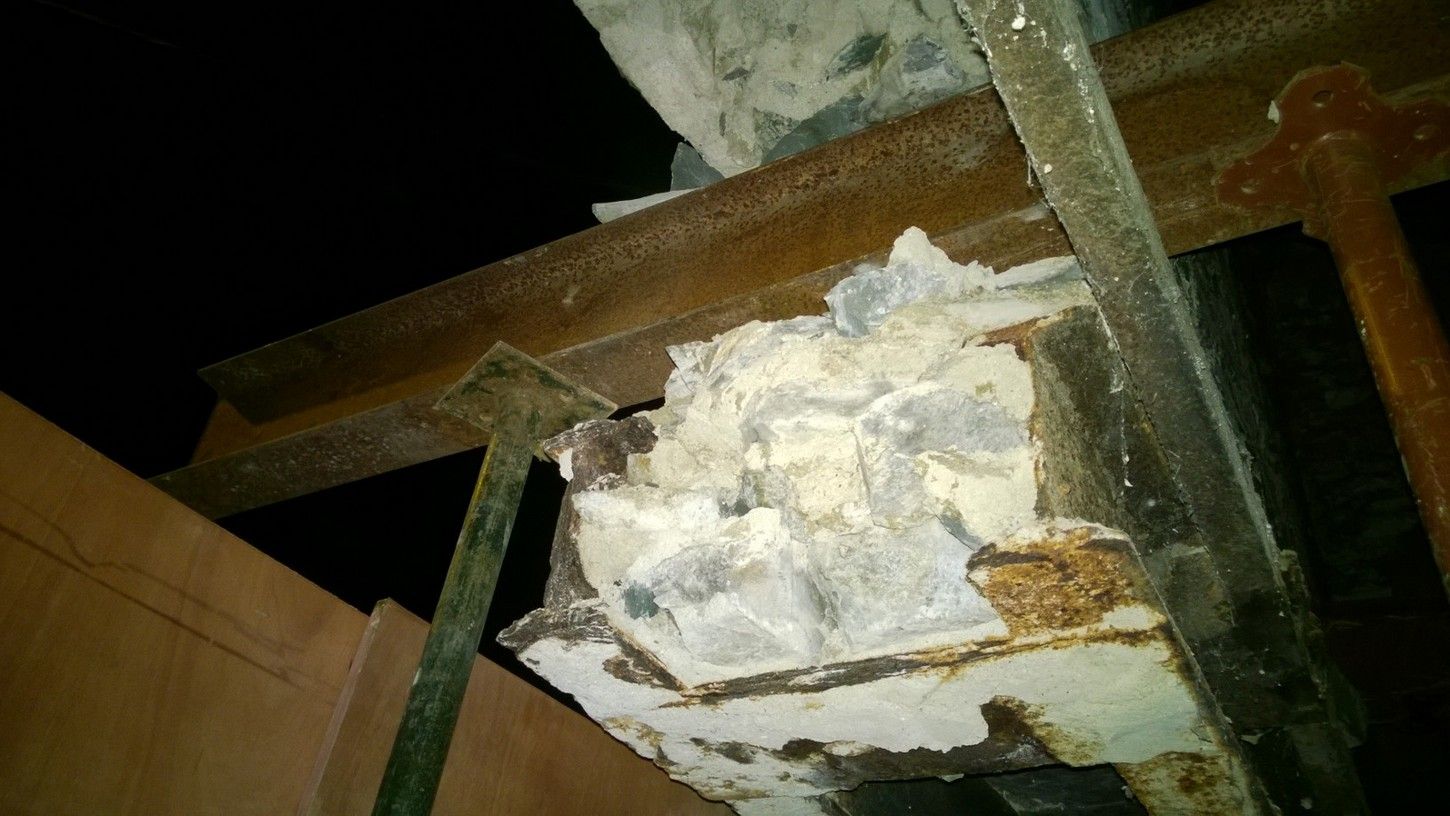
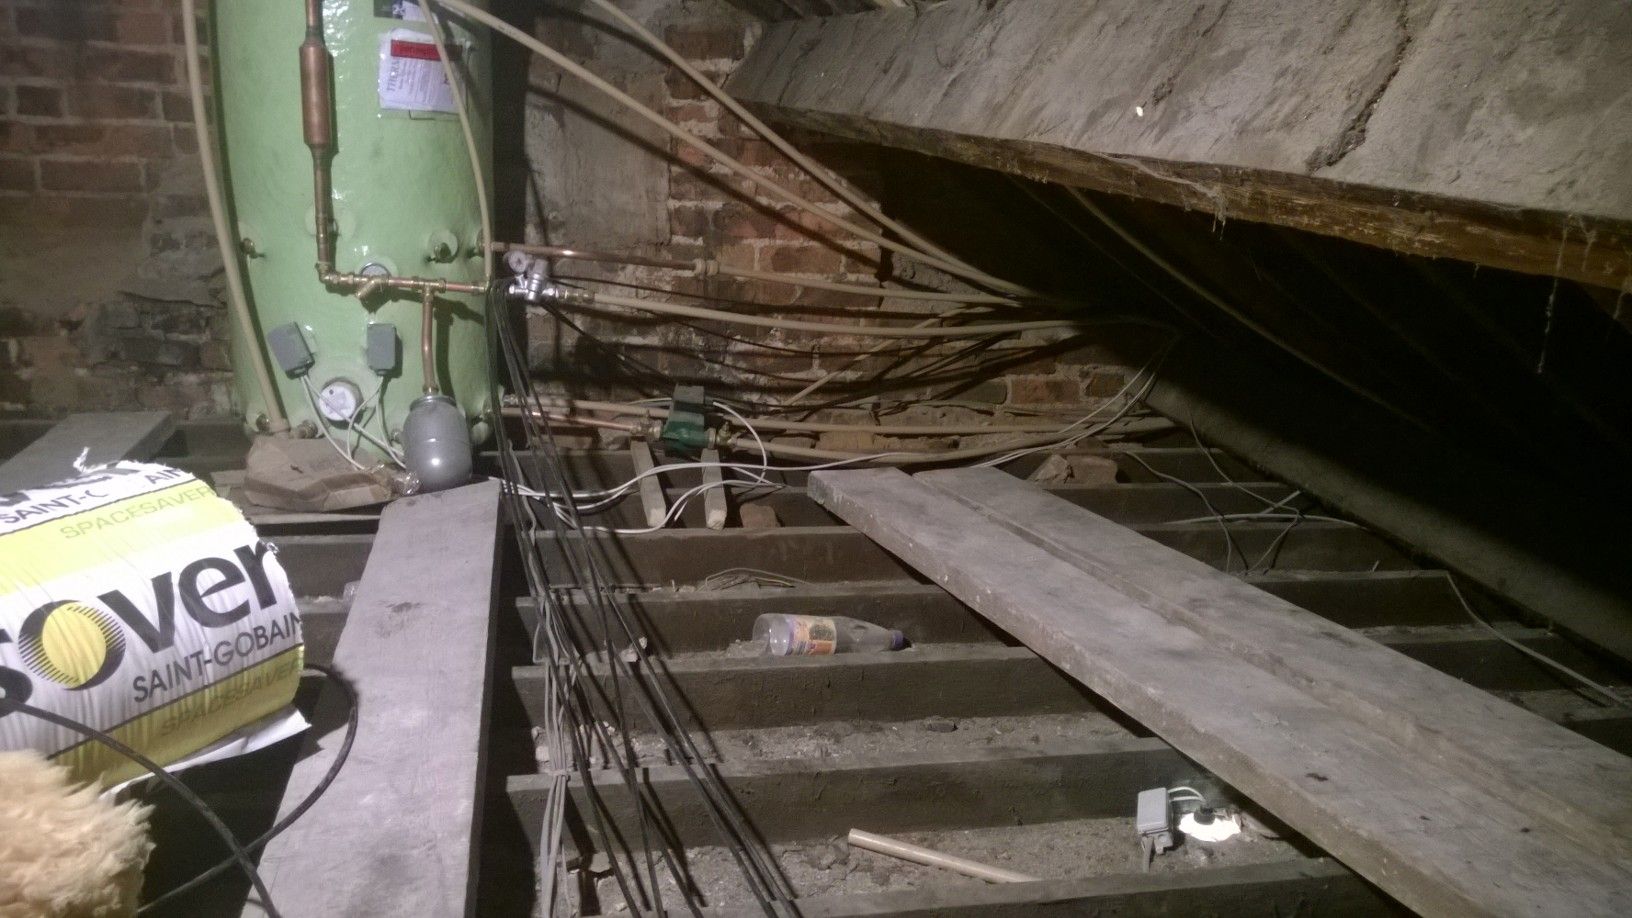
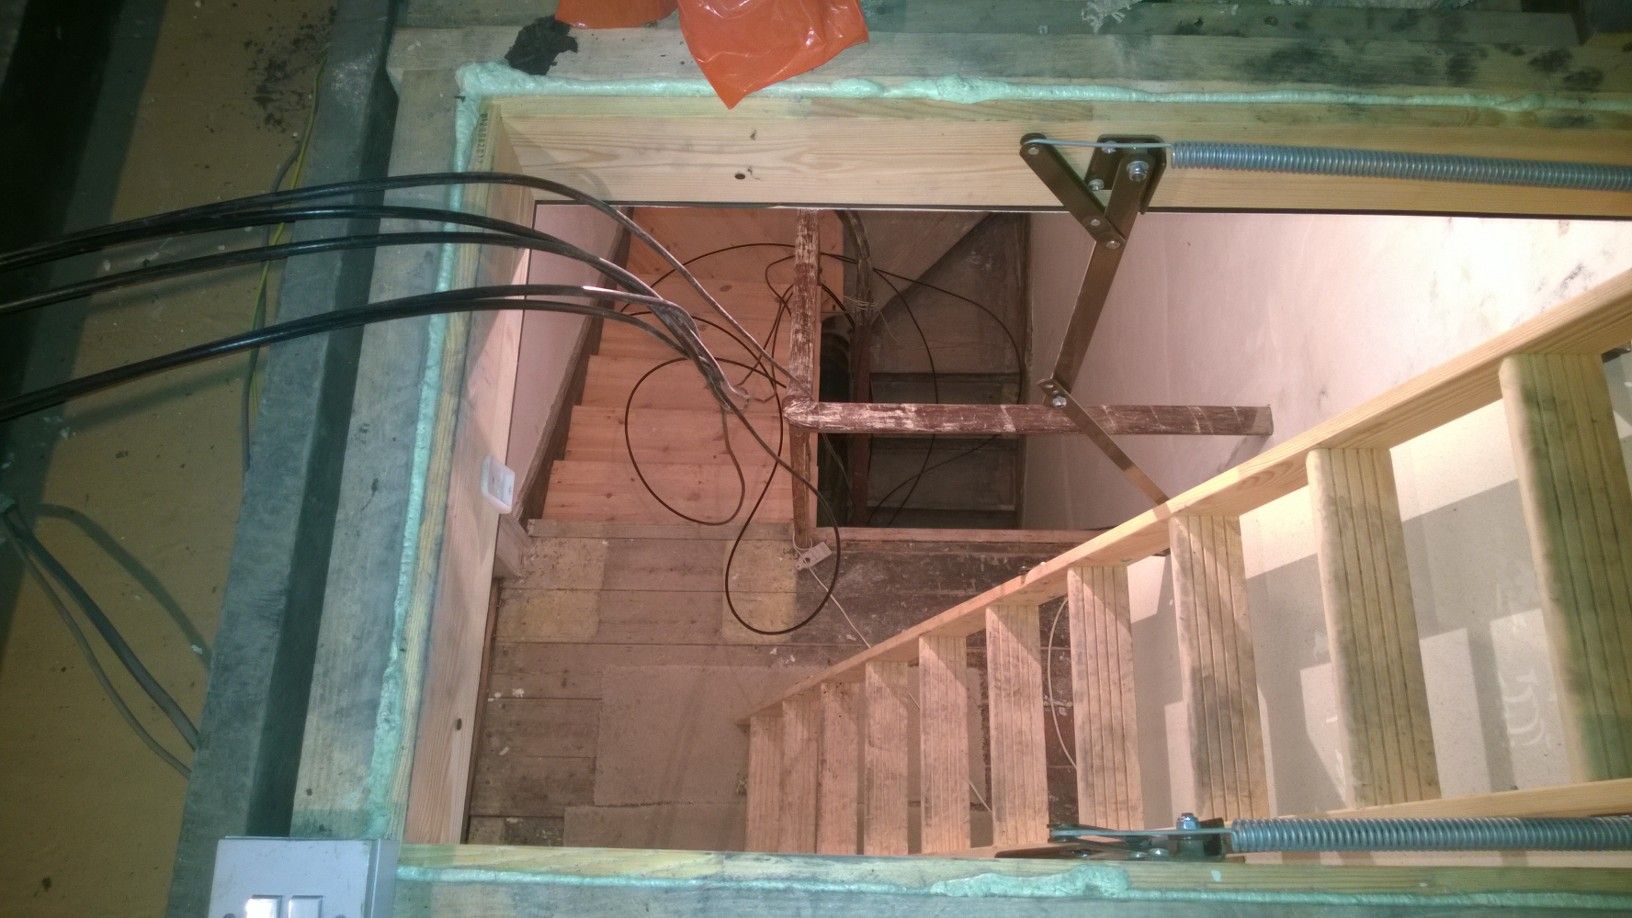
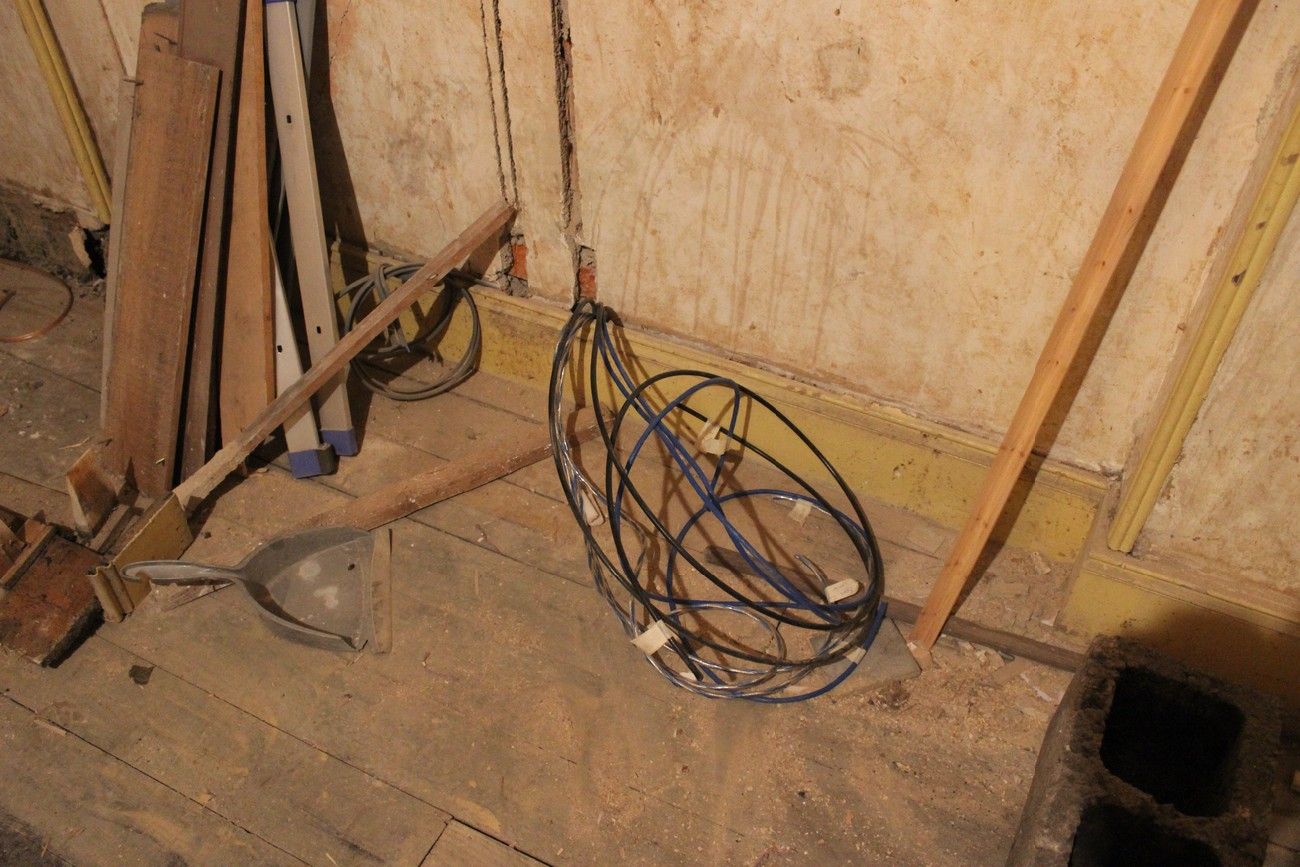
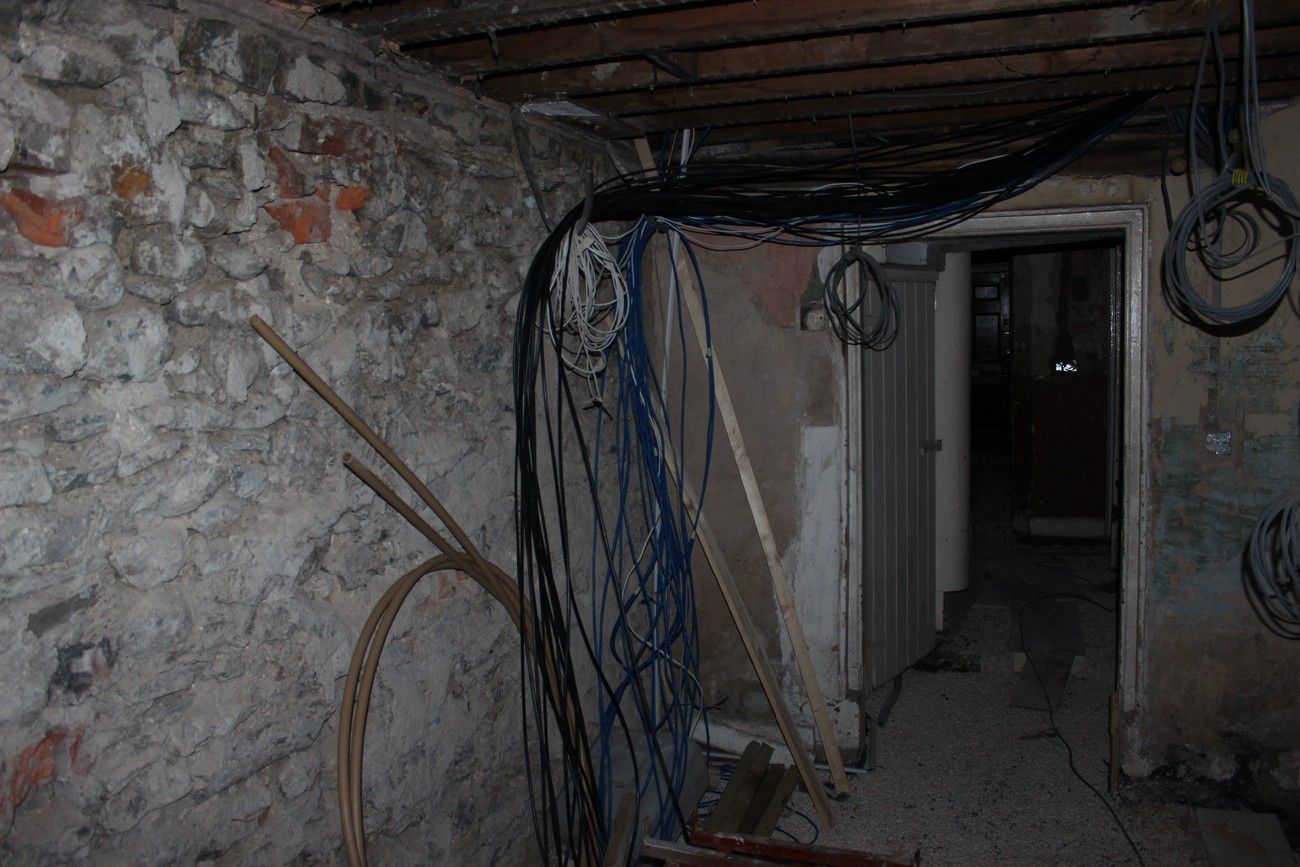
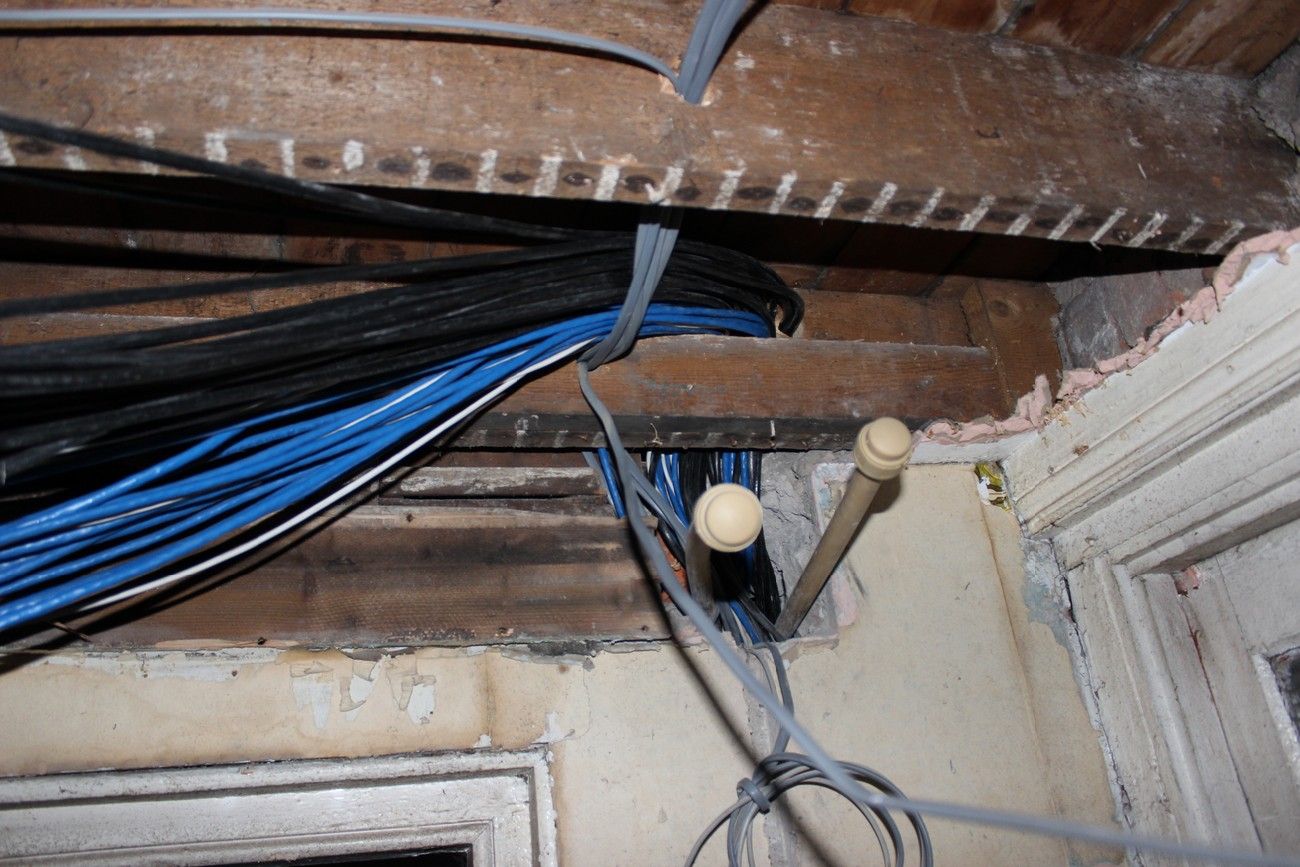
The main access hole from the house to the return:
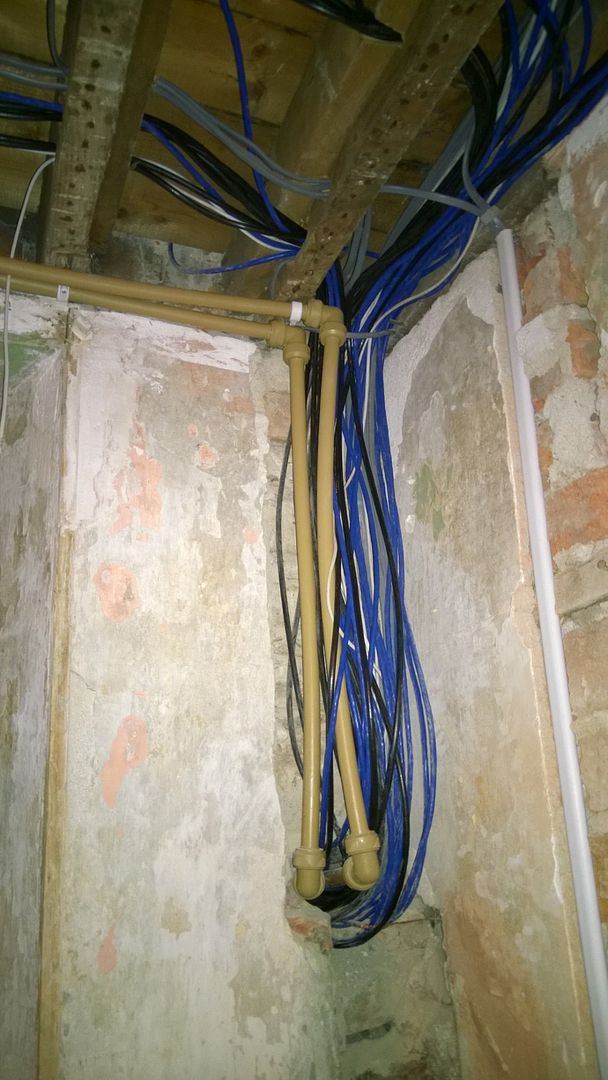
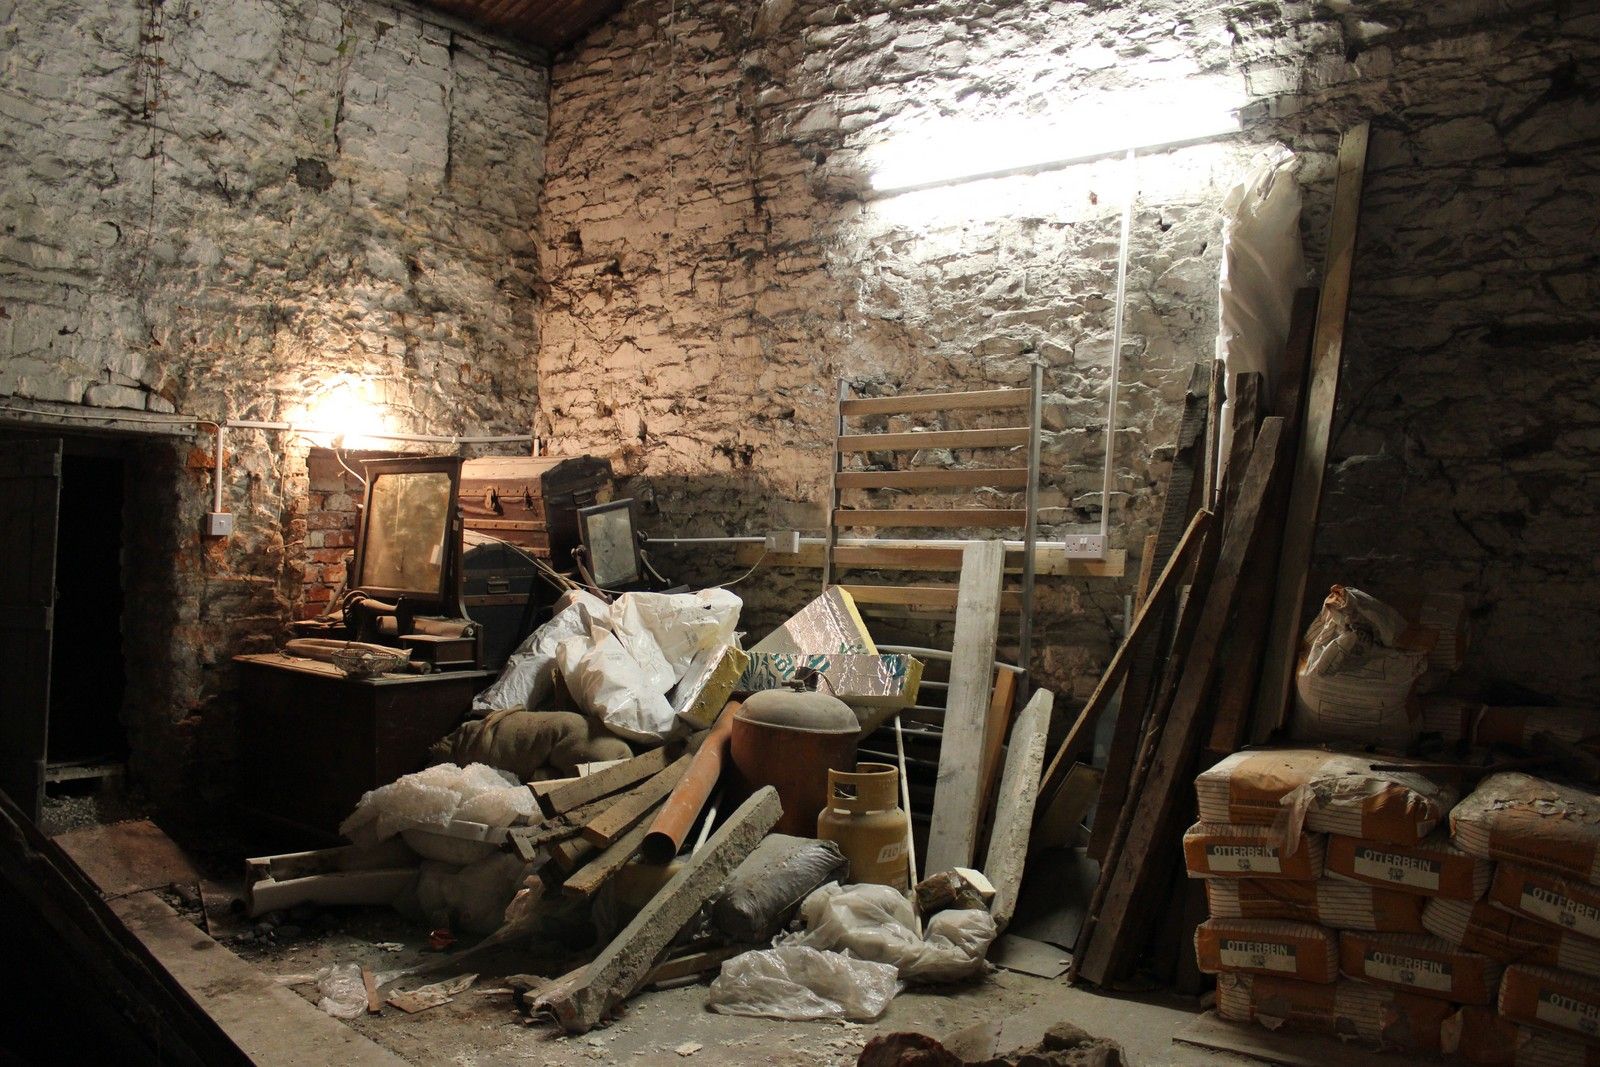
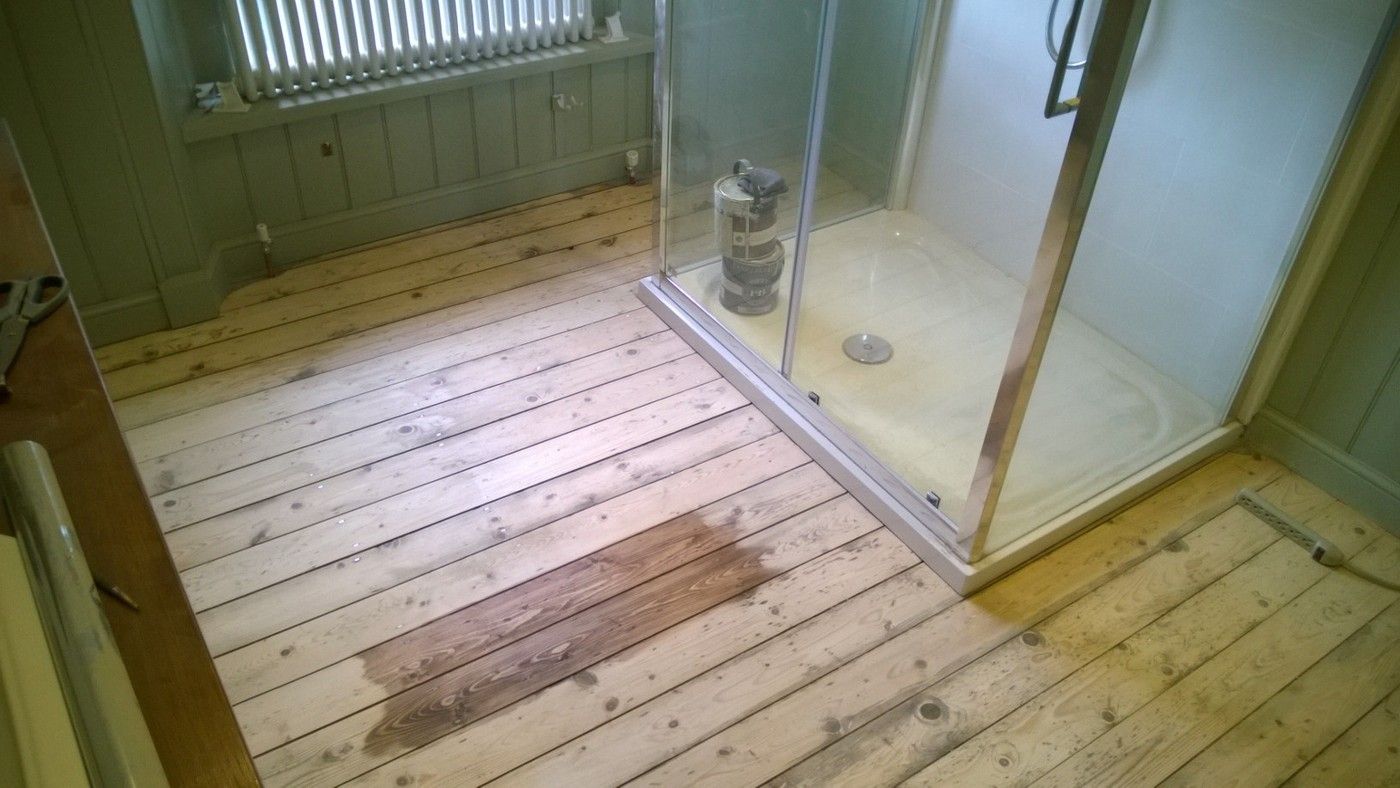
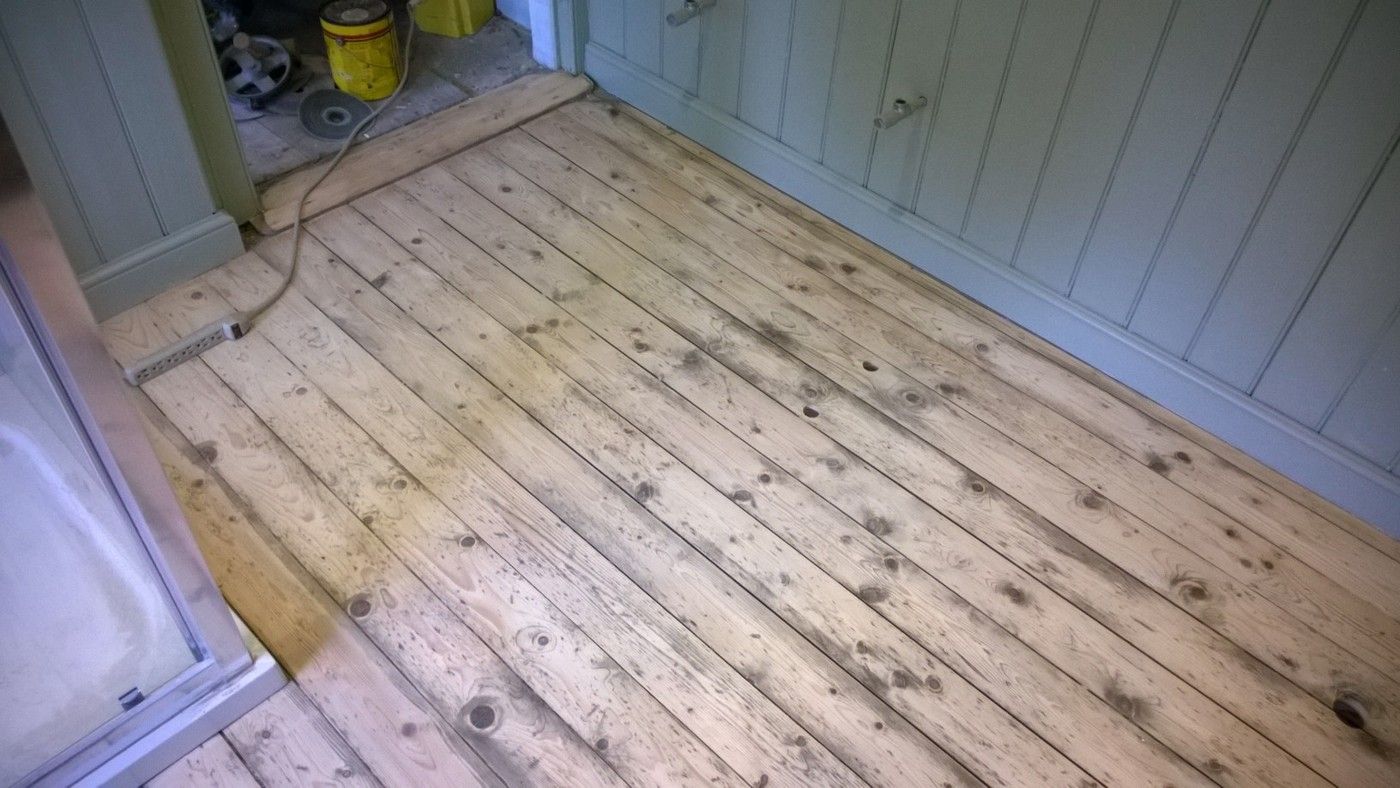
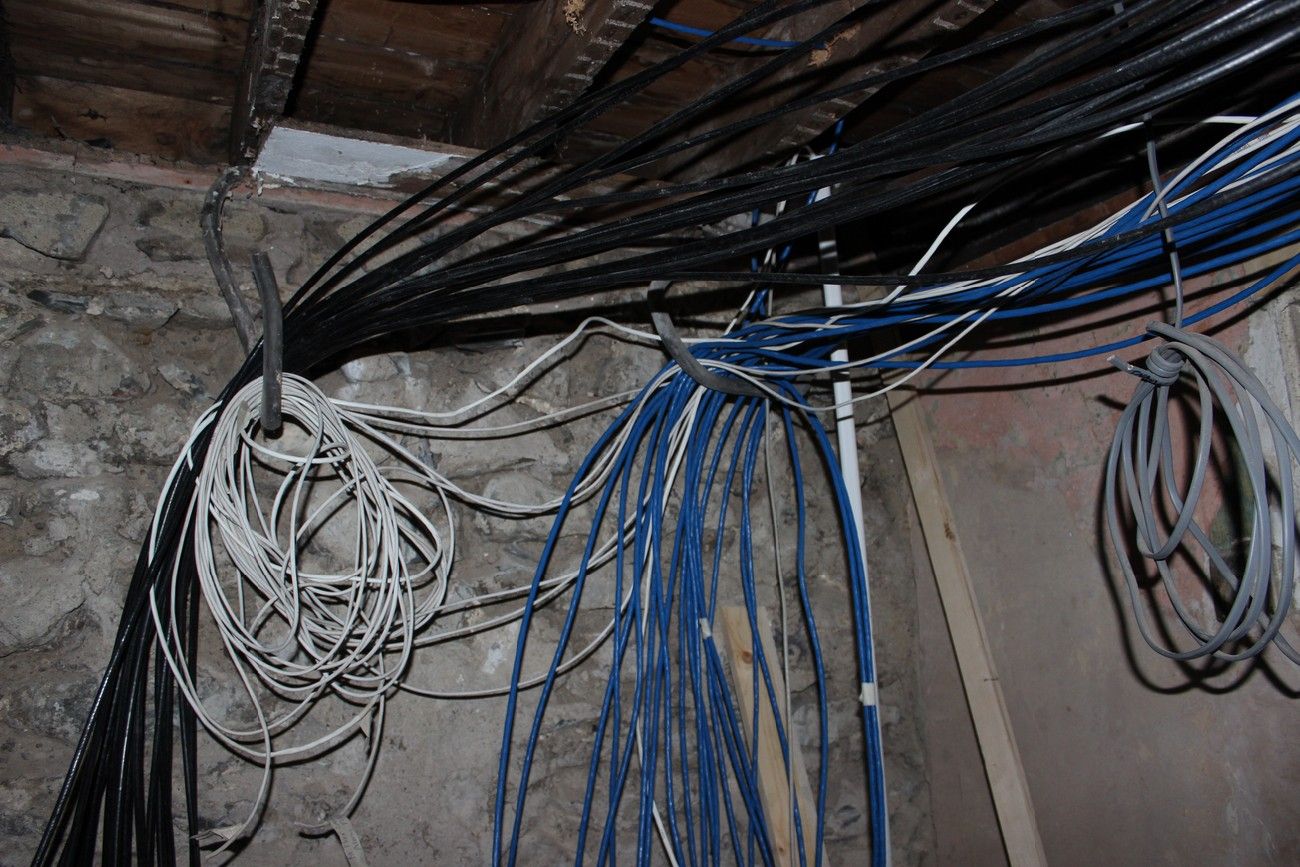
All cables as mentioned terminate in the downstairs of the return, to become the utility room:
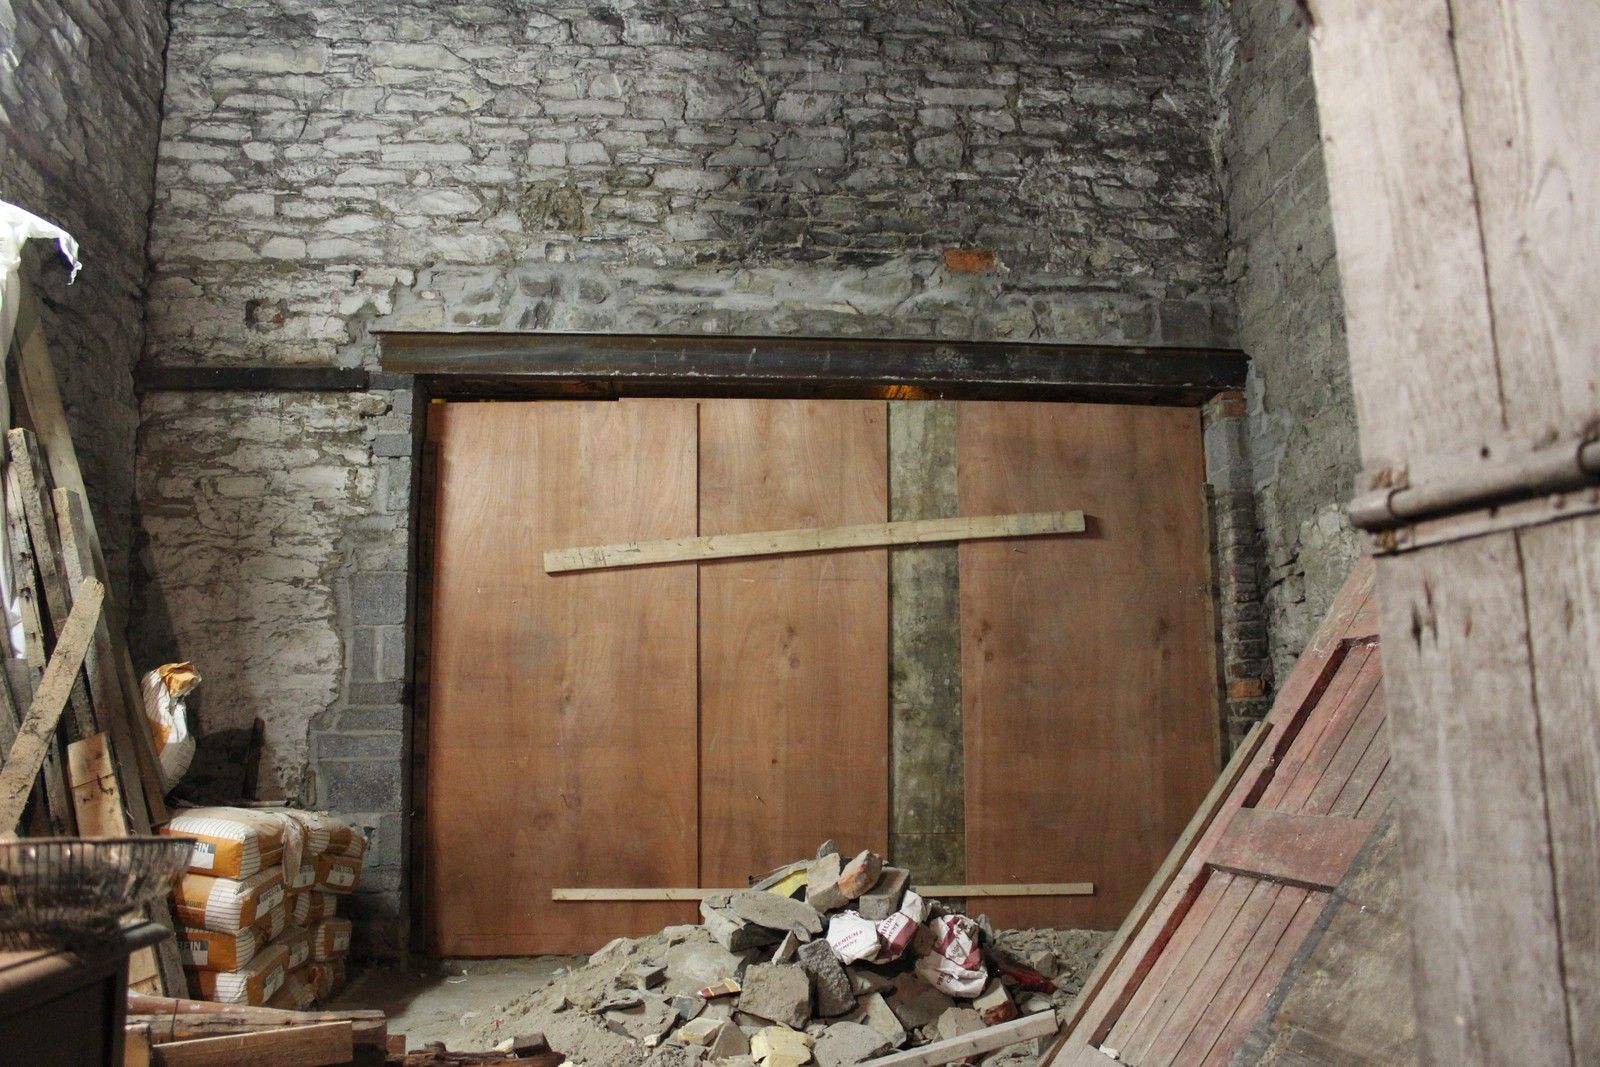
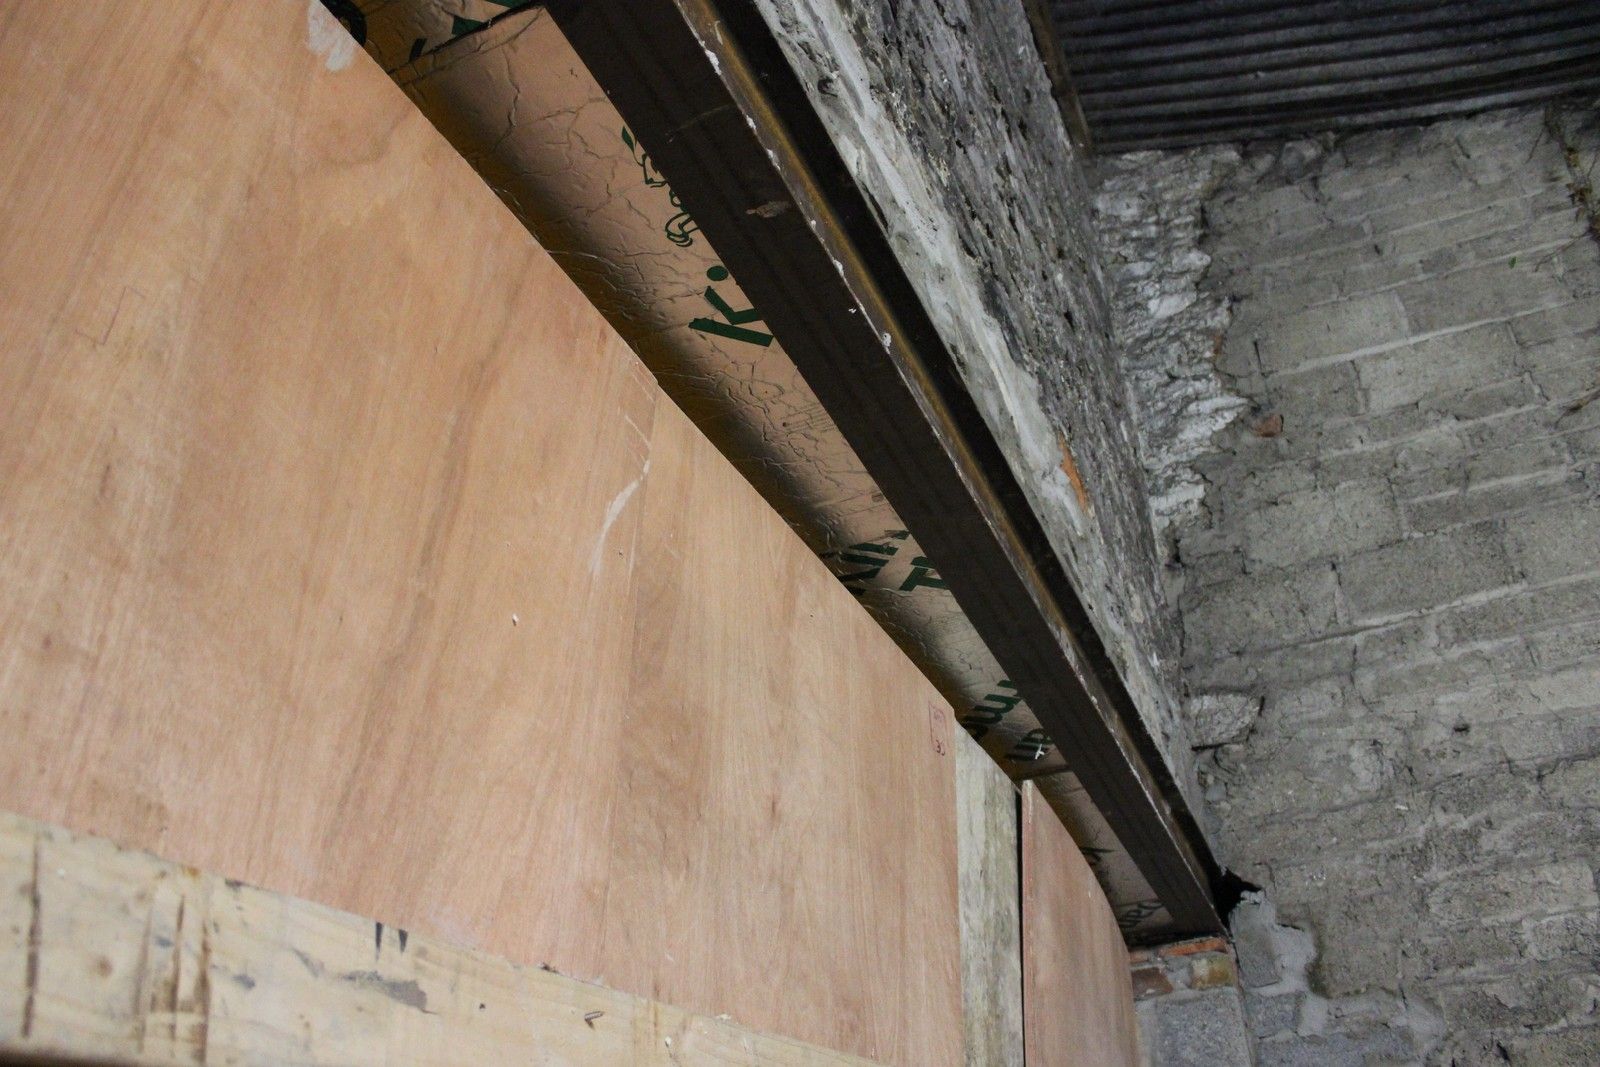
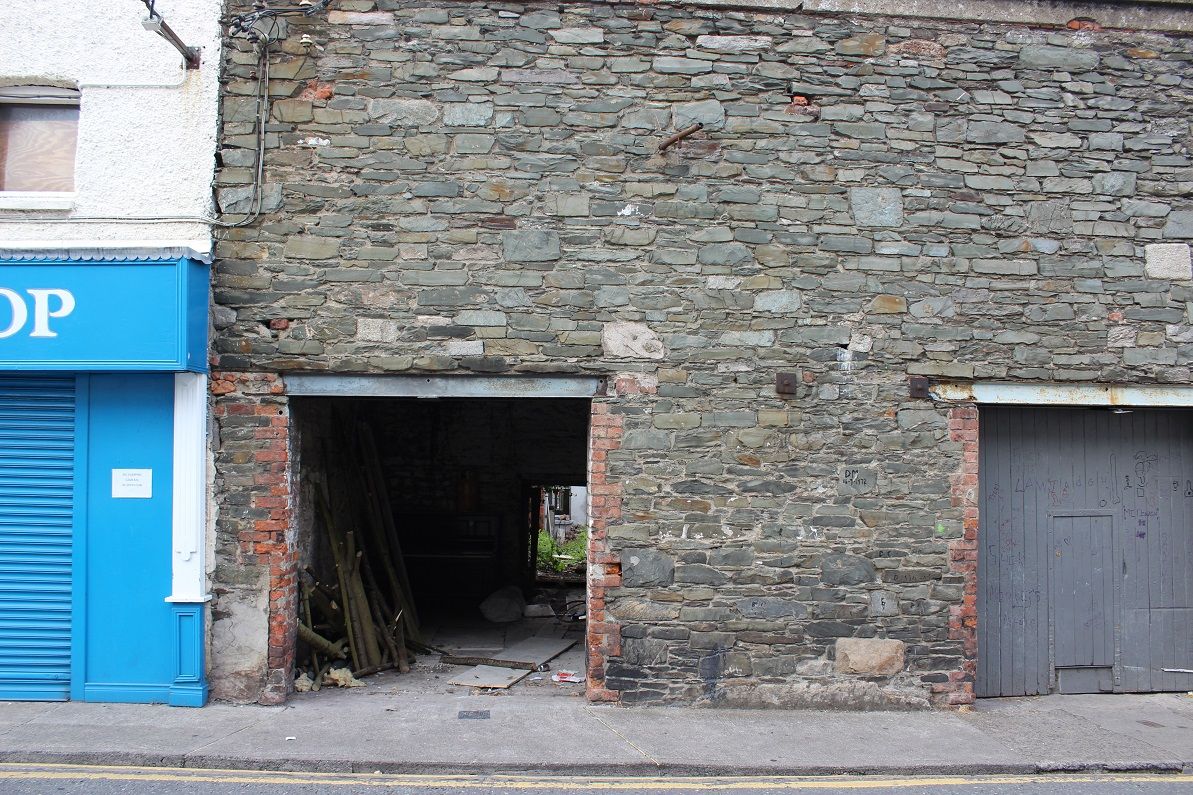
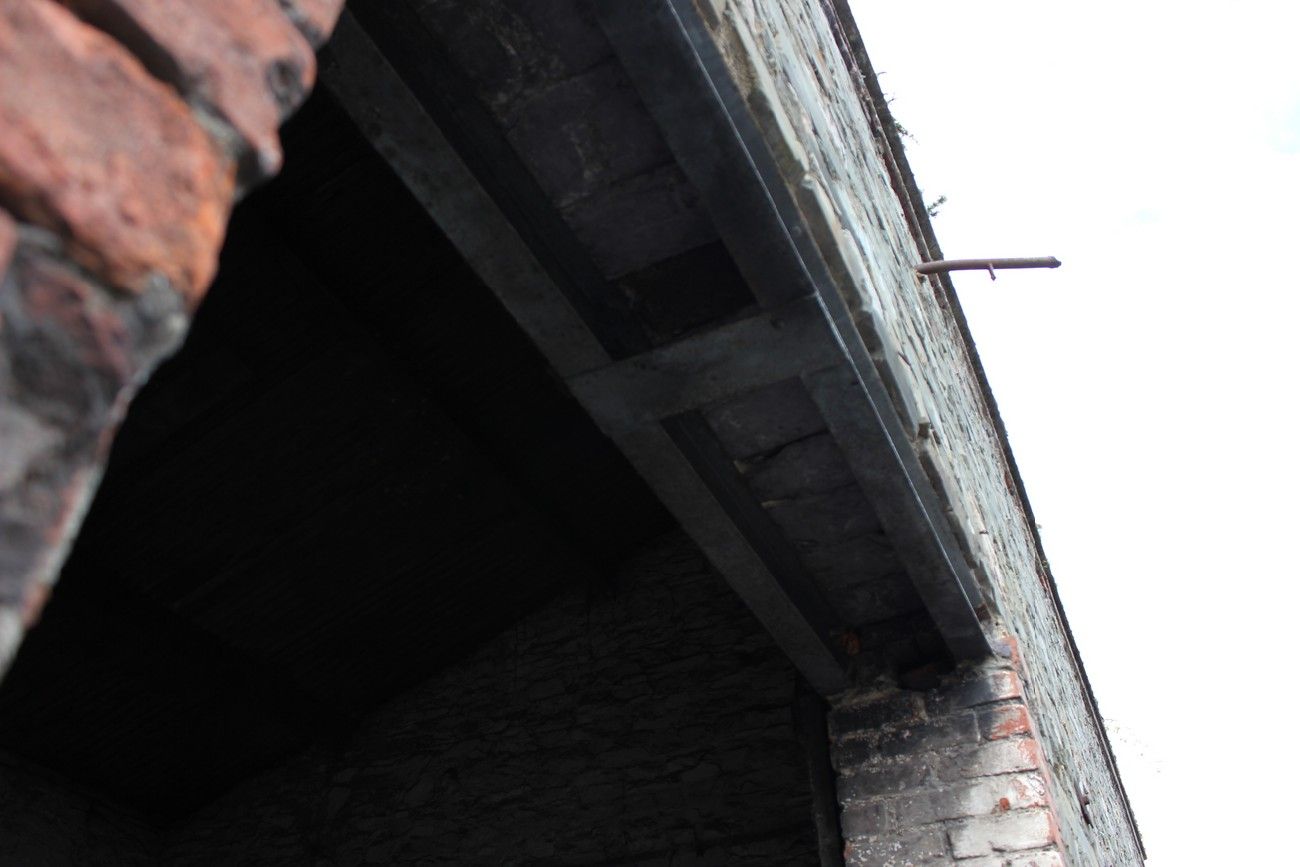
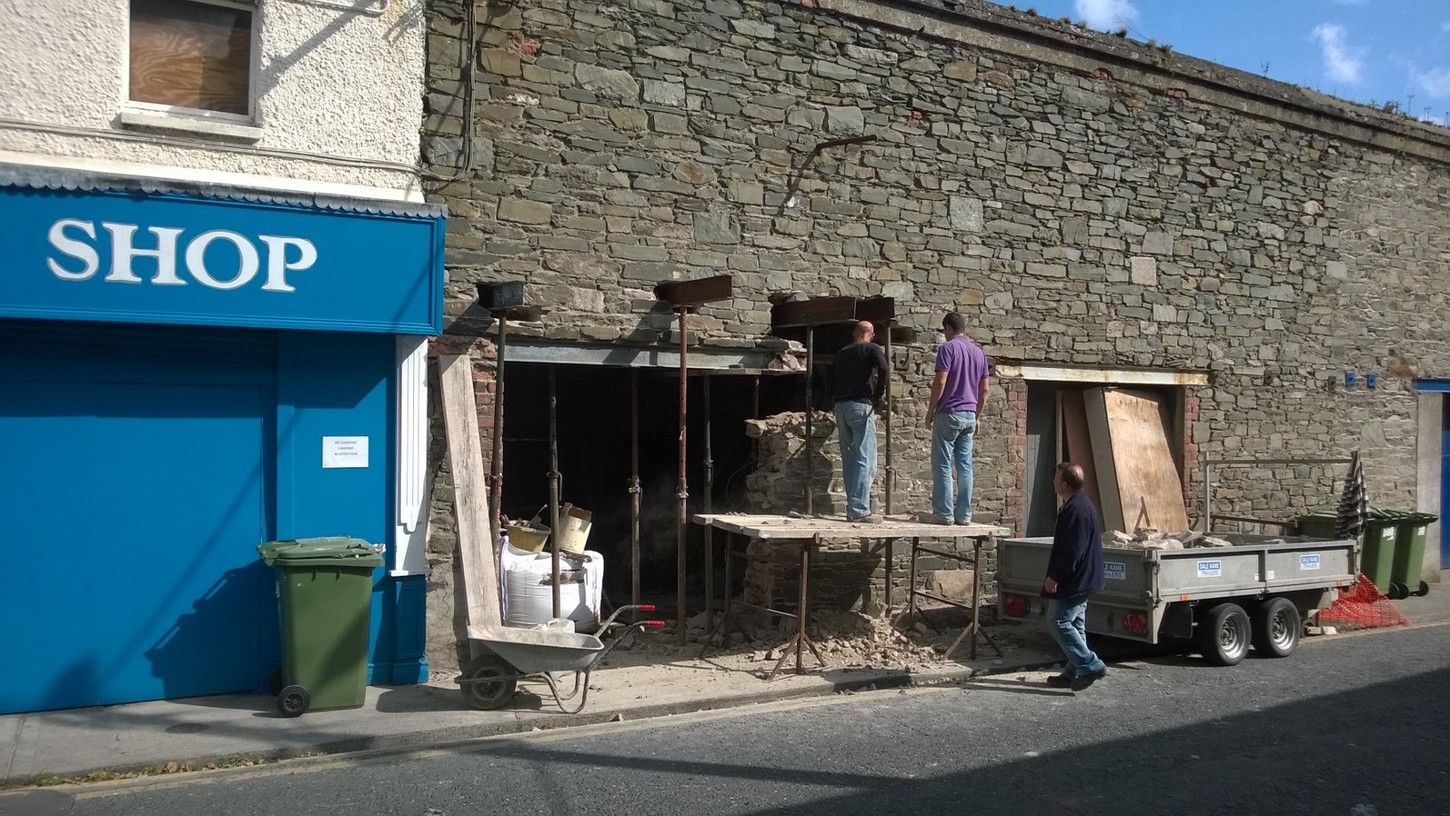
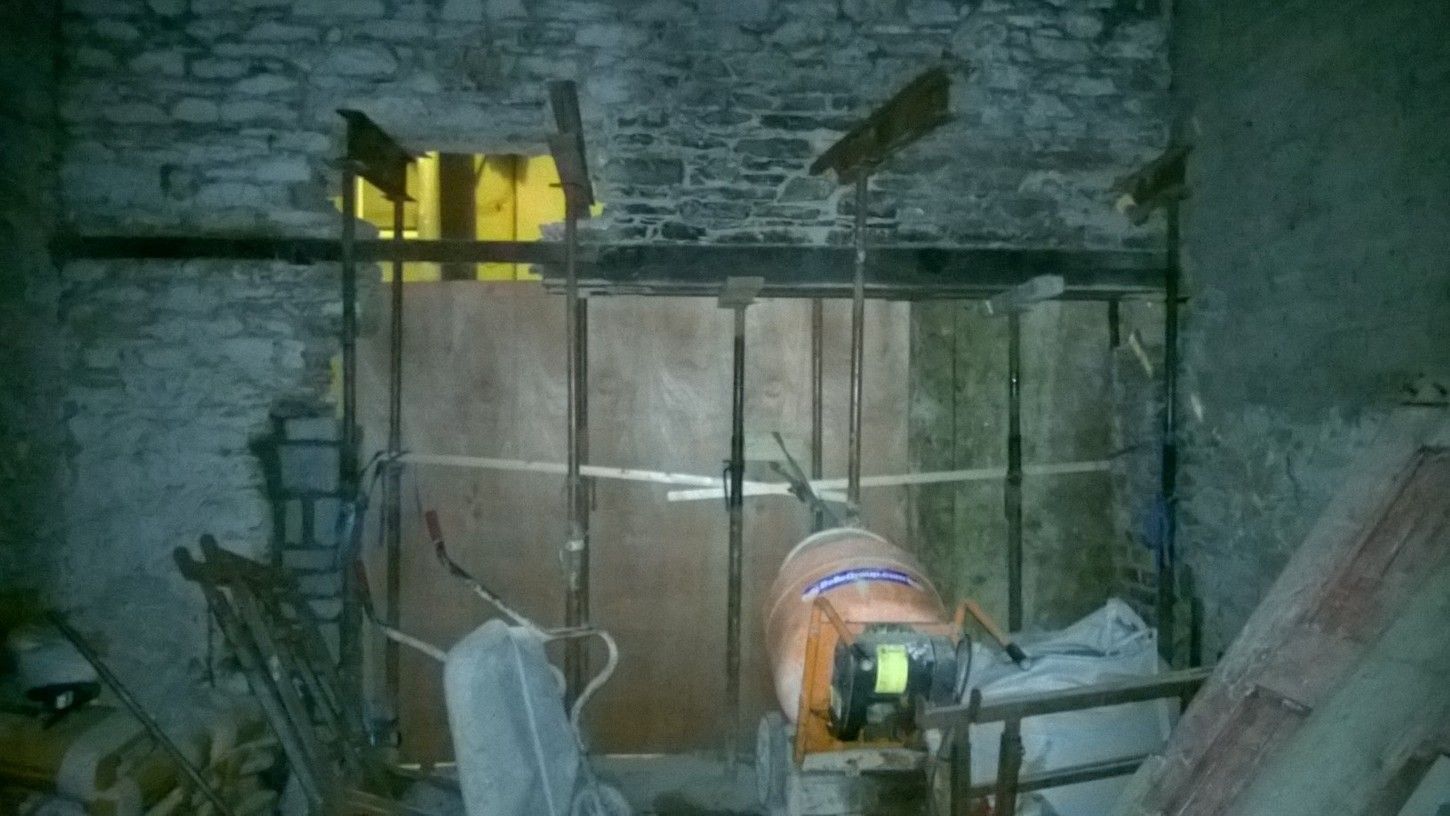
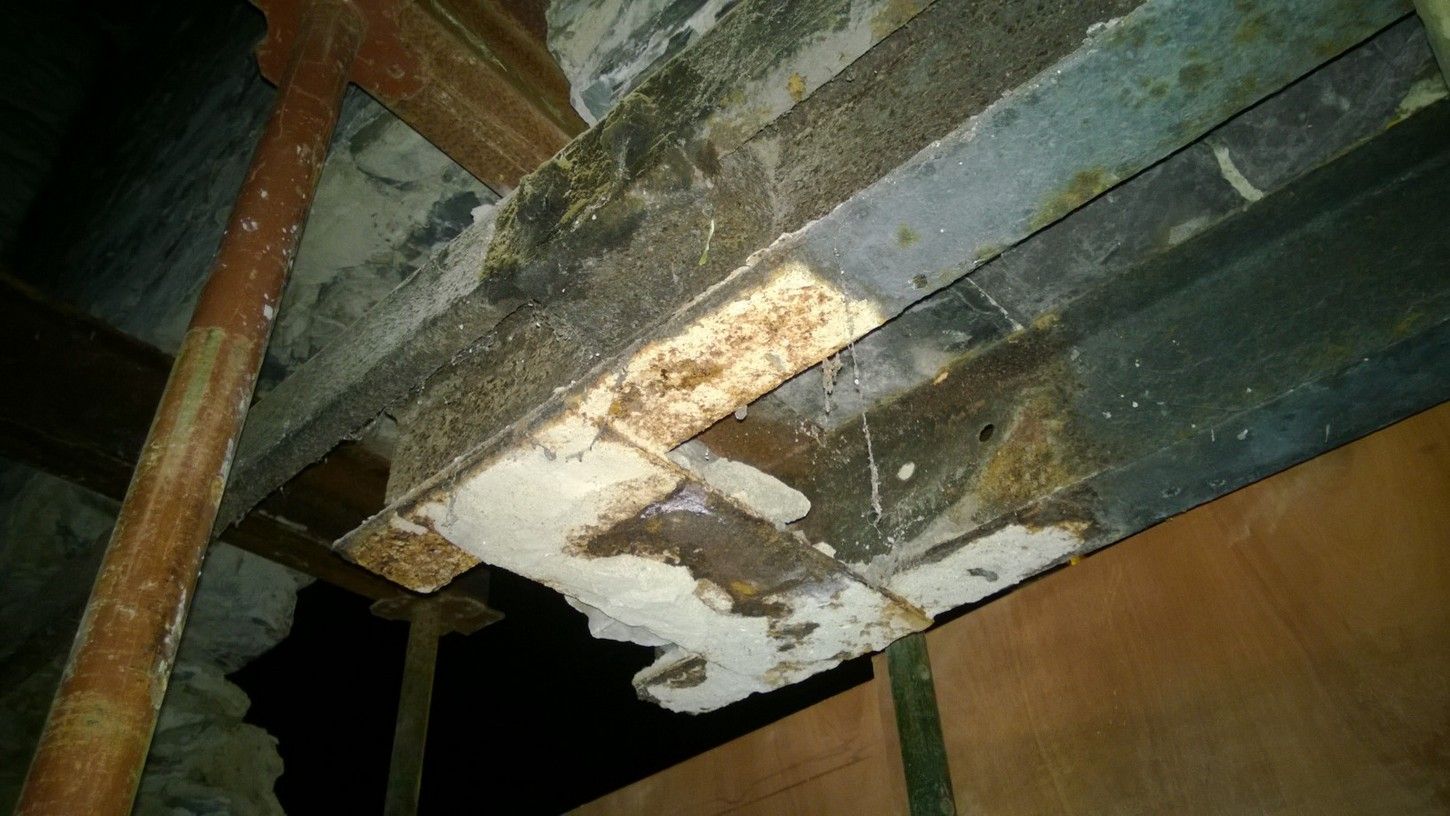
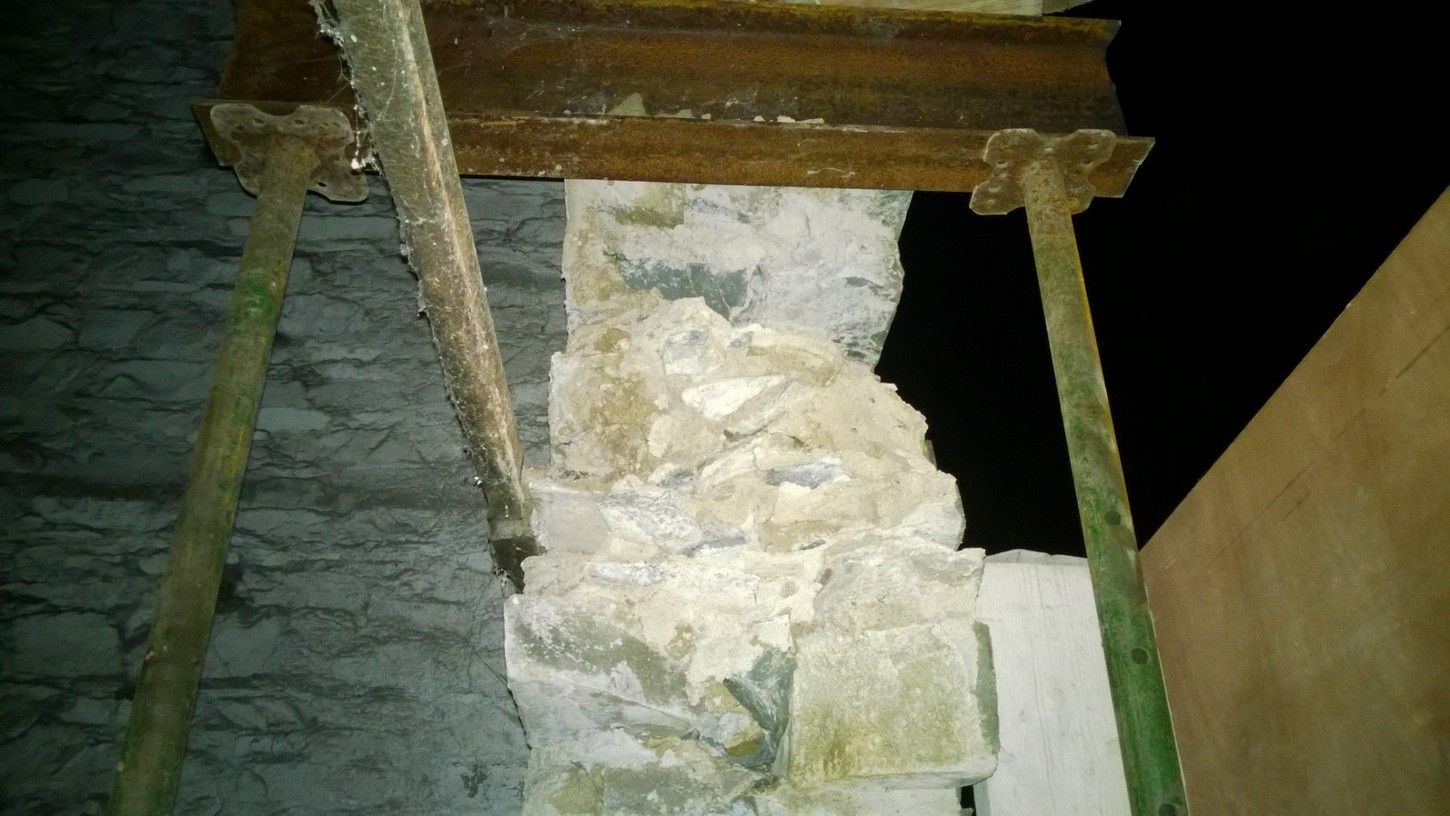
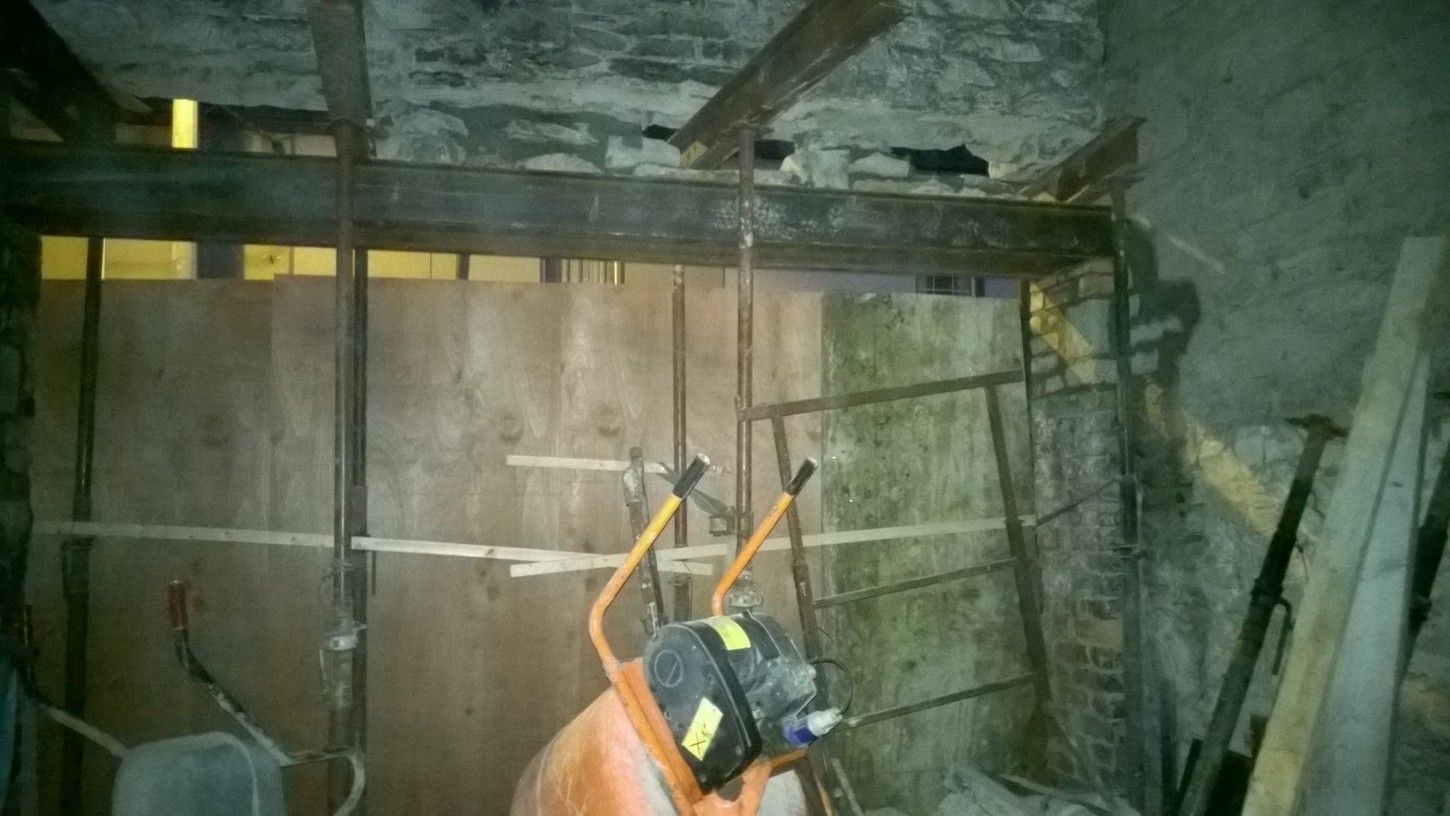
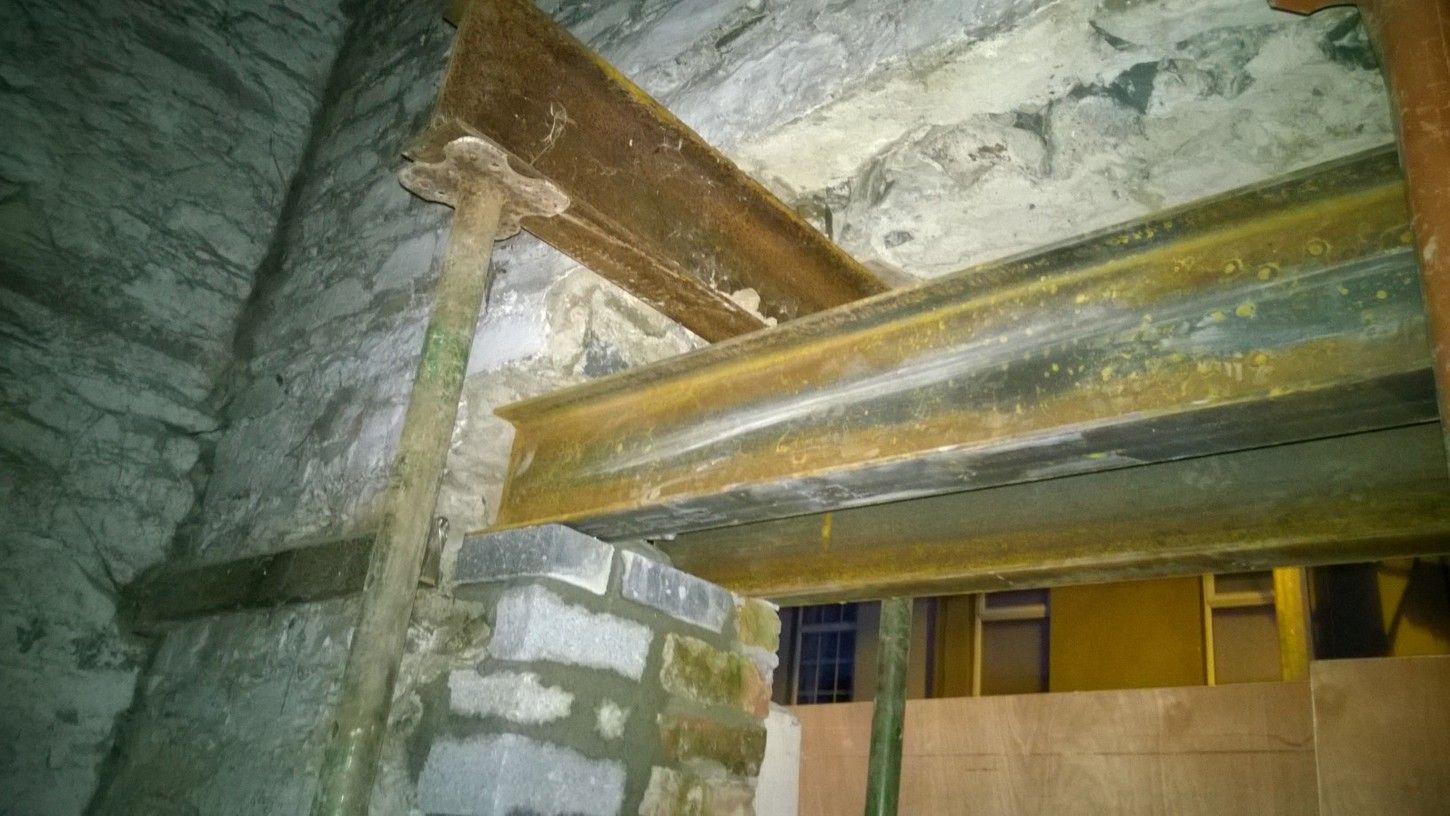
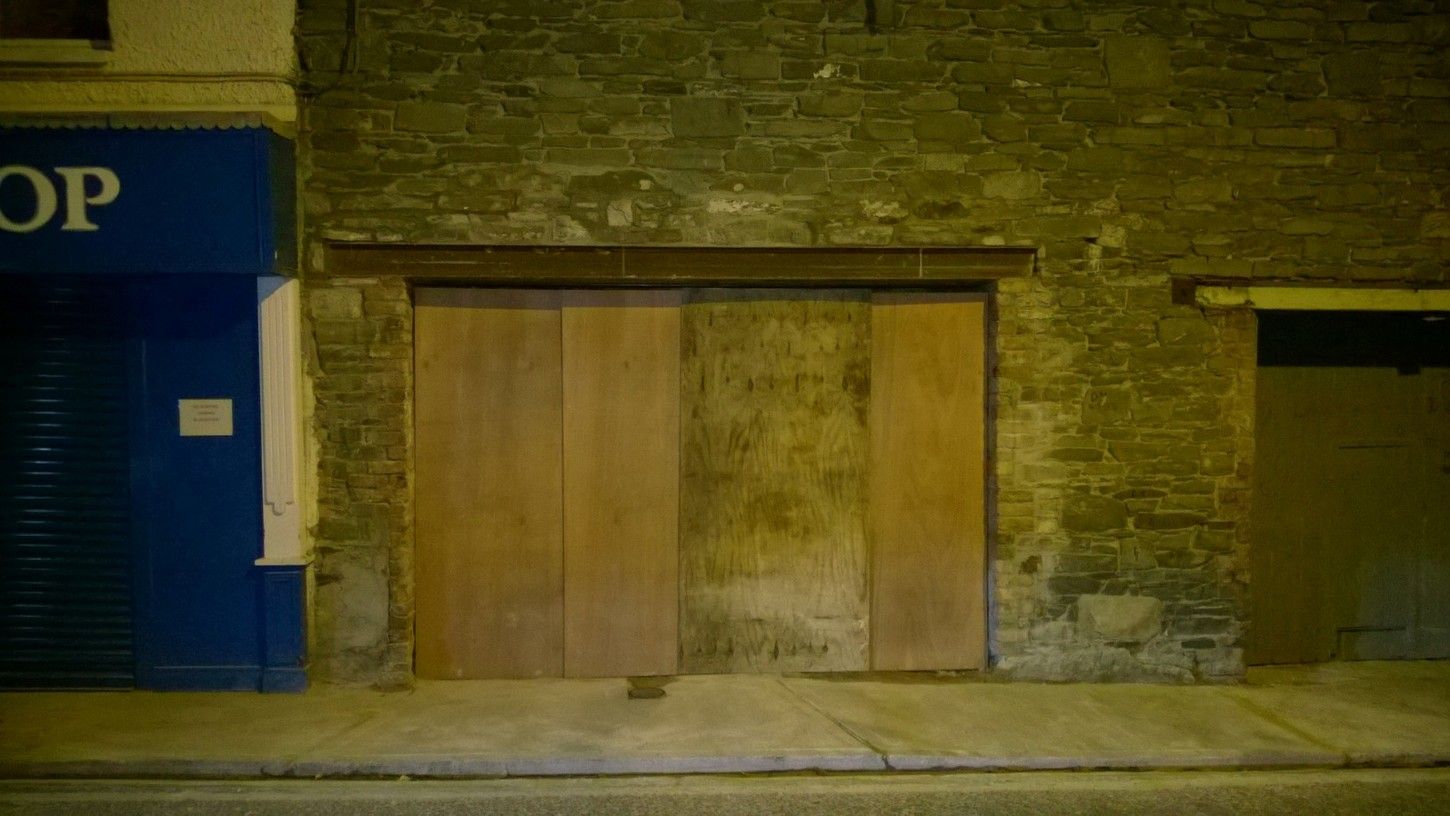
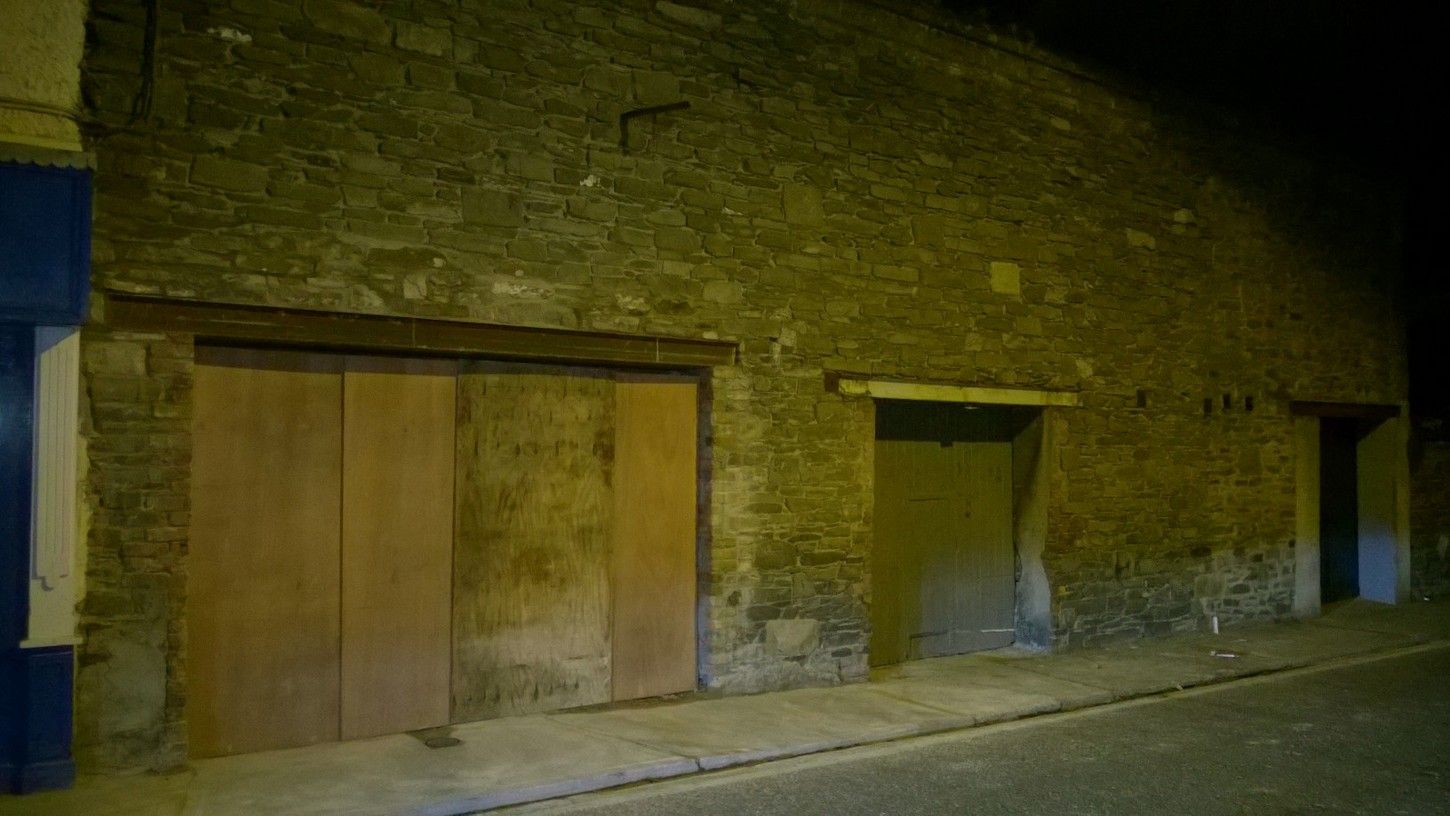
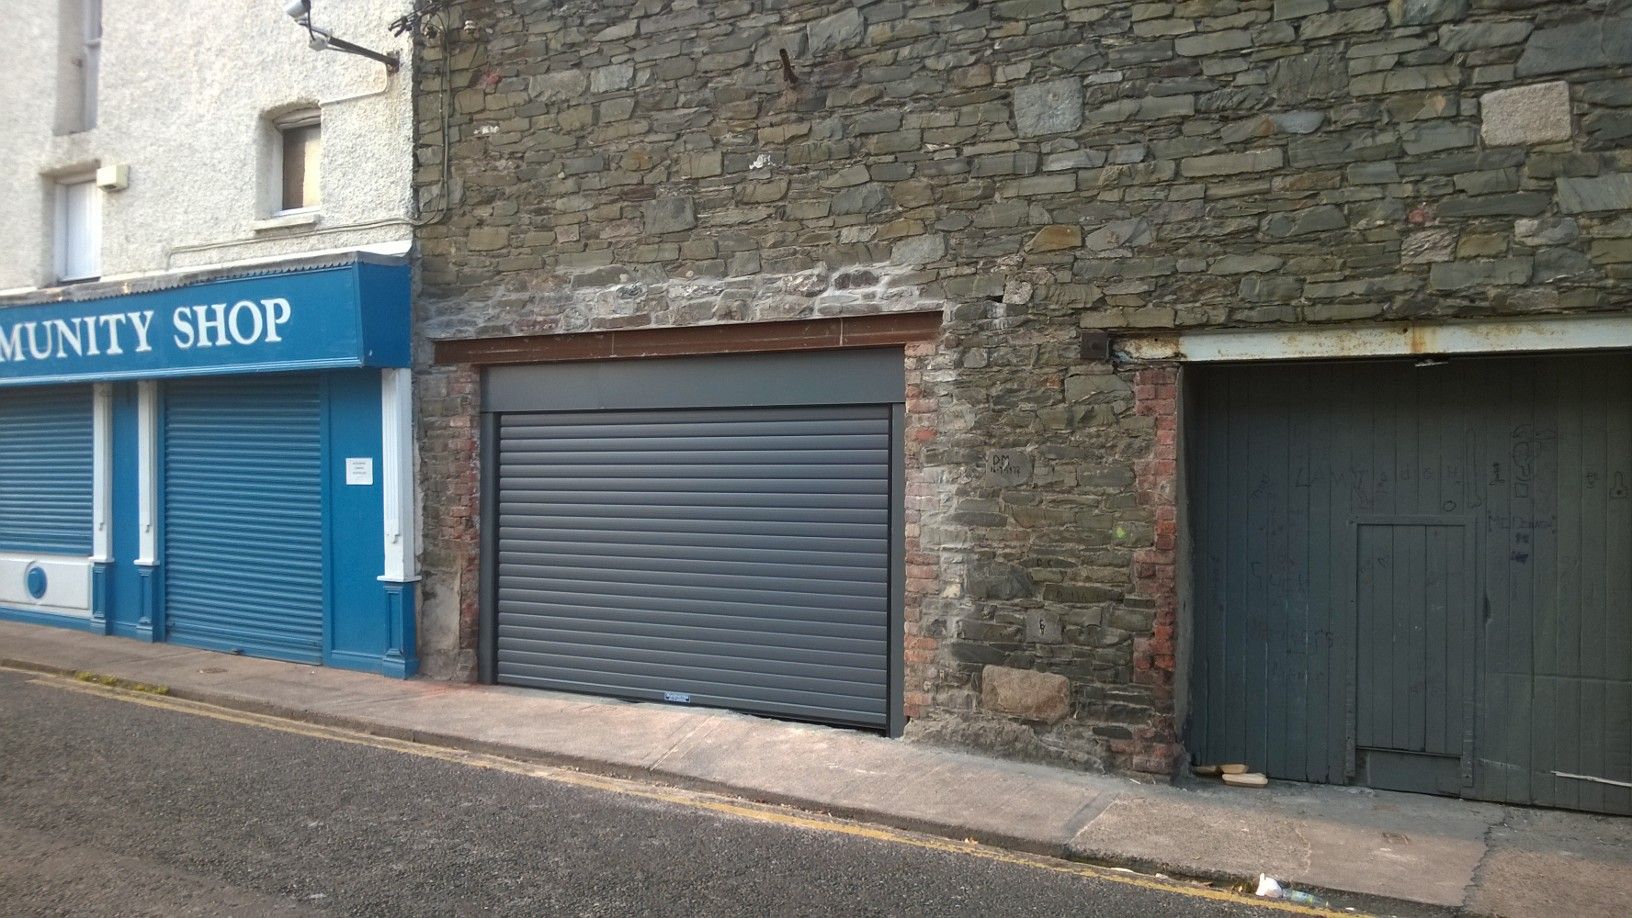
The automatic roller door was finally installed and works very well. The steel beam will be painted to match the door:
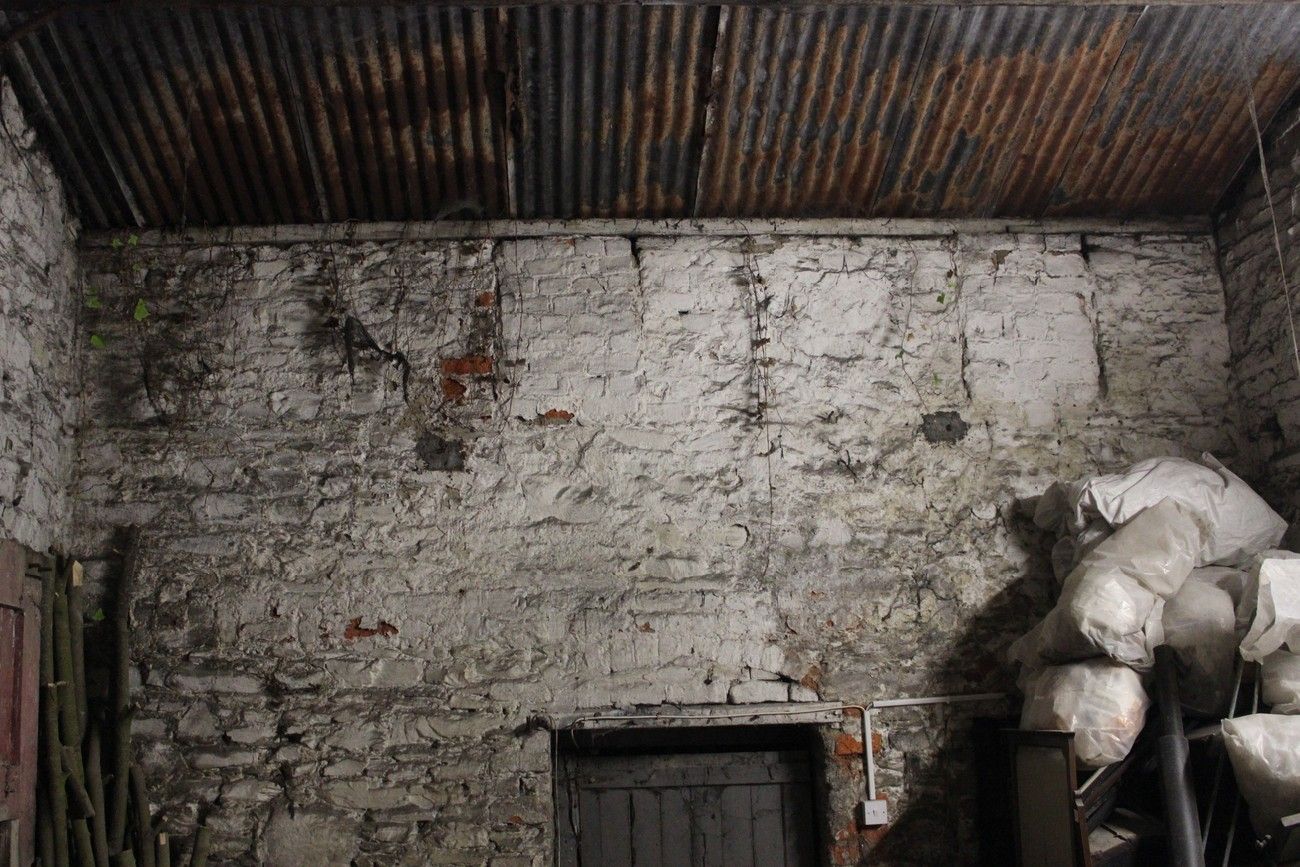
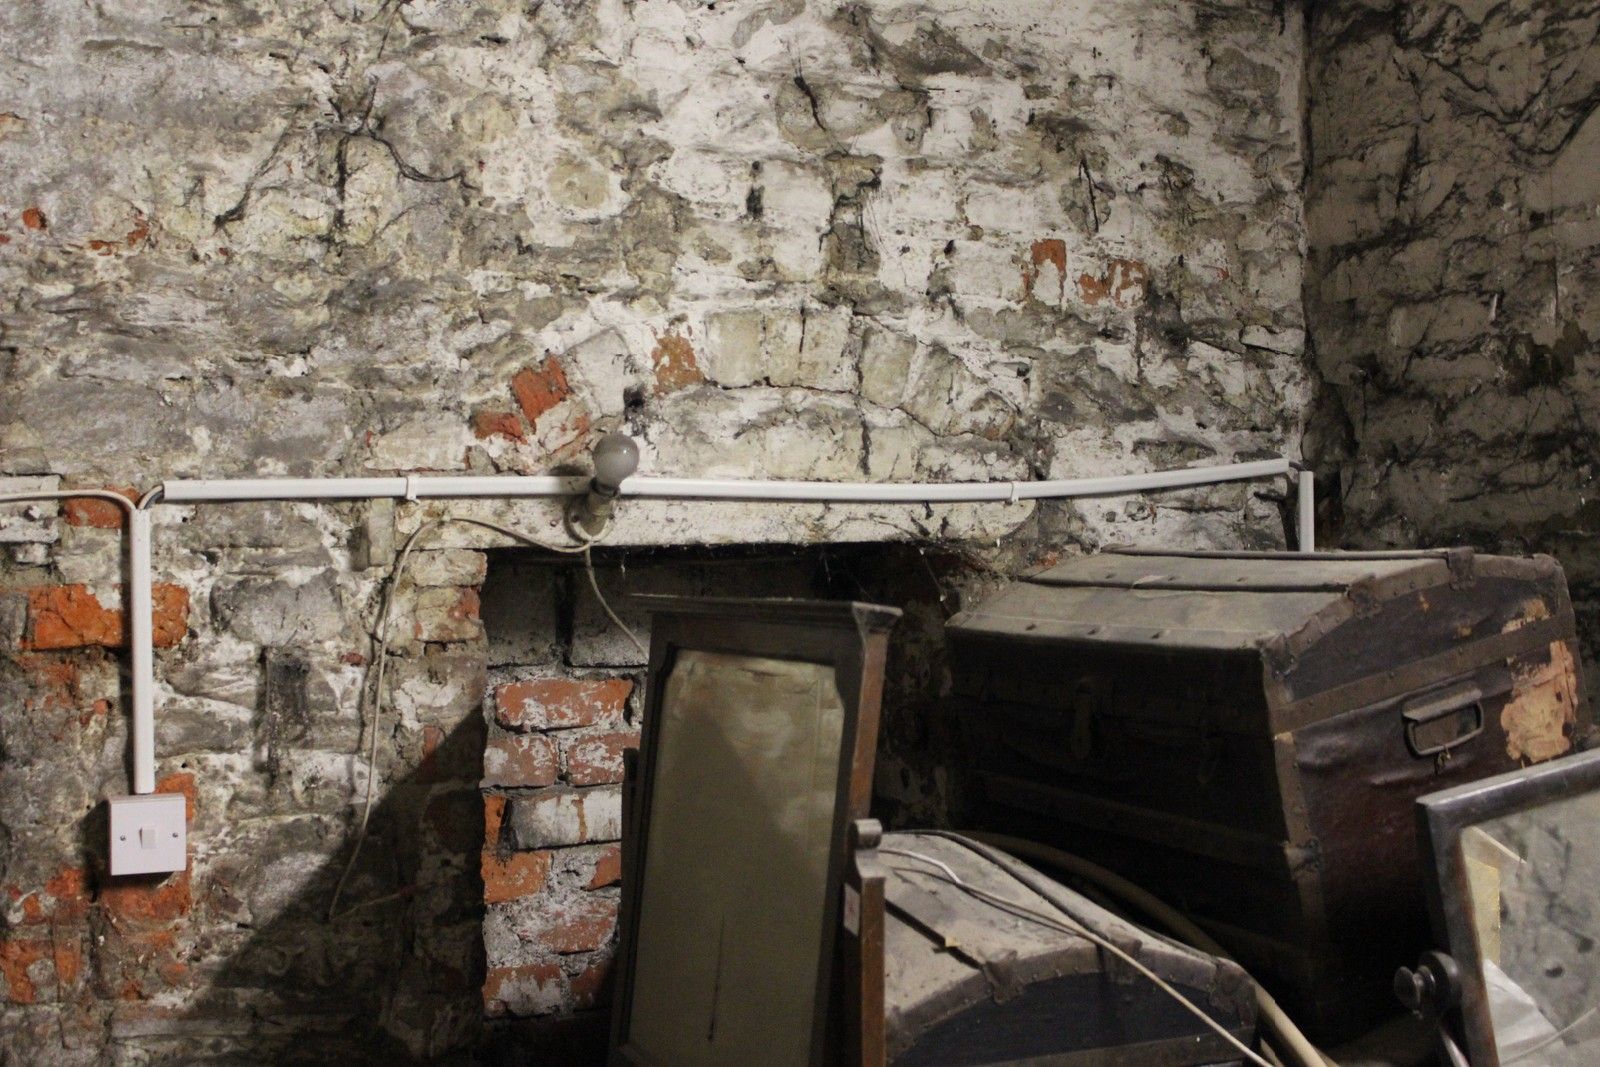
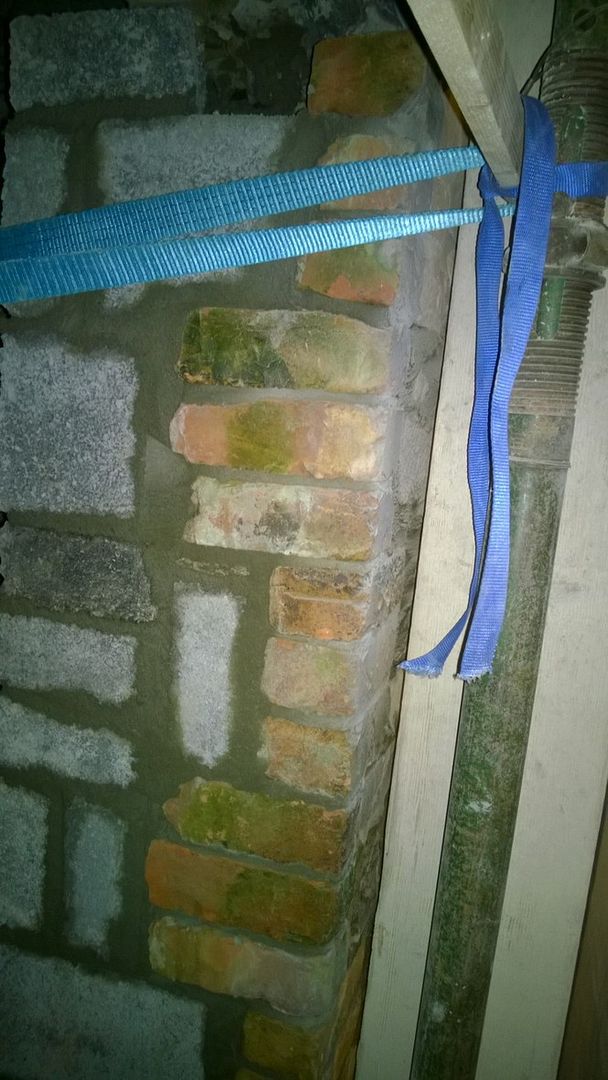
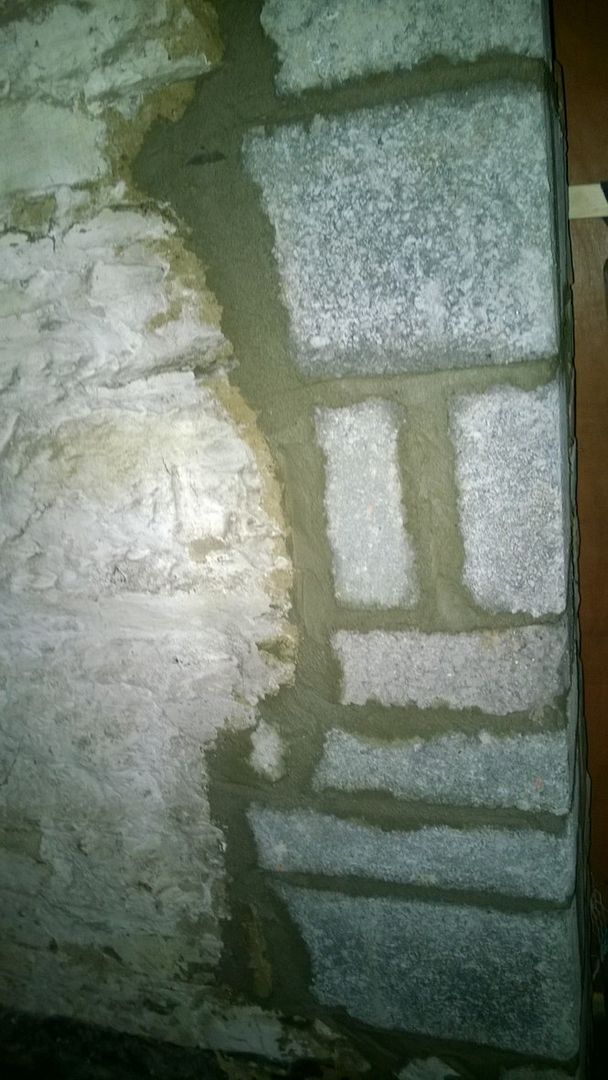
With the light in the mews now installed, it's clear to see that there was once windows in the wall that backs on to the garden. It would be great to open these up once more: