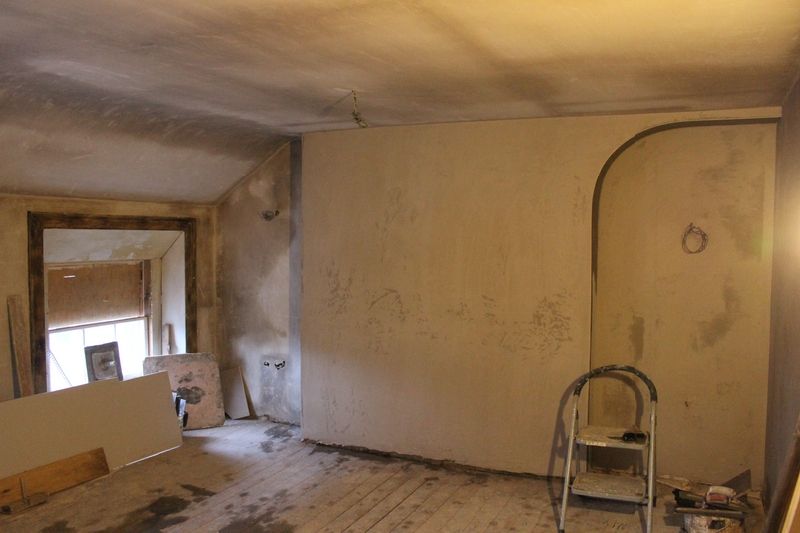
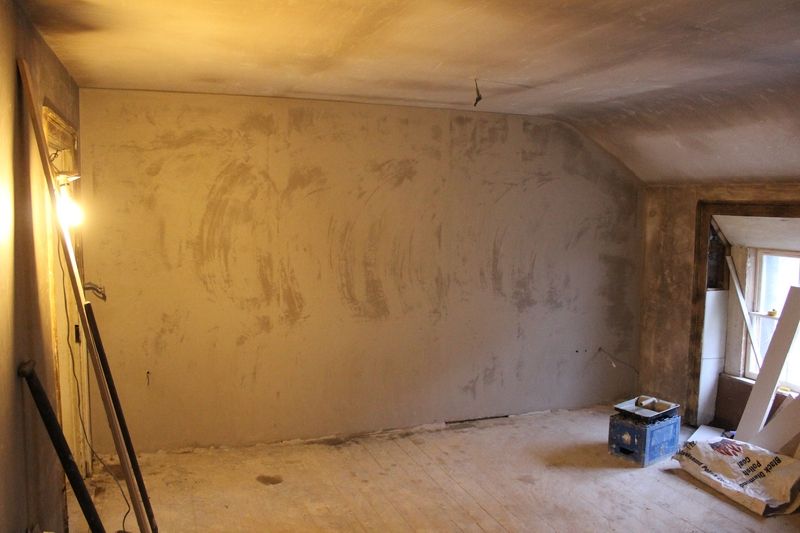
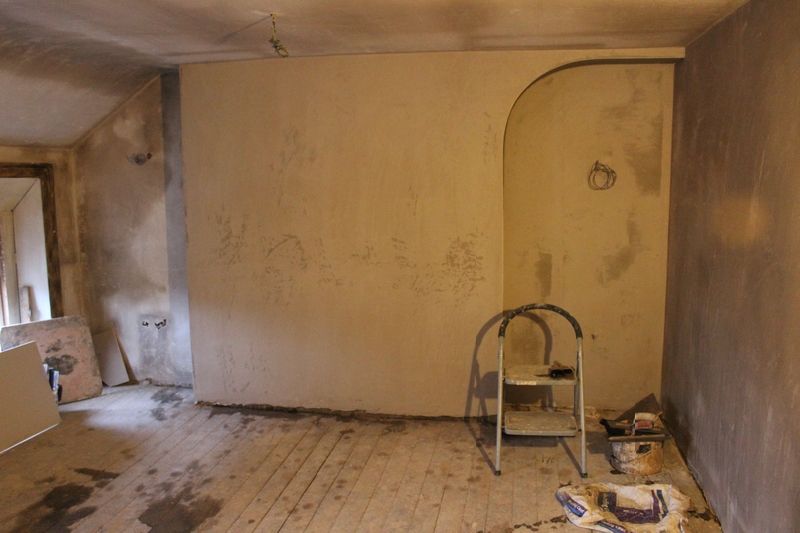
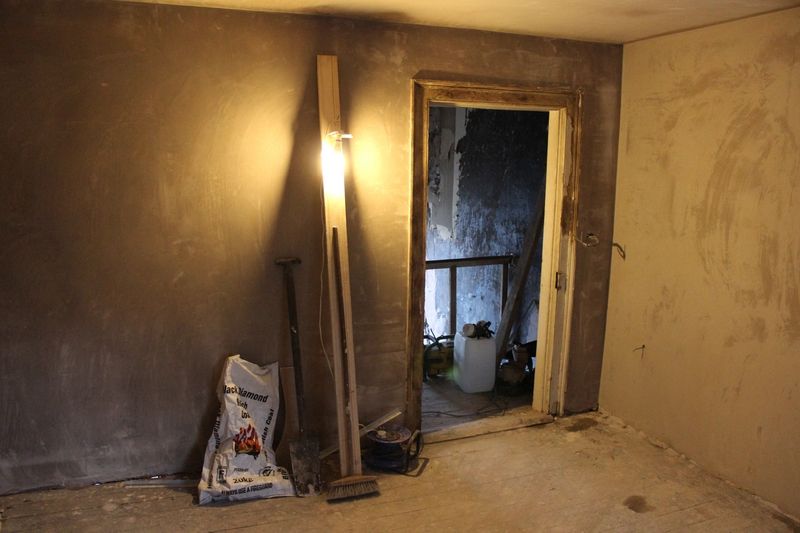
This entire wall was lined with insulating slab, as it's an external wall and because the existing plaster was quite rough. The rest of the walls were simply re-plastered:
A late addition of a second electrical socket was added just inside the door:

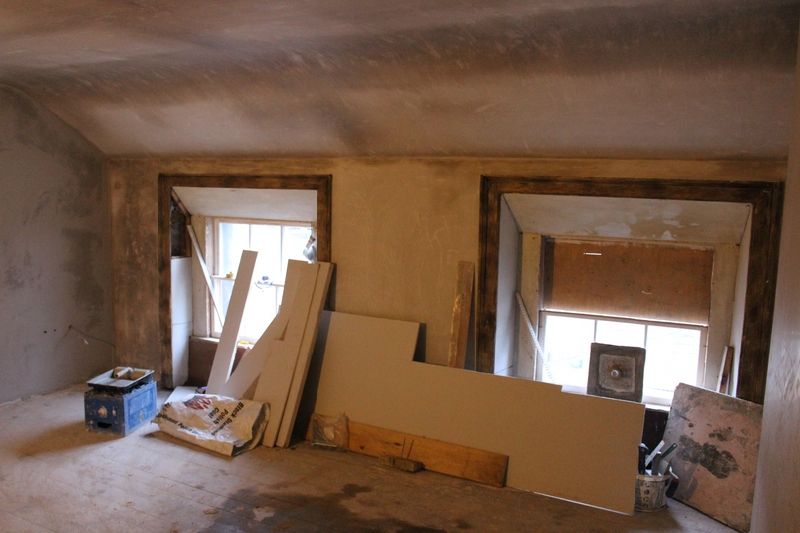
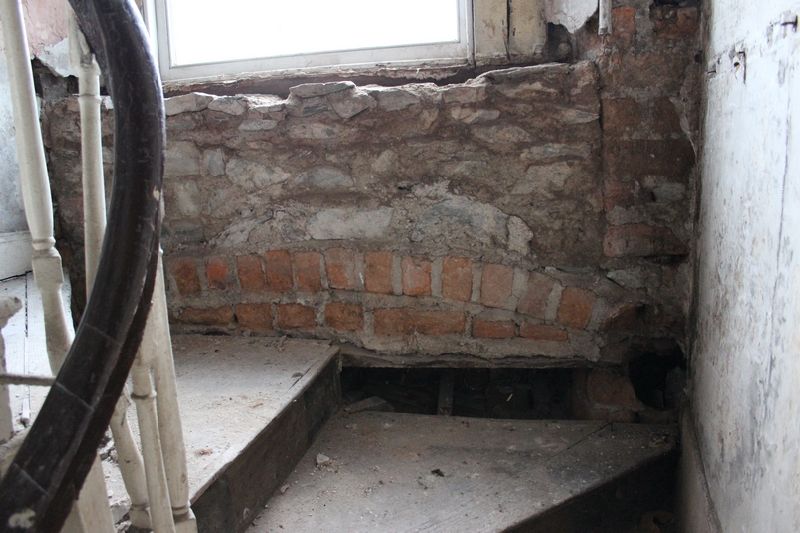
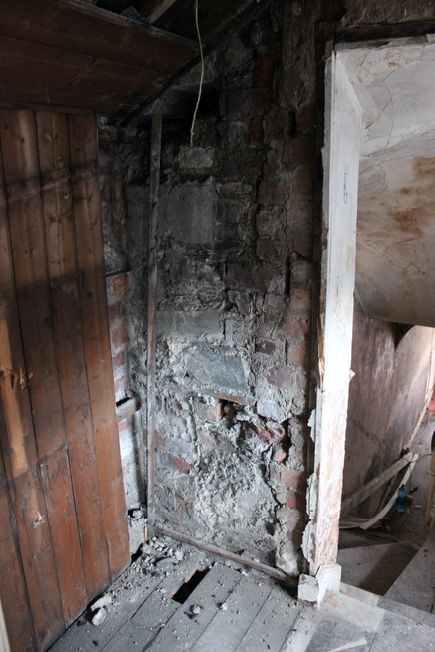
I cleaned away the remnants of the crumbling plaster below the stairway window and temporarily removed the stair skirting, which exposed the redbrick lintel below and the stonework of the wall:
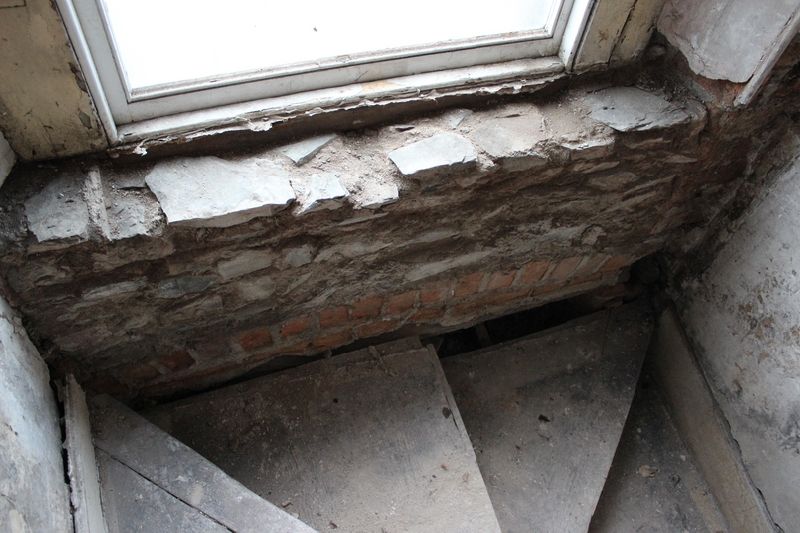
What was uncovered actually represents good news, as it means that the timber piece in the ceiling above the stairs a floor below is only supporting a single line of brick and not the load of the wall above (the lintel sits behind this cracked render):
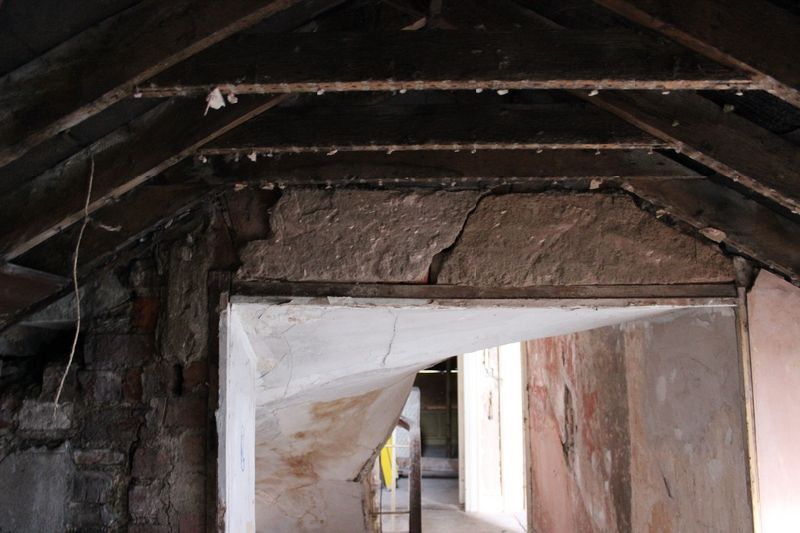
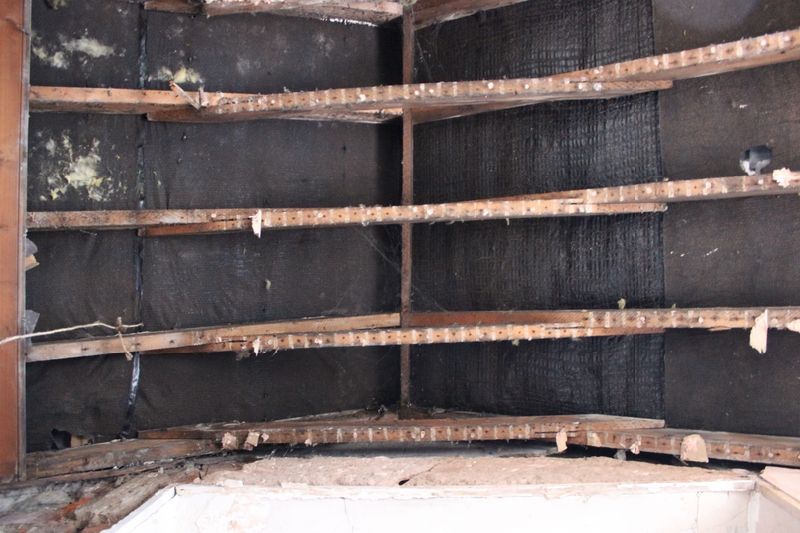
This was also a good time to remove the hallway ceiling, which exposed timbers in decent condition. Note how the cross supports are spliced onto the main roof joists. This is the only area of the entire house that had any form of fibreglass insulation:
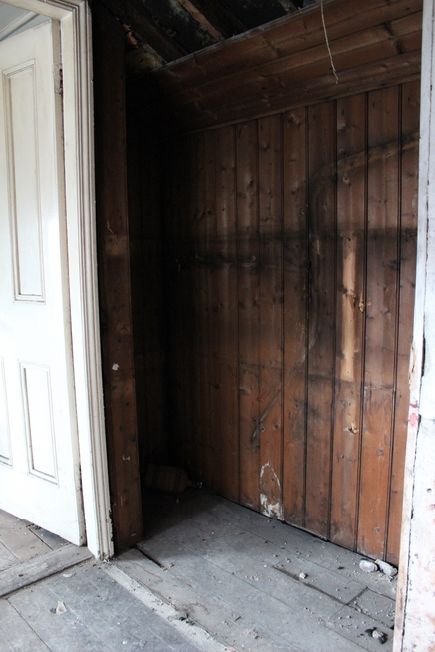
The space below previously occupied by the hot water cylinder:
Where the return meets the back of the house:
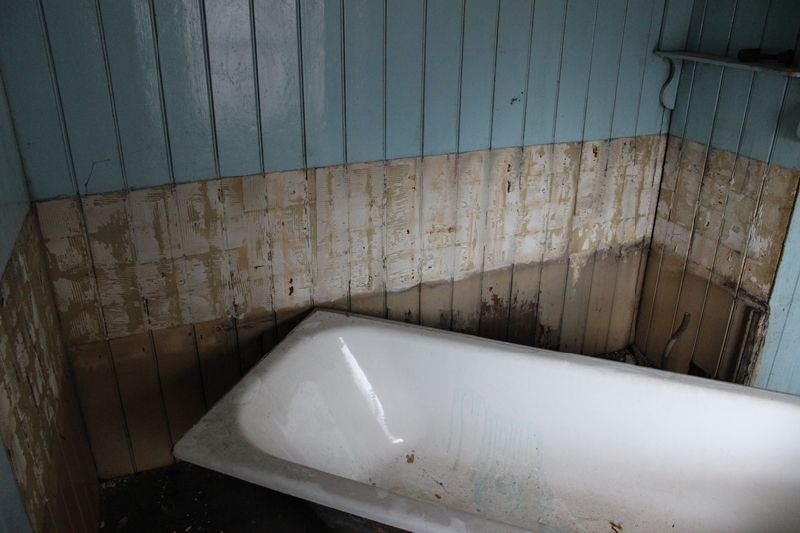
I started some light work on the bathroom space, beginning with removing the lino on the floor and disconnecting the bath:
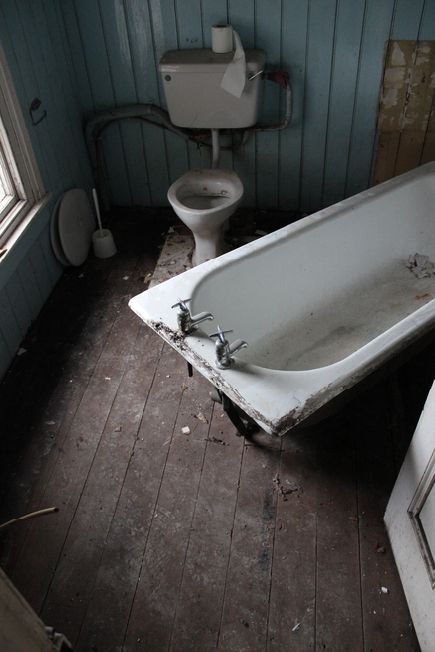
Crumbling floorboards where the bath was located:

The bath is cast iron and is extremely heavy, probably in excess of 120kg. Looking at online scrap values, it's probably best to break it up and dispose of it as this style of iron bath is essentially worthless. Tiling was also removed from the walls with a few taps of a sledge:
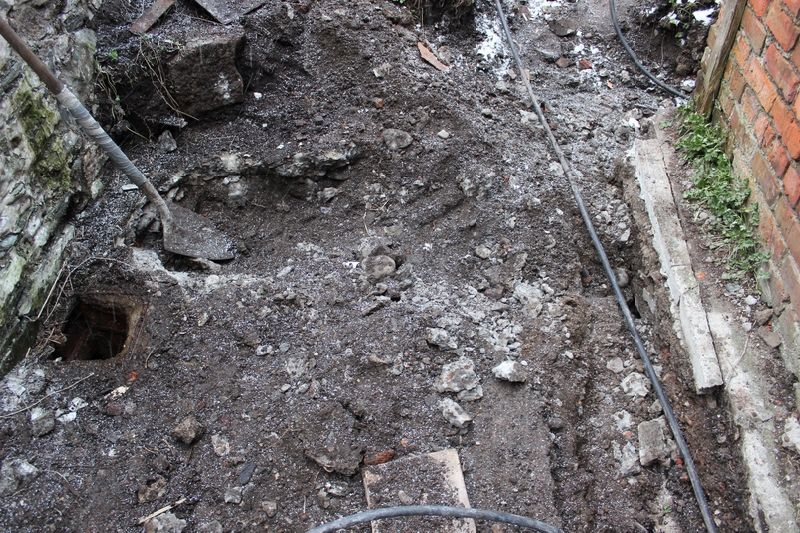
Finally, after 45 minutes of breaking up the concrete surface at the back of the house, we stumbled upon the sewer that services the house. We spent the 45 minutes breaking up the concrete, following the old red brick drain we found previously. We followed it over to the garden wall, only to accidentally stand on a drain a couple of inches from where we were digging, covered over with soil. The newly discovered sewer is on the left, the original sewer is directly on the far right, below the black water pipe:
This is the original sewer:

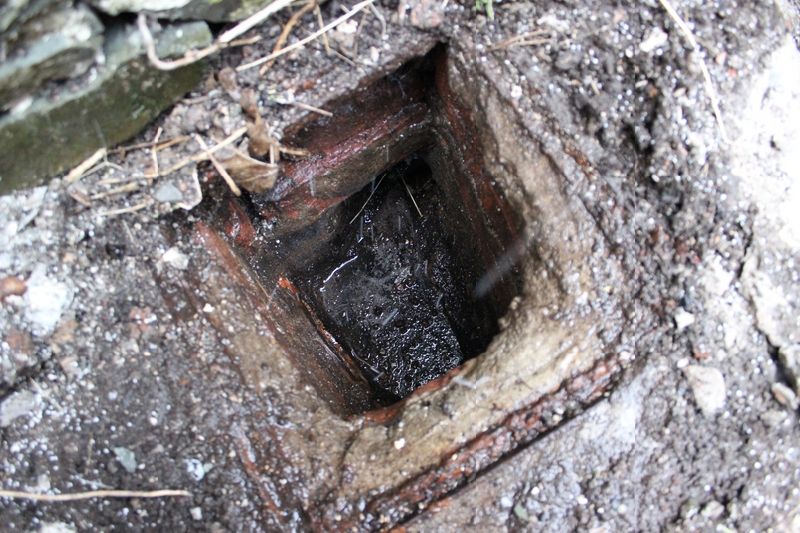
And this is the more modern sewer discovered today:
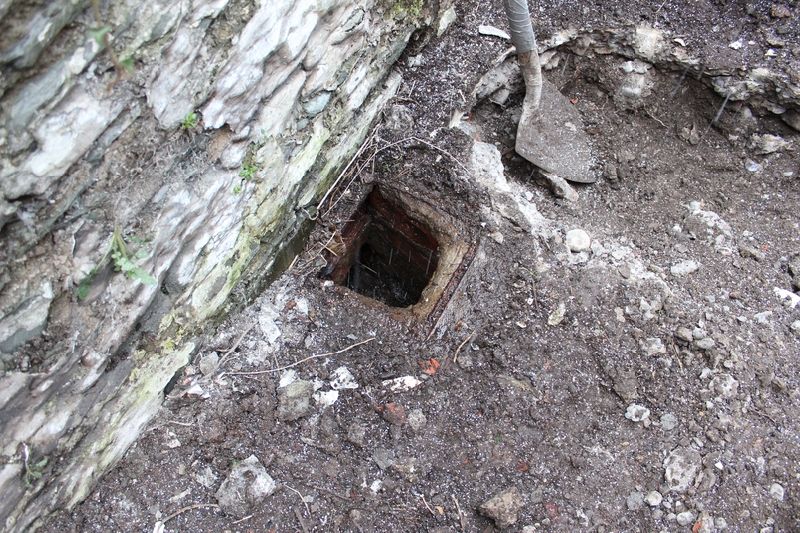
This access access junction is made from red brick and has two entry points and one exit point. There's an entry on the left of the picture and at the bottom of the picture; the bottom entrance is serviced by the soil pipe from the bathroom, as well as the rainwater drain at the bottom of the rainwater down-pipe. The left entry point is serviced by the drain located about 150cm to the left of the sewer, located below a cast iron sink and tap.
The exit of the sewer clears water very quickly, indicating a clear flow. The exit leads West through No.3 and No.4 and no doubt runs along side the original red brick sewer:
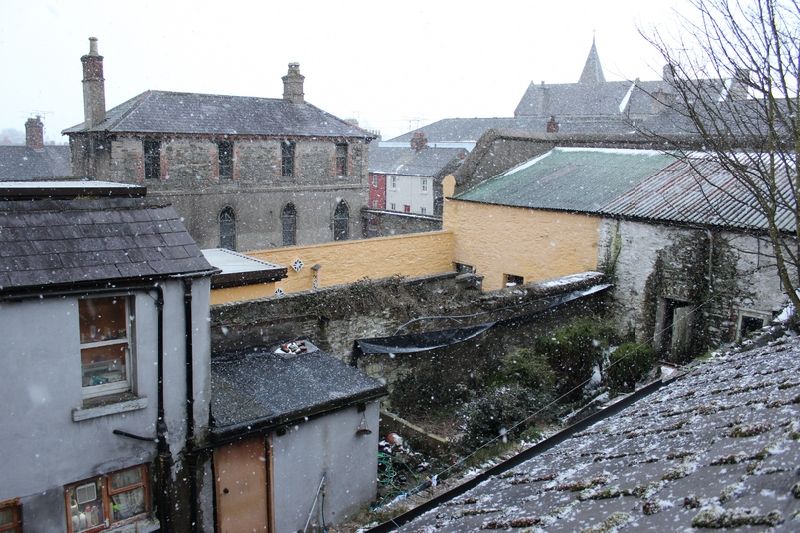
The view from the stairs window. Snow in mid-March:
Sewers and stuff like that - I don't mess with and don't get anywhere near! Let's just say I understand why plumbers cost so much!
ReplyDelete