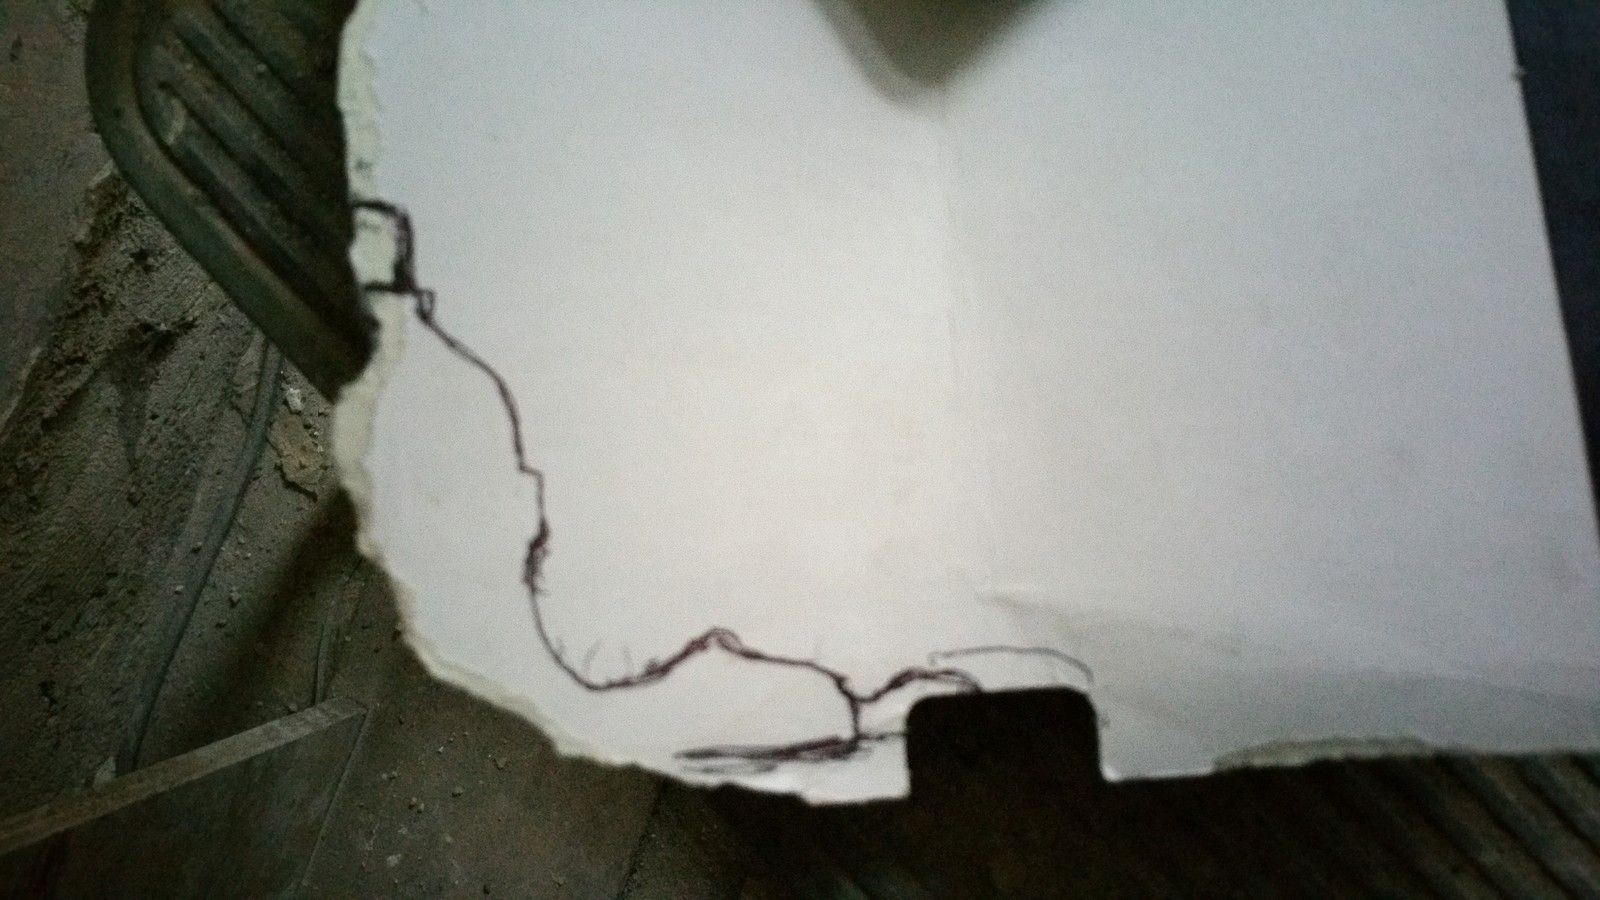
As shown in the last post, the job started by taking a mould of the only surviving original cornicing in the entire house, the hallway cornice. This involved making a simple clean cut into the original cornice and tracing an outline of the profile onto a piece of card.

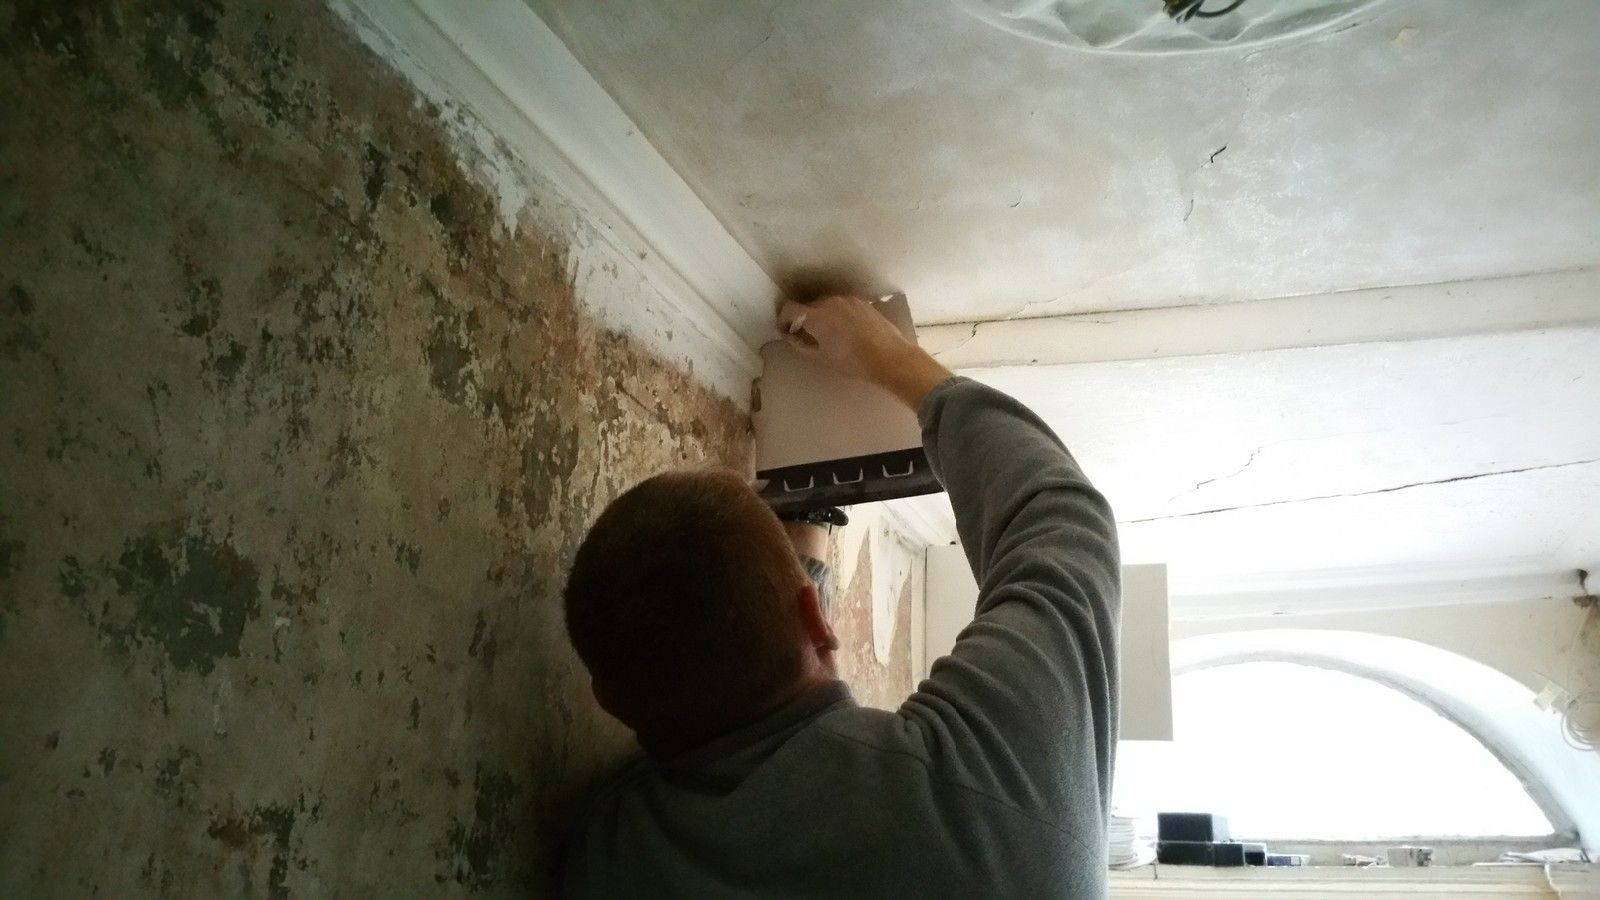
The hallway cornice is covered in many layers of paint and has lost a lot of its sharpness, so Micheal adjusted the profile slightly to account for this, squaring off some sections and adding a little more detail. We also agreed to enlarge the cornice ever so slightly, as there is a possibility the main rooms had a slightly larger and more ornate cornice, evidenced by some surviving original cornicing in my next door neighbour's house.
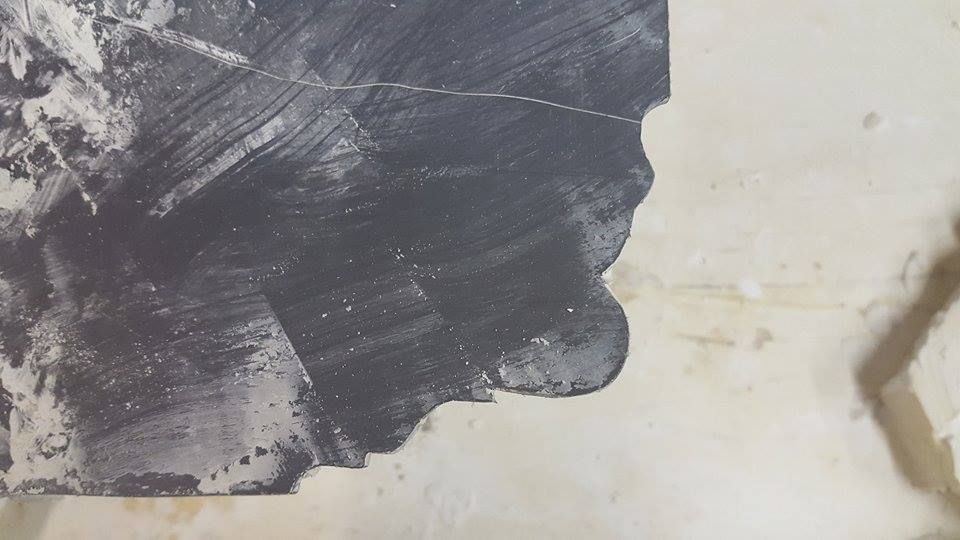
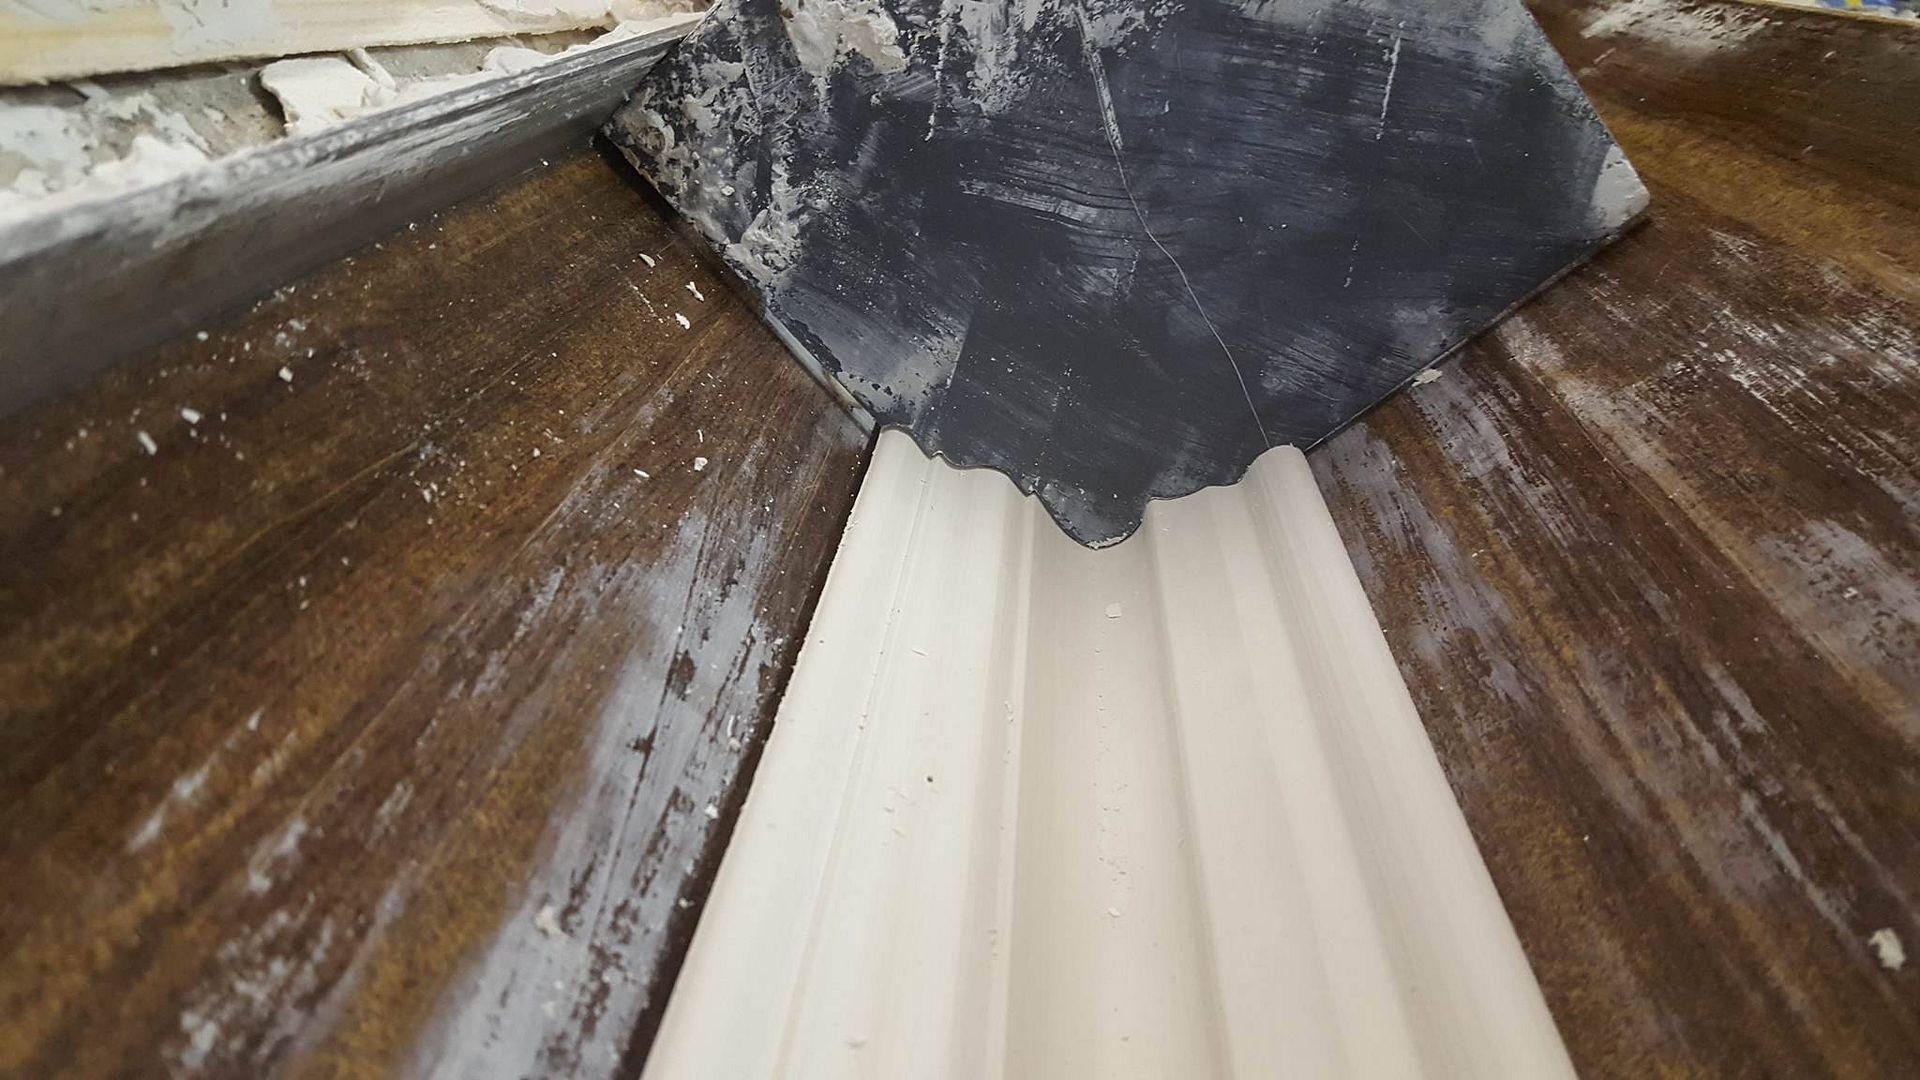
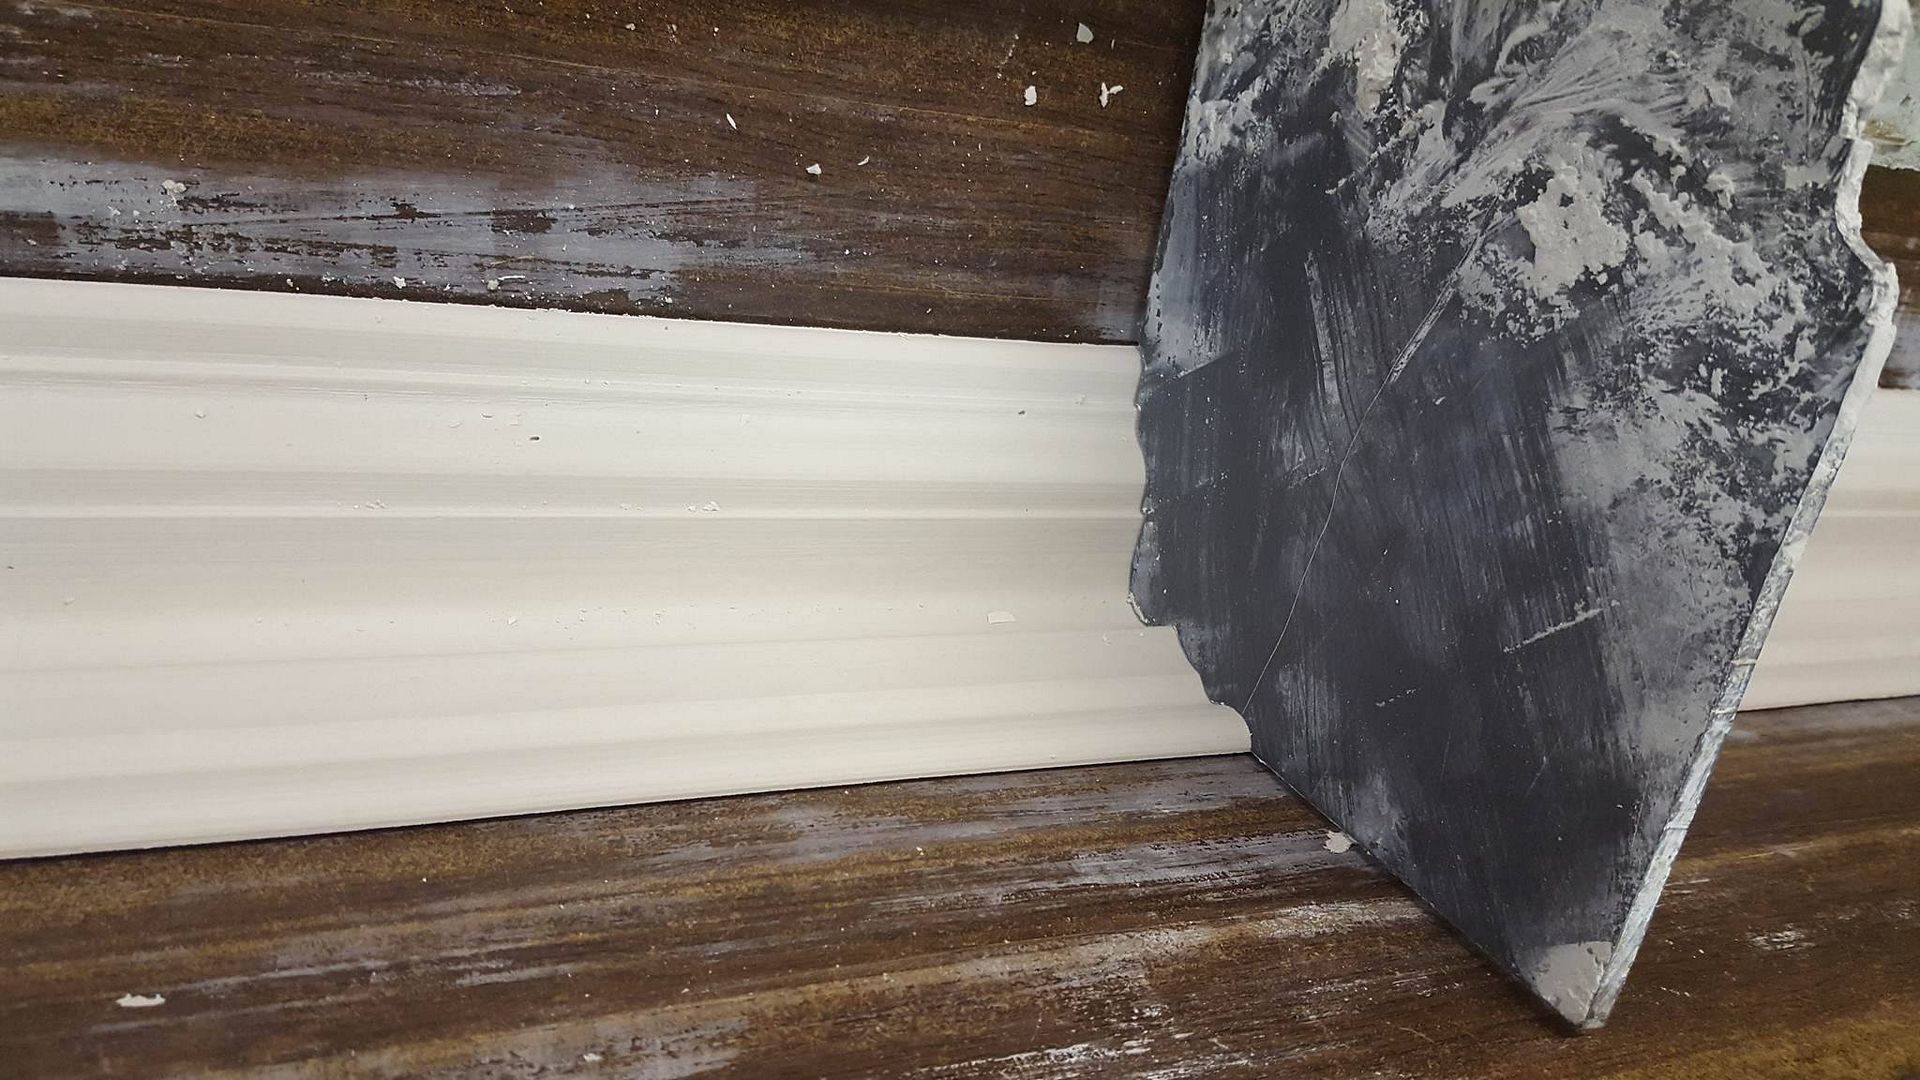
From this drawing, the profile plate could be made in the plaster shop which draws the plaster across the cornice as it is being shaped:
Here is a short video of the process:
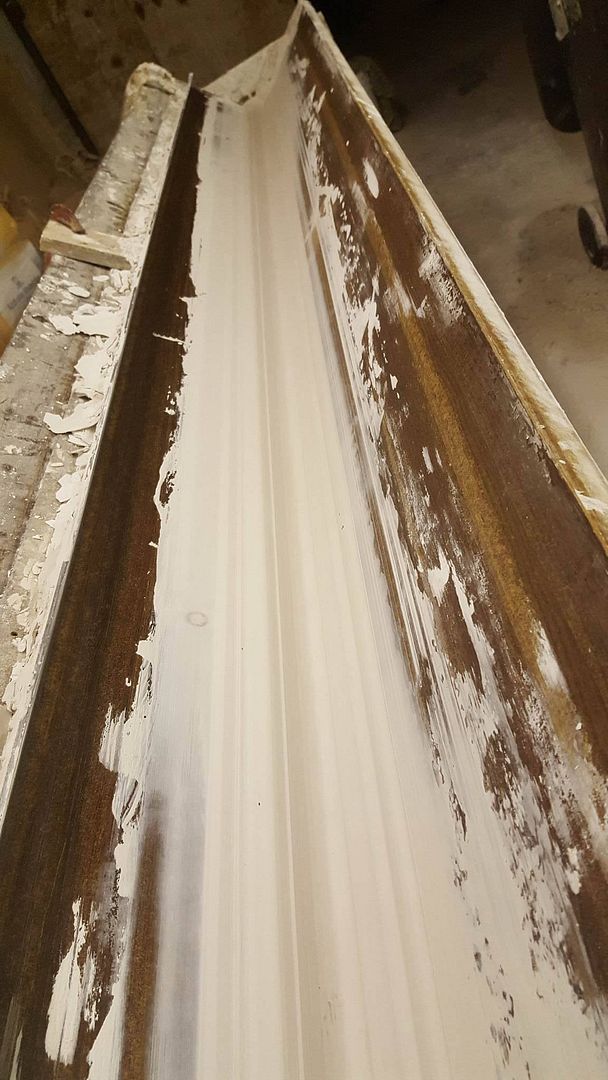
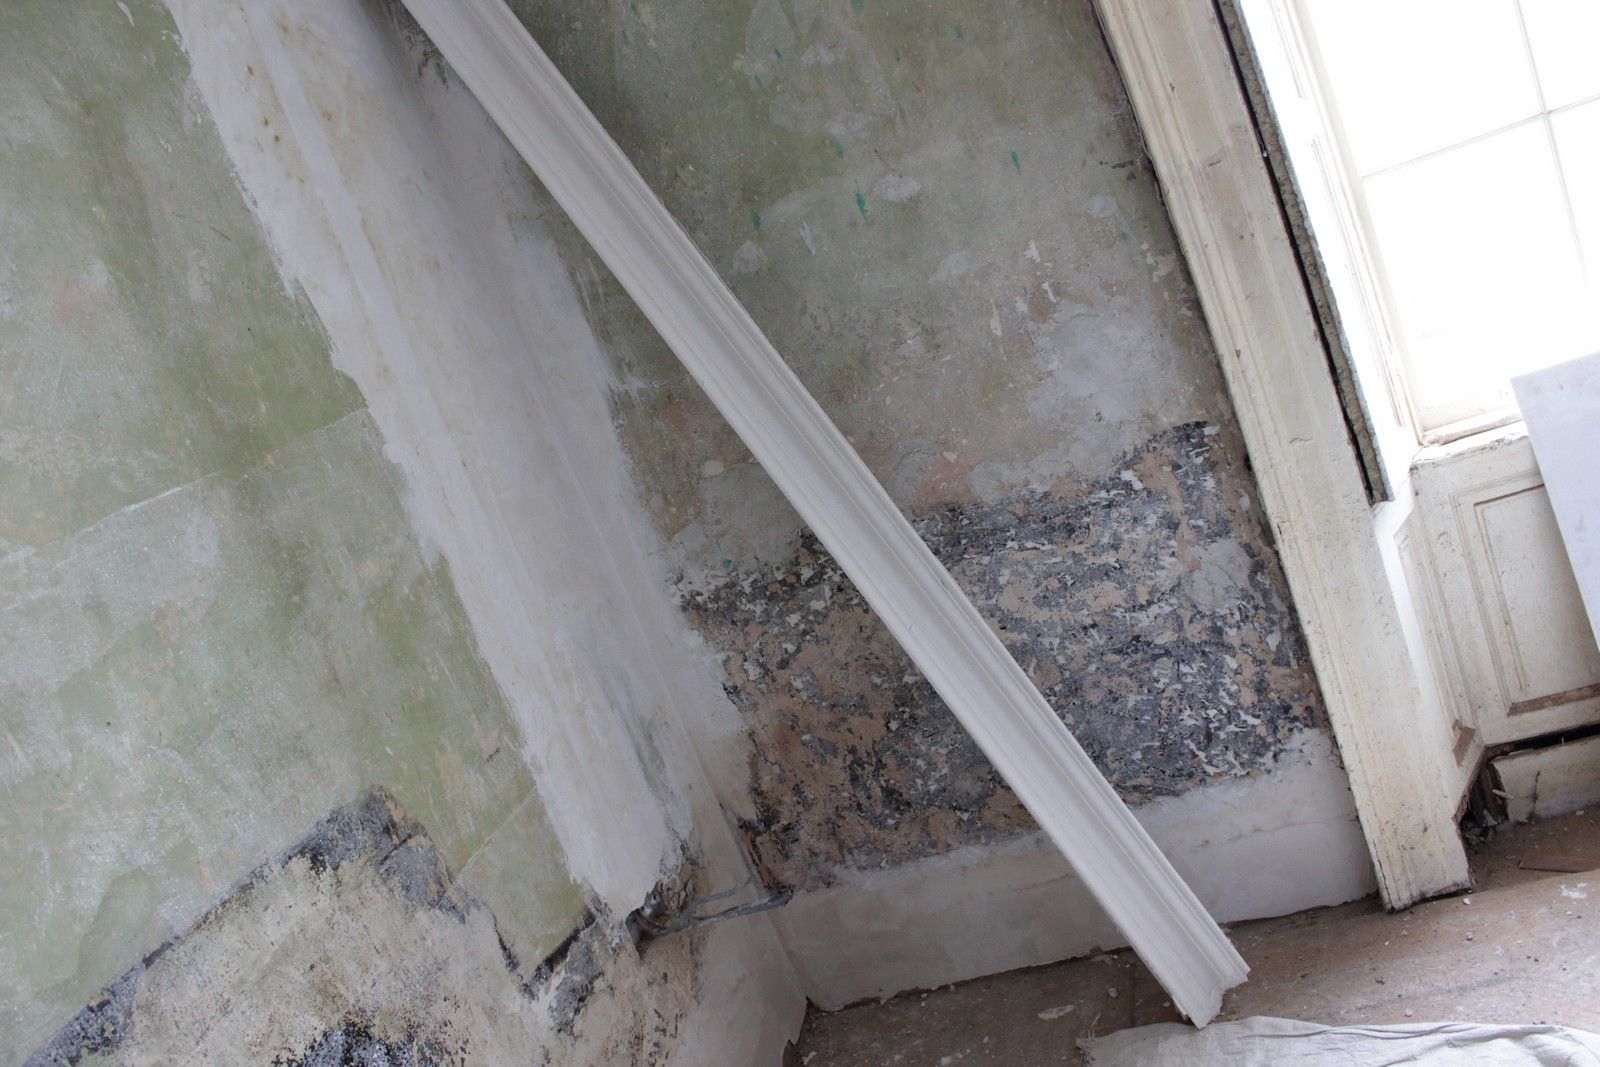
The completed sections:
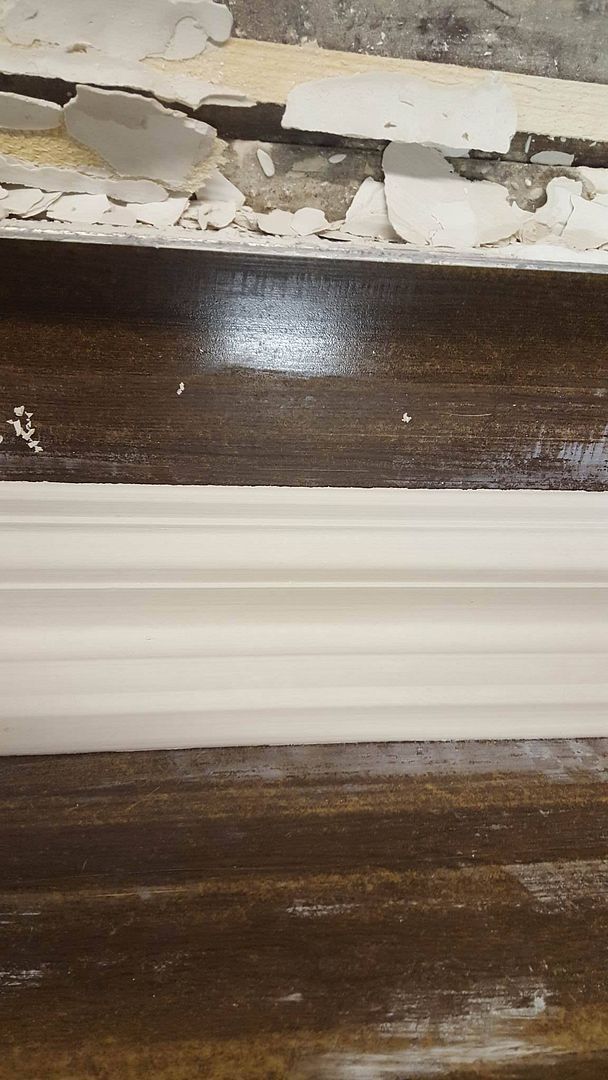
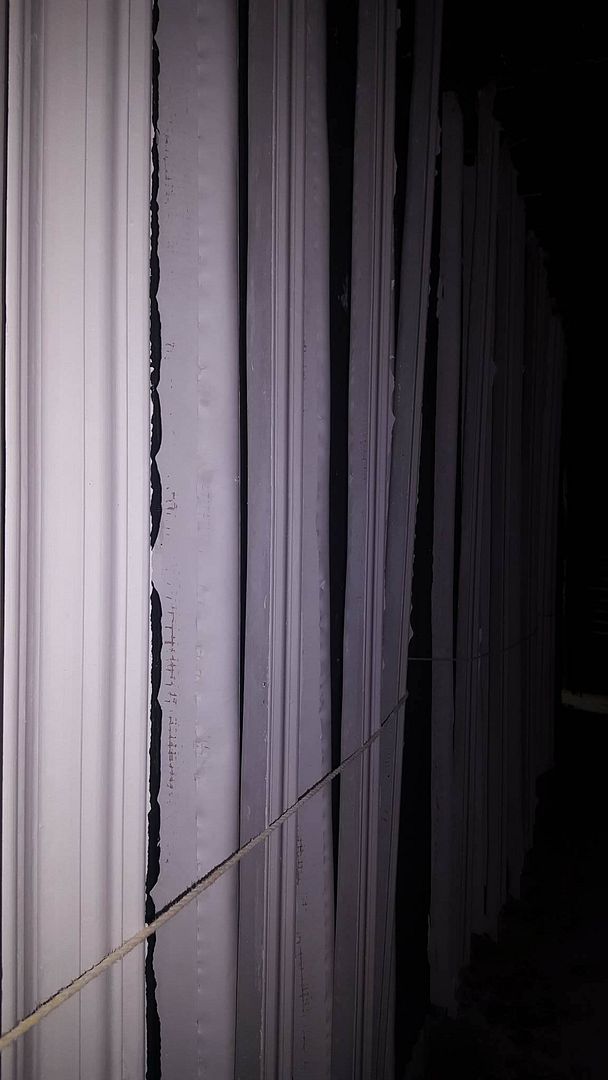
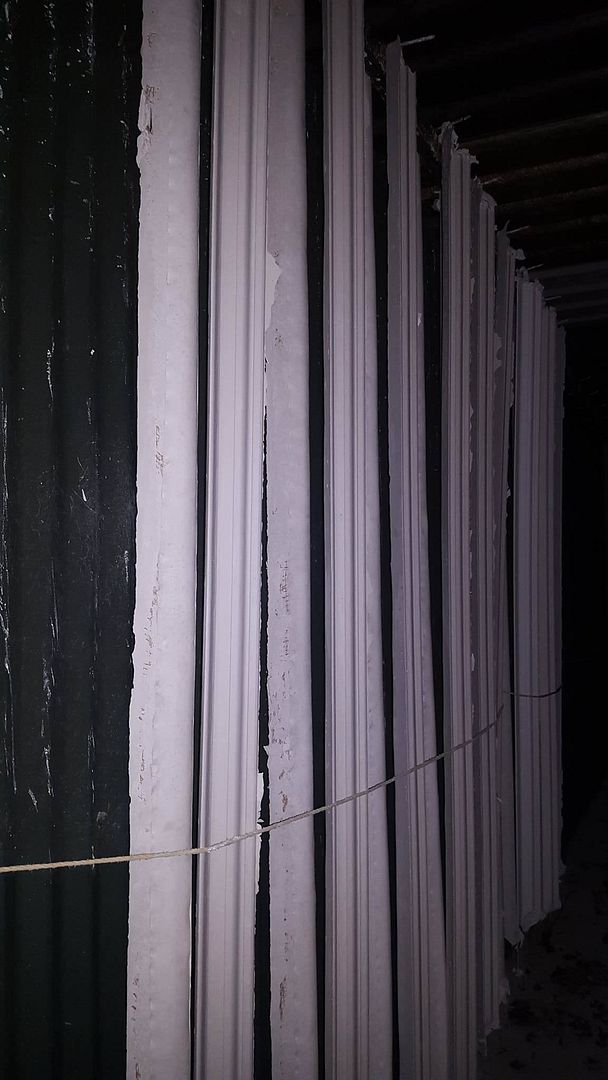
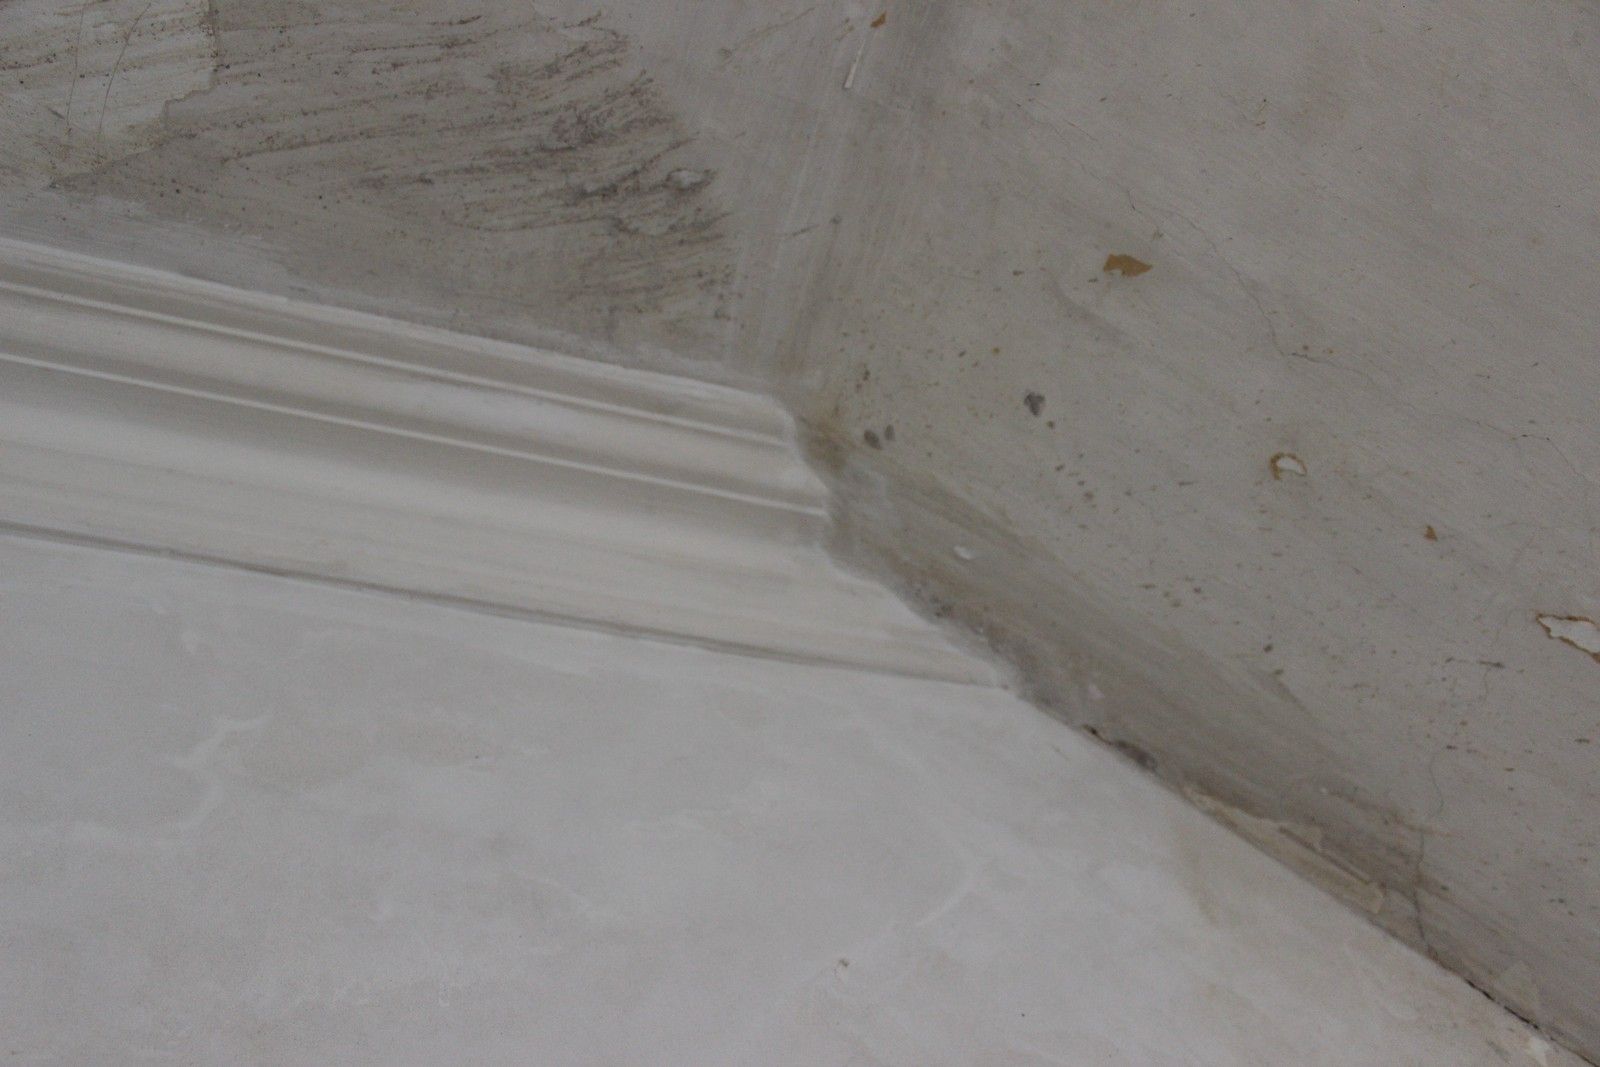
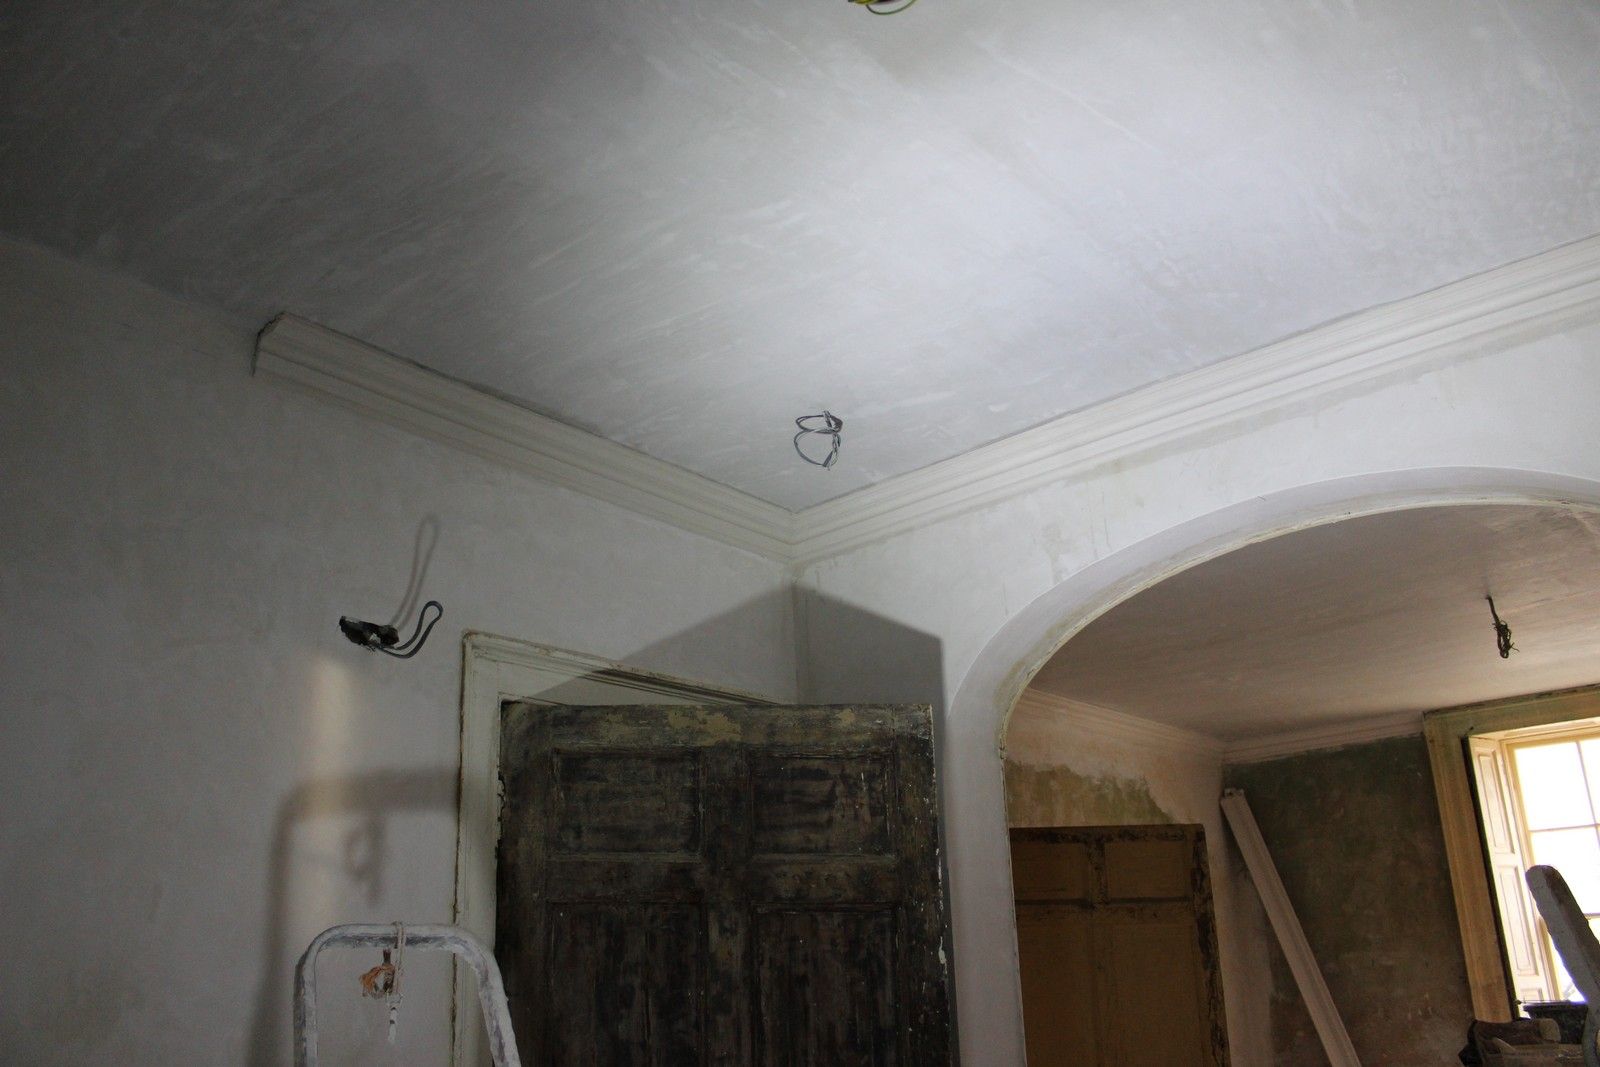
The cornice is produced in 7ft lengths and are blended together seamlessly on-site.
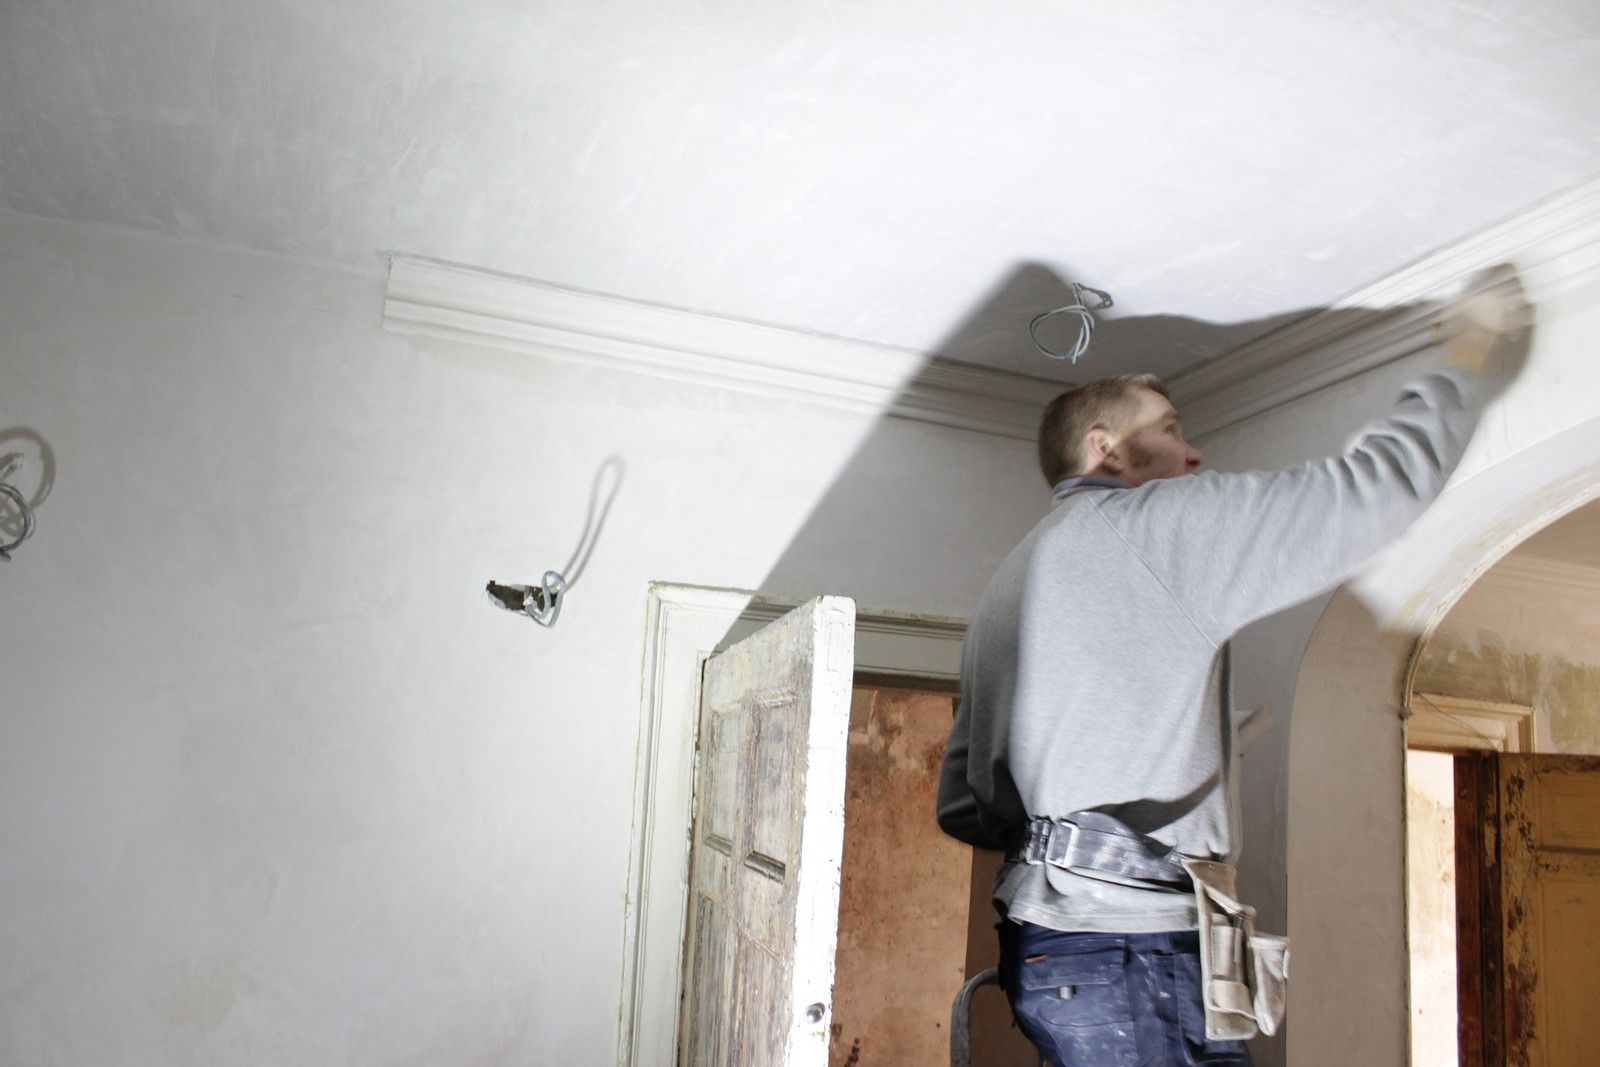
Whilst there was an initial wait of a few weeks to manufacture the cornicing and for Micheal to become available, the job itself was completed in less than three days.
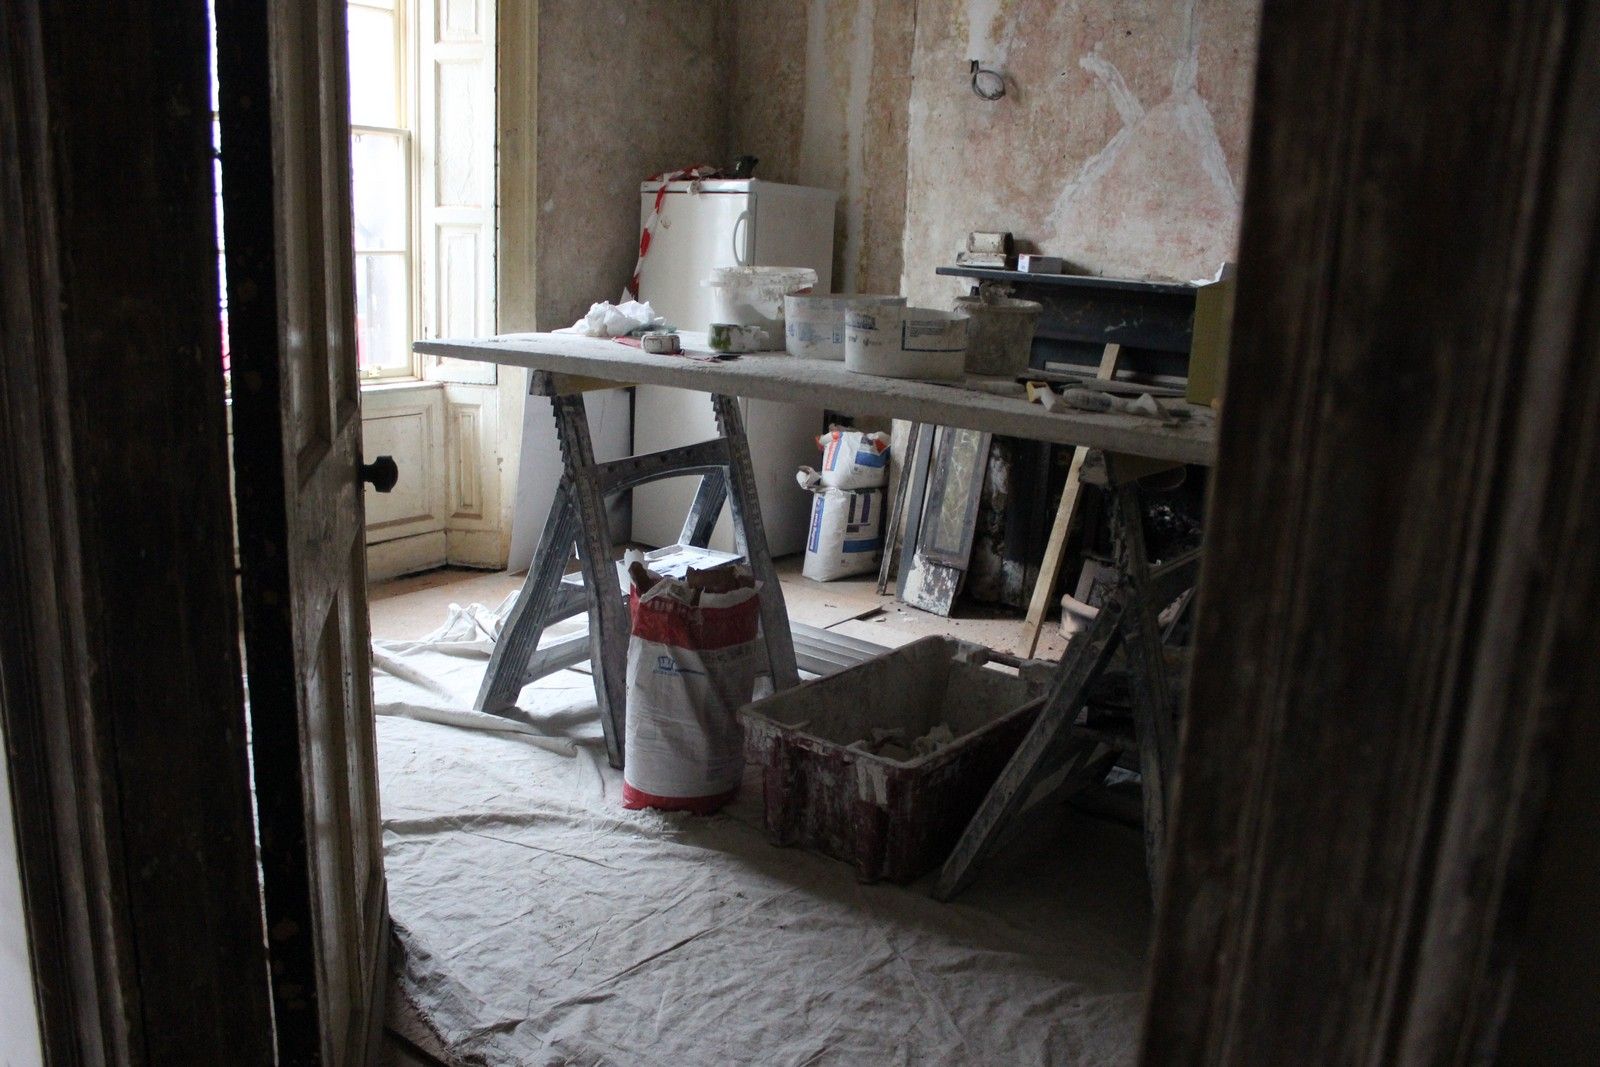
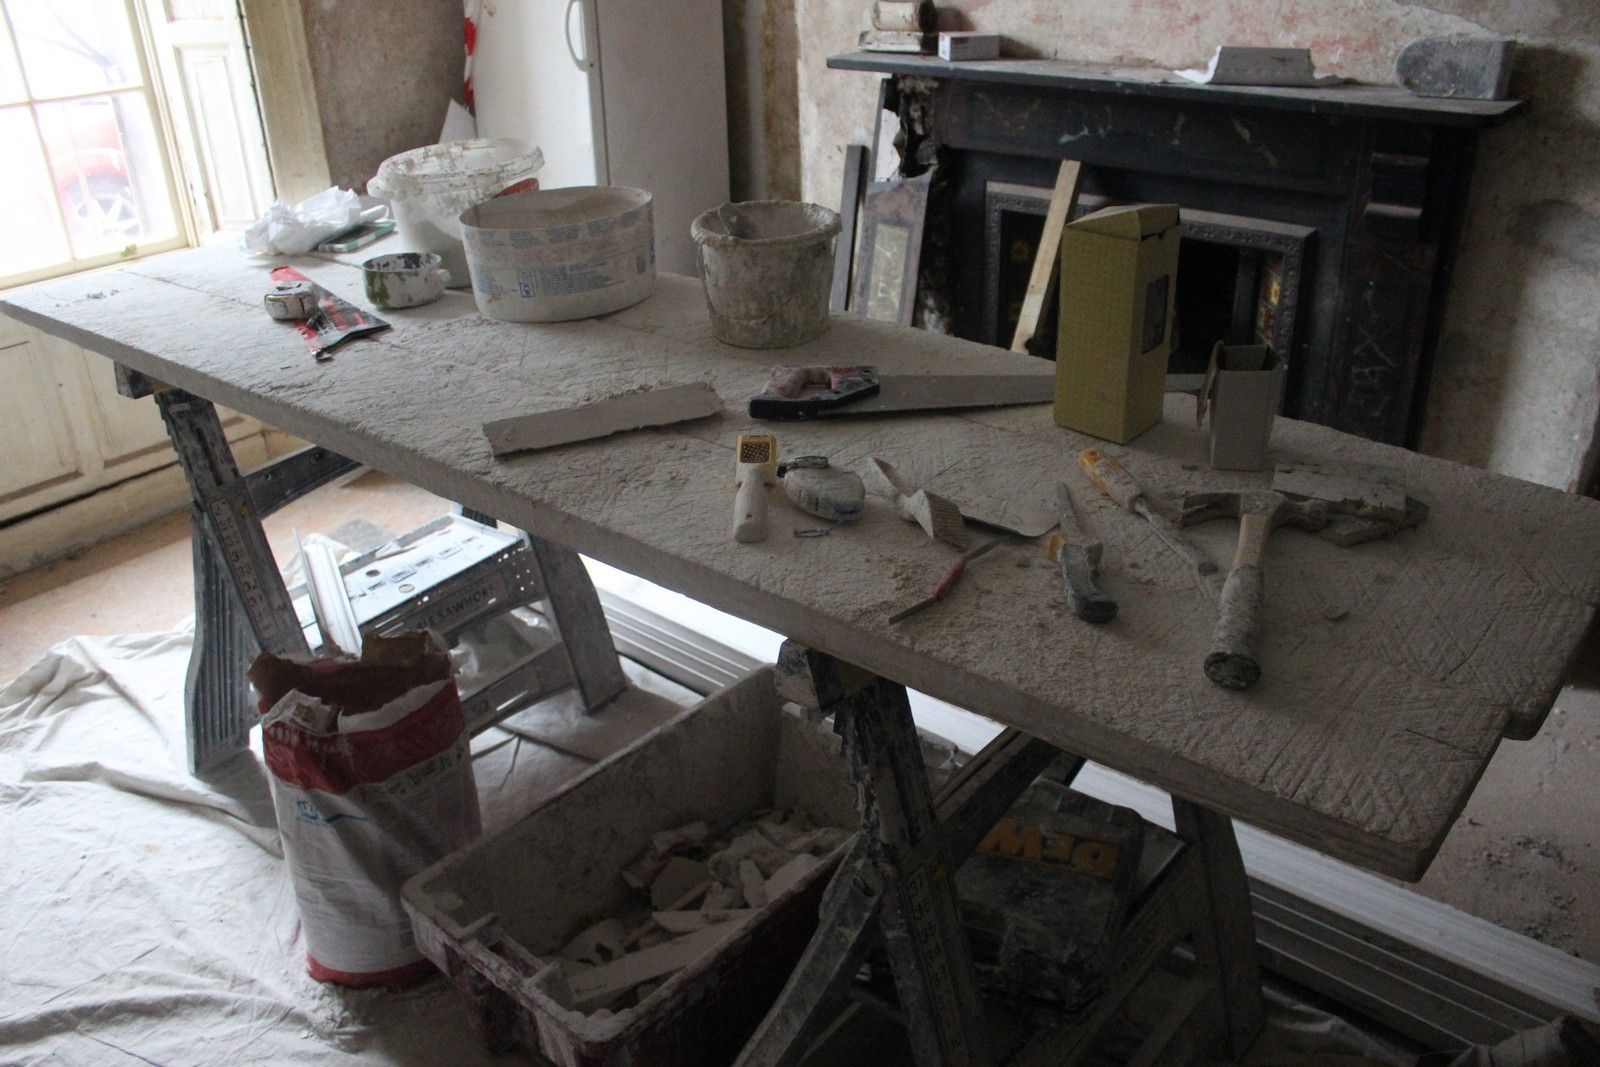
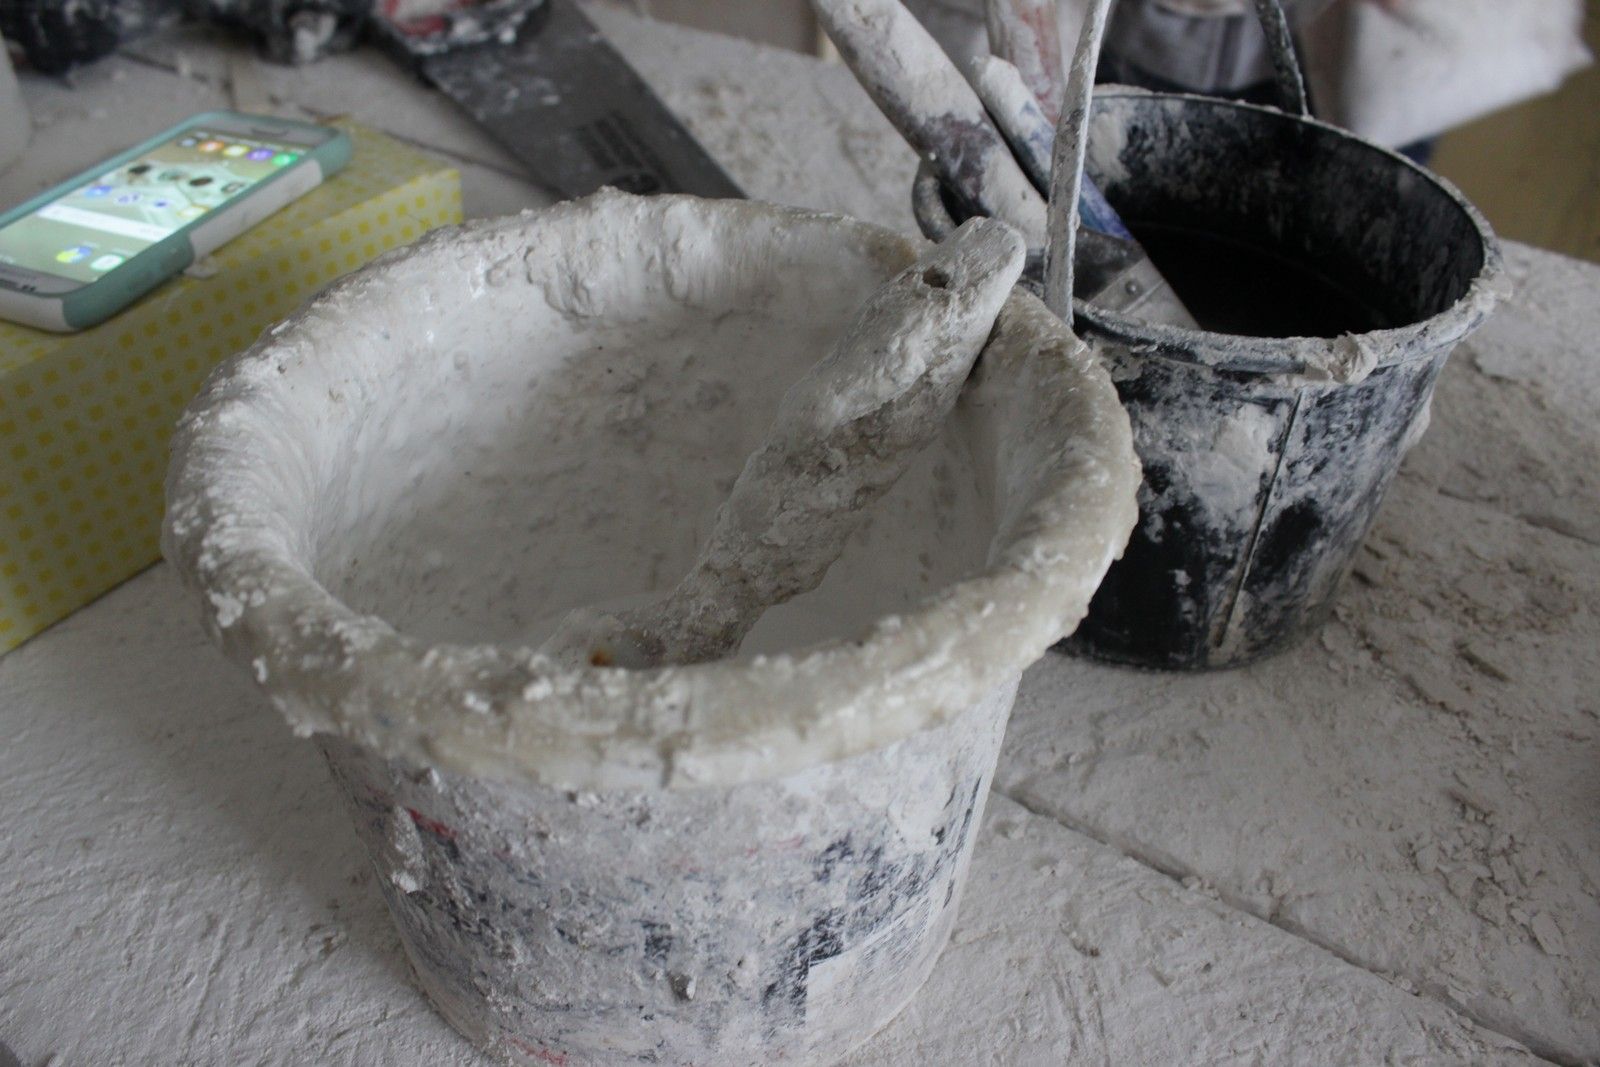
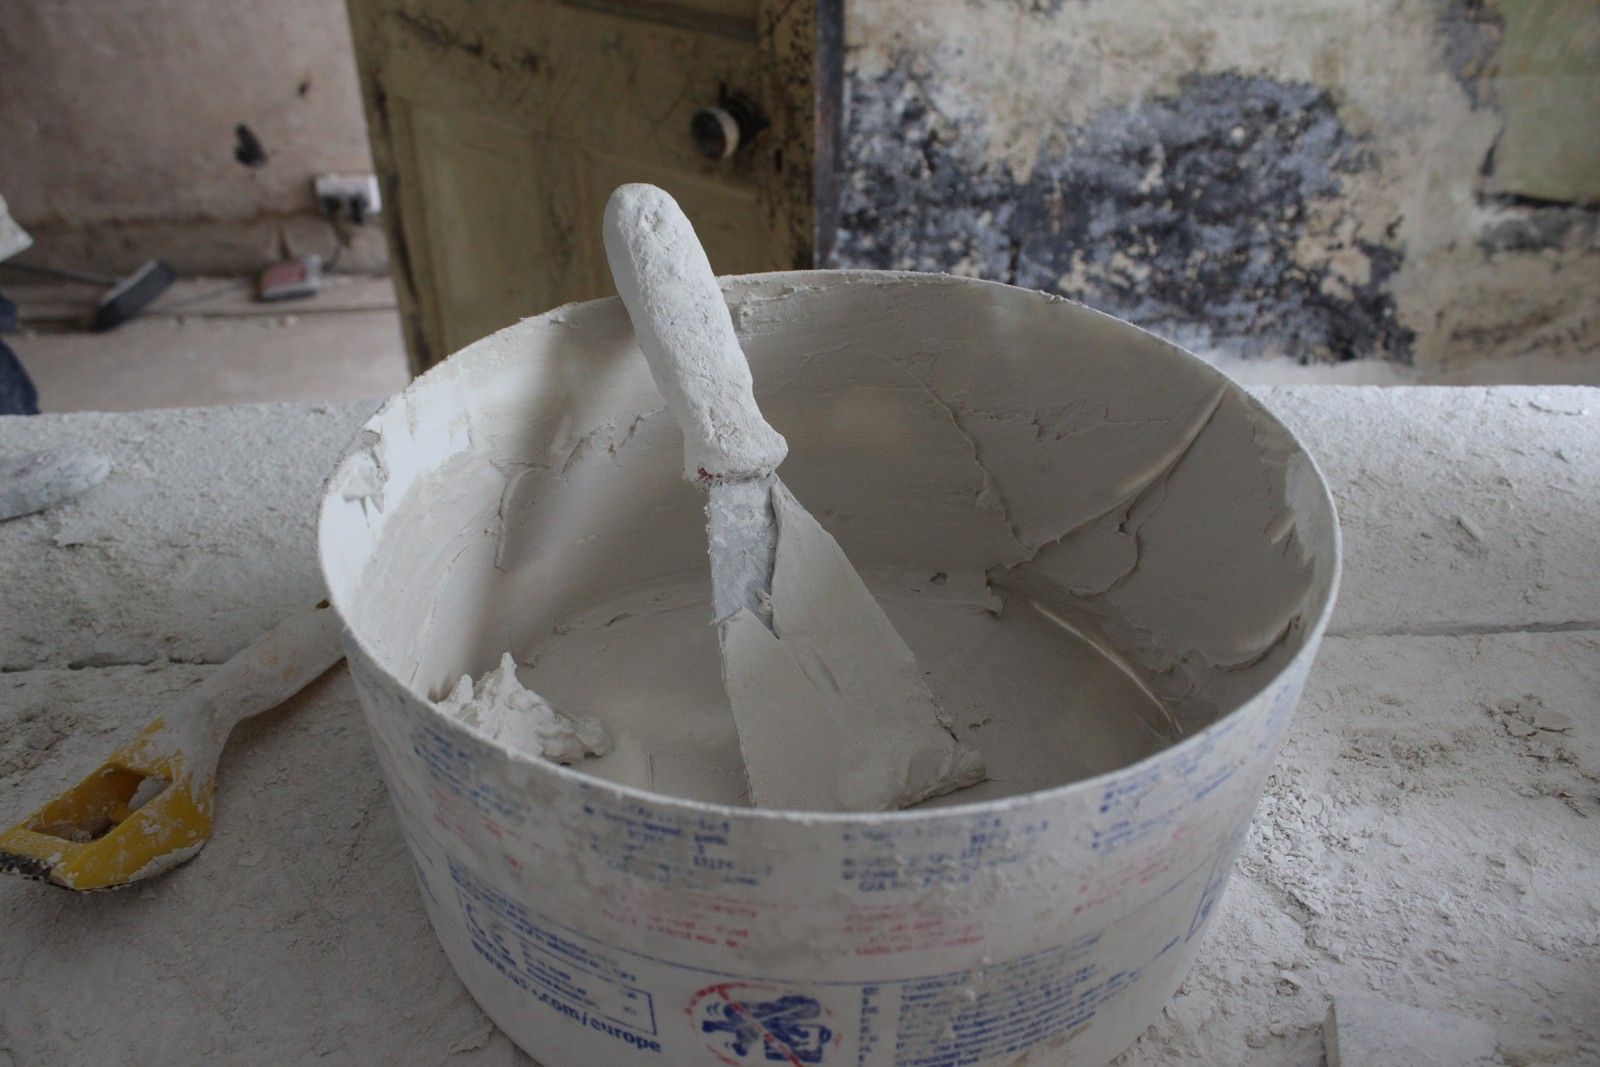
Few tools and materials are required; the main material being used is a thick plaster mix for attaching the cornice to the wall and ceilings, as well as blending it into adjoining pieces and onto the surfaces themselves.
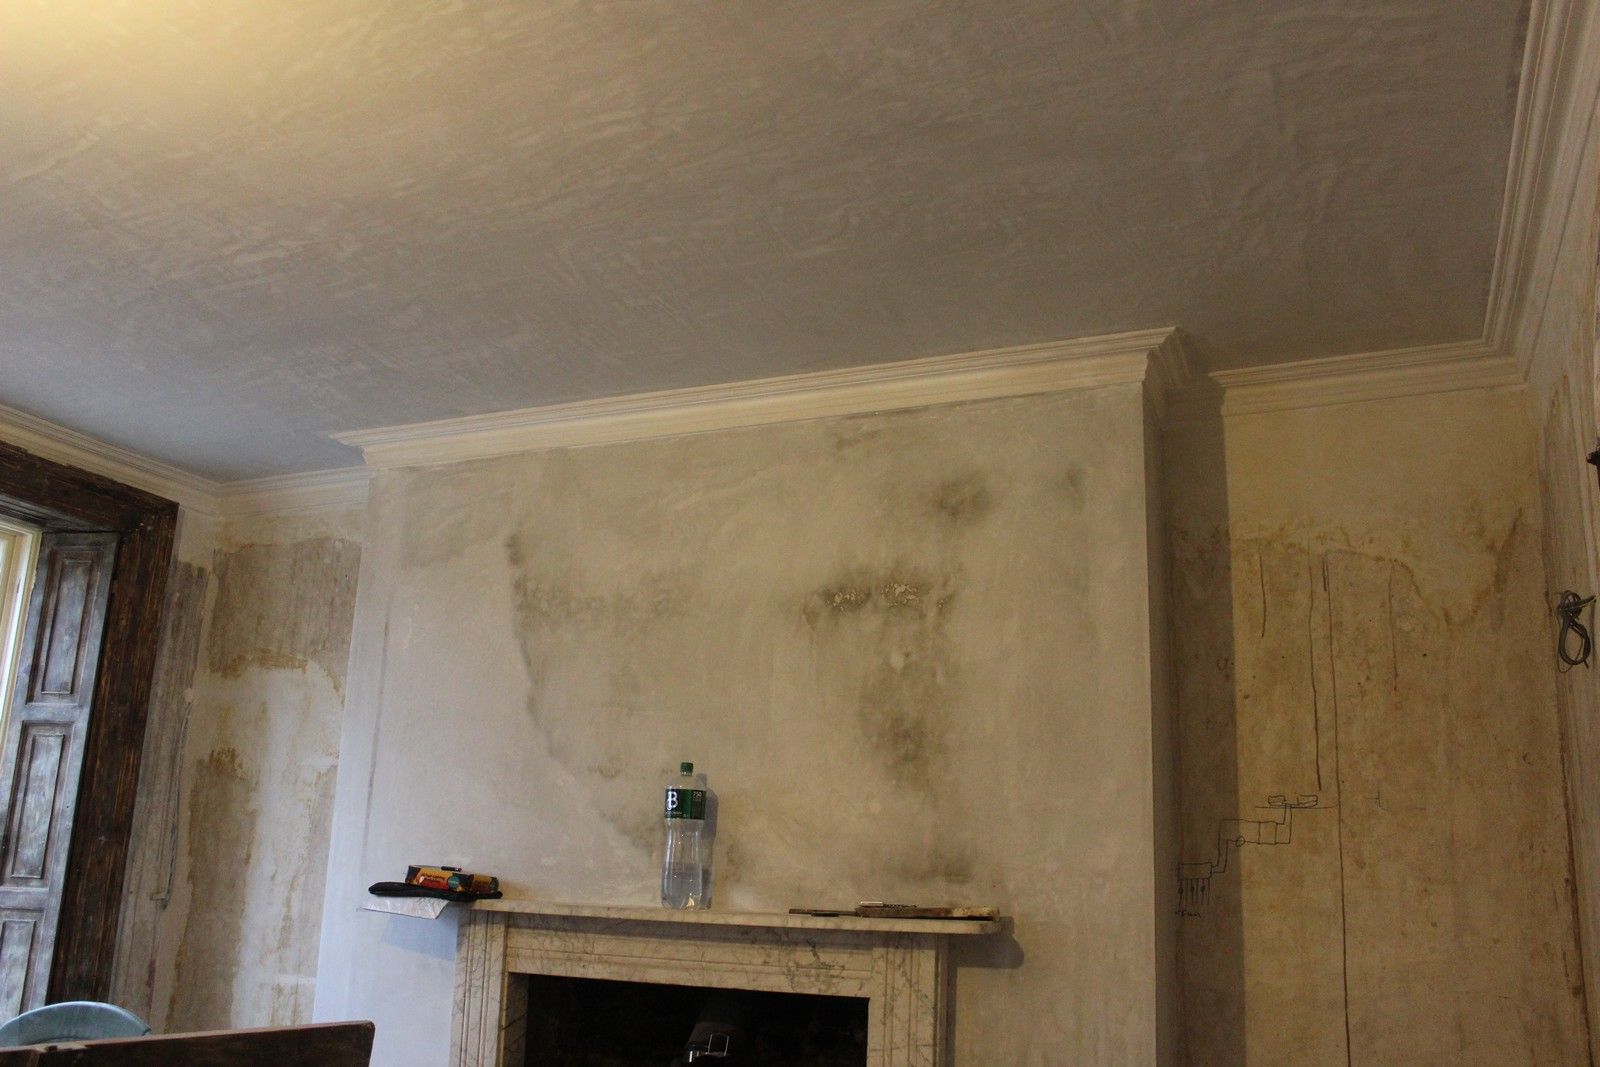
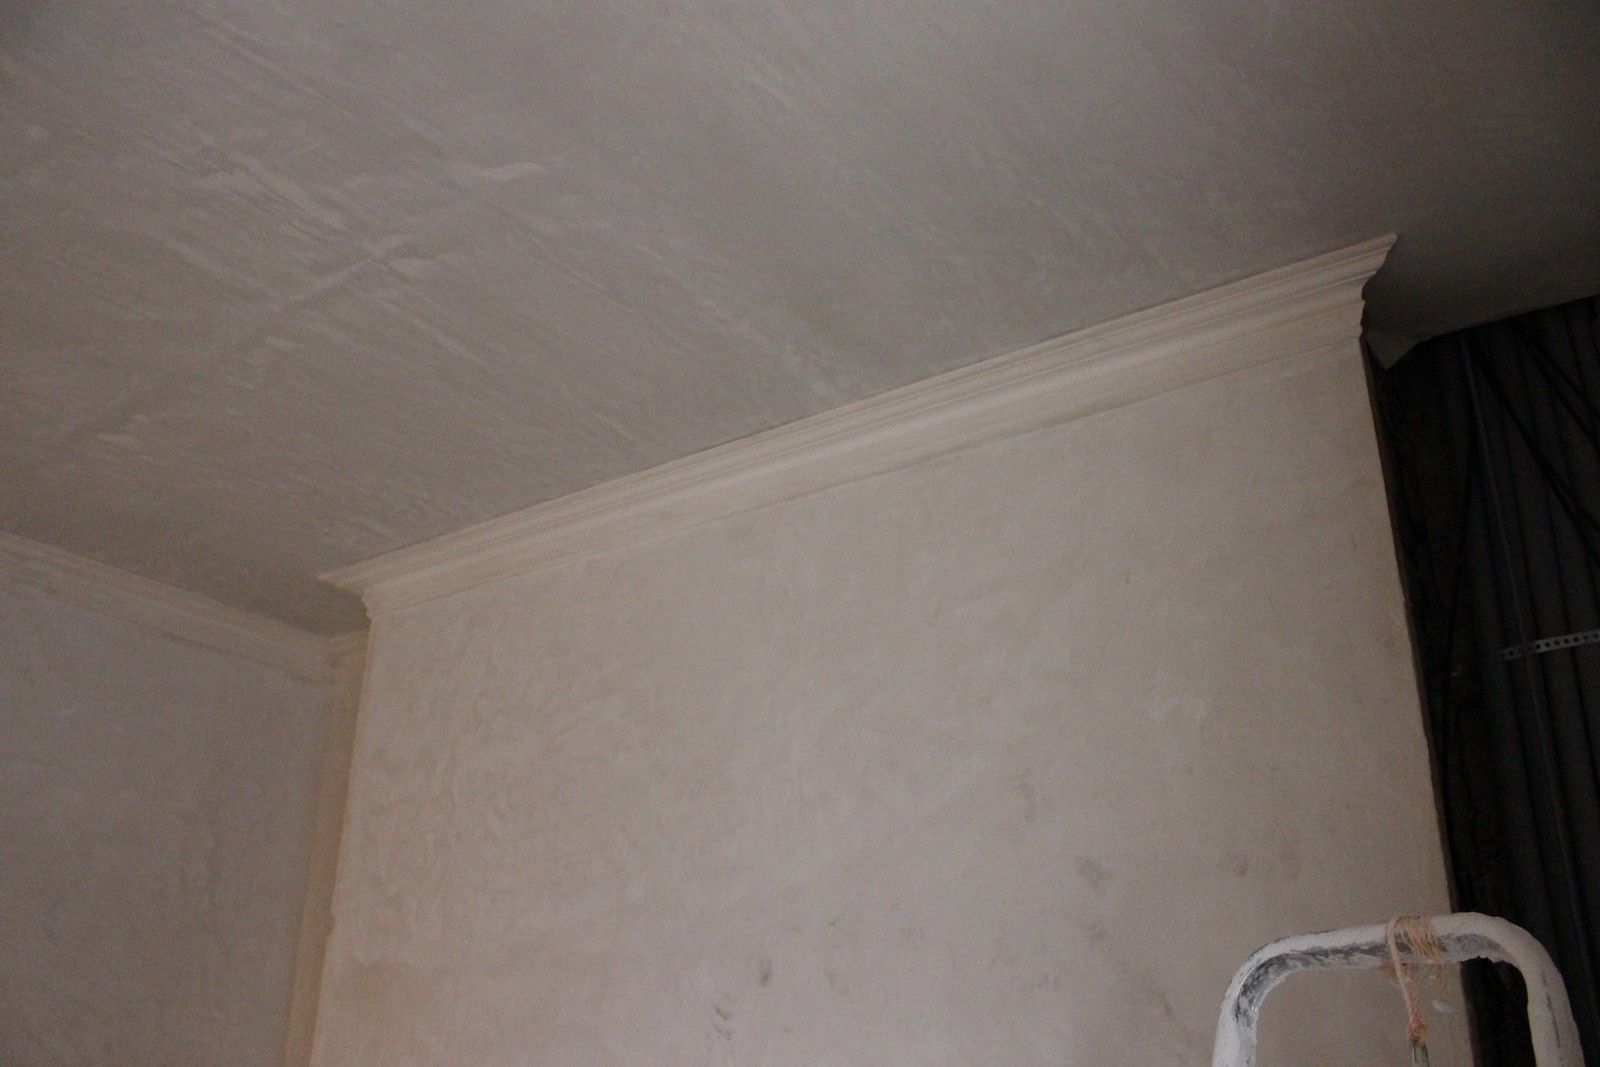
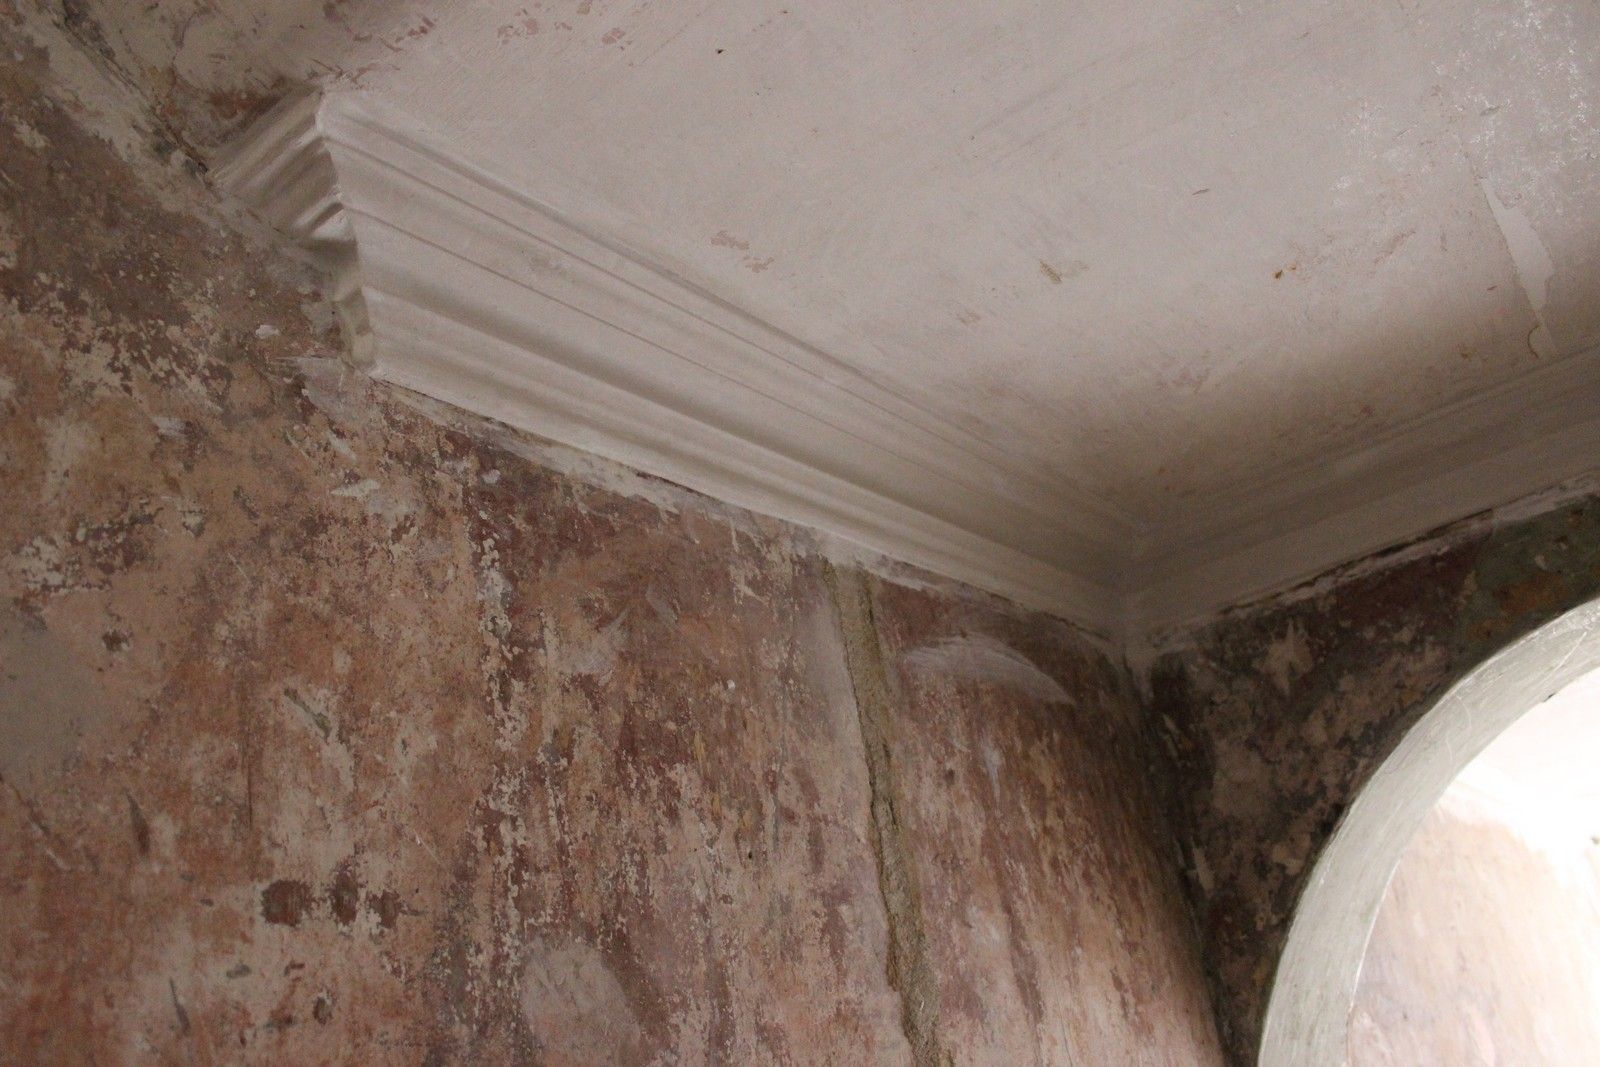
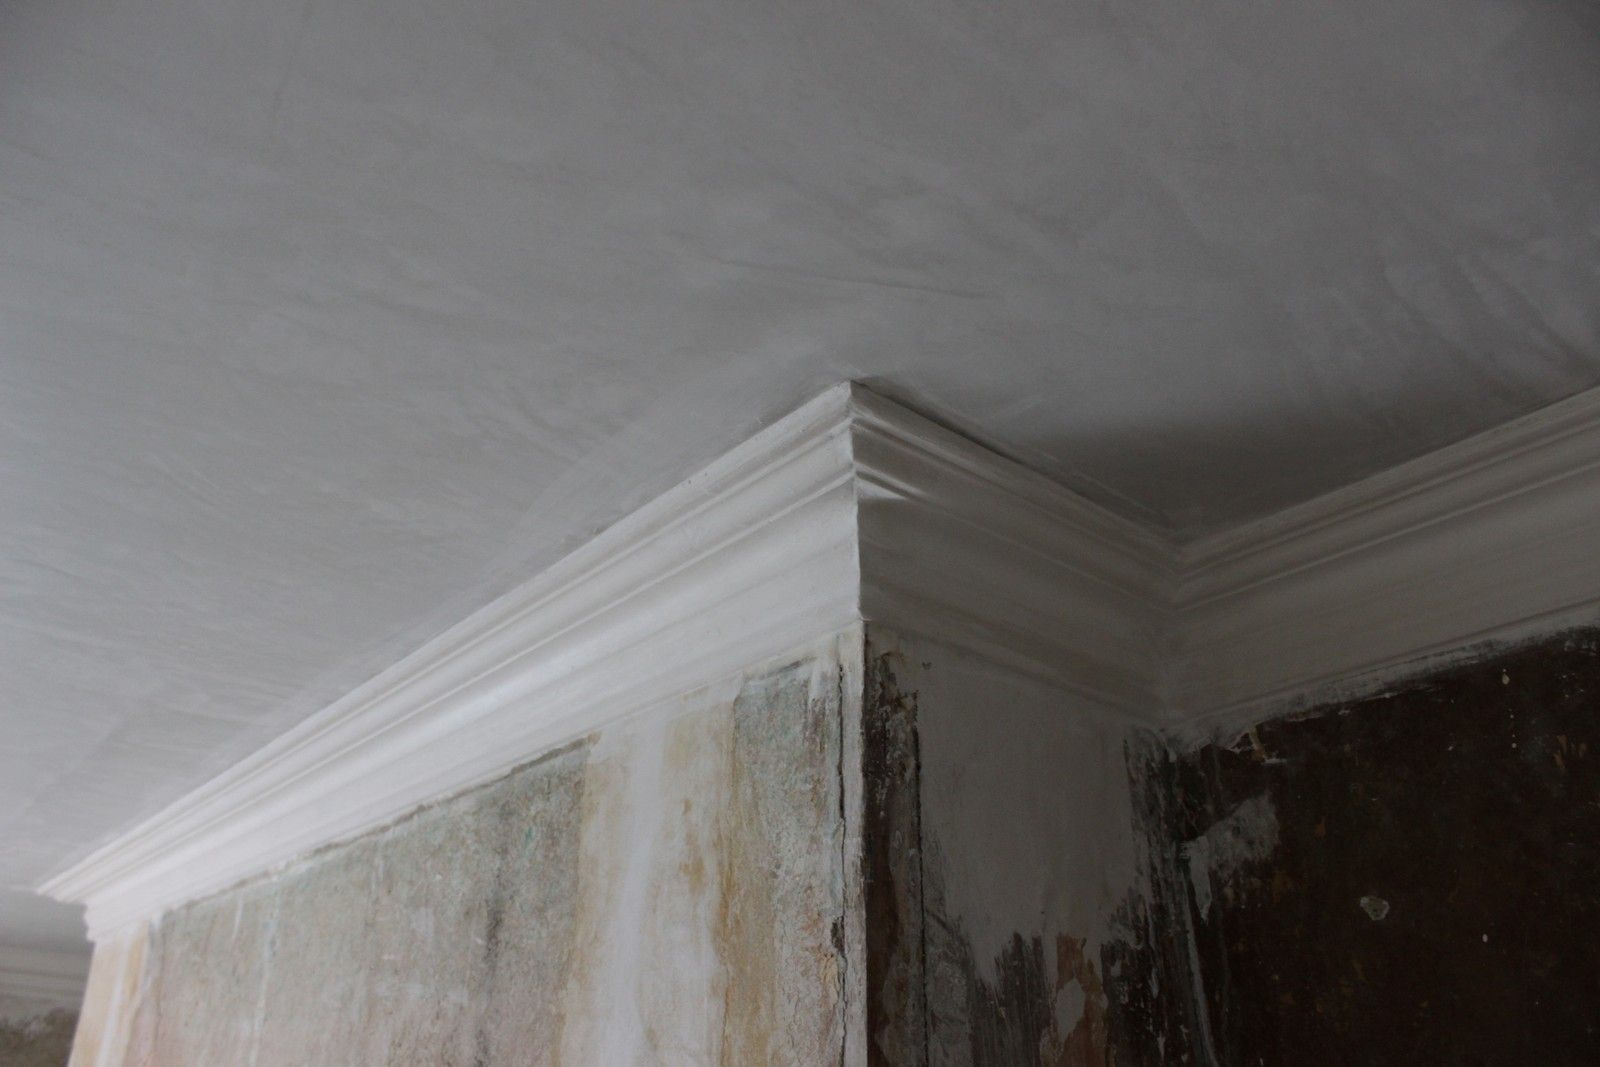
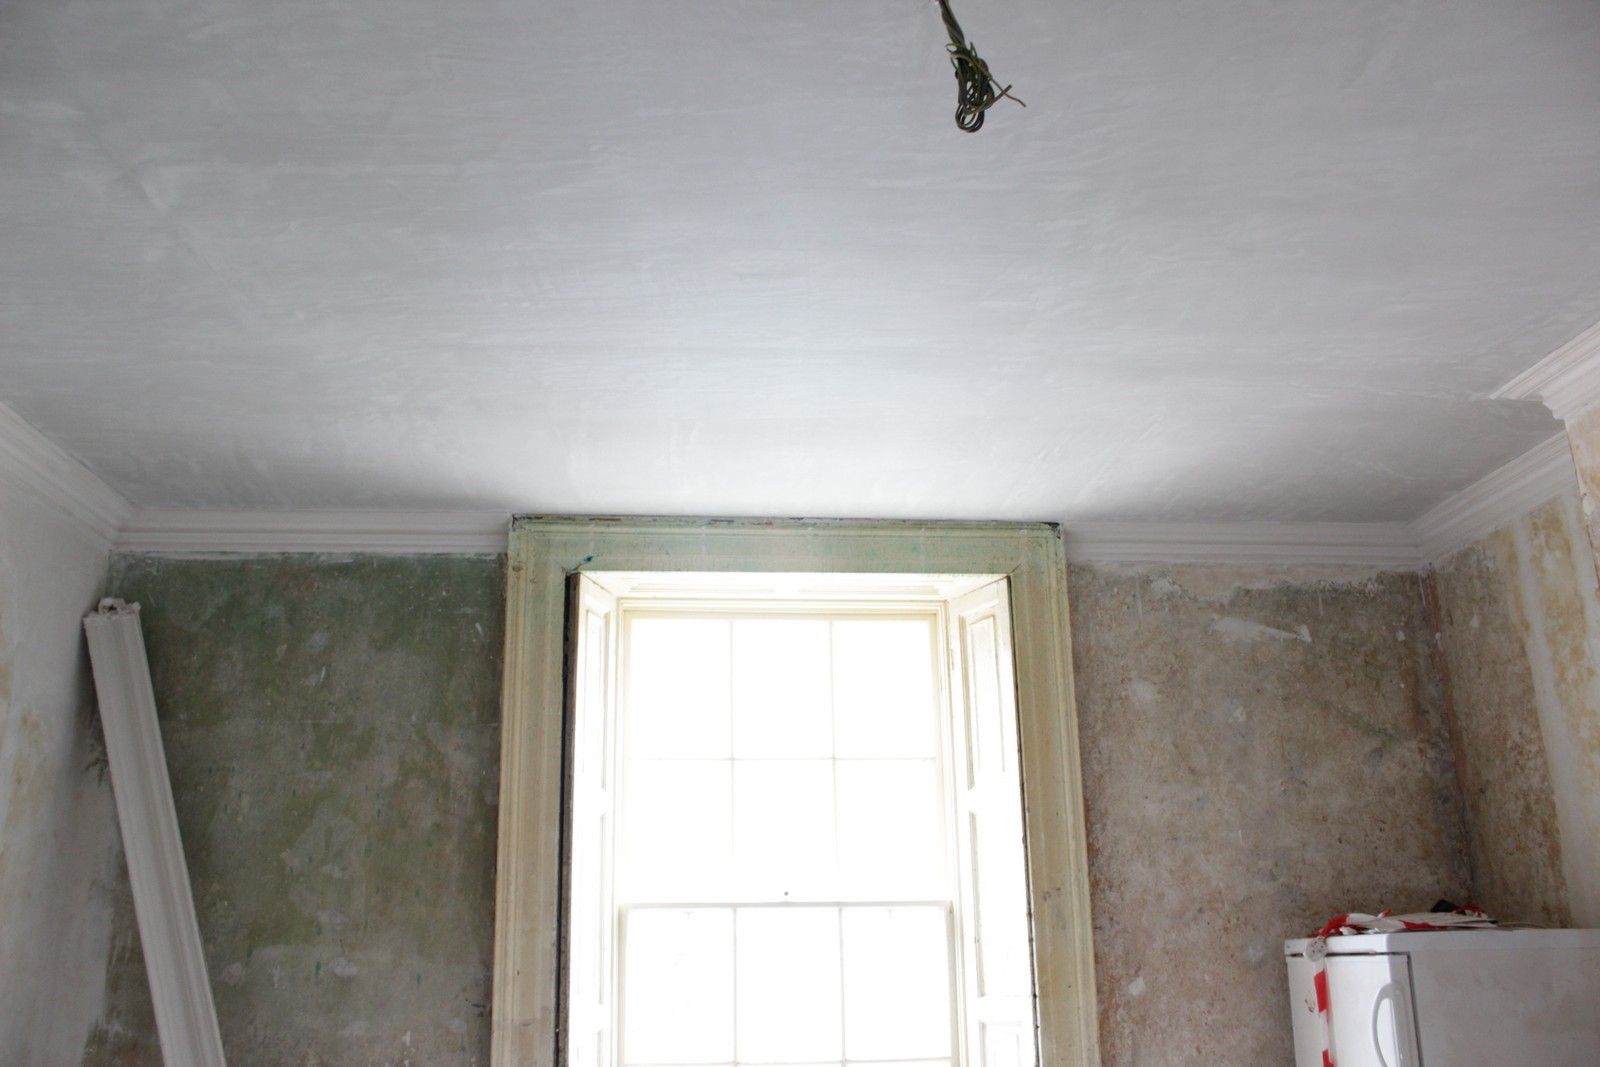
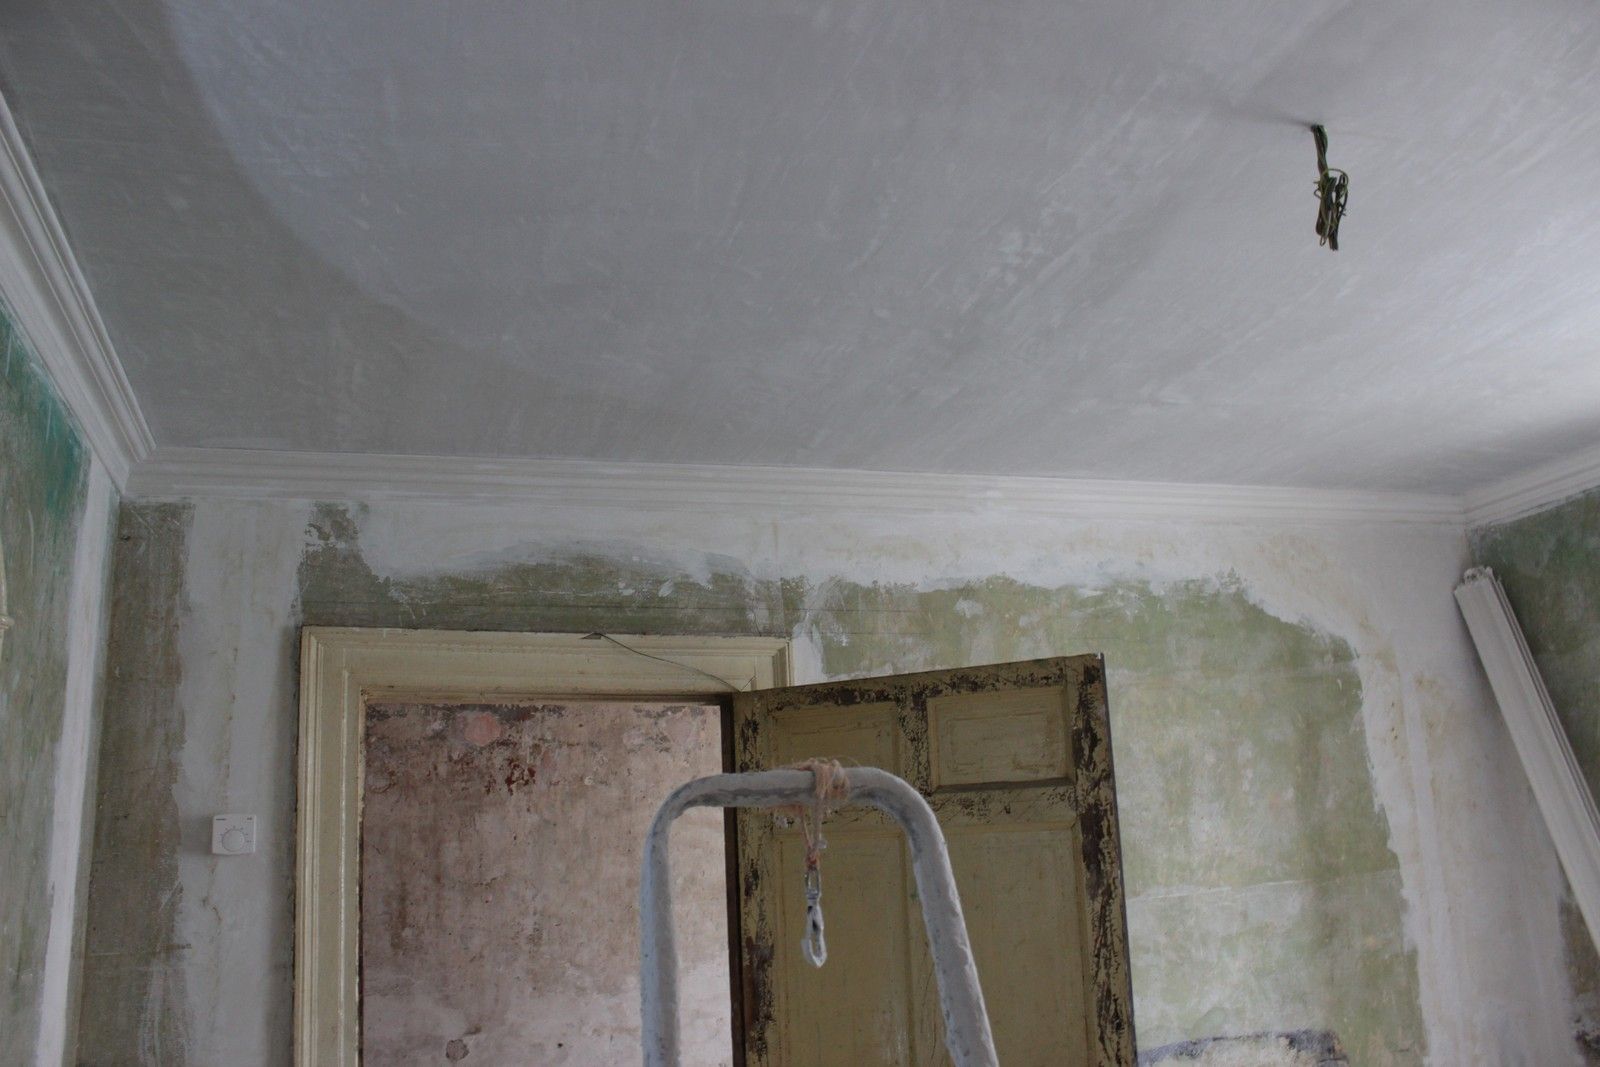
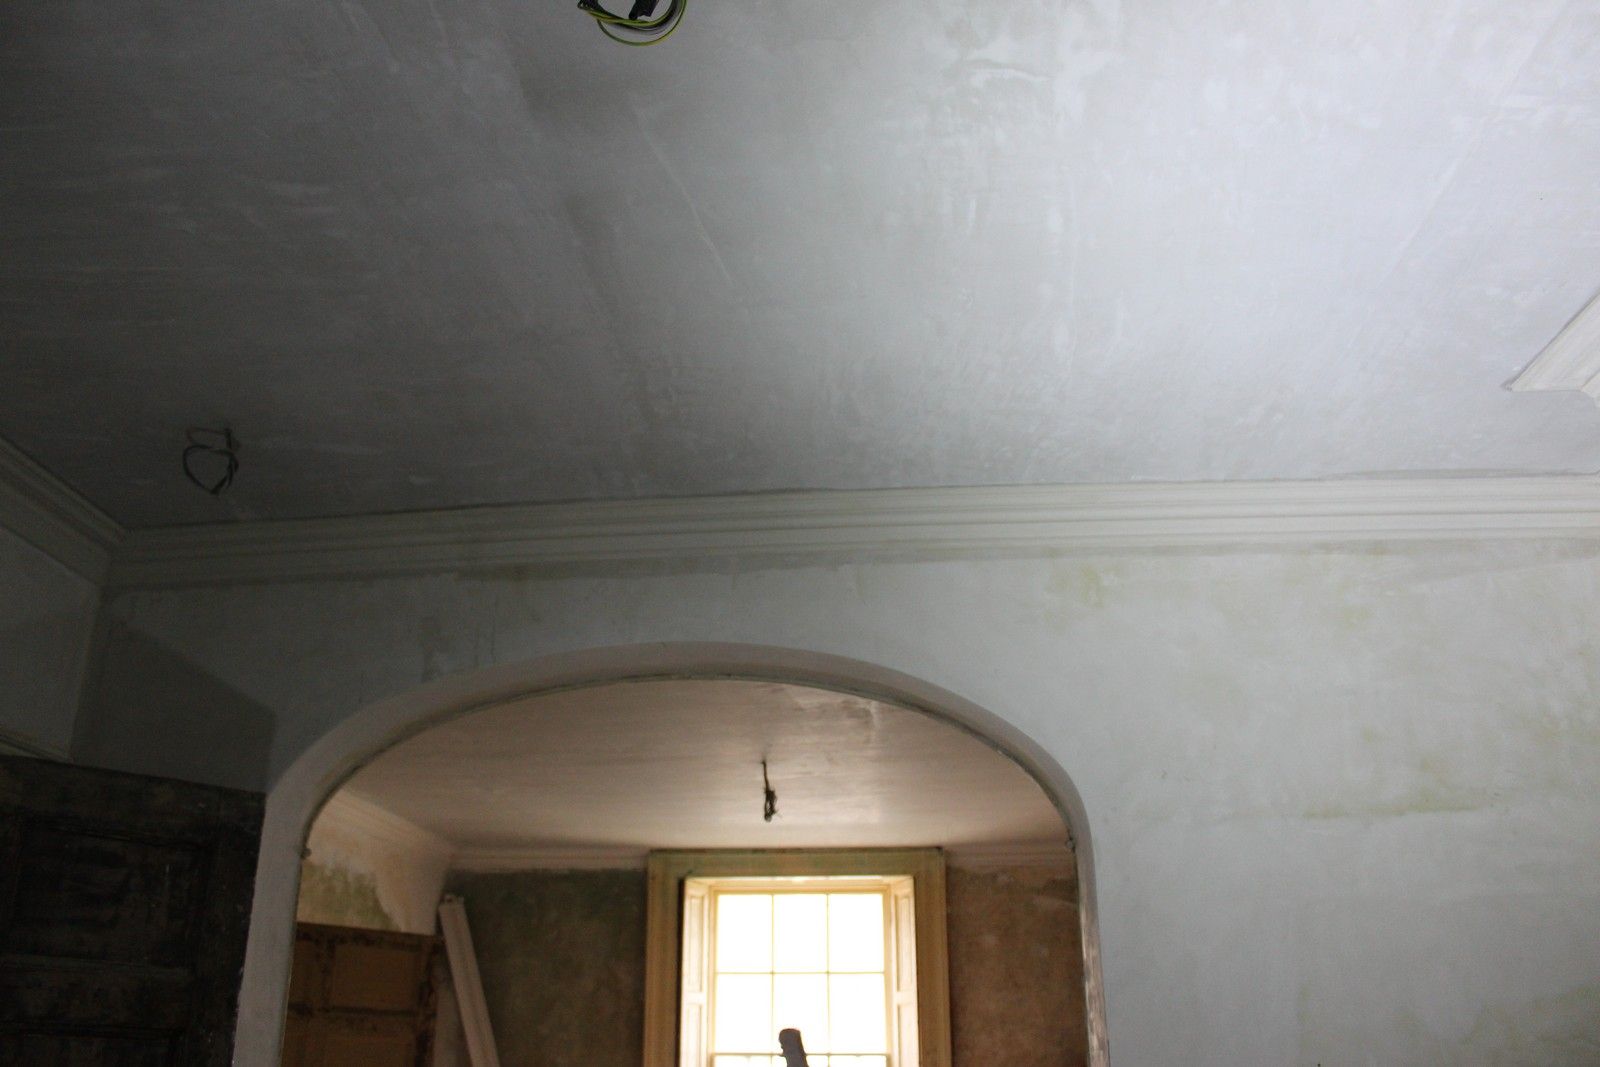
Work started on the first floor, where we have the living room at the front and a bedroom behind. The results are outstanding!
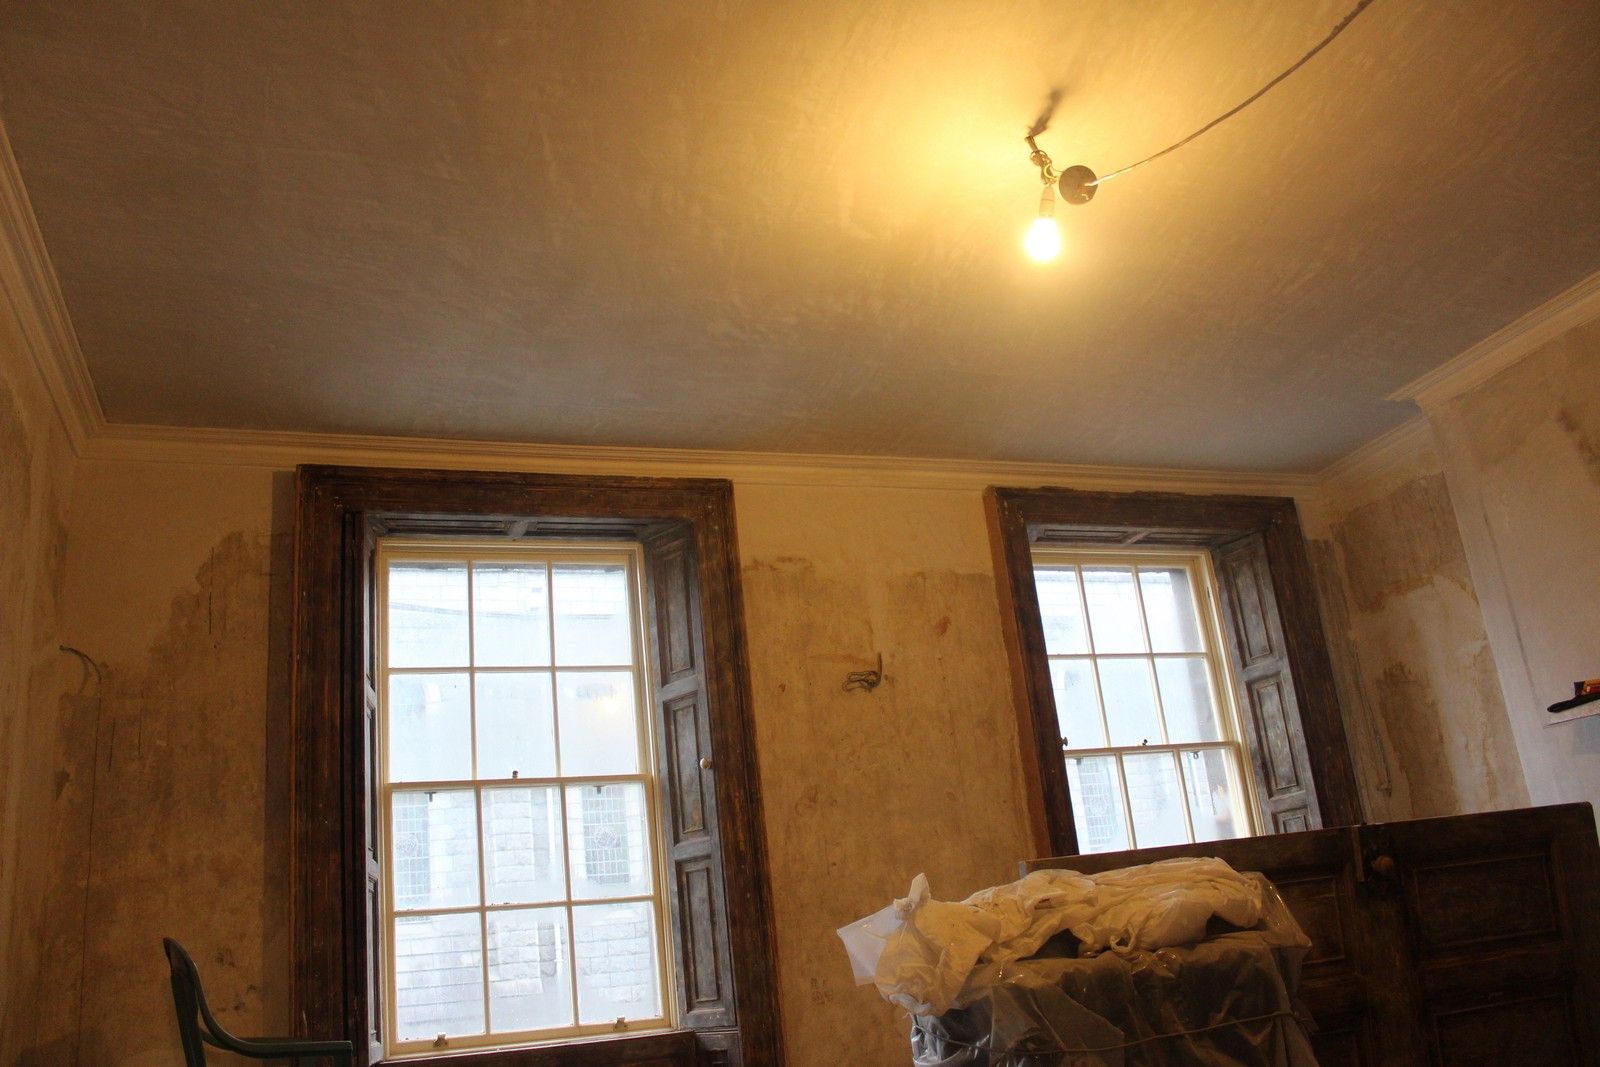
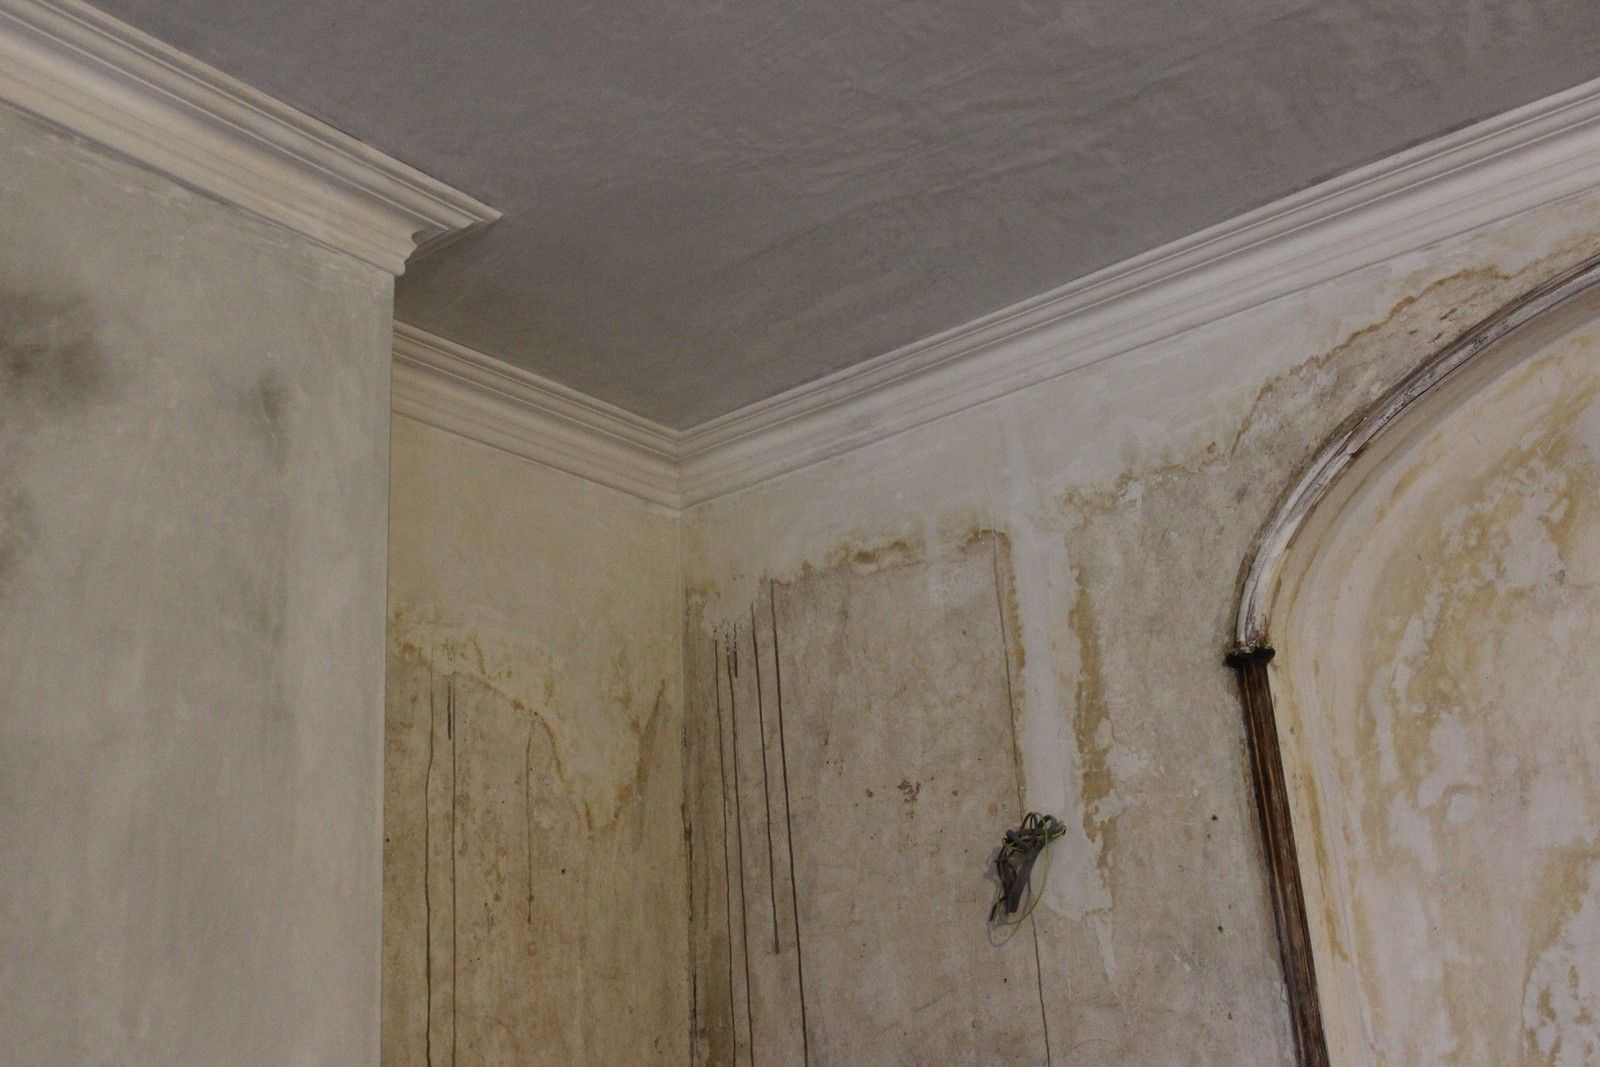

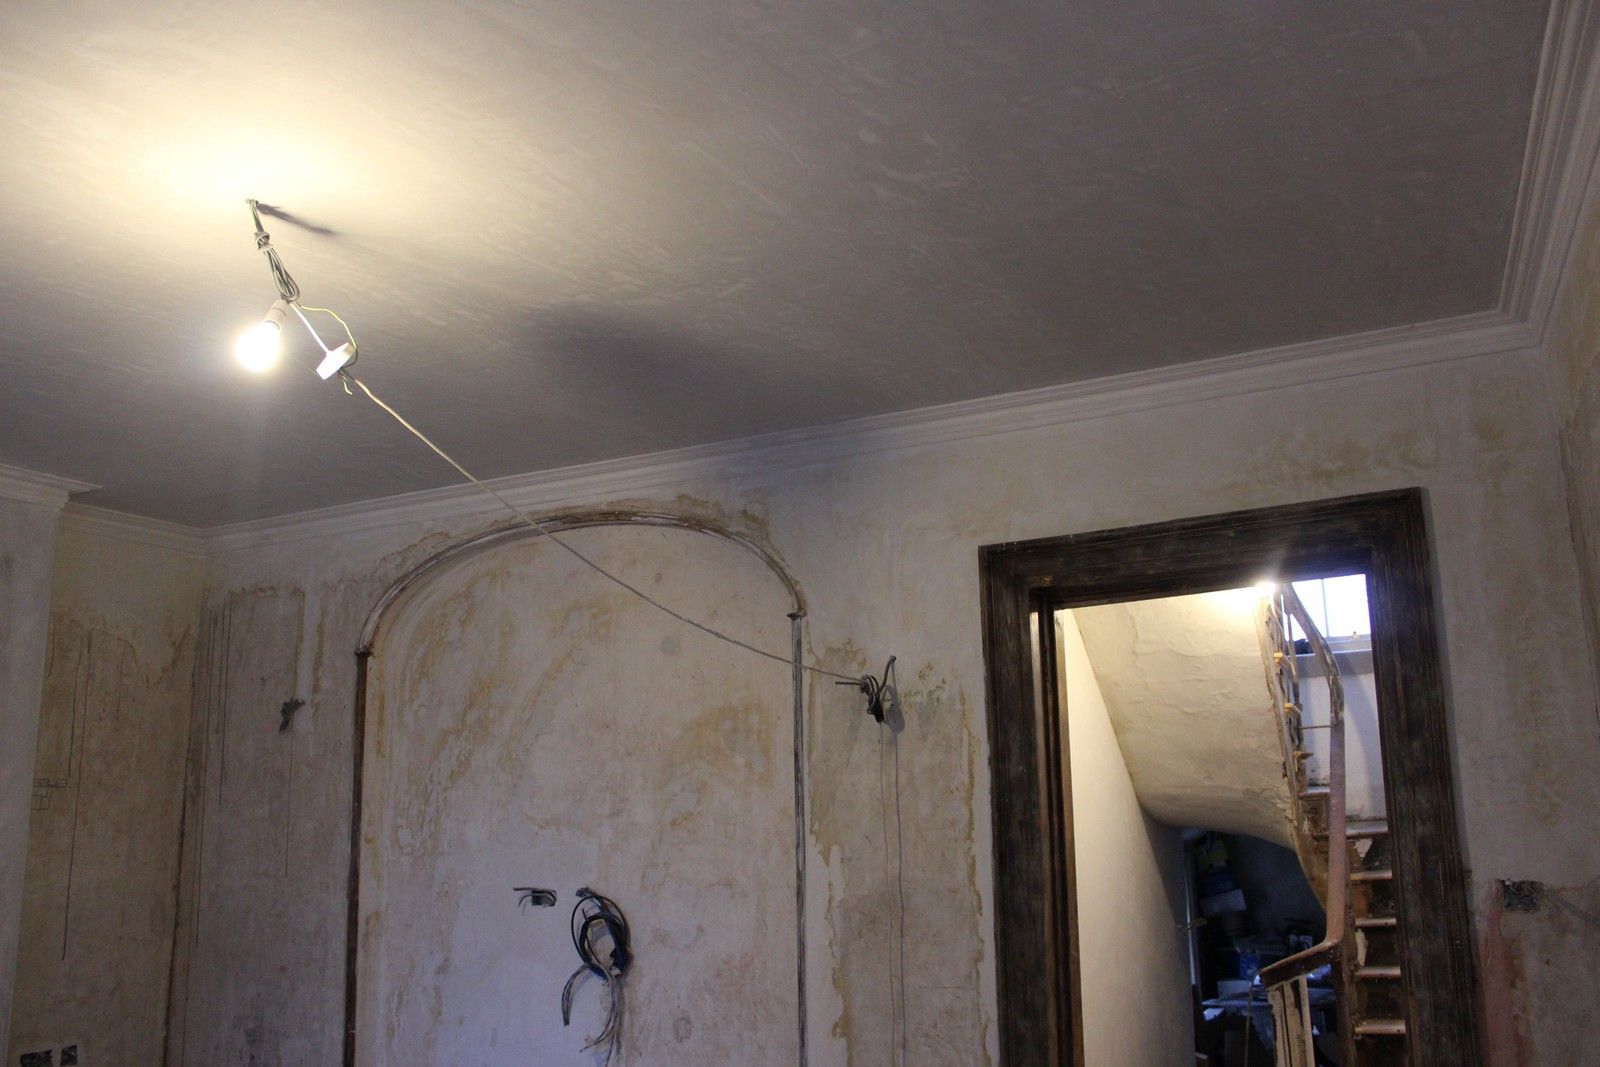
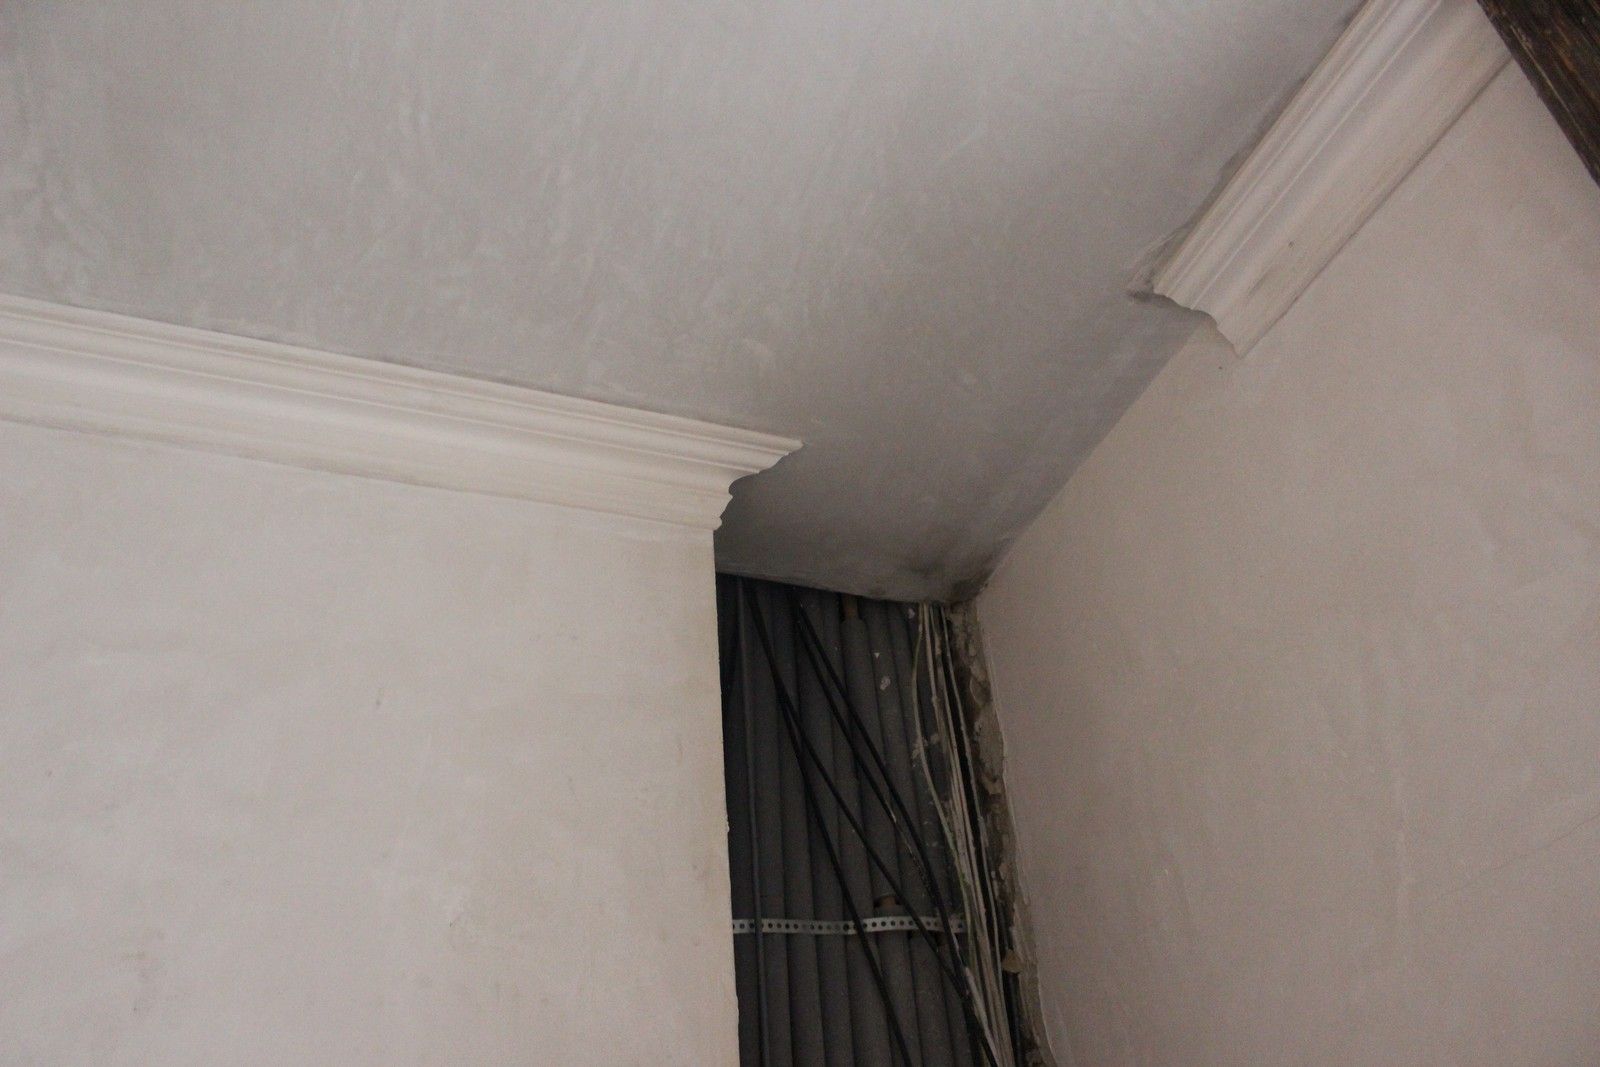
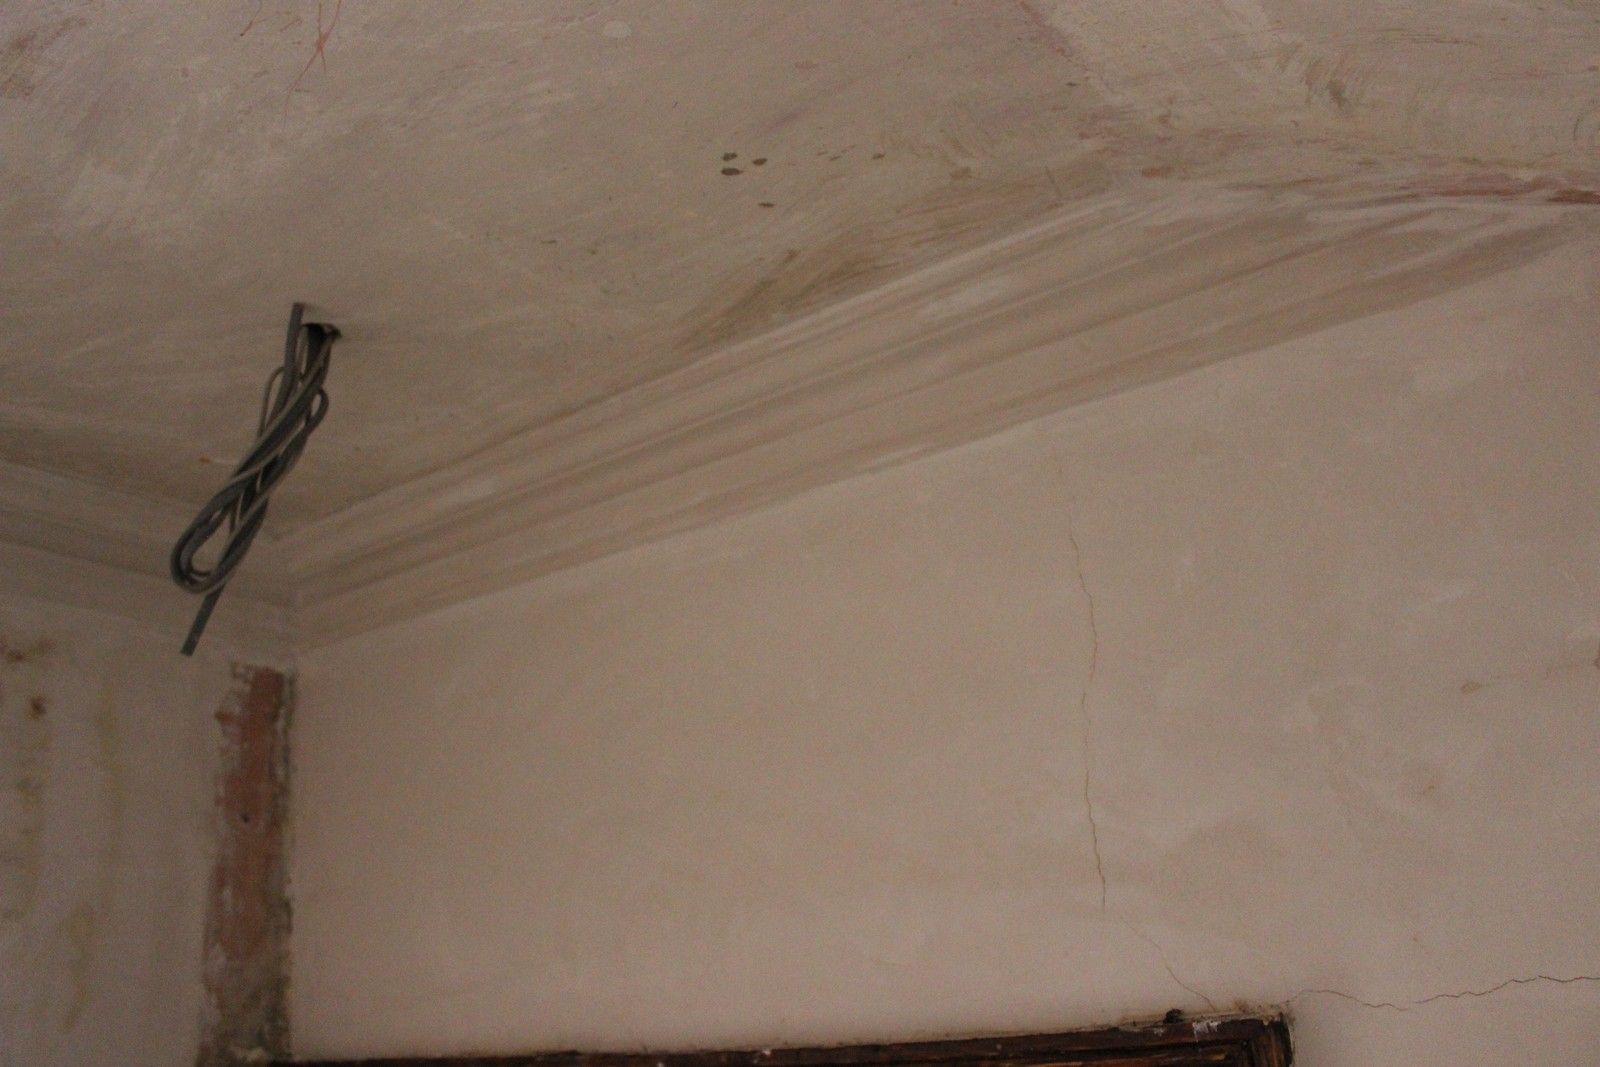
Micheal moved on to the rear bedroom:
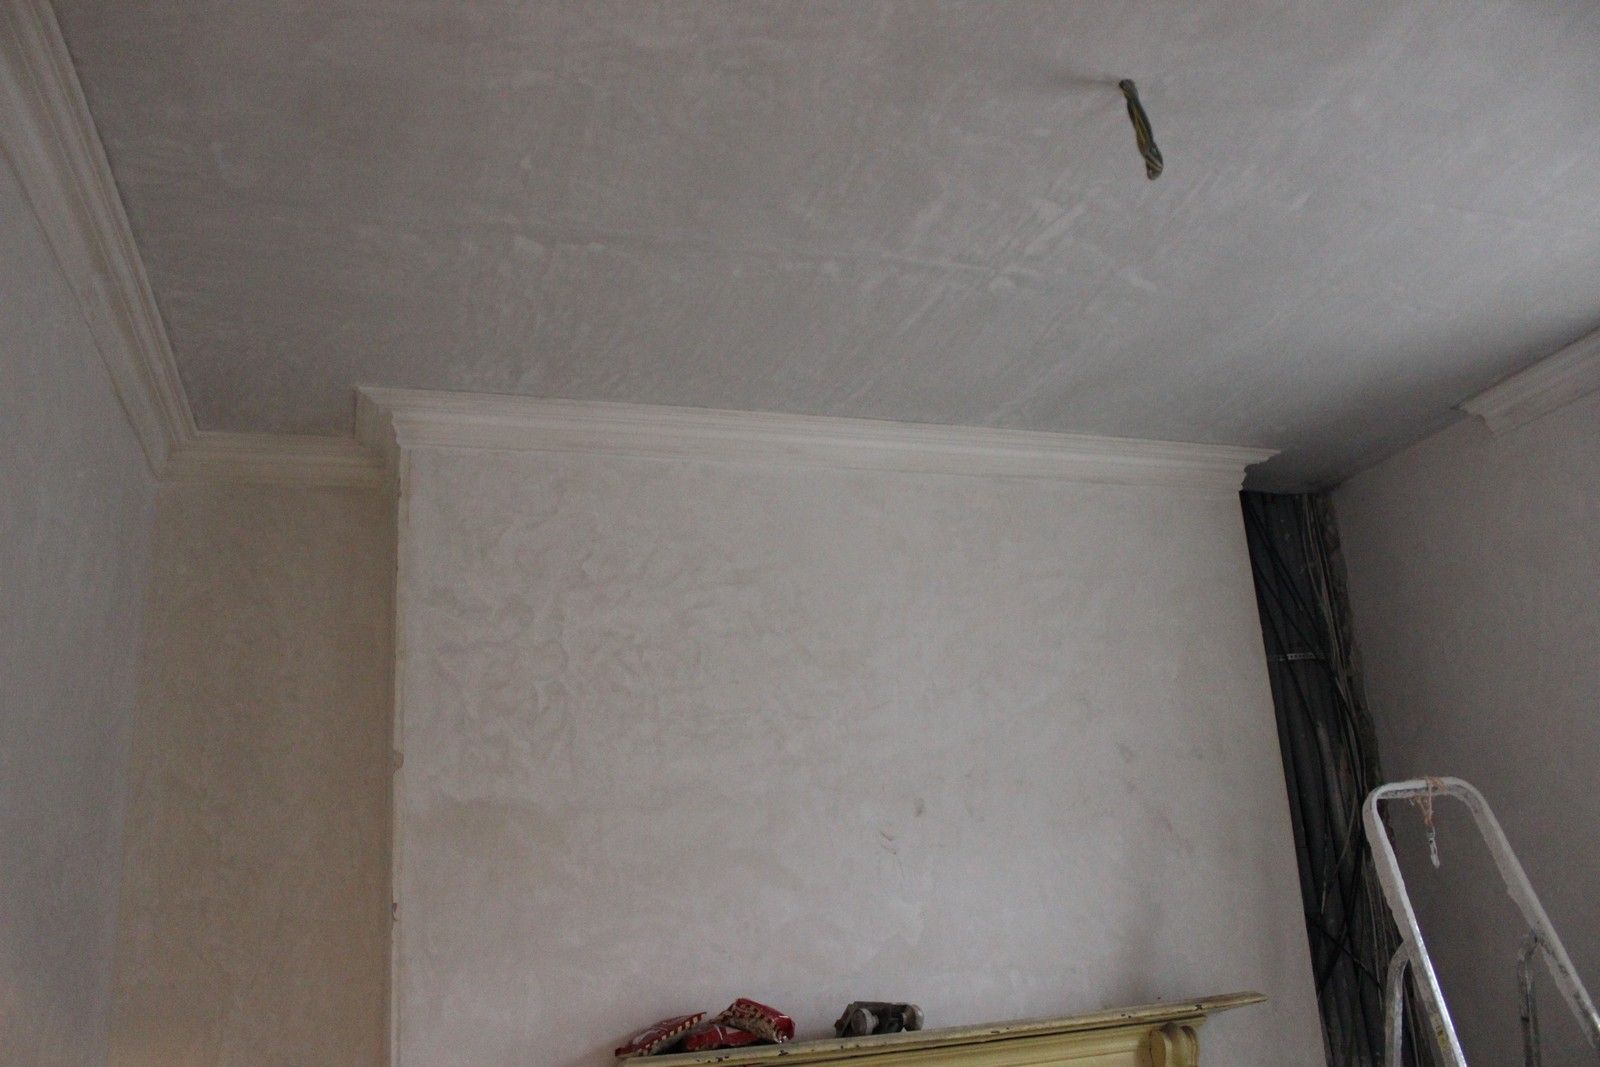
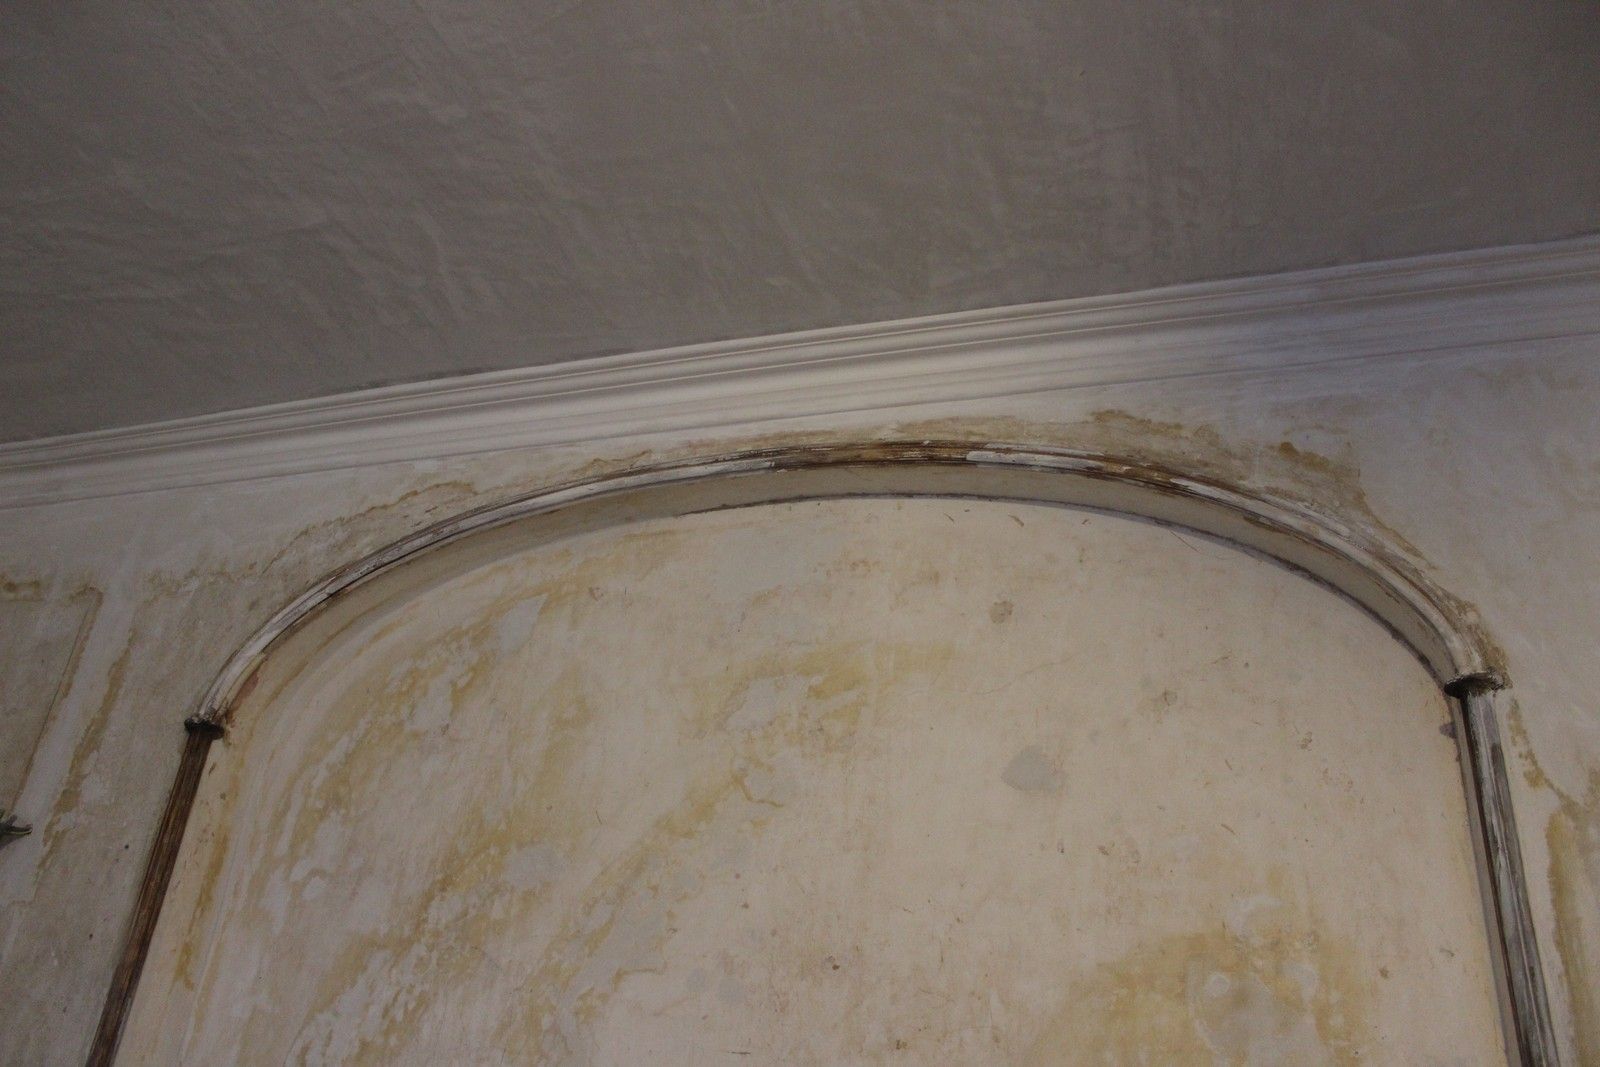
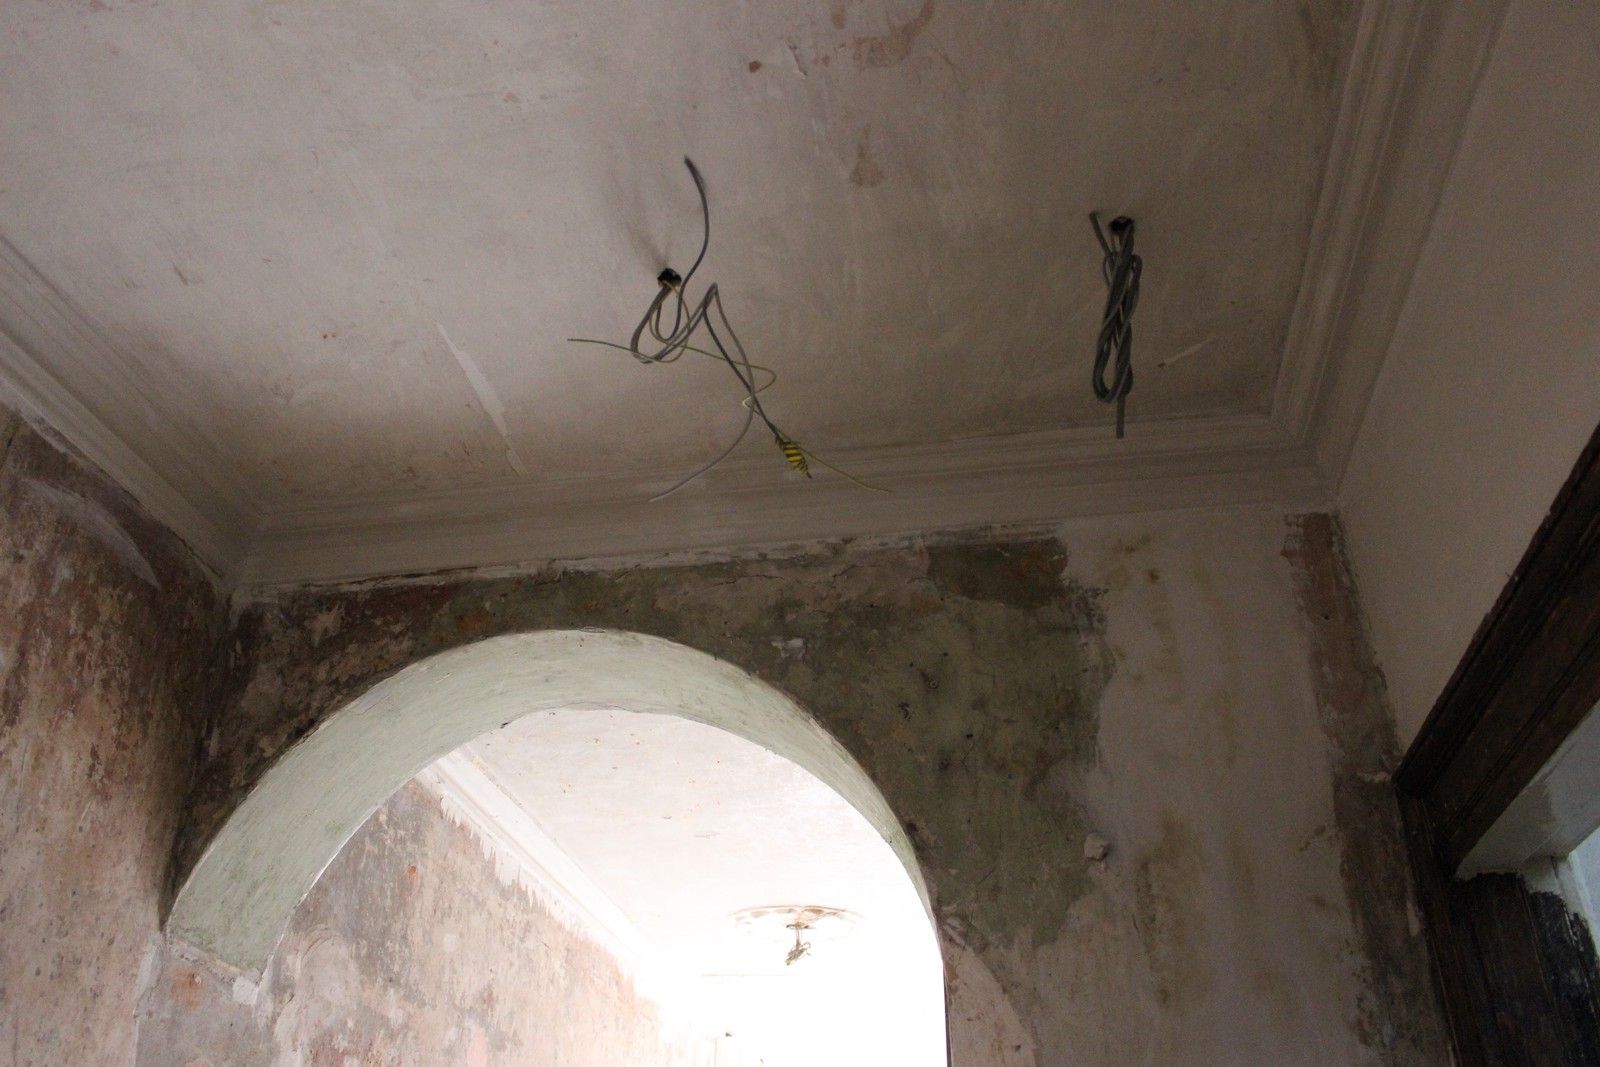
The rest of this room will be completed in January once this pipework is studded out and plastered:

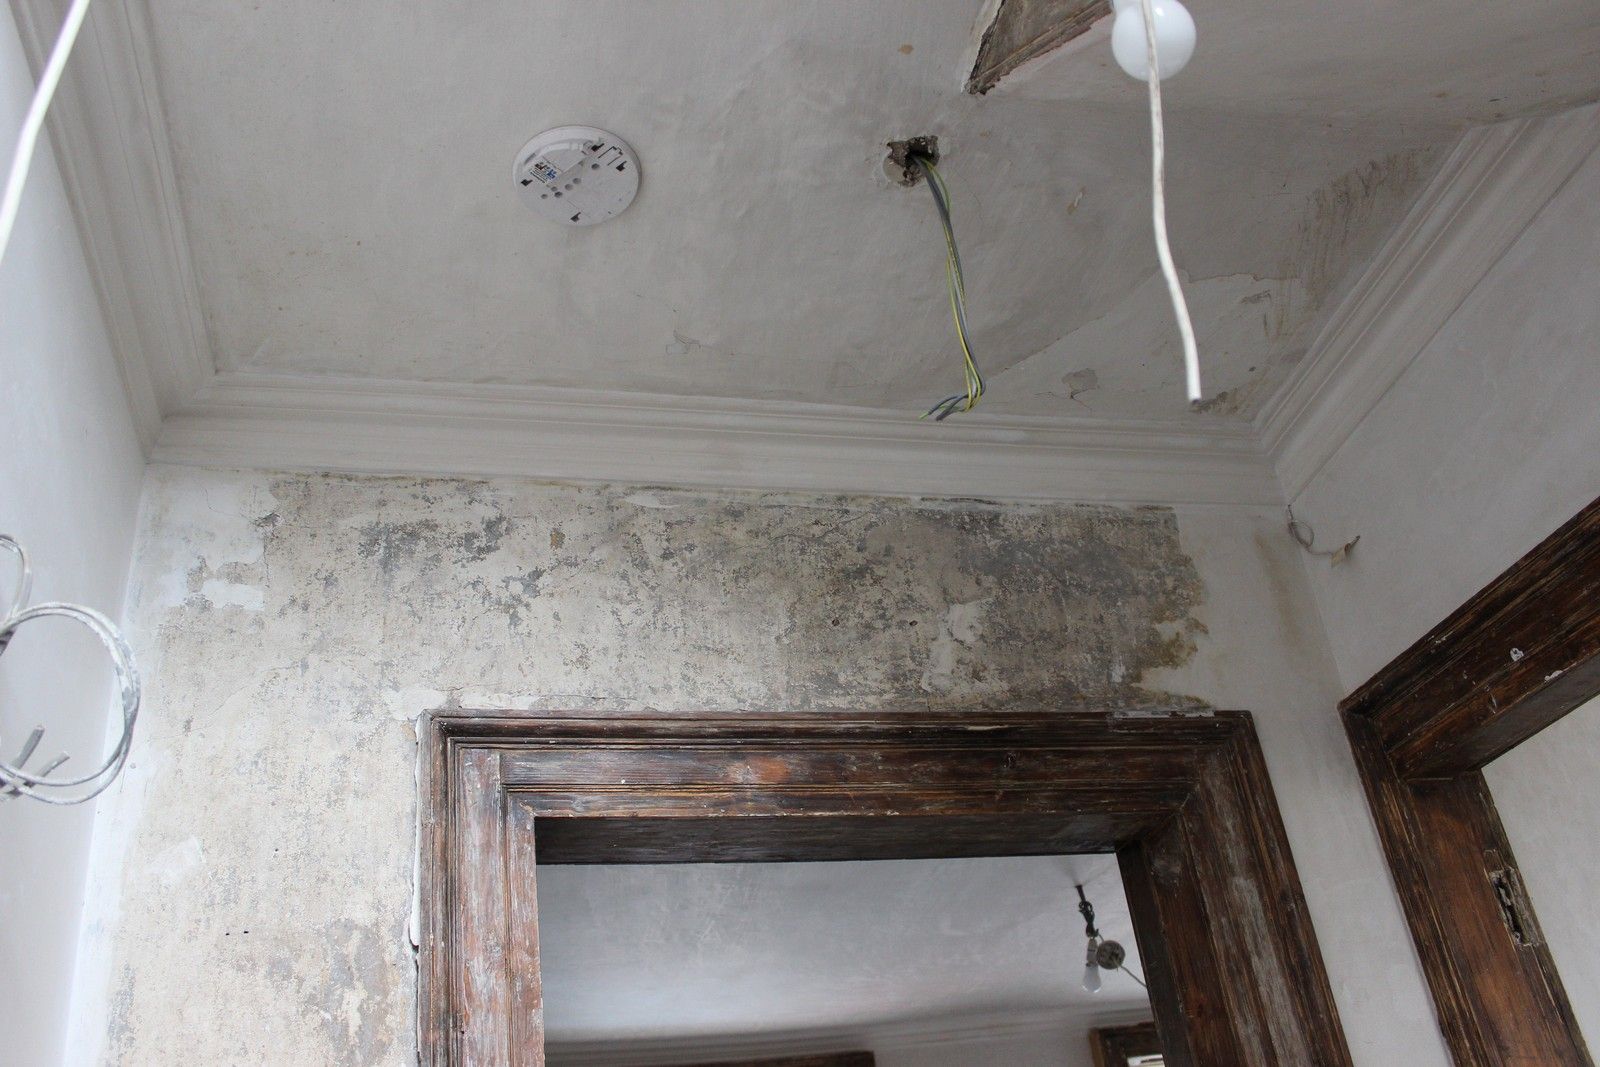
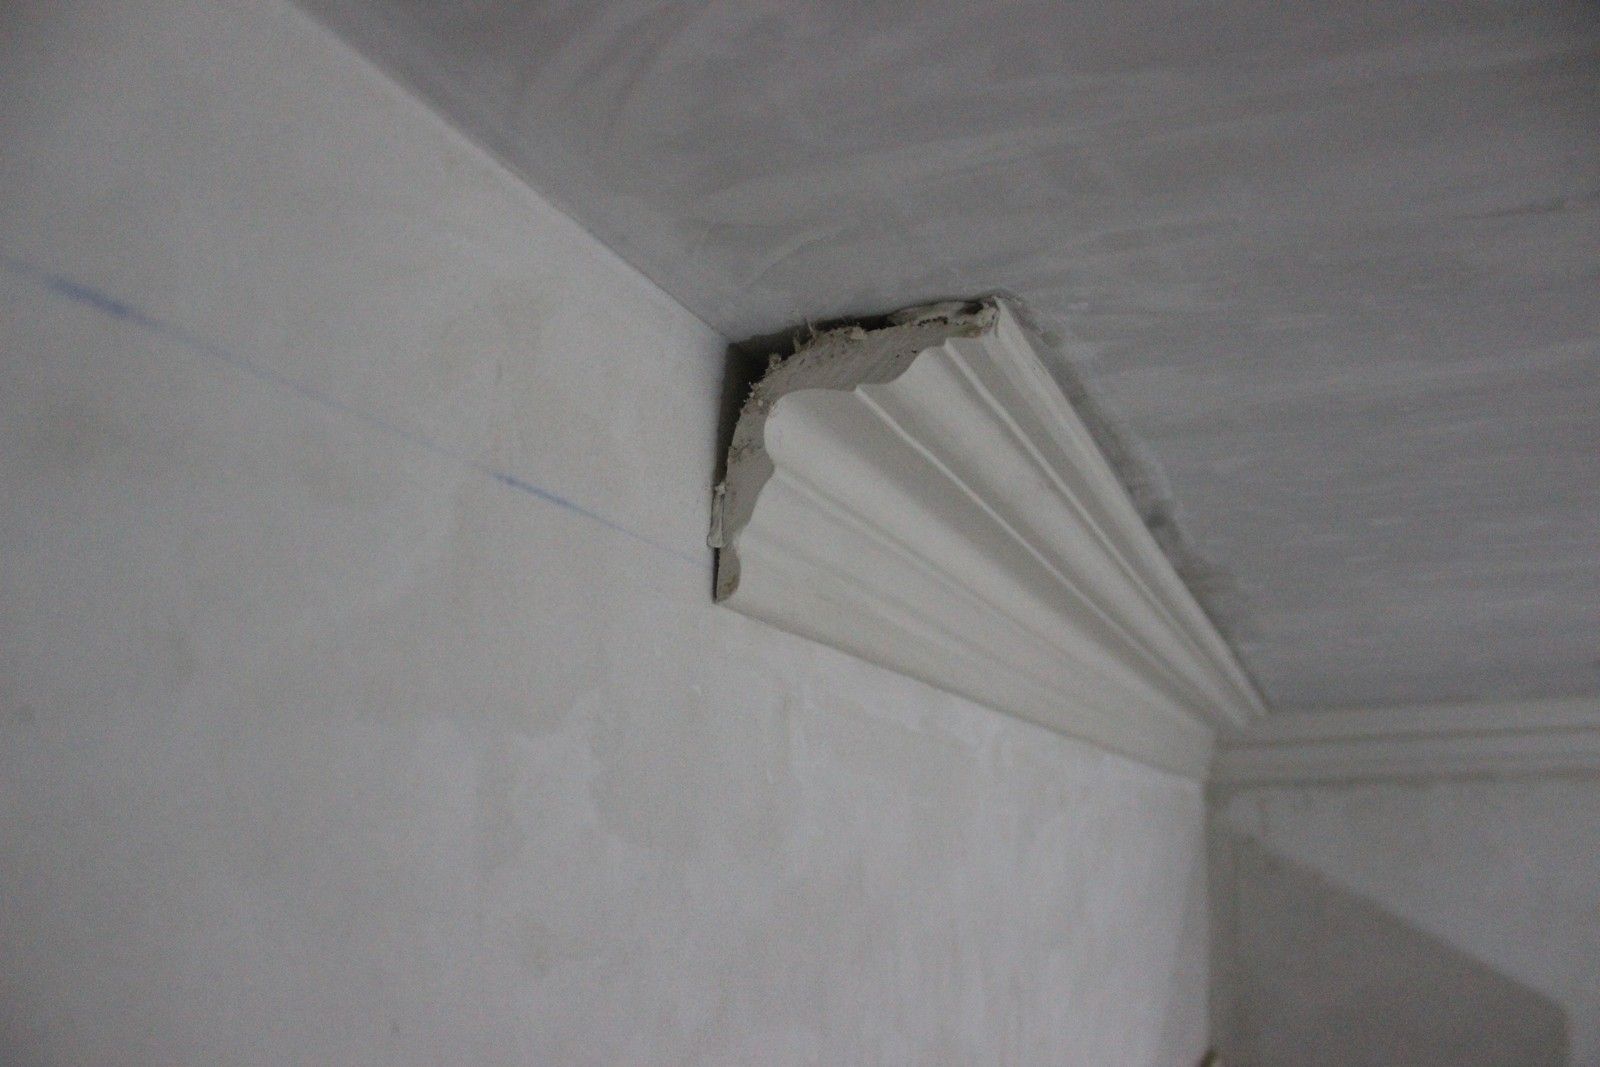
Work then moved out on to the first floor landing, where three sections of cornice was added to the small ceiling above:

Then the rear hallway downstairs:
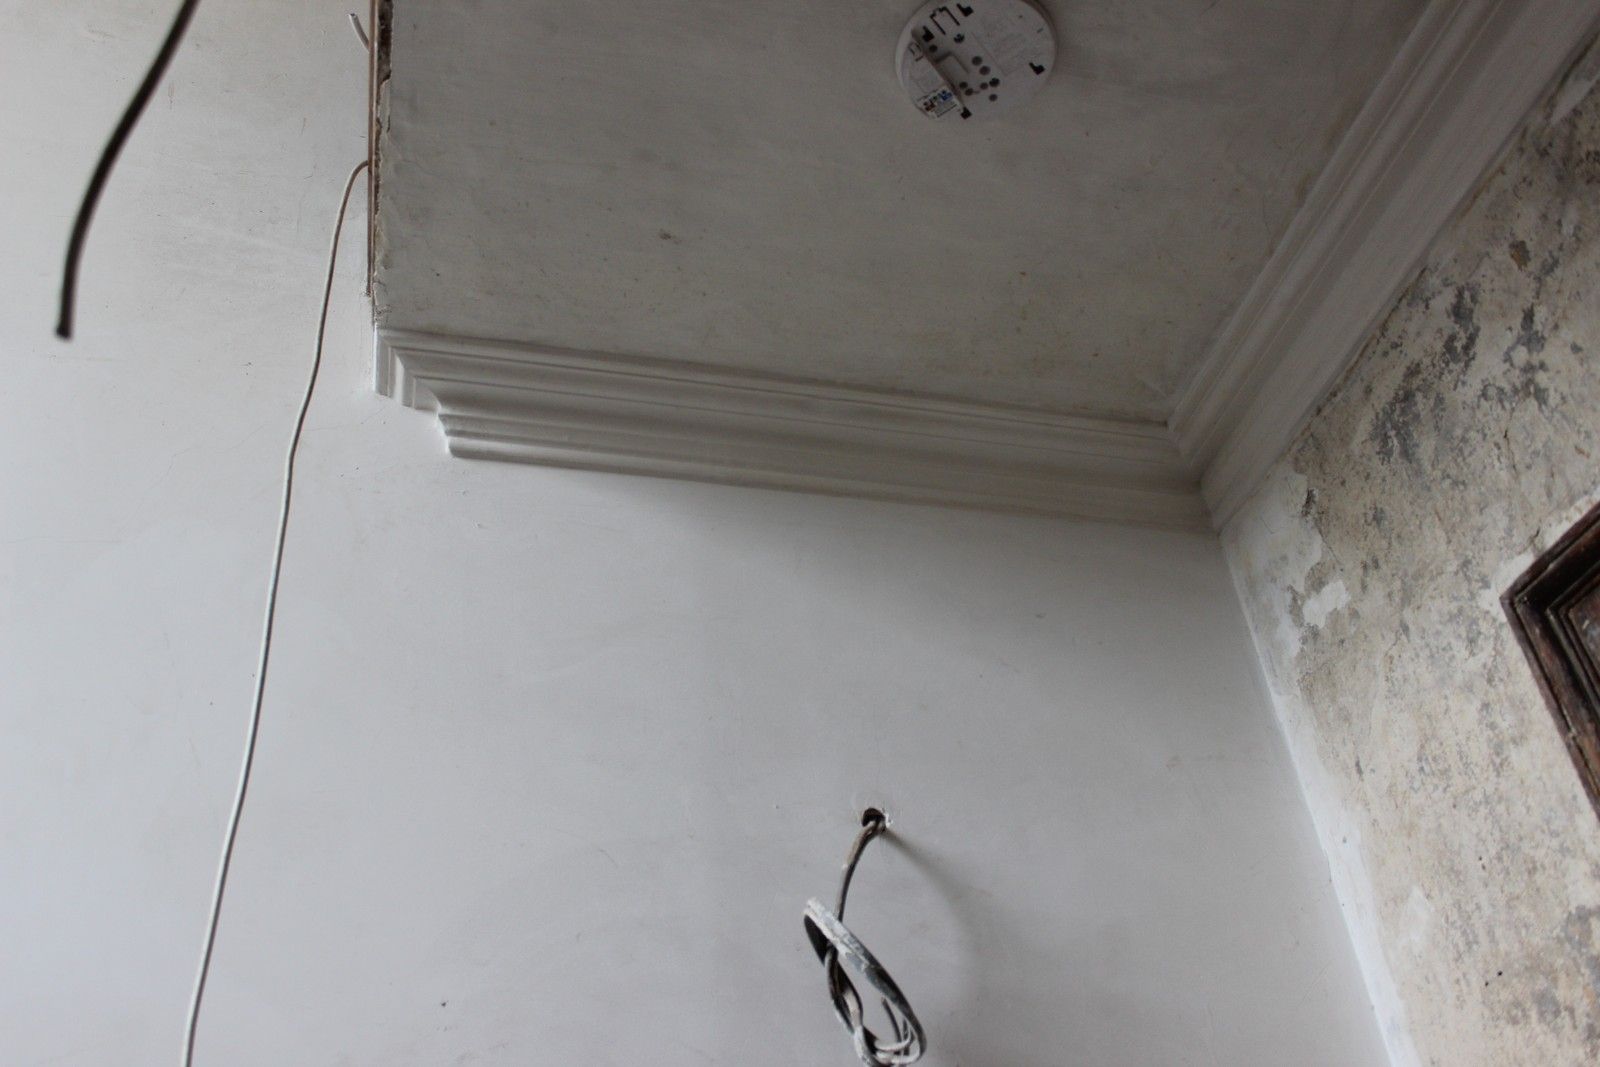
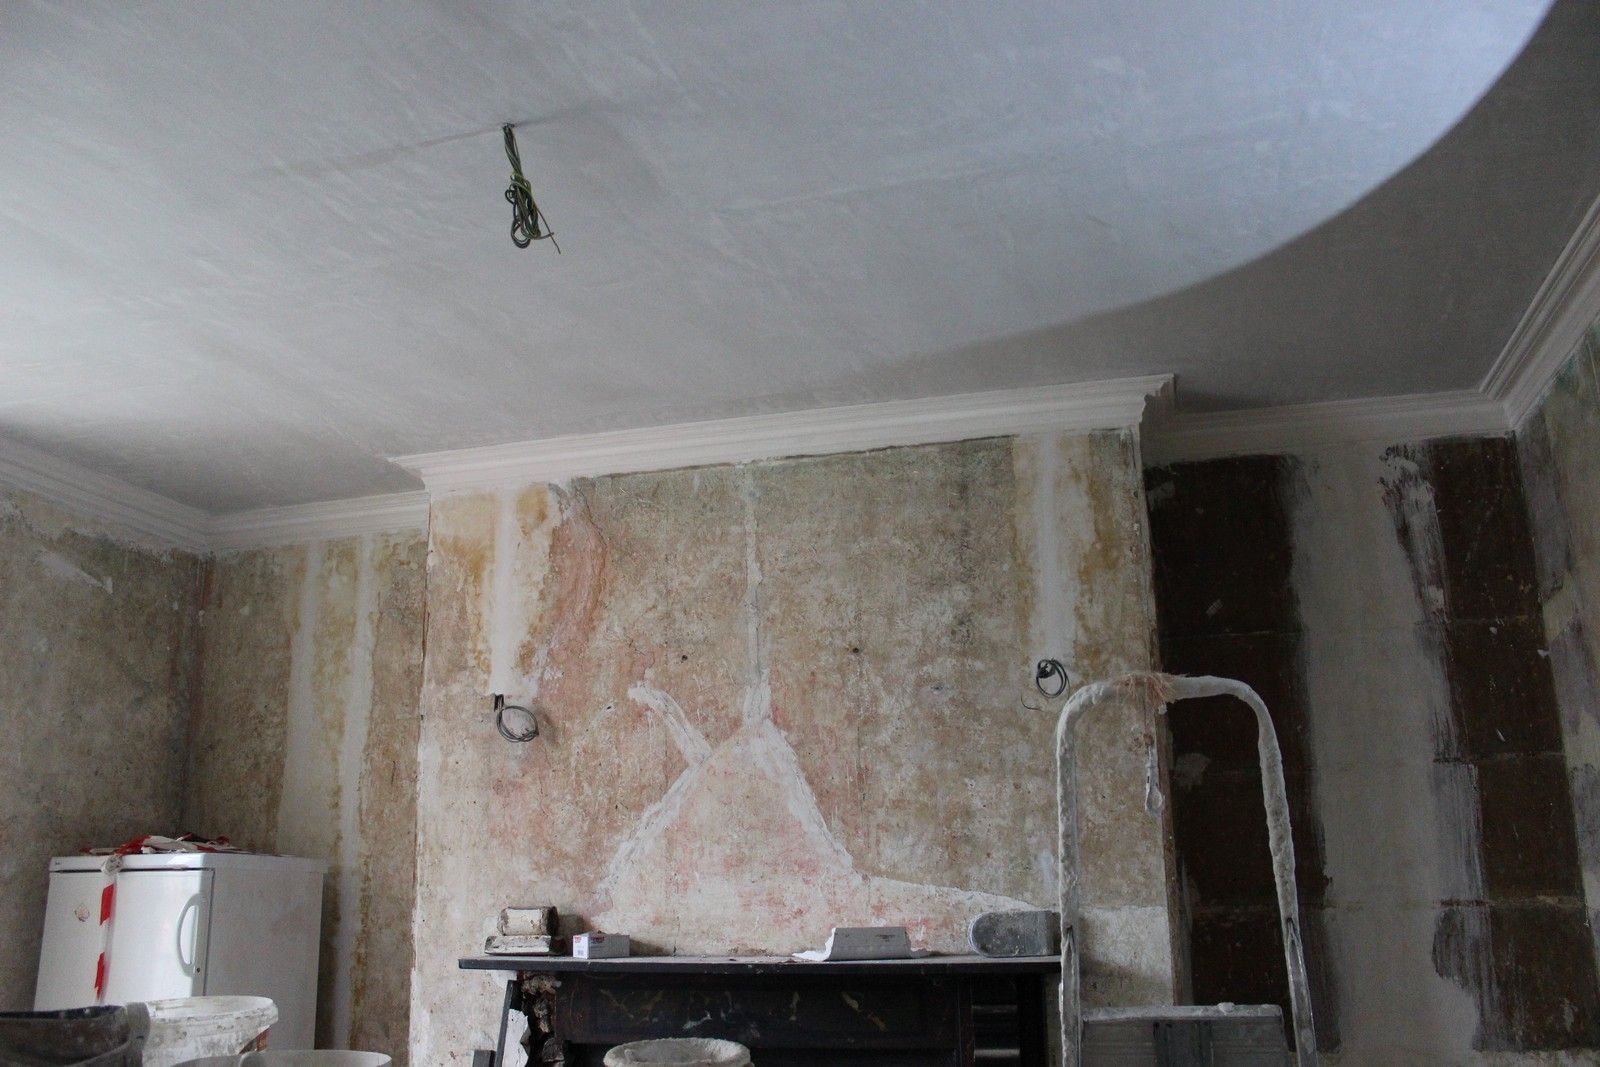
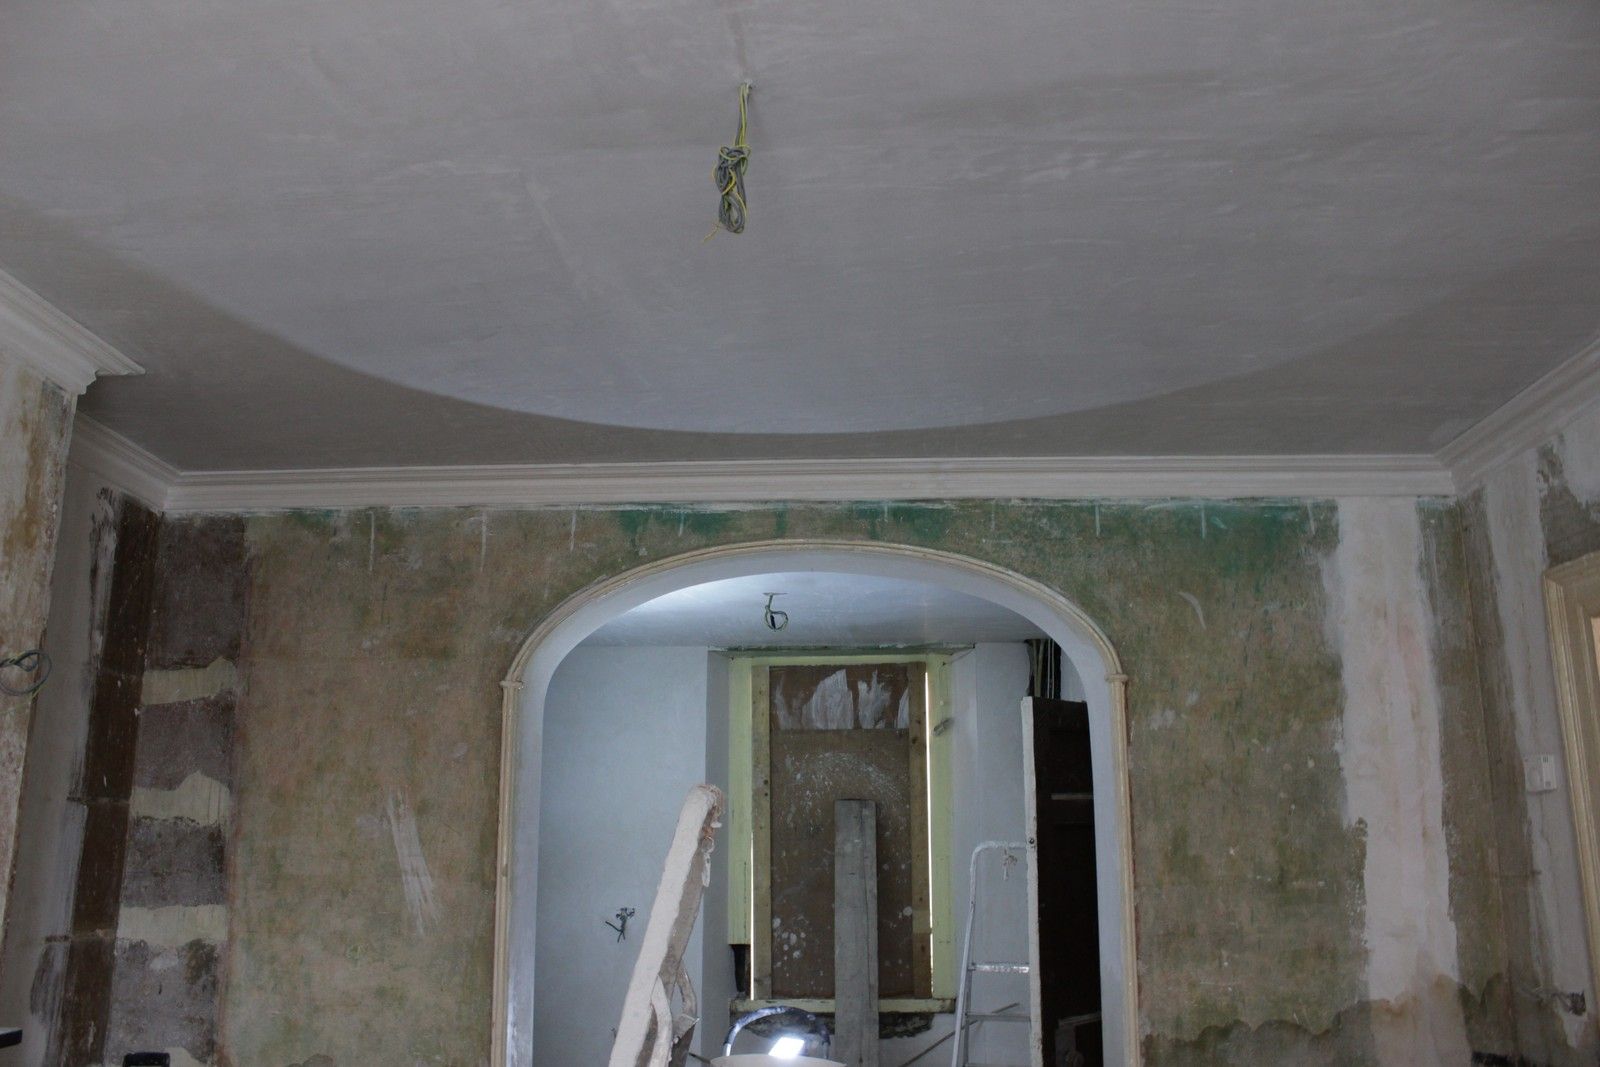
And finally the ground floor front and rear rooms, the dining room and kitchen:
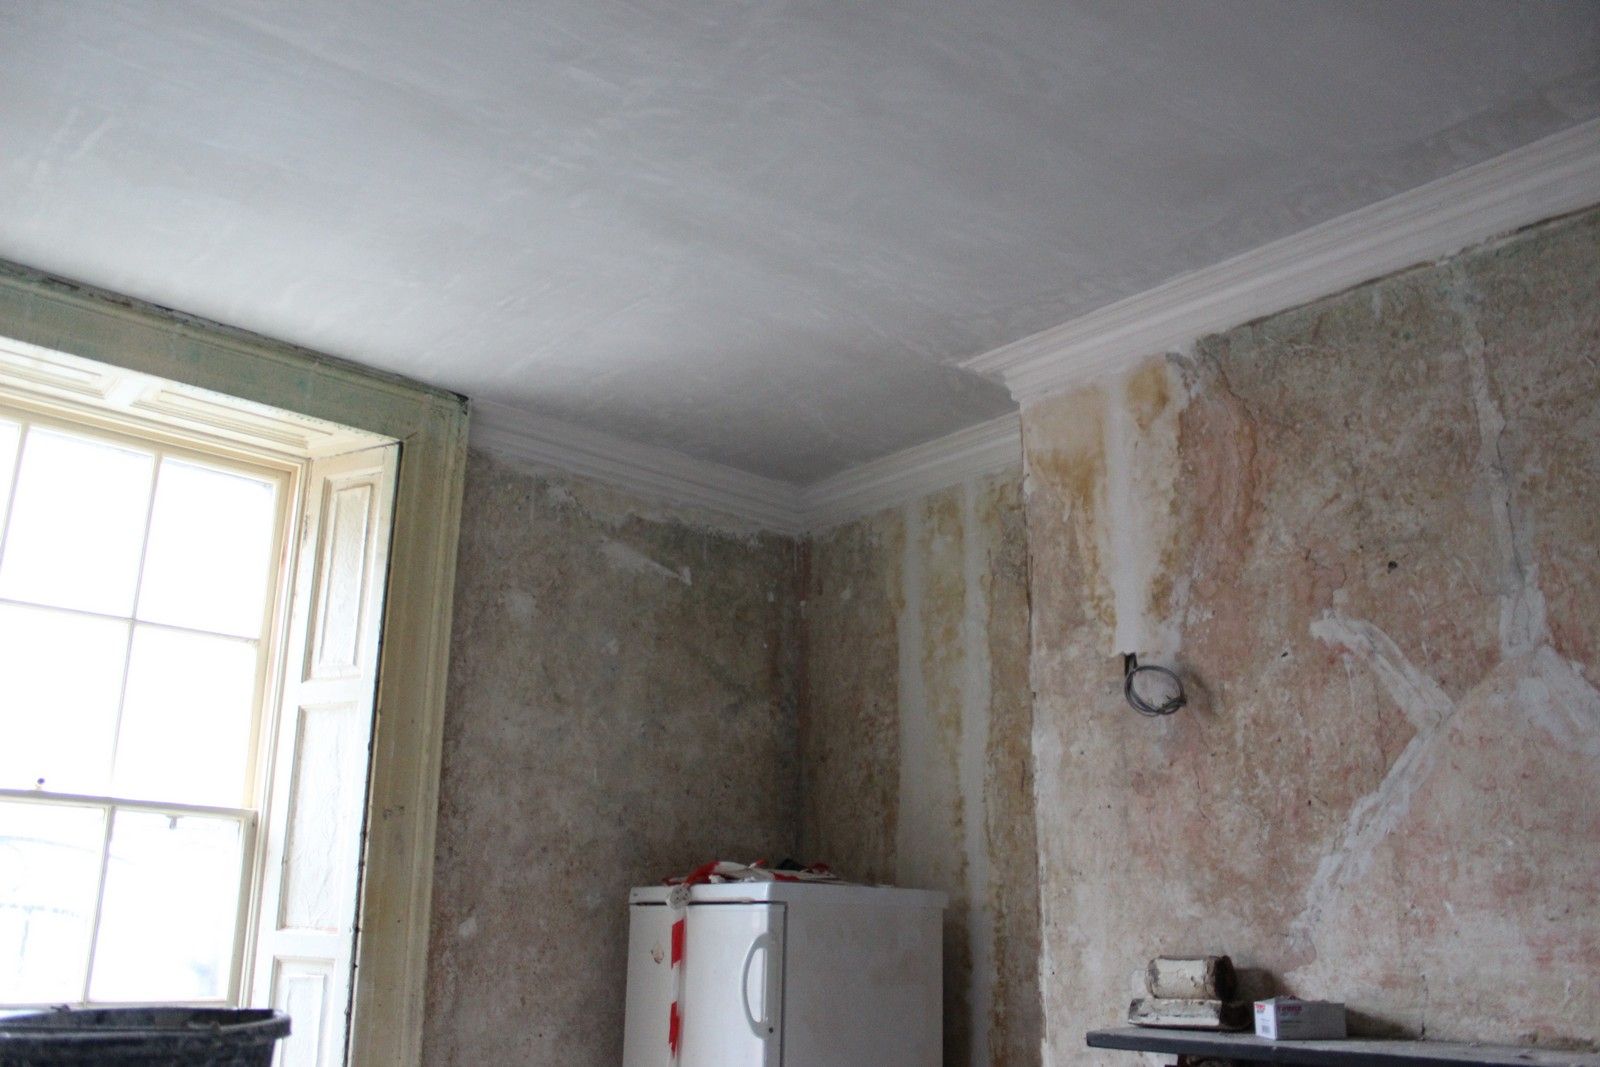
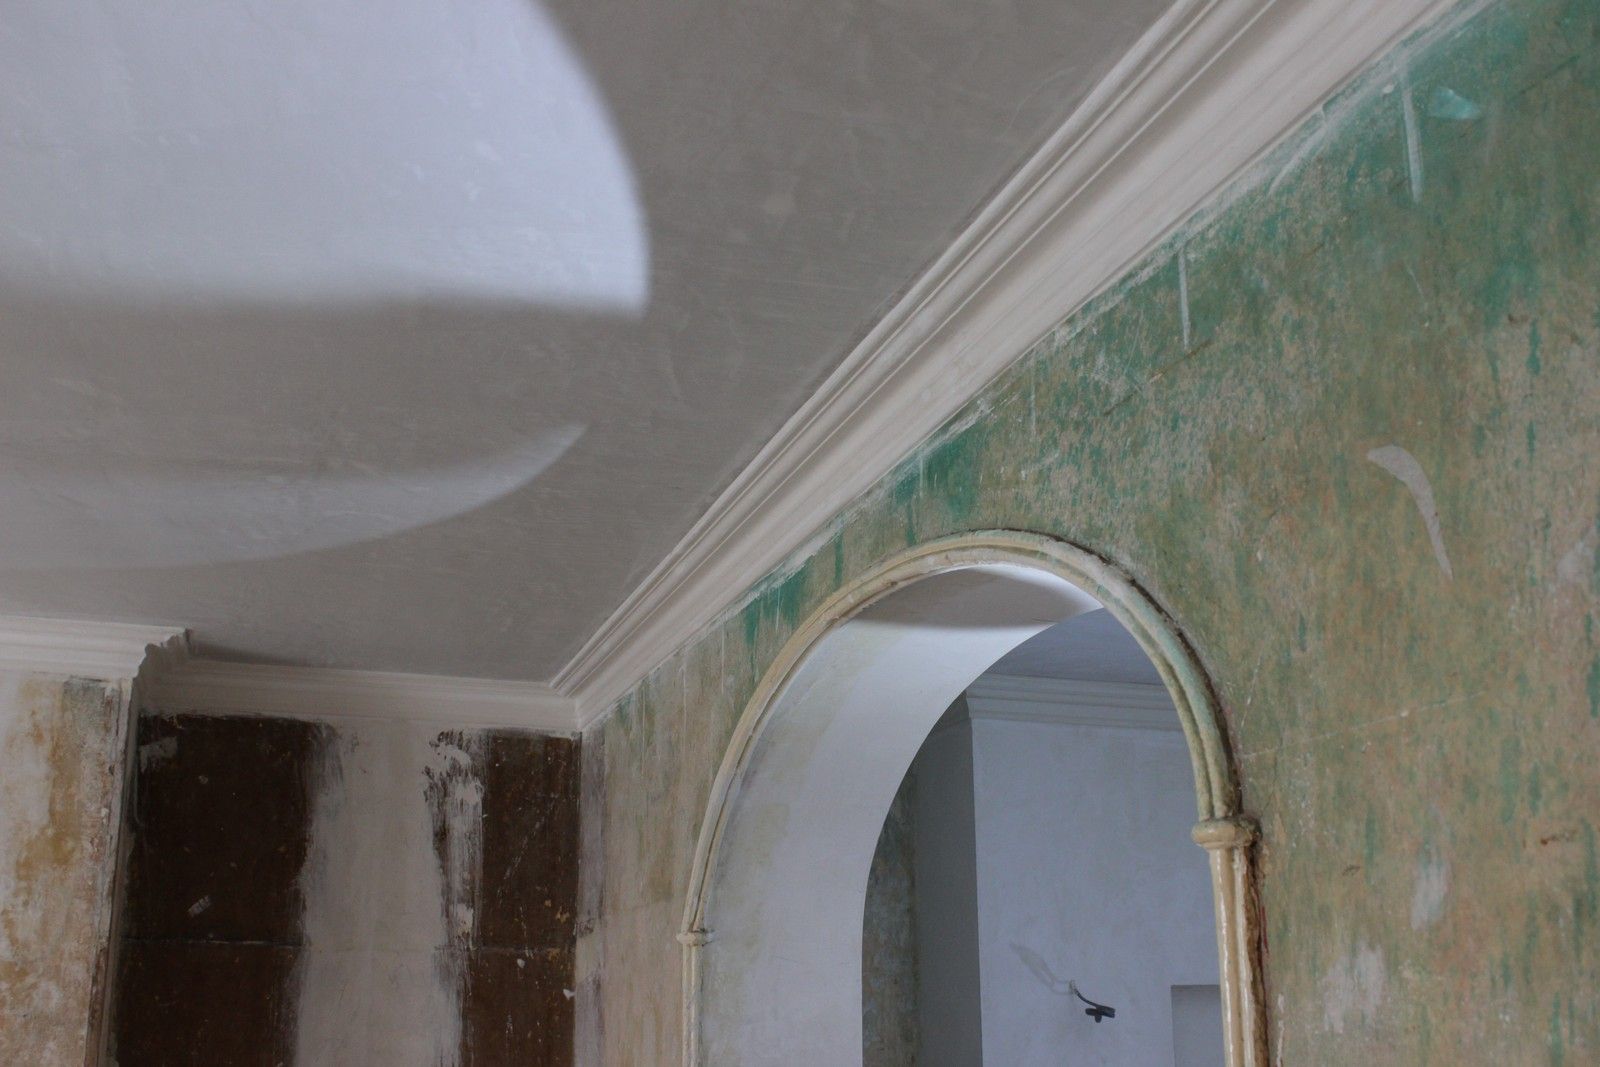
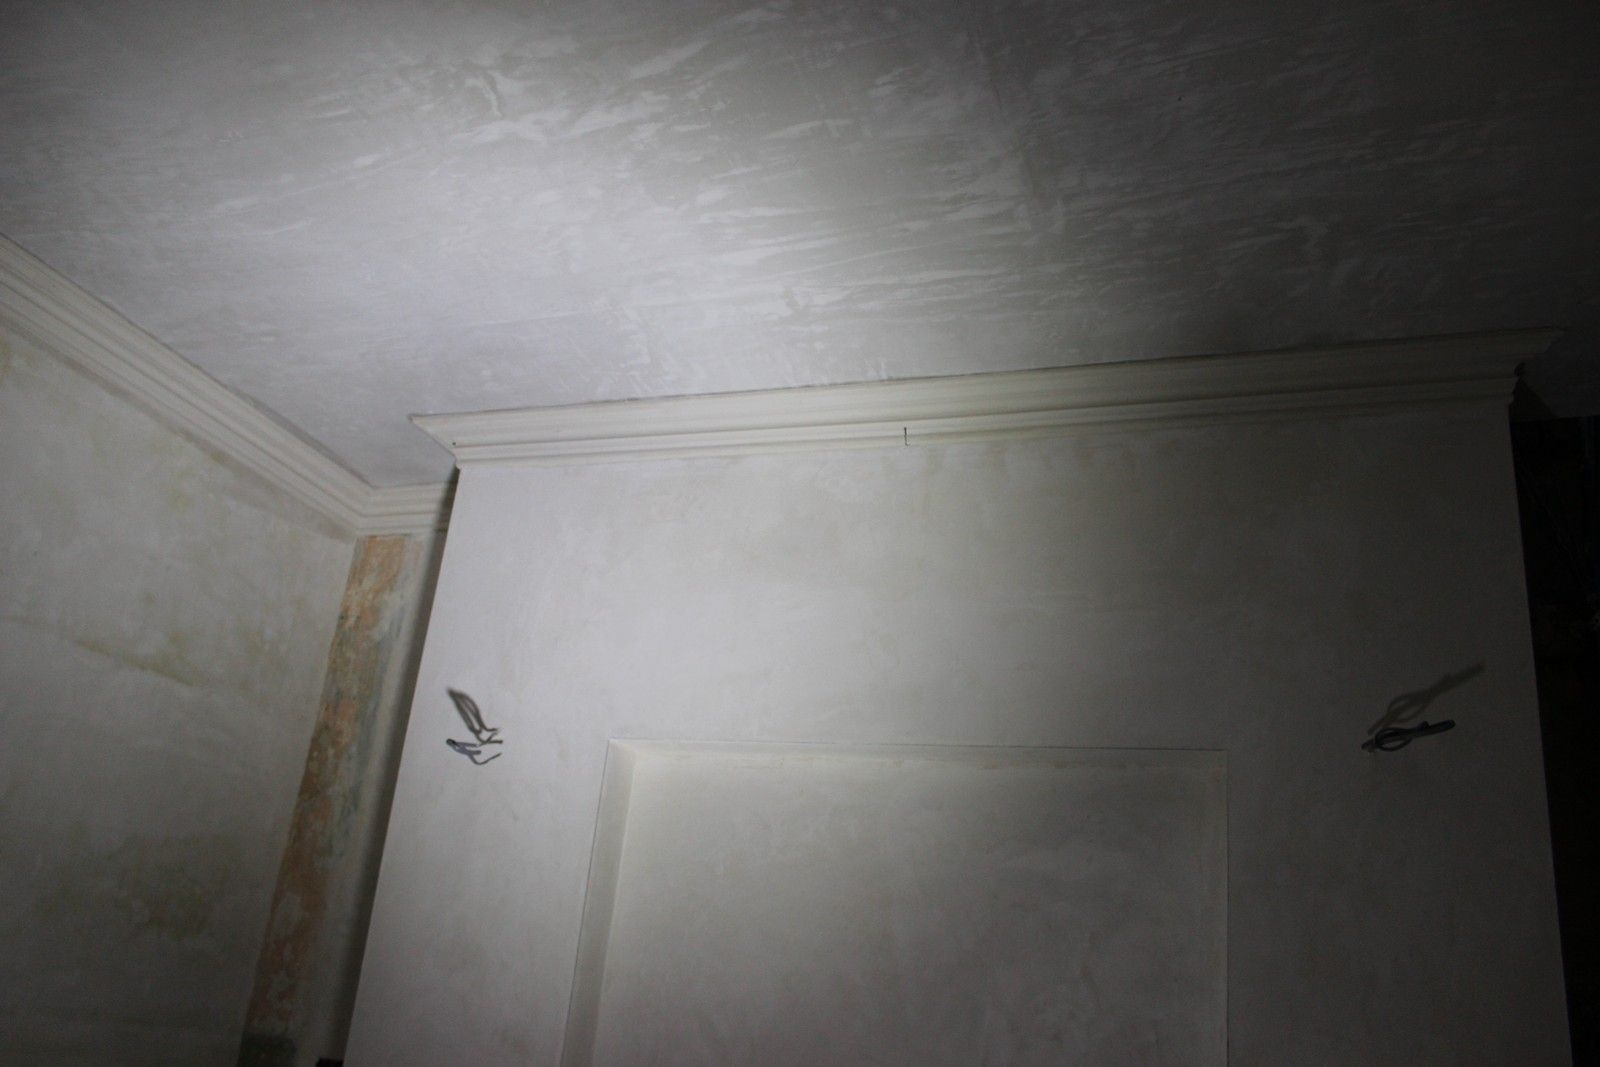
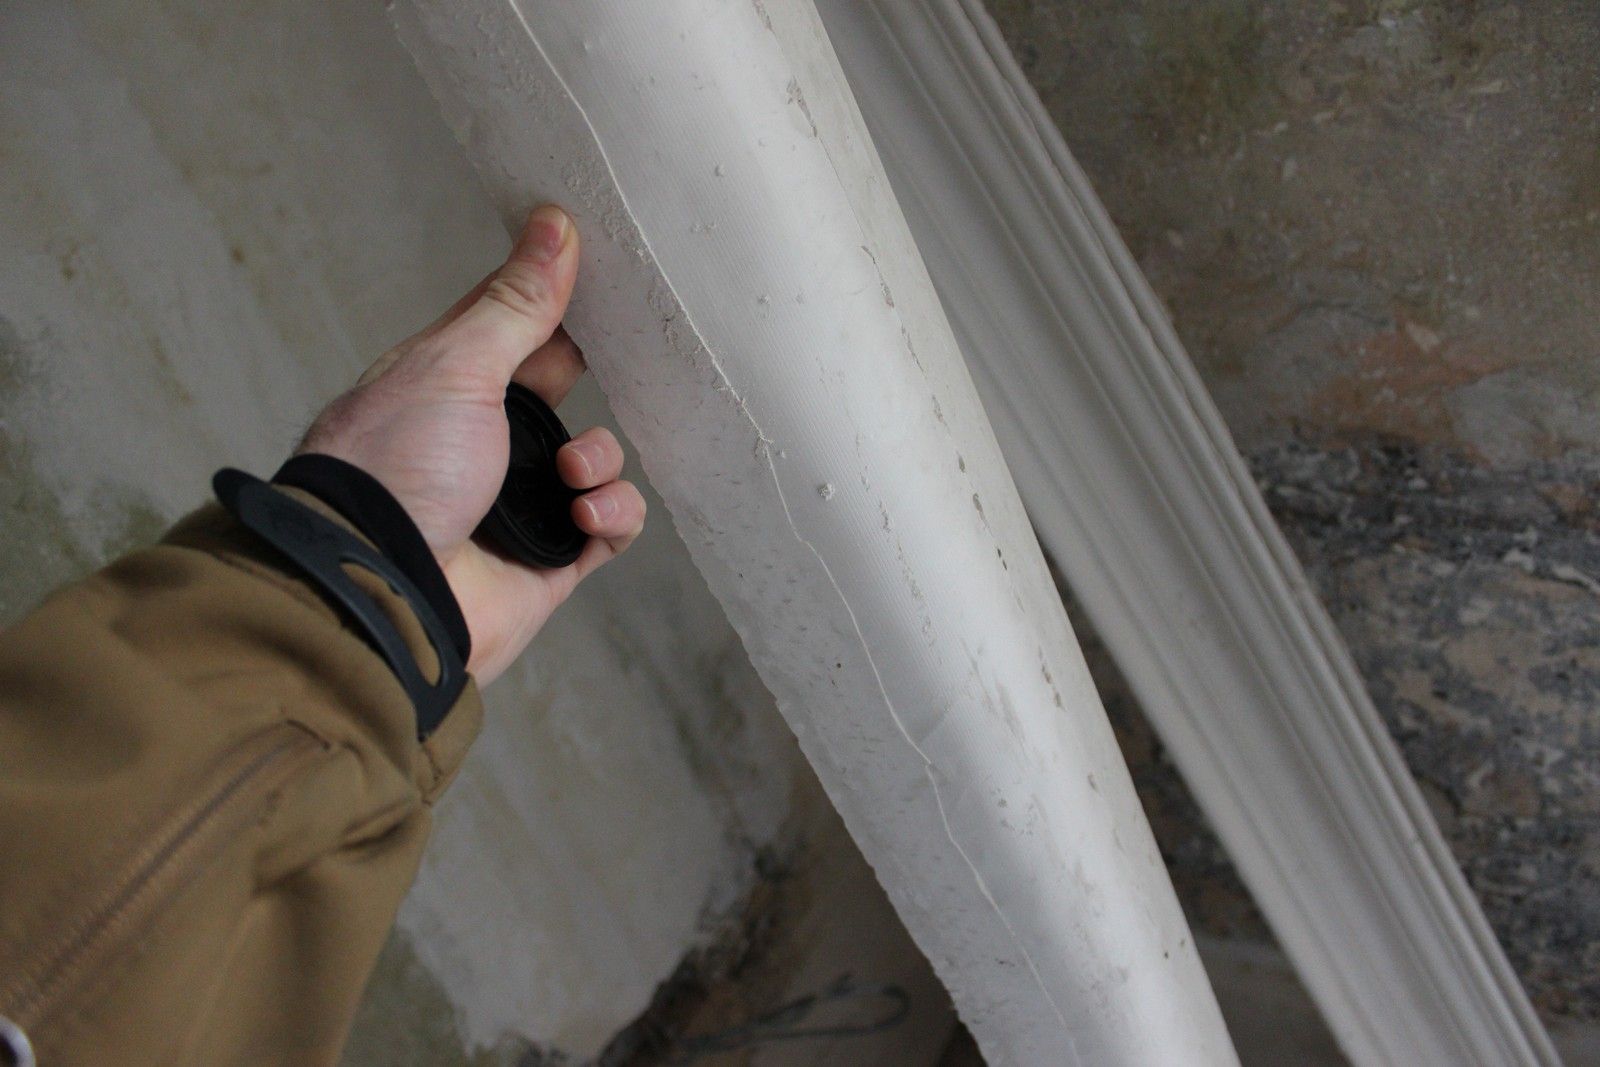
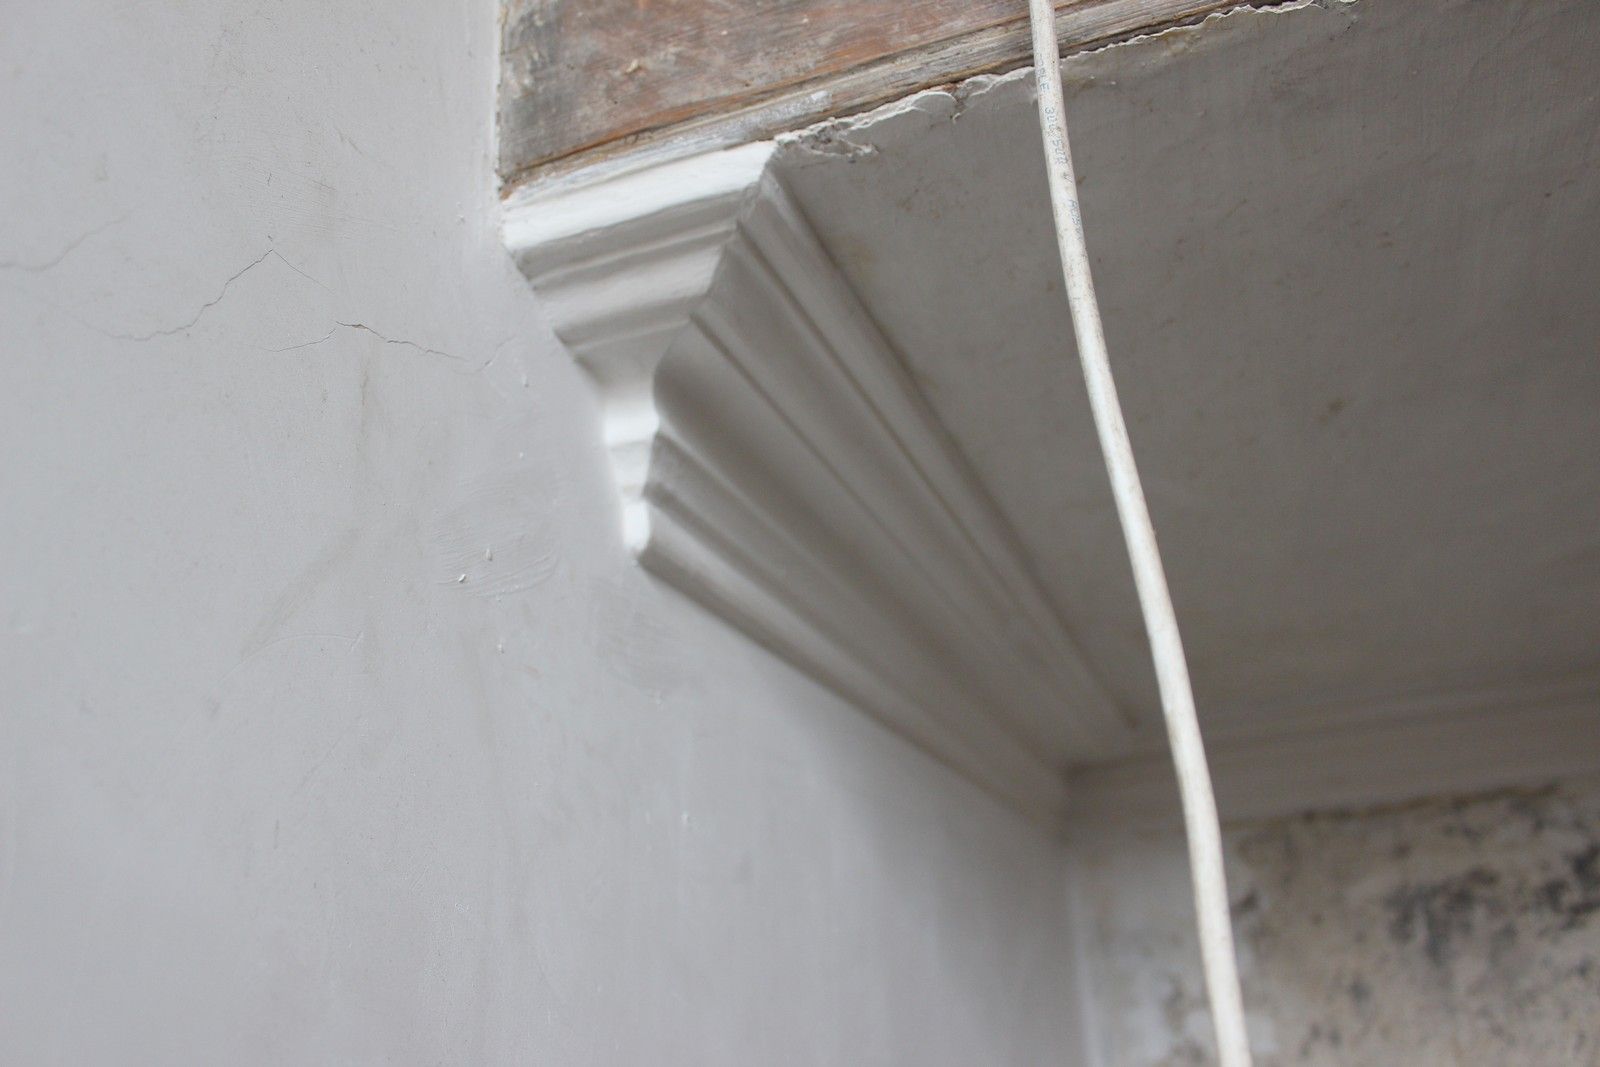
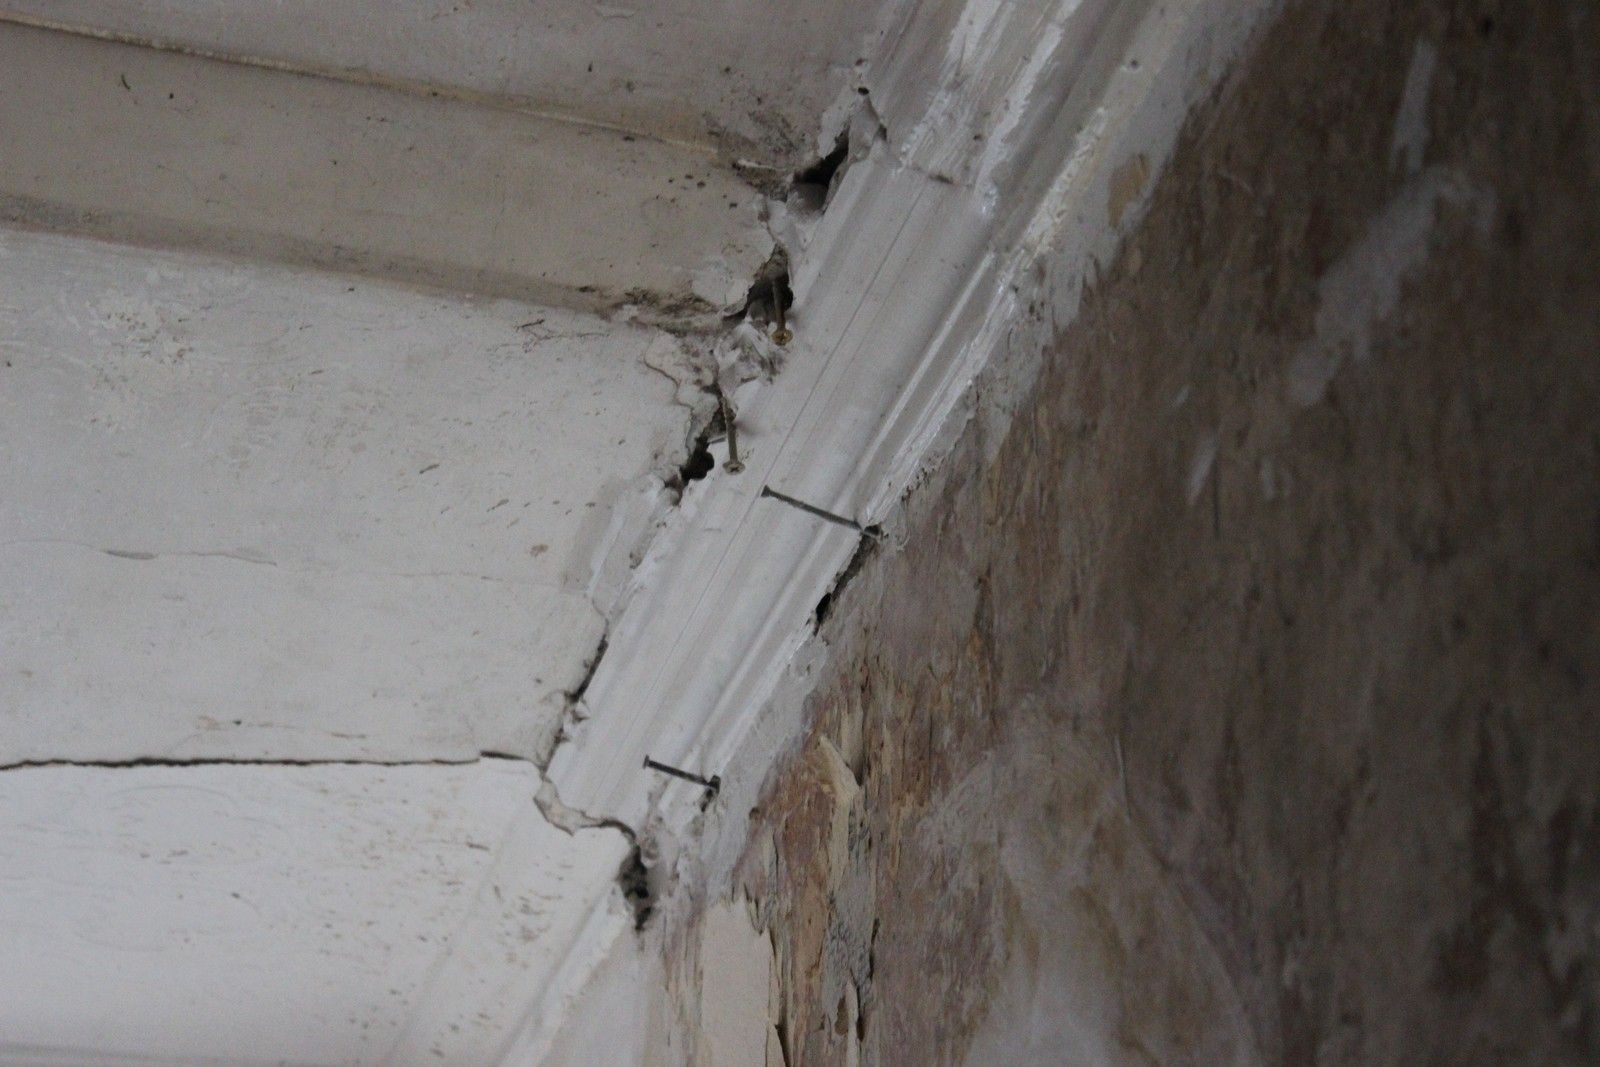
Below you can see the side profile of the cornice and how it is "glued" to the wall and ceiling with two lines of plaster putty . Screws are often used to temporarily hold them in place whilst the plaster sets:
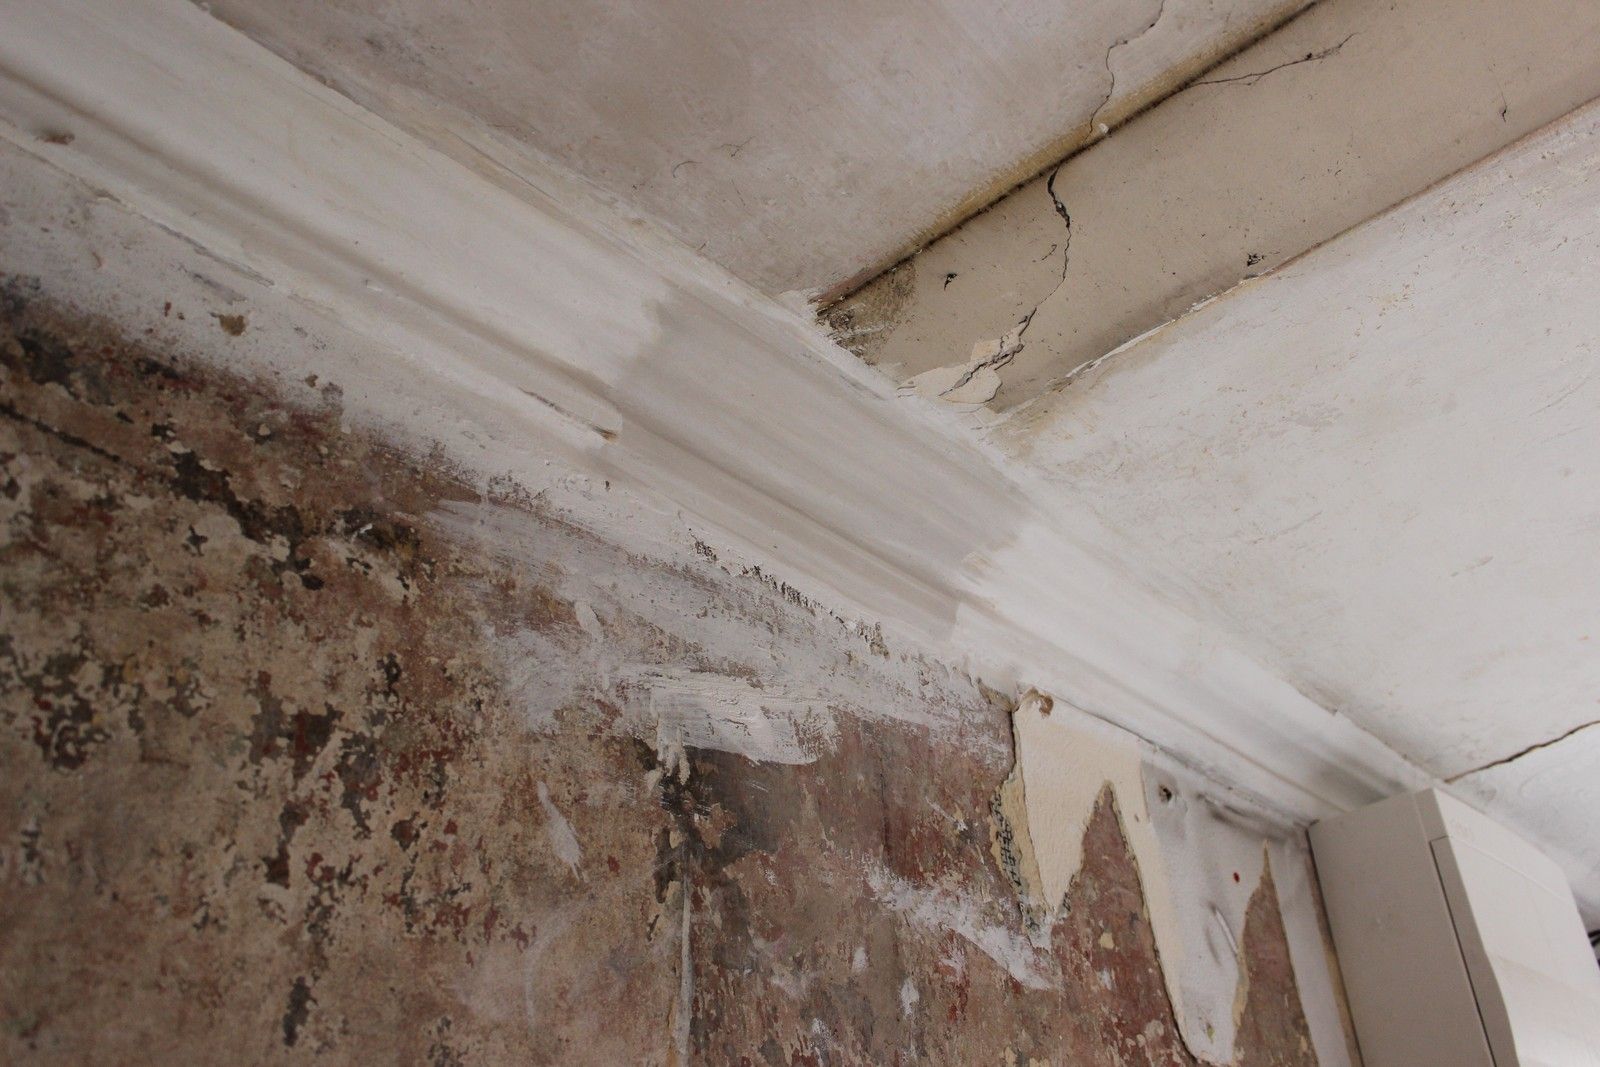
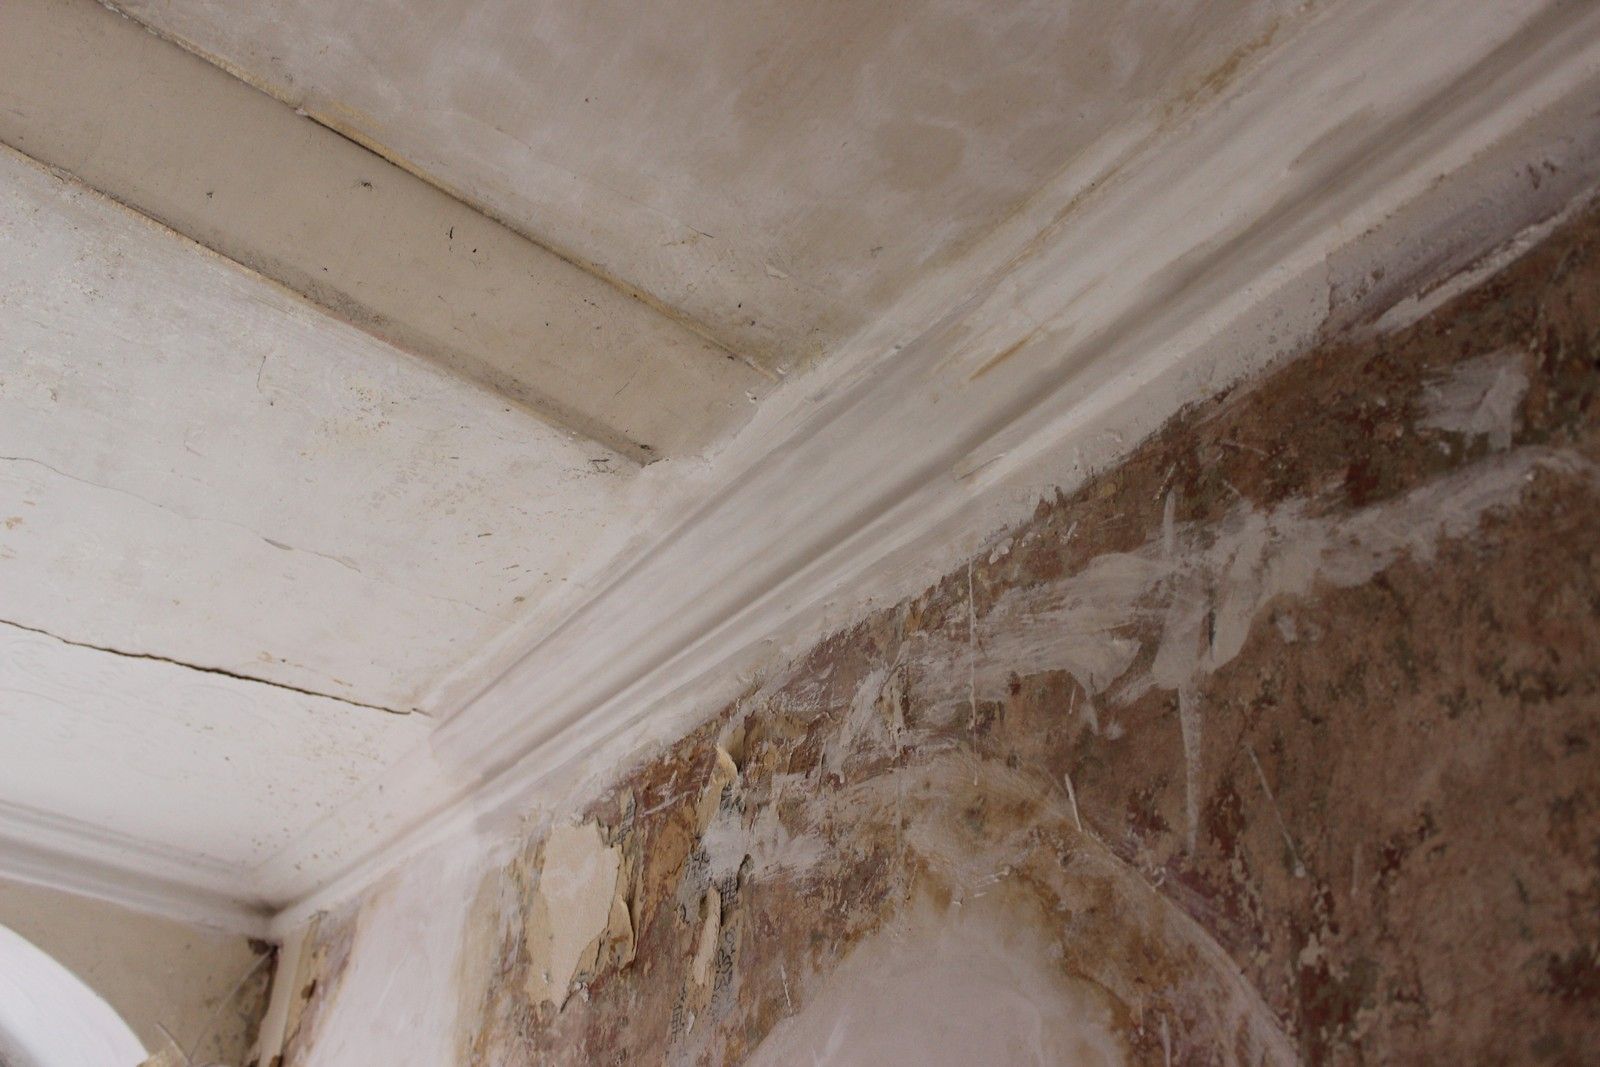
After I removed the inner porch door in the hallway which previous owners had installed, two large damaged sections of original cornice remained in the hallway. Micheal repaired these two damaged areas seamlessly:
And the biggest surprise of the entire job was Micheal's discovery of the incredible detail hidden behind 200 years of paint on the hallway ceiling, with the only original ceiling rose in the whole house:
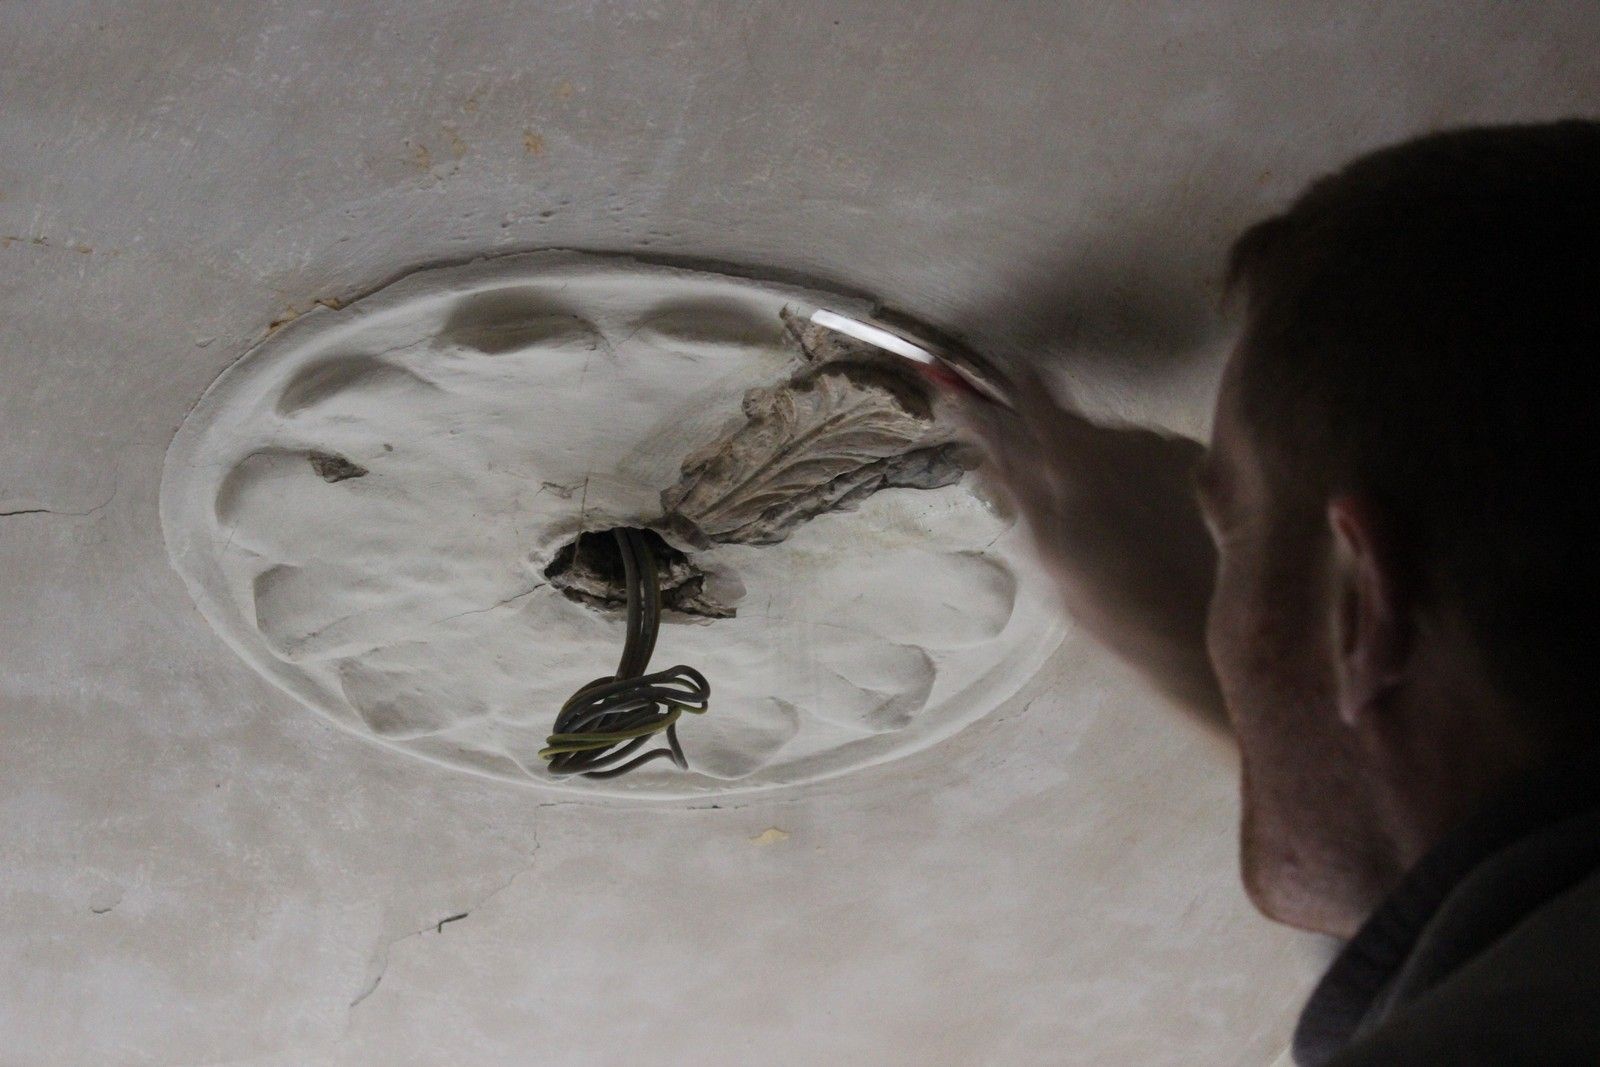
Mind blowing! For three years I thought there was nothing more than vague or damaged detail behind that paint, glad to be proven so wrong!
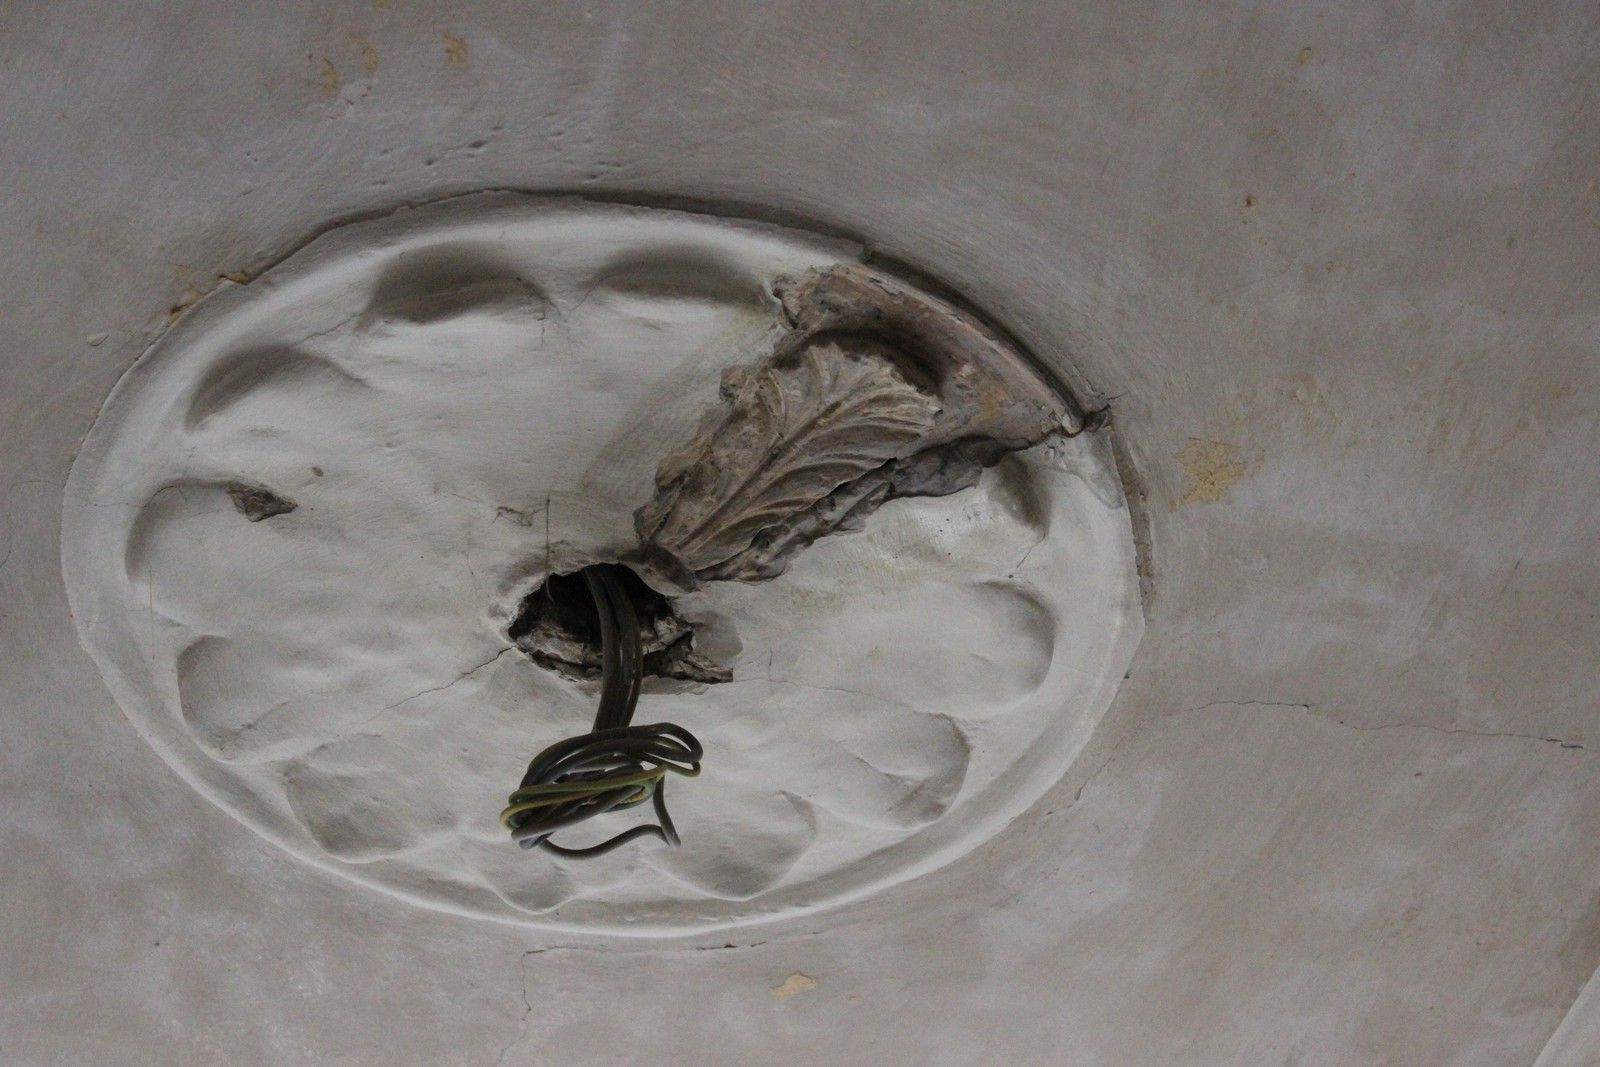
I have but one word about the ceiling rose.
ReplyDeleteWOW!