Saturday, 5 December 2015

Cornicing Nearing Completion

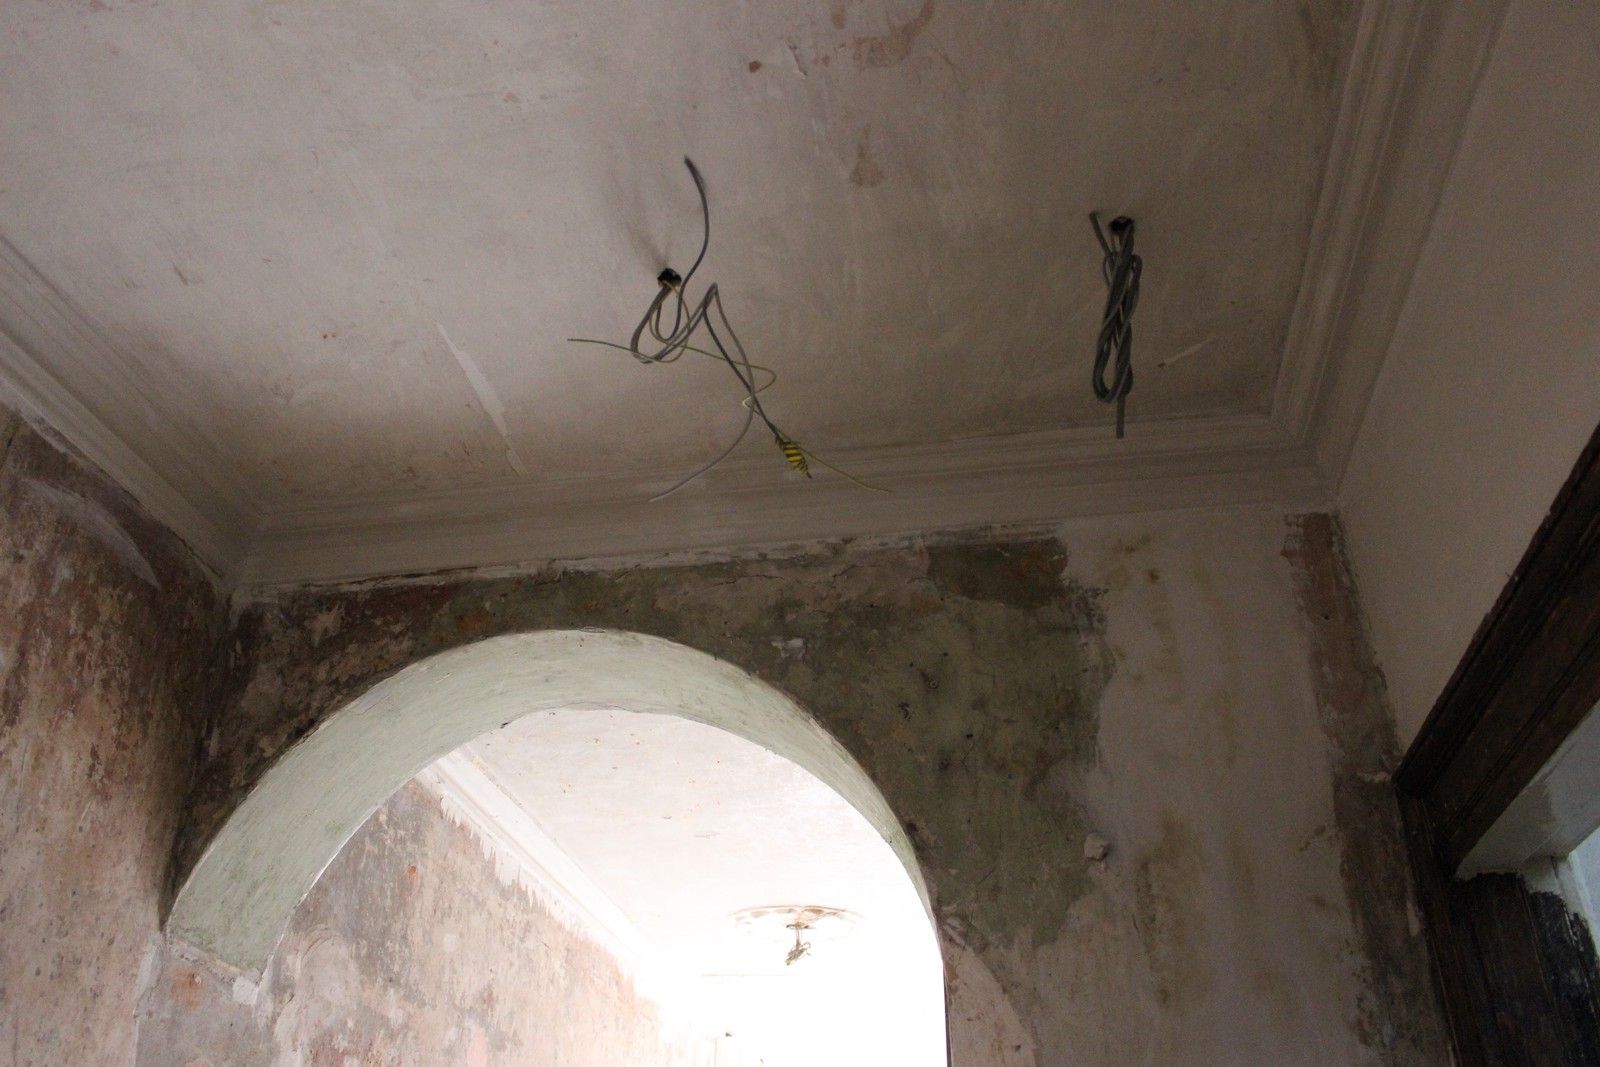
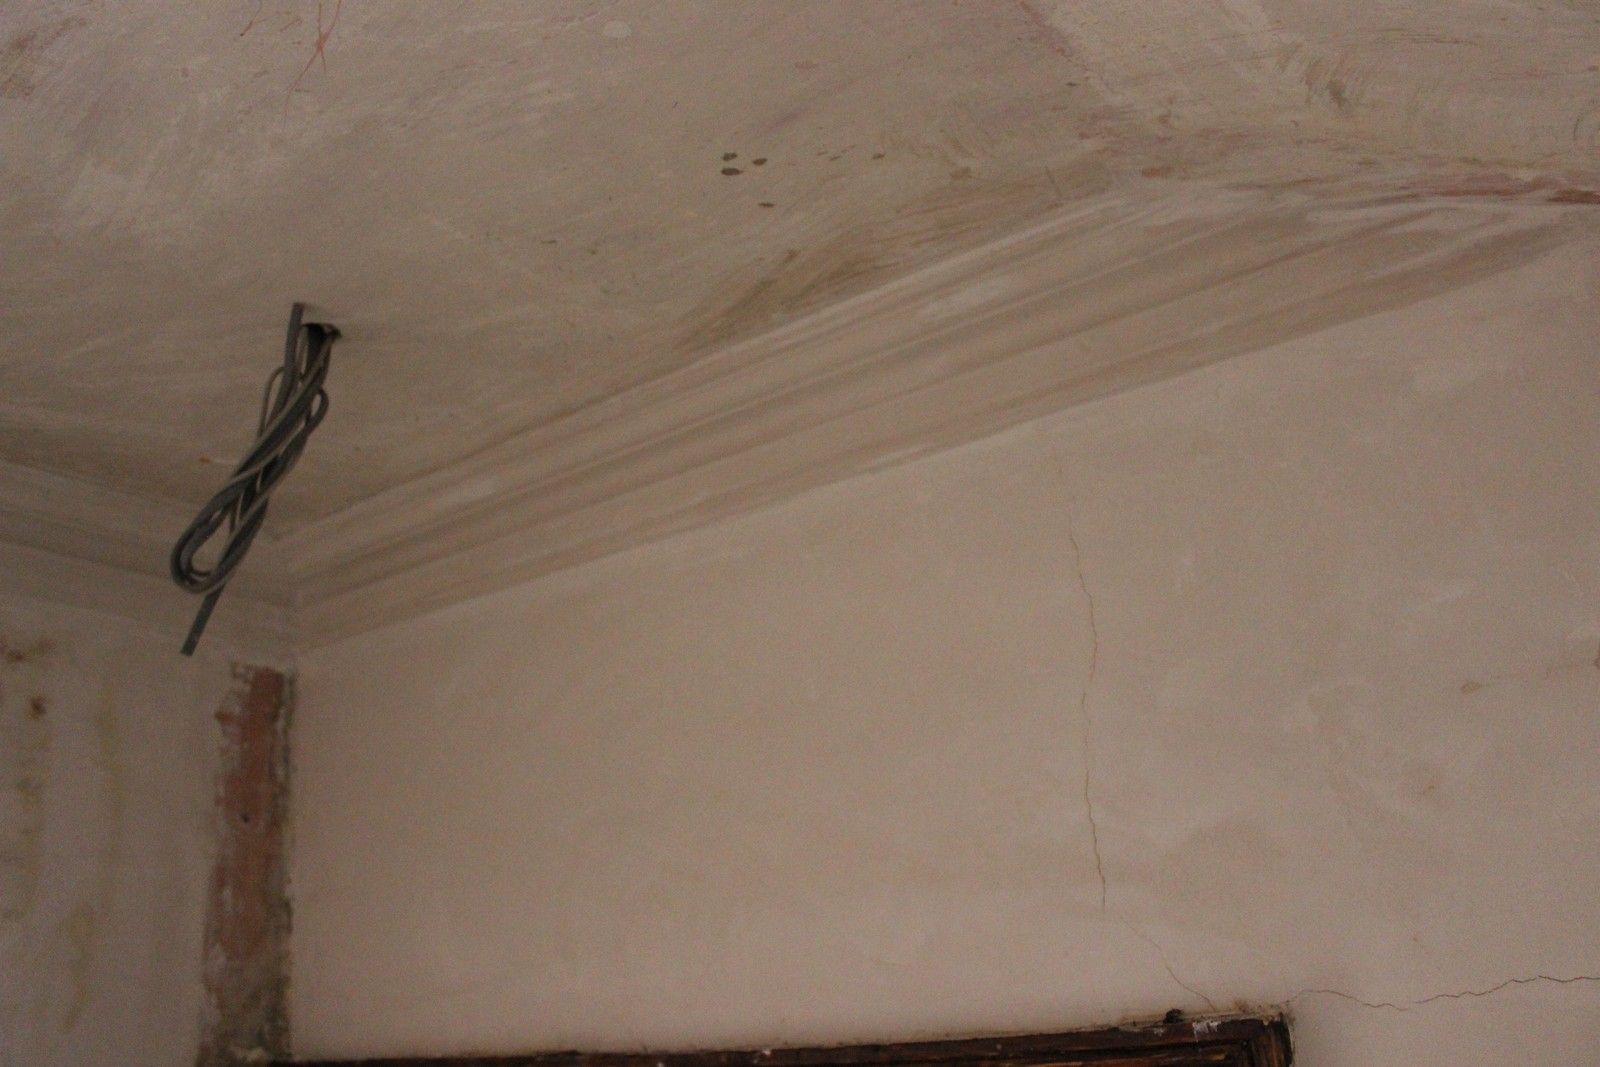
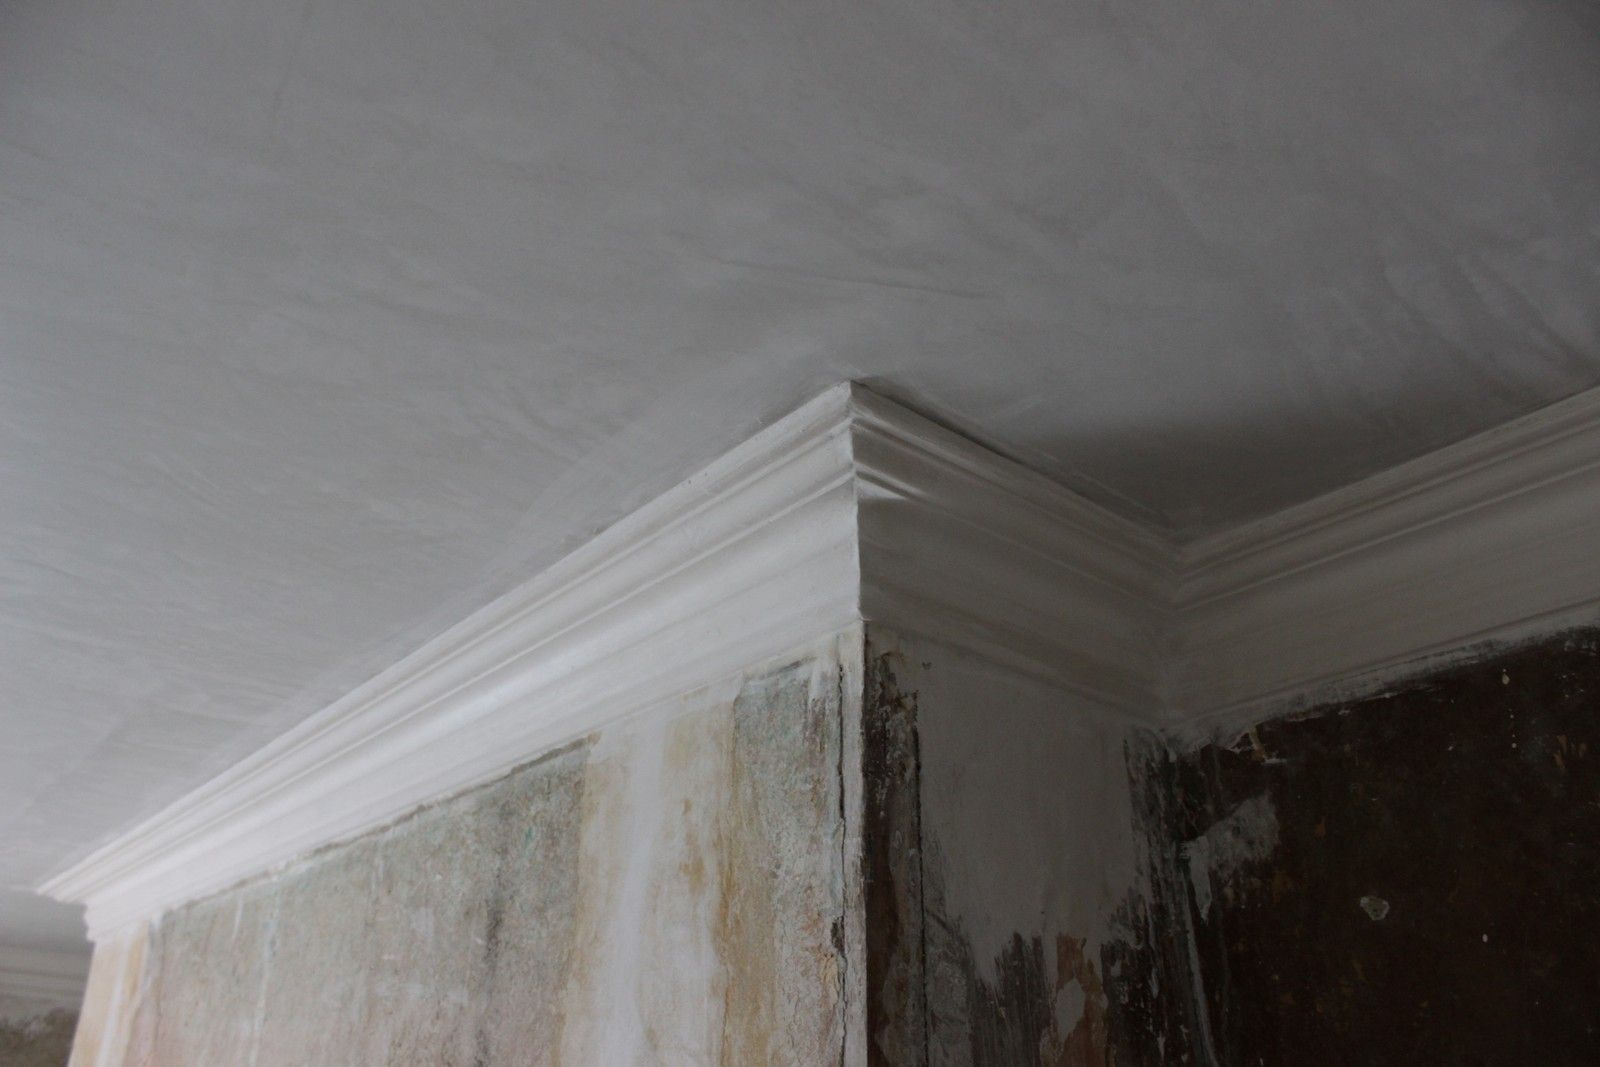
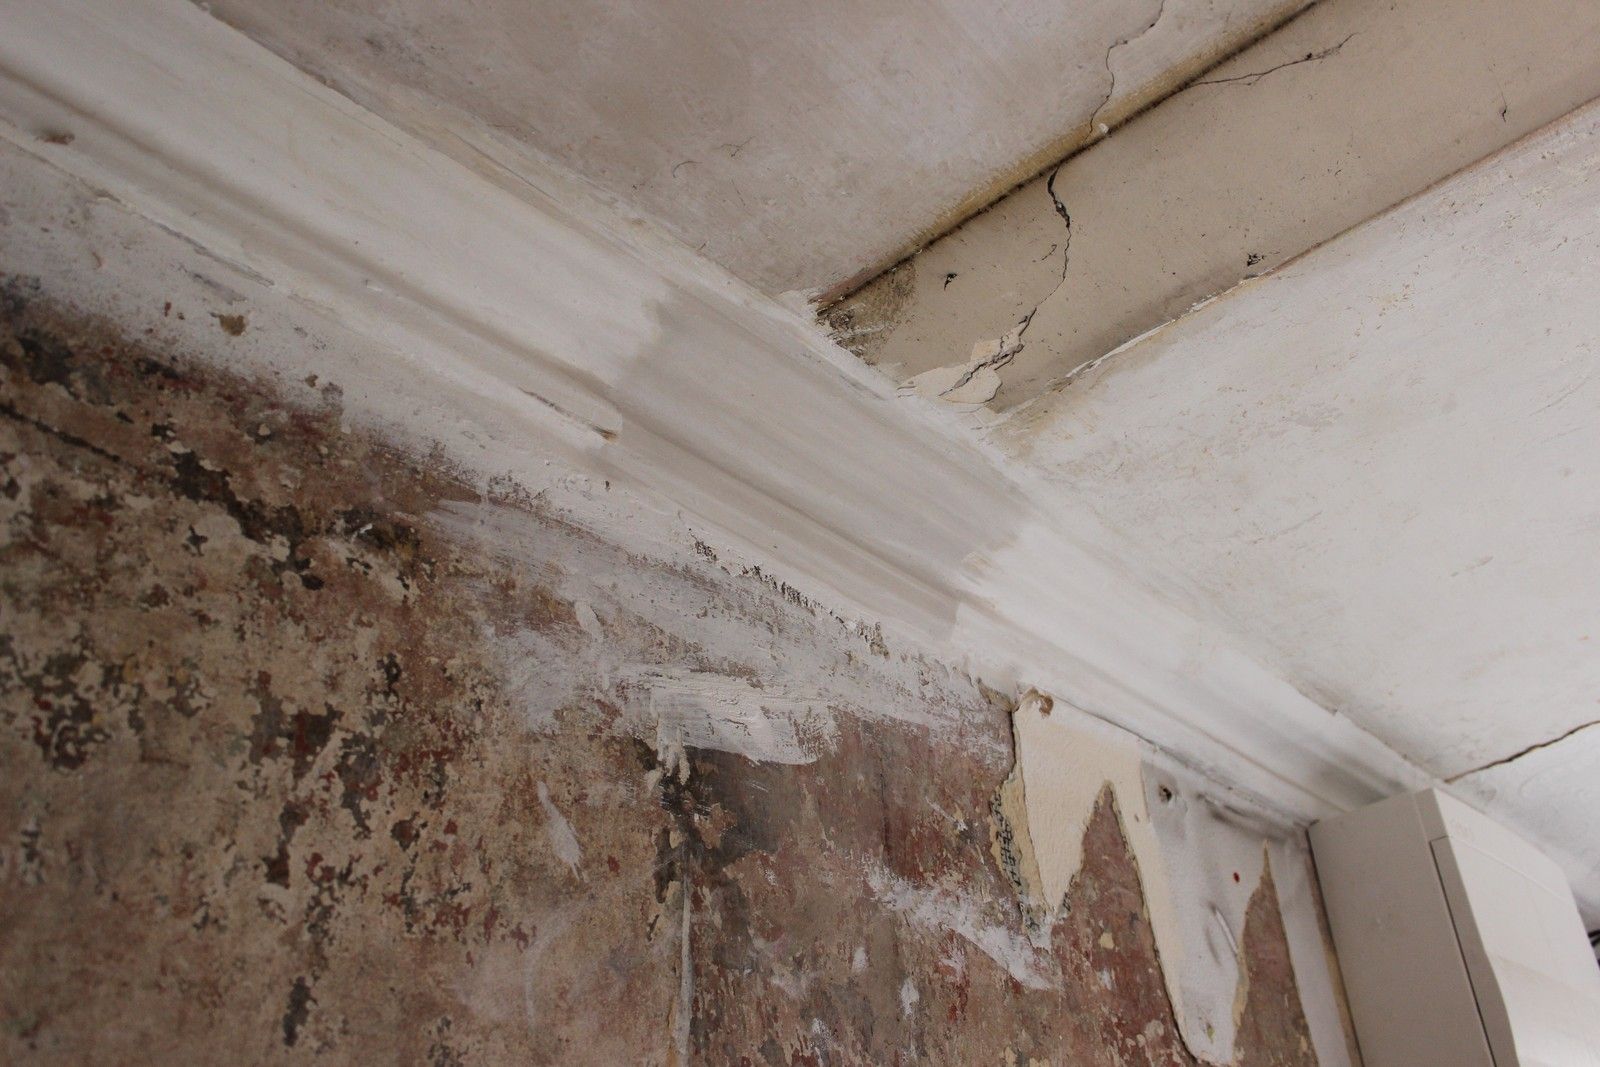
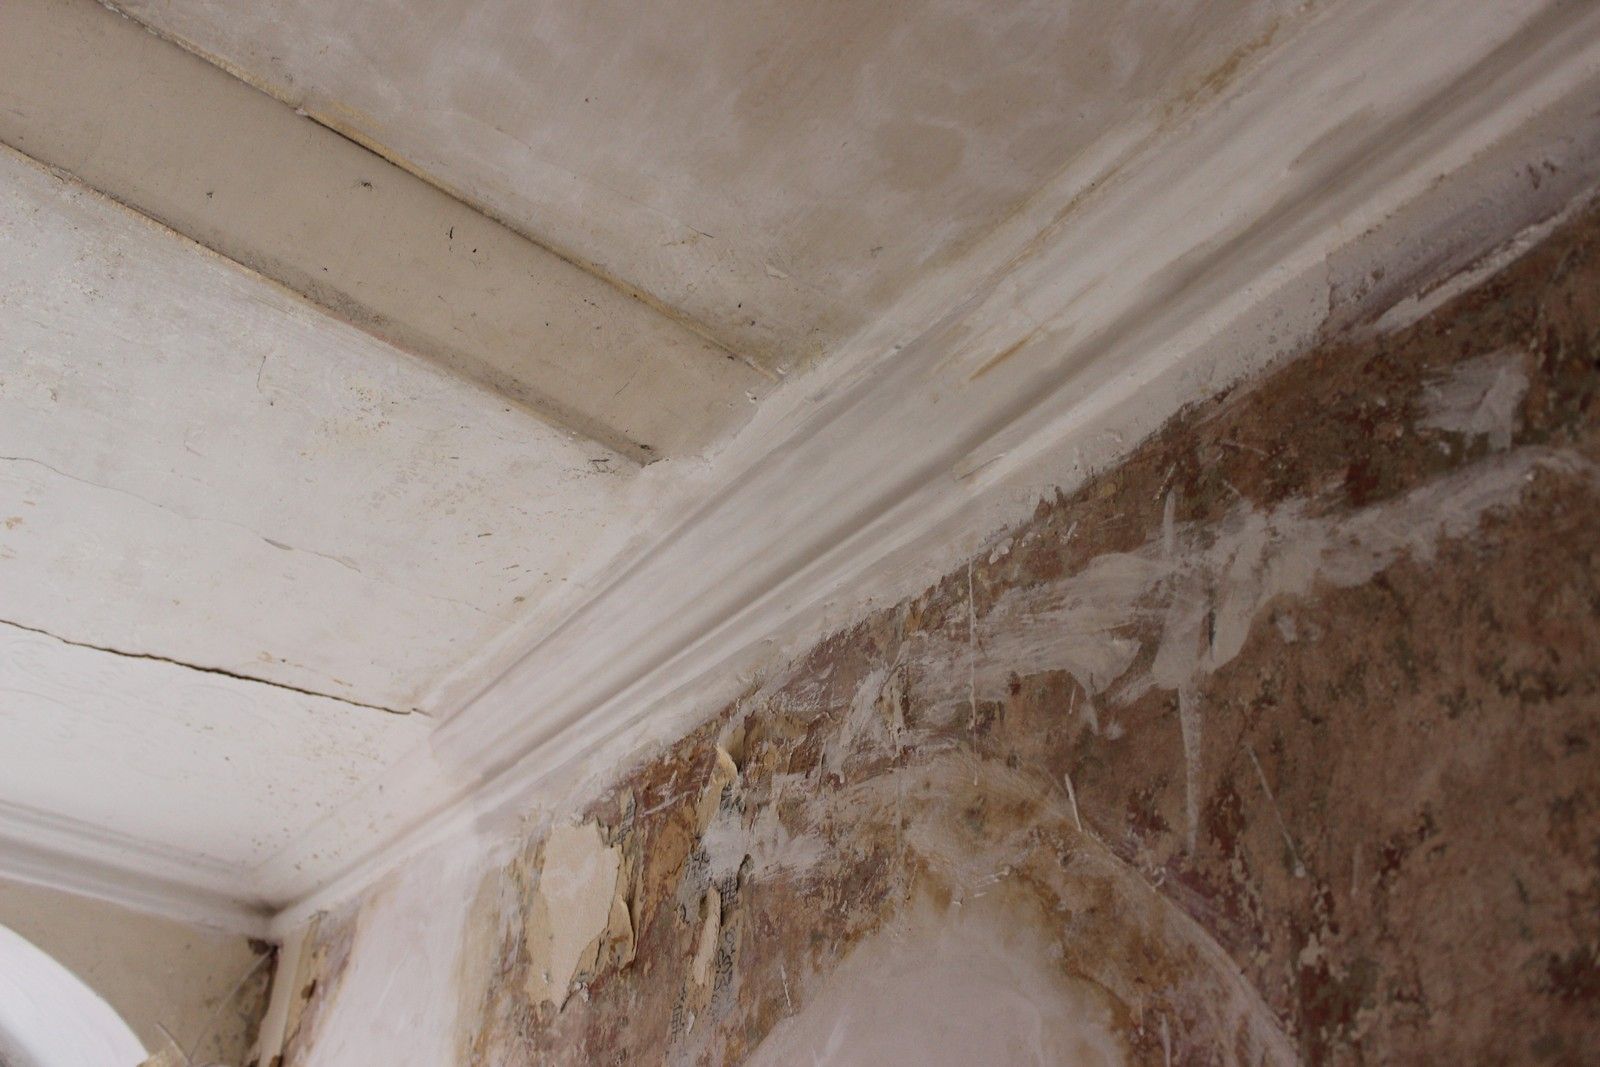
After a sort hunt and a few quotes, I chose Micheal Daly of Daly Plaster Mouldings to reinstate all of the lost cornicing in my house. He offered a great price, agreeable timeframe and showed a keen interest in what I was trying to do in regards the shape and style of the cornicing. I had the option of simply installing off-the-shelf cornicing, but I wanted to get as close to the original style as possible.

As shown in the last post, the job started by taking a mould of the only surviving original cornicing in the entire house, the hallway cornice. This involved making a simple clean cut into the original cornice and tracing an outline of the profile onto a piece of card.
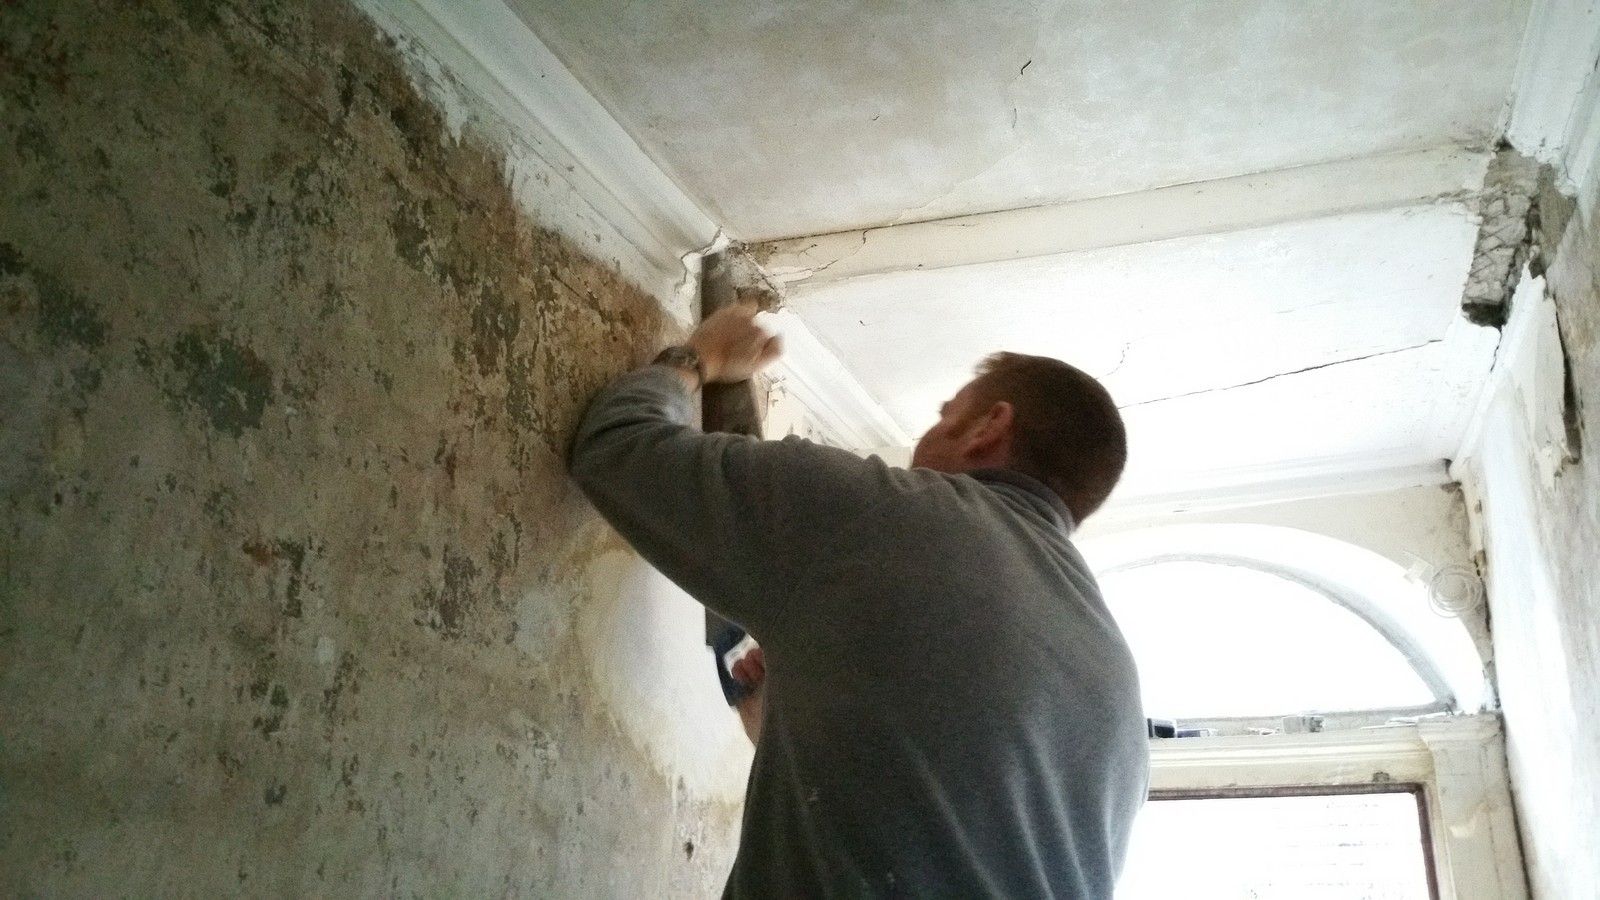
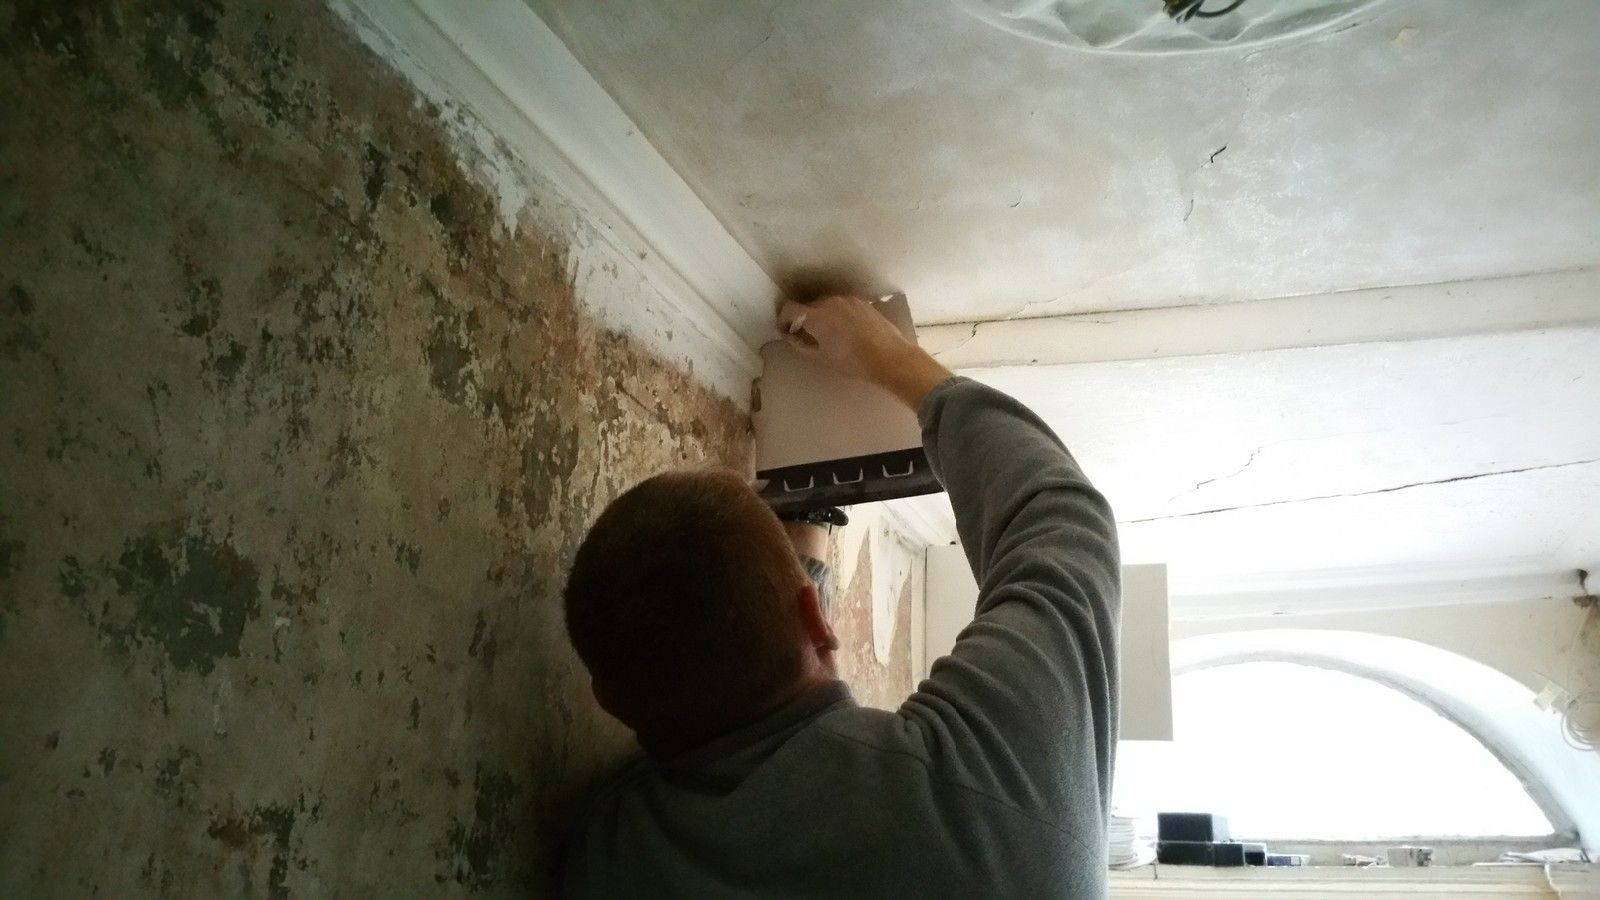

The hallway cornice is covered in many layers of paint and has lost a lot of its sharpness, so Micheal adjusted the profile slightly to account for this, squaring off some sections and adding a little more detail. We also agreed to enlarge the cornice ever so slightly, as there is a possibility the main rooms had a slightly larger and more ornate cornice, evidenced by some surviving original cornicing in my next door neighbour's house.
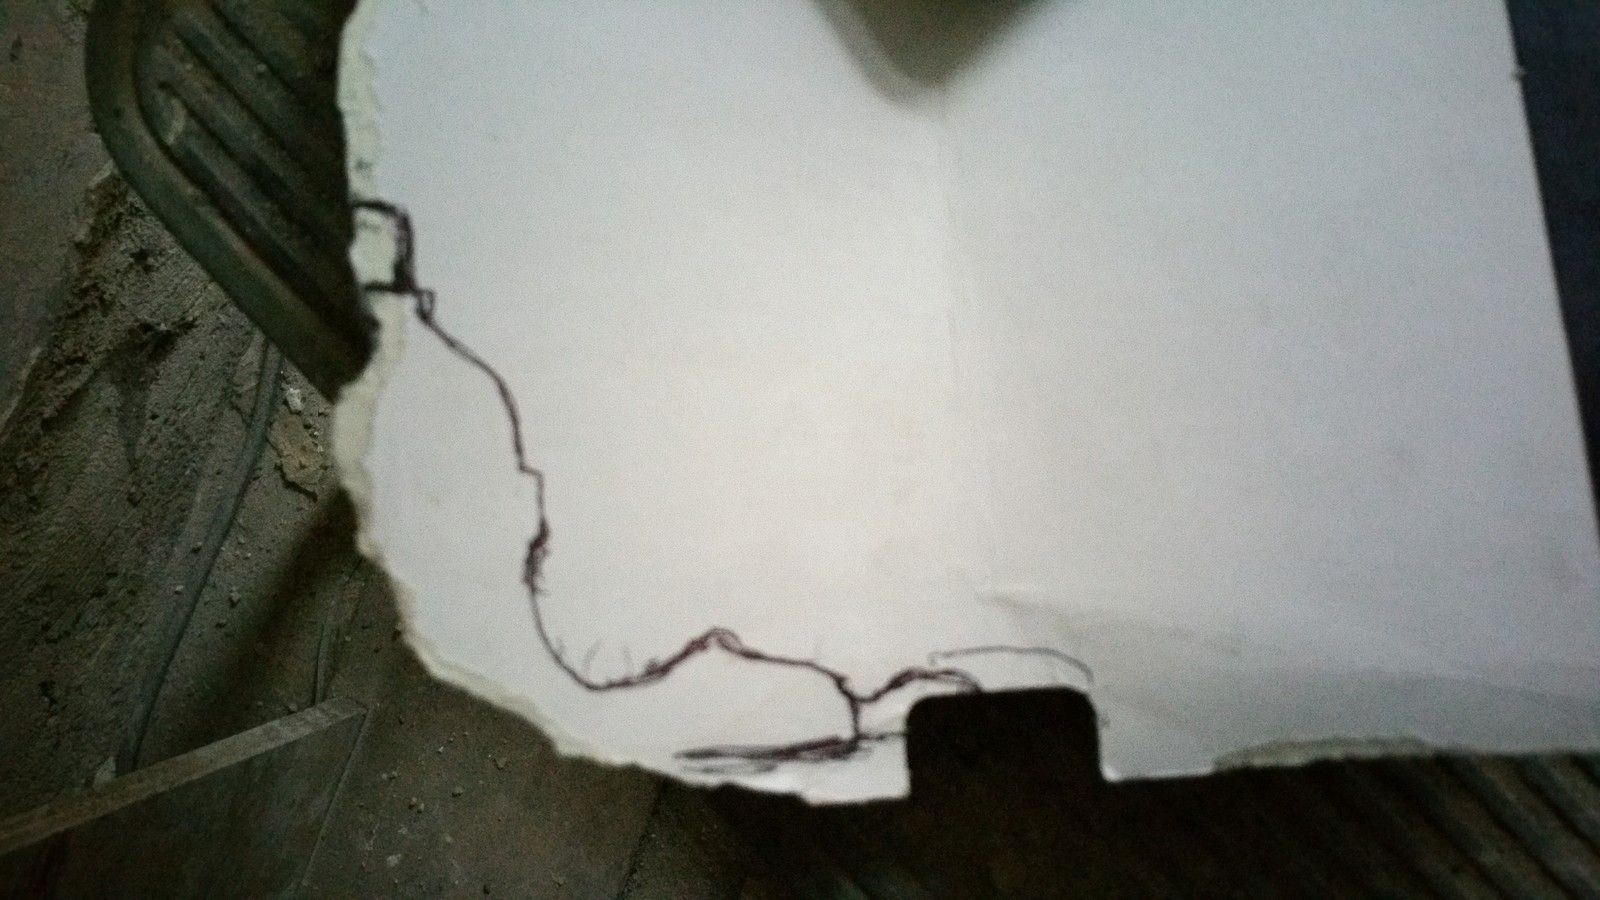

From this drawing, the profile plate could be made in the plaster shop which draws the plaster across the cornice as it is being shaped:
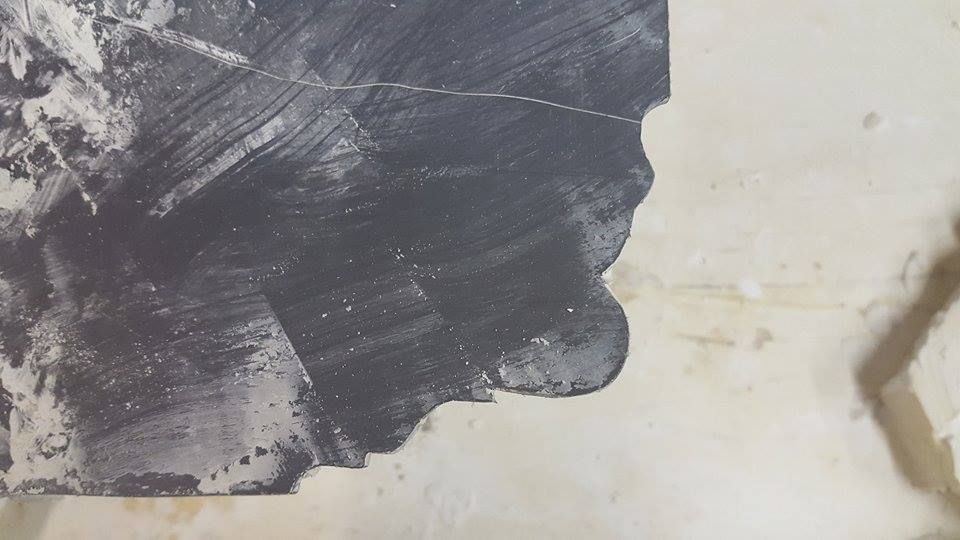
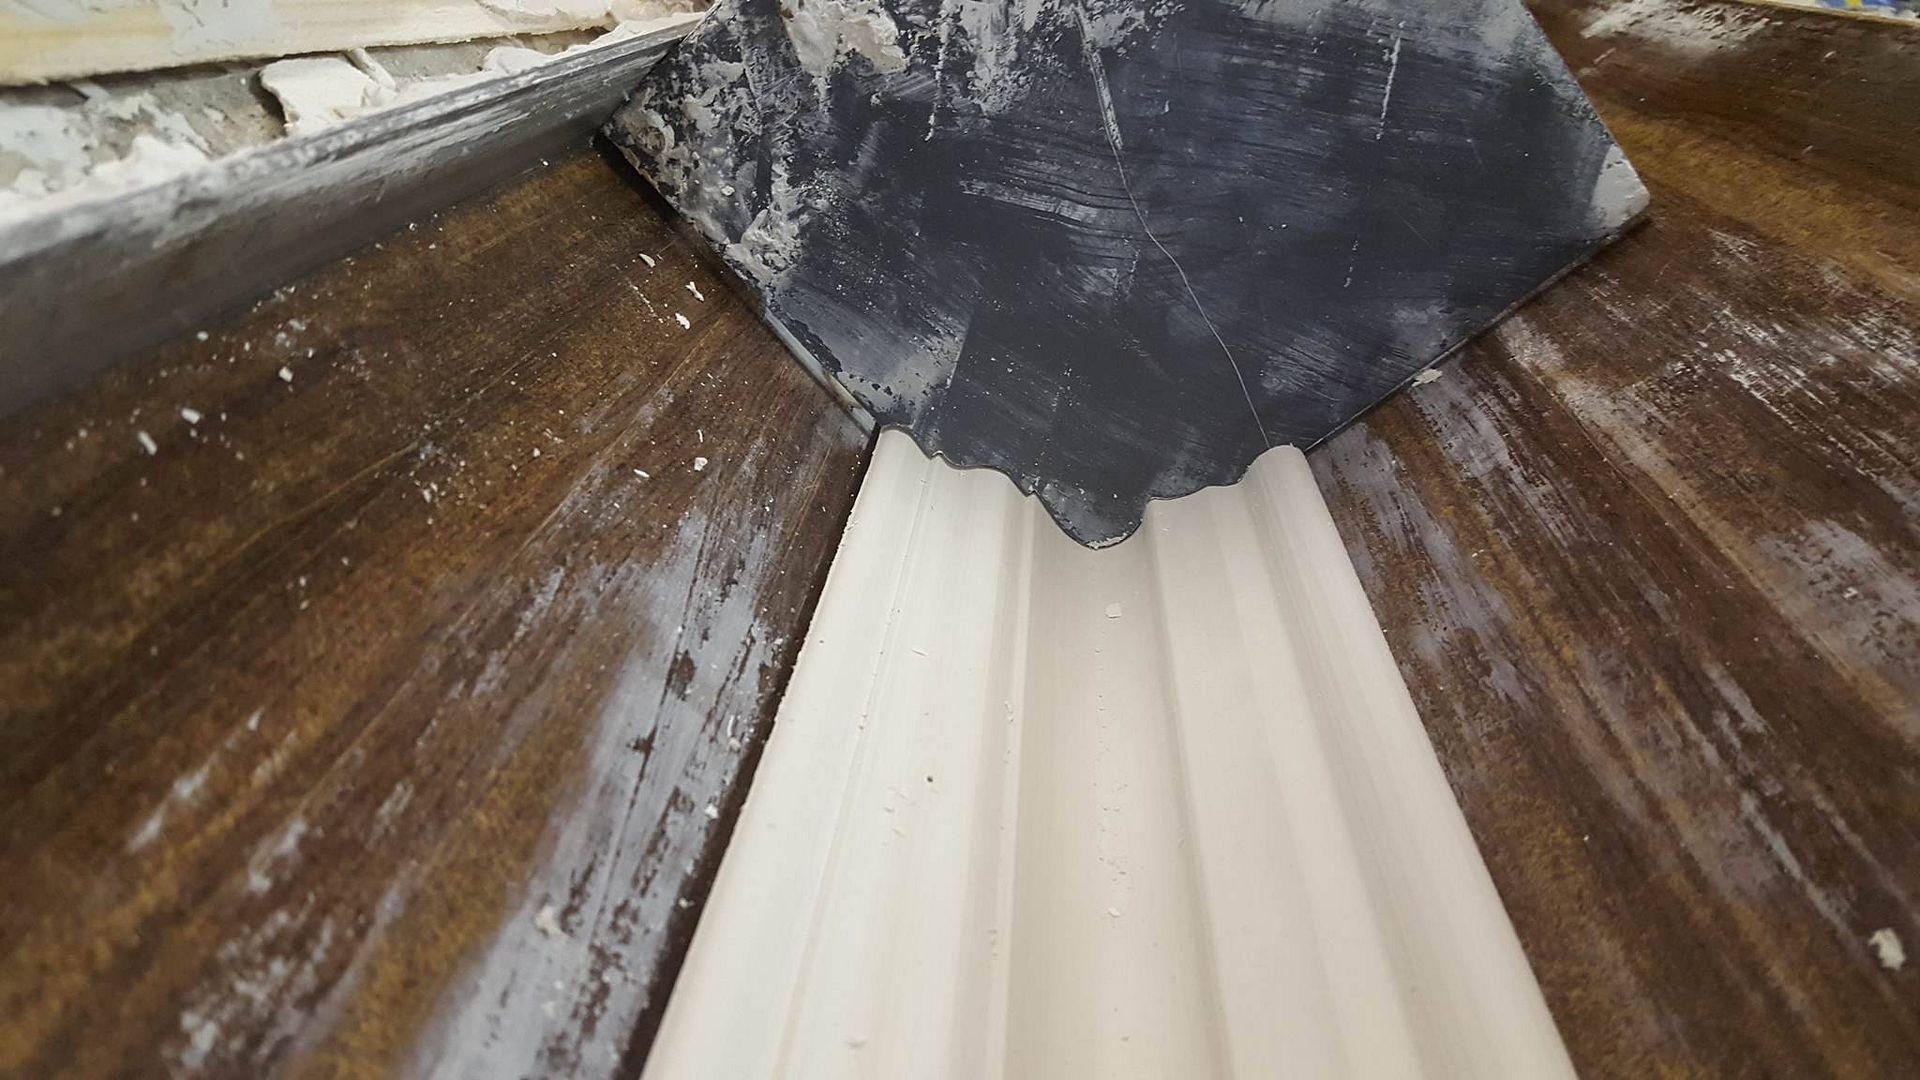
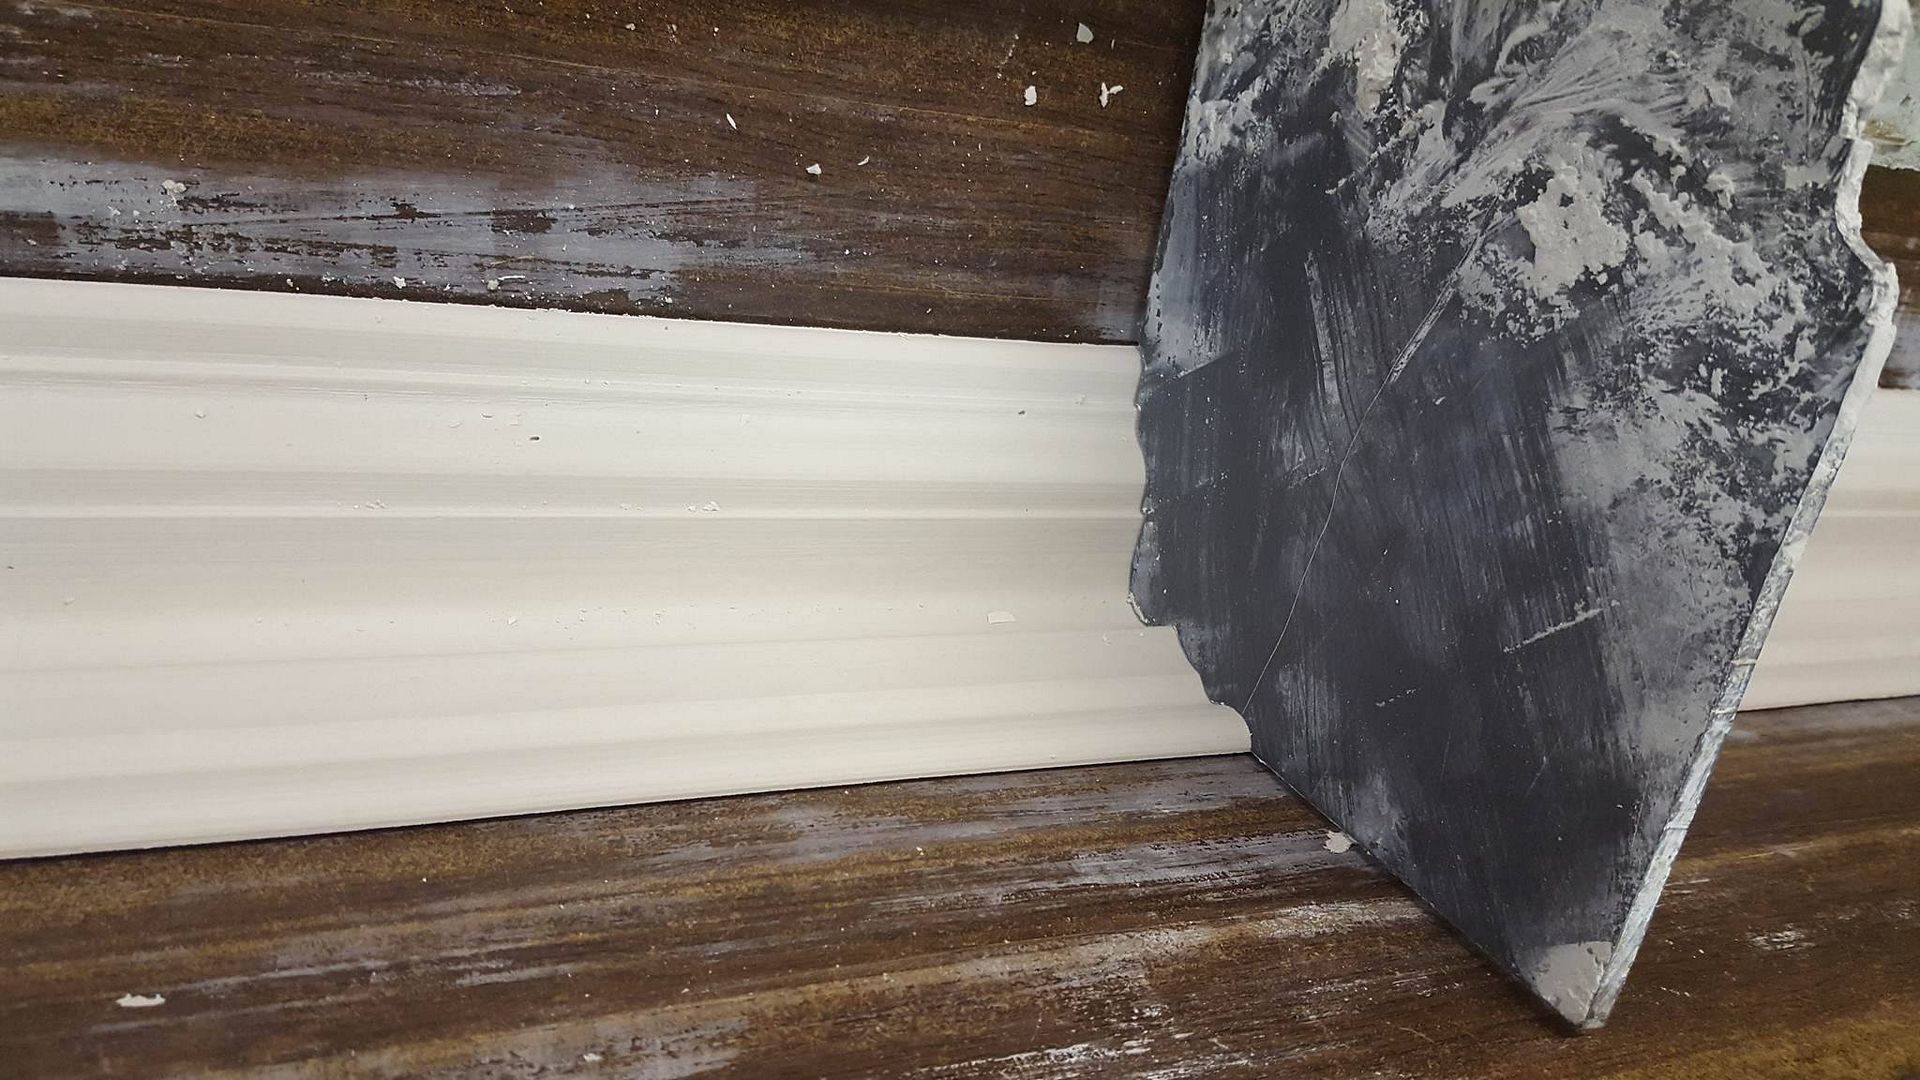
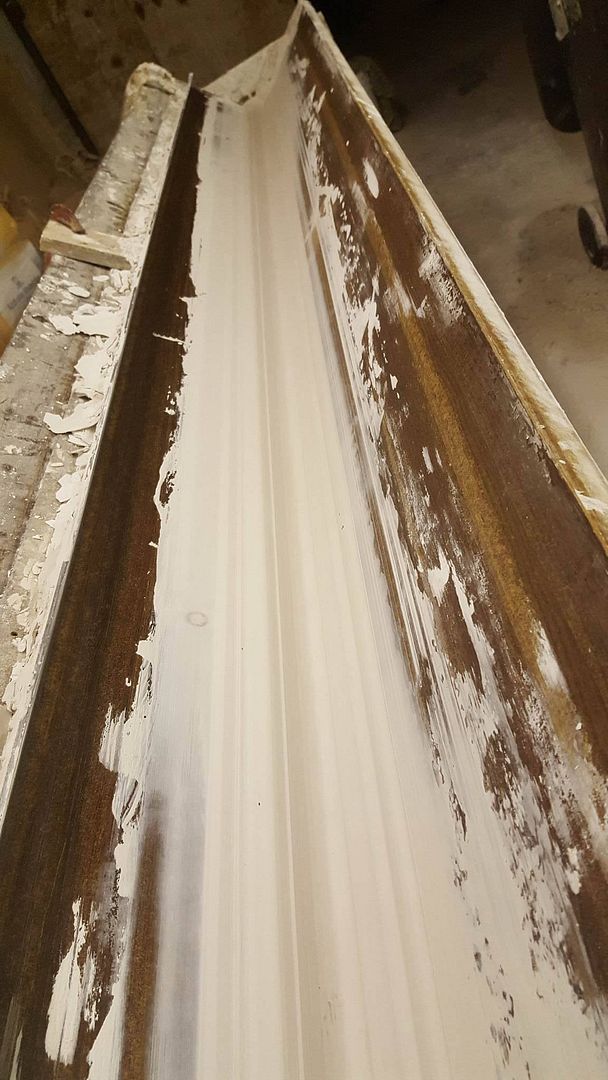

Here is a short video of the process:


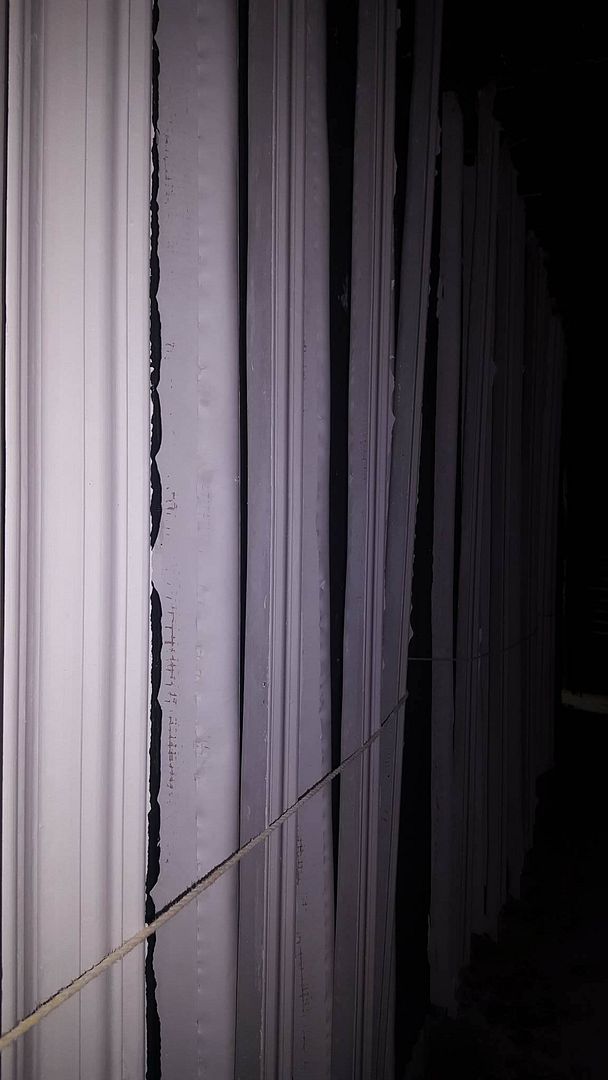
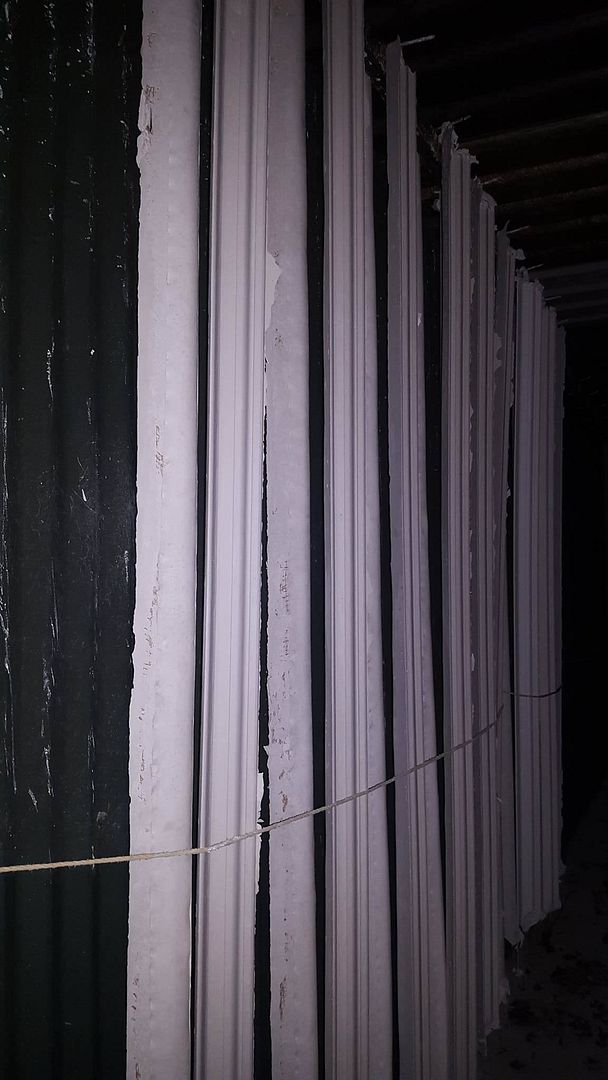
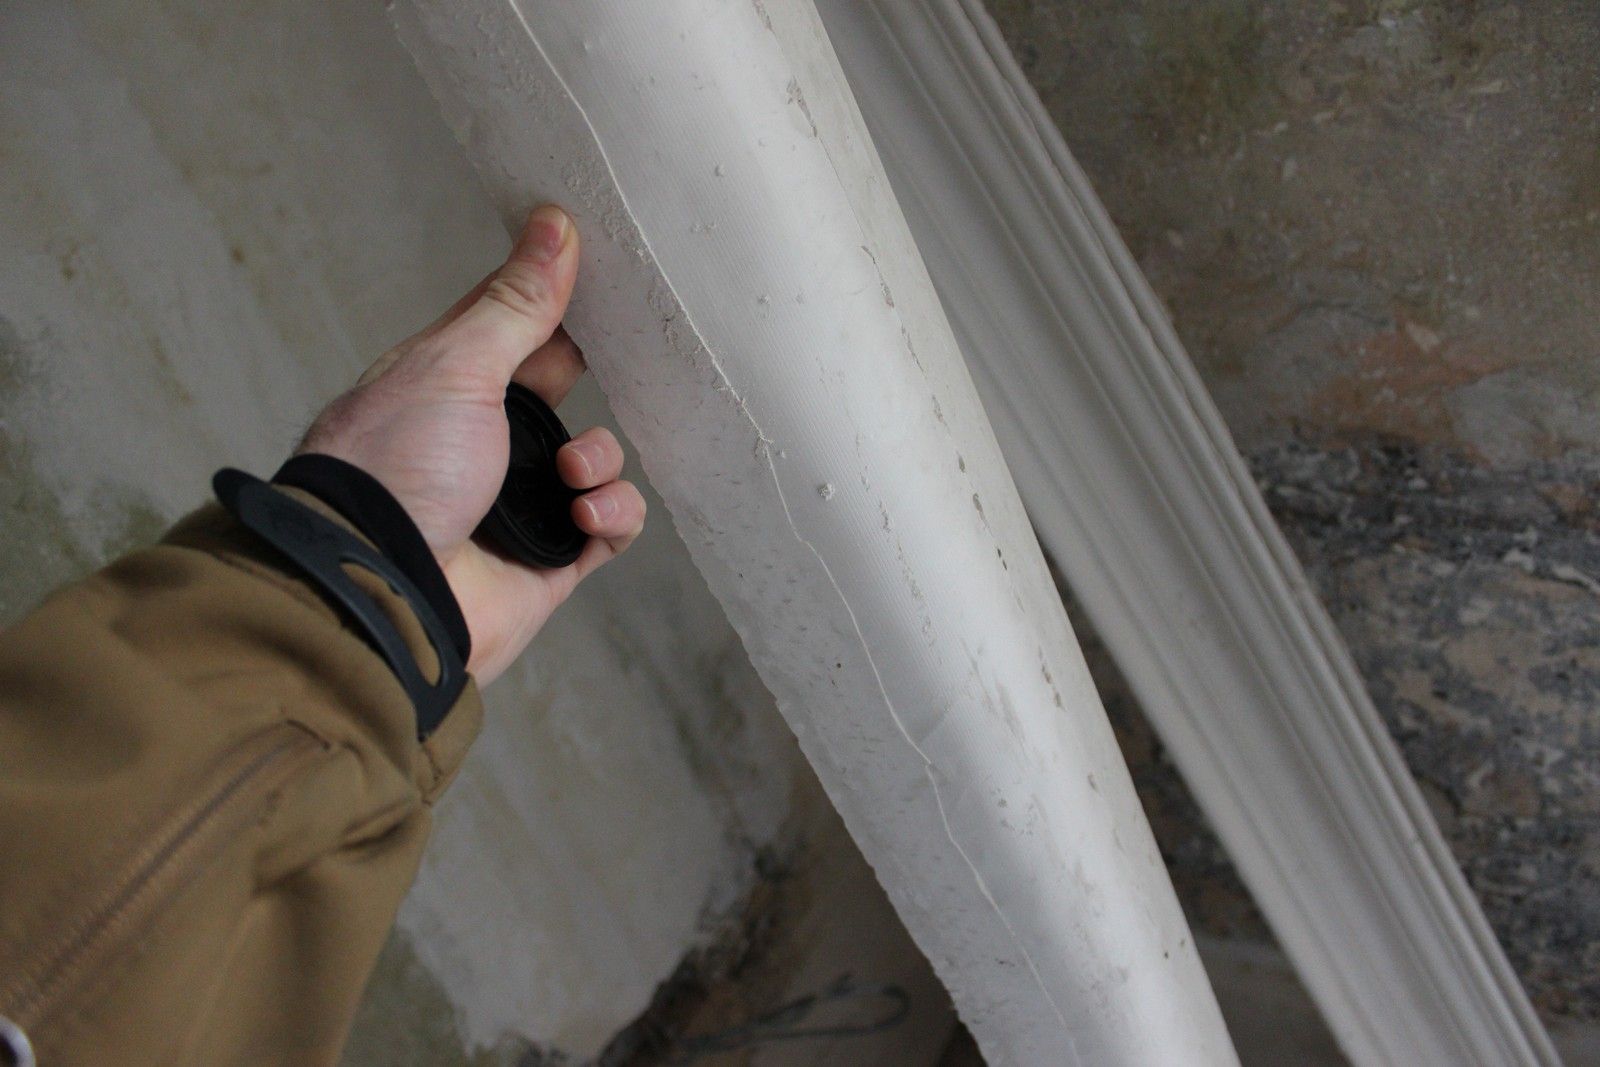
The completed sections:
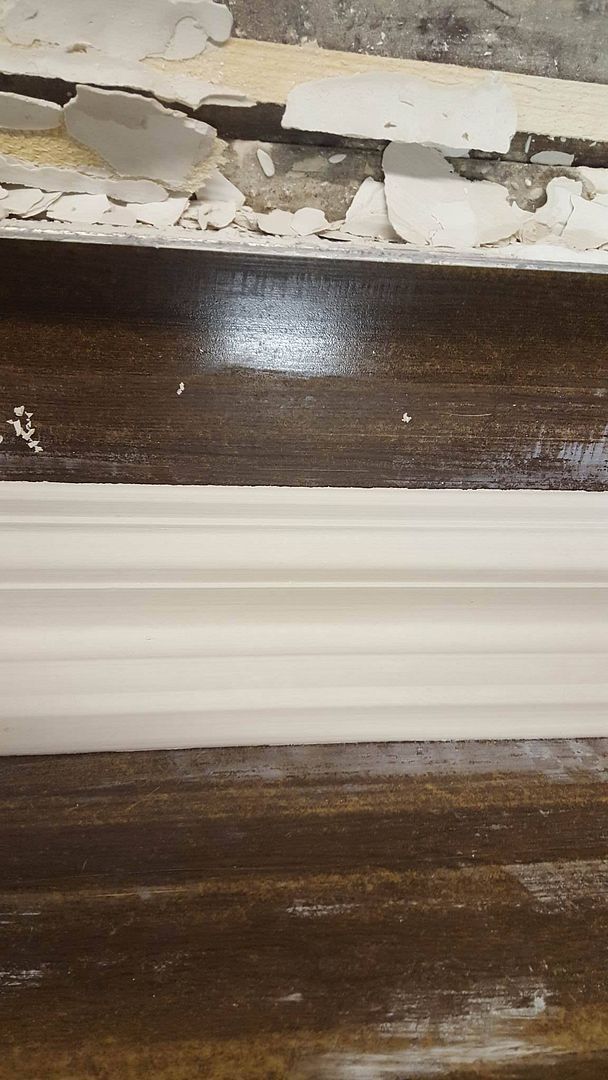


The cornice is produced in 7ft lengths and are blended together seamlessly on-site.
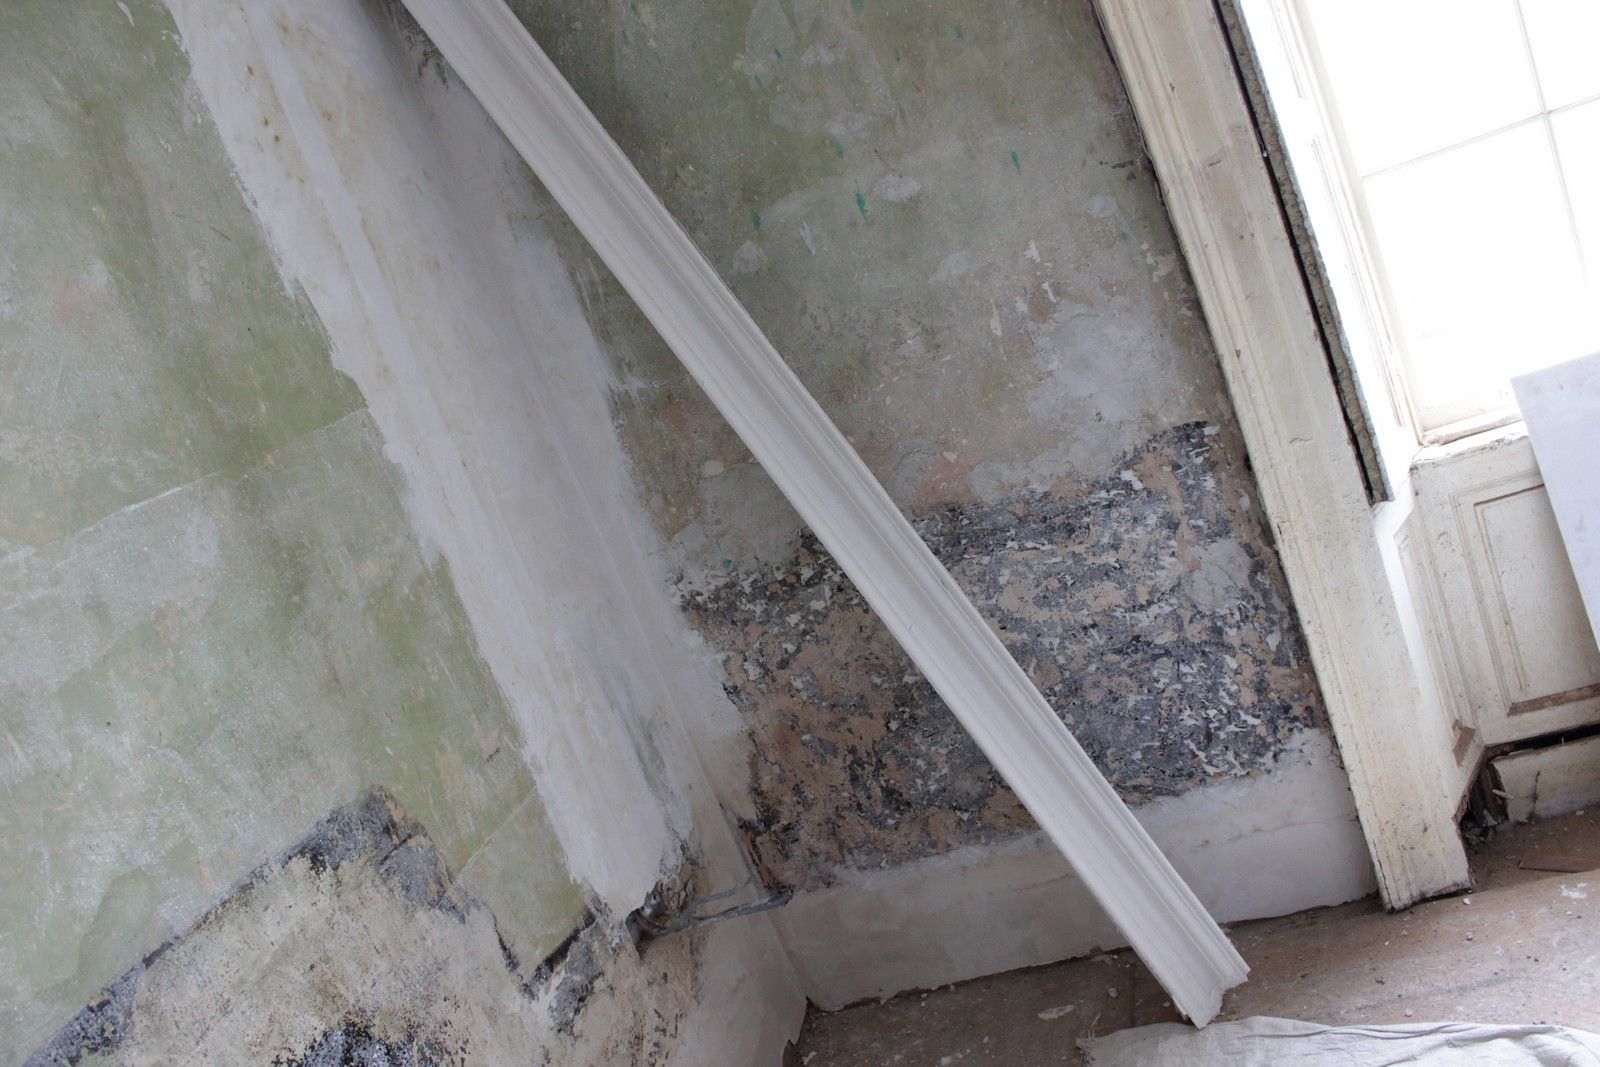


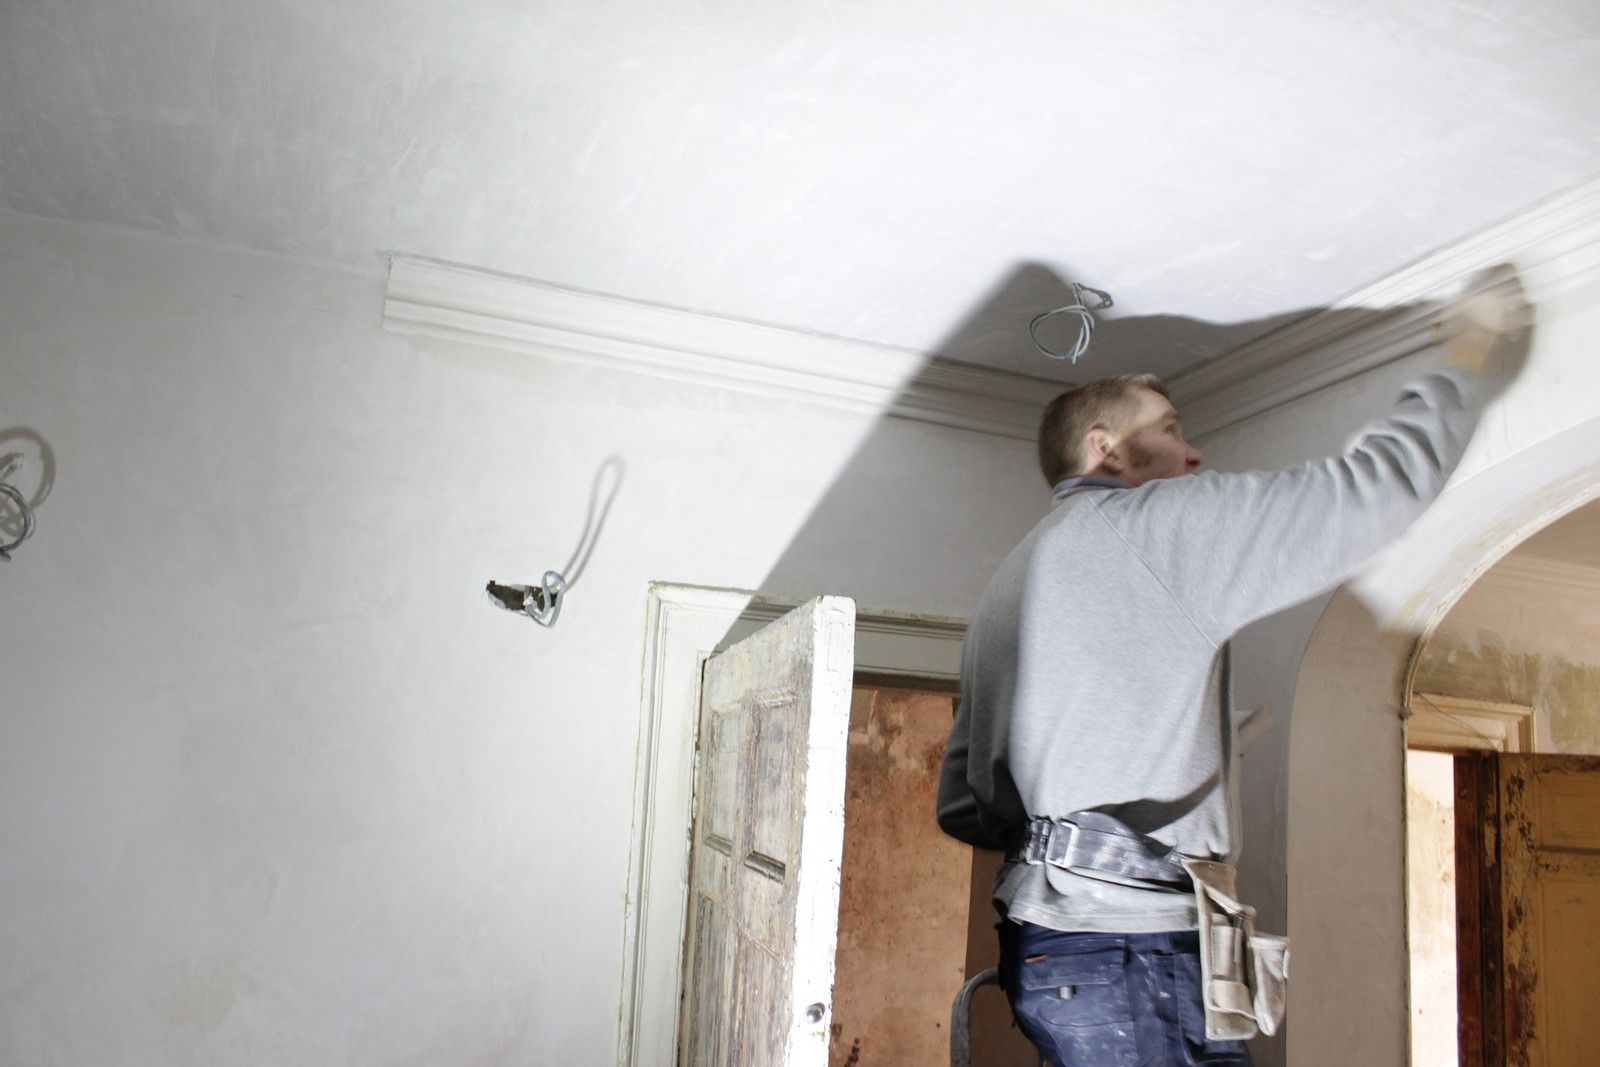
Whilst there was an initial wait of a few weeks to manufacture the cornicing and for Micheal to become available, the job itself was completed in less than three days.
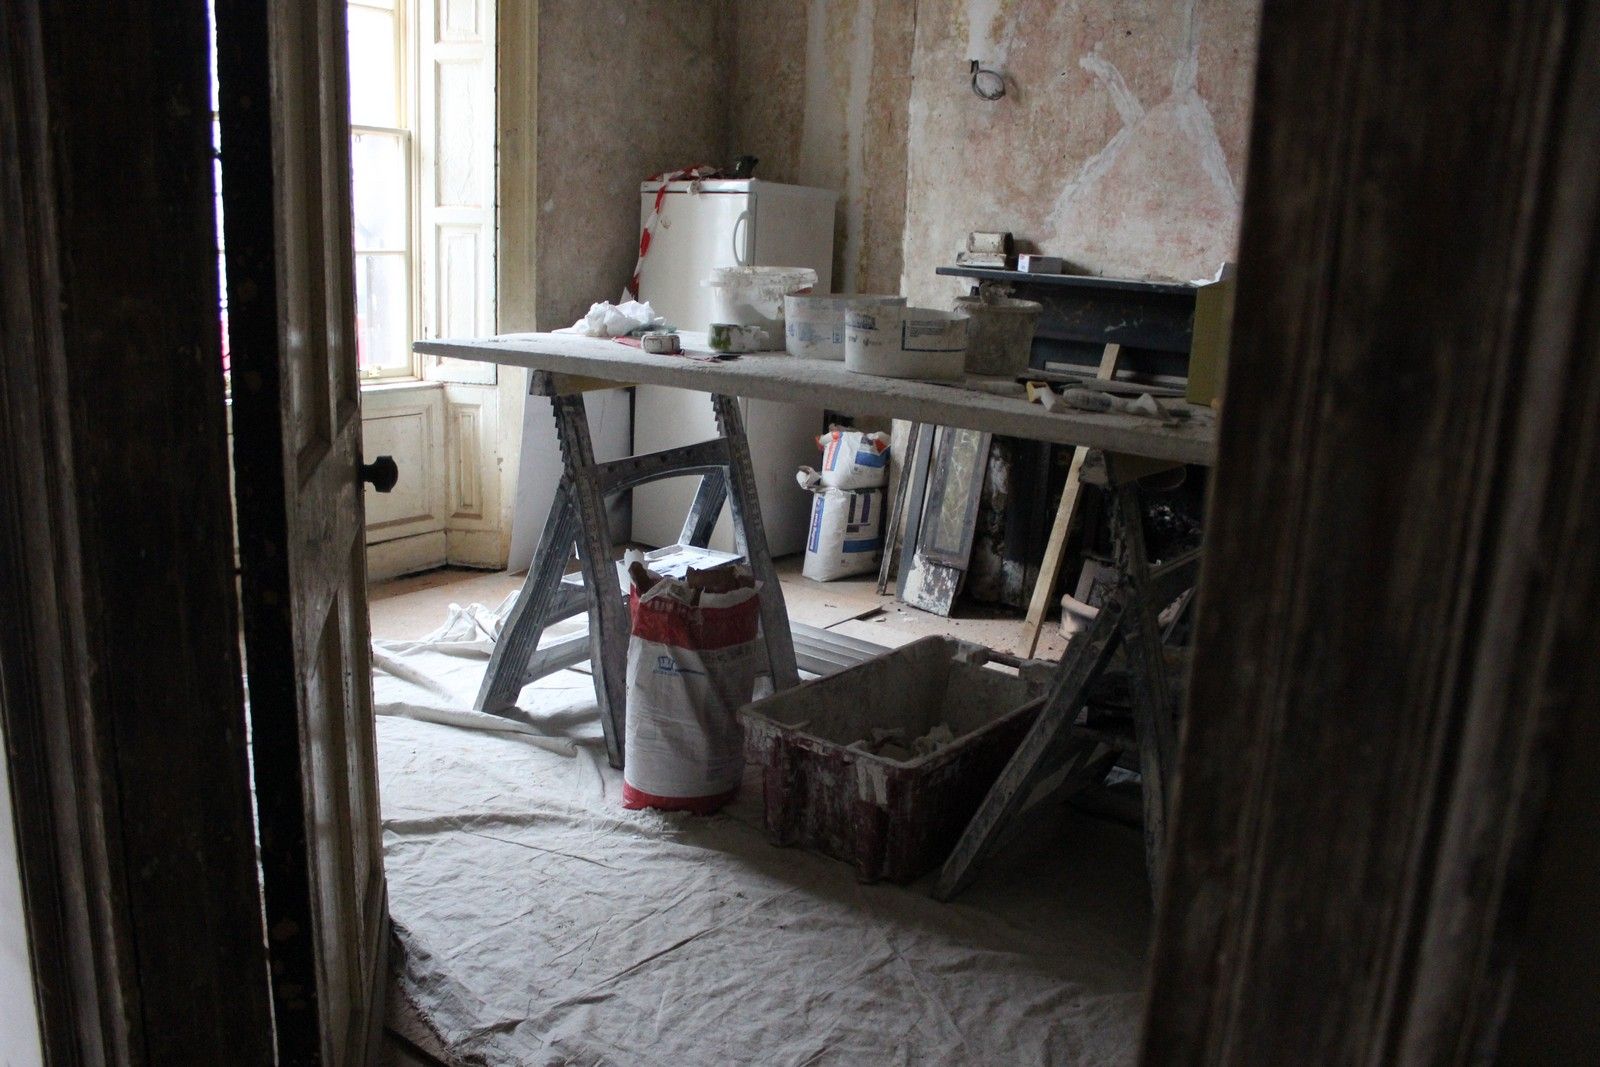

Few tools and materials are required; the main material being used is a thick plaster mix for attaching the cornice to the wall and ceilings, as well as blending it into adjoining pieces and onto the surfaces themselves.
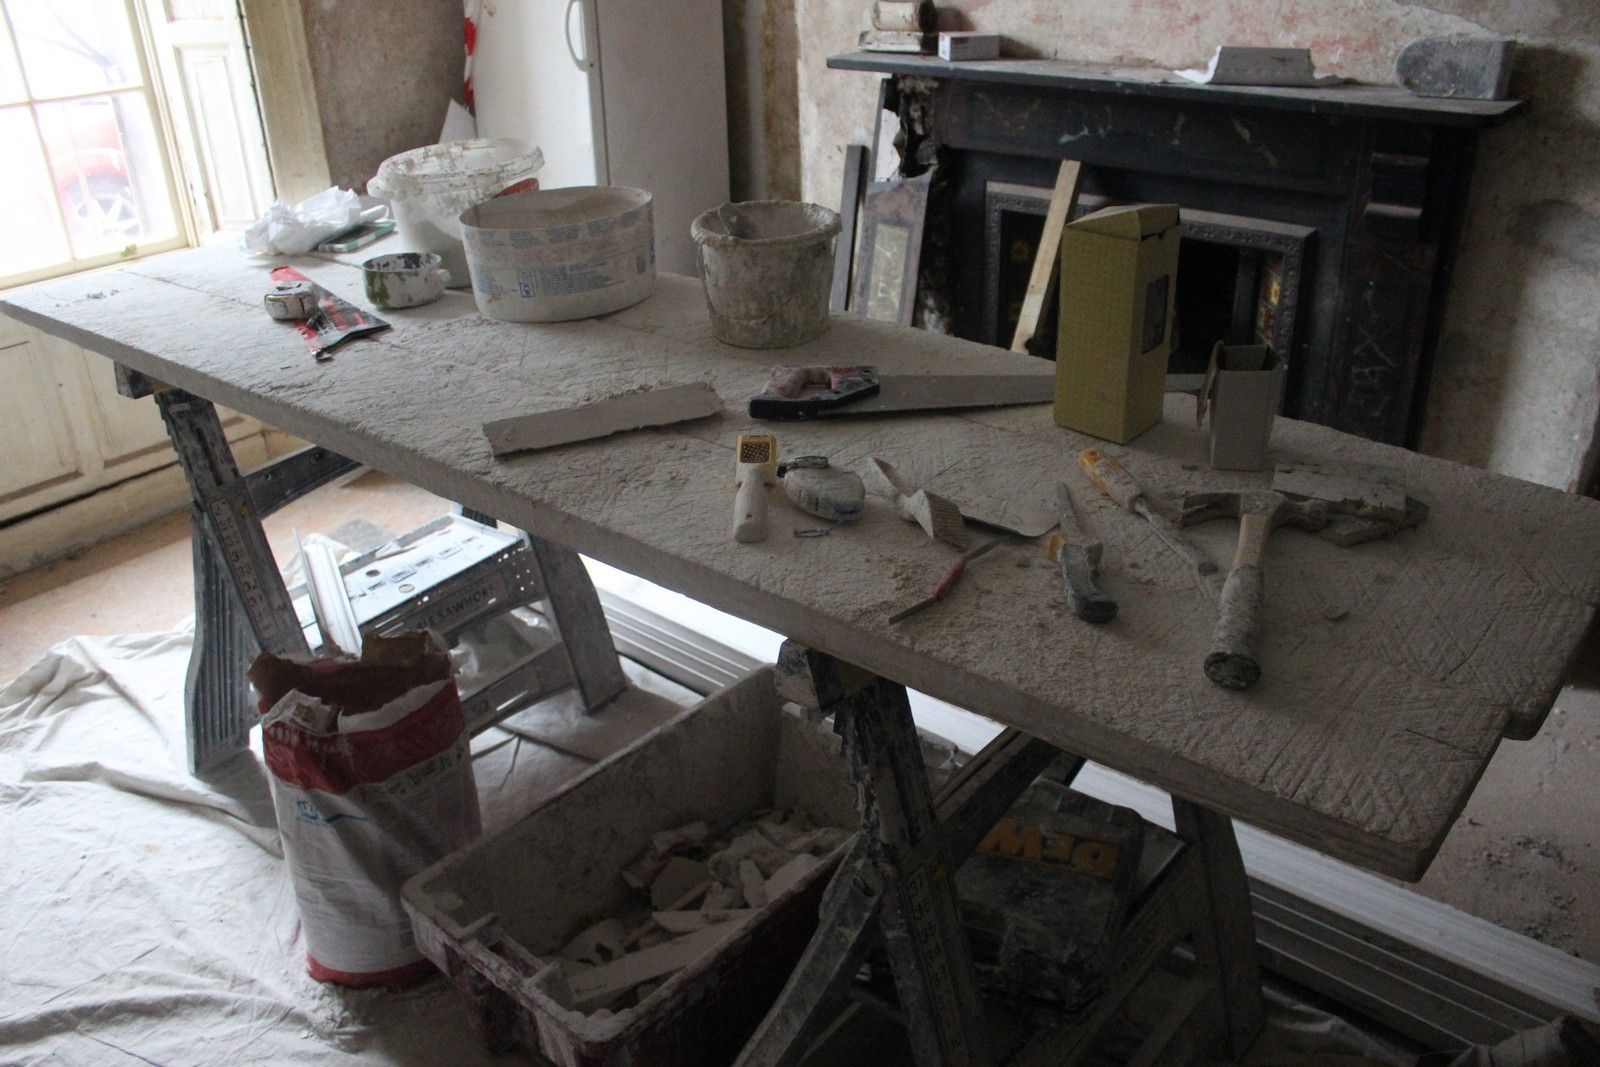
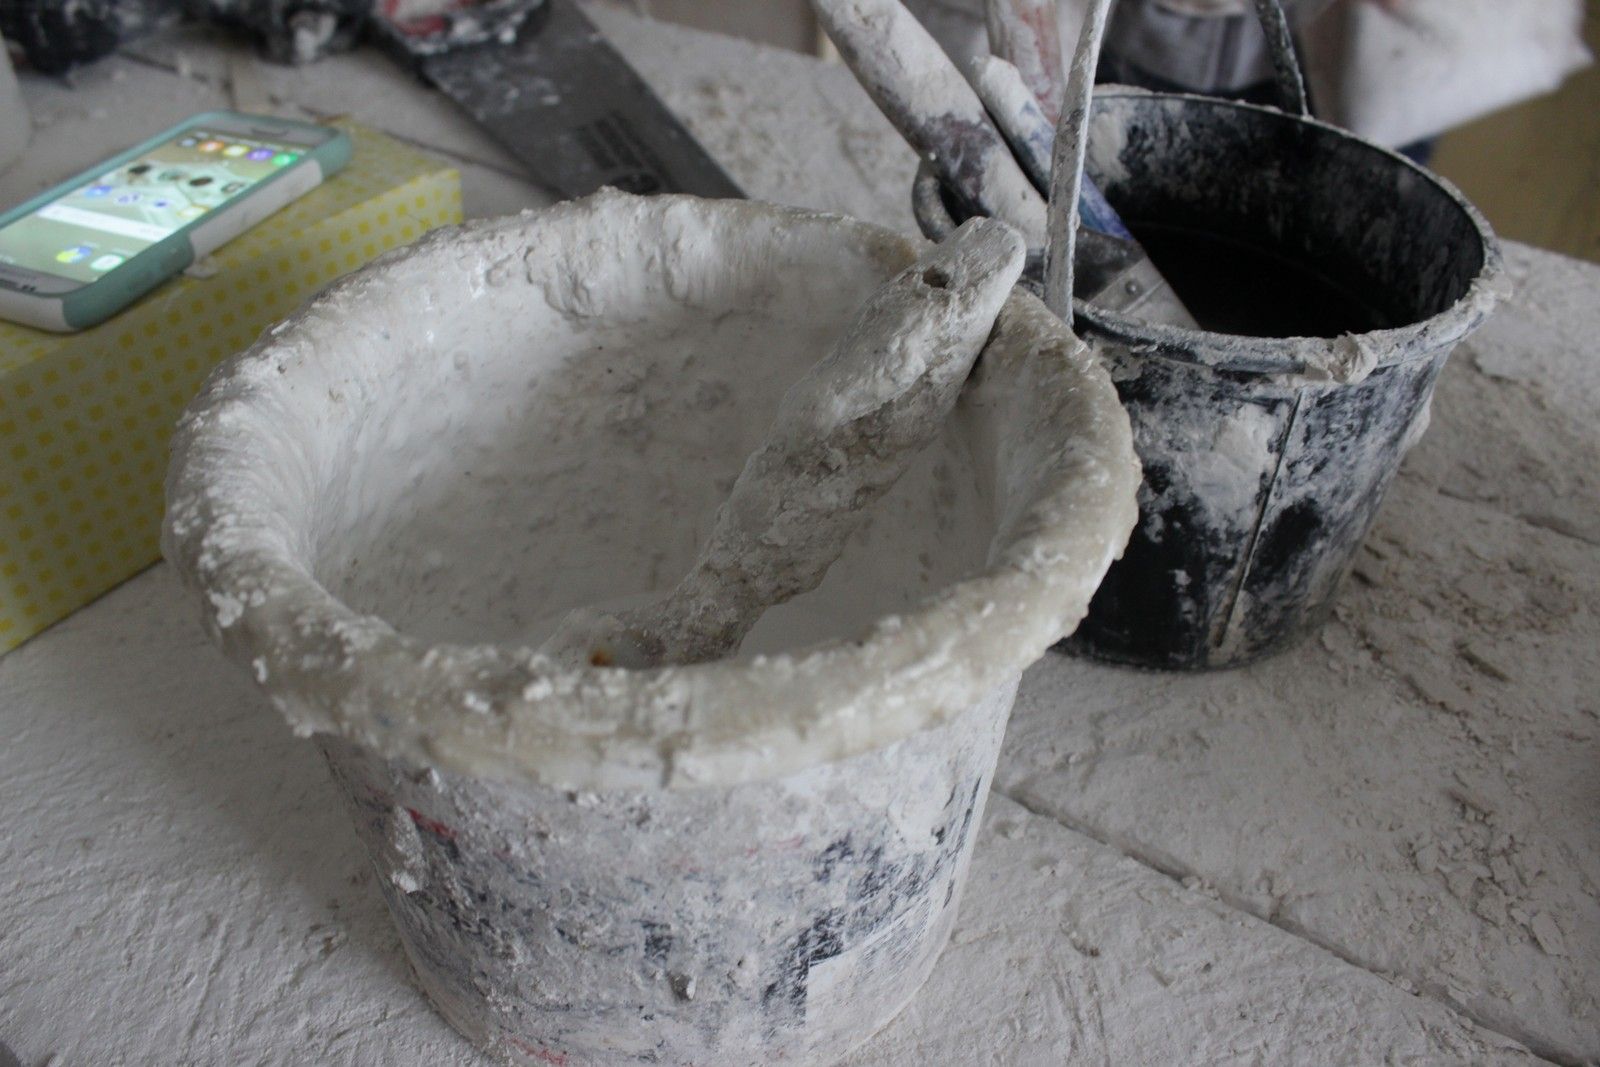
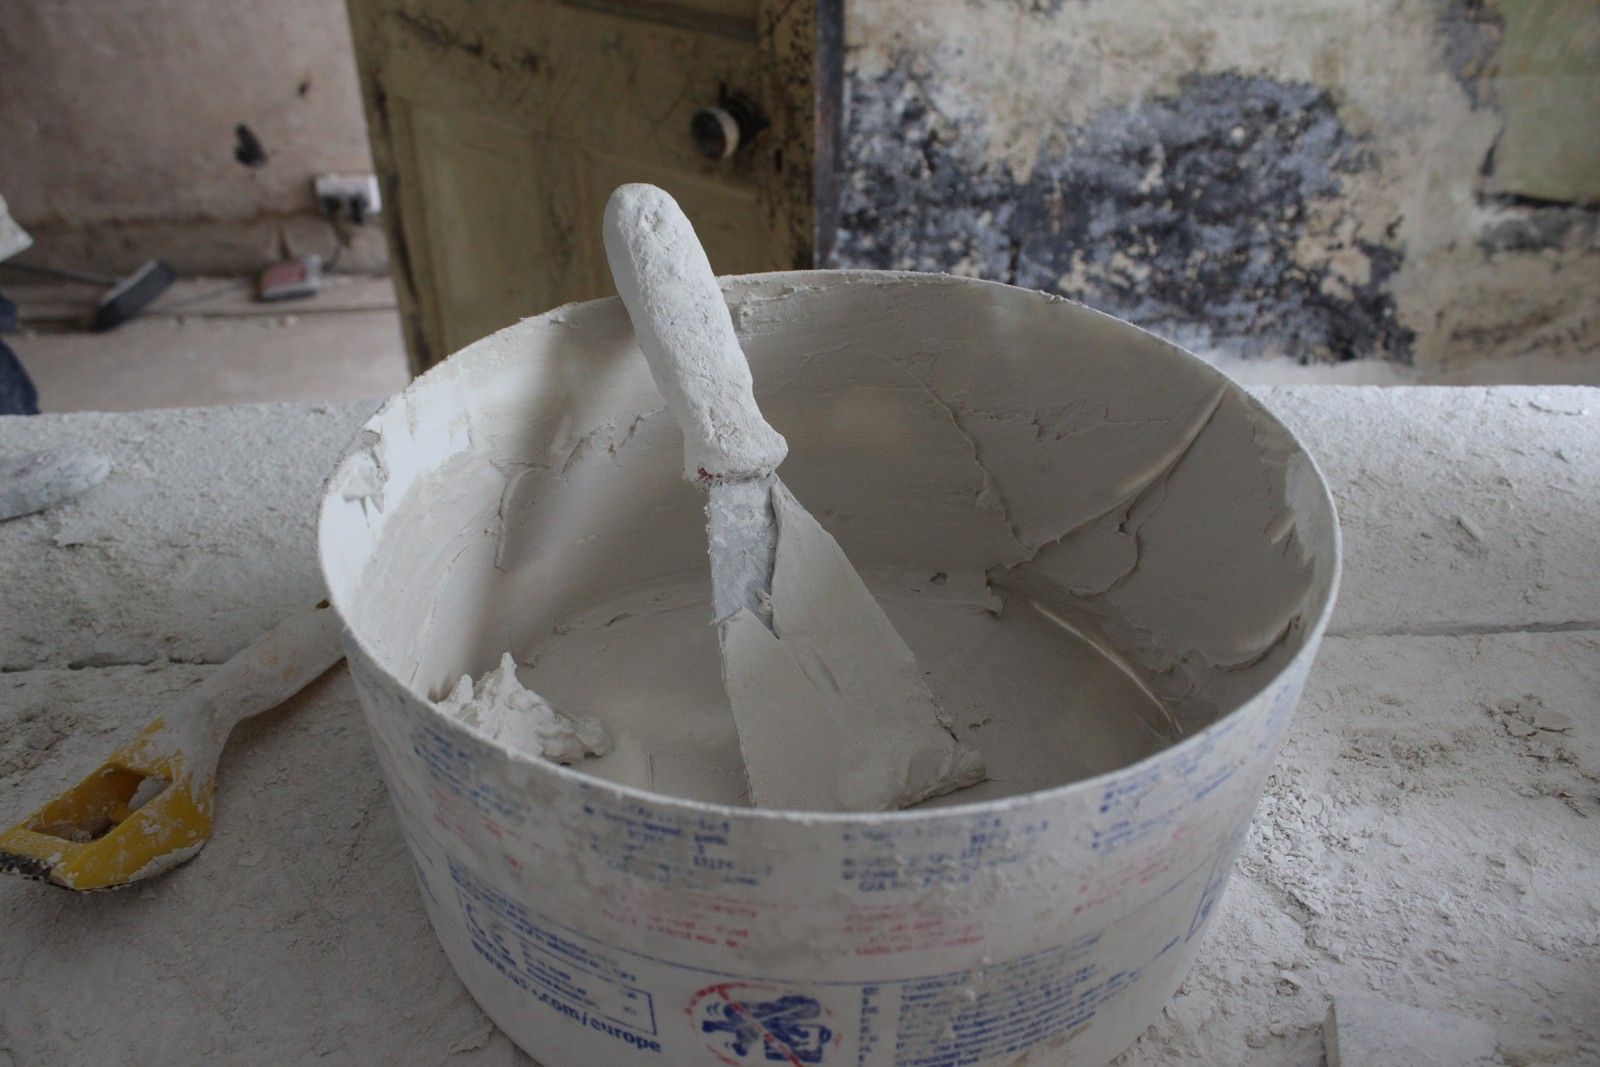

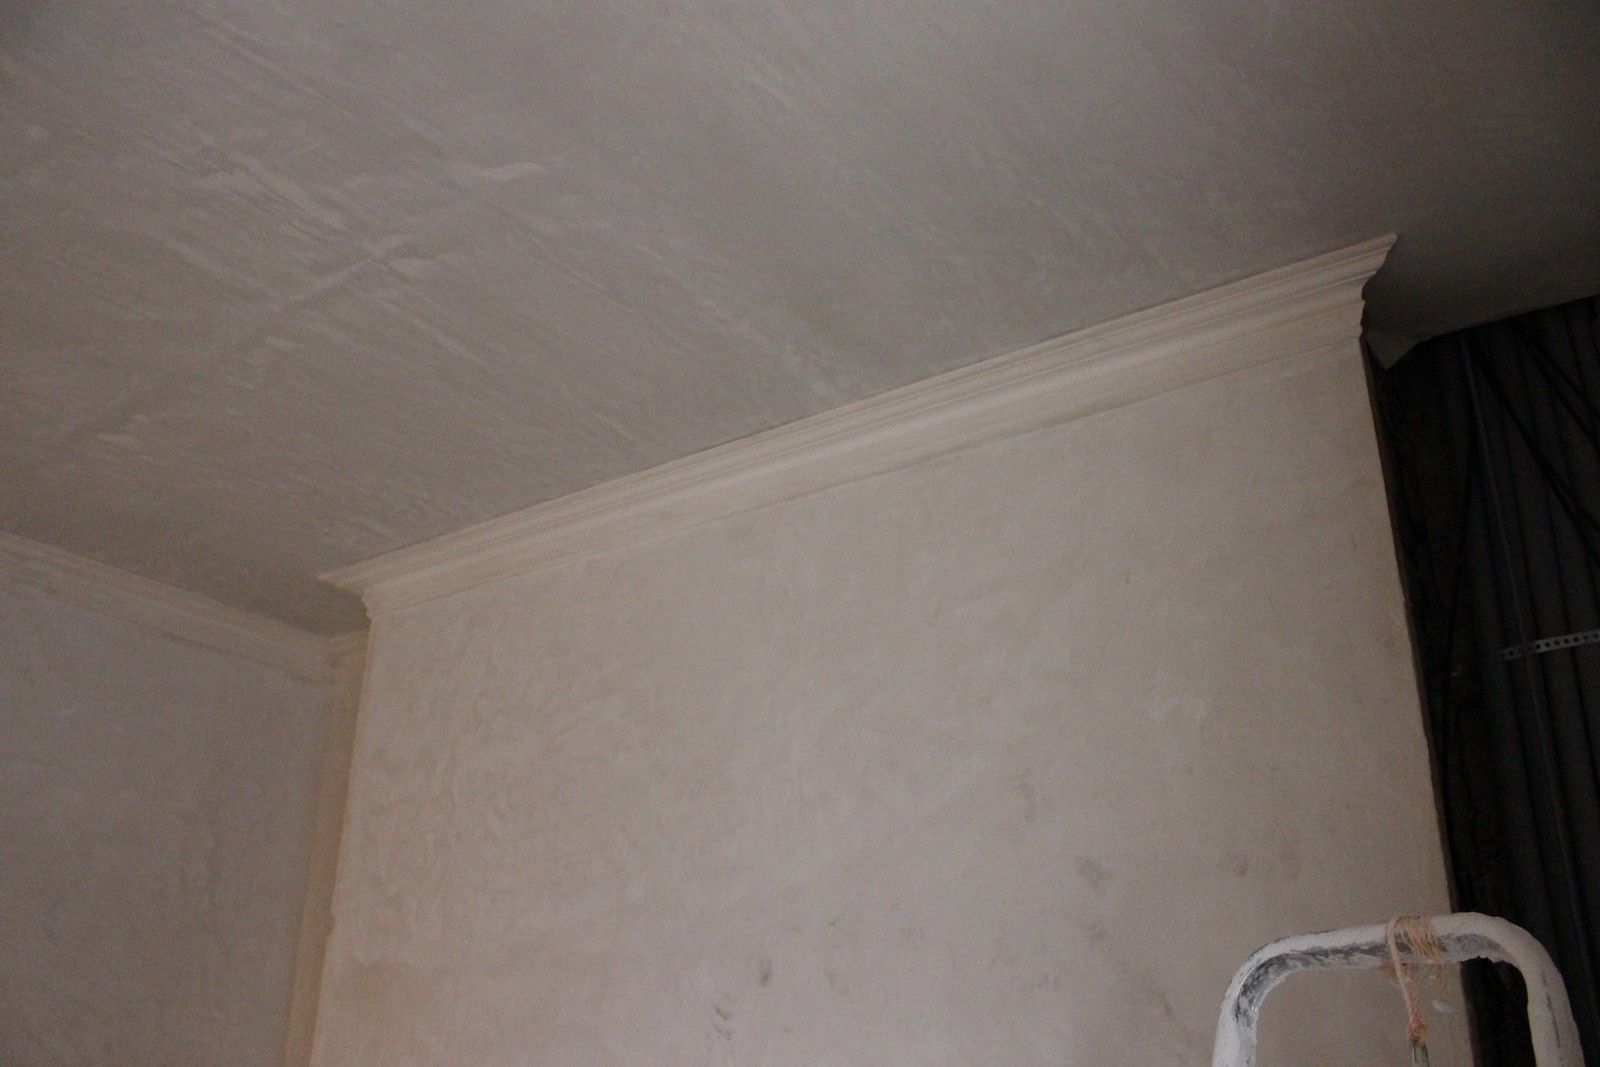
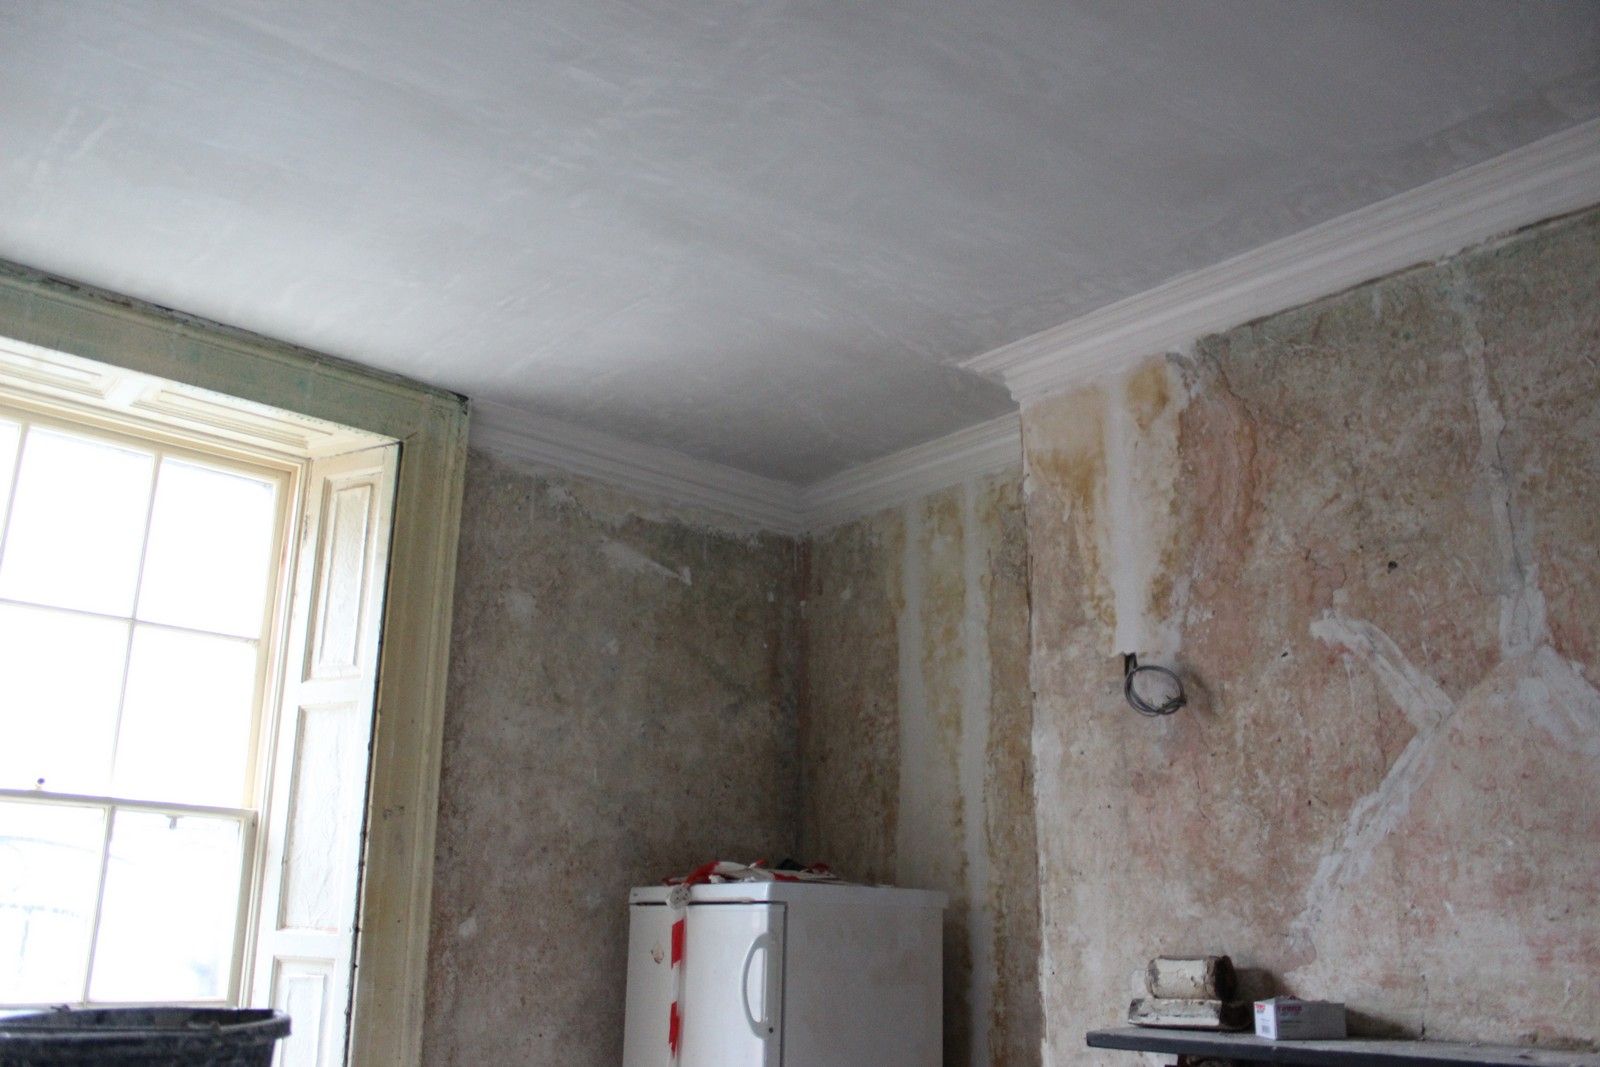
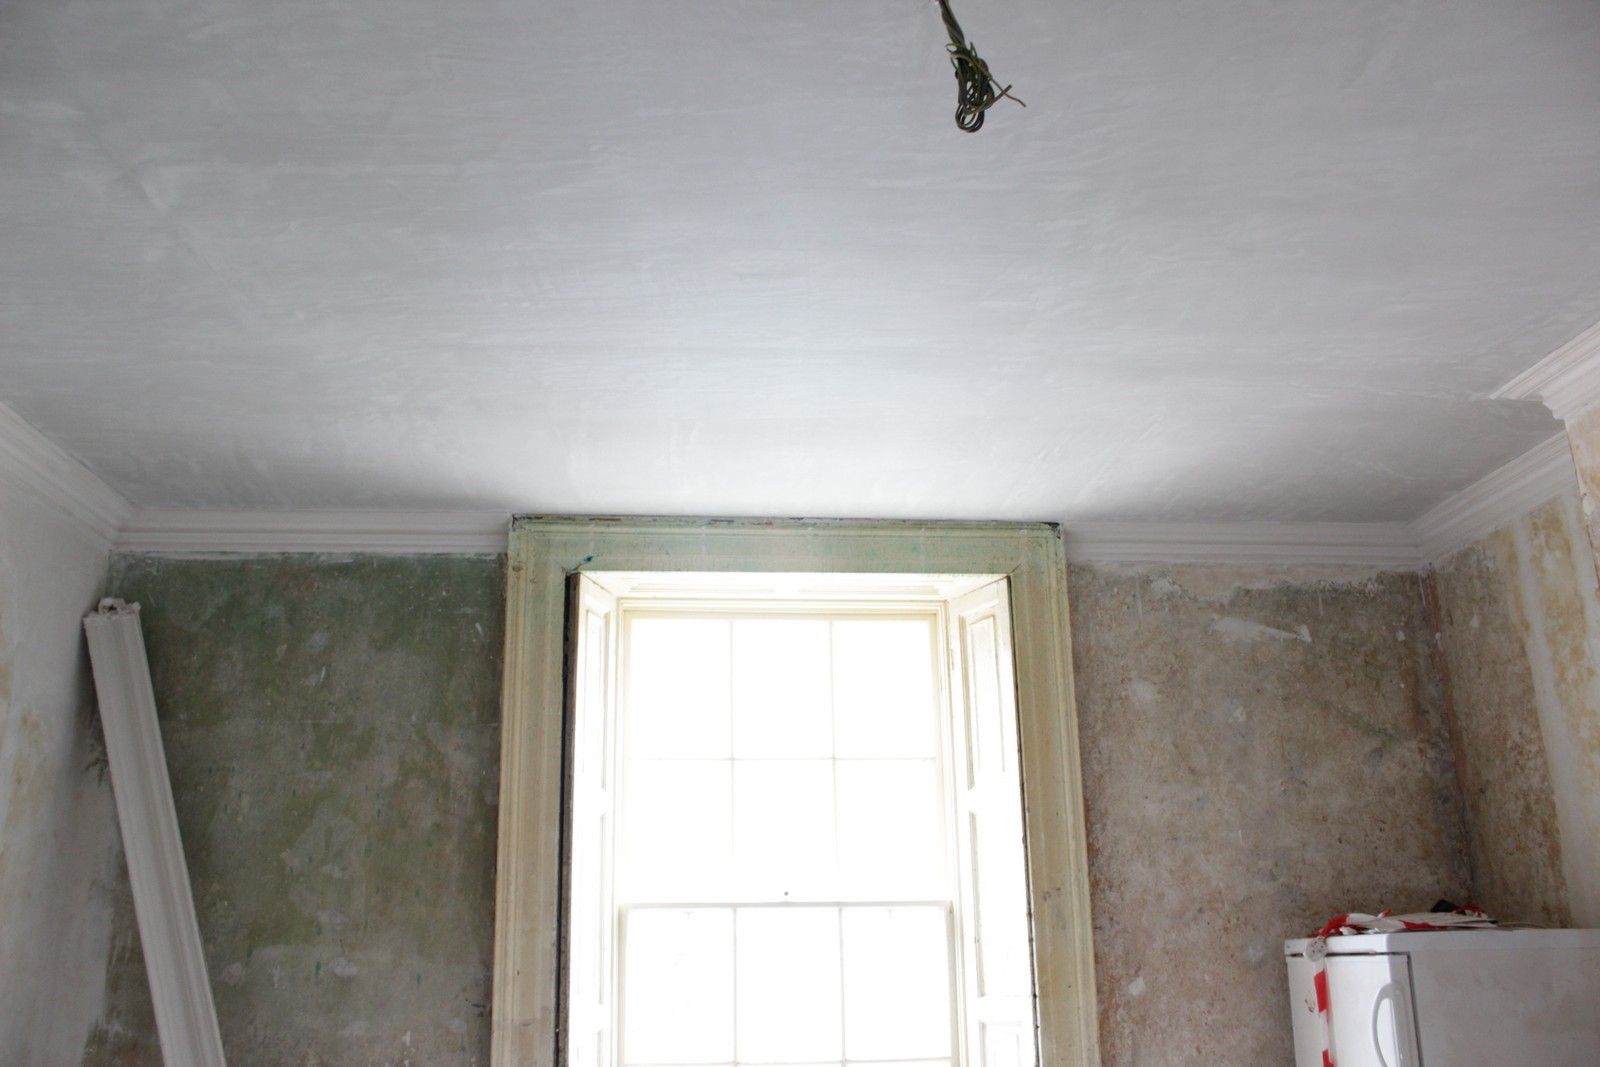
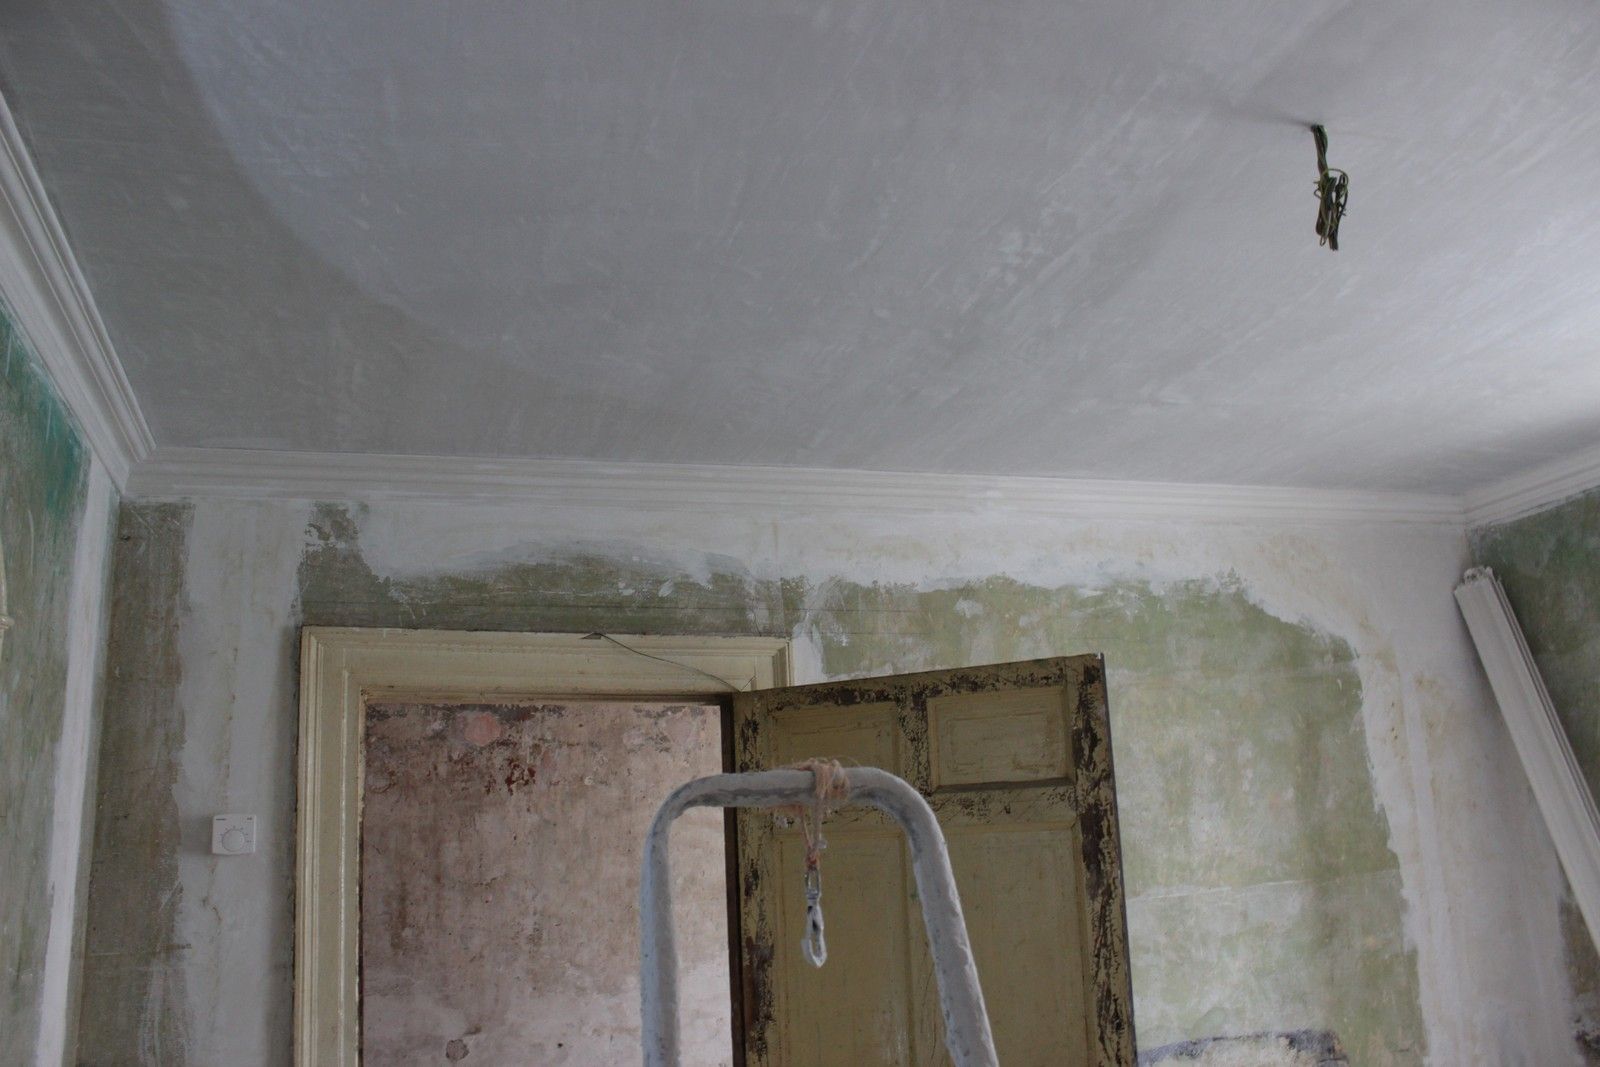
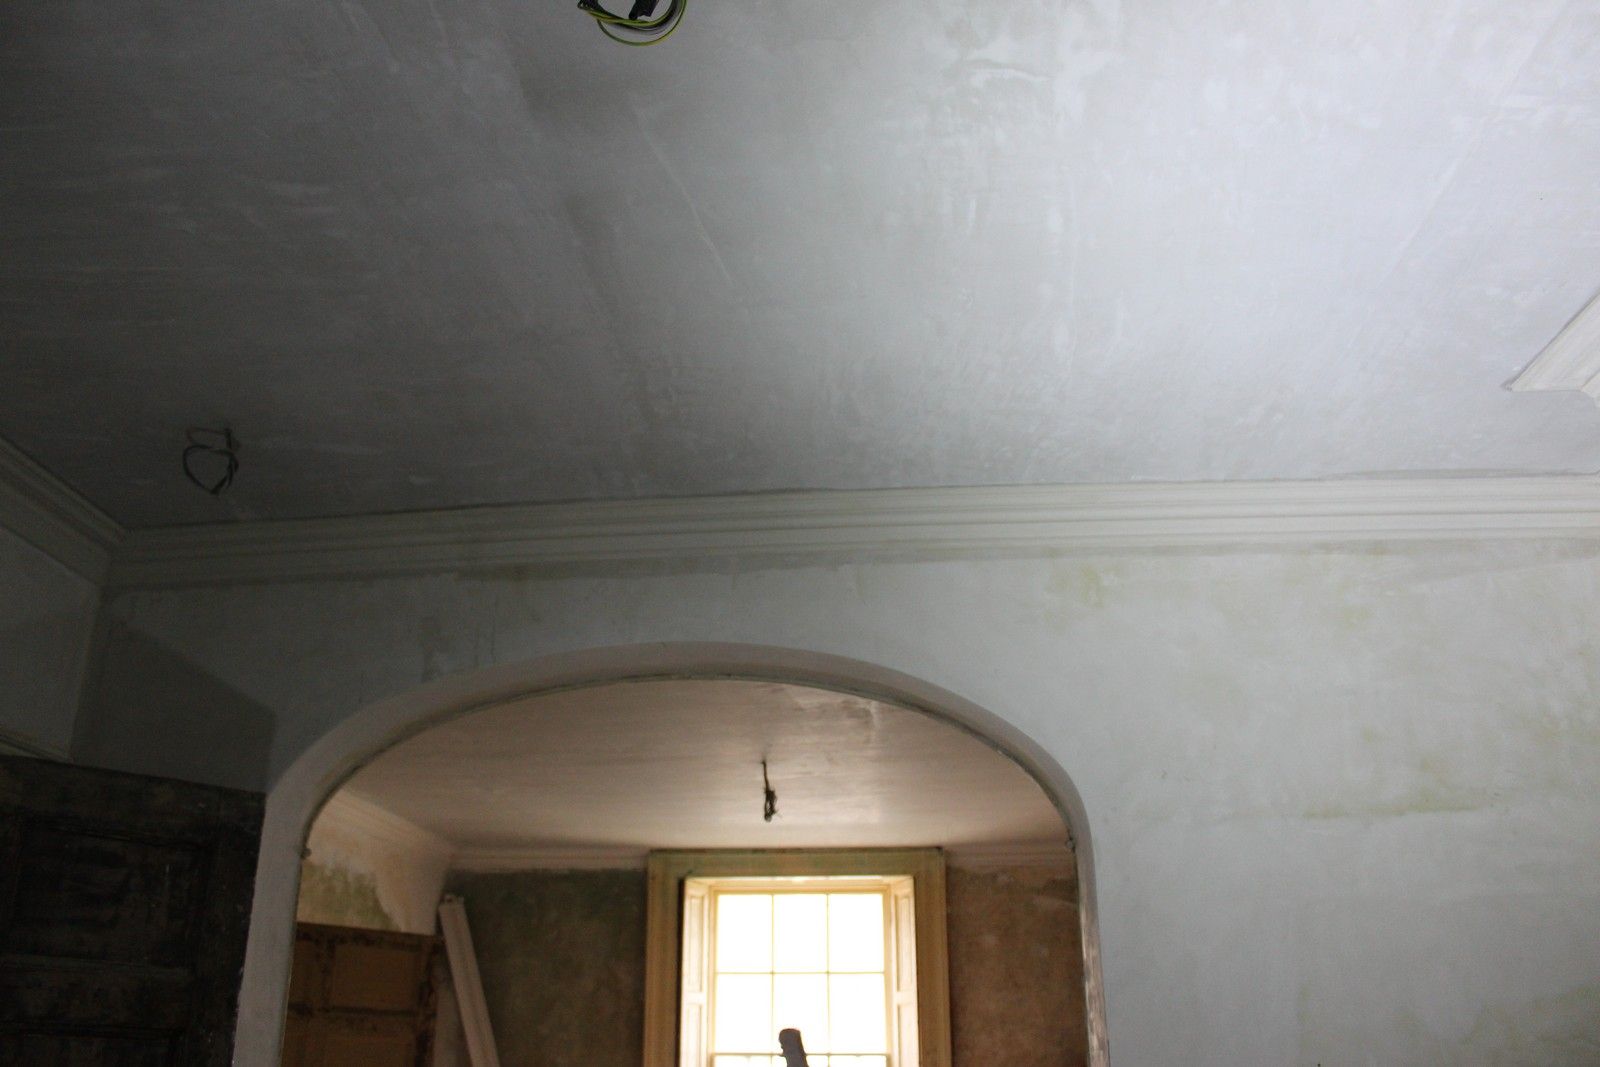
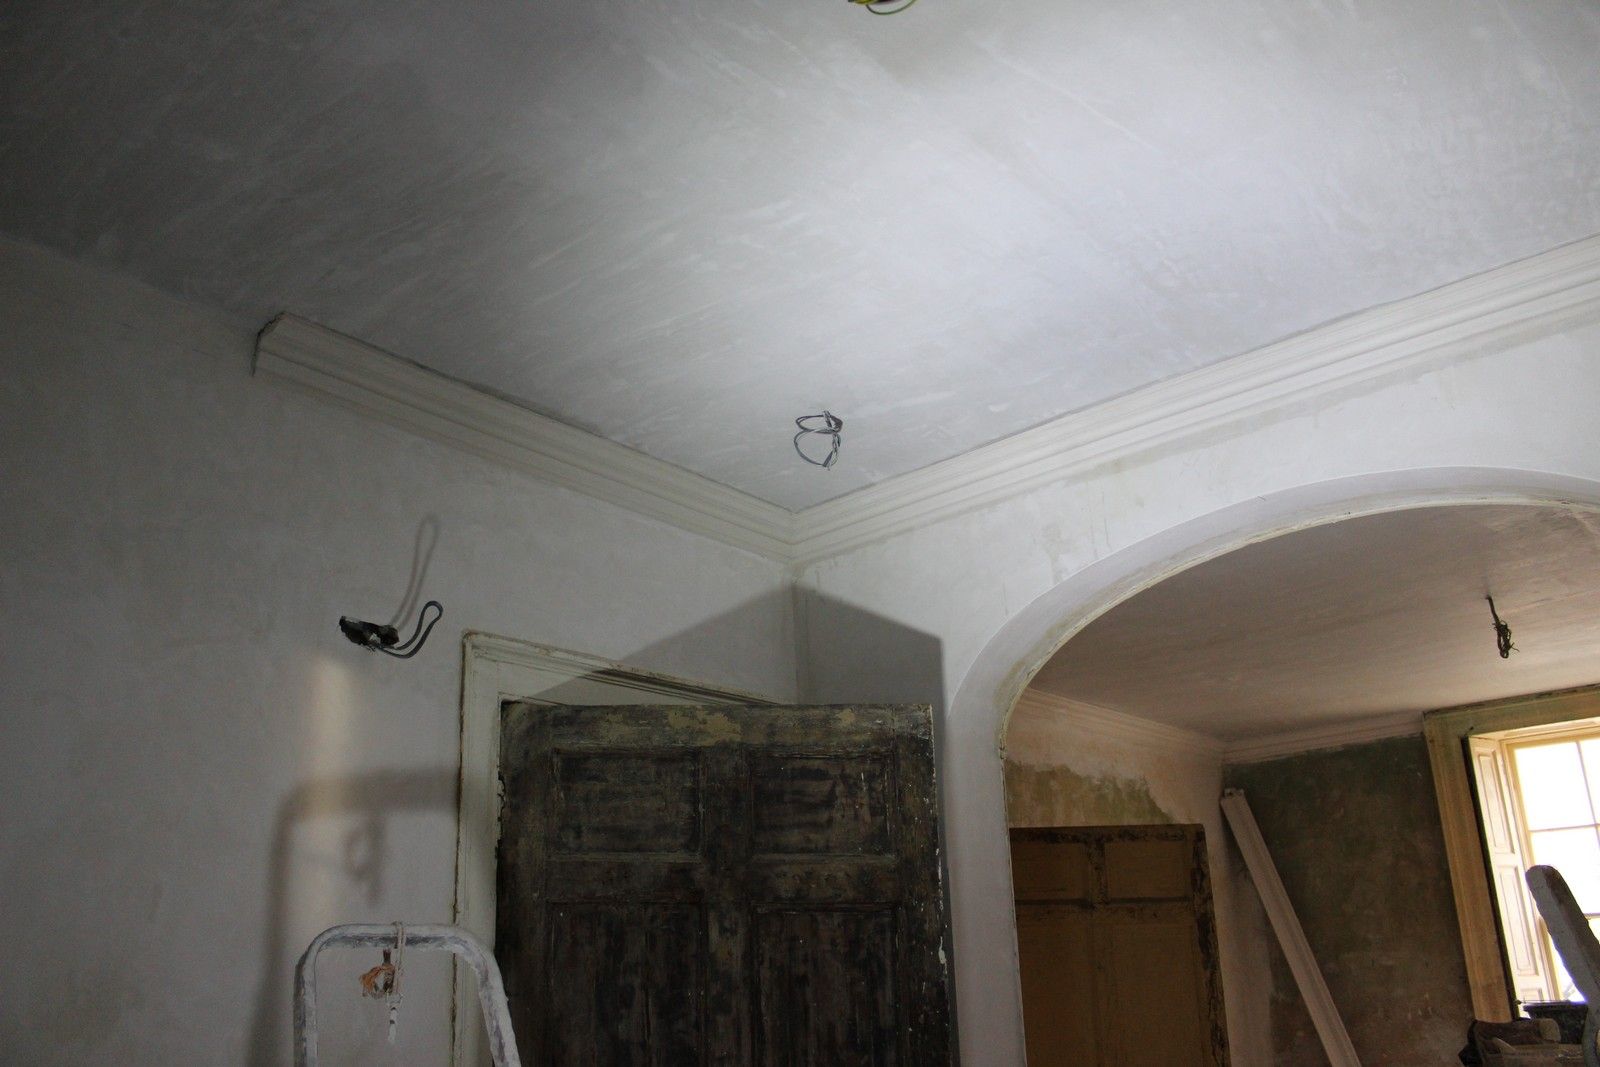
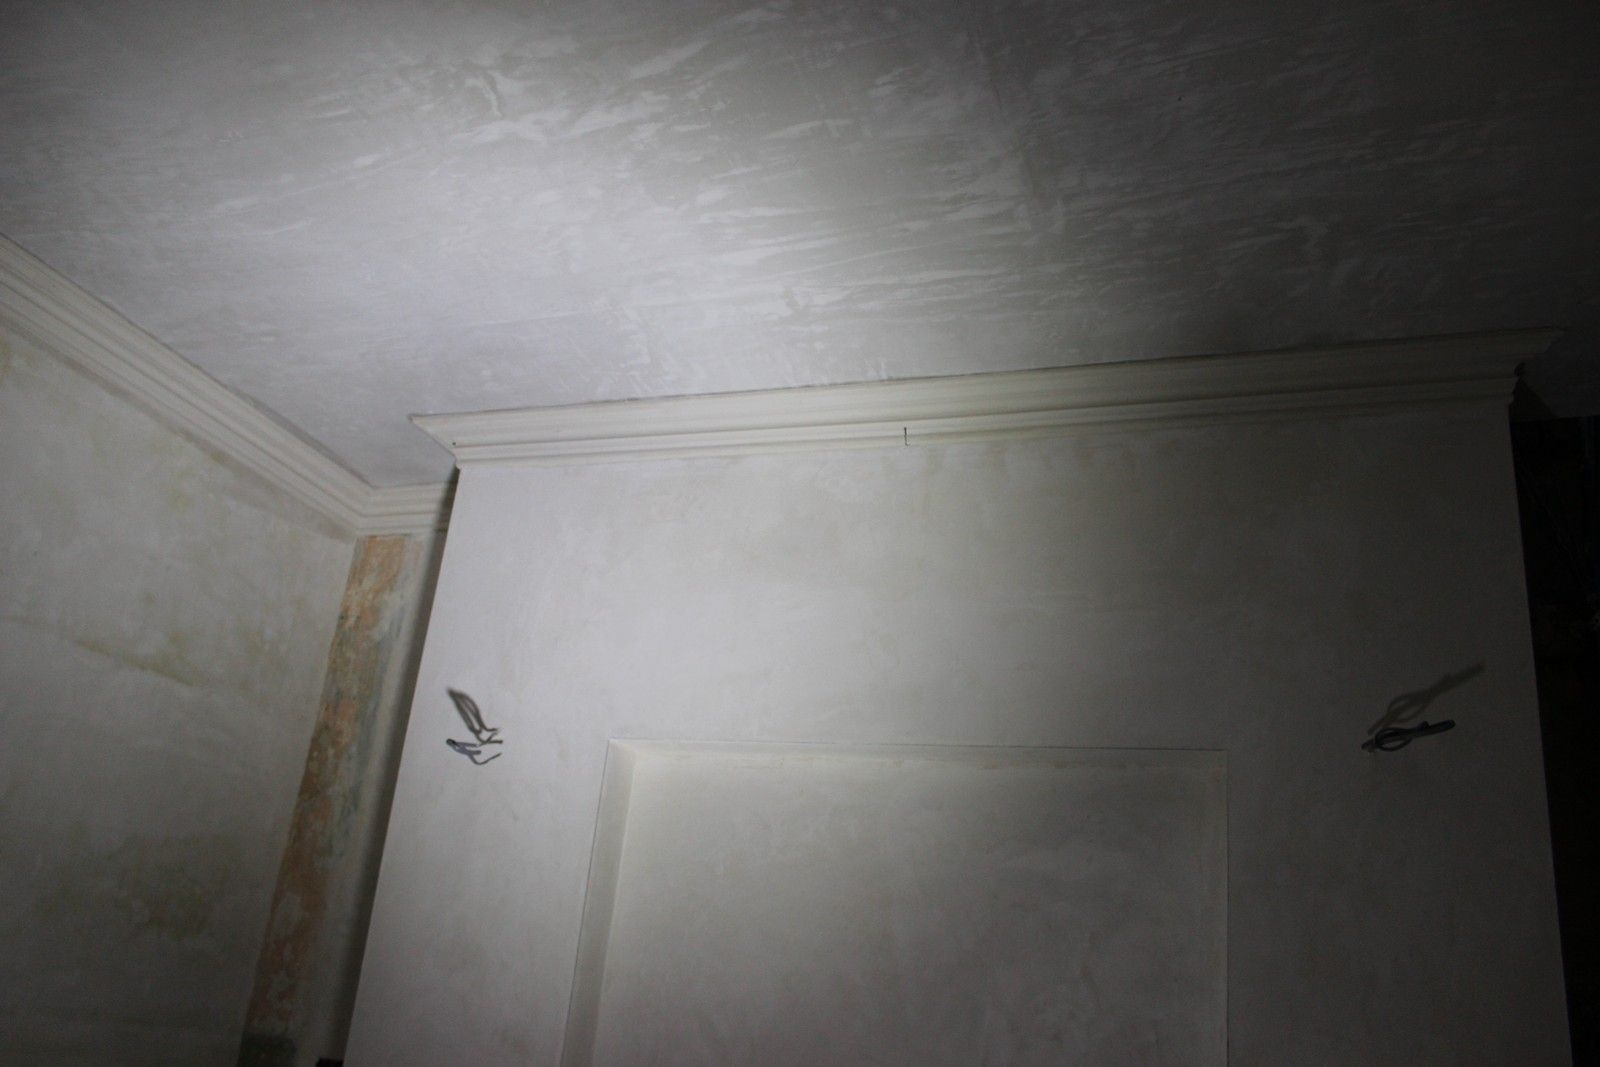
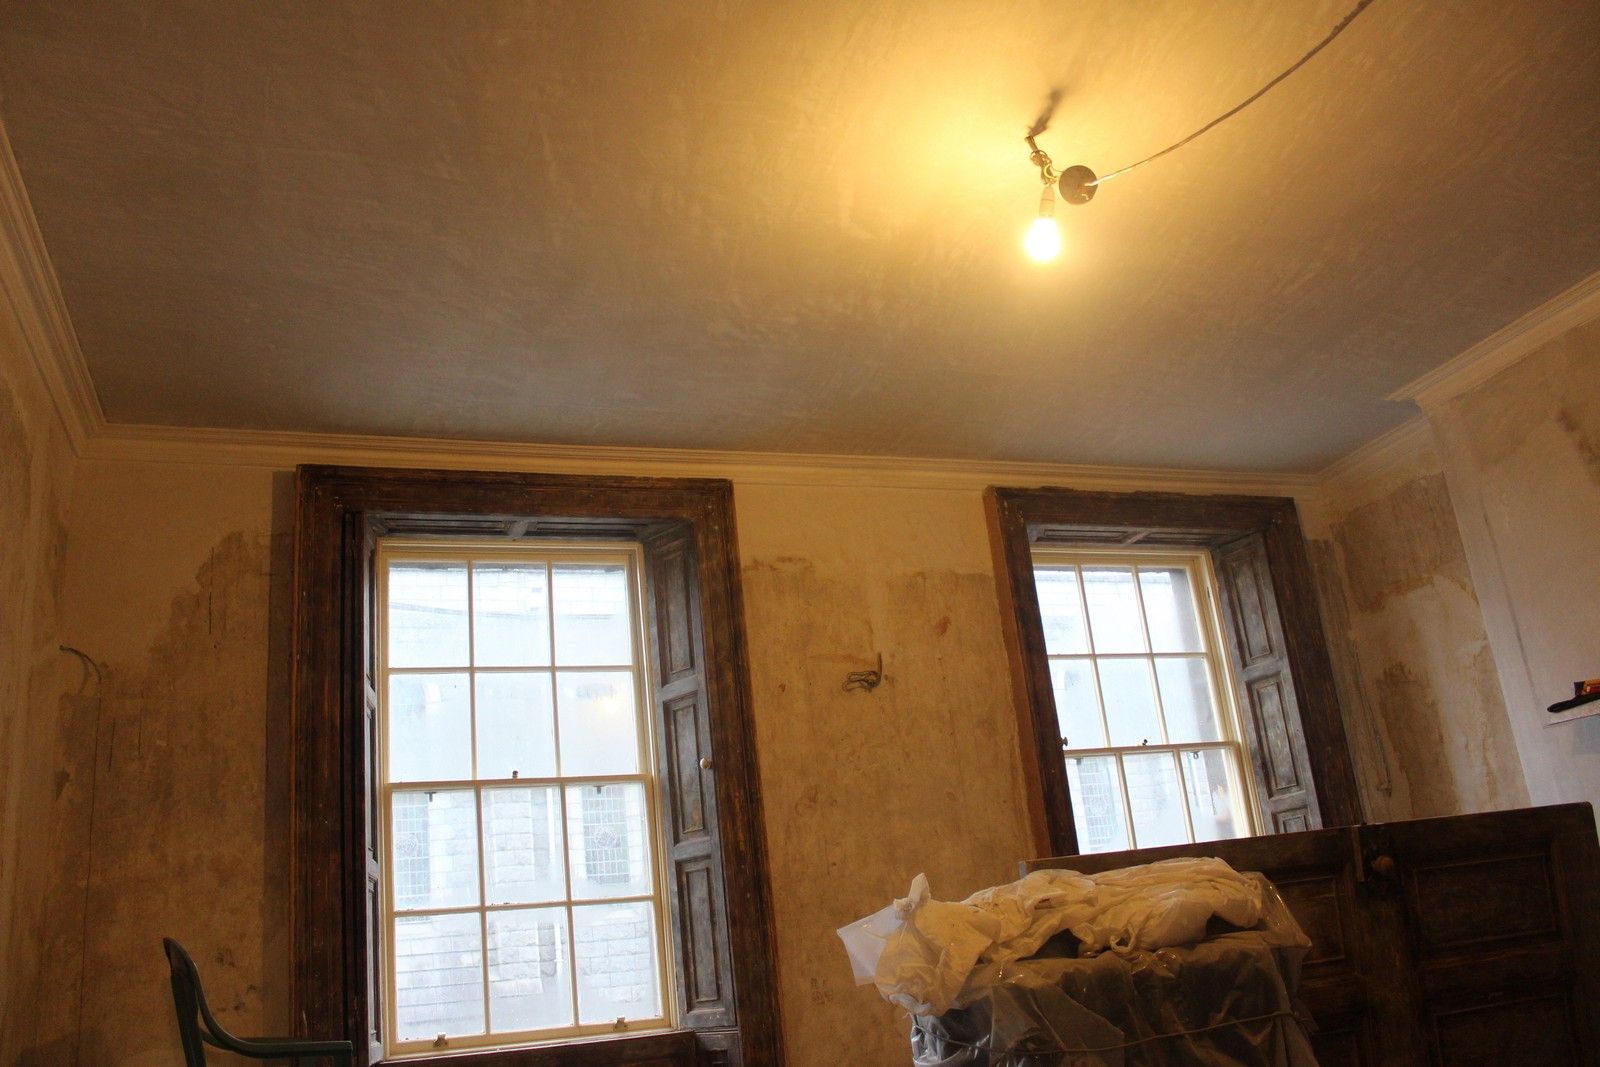
Work started on the first floor, where we have the living room at the front and a bedroom behind. The results are outstanding!
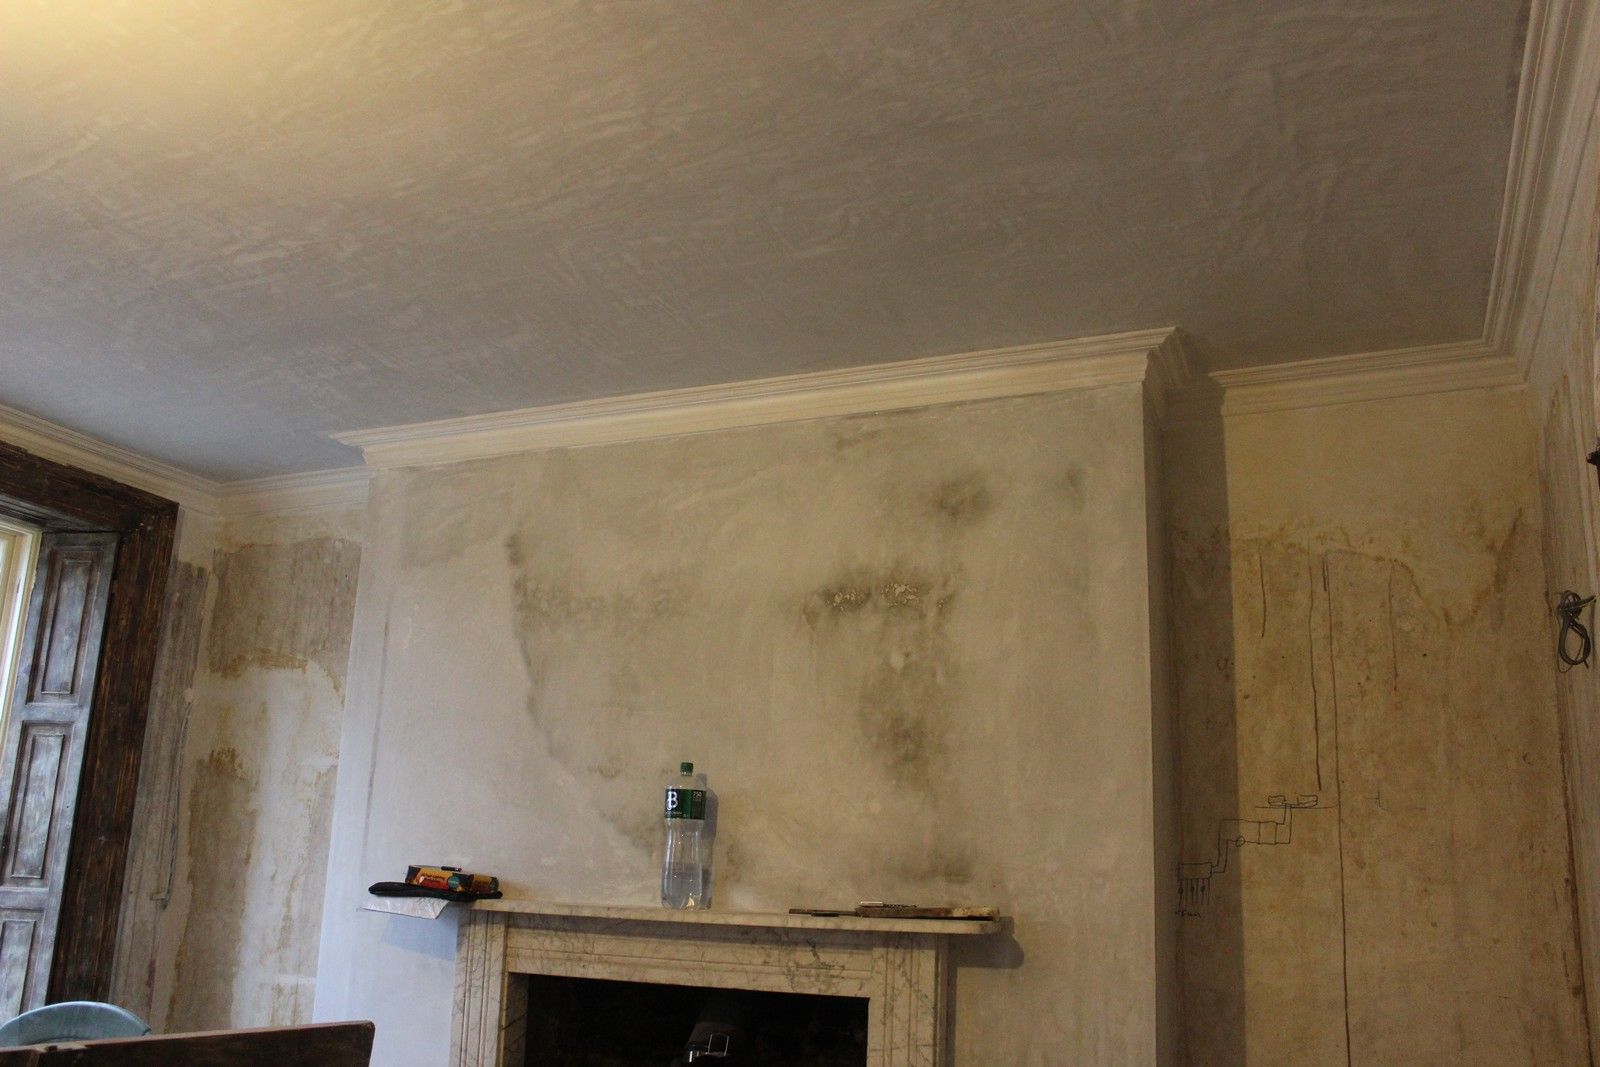
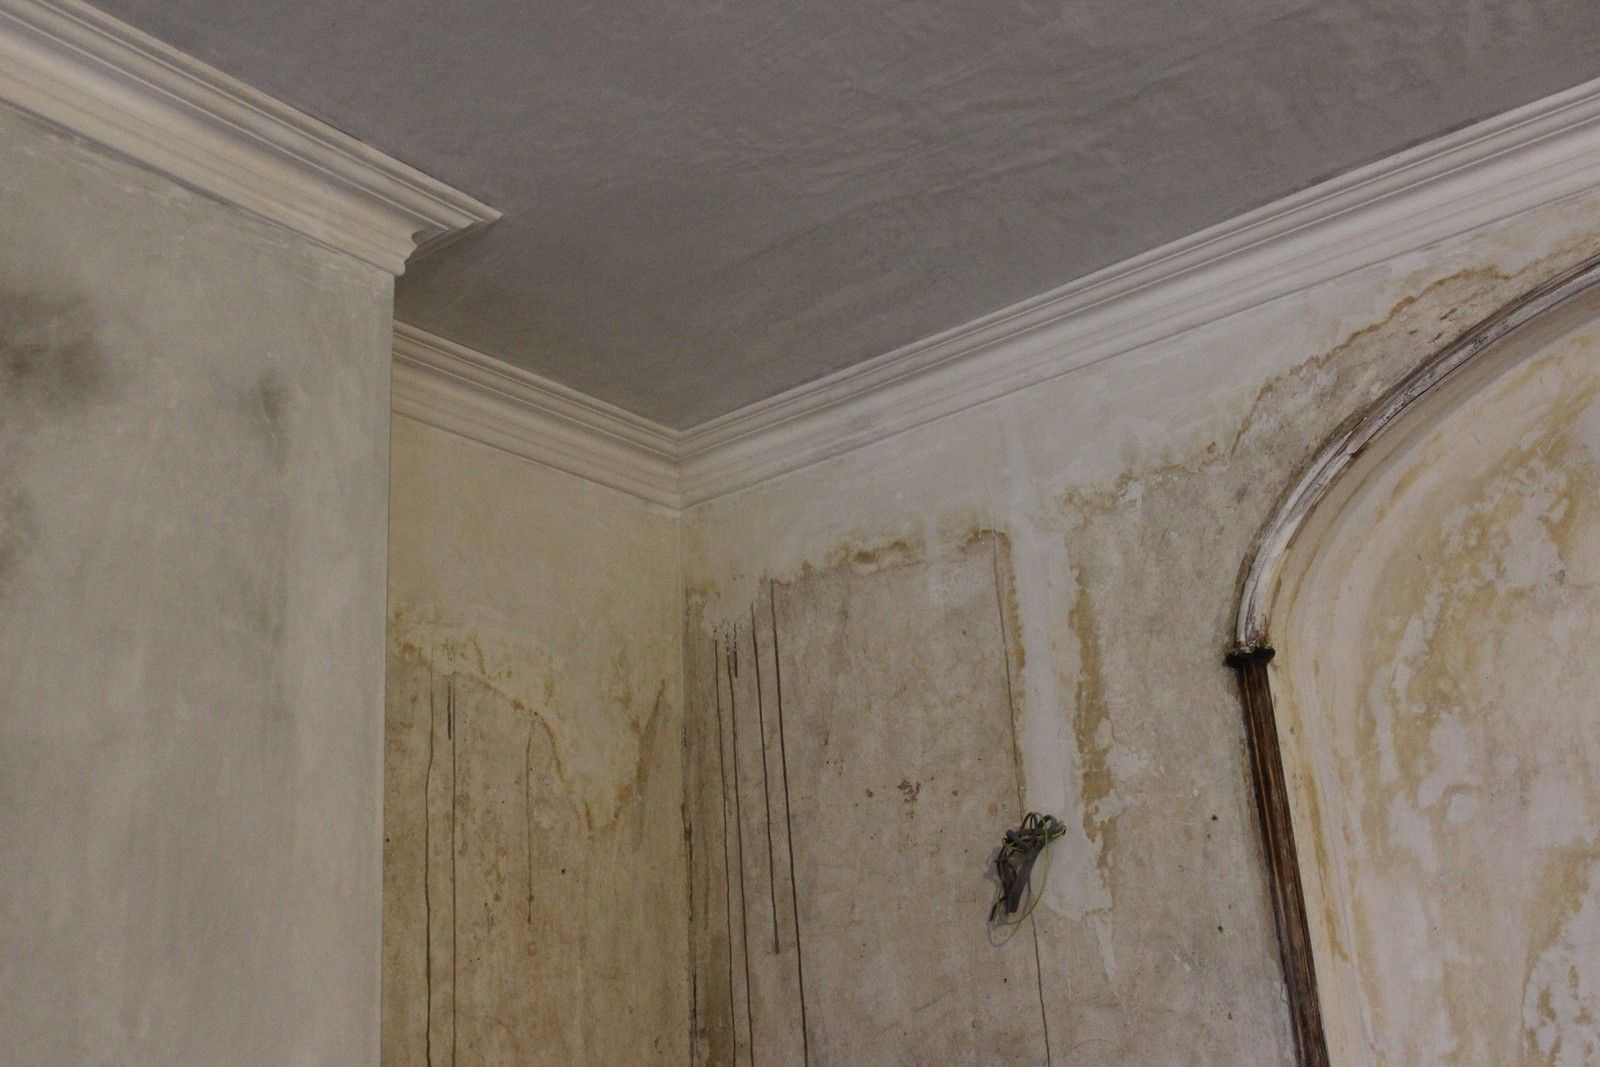
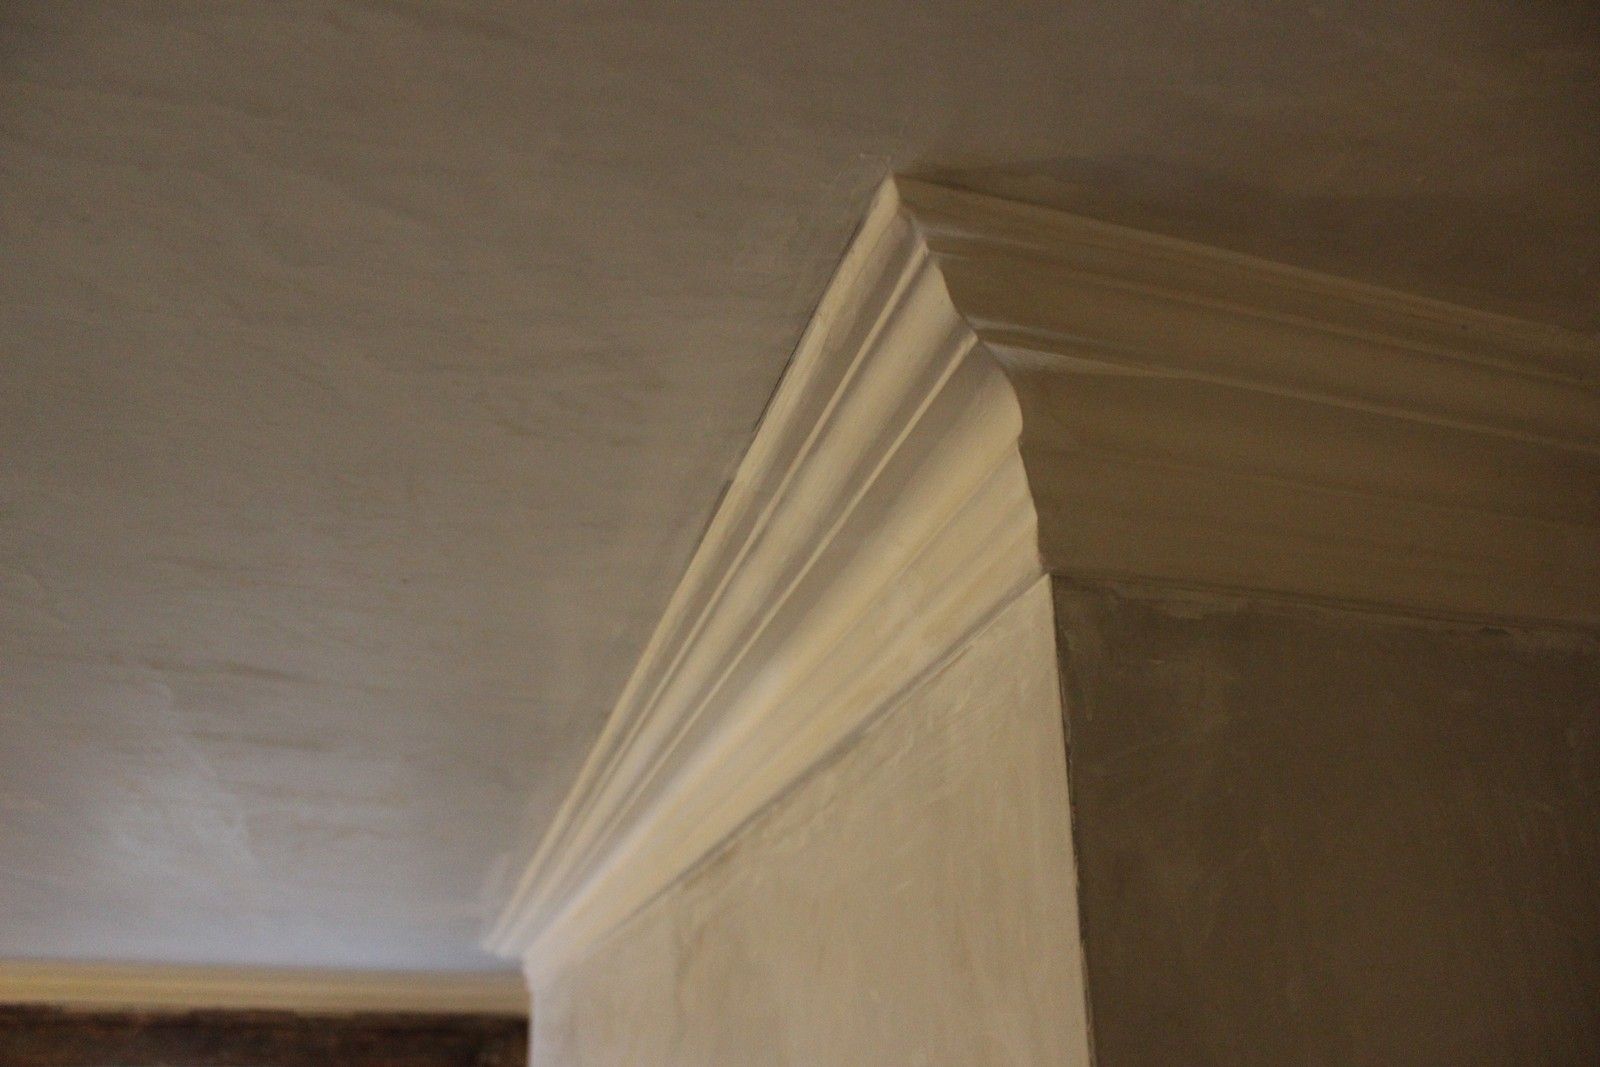
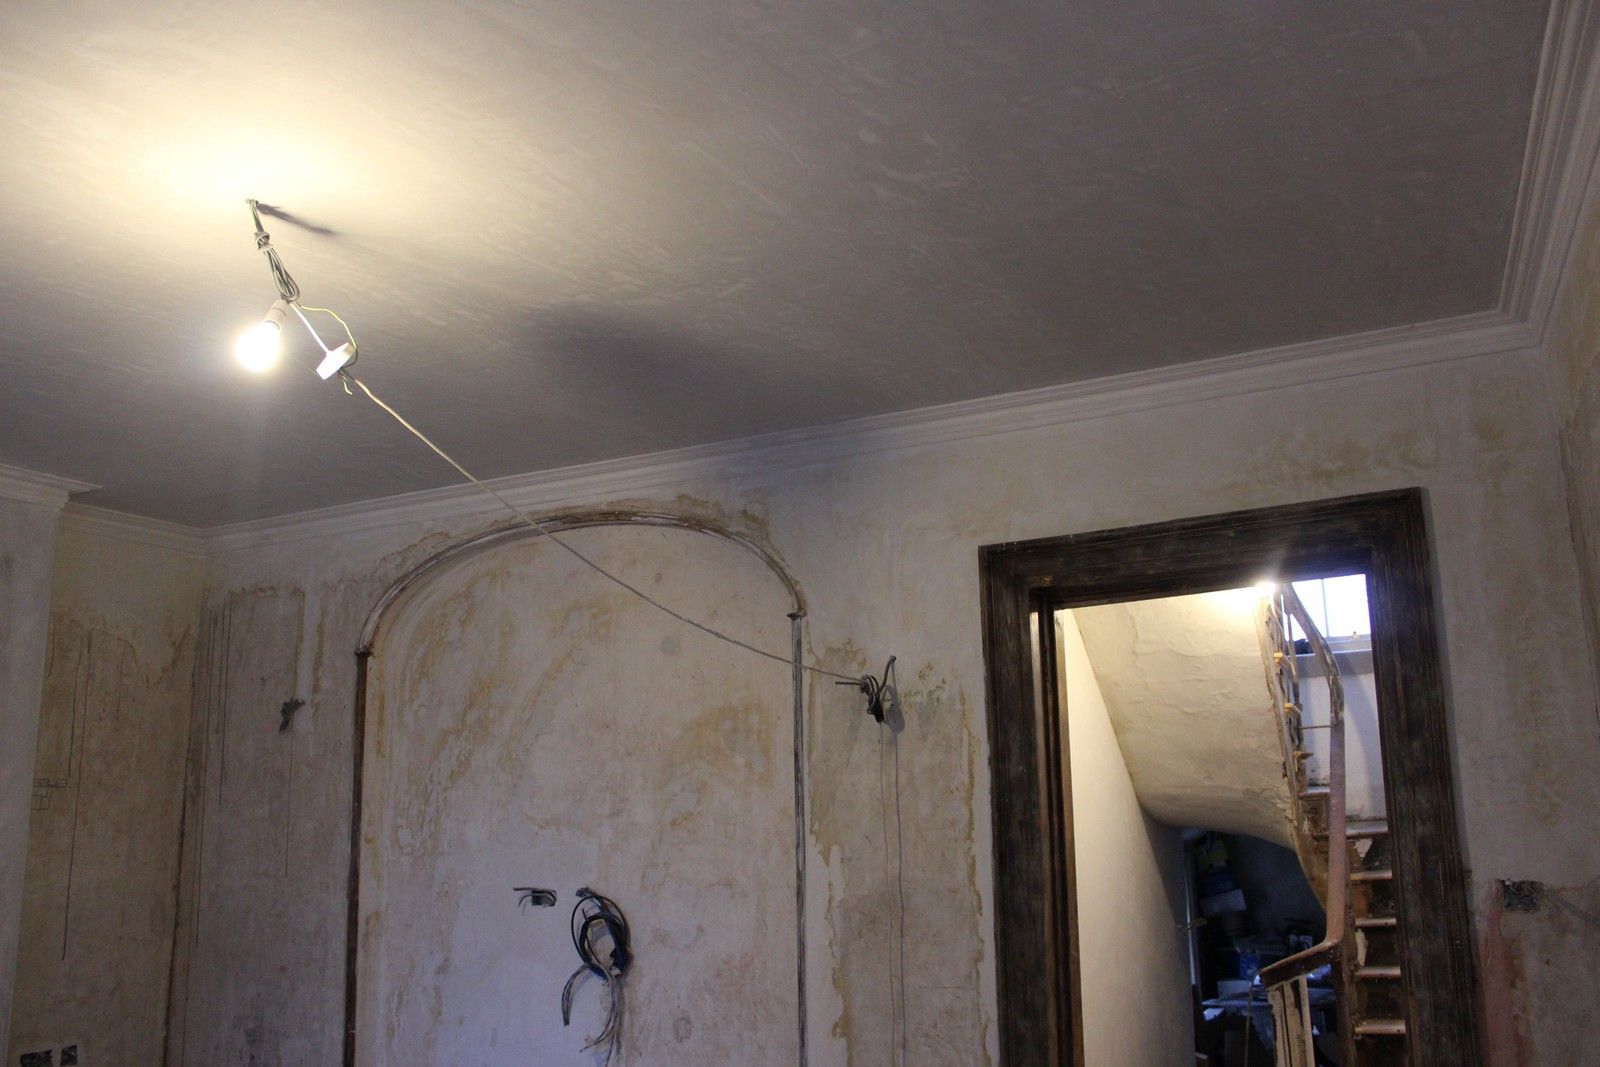
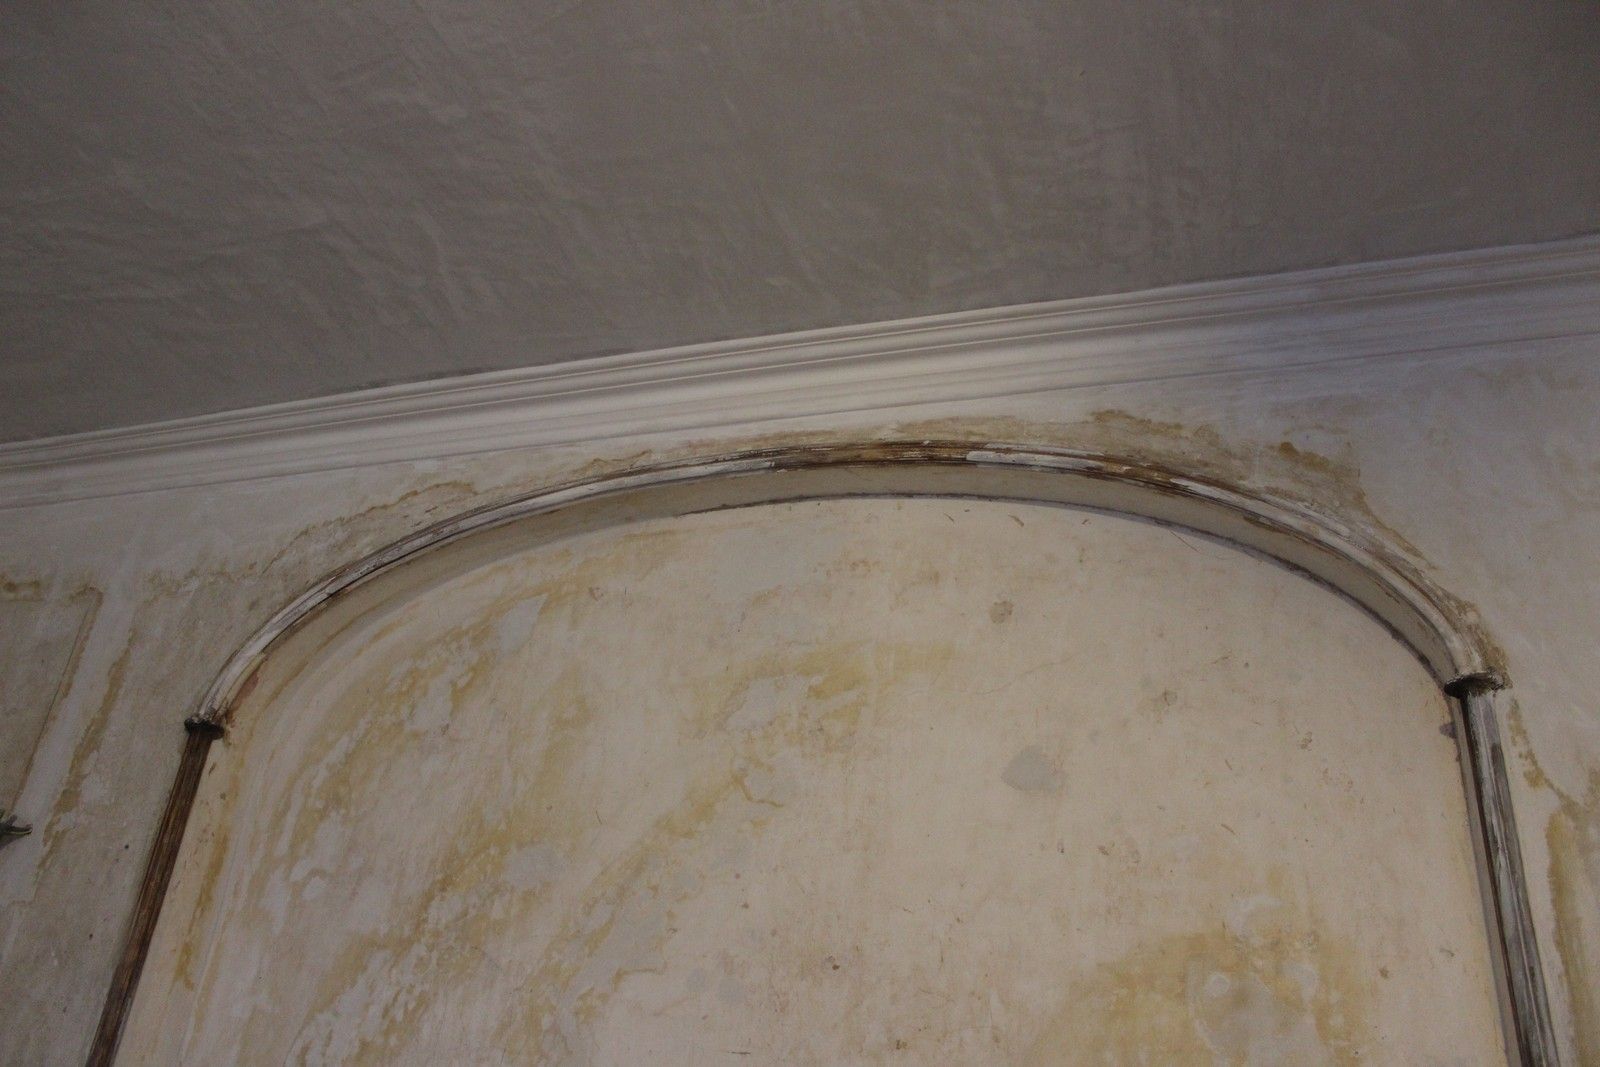

Micheal moved on to the rear bedroom:
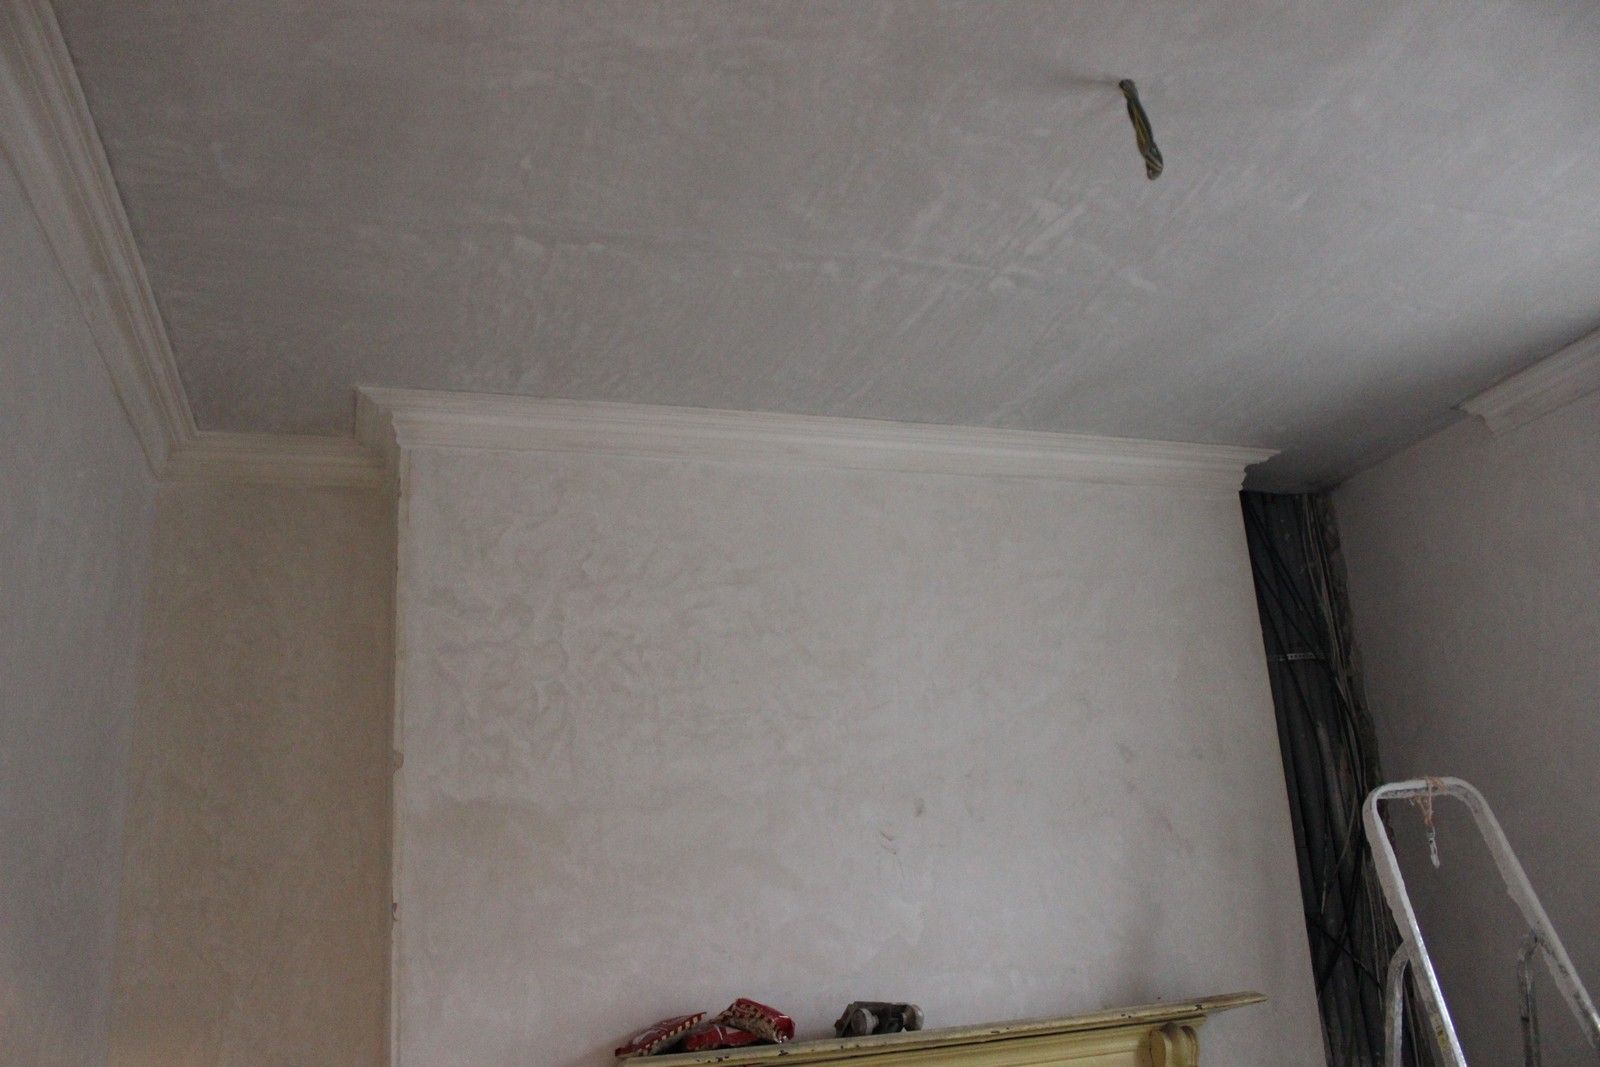


The rest of this room will be completed in January once this pipework is studded out and plastered:
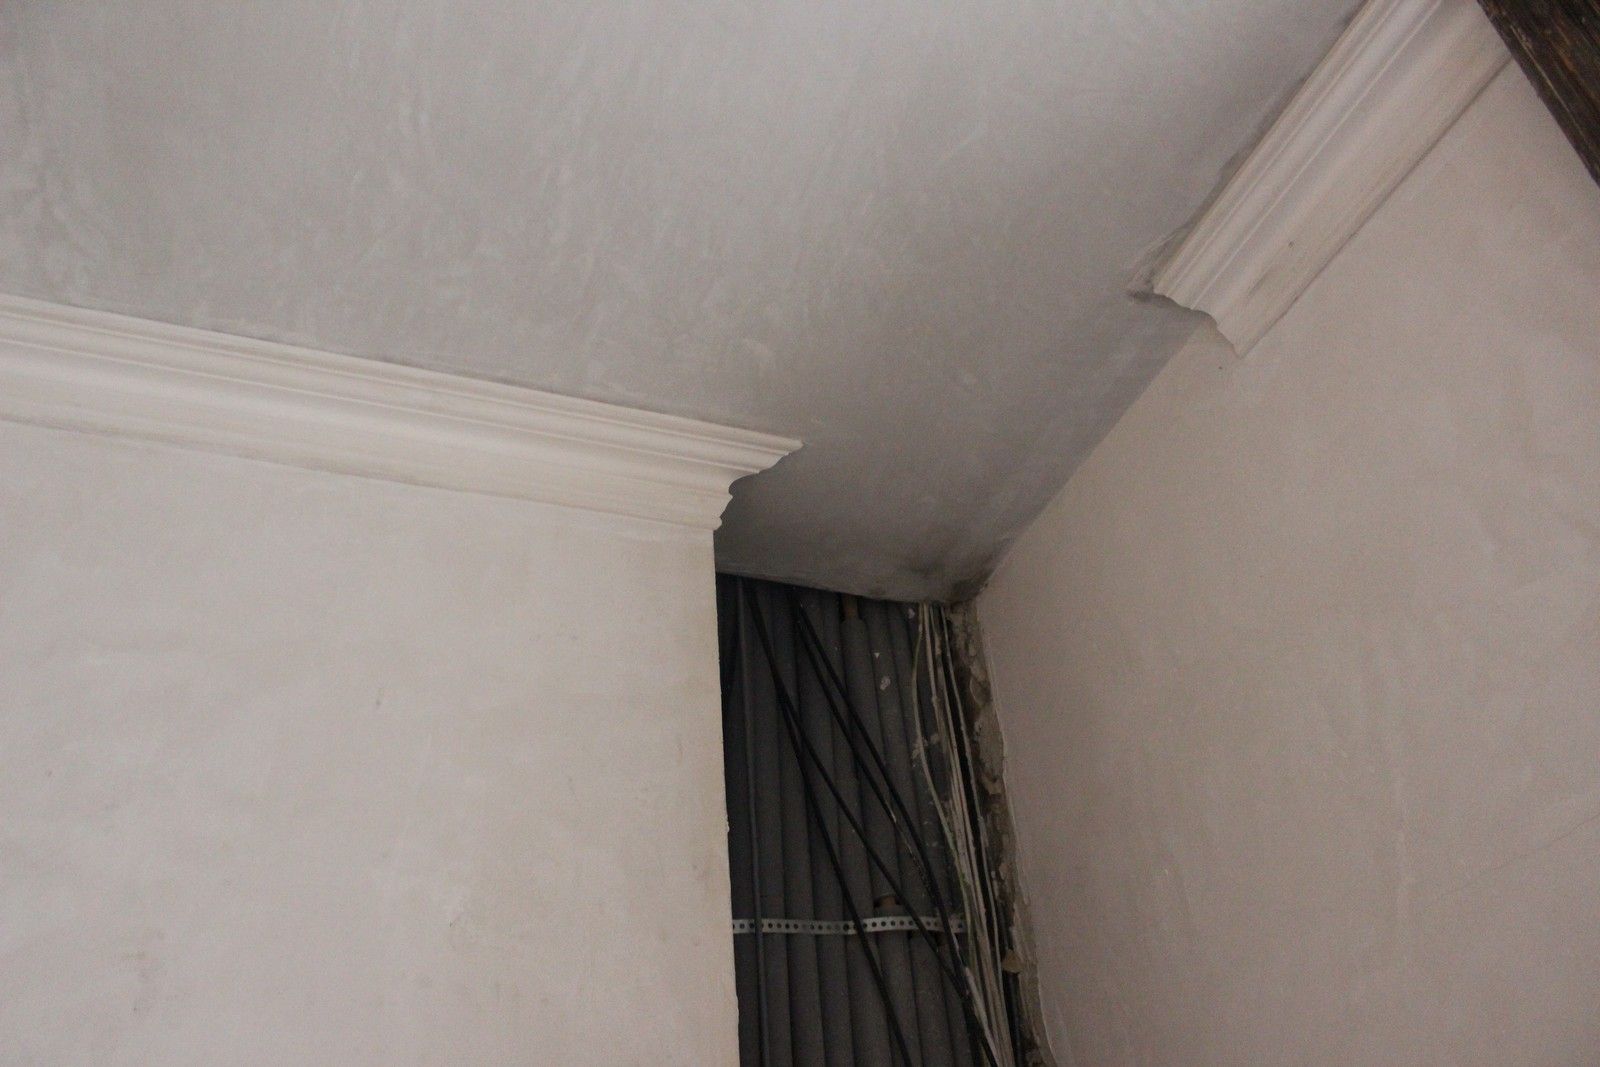
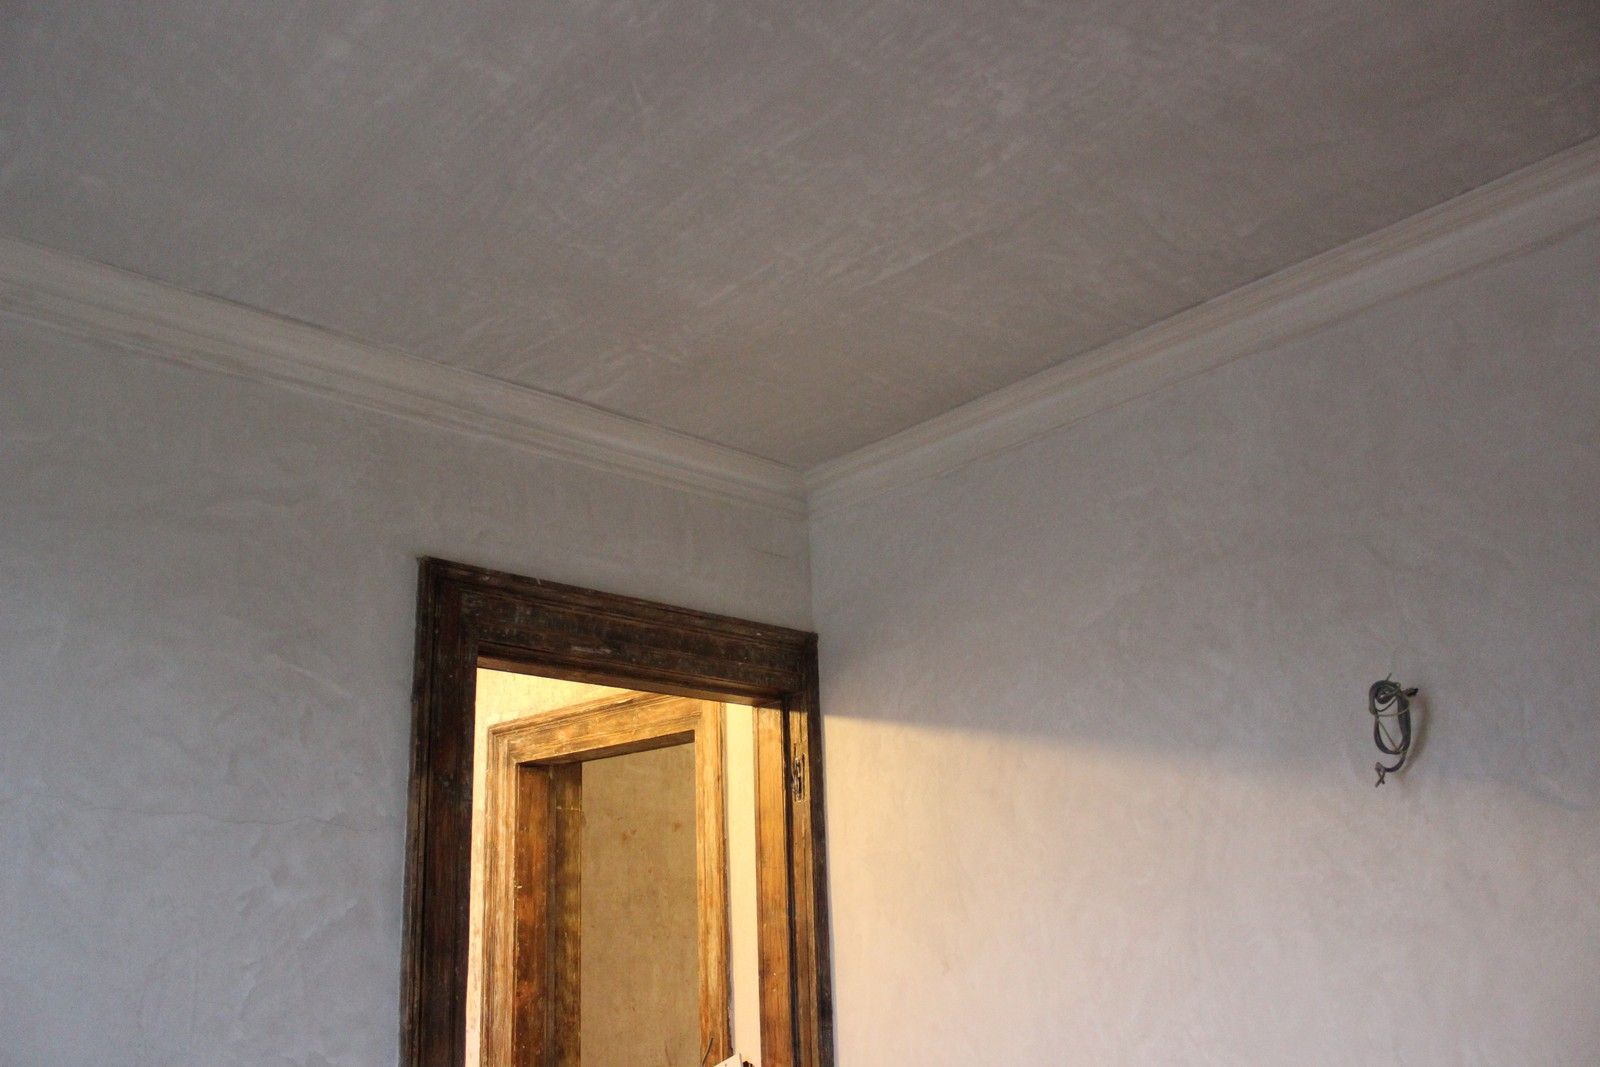

Work then moved out on to the first floor landing, where three sections of cornice was added to the small ceiling above:
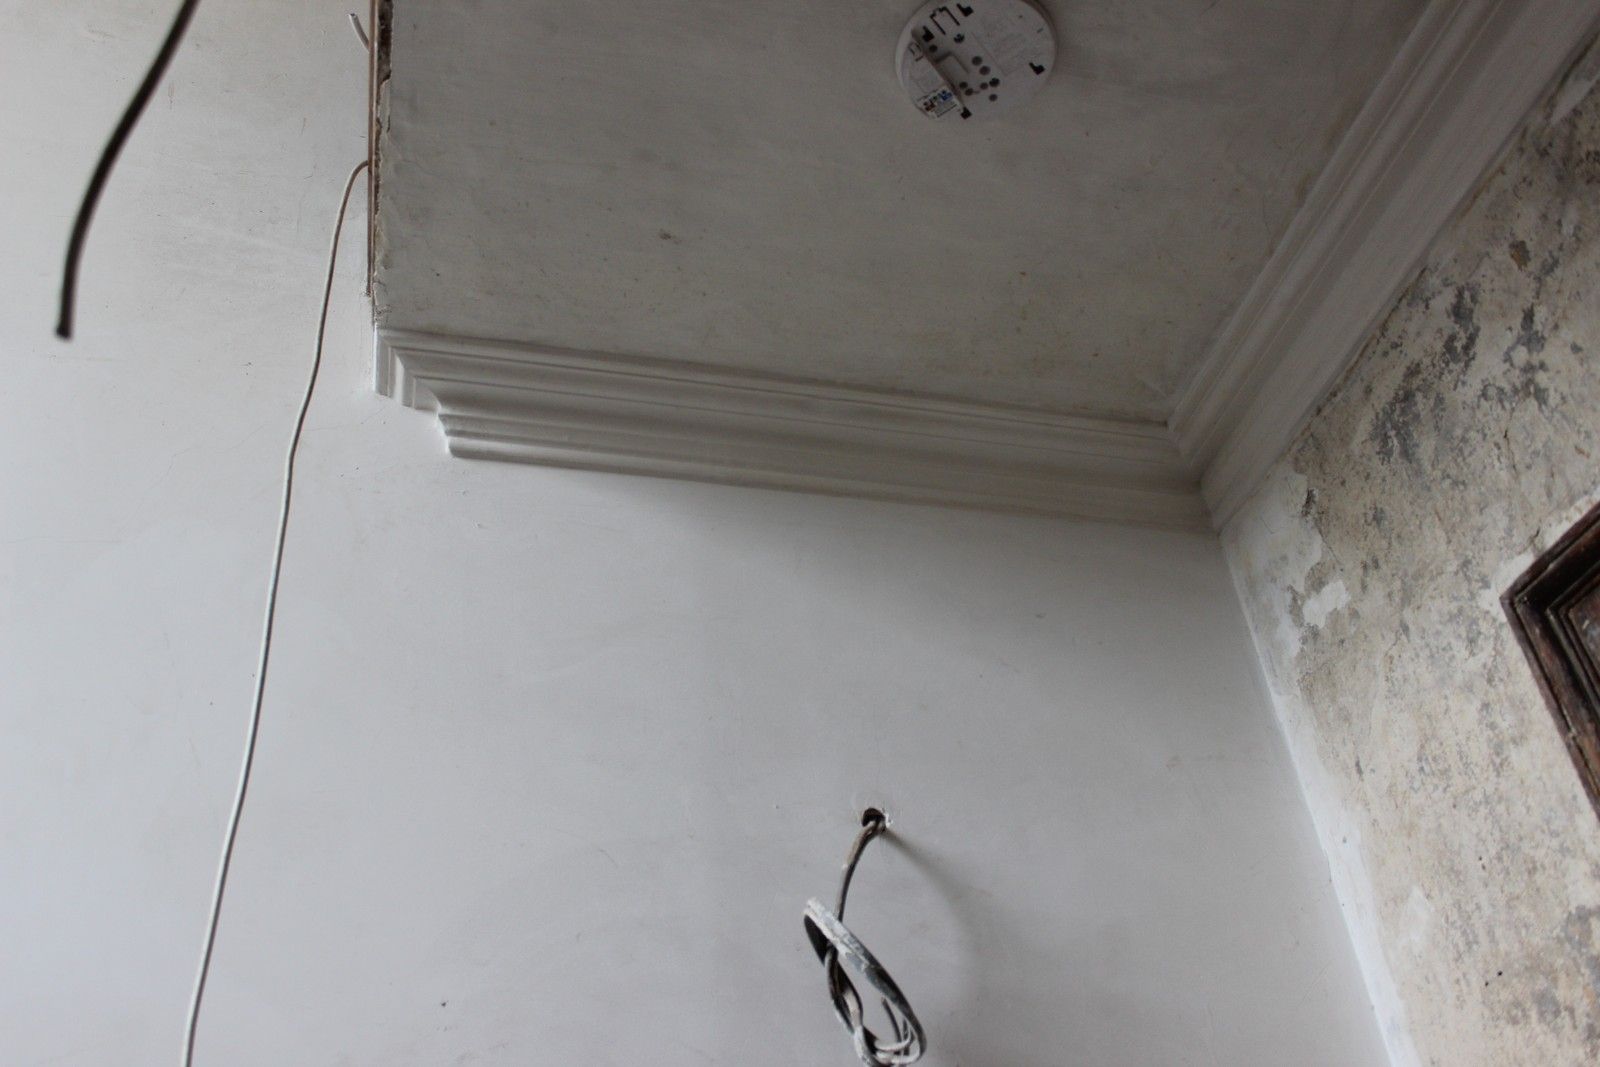
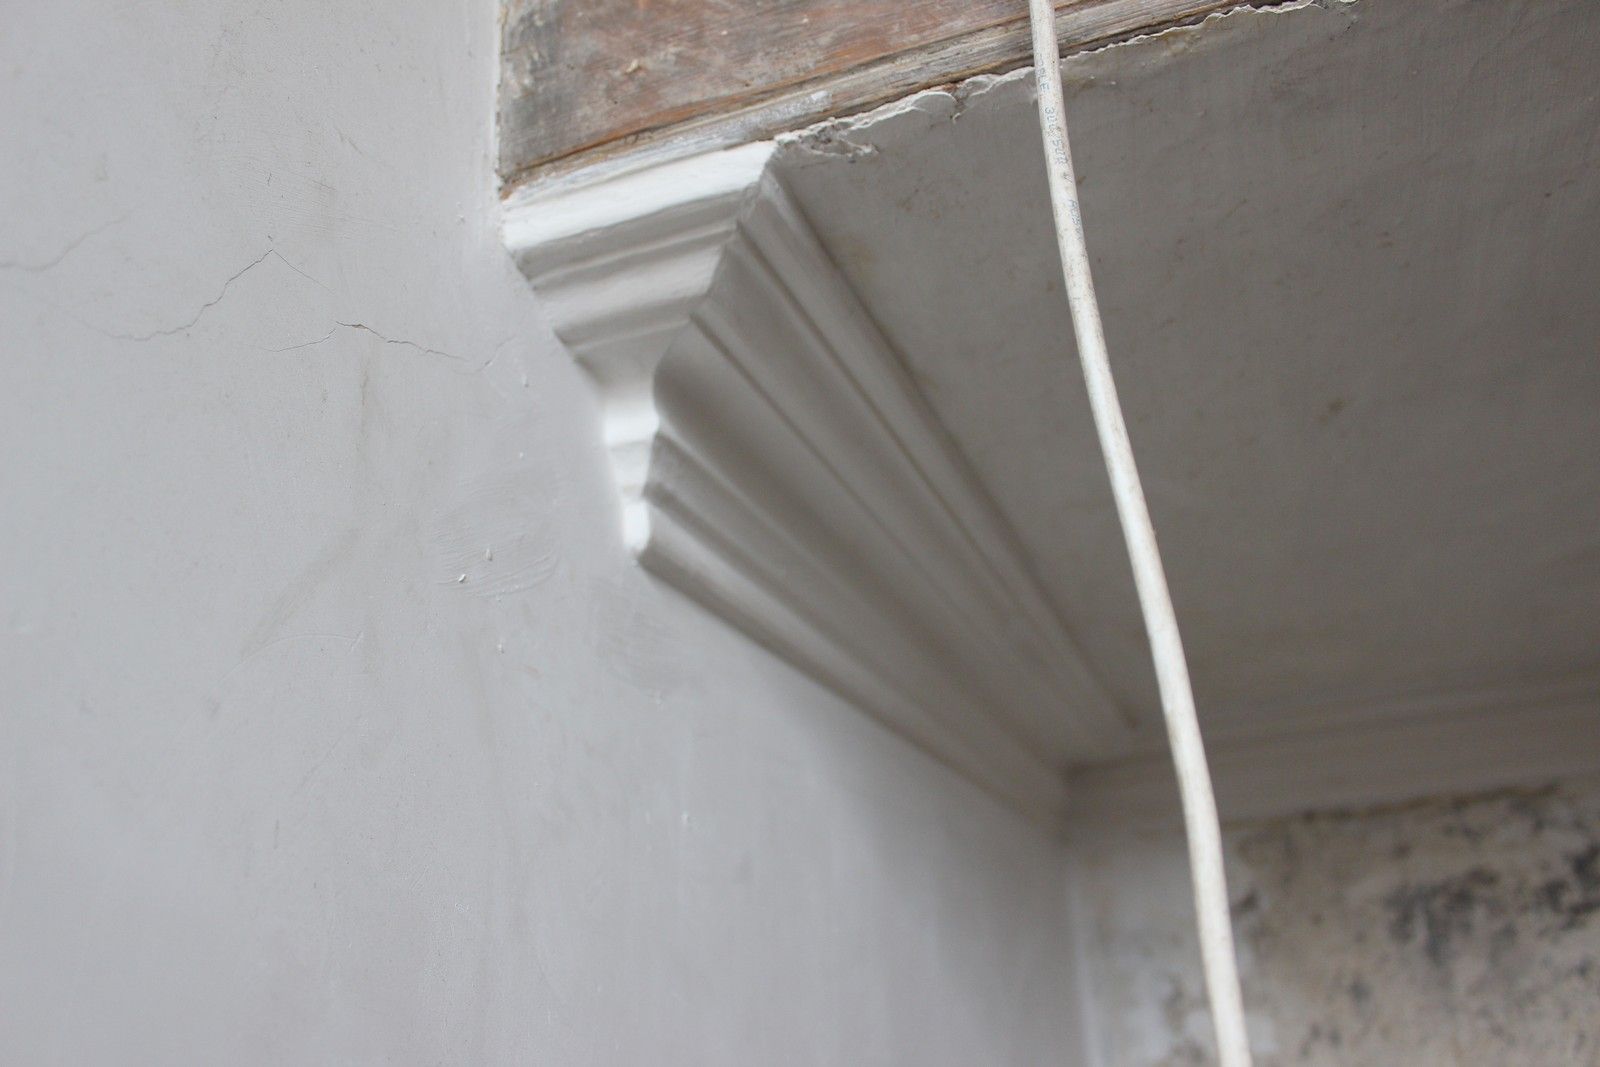
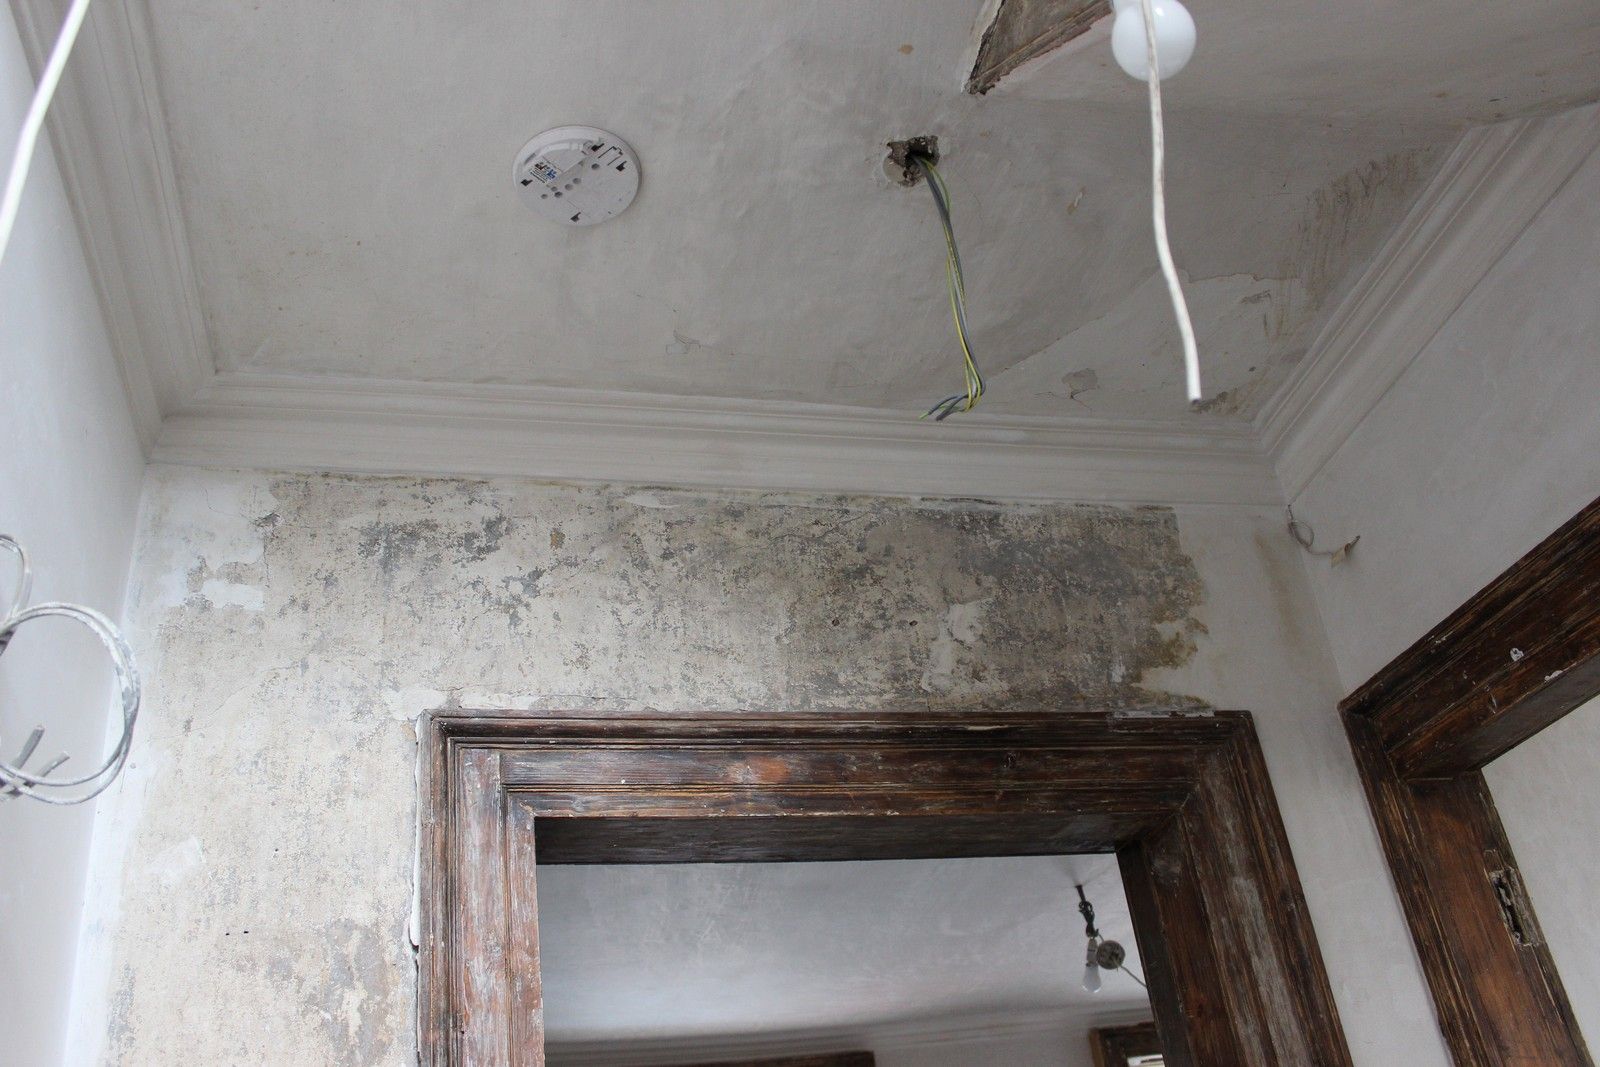
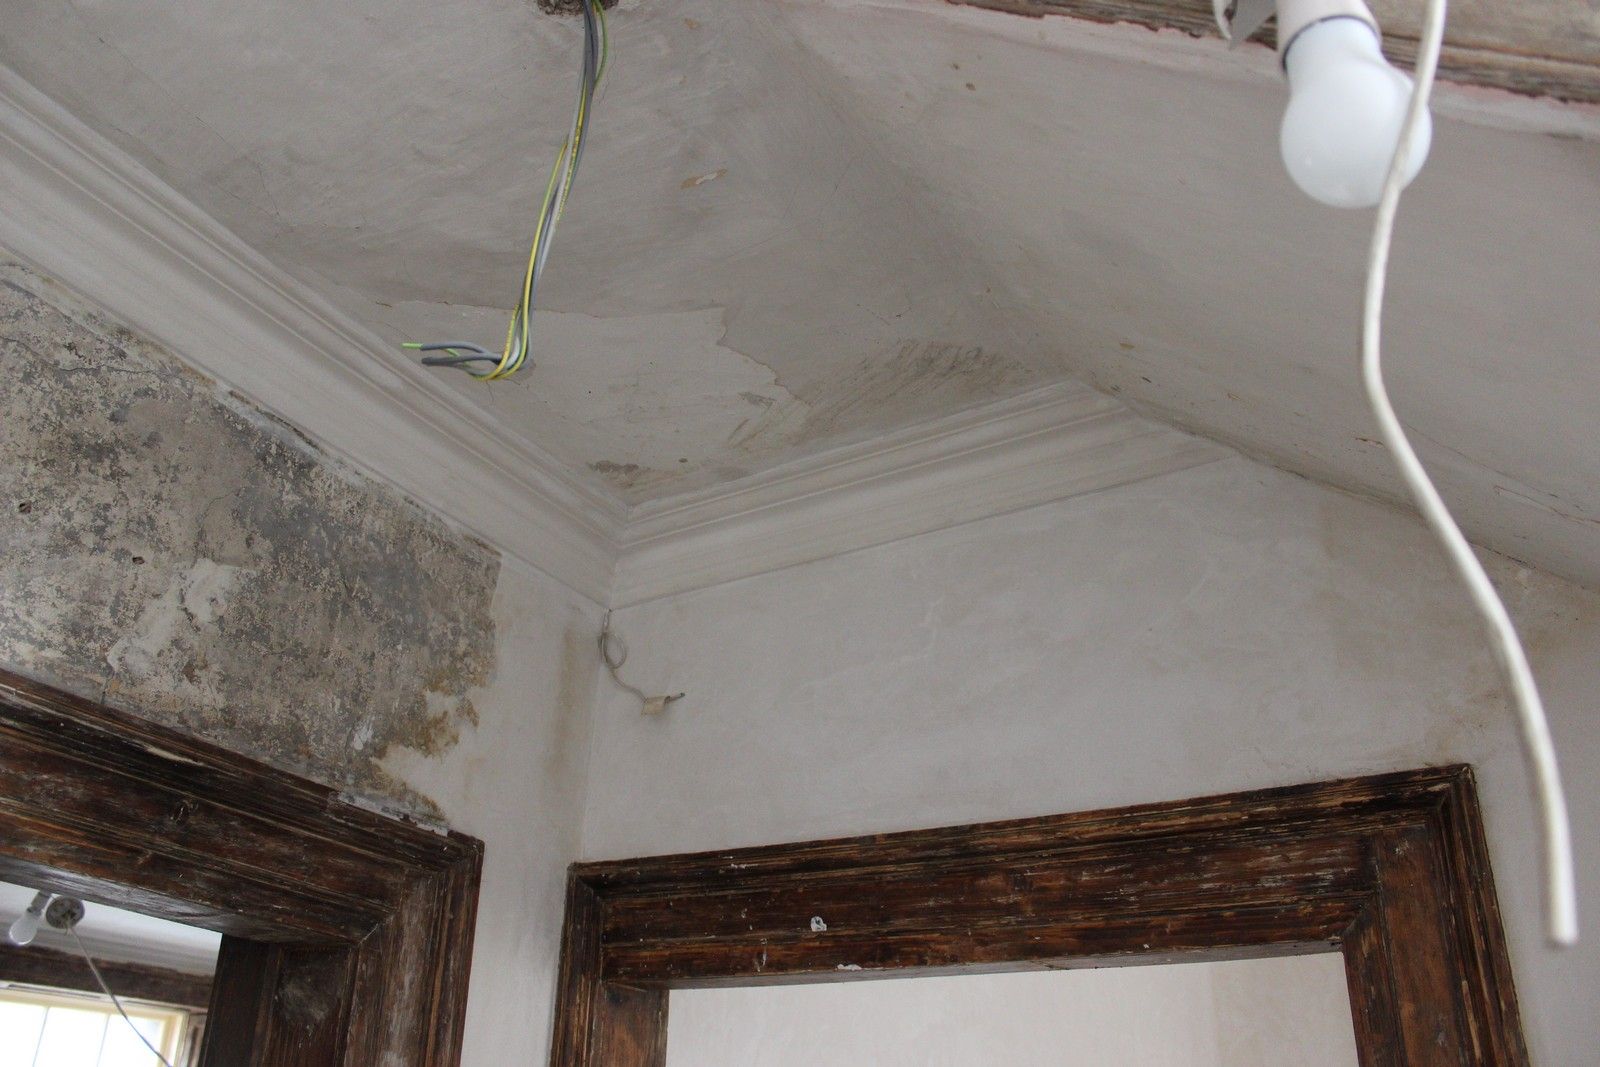
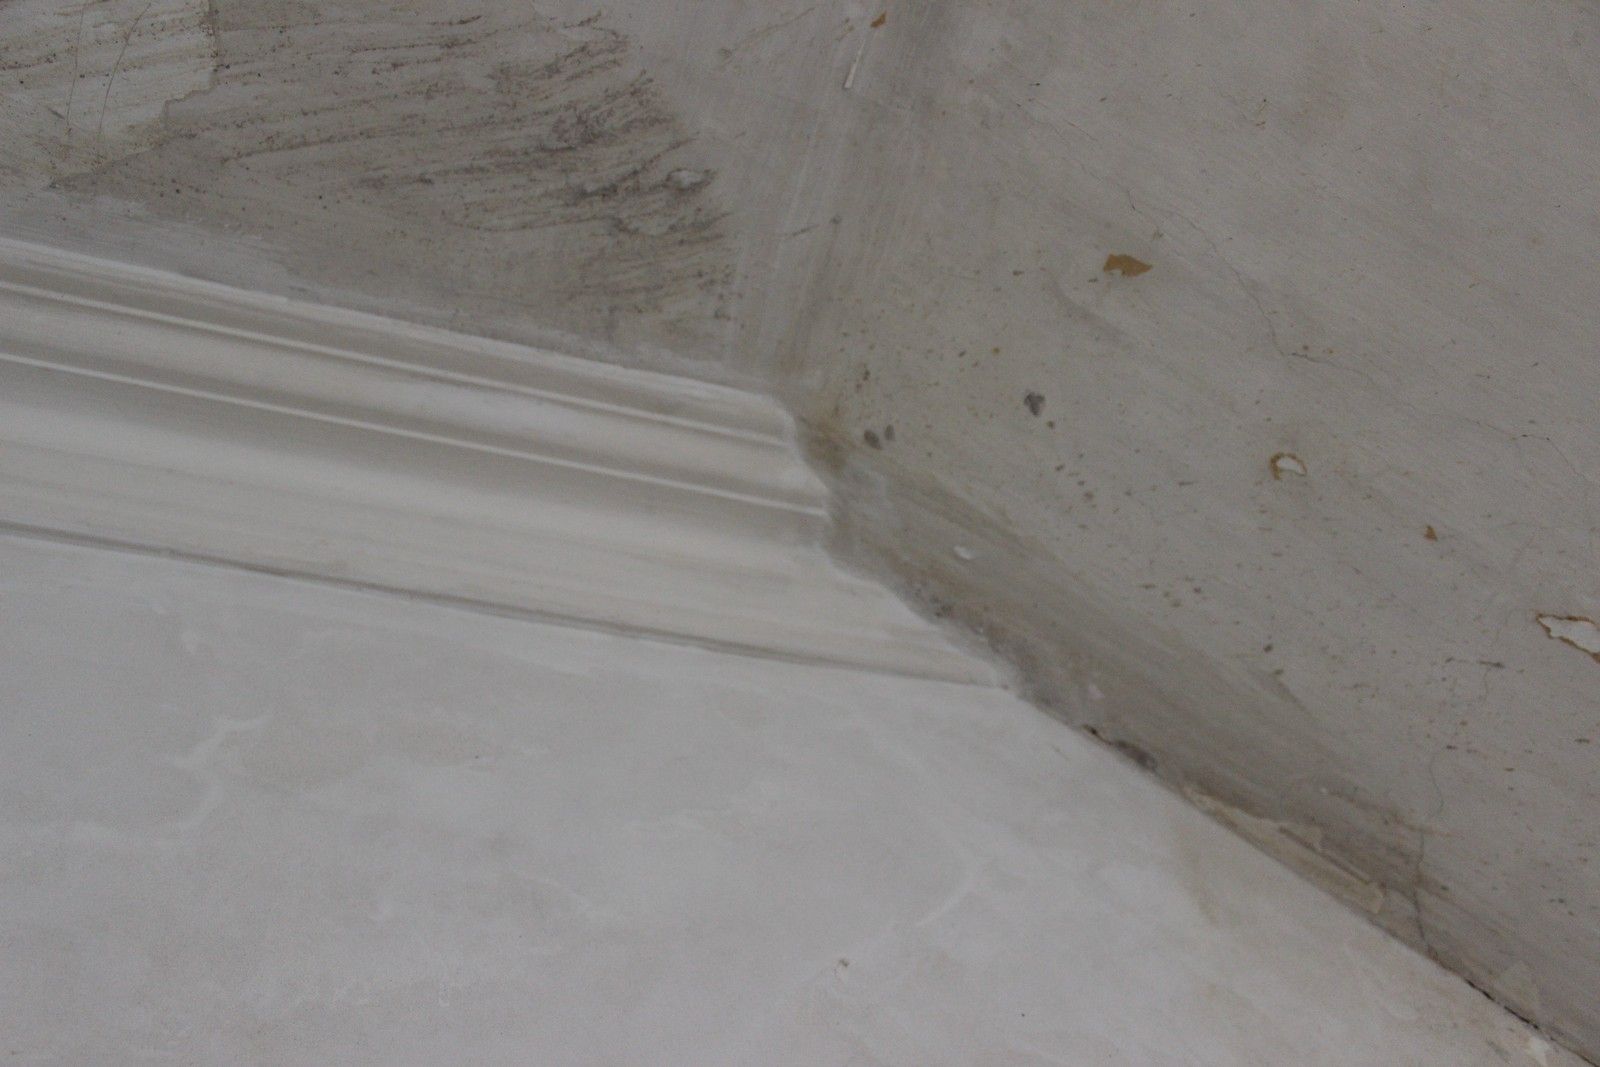

Then the rear hallway downstairs:
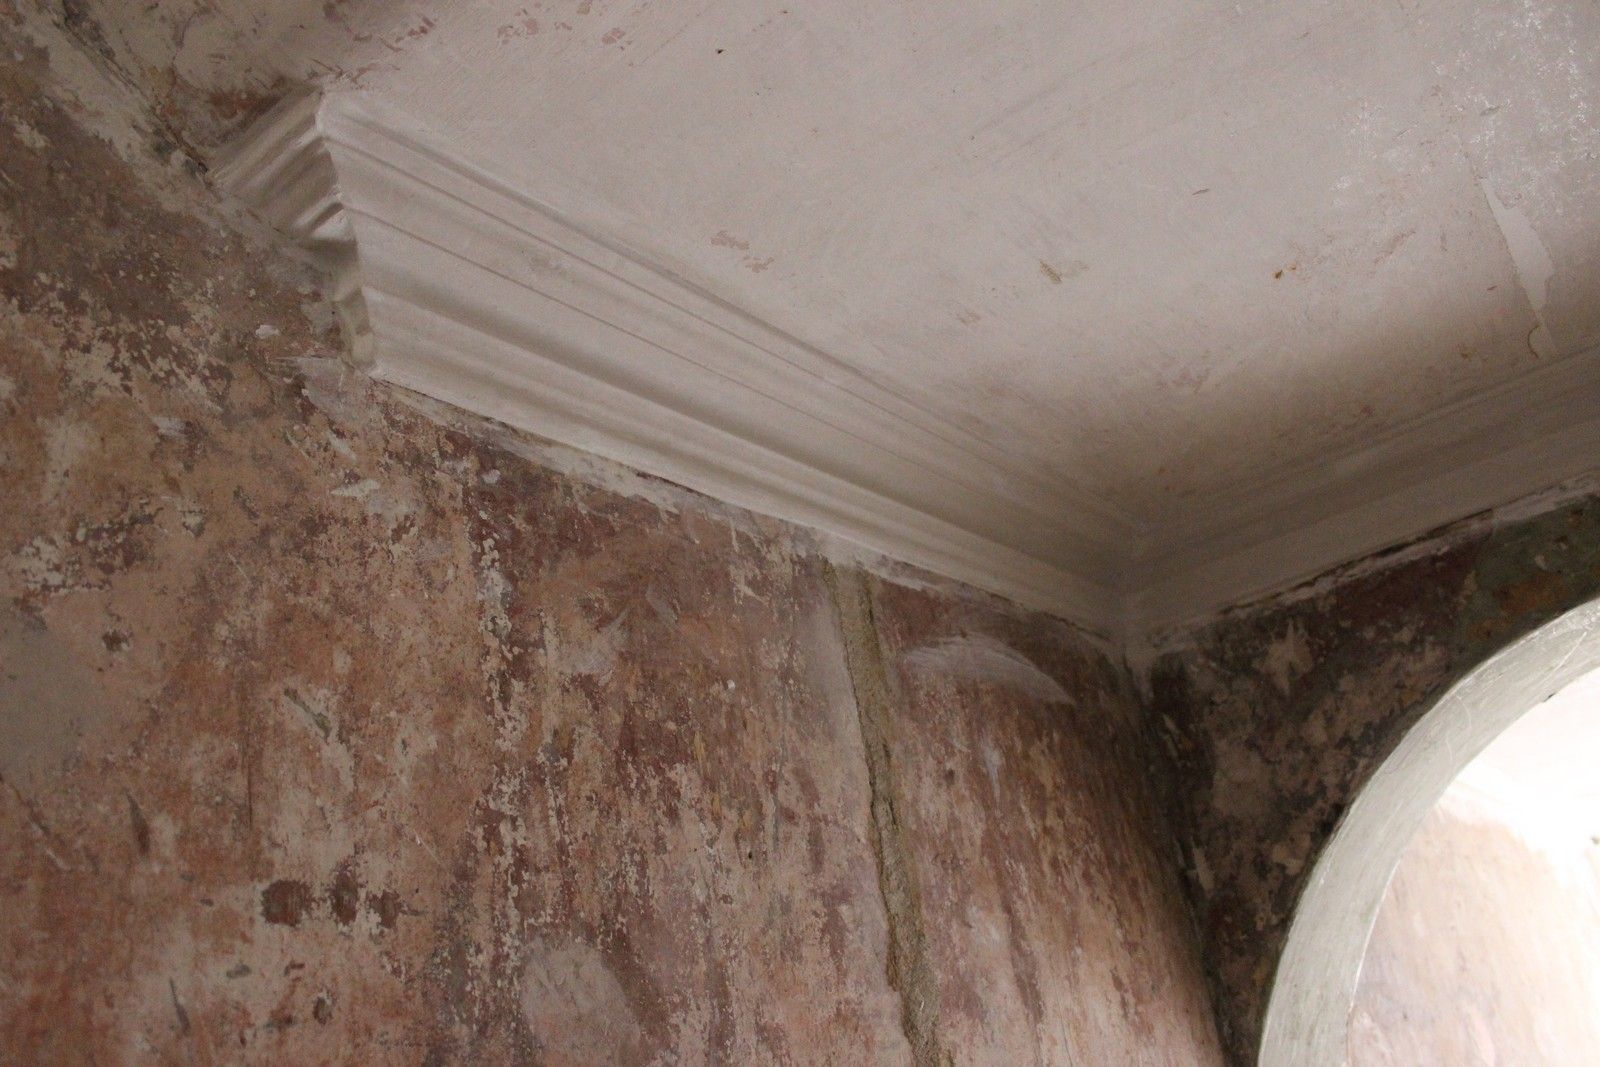


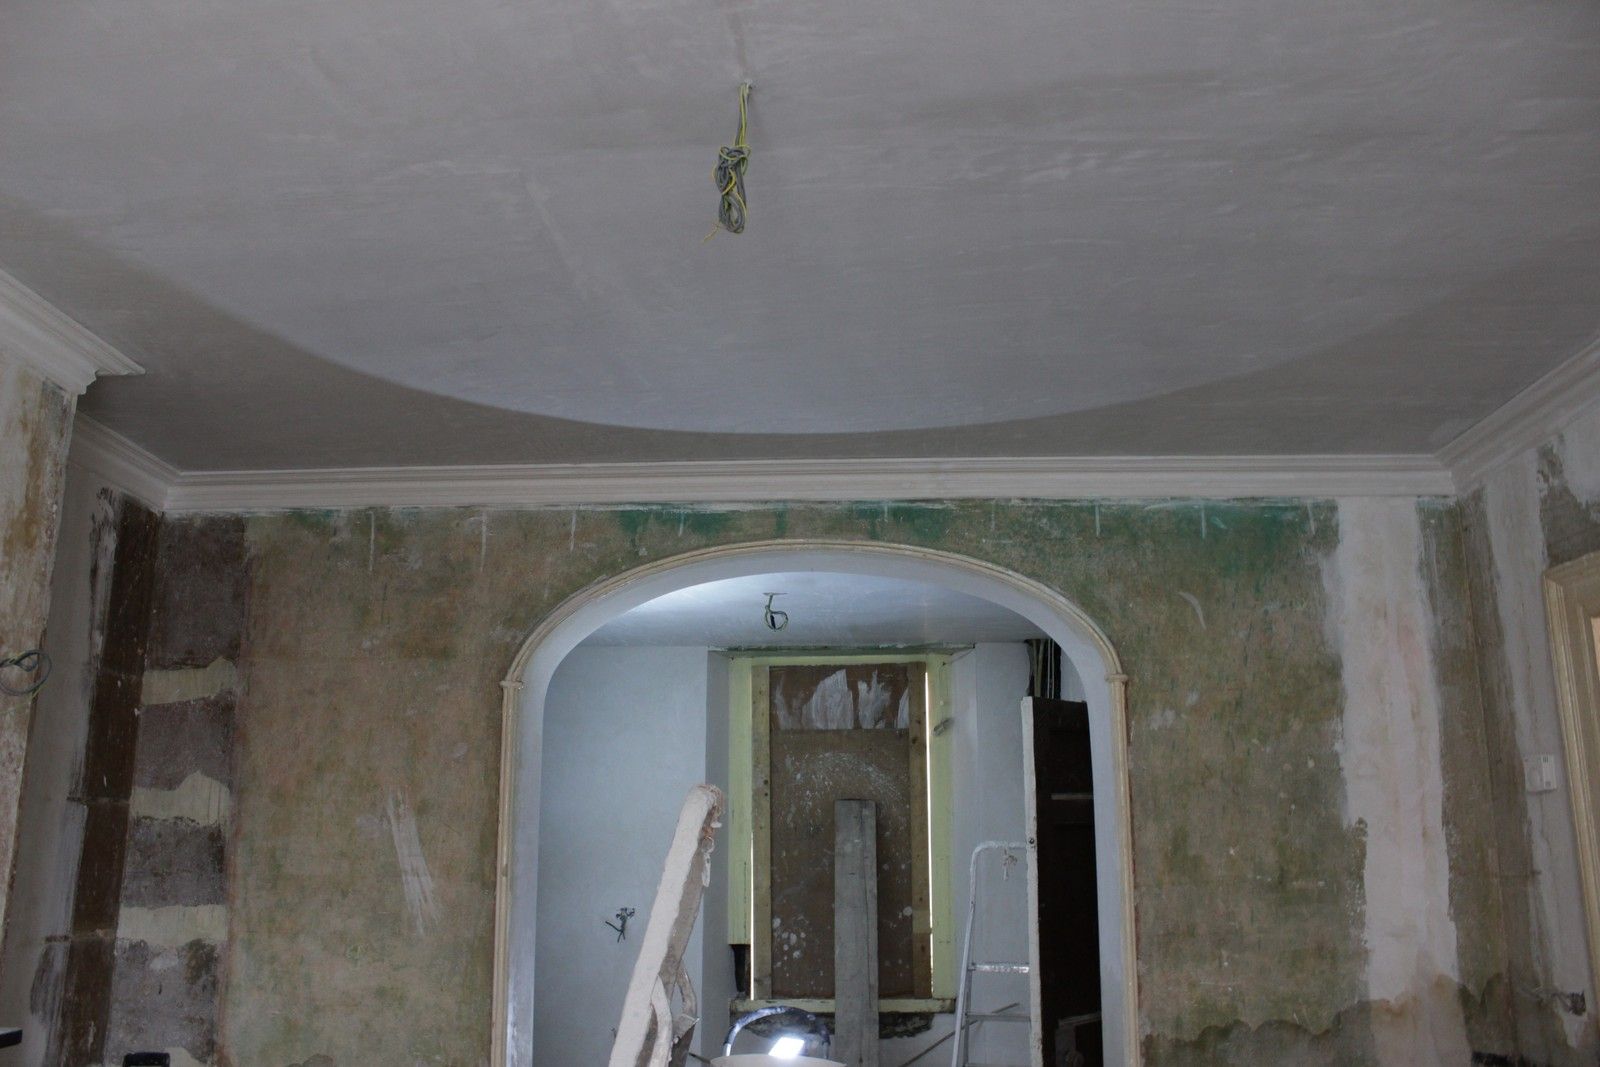
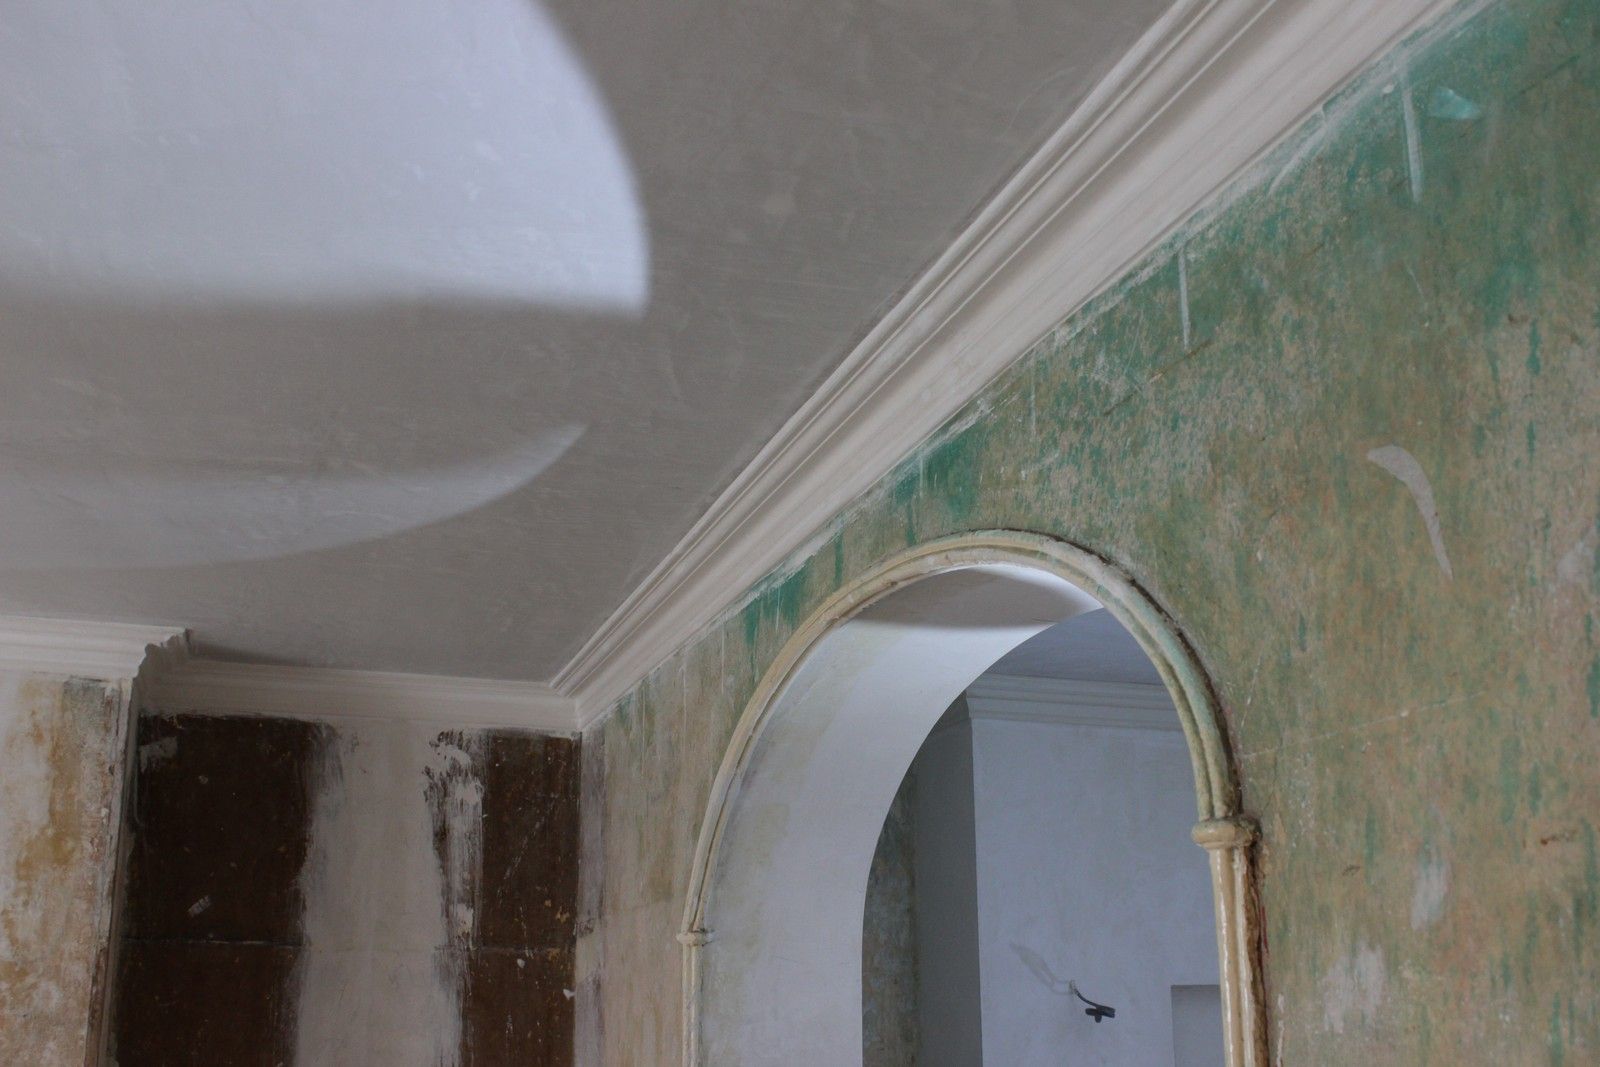
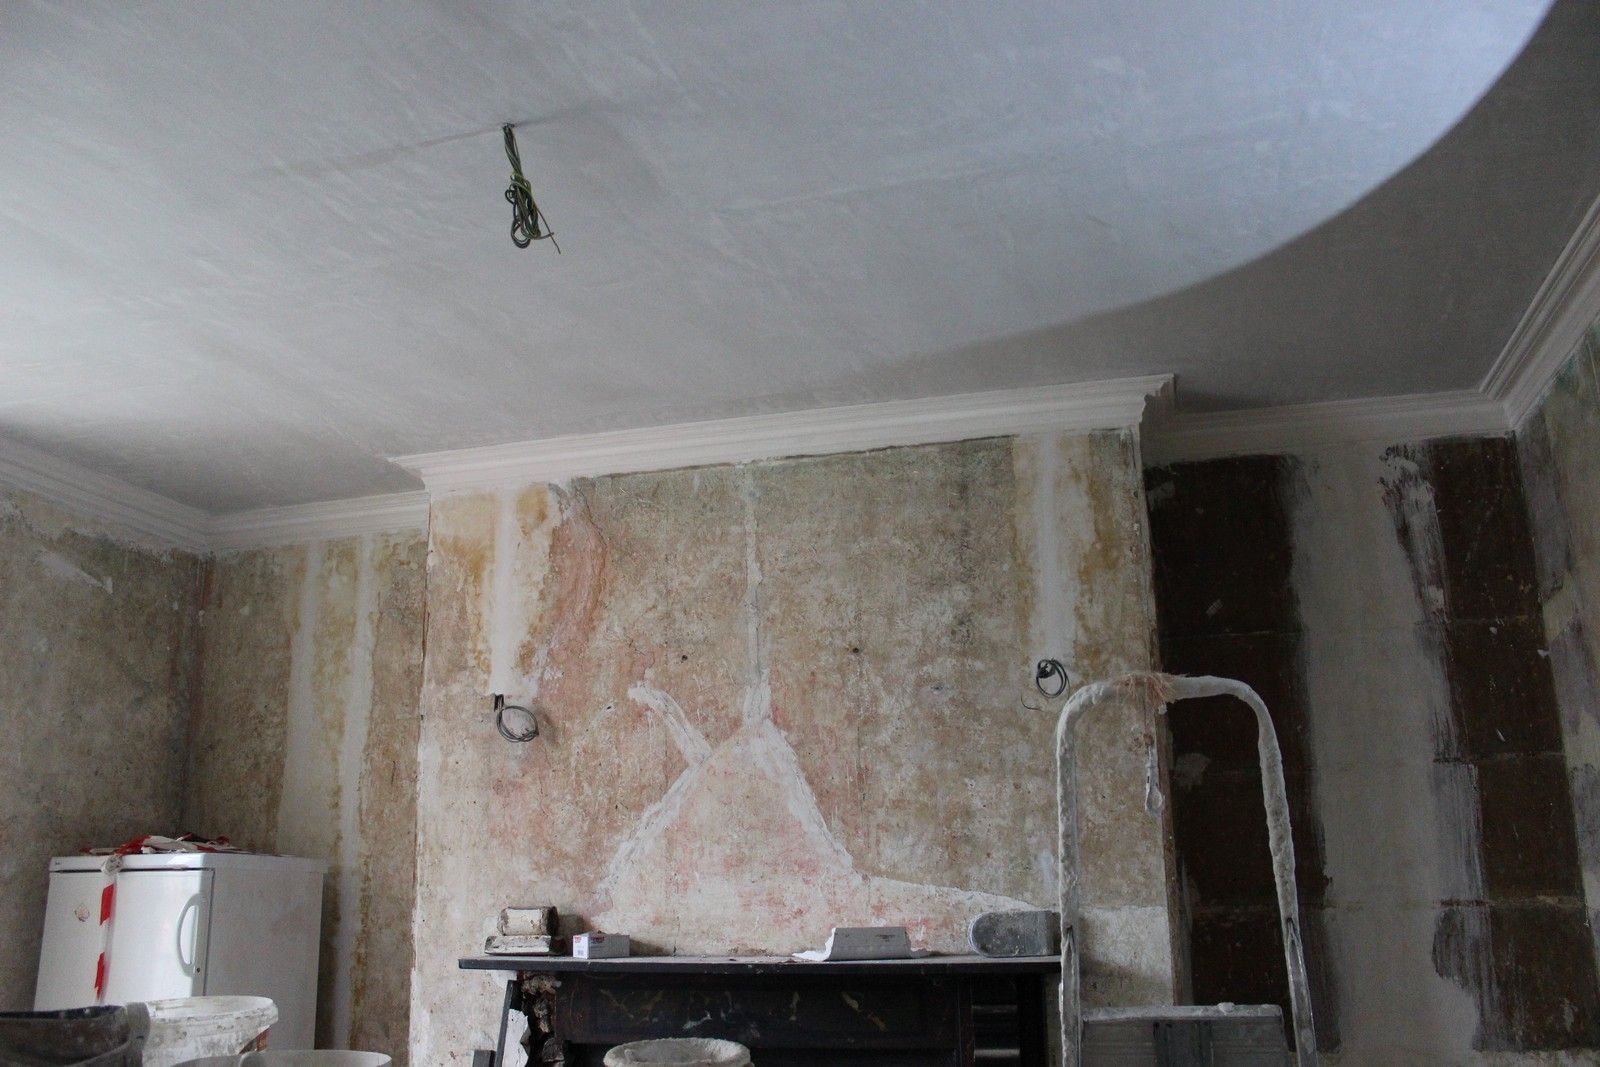
And finally the ground floor front and rear rooms, the dining room and kitchen:


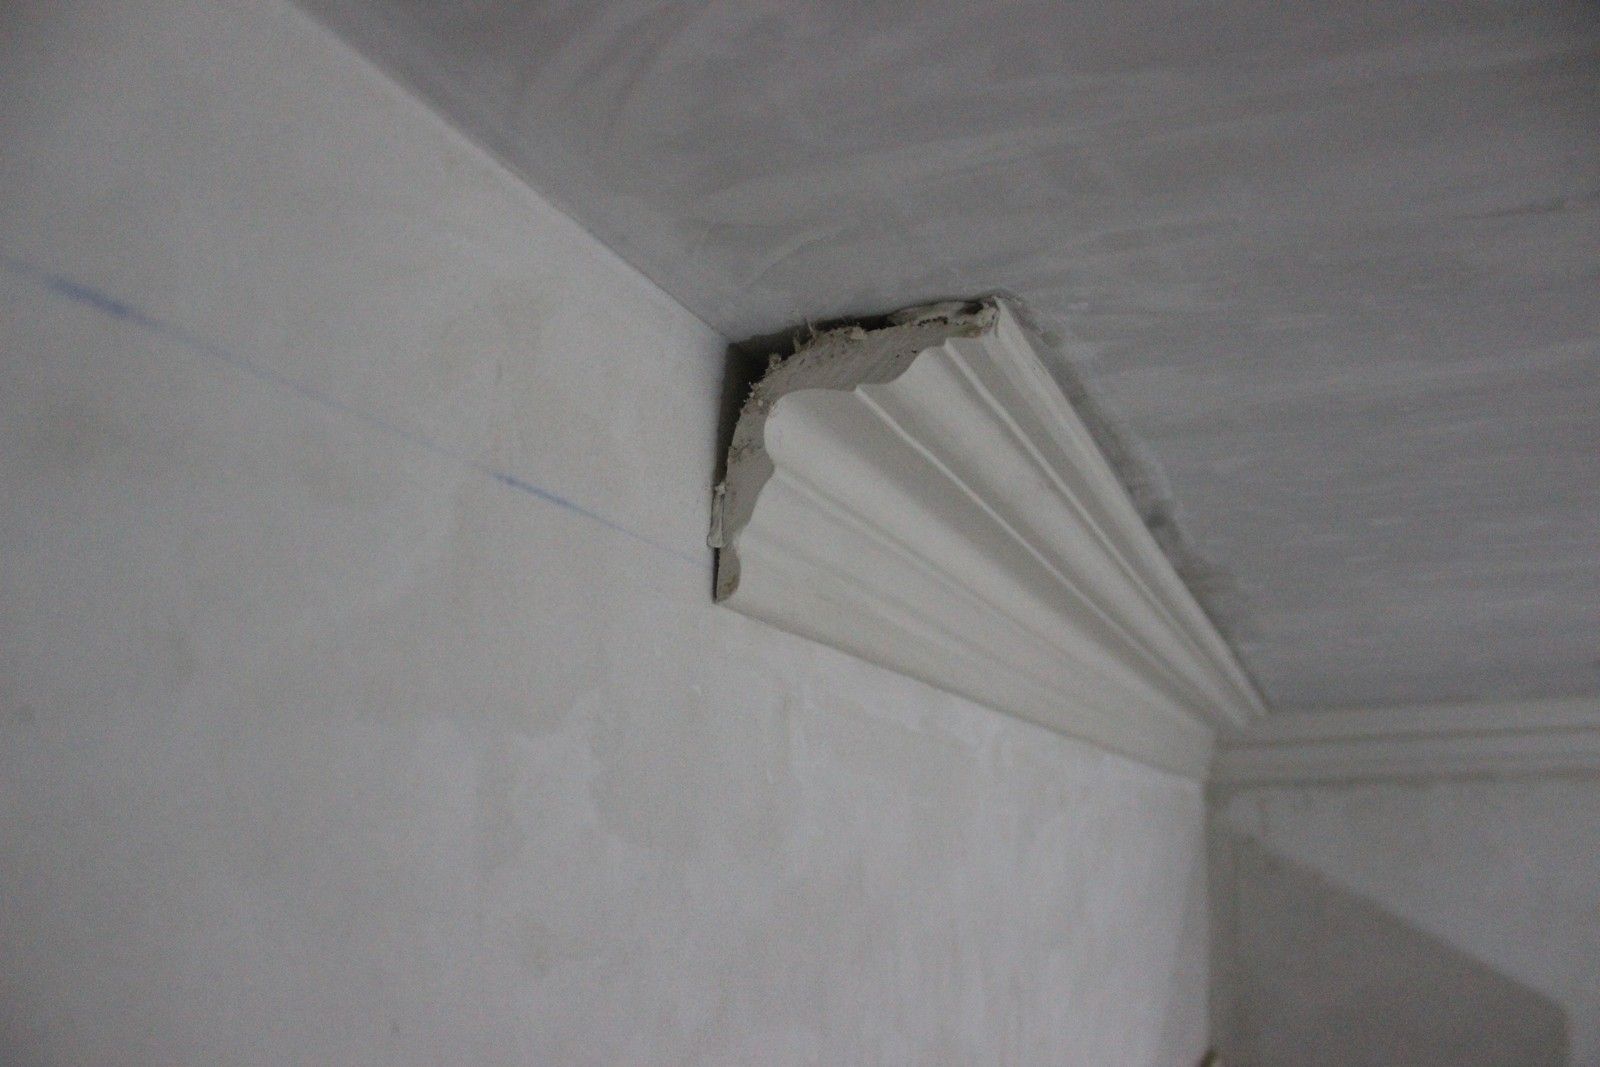
Below you can see the side profile of the cornice and how it is "glued" to the wall and ceiling with two lines of plaster putty . Screws are often used to temporarily hold them in place whilst the plaster sets:

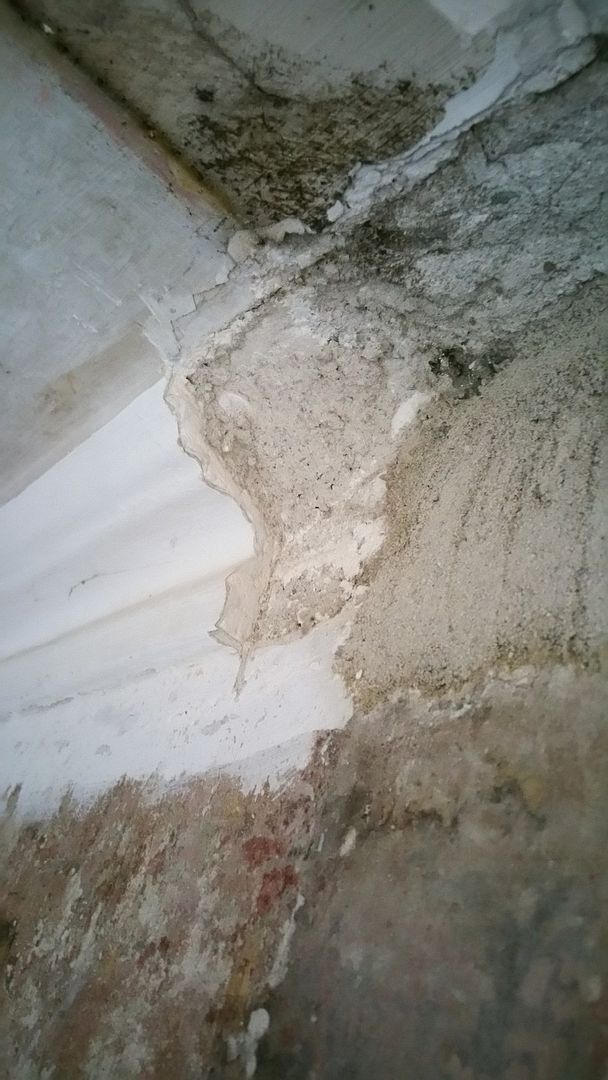
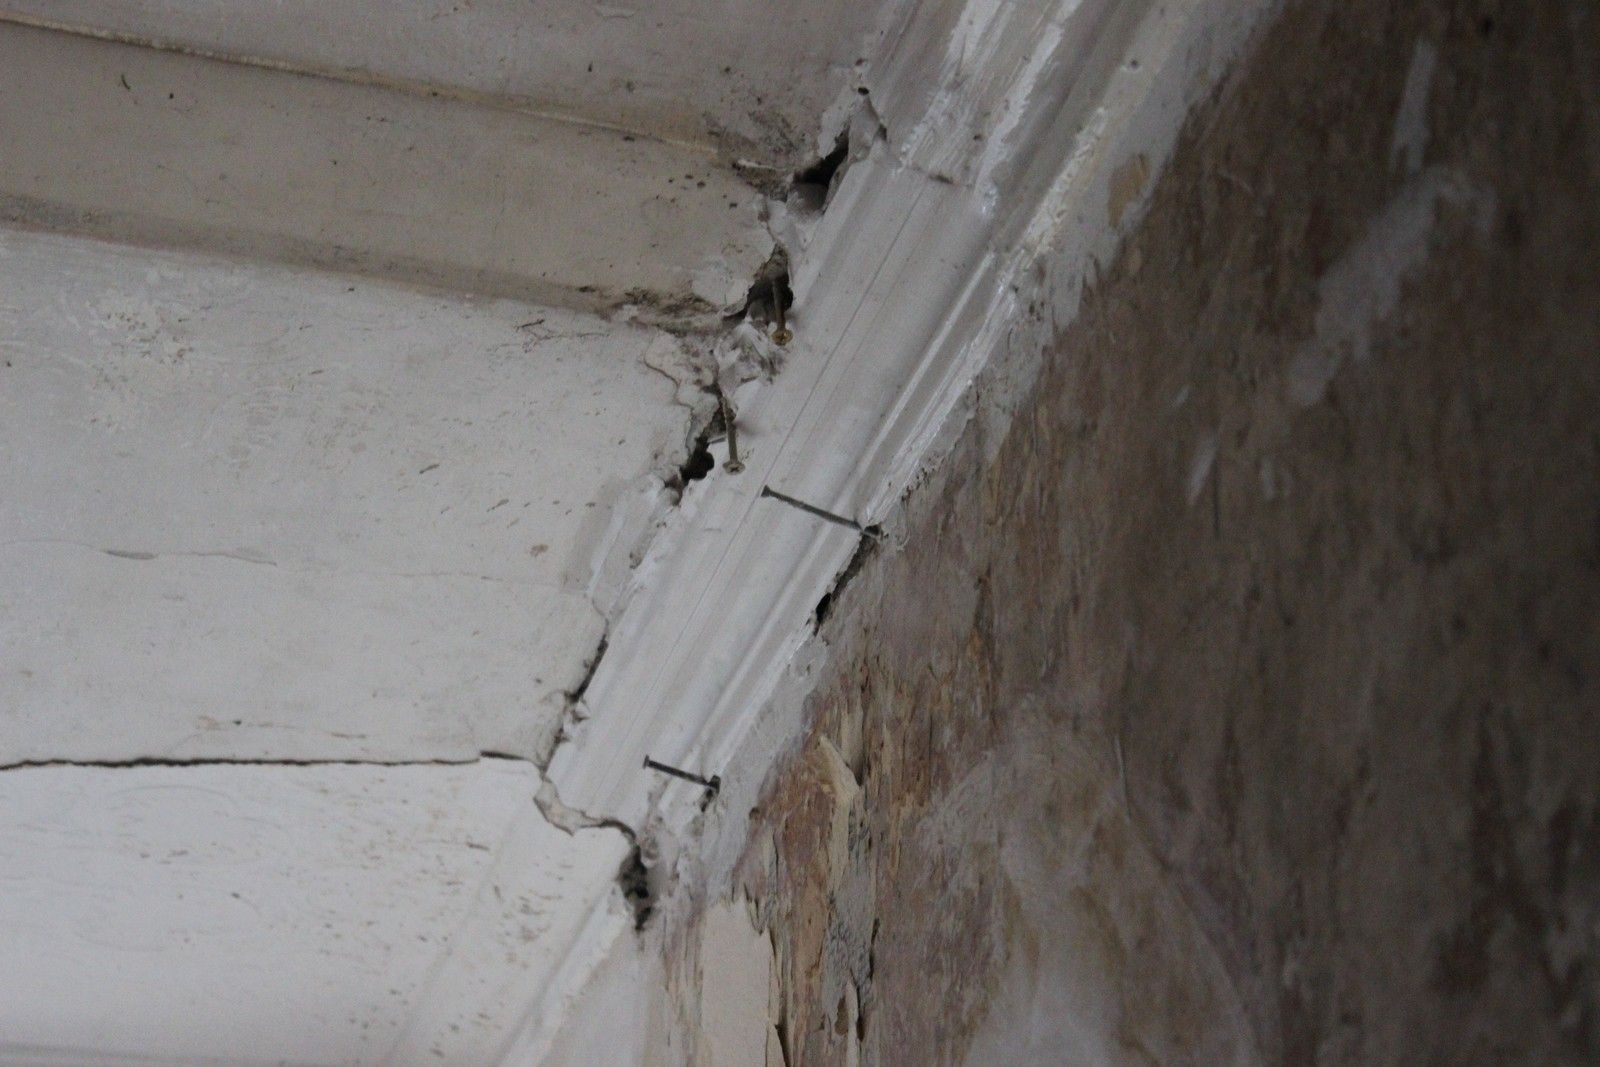
After I removed the inner porch door in the hallway which previous owners had installed, two large damaged sections of original cornice remained in the hallway. Micheal  repaired these two damaged areas seamlessly:


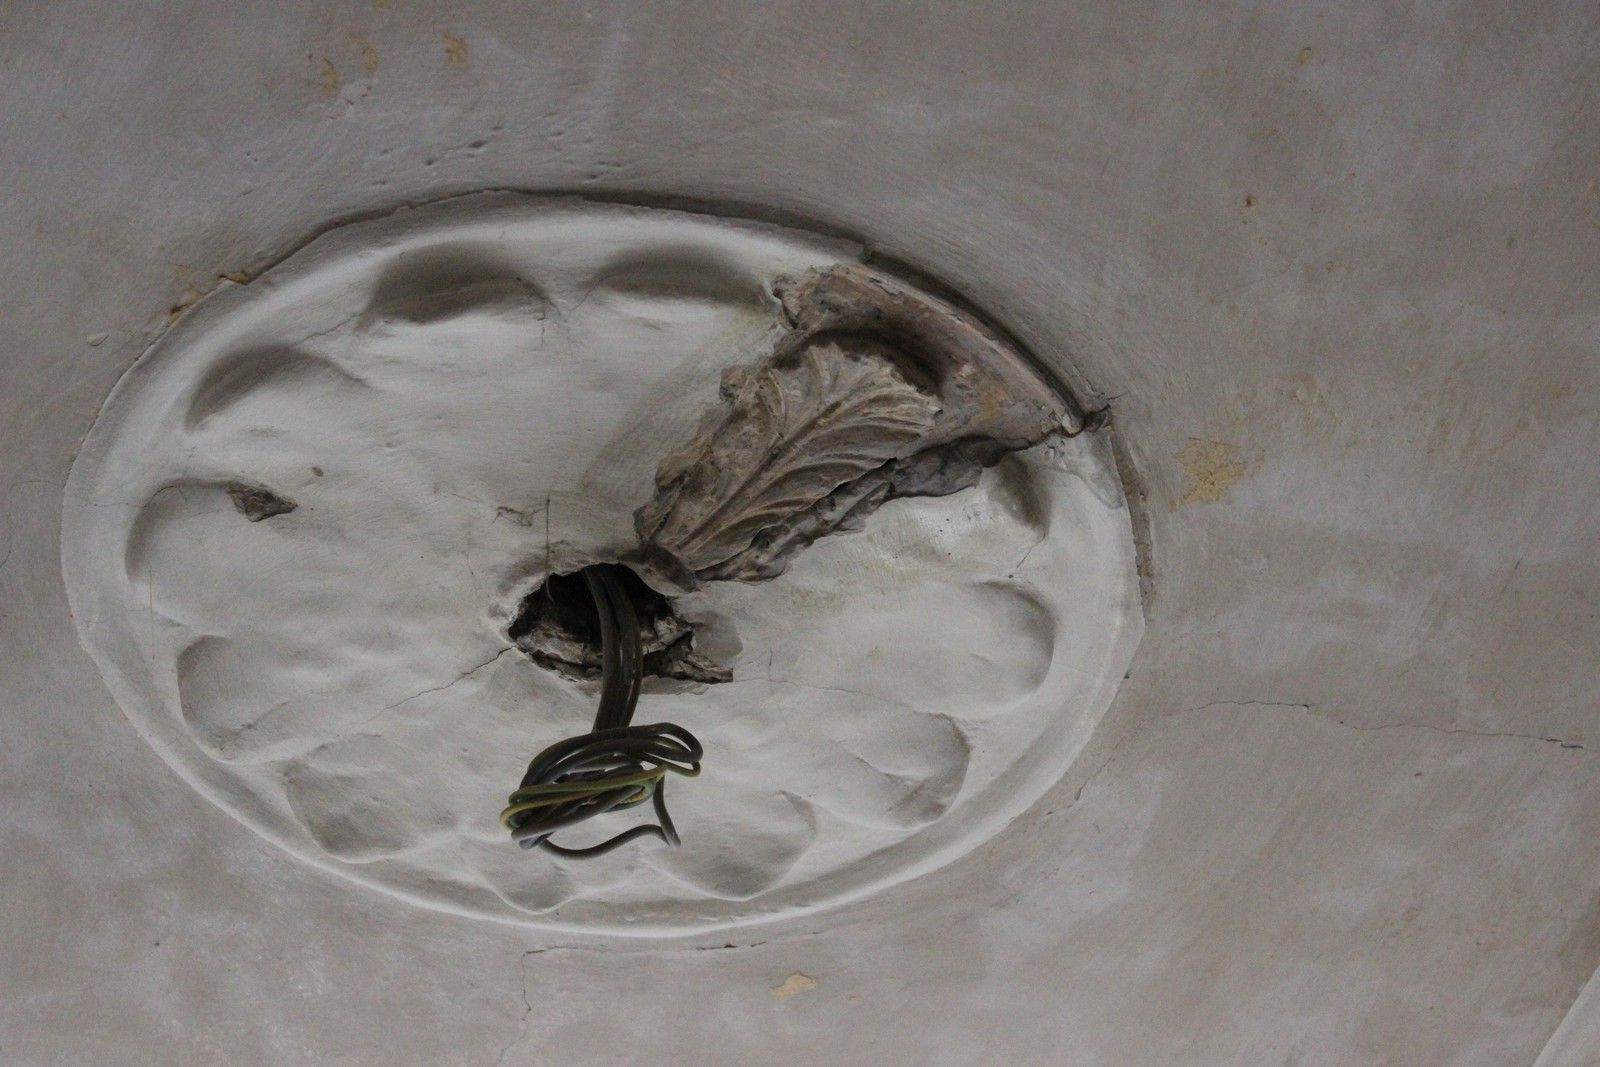
And the biggest surprise of the entire job was Micheal's discovery of the incredible detail hidden behind 200 years of paint on the hallway ceiling, with the only original ceiling rose in the whole house:
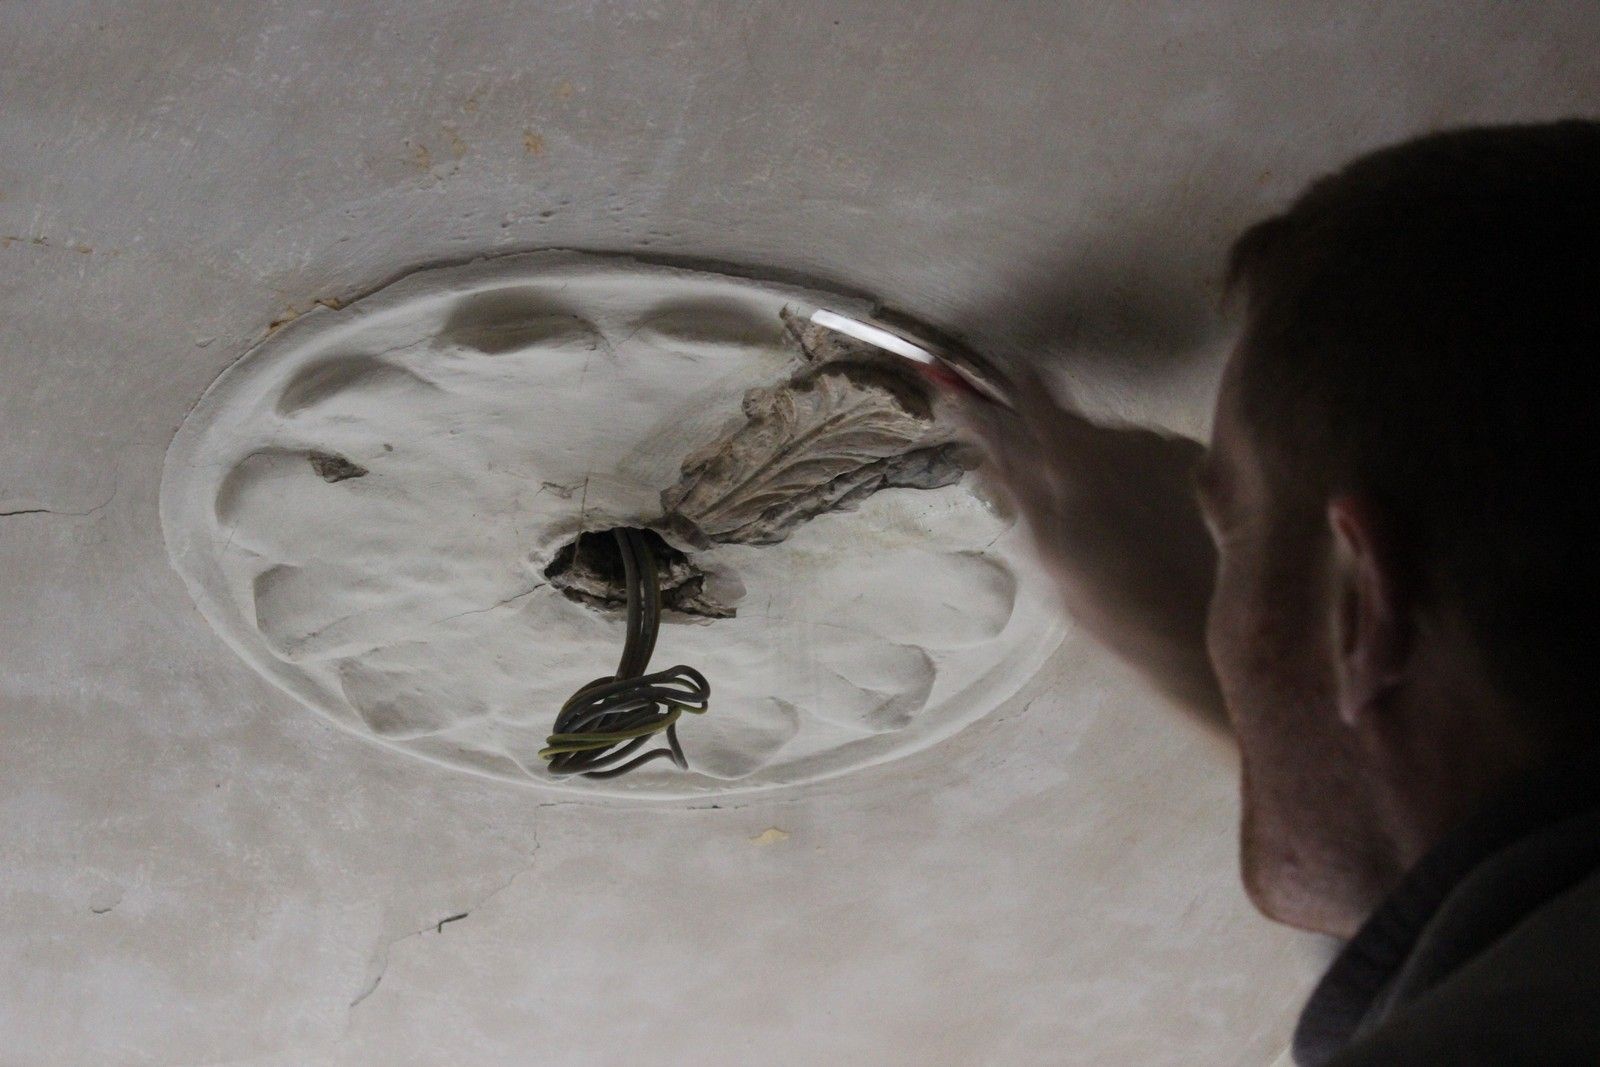

Mind blowing! For three years I thought there was nothing more than vague or damaged detail behind that paint, glad to be proven so wrong!

Wednesday, 28 October 2015

Kitchen Plastering Finished & Cornicing Begins

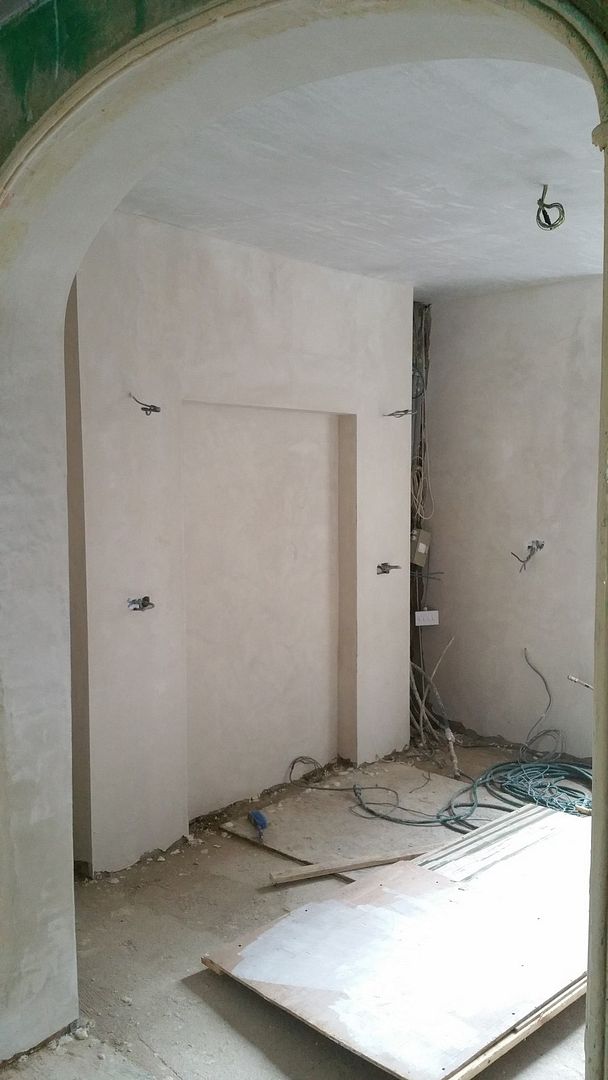
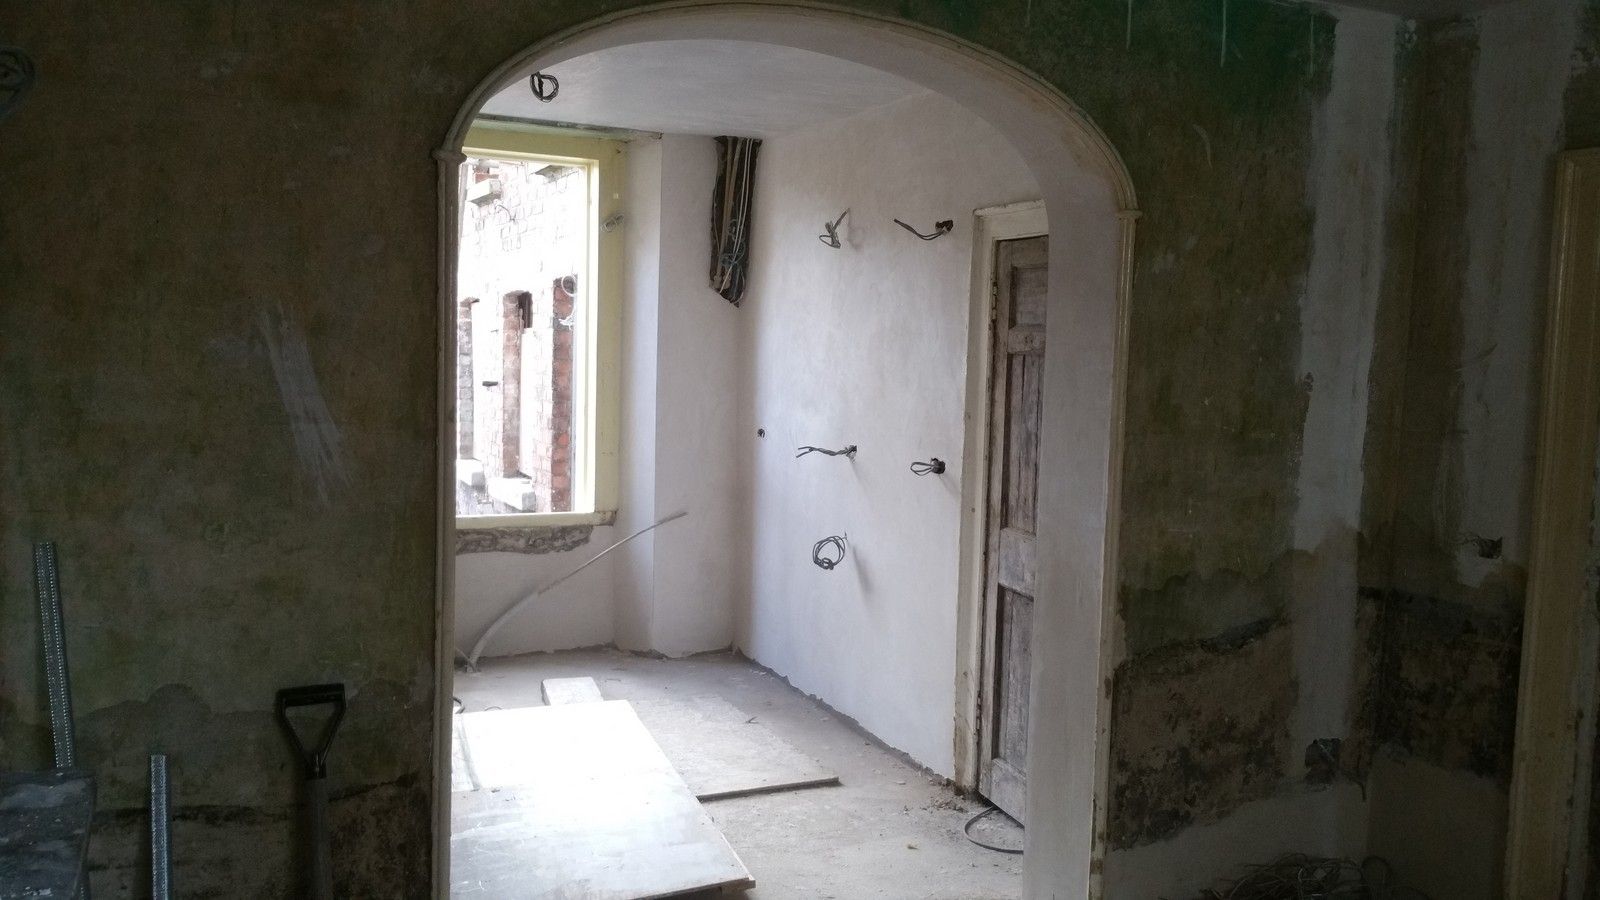
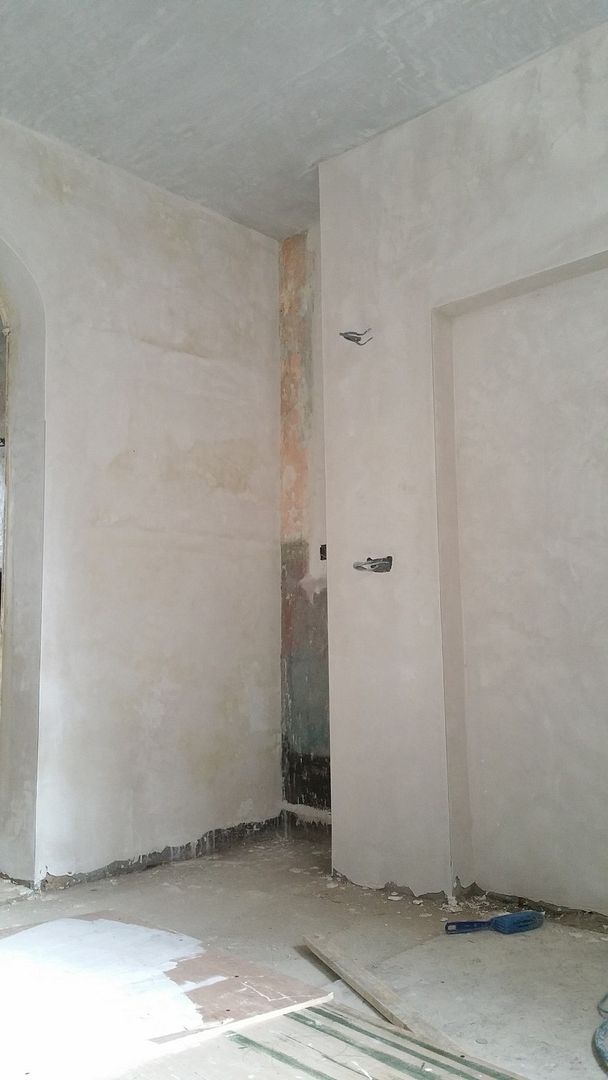
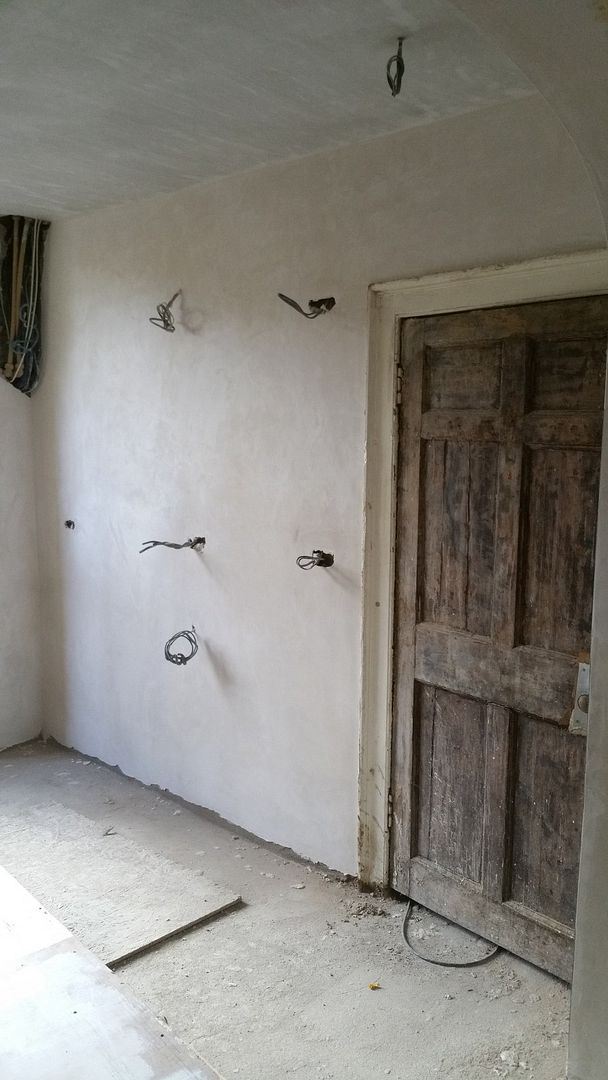
The lime plastering has been completed in the kitchen. For anyone that remembers, this room had extremely poor plasterwork, with a mix of cement render, gypsum plaster and lime plaster. It was riddled with damp, had a very poor finish and was crumbling all over. The only option was to replace it all with new lime plaster.


Below, you can see the small bit of depth that was achieved in the chimney breast where the oven will be positioned. It just wasn't possible to build further in without compromising three stories of brick overhead.


Ever since the concrete floor slab in this rear room was replaced with a limecrete slab and all the cement render was removed from the walls, all damp spots have disappeared. 


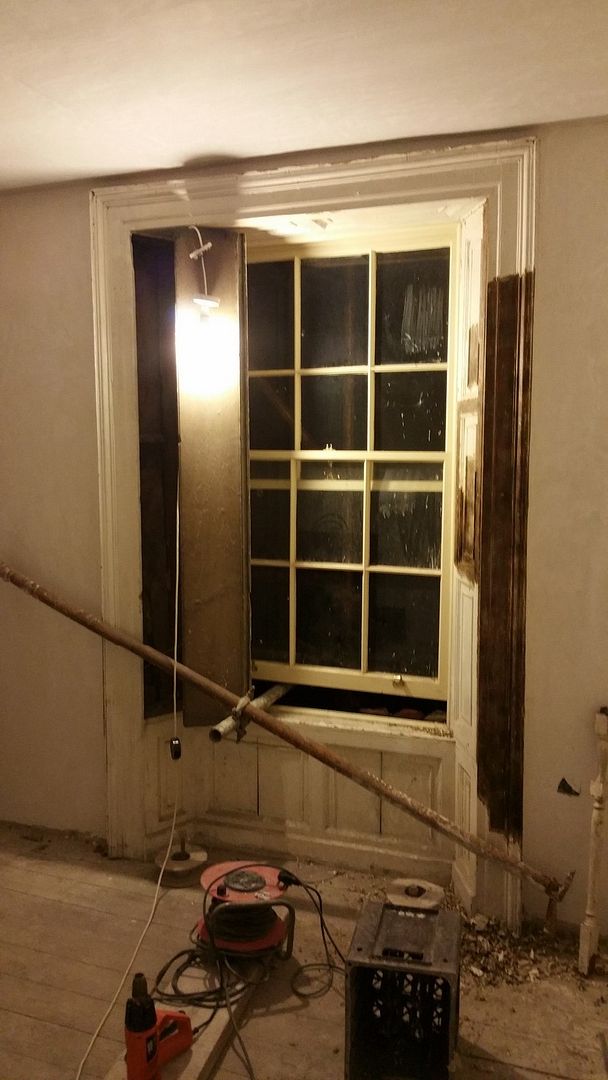
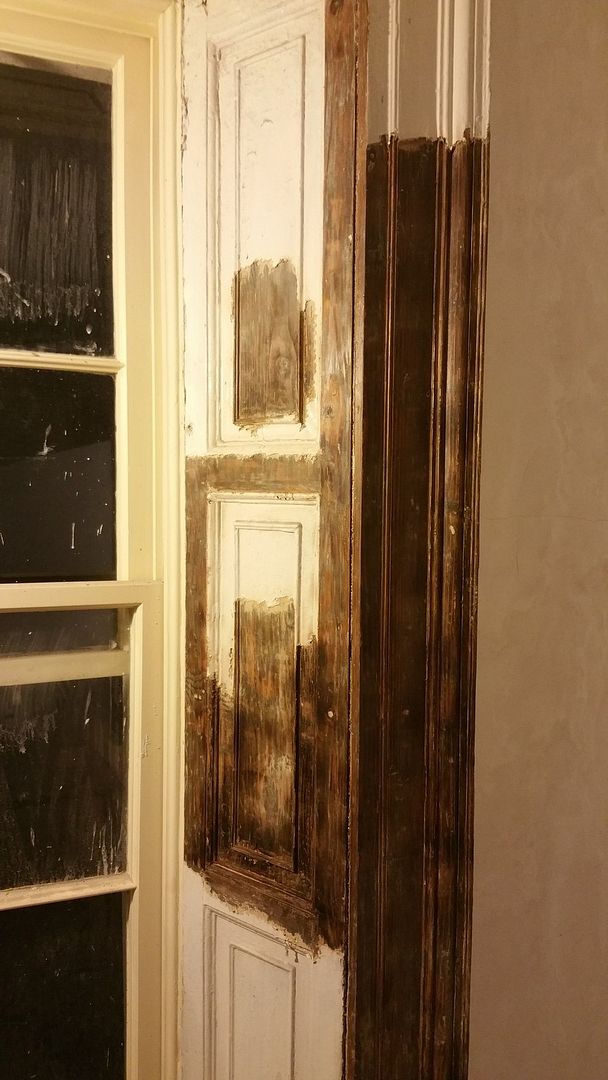
I've also begun stripping the shutter box in the rear room on the first floor, another 20 hour job:


And I have another new local craftsman beginning on the project, Micheal Daly. Micheal will be reinstating the cornicing and ceiling roses in four of the main rooms, with a mold created from the only surviving cornicing in the house, located in the hallway:


A clean cross-section of the cornice:


A rough drawing of the cornice profile, to be finalised soon. The process will take several weeks, updates to follow.


Tuesday, 6 October 2015

A Short Update - Even More Paint Stripping

Readers must becoming tired of the amount of paint-stripping related posts, but believe me no one is more sick of it than yours truly!

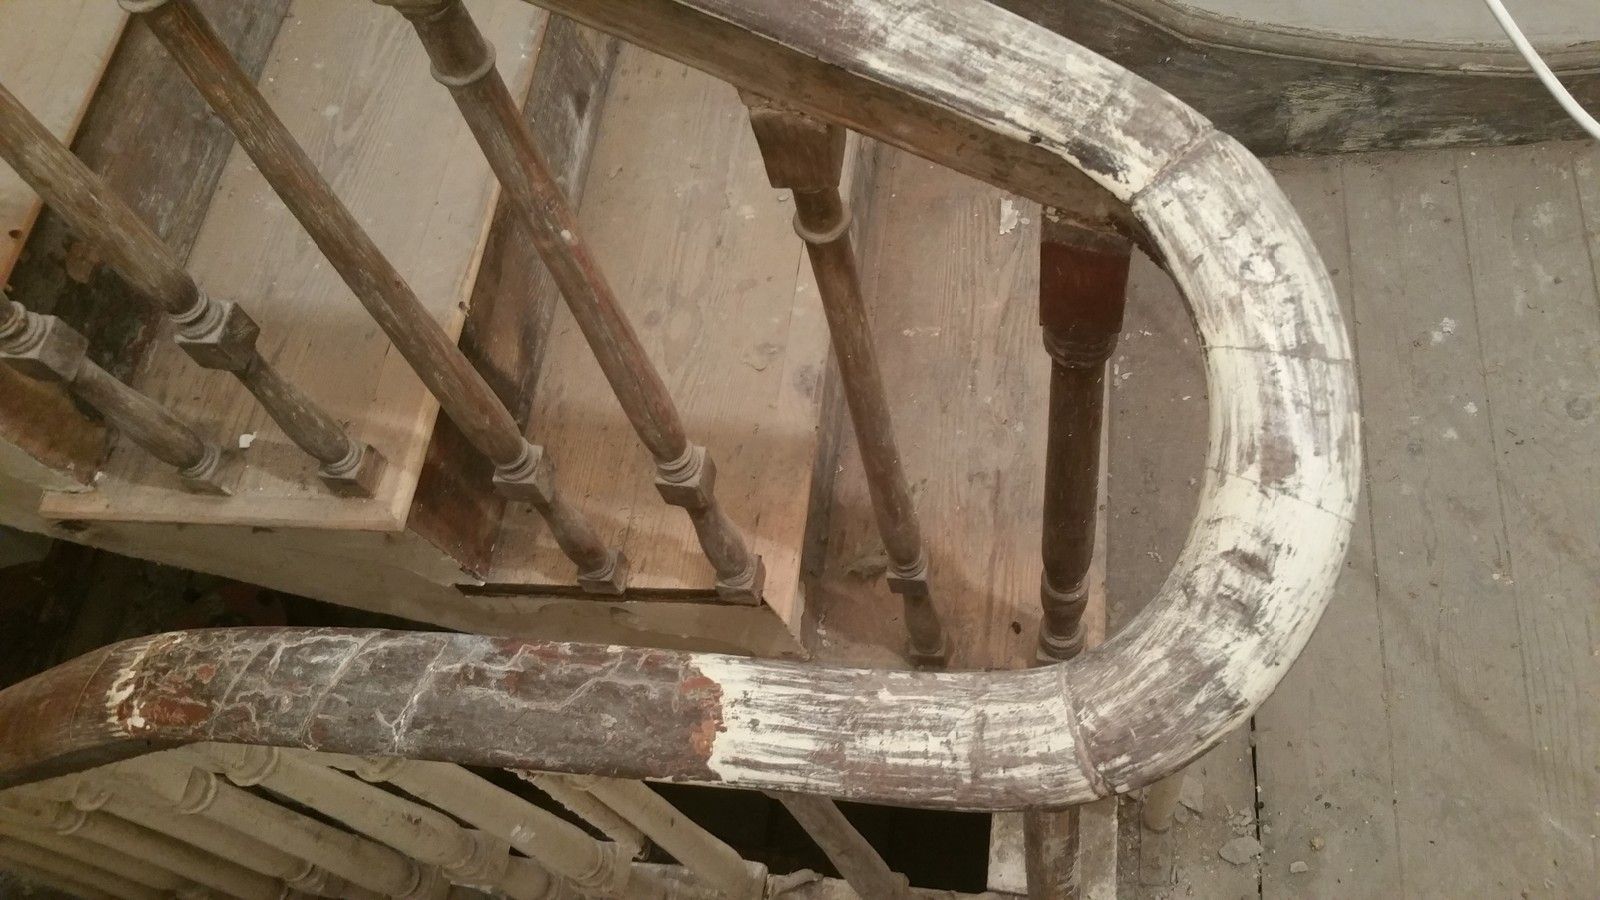
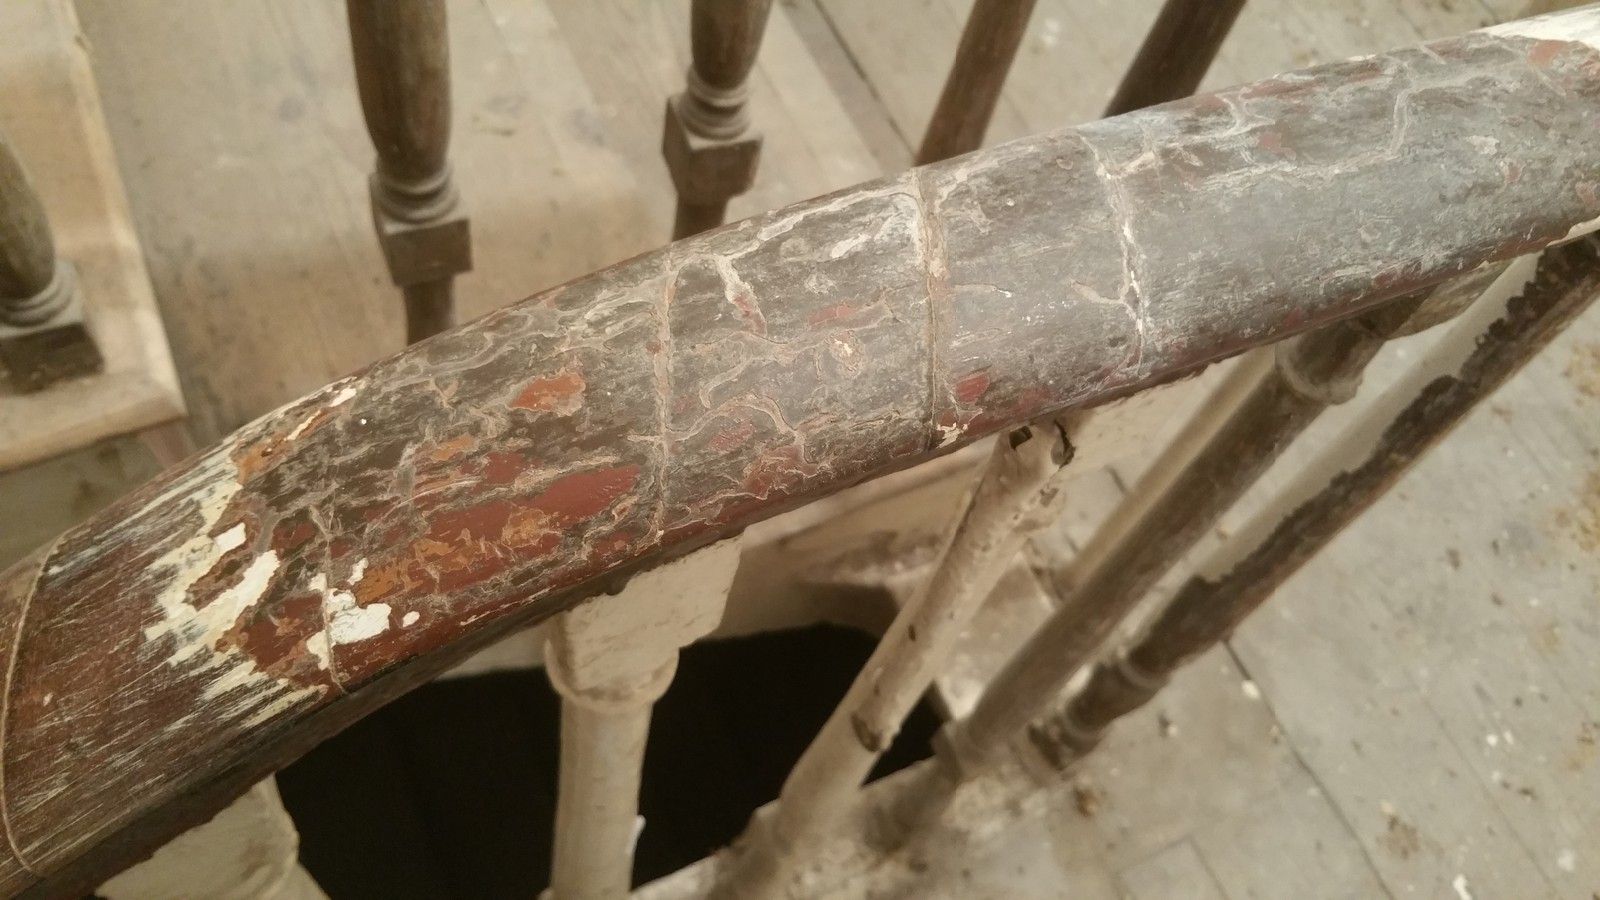
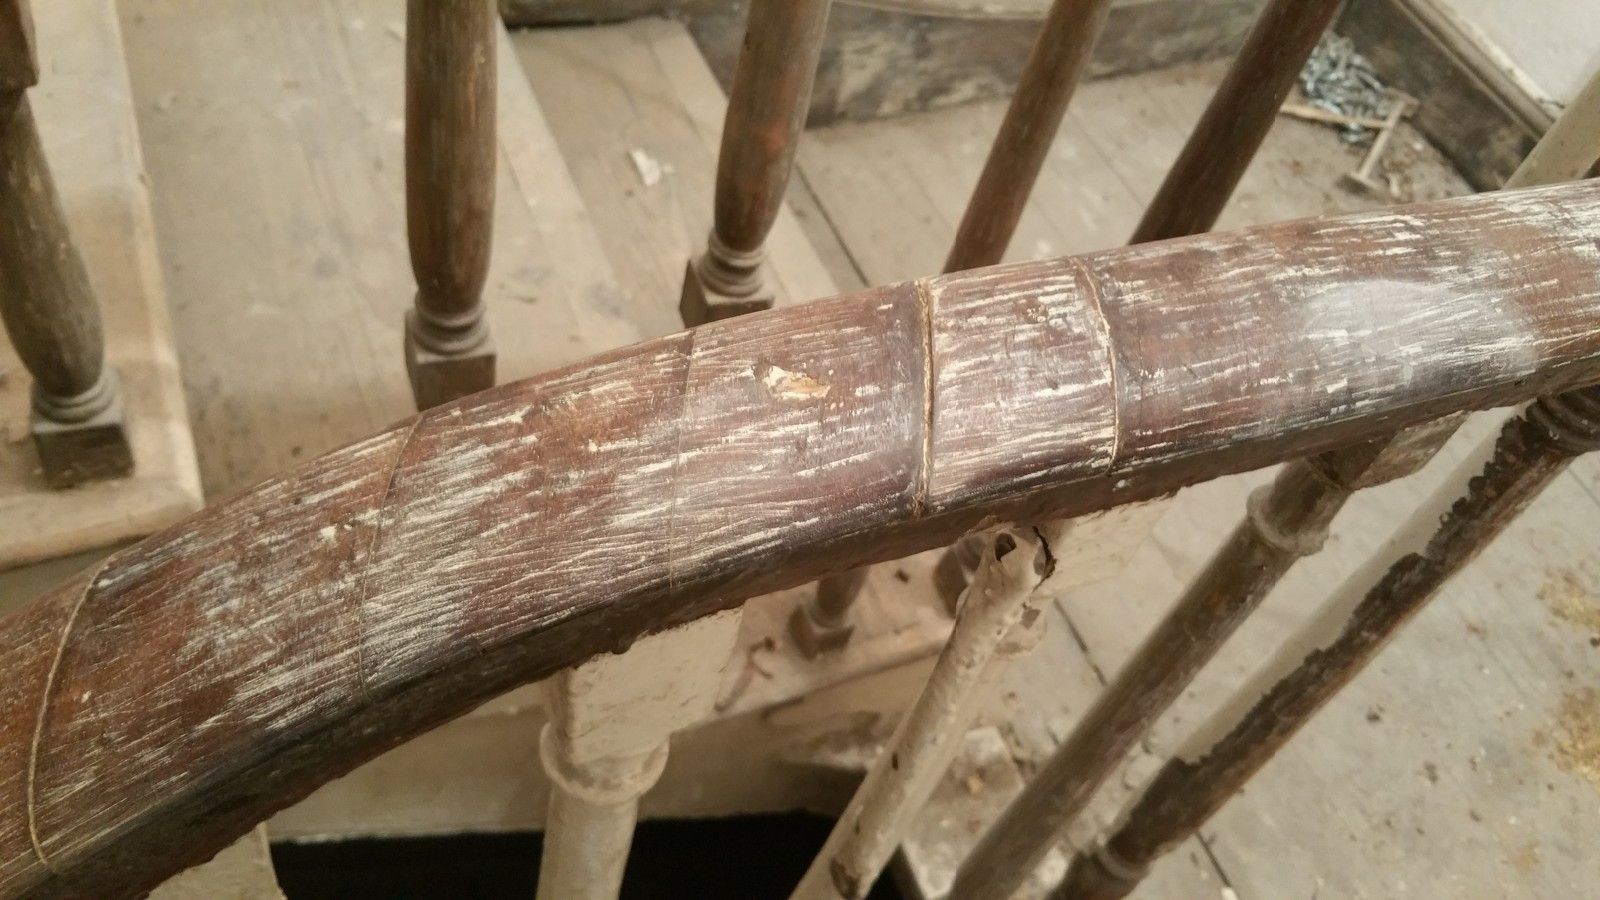
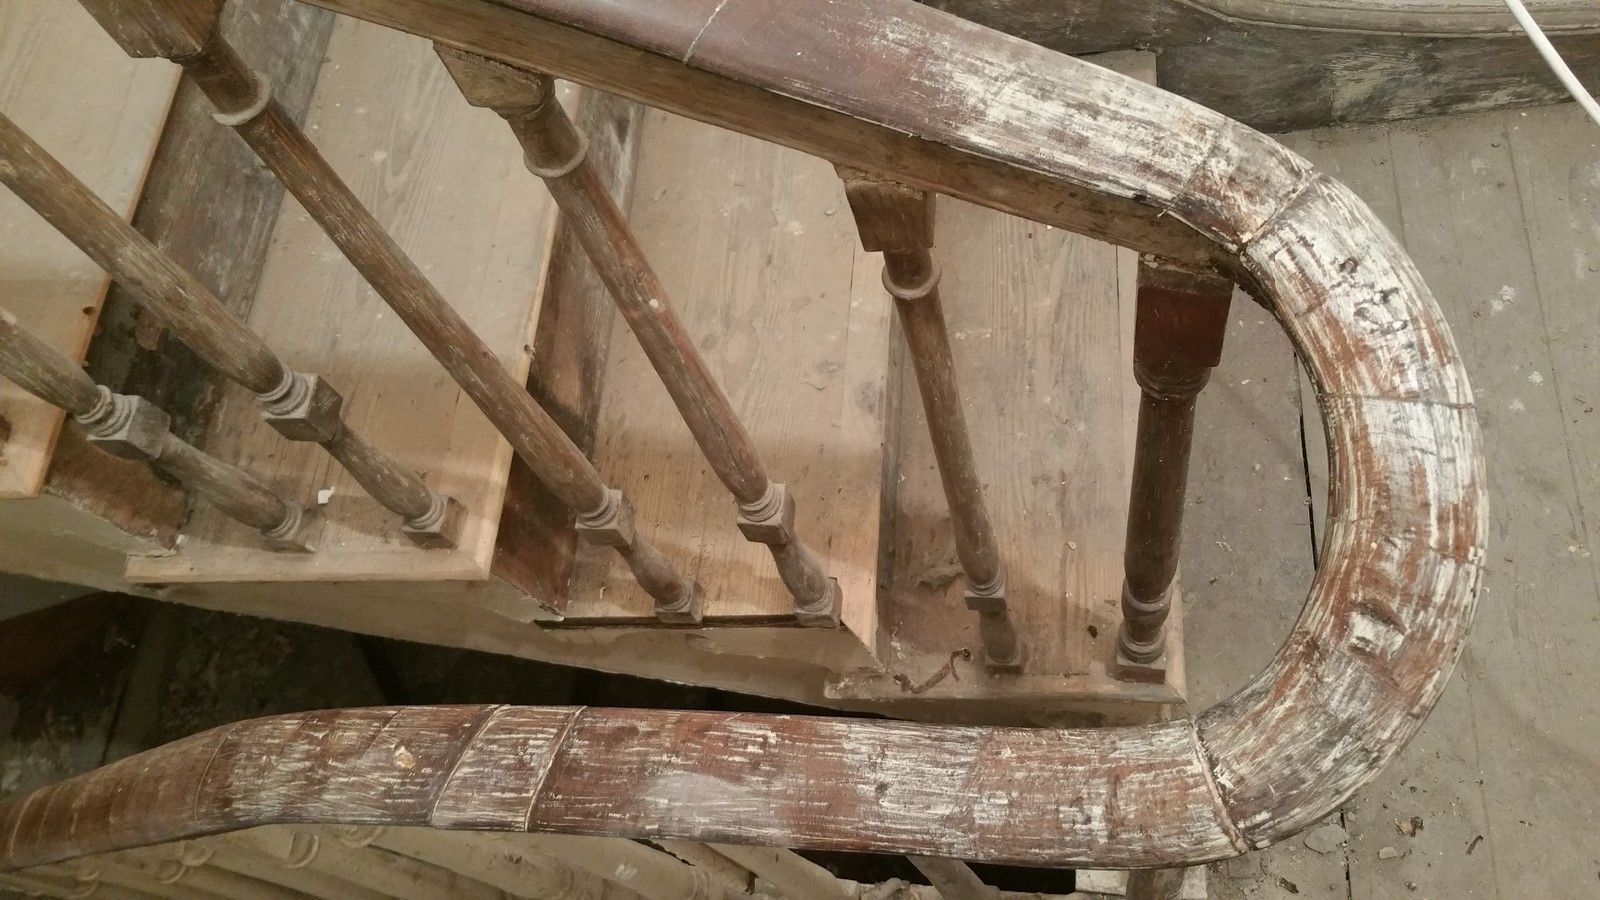
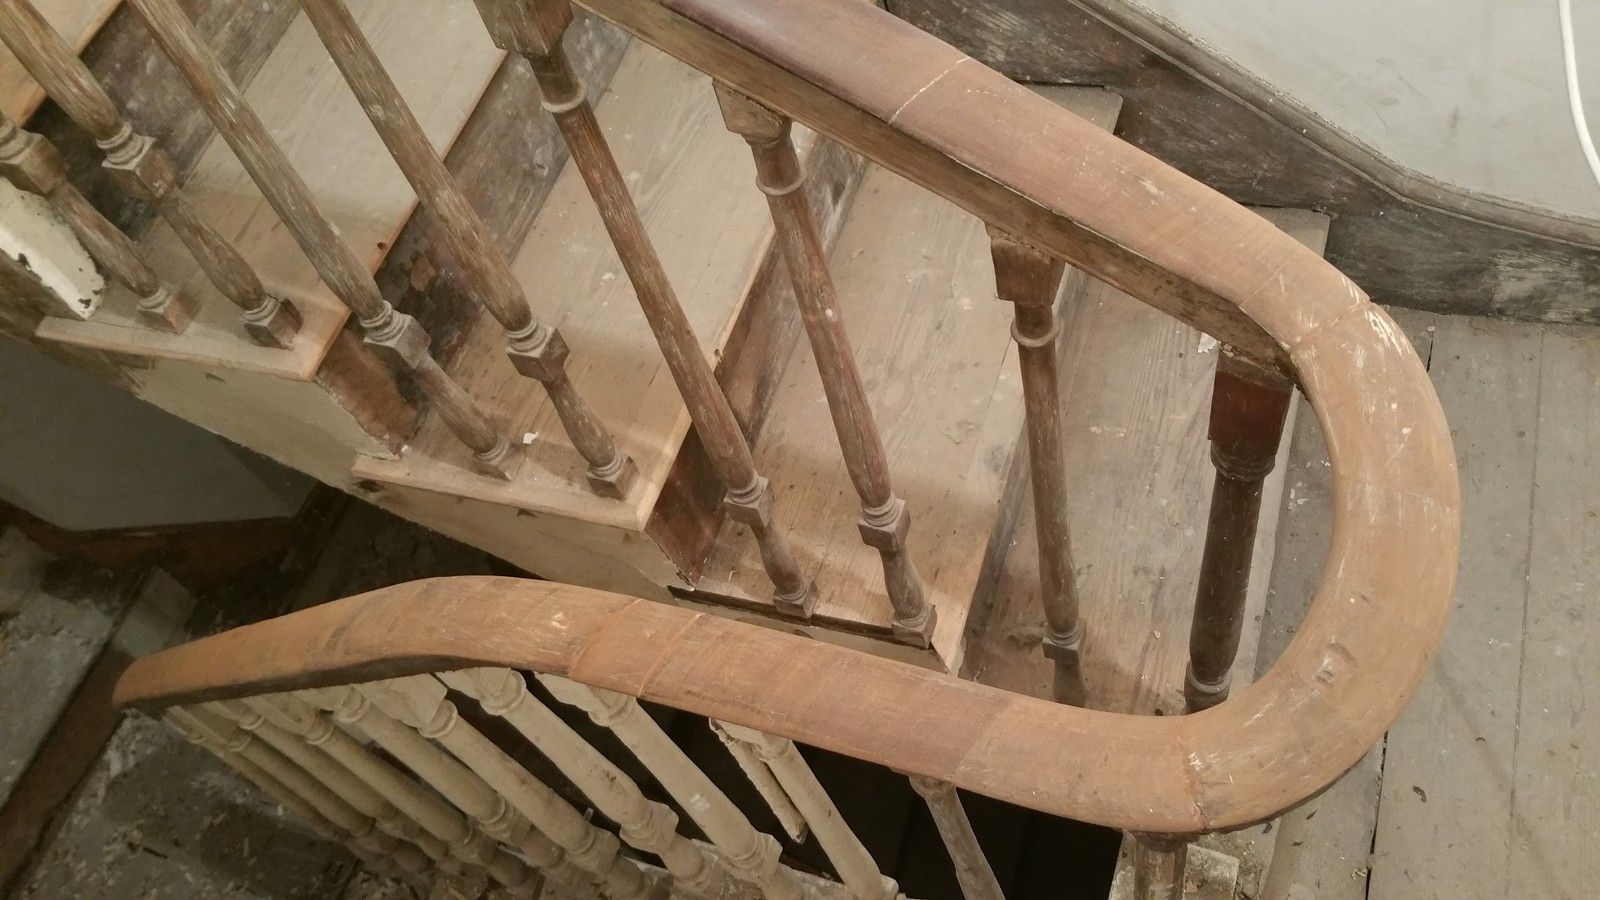
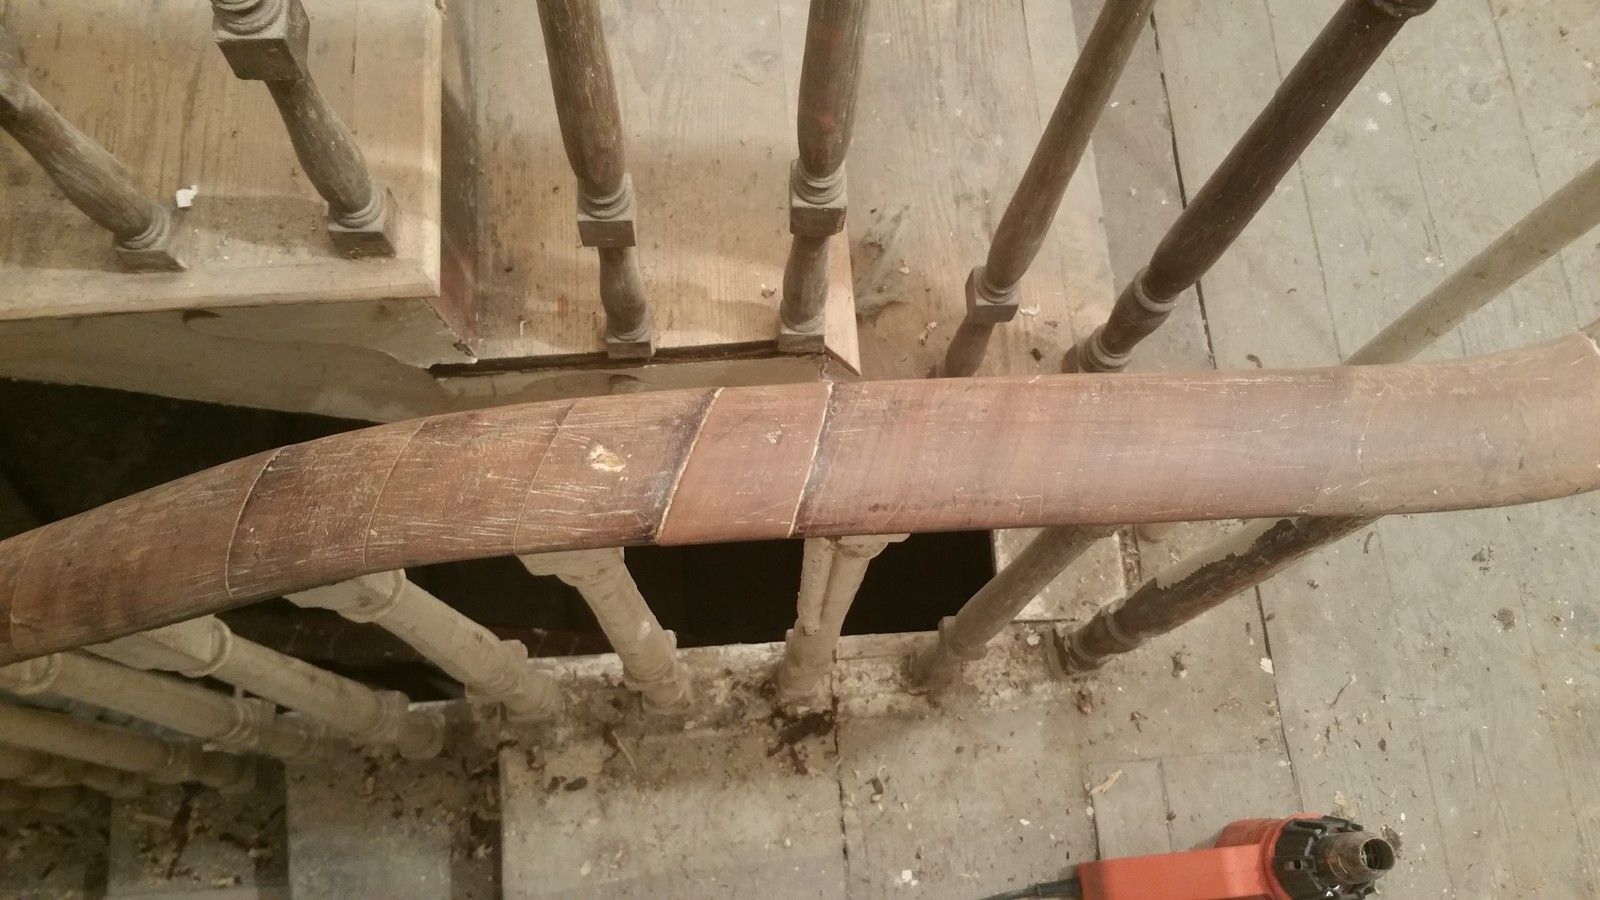
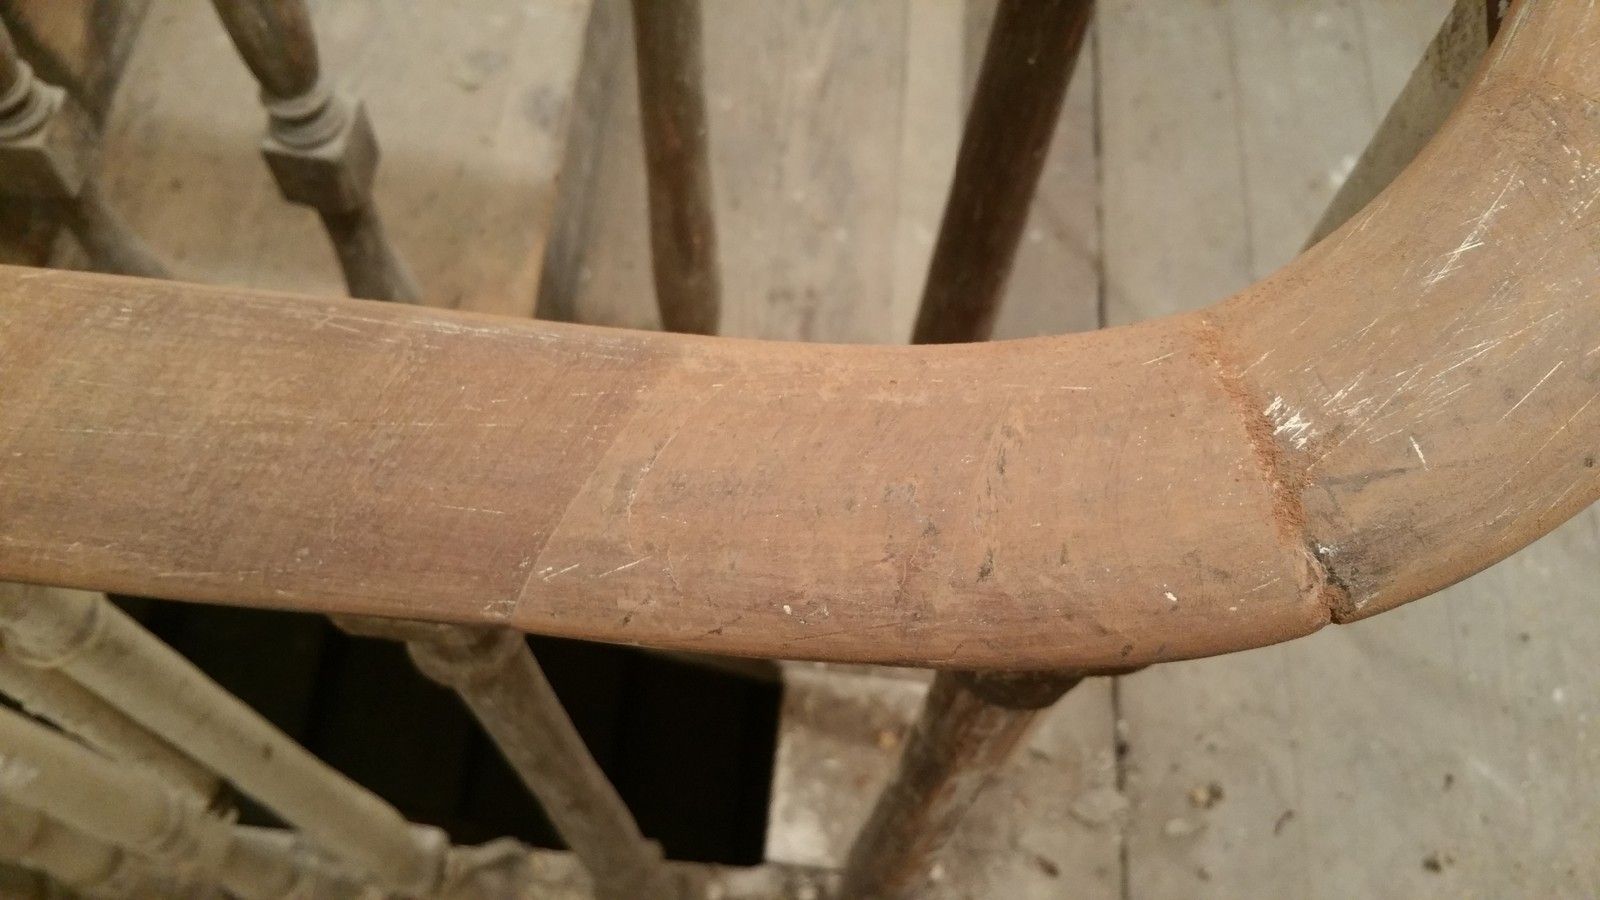
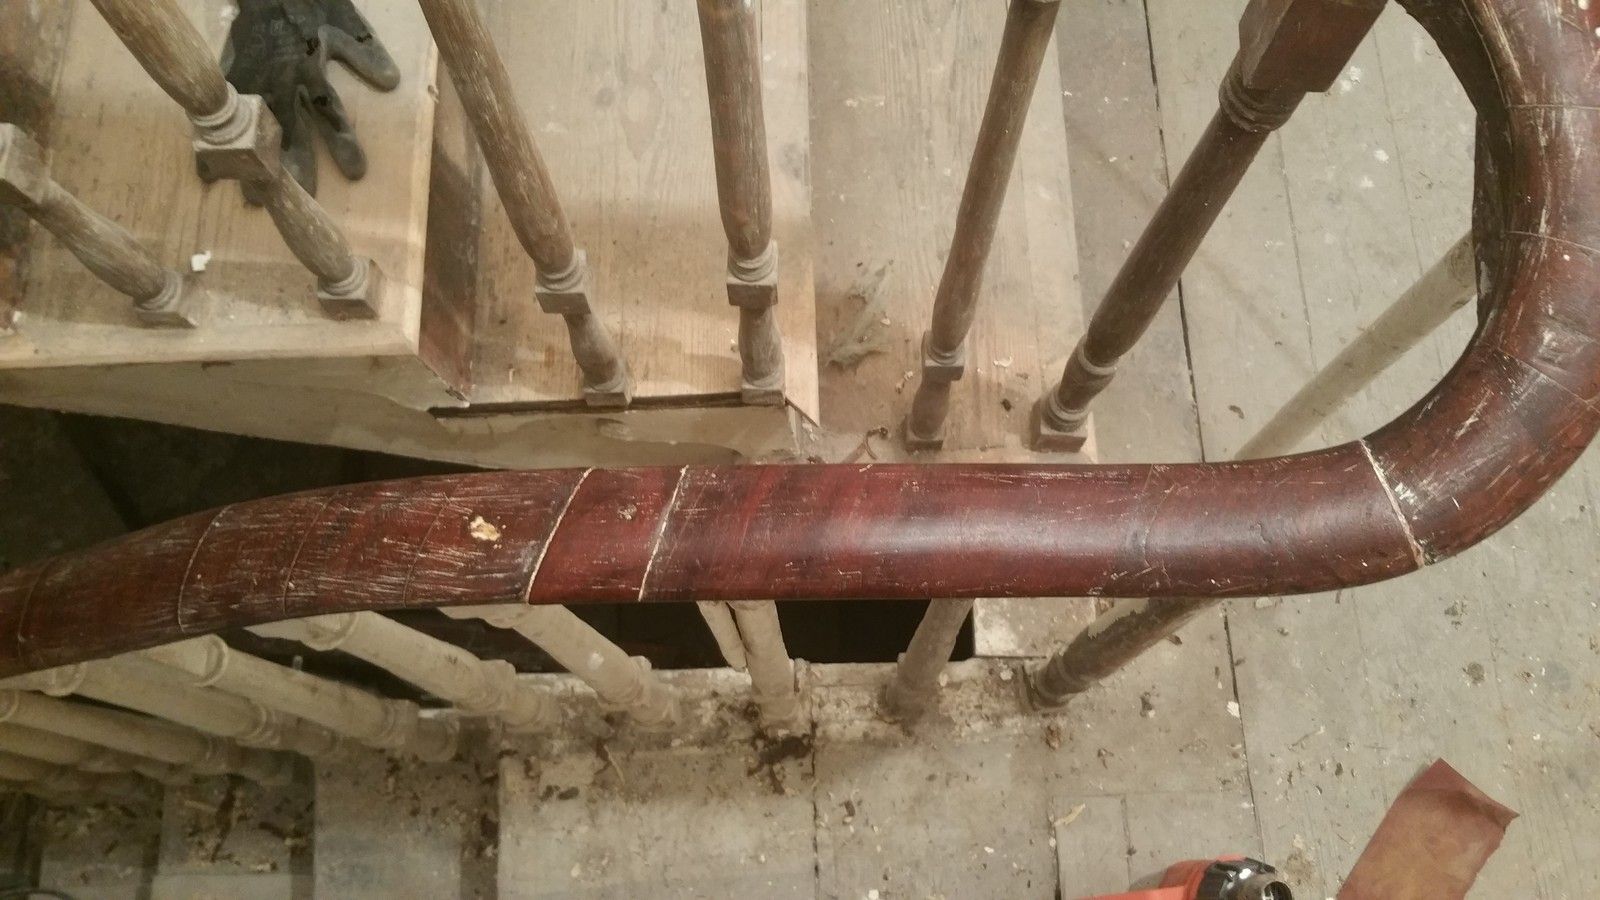
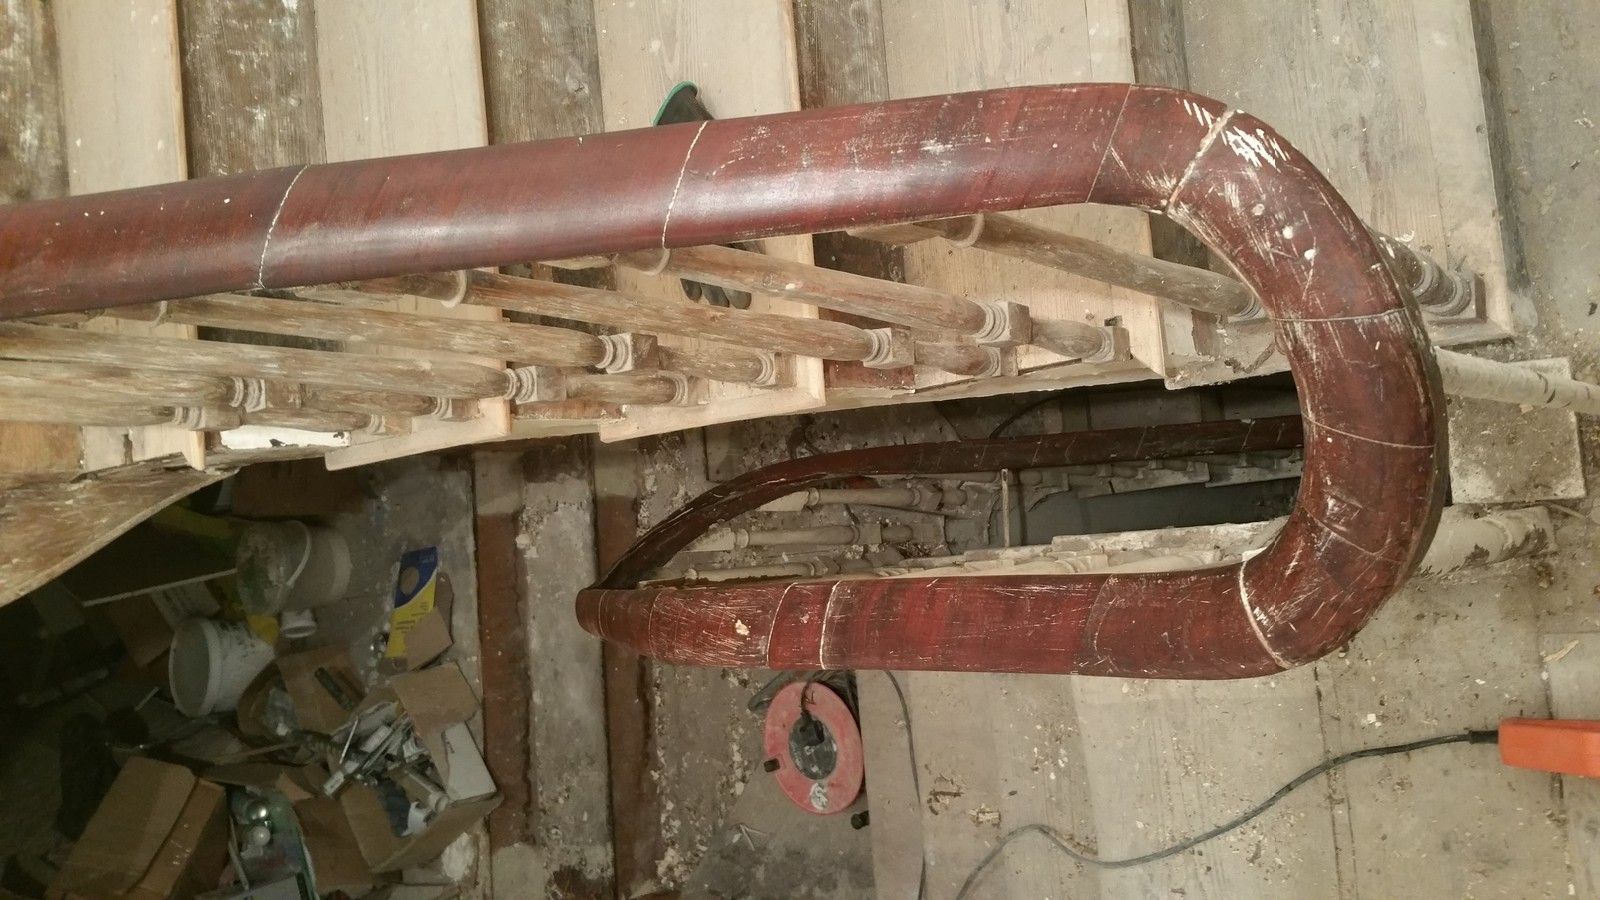
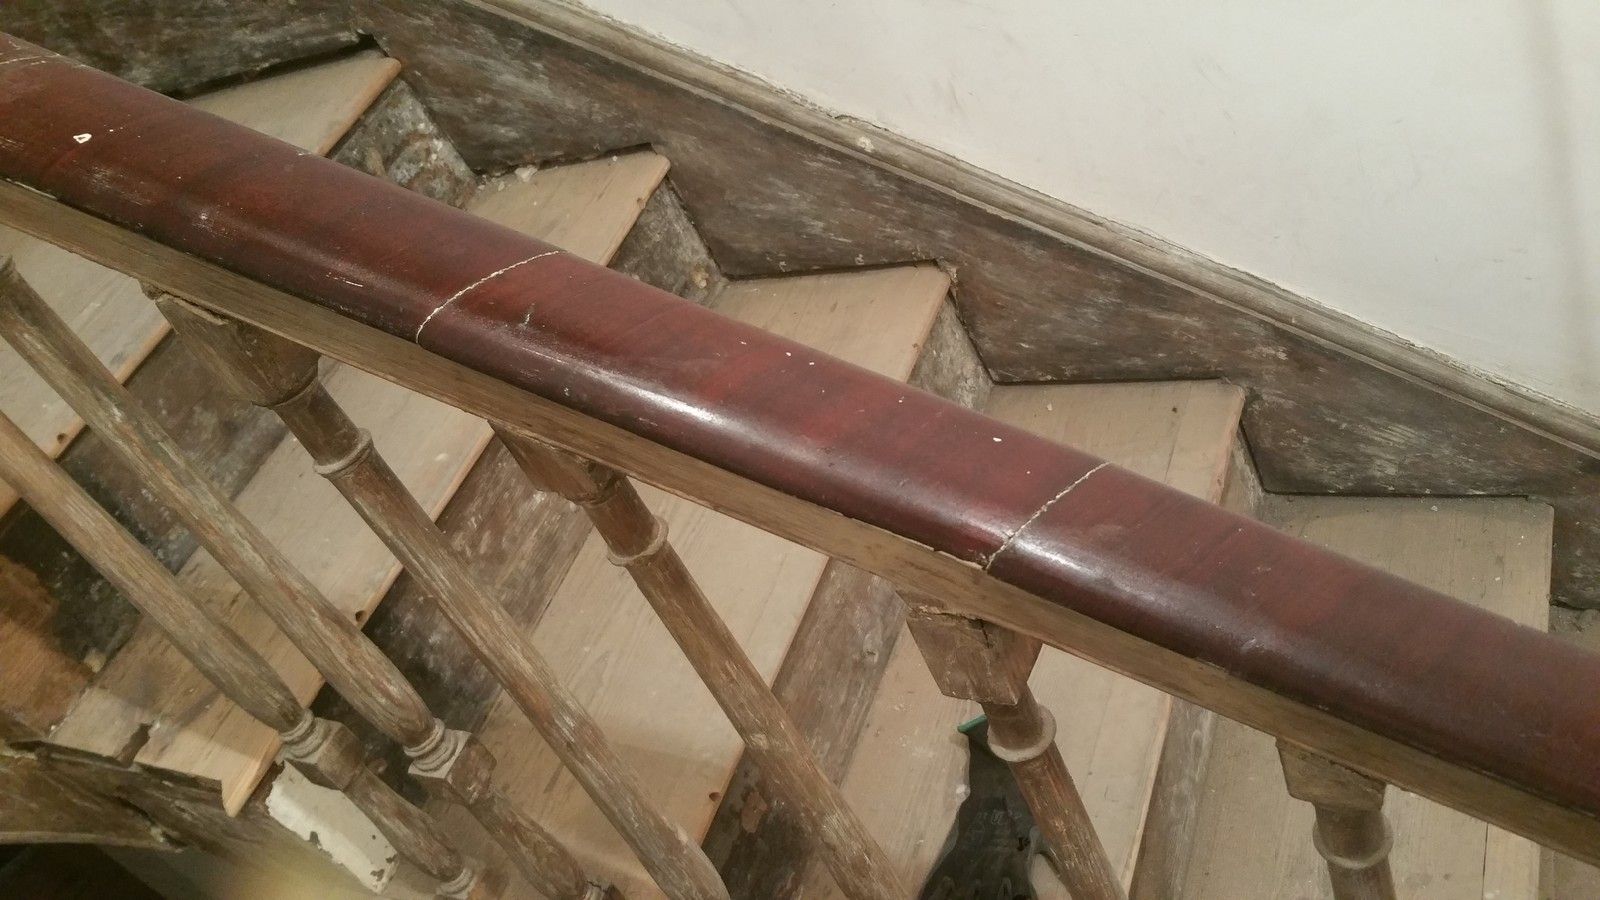
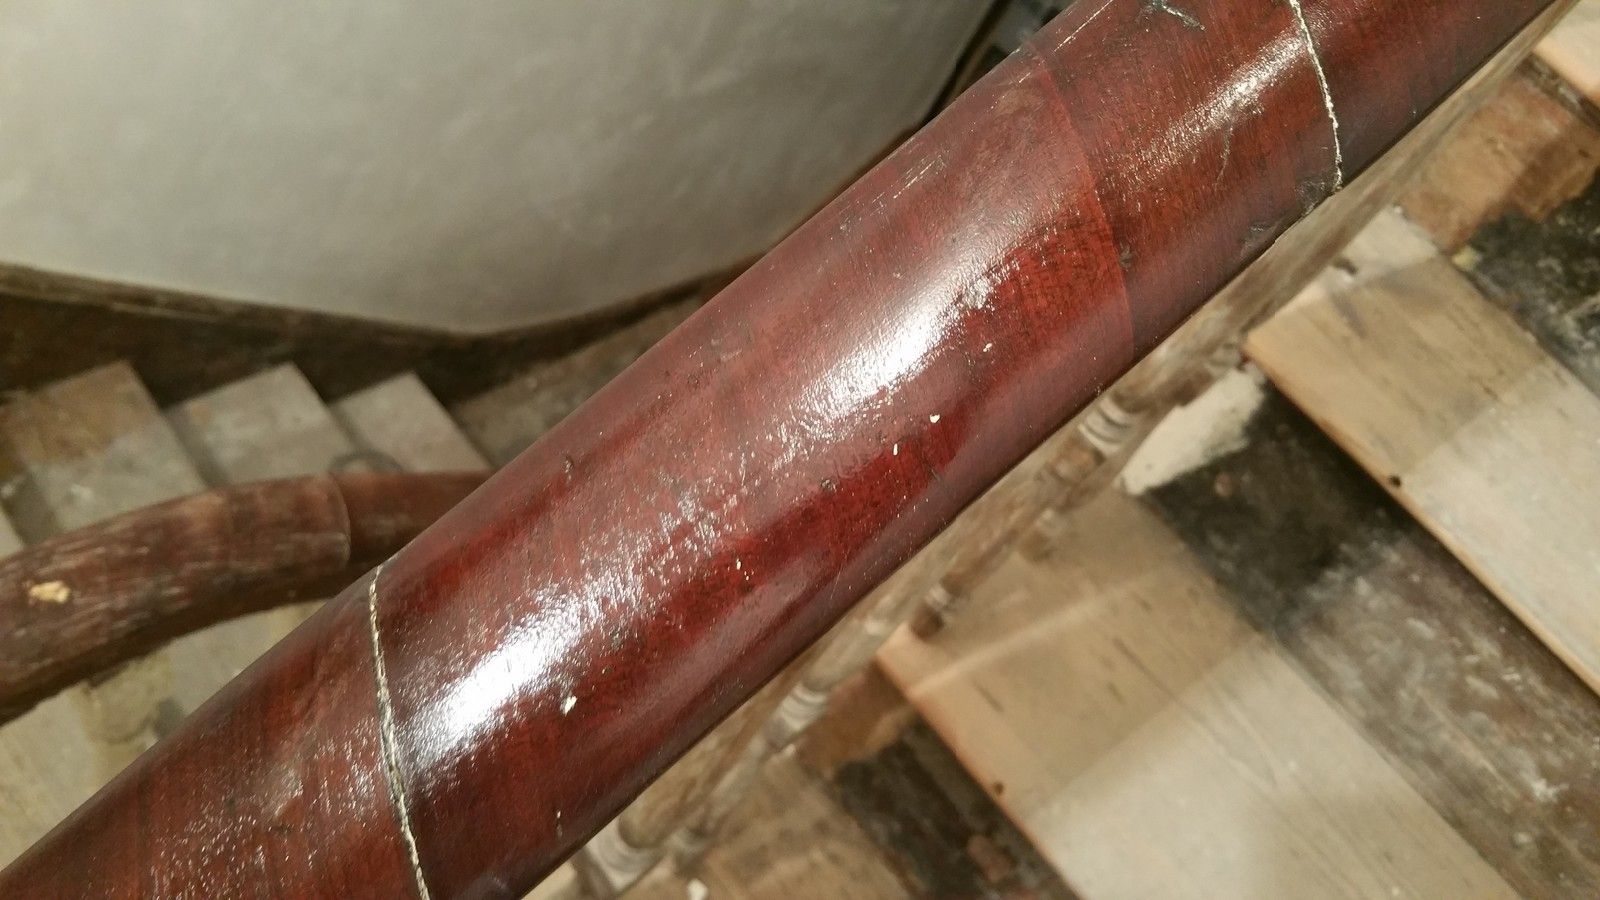
Anyhow, I tackled a short section of banister this evening, just to see how it comes up after stripping, sanding and a quick wipe down with a wet rag. It's quite a soft mahogany and sands exceptionally easily so special care is needed to prevent any changes in shape.

This section is on the first floor landing, covered in several layers of paint:


Stripped back:


Then sanded back with 120 grit paper:


Then simply wiped down with a wet cloth:


It boggles the mind as to why anyone would paint over this!


The banister will be french polished towards the end of the project.
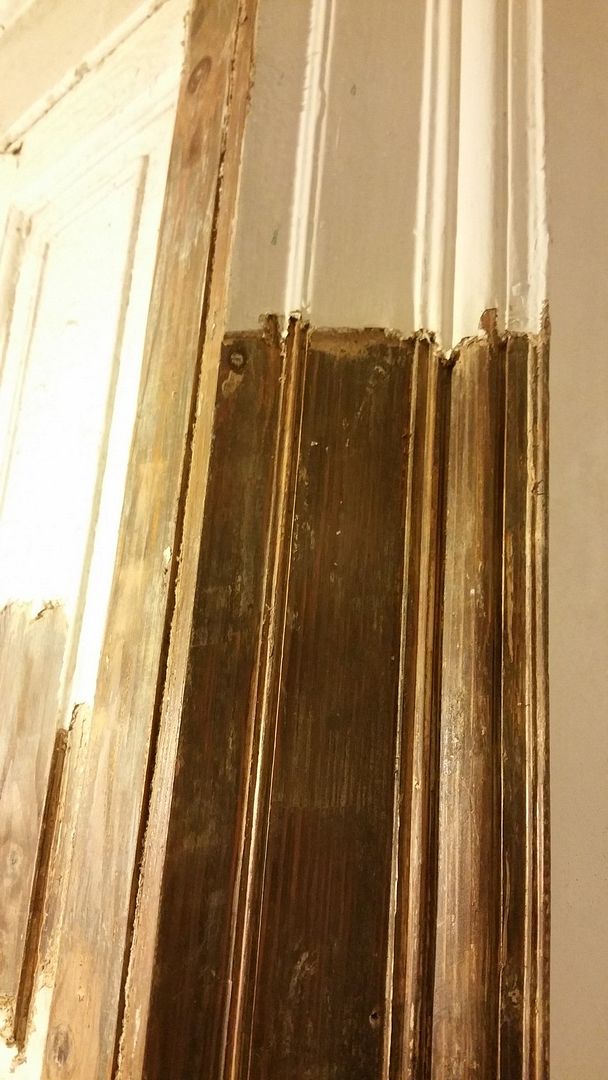
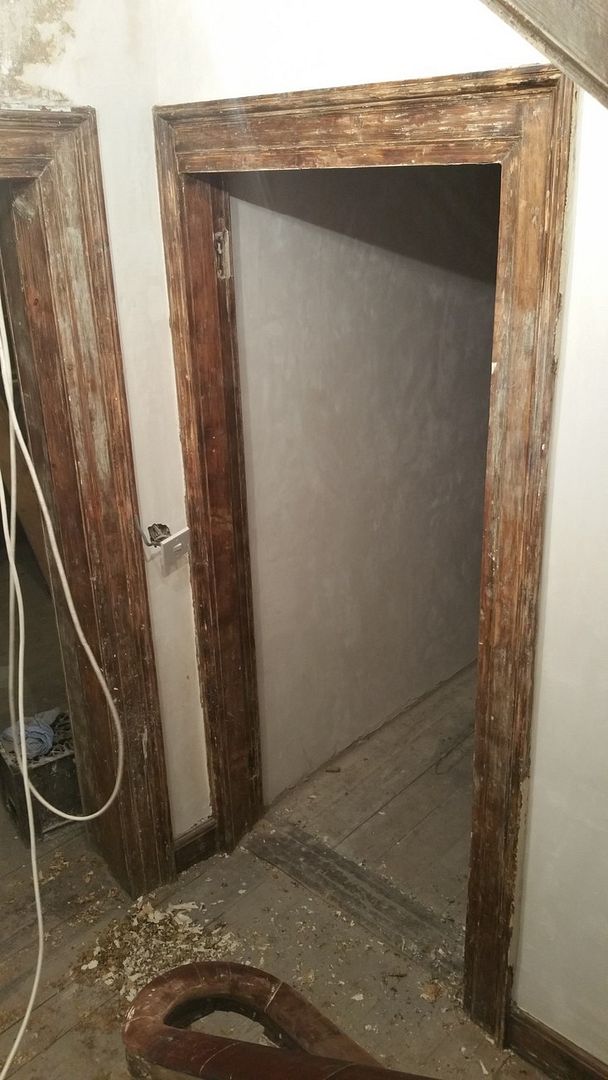
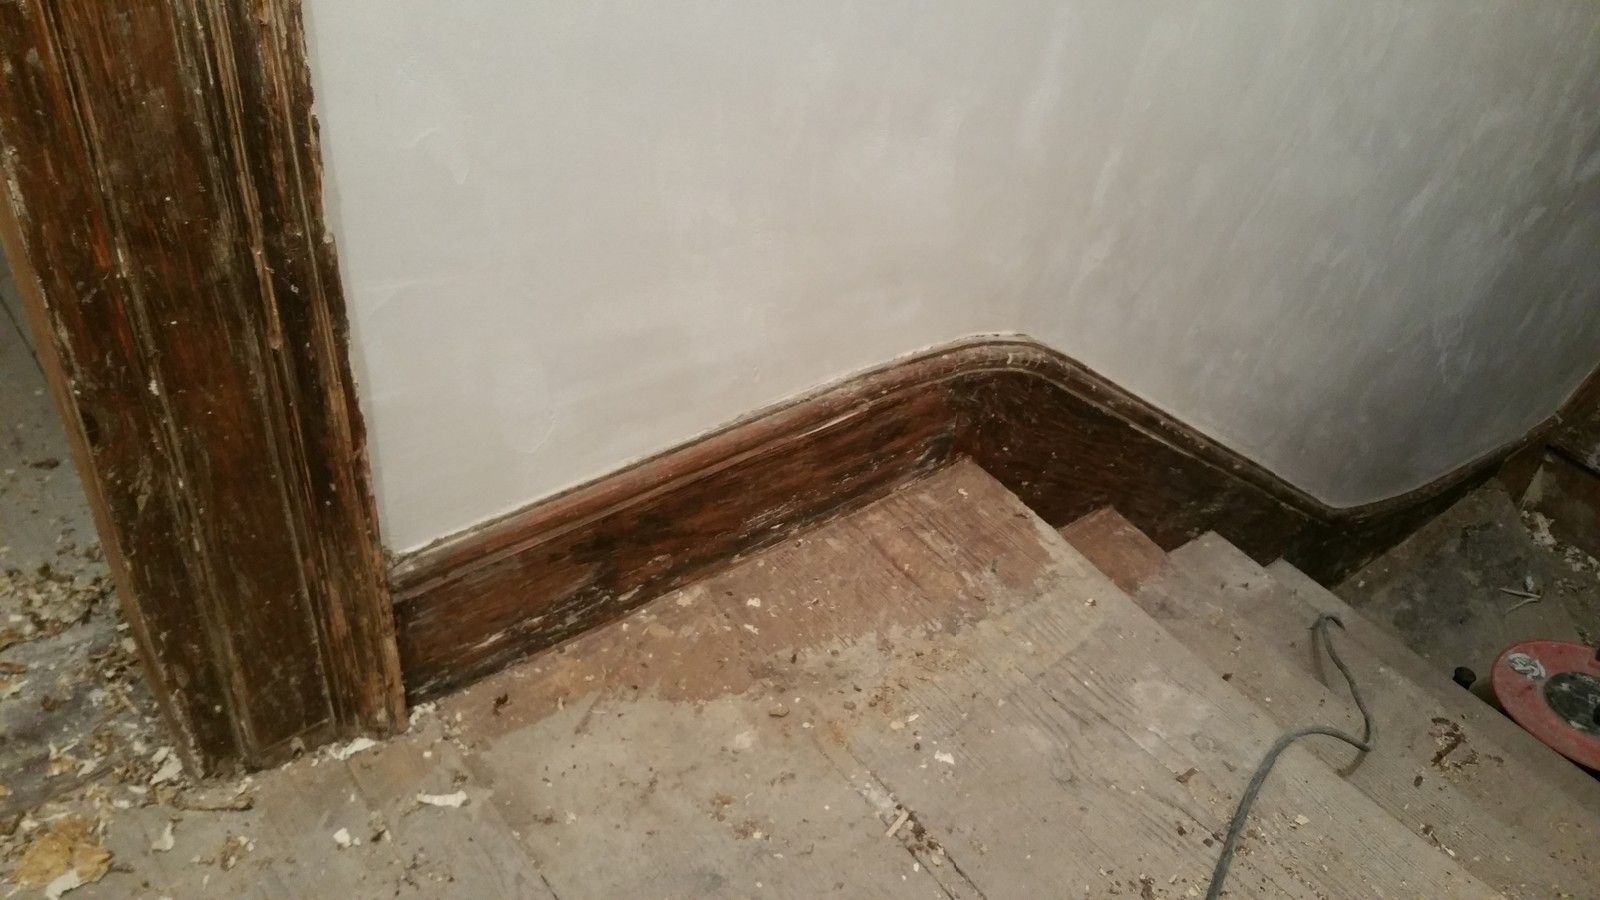
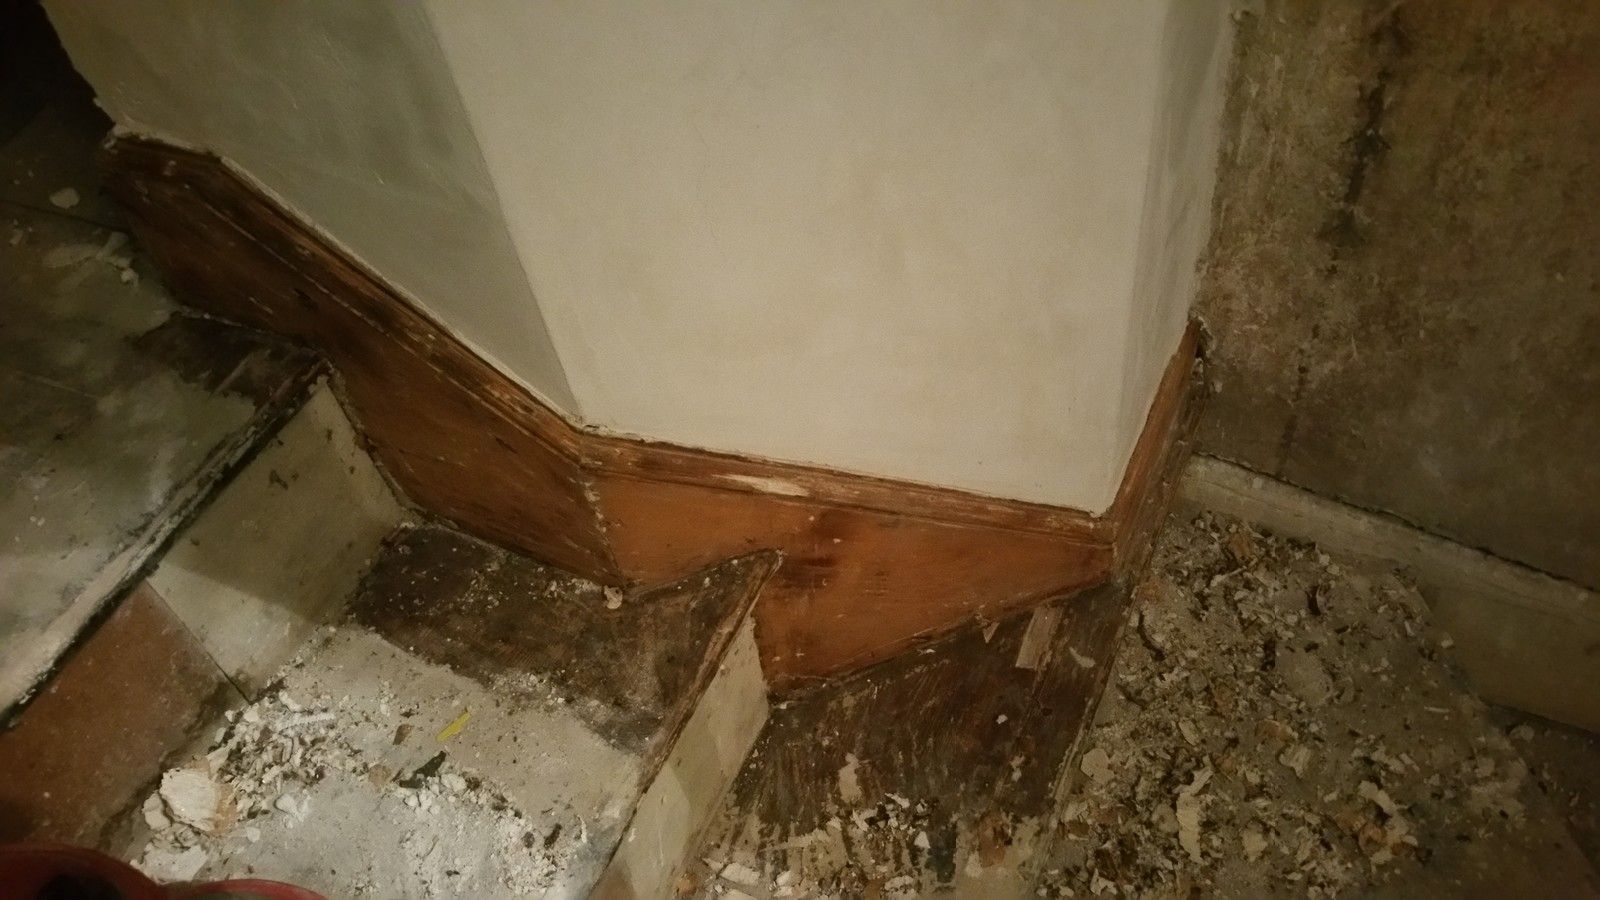
I also continued to strip back these first floor landing door architraves and stair skirtings:


Some major works in relation to the ground floor and reclaimed floorboards on the way very soon.