Thursday, 30 October 2014

Tackling The Garden

The garden has quite frankly been a disgrace for the last year; it's been used as a dumping ground for all the rubble and building waste coming from the house for some time and had also become hugely overgrown. So a 14 cubic yard skip was ordered and with four days off work I filled it by myself for about 6 hours a day.

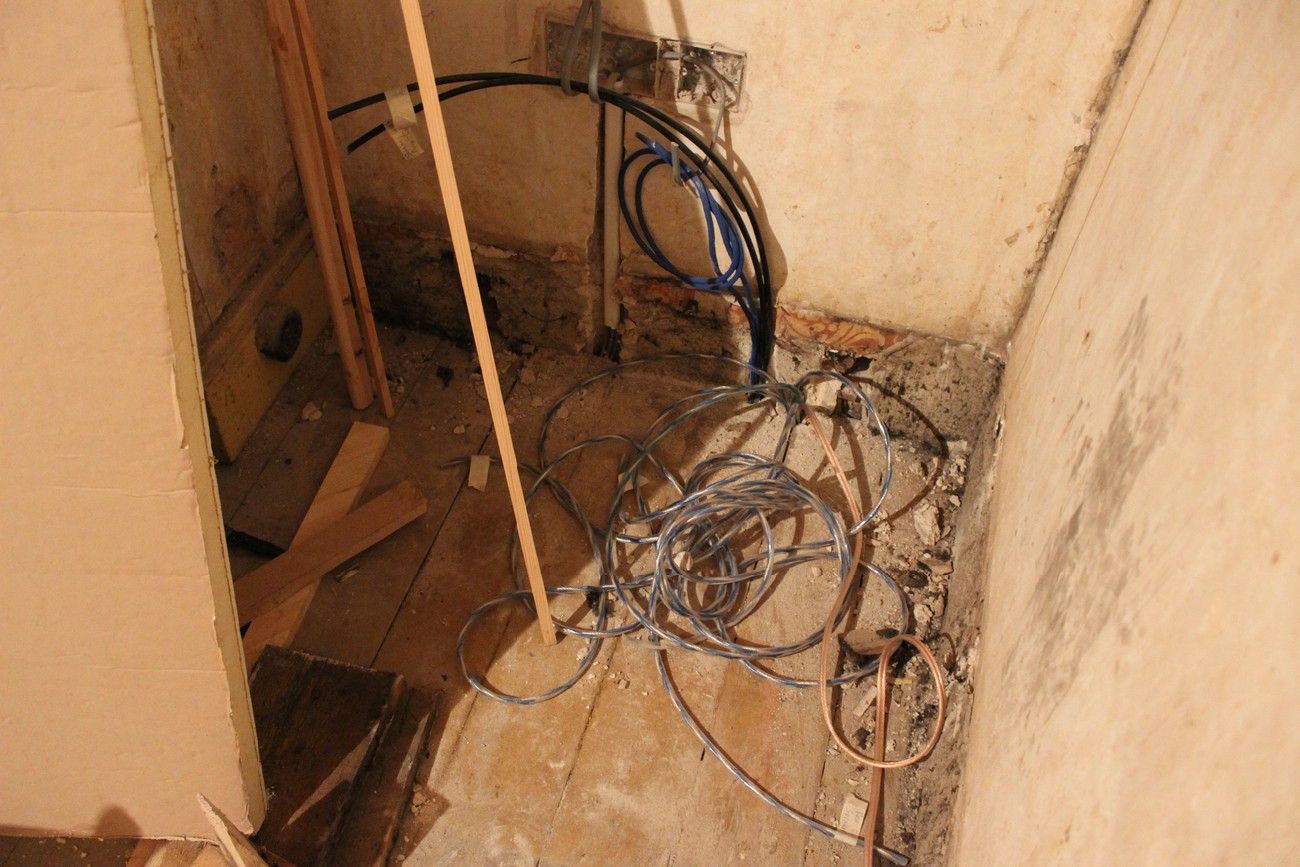
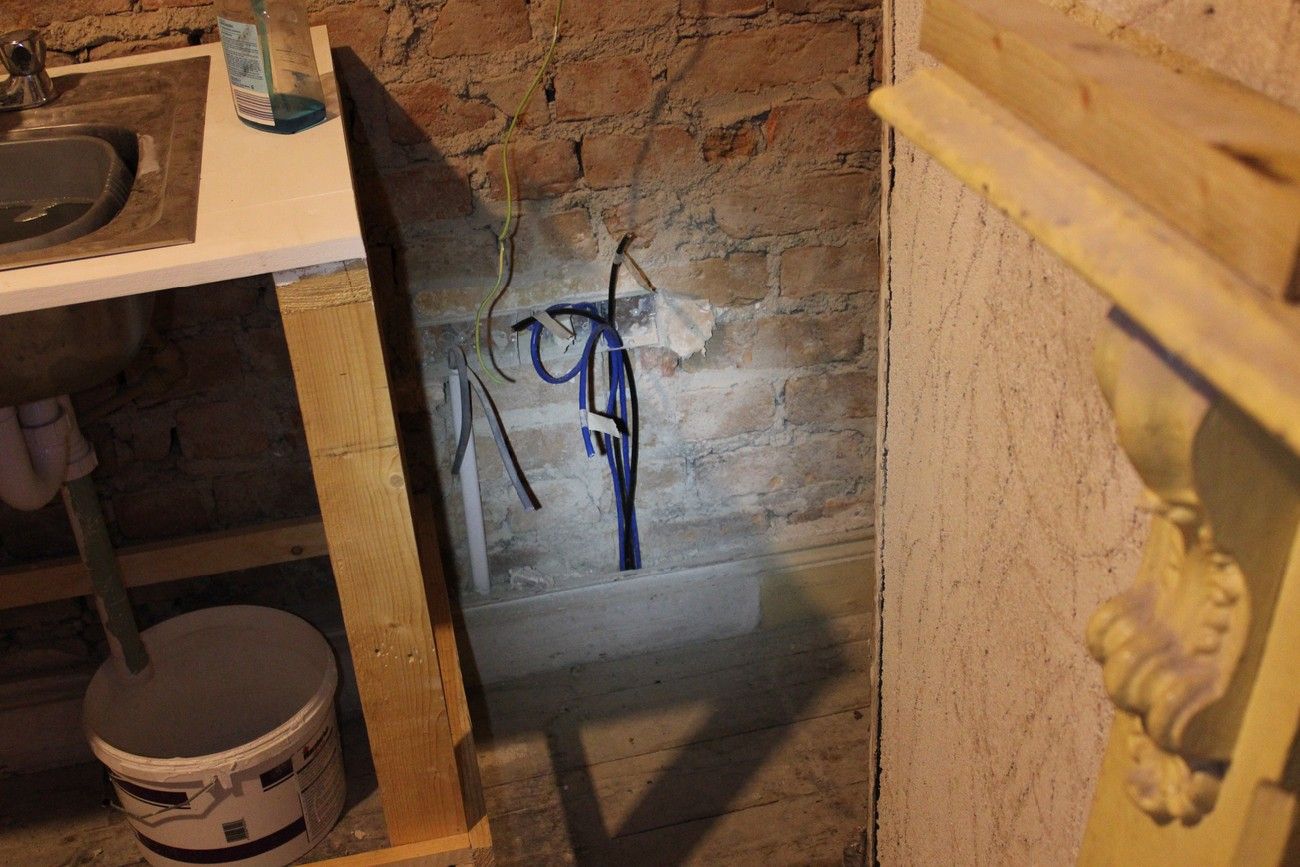
The frustrating thing is that despite the tonnes of rubble I got into the skip, the garden is still in a terrible state. Anyways, some picture below.

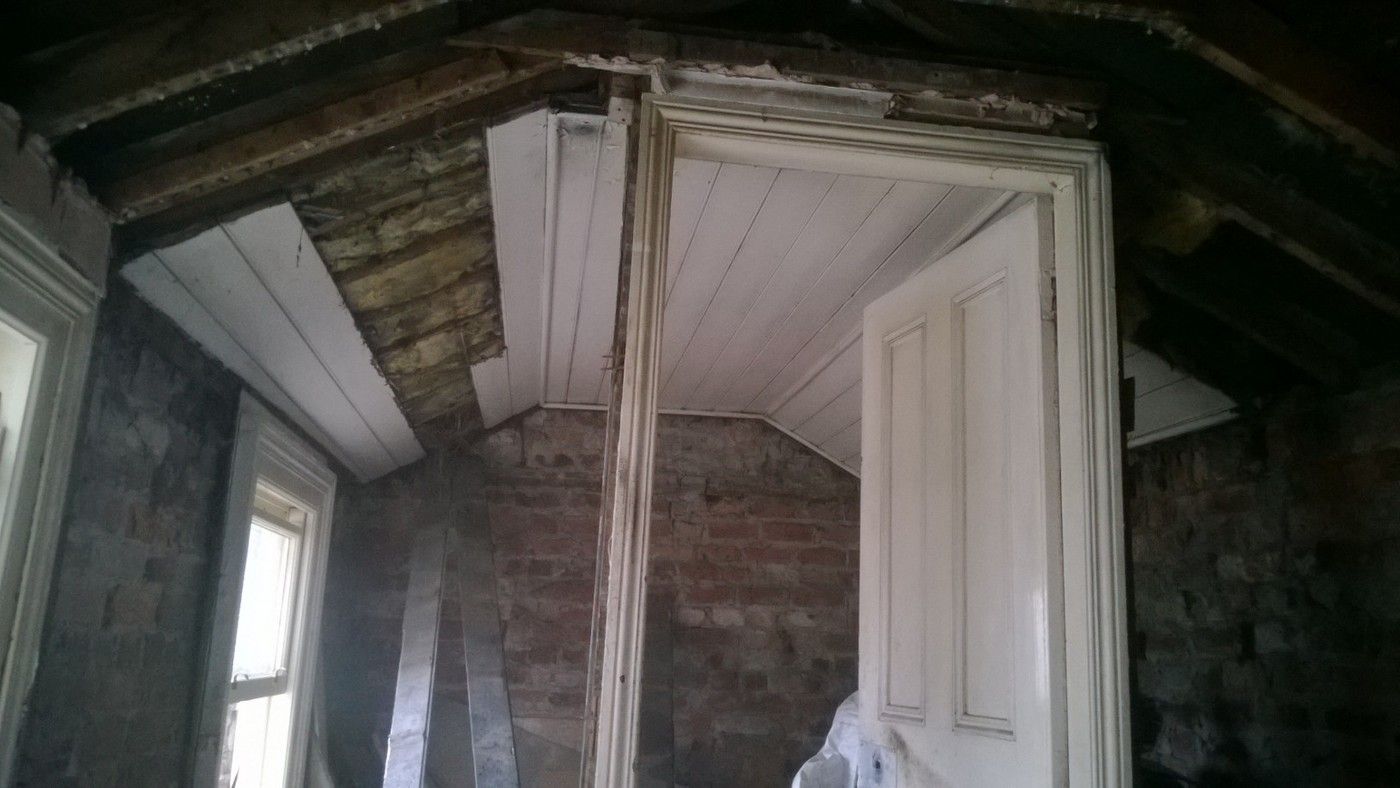
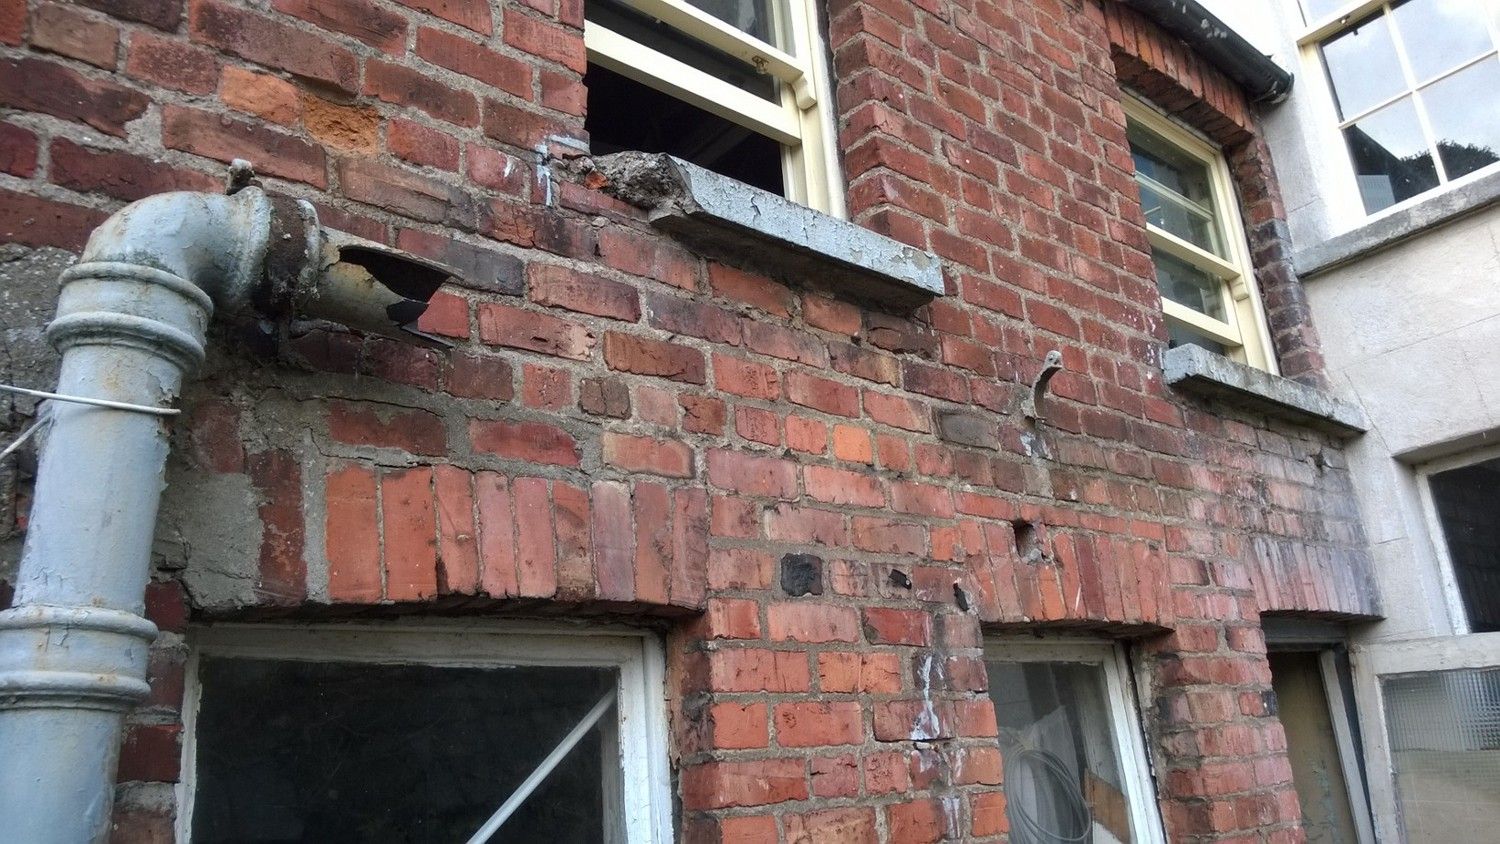
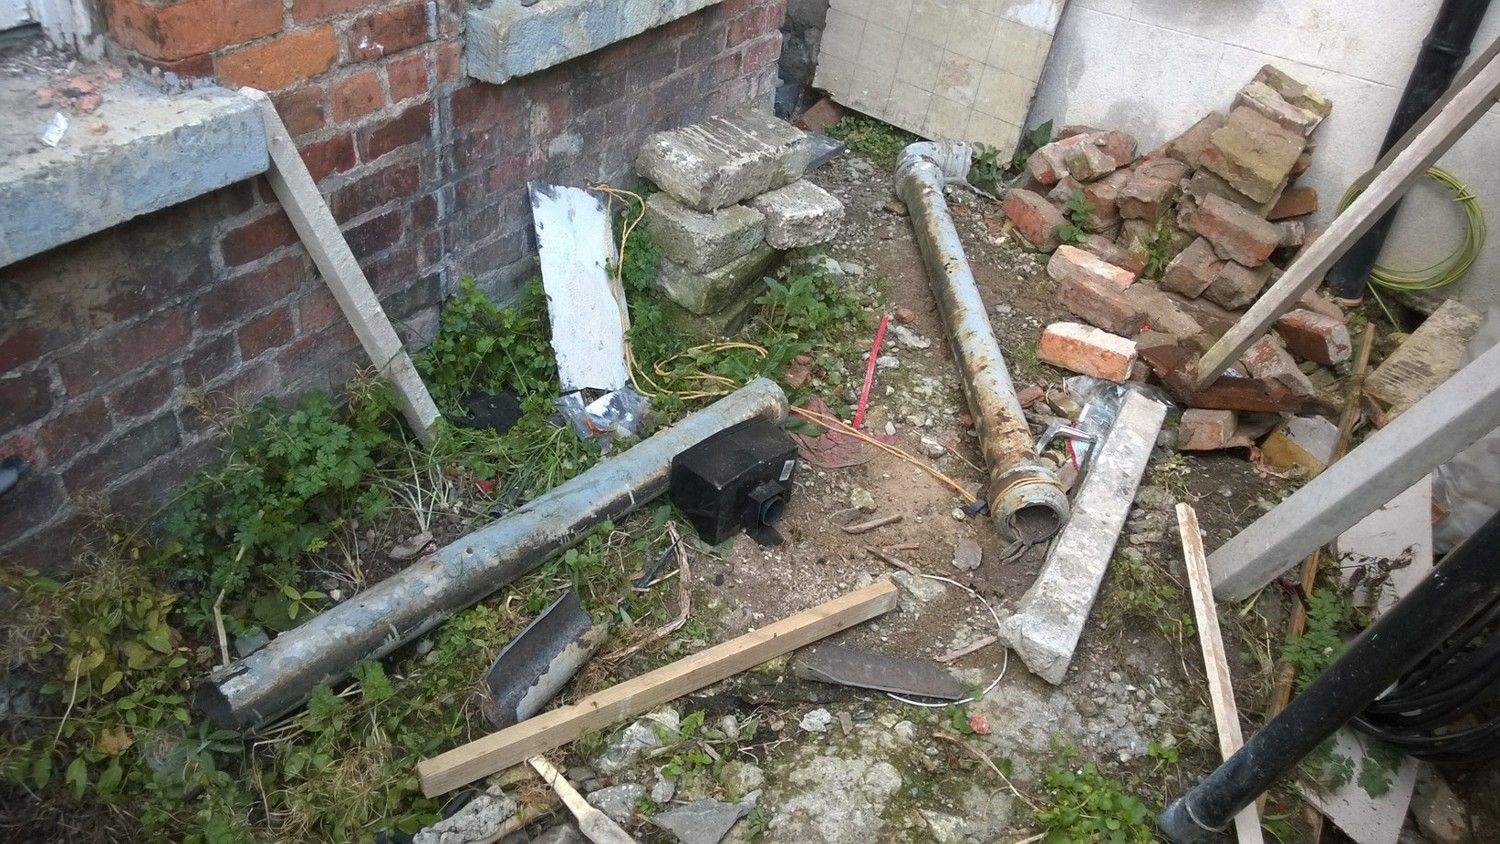
Since becoming redundant, the iron waste pipe on the return has been a hazard so had to come down. Working on my own, it was proving difficult to remove such a heavy material, so the only option was to crack the pipe with a sledgehammer. It came down in less than a minute:


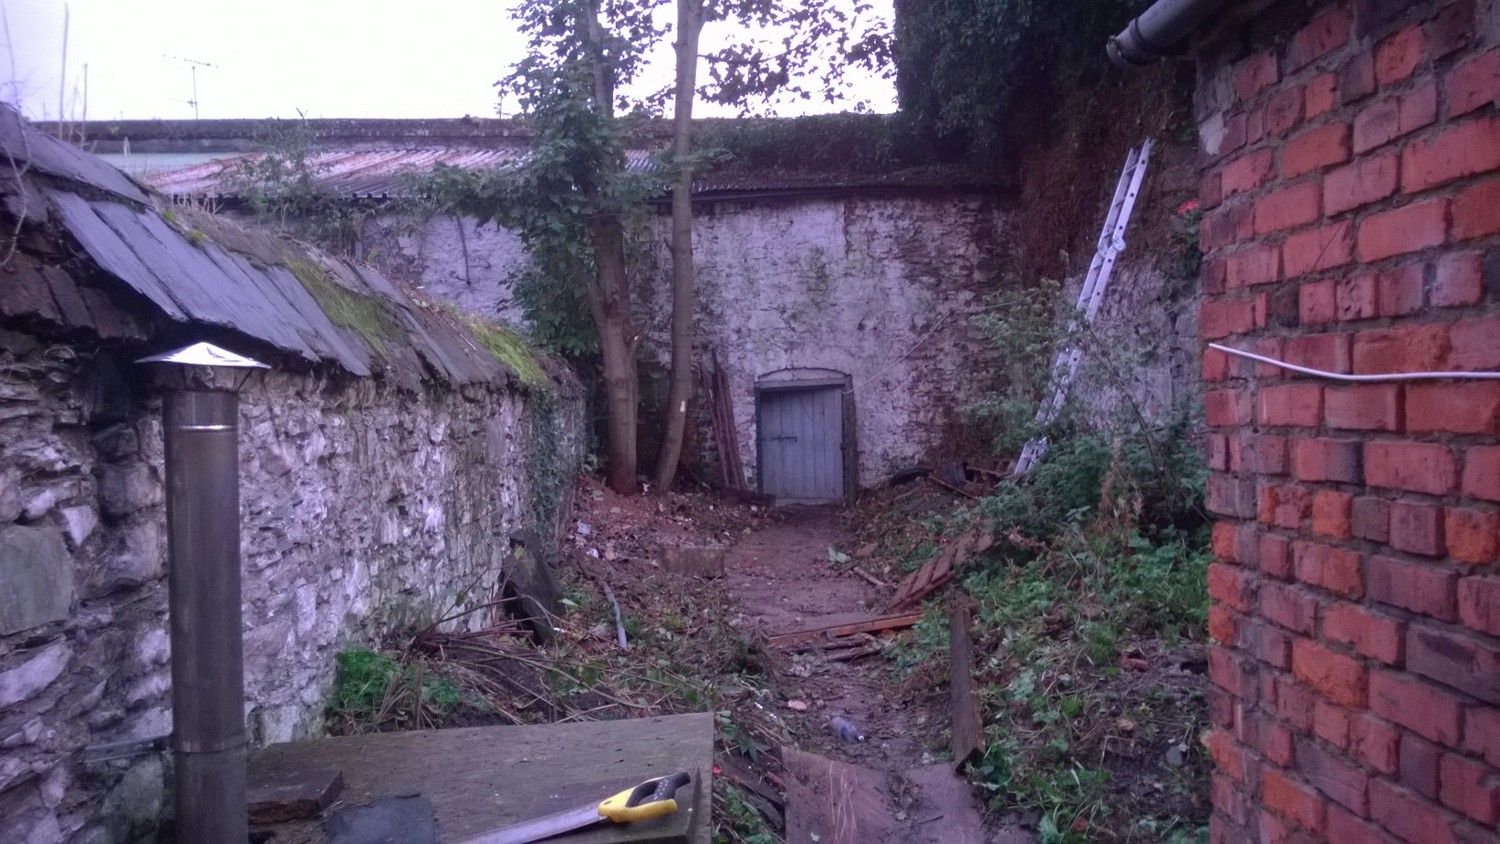
The below area was completely cleared of rubble/weeds too:


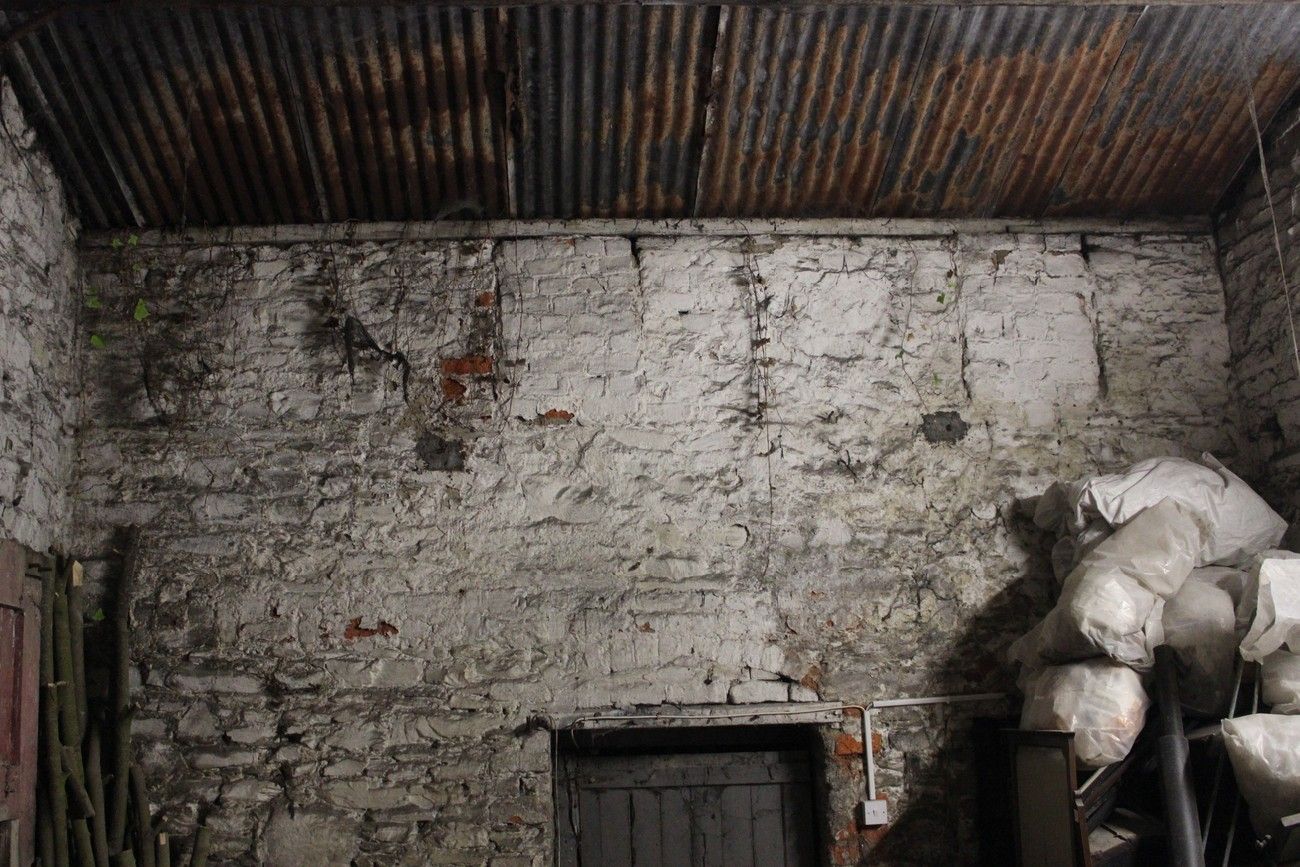
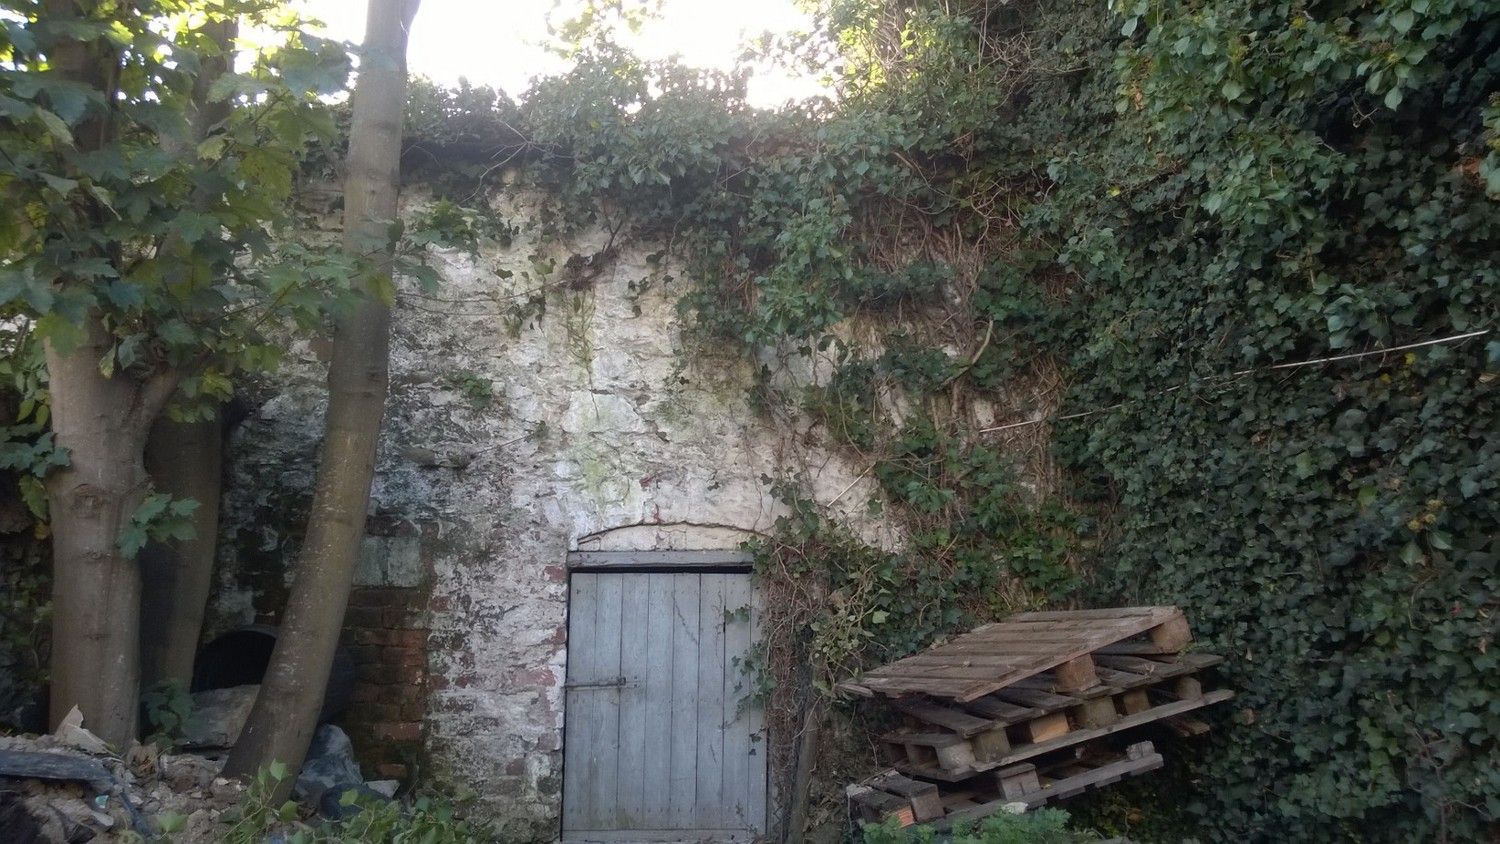
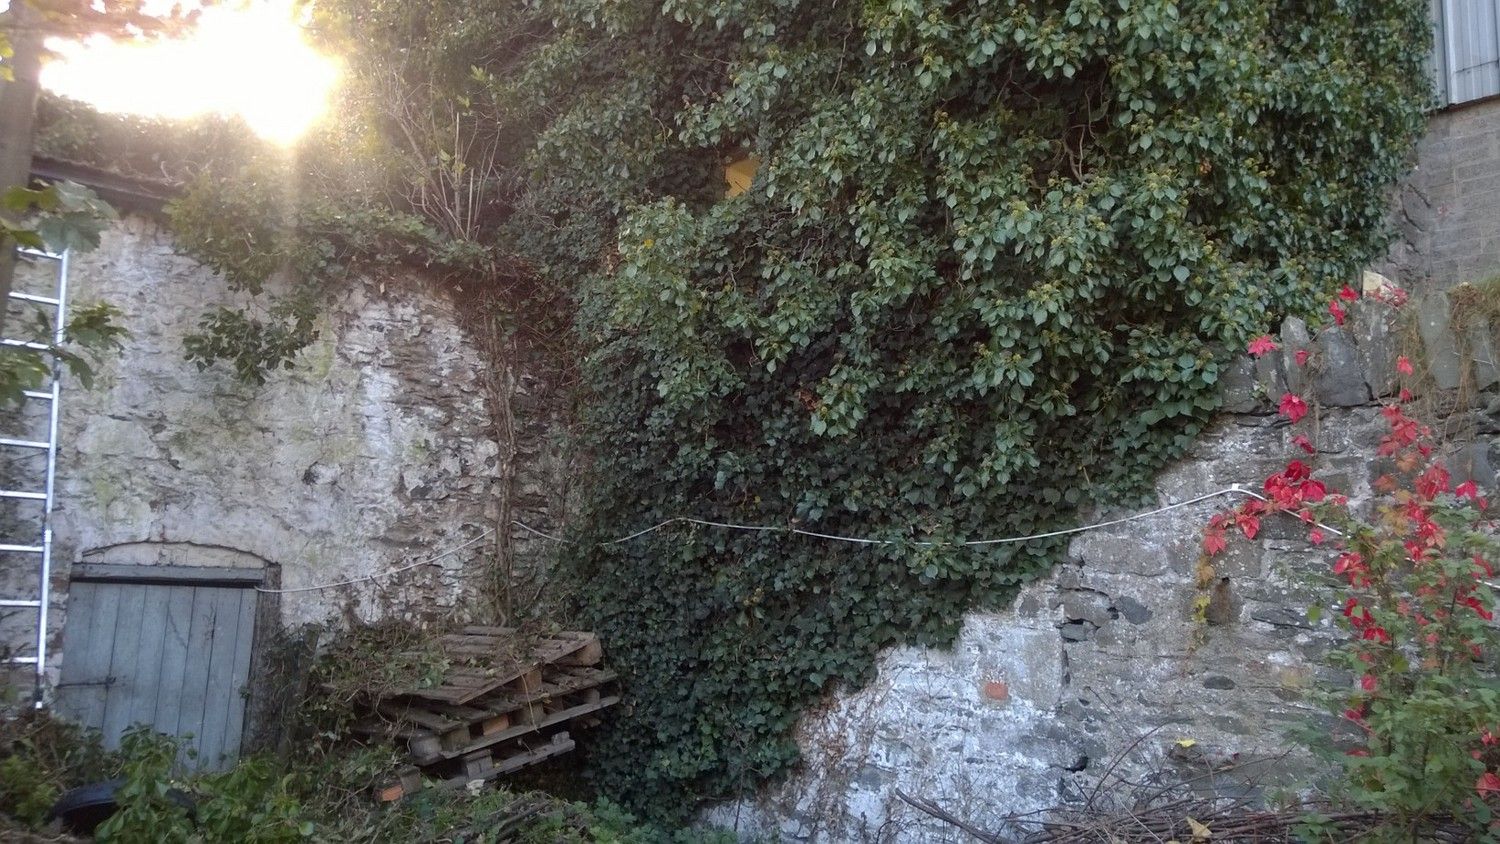
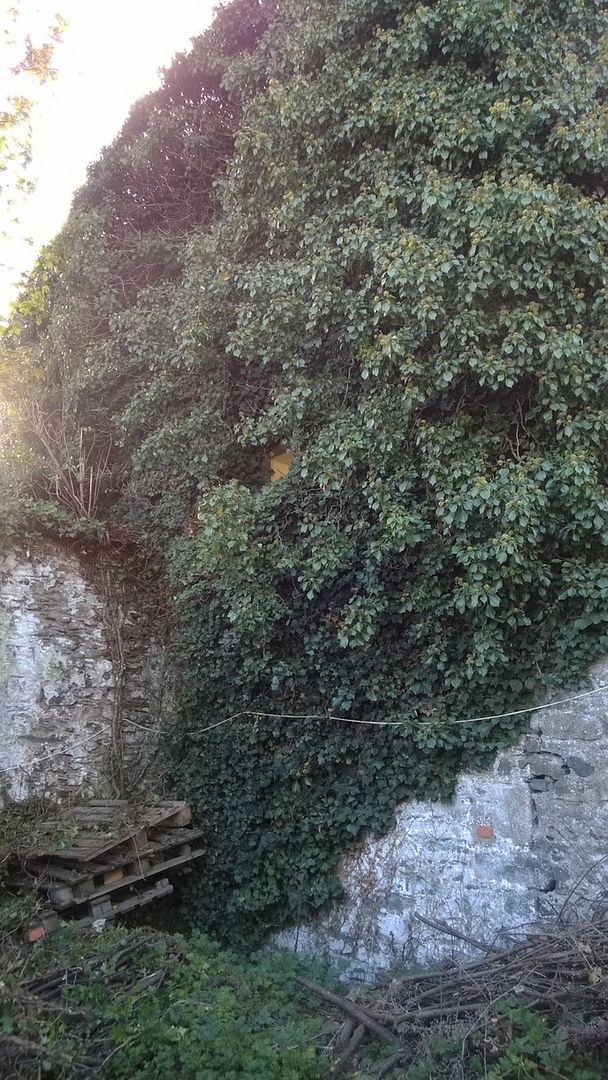
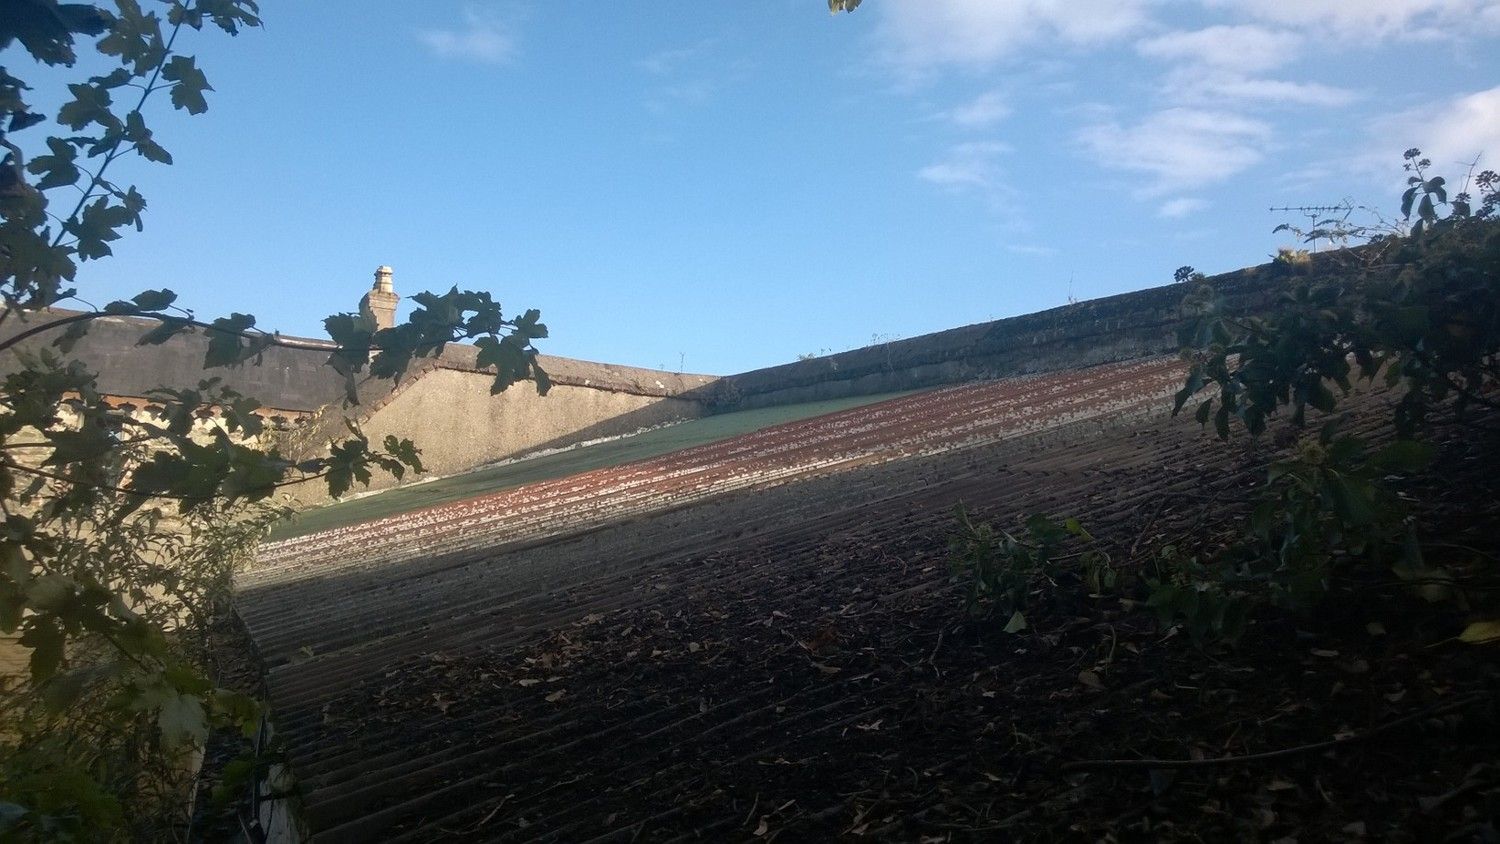
The mews had become massively overgrown with ivy, so an entire day alone was spent clearing this entire area, as well as a large portion of the roof which had been carpeted with ivy, plants and even the beginnings of a small tree growing up from the corrugated roof.


The roof partially cleared:


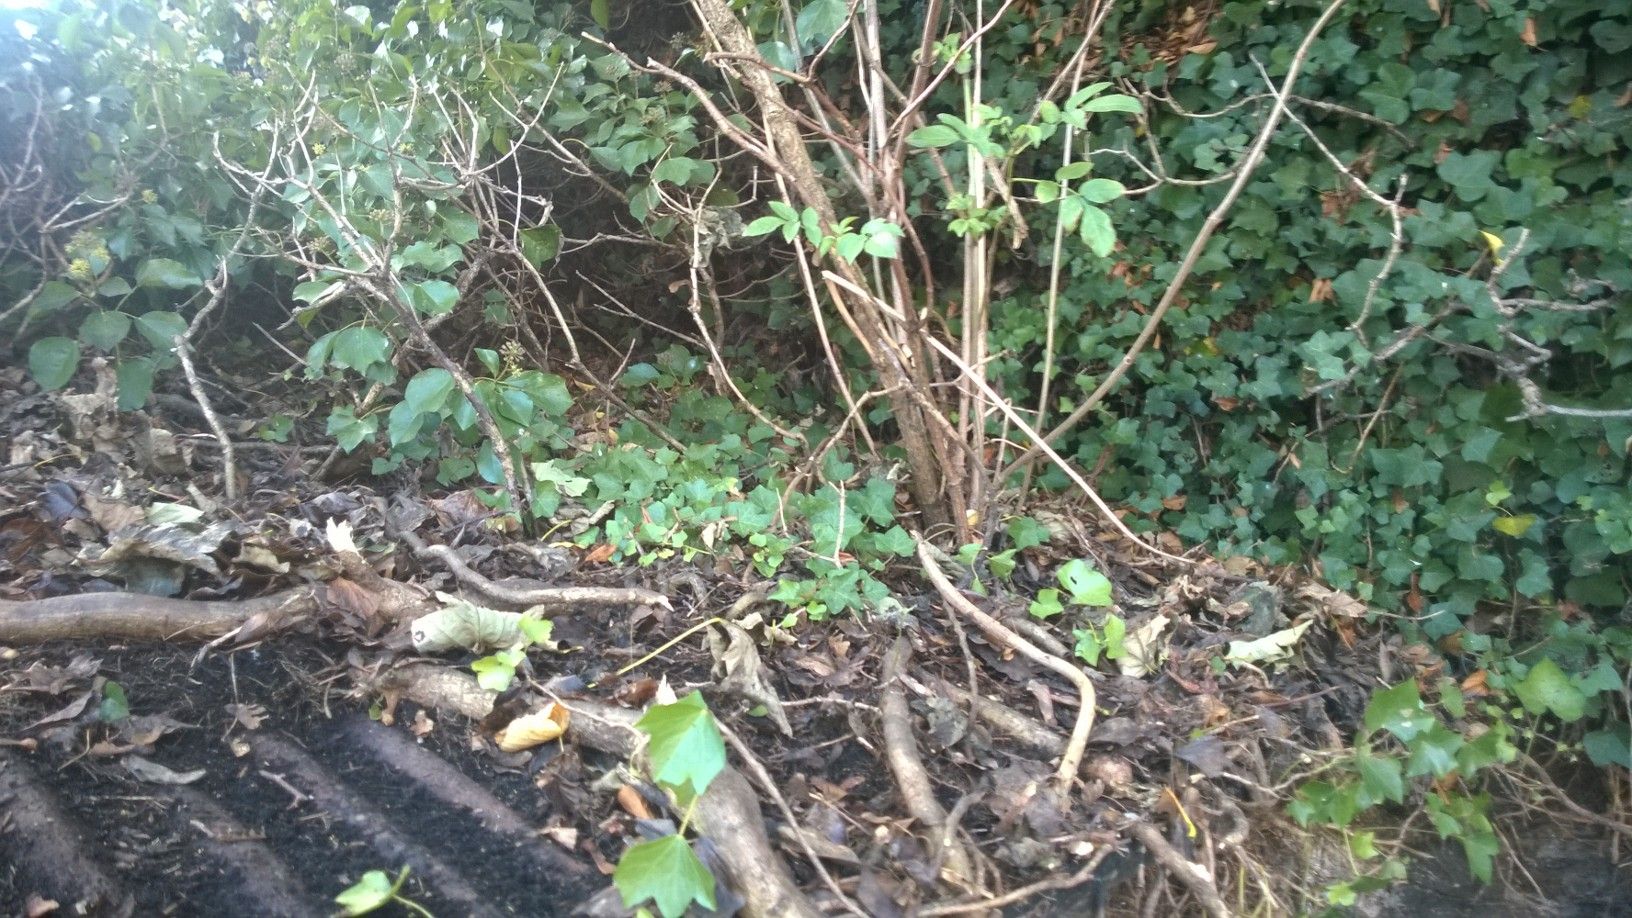
The beginnings of a small tree growing on the roof:


Most of the ivy removed:


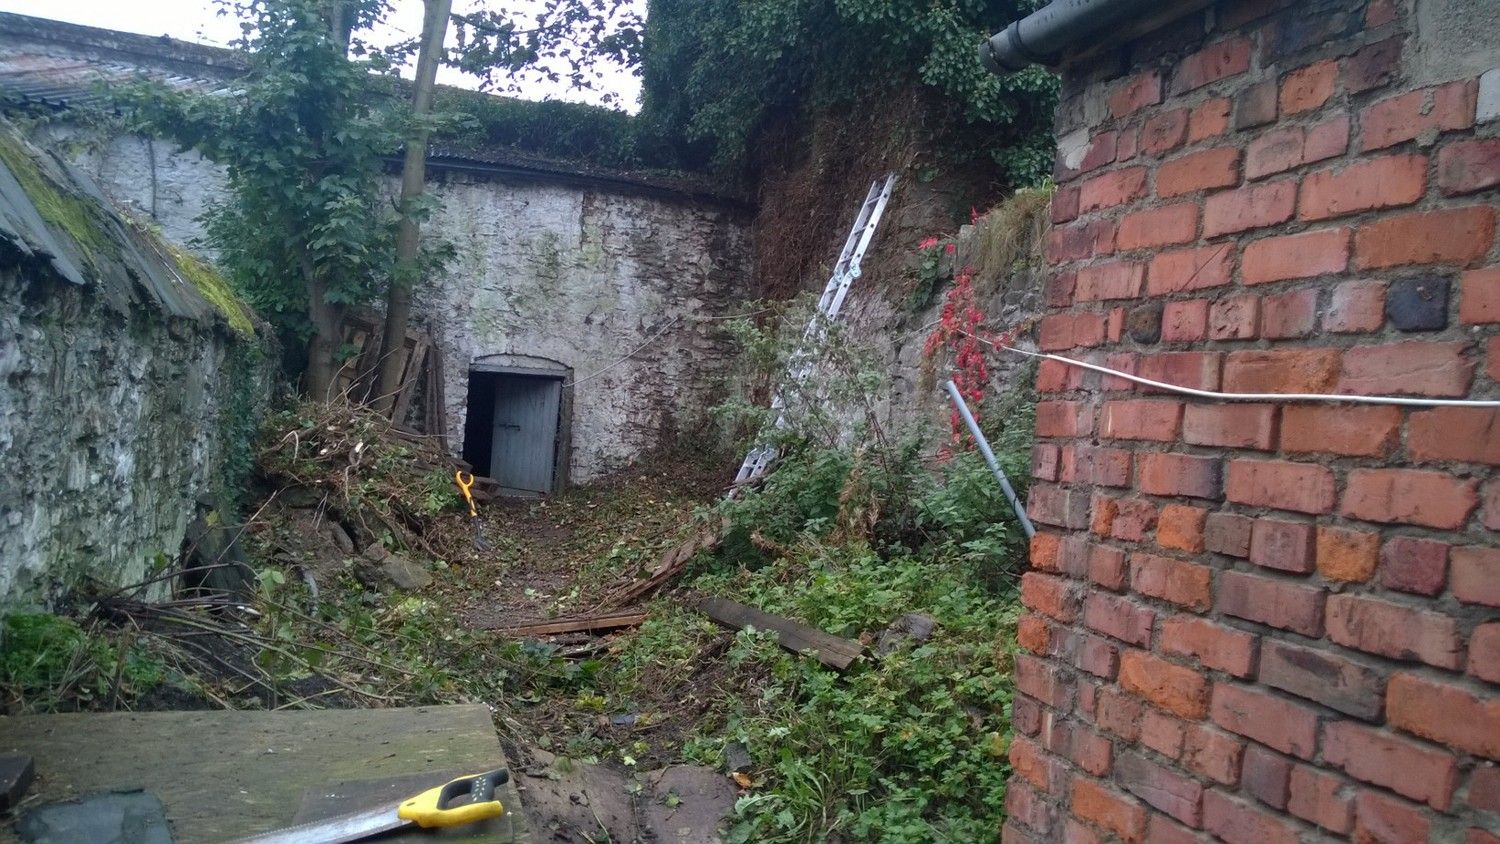
There had been several piles of rubble against the left wall that had to be removed with maybe 30+ wheel barrows, brought through the house. The rubble was red brick from the old window heads, tiles from the work on the roof, plaster from inside the house and numerous stones and boulders from the mews. The entire left wall was also cleared of ivy and various plants:


More work has been done since, more pics to follow. The underfloor heating on the groundfloor of the house is due to start shortly, along with the pouring of the limecrete floor. Updates to follow.

Friday, 17 October 2014

Some Work In The Return

I had an hour or two to kill so decided to tackle the ceiling of the upstairs in the return. It was tongue and grooved, much like walls were before I took them down and moved them to the new bathroom and made use of them there. The roof itself will need attention so the ceiling had to come down regardless. Apologies for these poor pictures:


A lot of vegetation had grown through the tiles over the years and made its way under the insulation:


The finished product:


Nothing spectacular here, but some additional wiring was laid to provide power to the mews at the end of the garden, as well as to the underfloor heating system which will be pumped from under the stairs. The below picture is in the corner of the kitchen on the ground floor, where the heating will be controlled from:


Finally, I started stripping some of the wood on the first floor living room. The work below took about two and half hours with the heat gun, very time consuming:


Curiously, as seen in the pictures above and below, the upper section of the moulding is made from plaster and not timber. Special care will have to be taken here:


Another large skip is arriving on Monday, when I'll be tackling the garden for the first time. Hopefully this will be the last skip required.

Tuesday, 30 September 2014

Preliminary Plastering On Ground Floor

With a view to retaining as much original plaster as possible and at the same time achieving a fresher, clean finish, much of the ground floor walls will receive a skim coat of St. Astier Ecomortar R100. This is a ready-mixed lime based plaster, which is specifically designed to adhere to a variety of surfaces, including lime or cement mortar, lime plaster, gypsum plaster, timber and even painted surfaces. It has high vapour exchange qualities, allowing vapour to evaporate outwards from within the wall, maintaining the breathability of the structure as originally intended.

The only original lime plaster to be removed from the walls is unsound or cracked plaster, which is replaced with lime mortar. Damaging cement mortar which lines some of the hallway walls may also be removed to an extent, depending on how fragile the internal brick walls are.

Patching of damaged plaster began in the hall with regular lime mortar:


Routed sections for wiring was also filled in (any gaps are now fully completed):


The fireplace in the kitchen-to-be has been bricked up and since been plastered also. Note the large amount of modern gypsum plaster in this room:


Front room:


The all-important archway joining the front room and kitchen:


I also scrapped 144kg of lead, which was made up of the pipework in the old bathroom and the pipework leading from the back-boiler in the fireplace downstairs yo the hot water tank. The copper tank itself was also scrapped, netting a total of €132. Certainly worth holding on to!


Wednesday, 17 September 2014

Category 6a & Co-axial Cable Installation

I spent several weeks running Category 6a (CAT6a) network cable and co-axial satellite/antenna cable throughout the entire house. This involved running it through joists, over joists, through certain sections of wall and terminating in each room. The idea is to run all this cable back to one central location downstairs in the return, where a wall-mounted cabinet will interconnect all rooms. This will allow for the distribution of internet to each room, as well as numerous other media options like HD video, satellite feeds, CCTV, HDMI sources, WIFI etc.

CAT6a cable allows network speeds of up to 10GBASE-T (10-Gigabit) and each room receives at least two cables. Each room is also supplied with two CT100 co-axial cables, allowing the sharing of both satellite feeds and terrestrial digital TV. There is also five co-axial feeds to the attic to supply an antenna and satellite dish.

Alarm cable was also run to every window, outside door, control panel location etc.

Running the feeds to the attic (black cable):


Top floor bedroom:


First floor living room has the most cable runs, as the main TV will be mounted within the archway. The corner beside the TV will have a small cabinet, housing amplifier, video sources etc. There are also speaker cables run through this room for 5.1 surround sound (6.1/7.1 would be too intrusive with the amount of speakers required):


TV location has numerous power, CAT6a, speaker and co-axial runs:


First floor rear bedroom:


The hallway:


Ground floor dining room:


The kitchen:


Feeds throughout the house:


The main access hole from the house to the return:


All cables as mentioned terminate in the downstairs of the return, to become the utility room:


The automatic roller door was finally installed and works very well. The steel beam will be painted to match the door:


With the light in the mews now installed, it's clear to see that there was once windows in the wall that backs on to the garden. It would be great to open these up once more: